Evening all,
Firstly, thank you to everyone who has posted here before because the info and pics alone are an absolute godsend! I have hundreds more pictures if anyone else is looking for anything specific so please just ask!
Apologies in advance for a very picture heavy first post but here goes..
Last April myself and the old boy went to view a race frame K20 Zcars kit. It had originally been purchased with full intentions of being built into the red Mini that was being sold with it but the project never got going. Long story short we left with the full kit and a pretty clean G reg City and a joint venture between us.
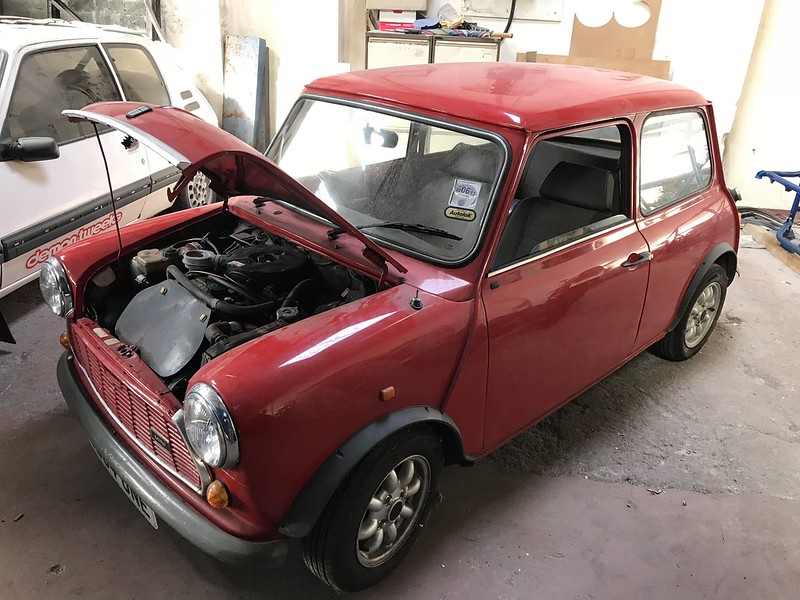 1 by Mark Maciver, on Flickr
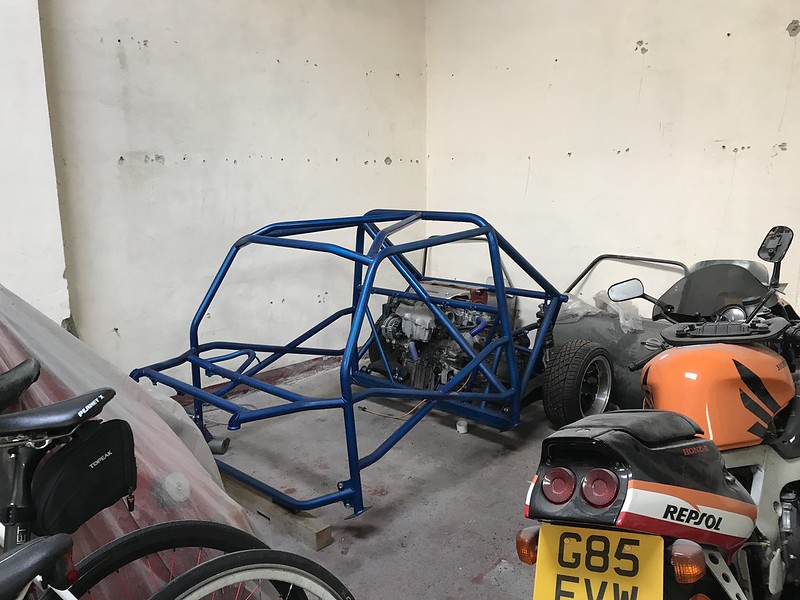 1 by Mark Maciver, on Flickr
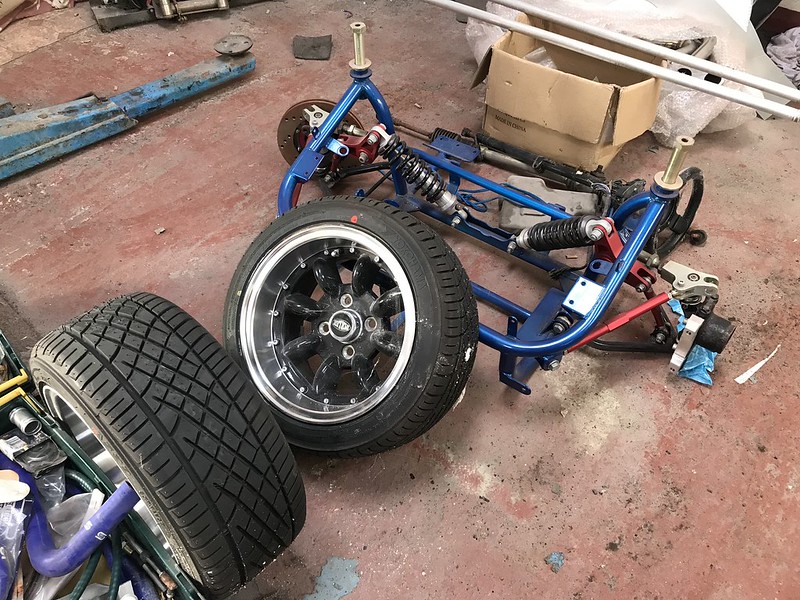 1 by Mark Maciver, on Flickr
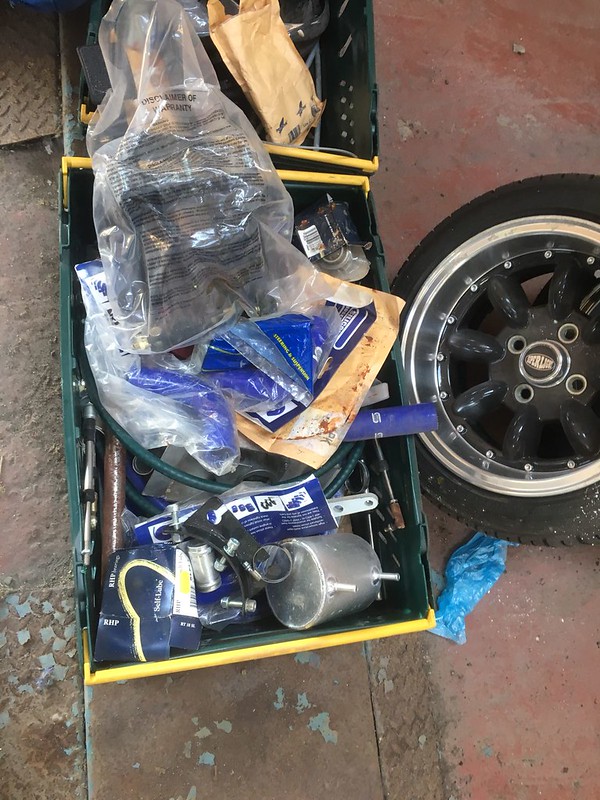 1 by Mark Maciver, on Flickr
Now the idea of a project Mini had been on the back burner for years. I've had a shell sitting in the garage since I was 16 but it just needed time and money I hadn't had. The strip down had already started on it with a plan of restoring the shell, fast road A-series and something for summer fun. However, the offer of the Zcar kit had both of us grinning. The shell we started with wasn't bad; scuttle, front end, door posts, front floor panels and sills were the worst of it. It also meant we never needed the City. That sold within the week and recouped a significant chunk of the outlay straight away. It's new owner swiftly stuck a 1380 into it...it's now sporting a V8 though!
Quick wash and some polish for bumpers that had been lying in the garage = quick sale;
 Red by Mark Maciver, on Flickr
And now..
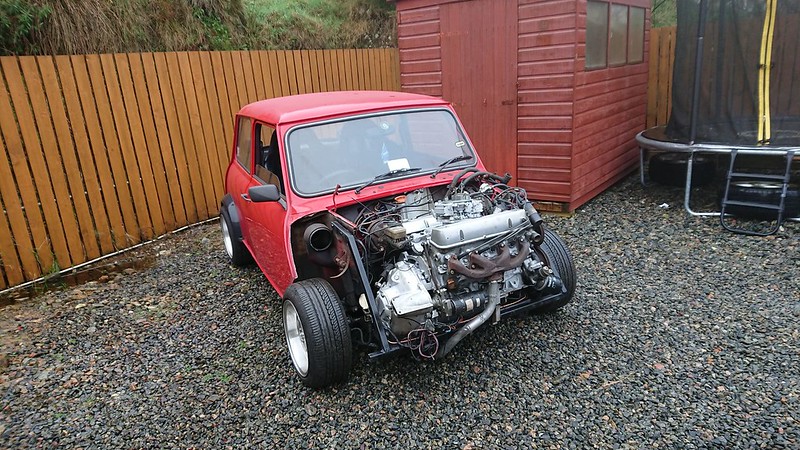 V8 by Mark Maciver, on Flickr
A patient shell having waited 9 years for its restoration. Started life as a 1000cc Auto ![]()
 1 by Mark Maciver, on Flickr
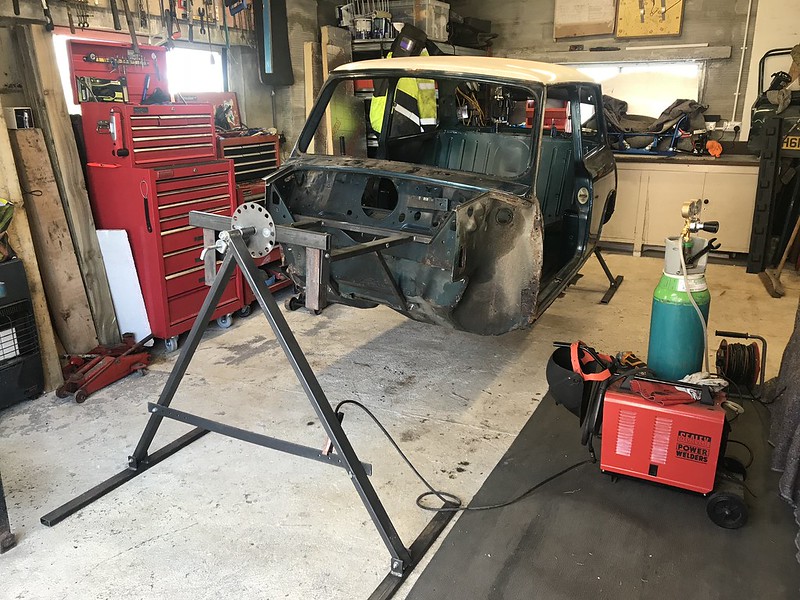 On spit by Mark Maciver, on Flickr
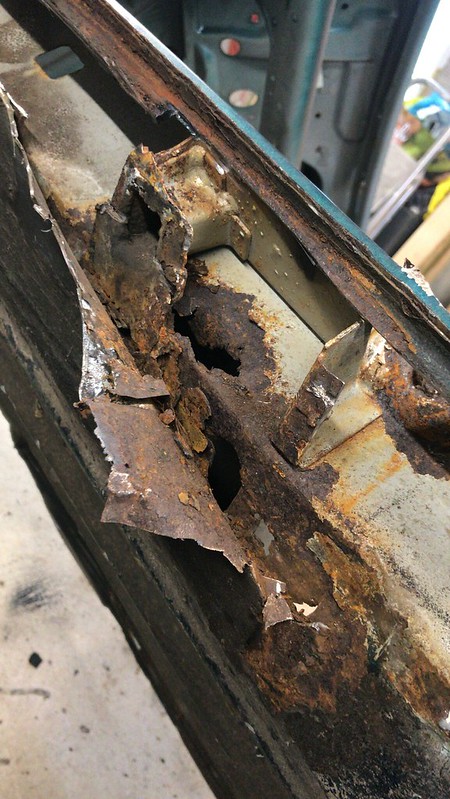 Rotten sill by Mark Maciver, on Flickr
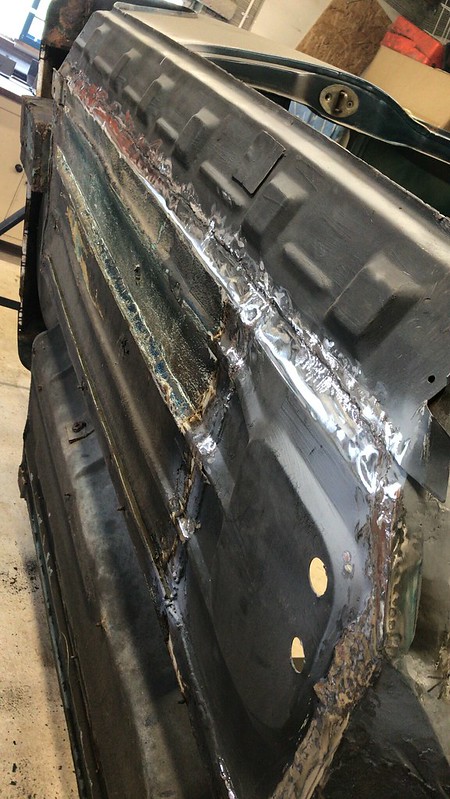 Sill by Mark Maciver, on Flickr
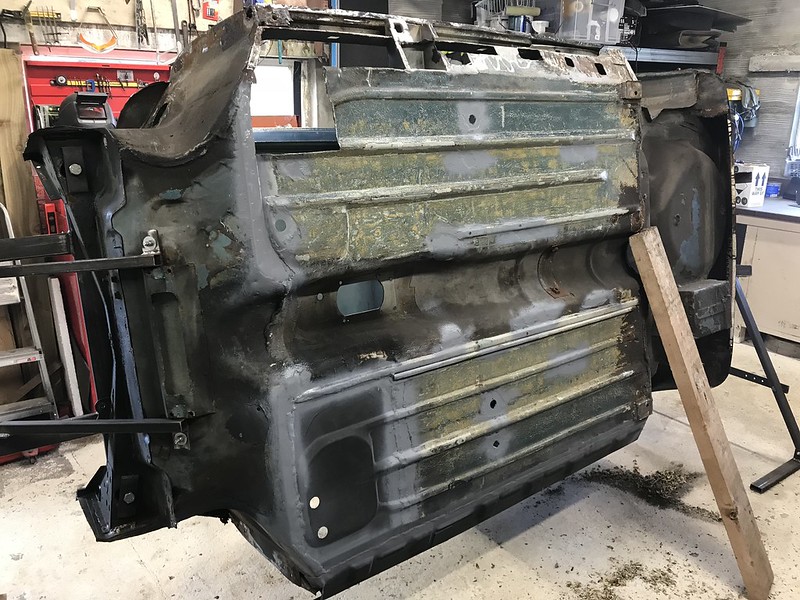 Clean underside by Mark Maciver, on Flickr
Aluminium skinned doors, superb work from the Mini Door Company.
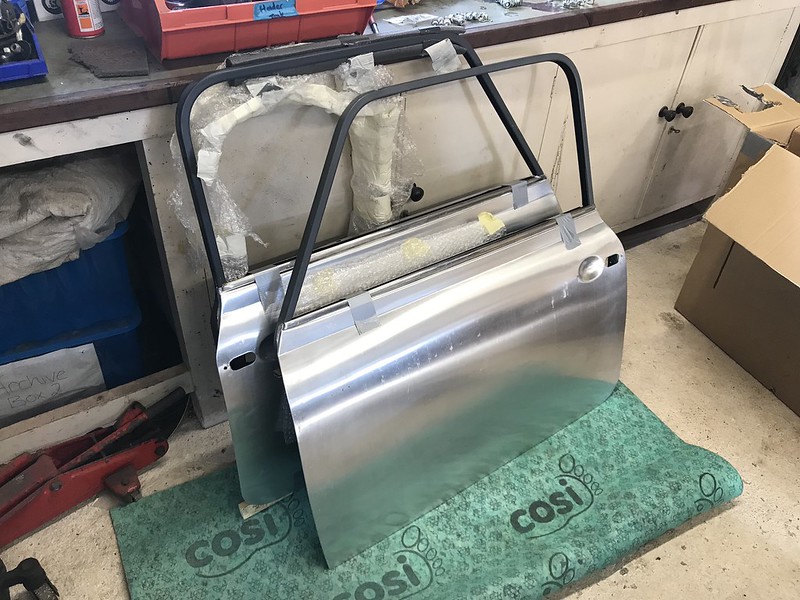 Bare Doors by Mark Maciver, on Flickr
Once the major repairs were done she came off the spit for an important date with the grinder. Scary part of the whole project because all we had was a crap DVD and no drawings to go with!
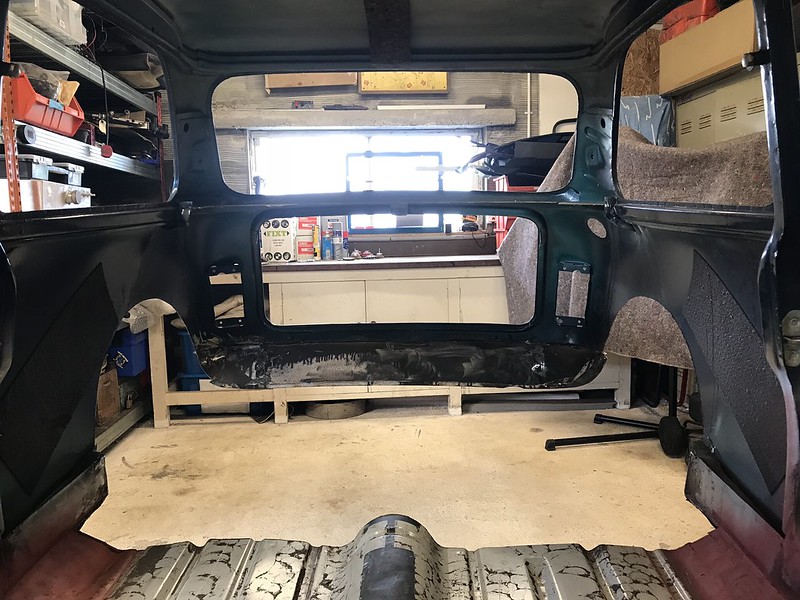 Floor cut out by Mark Maciver, on Flickr
Next obvious step was make sure the frame fit in and it all bolted together. Off to the father-in-law's barn..
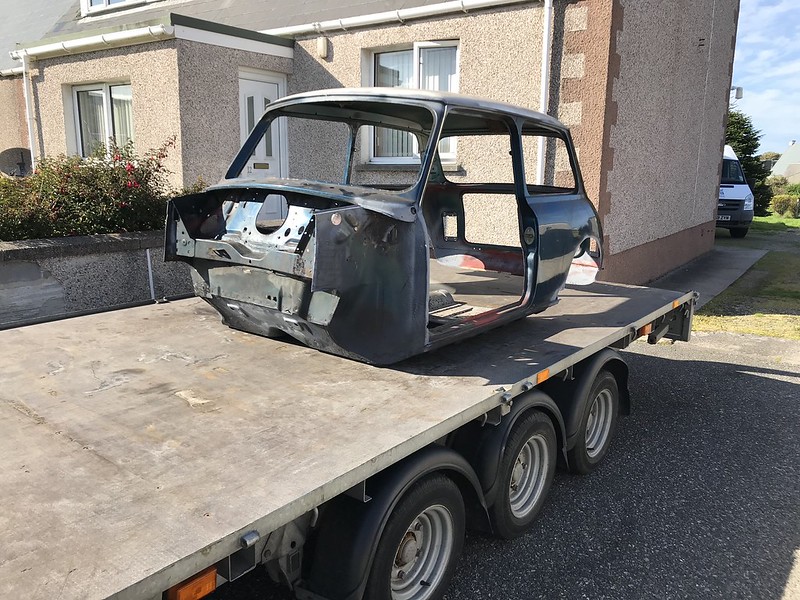 On trailer by Mark Maciver, on Flickr
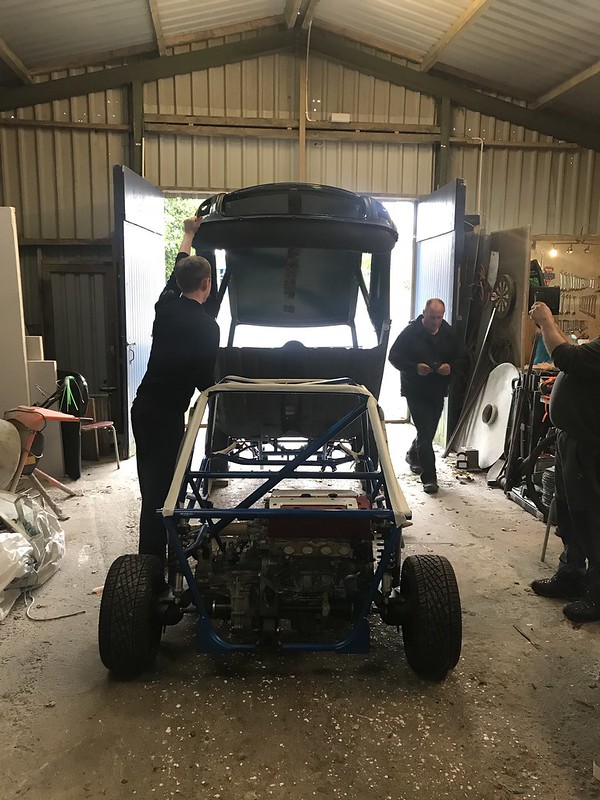 Going together by Mark Maciver, on Flickr
 On trailer by Mark Maciver, on Flickr
Like a glove ![]() . It stayed like that for a few weeks to mock some bits up. I know a lot of people go quite deep with mocking stuff up at this point but we only did what we felt was essential. We'd be painting the floor inside and out ourselves so there's no worry over making holes in fresh body work etc.
. It stayed like that for a few weeks to mock some bits up. I know a lot of people go quite deep with mocking stuff up at this point but we only did what we felt was essential. We'd be painting the floor inside and out ourselves so there's no worry over making holes in fresh body work etc.
Back apart for the floor to be painted before its proper makeover..
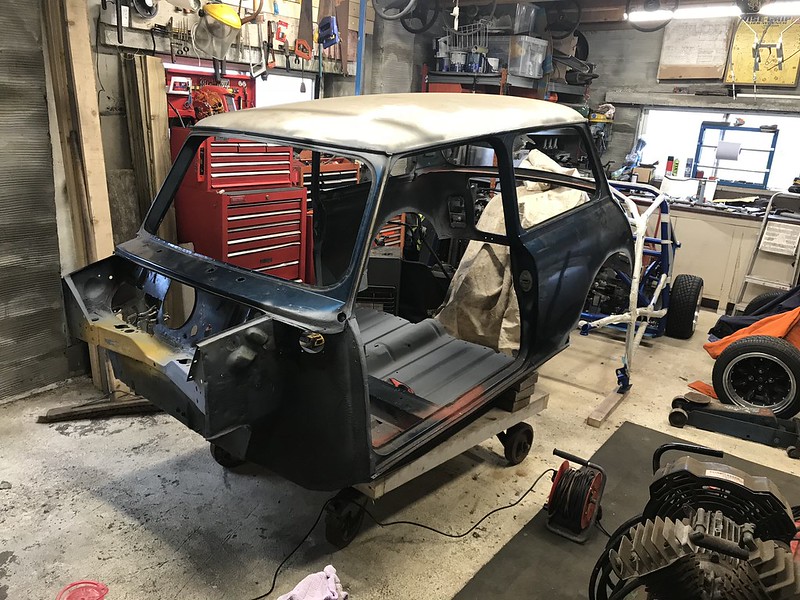 Cut shell by Mark Maciver, on Flickr
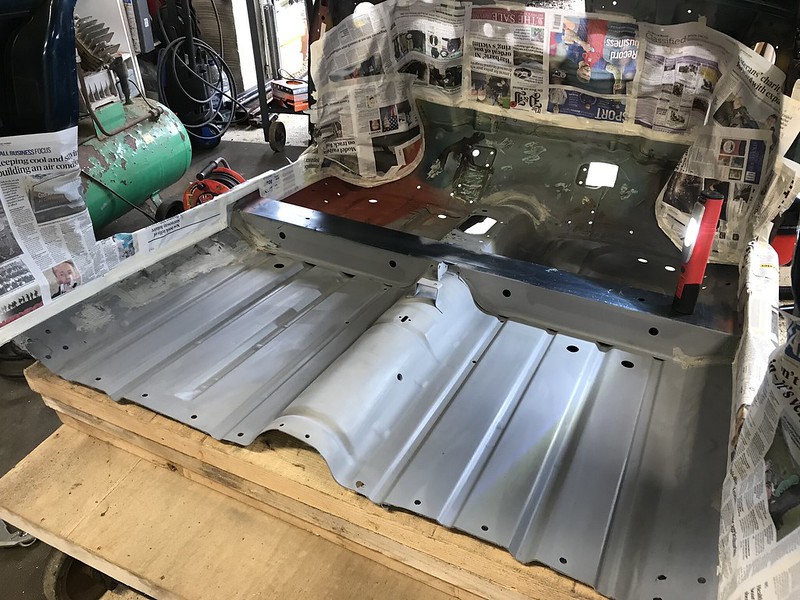 Inside Masked by Mark Maciver, on Flickr
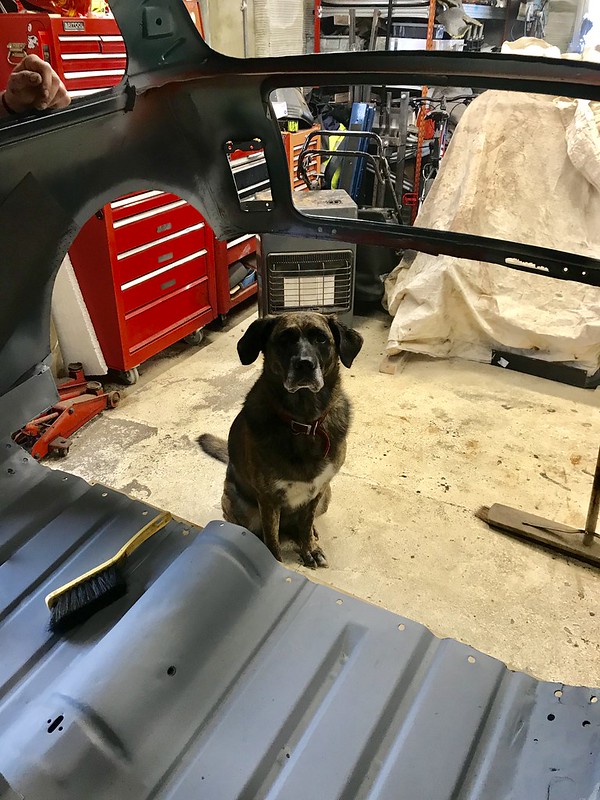 Cut shell feat dog by Mark Maciver, on Flickr
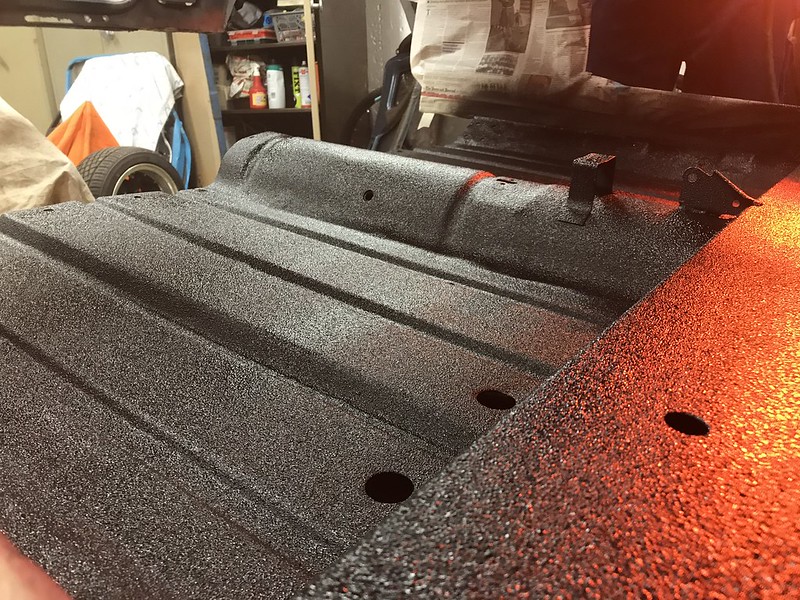 Inside Painted by Mark Maciver, on Flickr
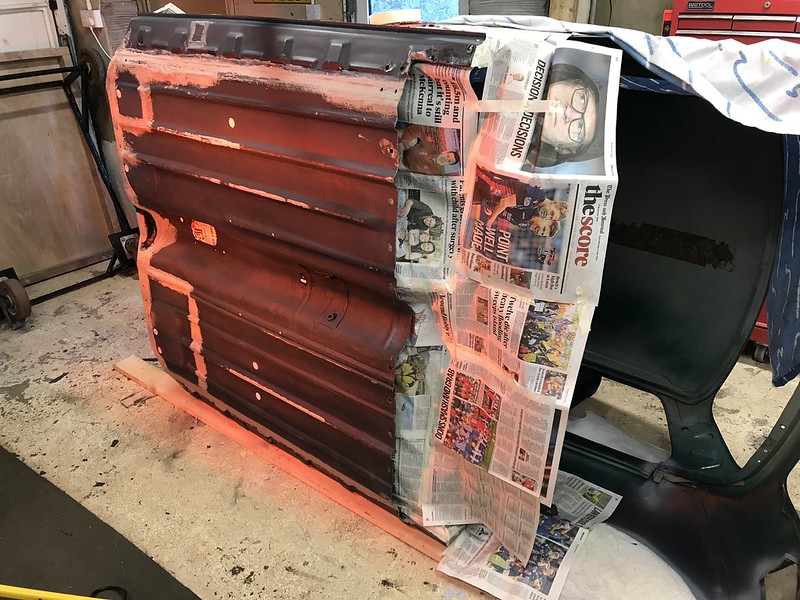 Underside Seam Sealed by Mark Maciver, on Flickr
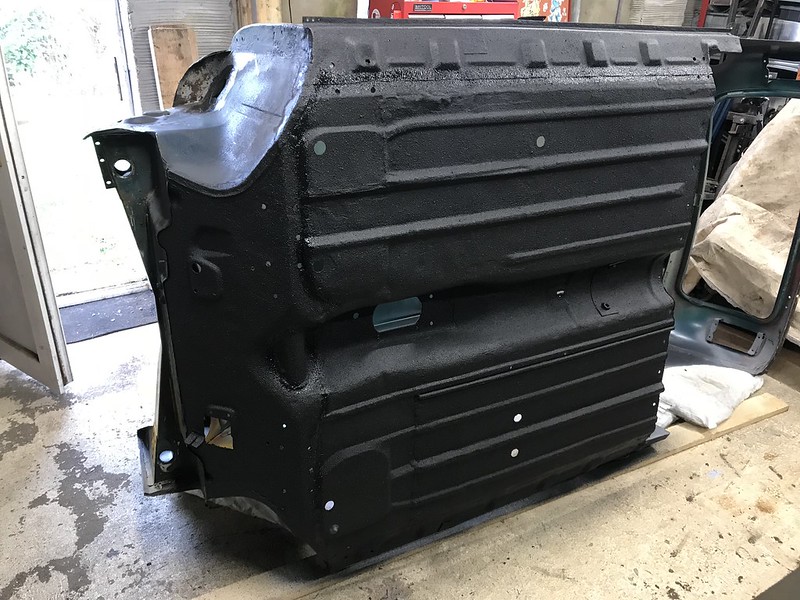 Underside painted by Mark Maciver, on Flickr
I've used Raptor both inside and out. It's durable and gives a textured finish which the photos don't really do justice. I'm no paint sprayer but it's a joy to work with, thoroughly recommended. Off next for someone who actually knows how to paint. Choosing the colour on something like this is always a dilemma. Given the blue/red frame theme I didn't fancy trying to match or clash with that too much.
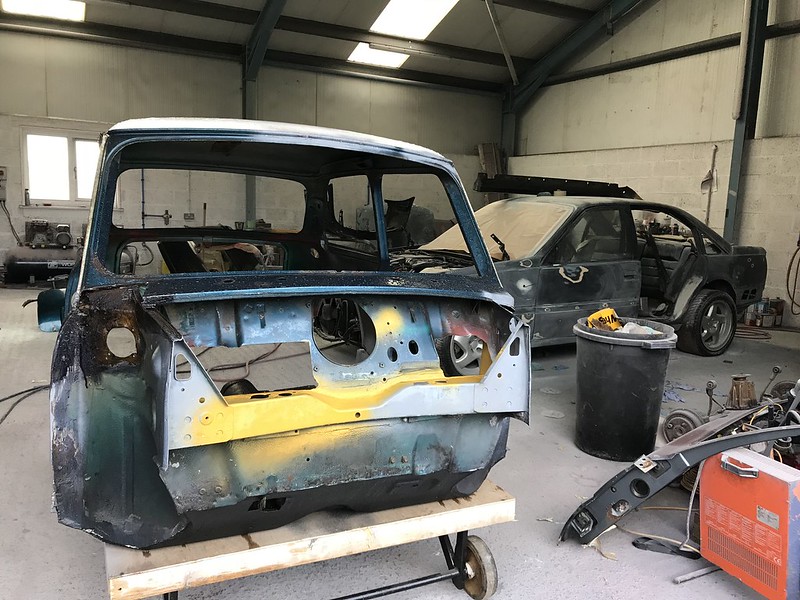 Shell for paint by Mark Maciver, on Flickr
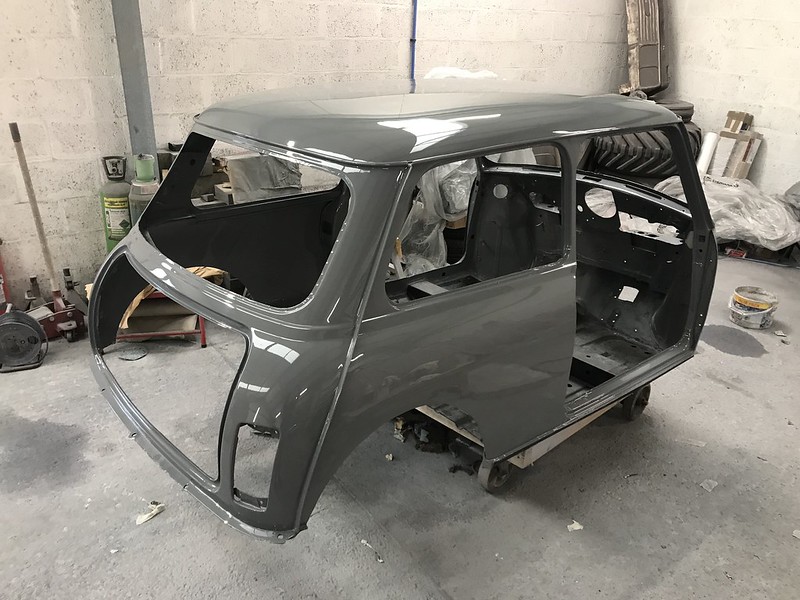 Painted shell by Mark Maciver, on Flickr
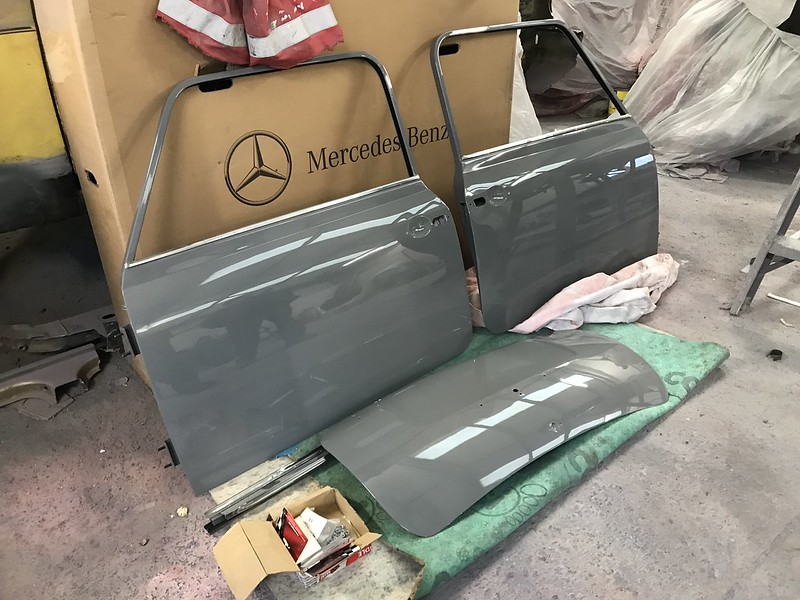 Doors by Mark Maciver, on Flickr
Delighted with the colour and finish. While the shell was away we managed to get loads of other wee bits done. Simple ones are often the most dramatic, like the rocker.
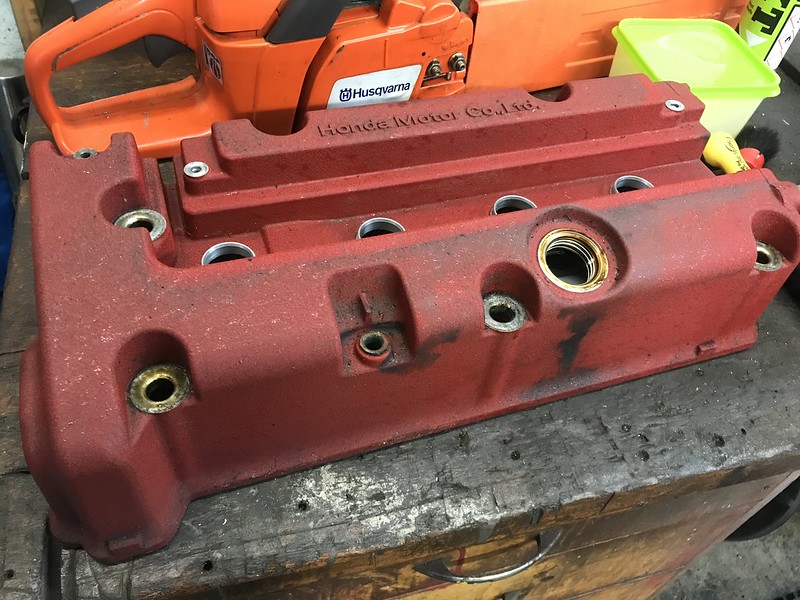 Dirty Rocker by Mark Maciver, on Flickr
 Clean Rocker by Mark Maciver, on Flickr
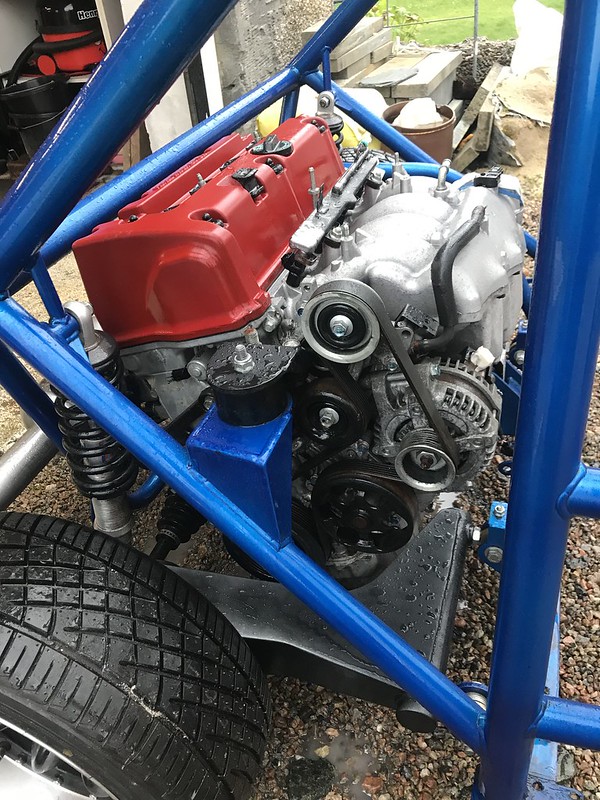 Engine after cleaning by Mark Maciver, on Flickr
We collected the shell just after New Year and put the frame into that day. Amazing how easy something is a second time, sailed together and magically the holes lined up...phew!
Before:
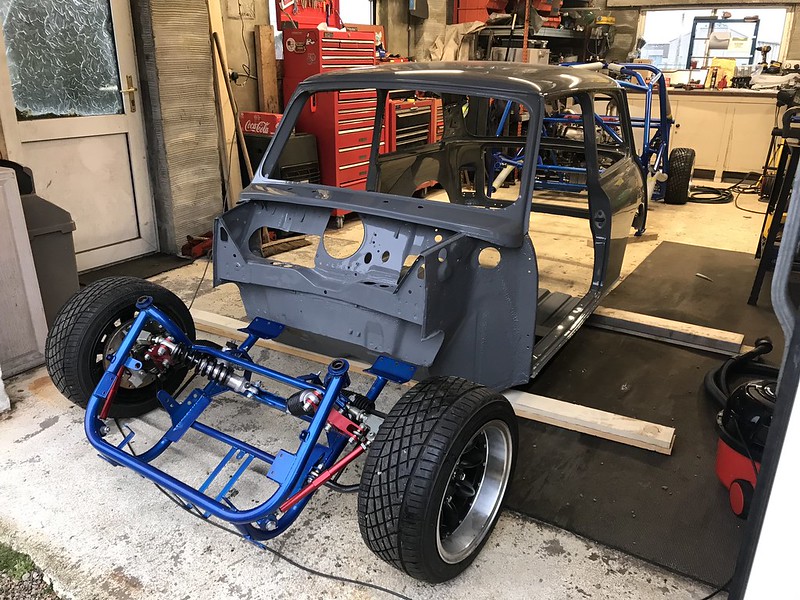 Apart by Mark Maciver, on Flickr
10 minutes later:
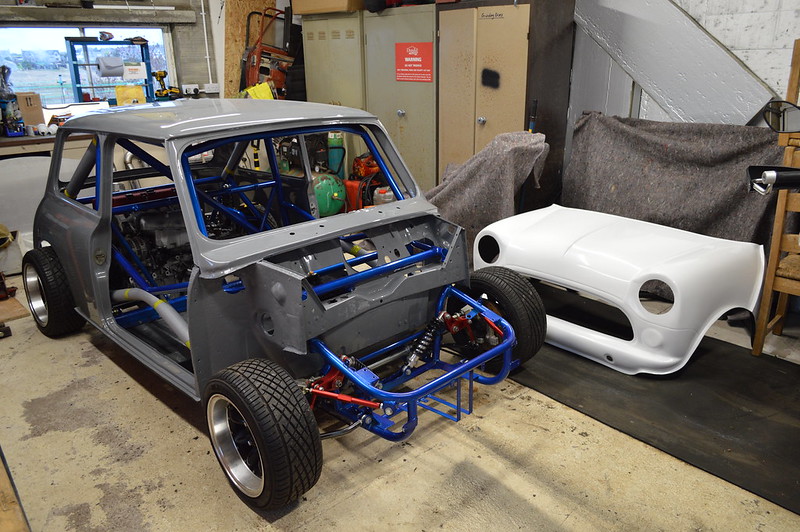 With front by Mark Maciver, on Flickr
The front is an Arc Angels carbon front which will need trimming, mainly along the scuttle, to fit but that can wait for now.
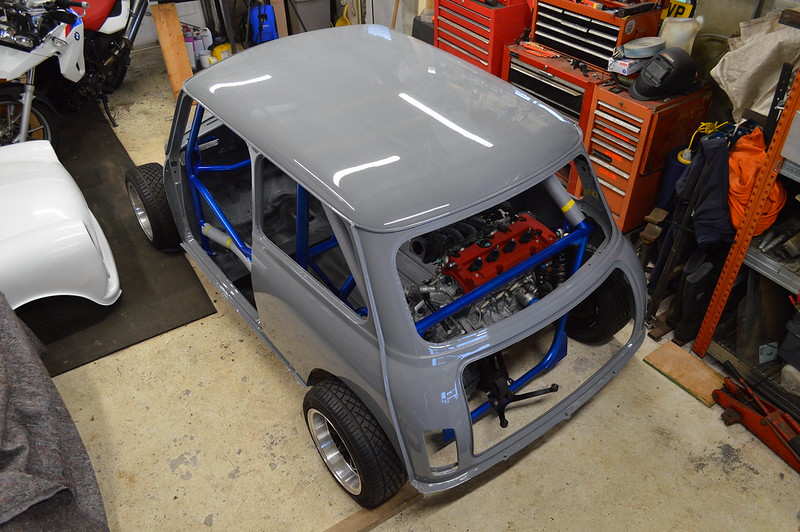 From above by Mark Maciver, on Flickr
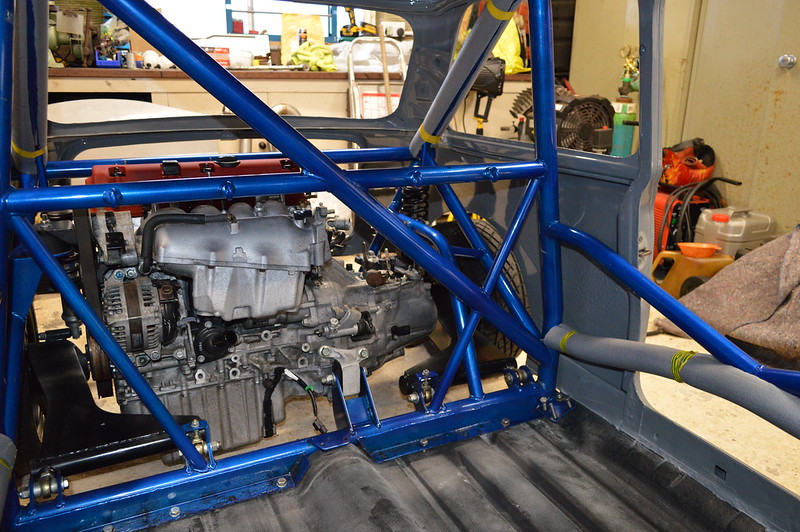 Inside by Mark Maciver, on Flickr
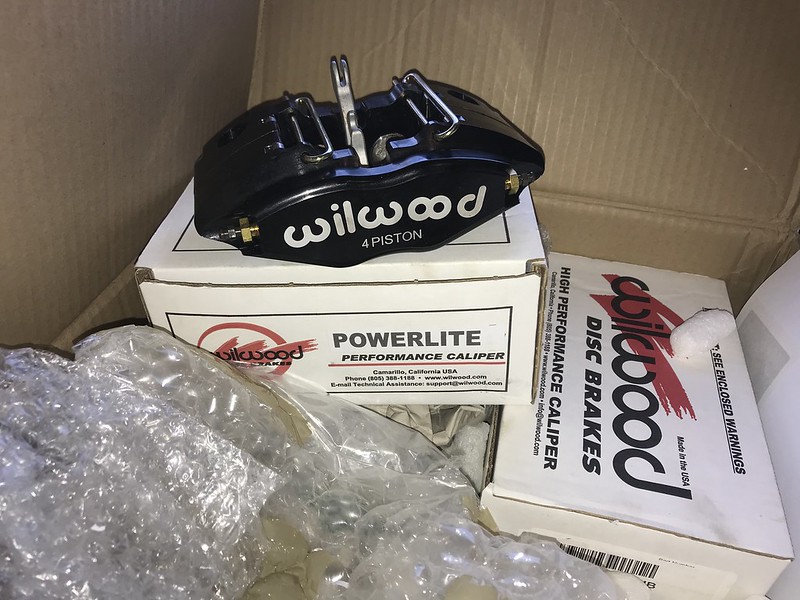
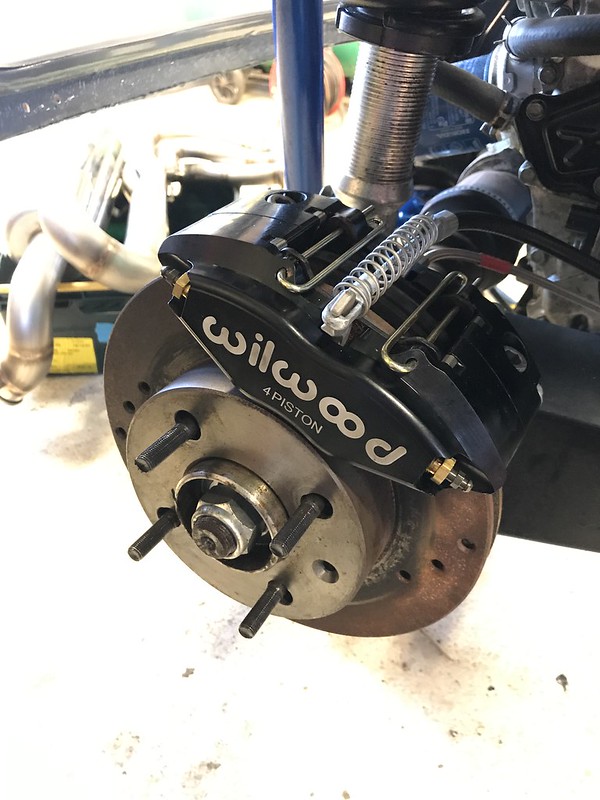
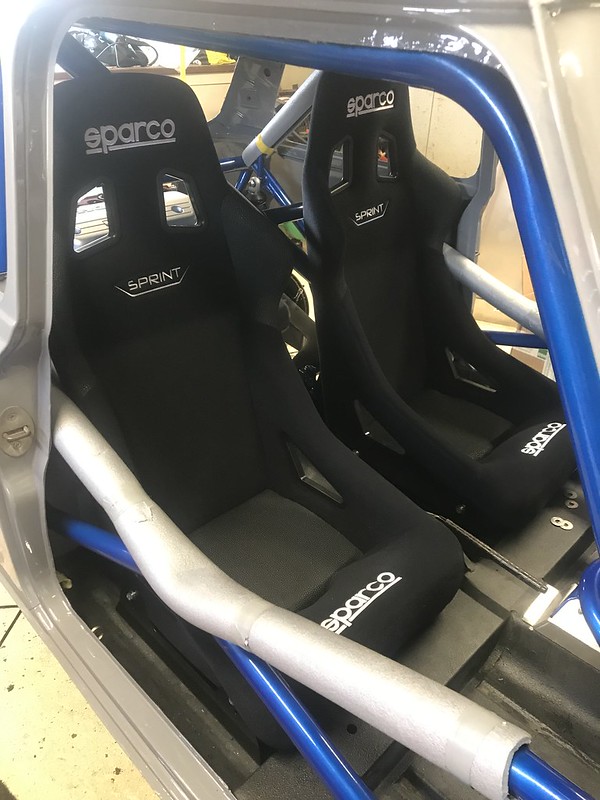
There aren't enough superlatives for how chuffed we were seeing it together. Since then we've cracked on steadily. I have seats on the way which will let me set the steering column etc. Pedal box is in, clutch and front brakes are plumbed but we've had to order rear callipers with a handbrake mechanism as the ones with the kit never had this. Radiator is plumbed and fuel lines will be sorted this week hopefully.
Unfortunately we don't have the bracket for holding the morse cables onto the gearbox so if anyone can direct us on that then please do.
This is how the car sits today, very pleased considering we only started in anger in May 18. Two people really does make a huge difference.
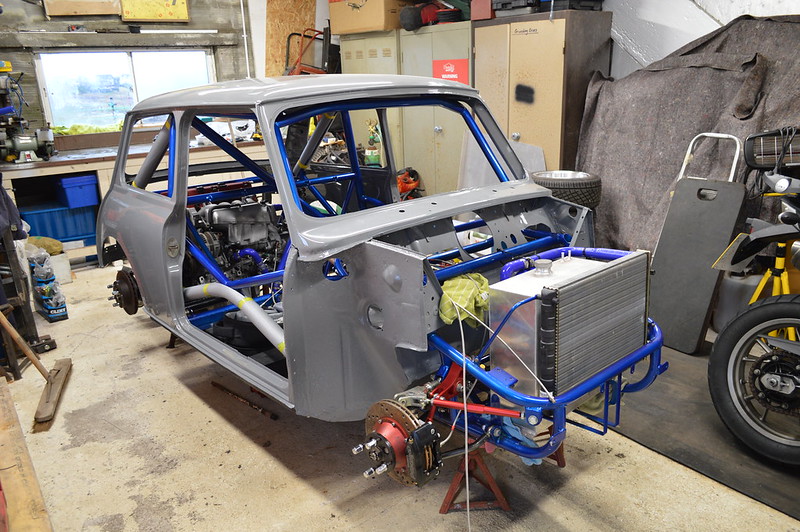 On axle stands by Mark Maciver, on Flickr
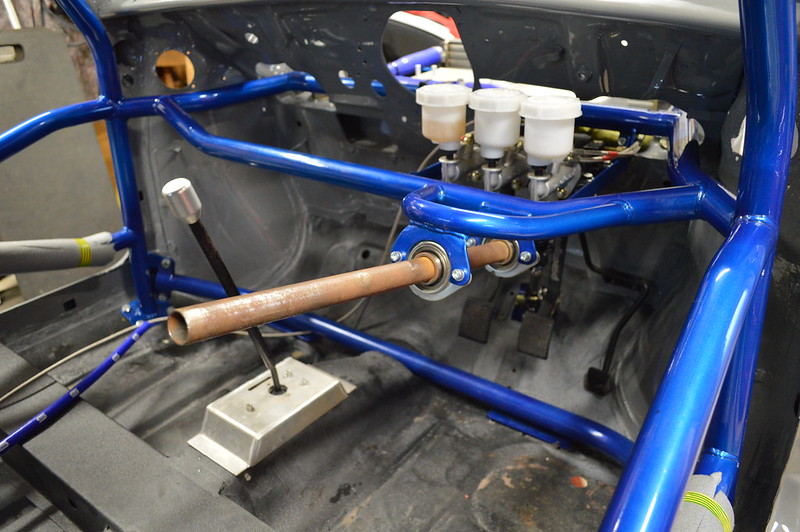 Steering Column by Mark Maciver, on Flickr
(cable ties won't be staying! ![]() )
)
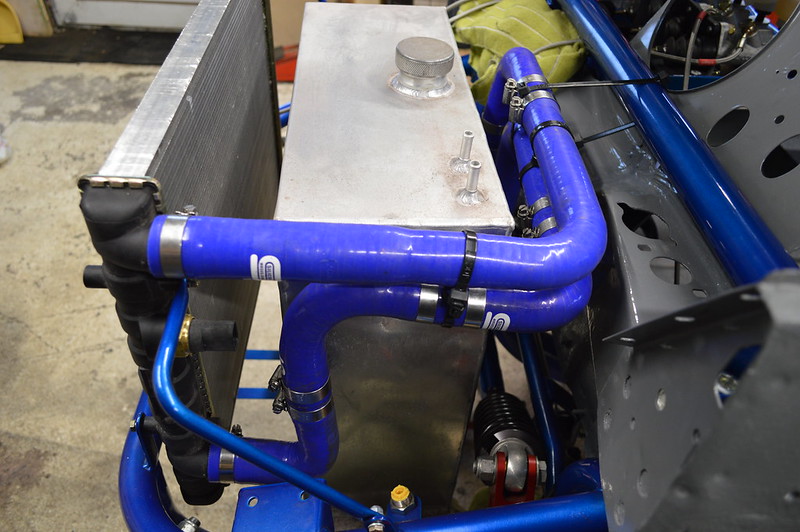 Radiator Hoses by Mark Maciver, on Flickr
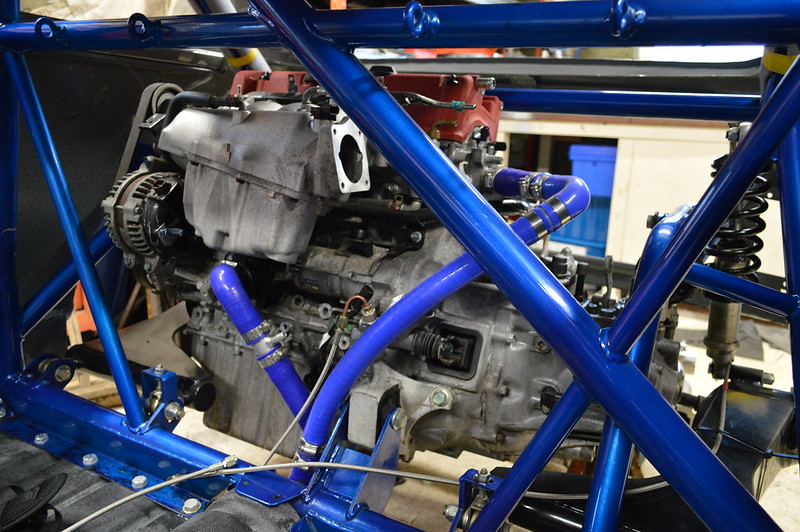 Engine from inside by Mark Maciver, on Flickr
As with any project the pictures tend to miss out the many hours of head scratching and cursing. That's why we'll be putting the car to Performance Tek for its loom and tuning. Honda specialist and highly rated while also saving what's left of my hair - a win win. Hopefully from here on it'll be more of a build thread than a highlights reel!
Cheers,
Mark
Edited by mmaci, 27 January 2019 - 11:12 AM.


