Jump to content


Photo

Paint Pimples After Painting


  • Please log in to reply
7 replies to this topic

#1 Ghostrider

Ghostrider

    Stage One Kit Fitted

  • TMF+ Member
  • PipPipPip
  • 68 posts
  • Location: Basingstoke, London and Peterborough
  • Local Club: Basingstoke Mini Club

Posted 24 July 2018 - 11:18 AM

Hi all,

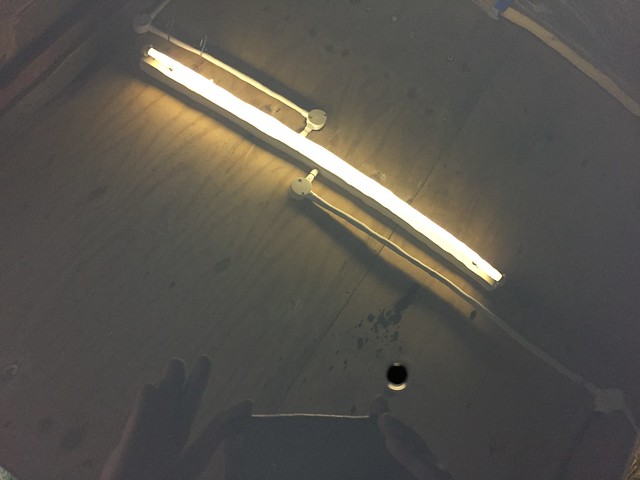
So I decided yesterday to get a little bit of practice spraying before letting loose on the mini. Overall it went pretty good. However I have ended up with these little pimples in quite a few places on the panel.


20180723_204924_zpsanlfp5in.jpg


They appear to be paint, my thoughts are that the paint was not 100% mixed resulting in these pimples. I'm spraying celly, at first I thought it might be oil or water but after closer inspection I'm certain its paint, plus the water trap wouldn't be doing its job otherwise.

So if anyone's able to confirm my thoughts and also how to get rid of them! I'm hoping that as the cars going to be cut and polished, I can ignore them for now and apply lacquer, then when the 1500 wet and dry paper goes over them It'll flatten them out and you'll never know they're there.

If someones able to help with this, it would be grand.

cheers


Jacob


#2 A-Cell

A-Cell

    Camshaft & Stage Two Head

  • Members
  • PipPipPipPipPipPipPipPip
  • 1,610 posts
  • Location: Longbridge

Posted 24 July 2018 - 01:27 PM

It's orange peel.
Lots of causes...
The viscosity of the paint, too little thinners
Too high temperature, thinner evaporates before paint has a chance to flow and settle on the surface evenly
Pressure too low so paint mix does not atomise, ie droplets are too big
Paint nozzle at an angle to panel
Coat applied is too thick

Flat the surface before applying lacquer

#3 bluedragon

bluedragon

    Mini Mad

  • Members
  • PipPipPipPip
  • 286 posts

Posted 24 July 2018 - 04:41 PM

If the pimples along the ridge and the upper right of the hole are raised, it is mostly likely water contamination, which will have been absorbed into the paint itself. If they are depressions like little pits, this is usually a sign of contamination like oil. ("fisheyes".) 


Being celluose, you should be able to flat it down and respray. But if they are fisheyes, I would take it down to primer and degrease very carefully. As a quick resort, you could add fisheye eliminator to your spray, though this is less desirable than fully decontaminating the surface.


Dave


#4 Ghostrider

Ghostrider

    Stage One Kit Fitted

  • TMF+ Member
  • PipPipPip
  • 68 posts
  • Location: Basingstoke, London and Peterborough
  • Local Club: Basingstoke Mini Club

Posted 25 July 2018 - 10:30 AM

It's orange peel.
Lots of causes...
The viscosity of the paint, too little thinners
Too high temperature, thinner evaporates before paint has a chance to flow and settle on the surface evenly
Pressure too low so paint mix does not atomise, ie droplets are too big
Paint nozzle at an angle to panel
Coat applied is too thick

Flat the surface before applying lacquer

When you say flat the surface, im assuming with 1200 wet and dry, keeping the surface nice and wet with soapy water. As I've finished the basecoats, is ok still to flatten it with 1200 then apply the lacquer?


#5 A-Cell

A-Cell

    Camshaft & Stage Two Head

  • Members
  • PipPipPipPipPipPipPipPip
  • 1,610 posts
  • Location: Longbridge

Posted 25 July 2018 - 01:15 PM

Yes. Flat it with wet and dry. Then apply lacquer

#6 Cooperman

Cooperman

    Uncle Cooperman, Voted Mr TMF 2011

  • TMF+ Member
  • PipPipPipPipPipPipPipPipPipPipPip
  • 23,276 posts
  • Location: Cambs.
  • Local Club: MCR, HAMOC, Chelmsford M.C.

Posted 25 July 2018 - 01:17 PM

With cellulose you don't need to lacquer. Of course you can if you wish, but traditionall with celly you just flat with 1800 wet and dry then wet polish with Ferecla followed by a very mild finishing compound followed by a top quality polish.

#7 Ghostrider

Ghostrider

    Stage One Kit Fitted

  • TMF+ Member
  • PipPipPip
  • 68 posts
  • Location: Basingstoke, London and Peterborough
  • Local Club: Basingstoke Mini Club

Posted 25 July 2018 - 03:22 PM

With cellulose you don't need to lacquer. Of course you can if you wish, but traditionall with celly you just flat with 1800 wet and dry then wet polish with Ferecla followed by a very mild finishing compound followed by a top quality polish.


Ah I see, thanks. So is it lacquer or cutting and polishing or does it have to be both I'm a bit confused. I've got to lacquer the inside but the outside needs some 1200 to remove a few imperfections before the final coat of paint.

#8 Daz1968

Daz1968

    Up Into Fourth

  • Members
  • PipPipPipPipPipPipPipPipPip
  • 2,058 posts
  • Location: Dudley

Posted 25 July 2018 - 05:44 PM

I haven’t used cellulose but it will be hard work flatting that finish to a good shine, probably wear through in many places, I would look at your mixing also gun set up and technique, you should be able to get it much better than that, for comparison here is my out of gun finish, although with 2k.

27132471947_c22efa8a18_z.jpg791FD63B-A918-491B-AF87-30F4562241CA by darren carr, on Flickr

That was one light coat, left to touch dry then two heavier full wet coats.

I understand with cellulose you start out 50/50 then add more thinner on final coats, also I think a proper top gloss thinner helps rather than standard thinner. You really need to build with several light coats, Distance from panel, speed and overlap makes a big difference as well.

I have had high build primer go on rough but then that was too thick for the gun size but didn’t really matter as was being flatted with p320 anyway

Edited by Daz1968, 25 July 2018 - 05:46 PM.


1 user(s) are reading this topic

0 members, 1 guests, 0 anonymous users