You will never no once there is some colour on that mate, nice work !


Mini Dis-Advantage Project
Started by
Avtovaz
, Jul 22 2017 04:42 PM
479 replies to this topic
#121

minimissions
-

- Members
-

- 3,427 posts
Up Into Fourth
- Location: North West
- Local Club: M.M.O.C
Posted 02 December 2018 - 07:45 AM
#122
Avtovaz
-
- Members
-
- 1,234 posts
One Carb Or Two?
- Location: Babylon and Ting
Posted 02 December 2018 - 06:16 PM
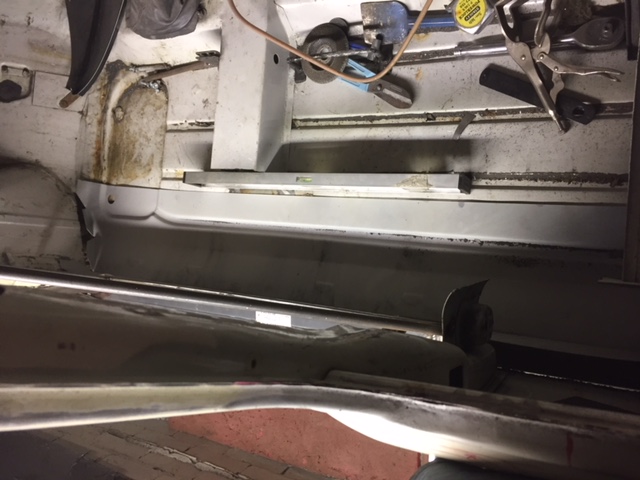
thanks! i tidied up some of the welds in the car today and put a few more too, i never took pics for some reason of that work, but i started on the door step.
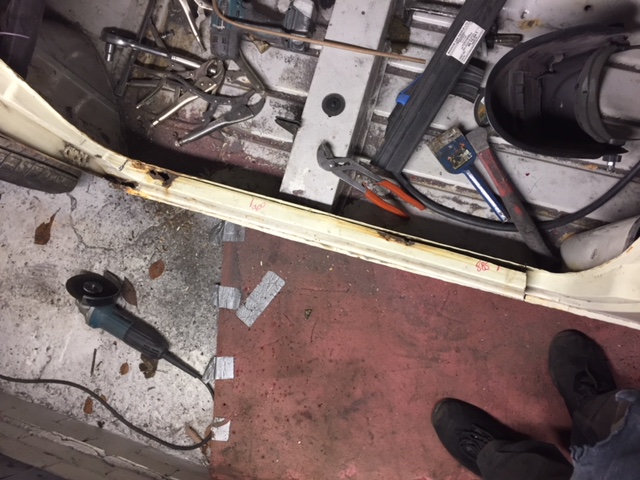
inner sill
will cut the floor out next i think on this side and put the inner/outer sills on.
#123
Avtovaz
-
- Members
-
- 1,234 posts
One Carb Or Two?
- Location: Babylon and Ting
Posted 03 December 2018 - 06:20 PM
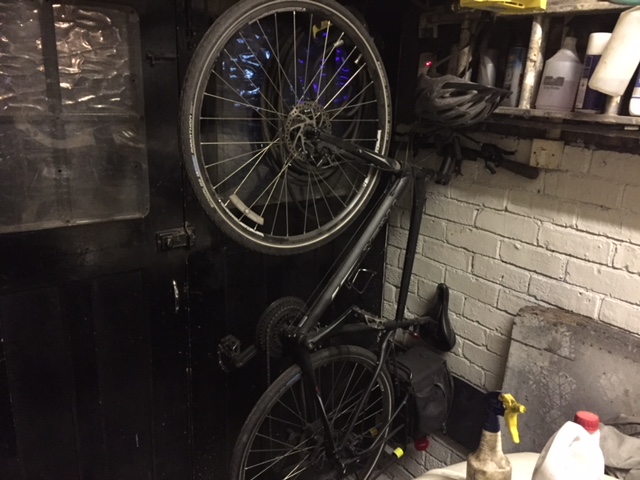
So, did a bit more today, made a wall bracket for my brothers bike, it lives at the front of the garage and when walking in and out , its just a bit in the way, but now its ok
More importantly, i got my new kettle i bought for camping in the garage and some 3in1 coffee, easy saves going in the house.
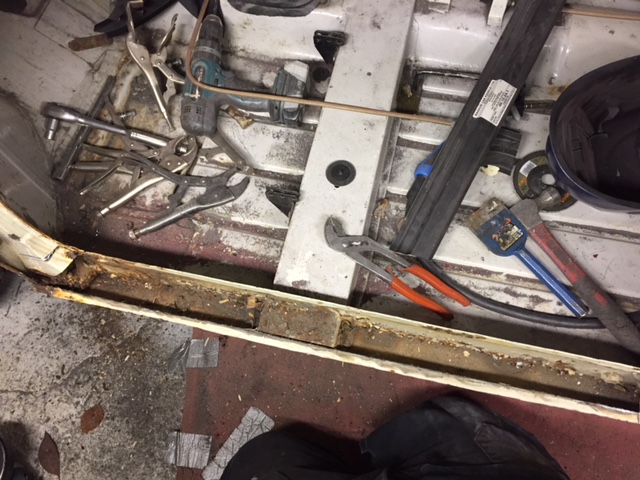
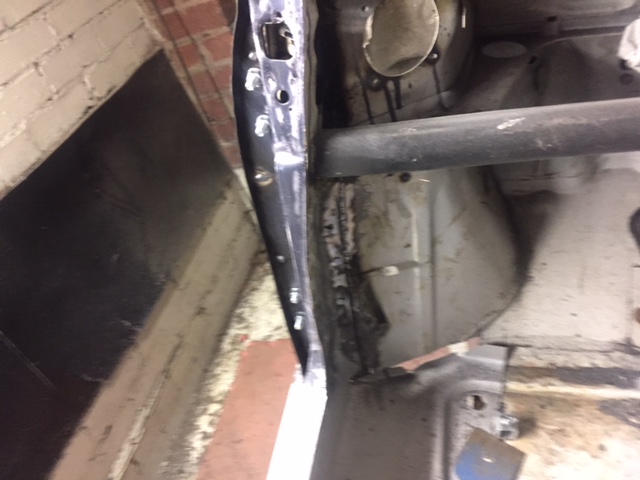
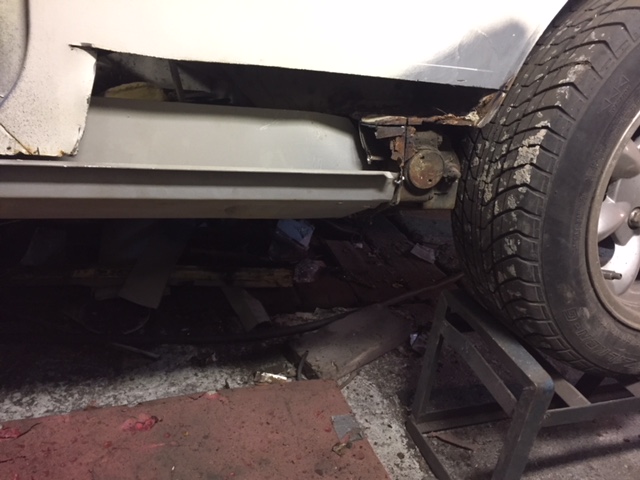
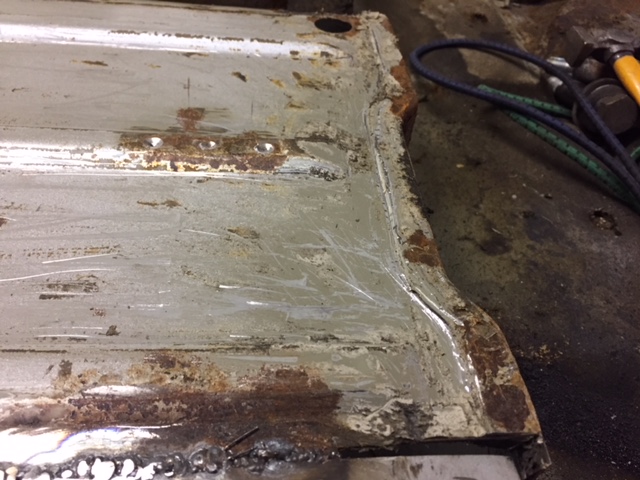
Decided next ist the n/s floor sill area..
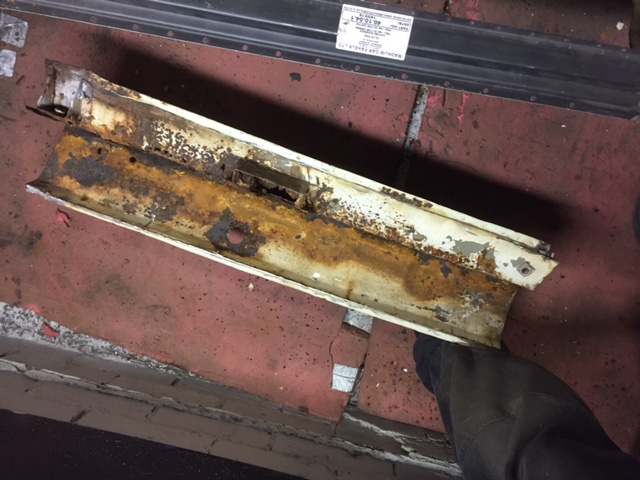
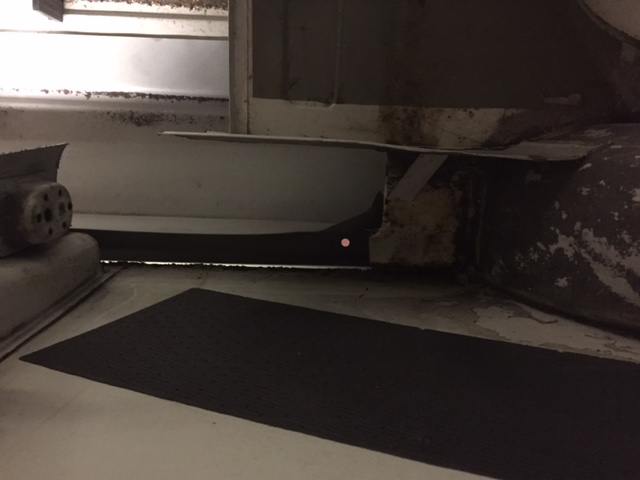
bottom of the quarter is rotten, so just cut the lip off..
I ordered some panels again from M-machine, hopefully here this week.
While doing the car ive been thinking about the engine, i have a 998 with no head, and i have a 1275 complete. Now, although obviously the 1275 will be better, im thinking, 998cc because its cheep to tax and insure, also its meant to have a 998cc engine in it. With a 1275, i think it would be a good car but for me, i want it as original as i can. But! i am thinking, get a head, port it, maybe a fast road cam but undecided on that yet, and a good rebuild. Maybe a 1 3/4 carb as that wont look out of place under a standard air filter, but again not decided, a standard 998 is a lot of fun to drive as they are.
hmm ...
#124
Avtovaz
-
- Members
-
- 1,234 posts
One Carb Or Two?
- Location: Babylon and Ting
Posted 04 December 2018 - 05:13 PM
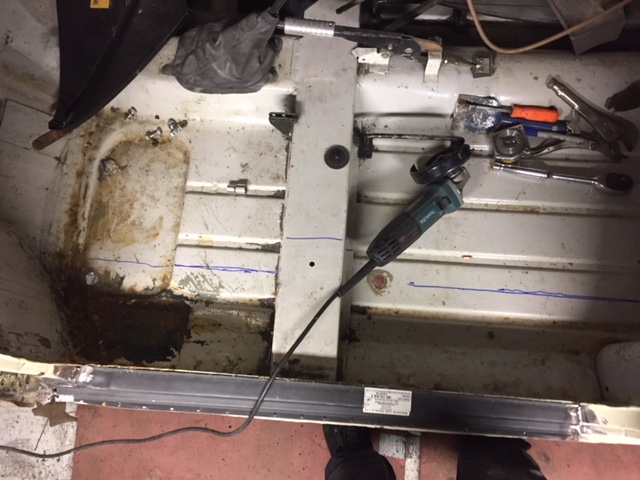
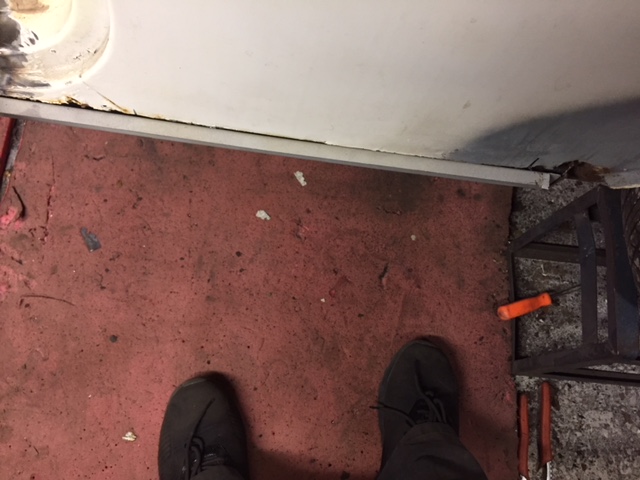
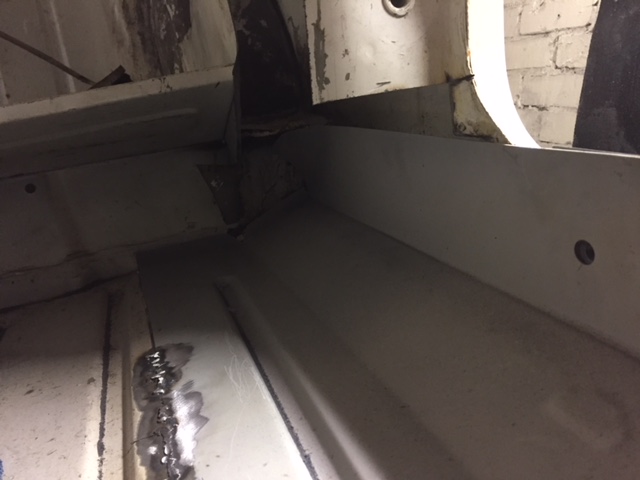
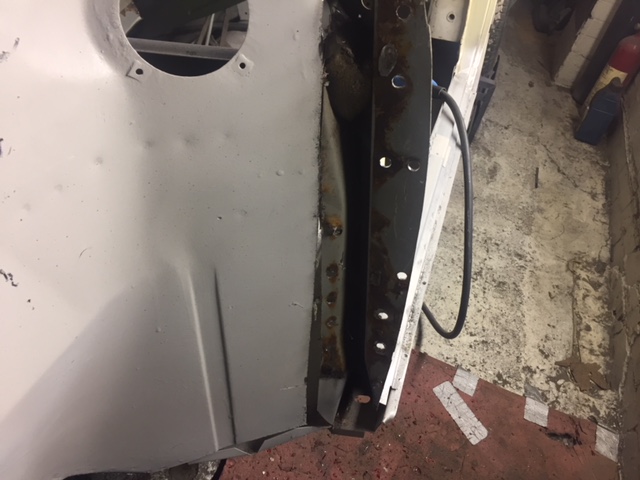
so i welded in the floor today, needs finishing but ive panels i want to fit first to the front and rear of the floor. Order from M-machine here tomorrow. Bit worried now too, i put a straight edge ont he crossmember, and it was pointing too low, so i jacked the floor up and got it into position but, i hadnt done that on the other side, i hope it fits, but worst case is another slit in the floor and reweld.
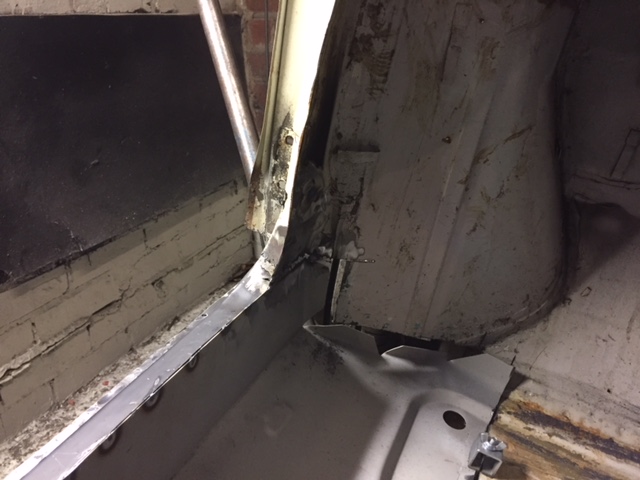

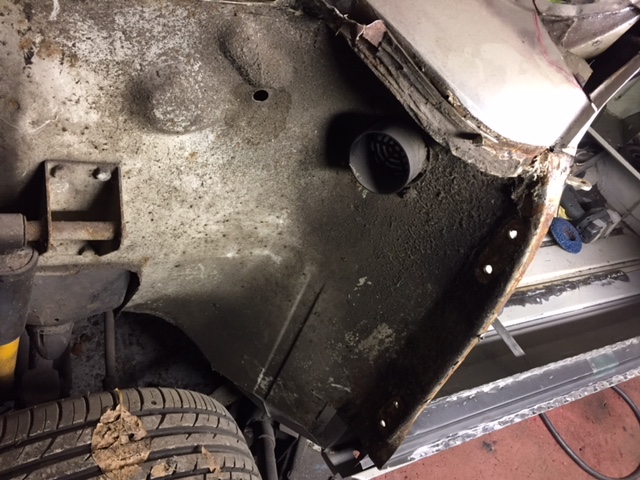
so i think next job is look at the front scuttle down, and inner wing, dont look too bad compared to the other side, but ve ordered to replace all the same panels, i dont want any rust in this car.
Also there is the door to do.
#125
Avtovaz
-
- Members
-
- 1,234 posts
One Carb Or Two?
- Location: Babylon and Ting
Posted 05 December 2018 - 05:23 PM
i think i should start wearing gloves when doing the car, my hands are cut lots all the time, and on panels, its after noticing blood that you find out you have cut yourself. Had a tetanus recently so i should not die... Not just yet anyway.
Did a bit more, ist getting there quicker than i thought now, looked at the inner wing, took the shock mount off and only one skin was bad, so replaced that. New inverter mig really is lots better than the old transformer one, fills gaps much easier and i got some really nice runs on the shock mount where as before it would be coughing and farting away.
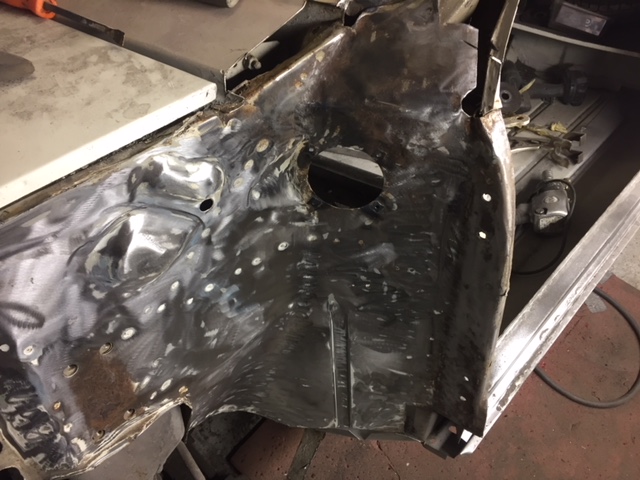
Hydrate 80 time...
its getting there! maybe about half way threw the welding now, but a long way to being finished car!
#126
Avtovaz
-
- Members
-
- 1,234 posts
One Carb Or Two?
- Location: Babylon and Ting
Posted 05 December 2018 - 06:48 PM
.. and another quick entry for todays mini progress, another cut! M-machine panels are here!
still lots to do!
#127
minimissions
-
- Members
-
- 3,427 posts
Up Into Fourth
- Location: North West
- Local Club: M.M.O.C
Posted 06 December 2018 - 06:41 AM
Your cracking on nicely, I hope to be on the floors soon on project wedding car.
#128
Avtovaz
-
- Members
-
- 1,234 posts
One Carb Or Two?
- Location: Babylon and Ting
Posted 06 December 2018 - 05:53 PM
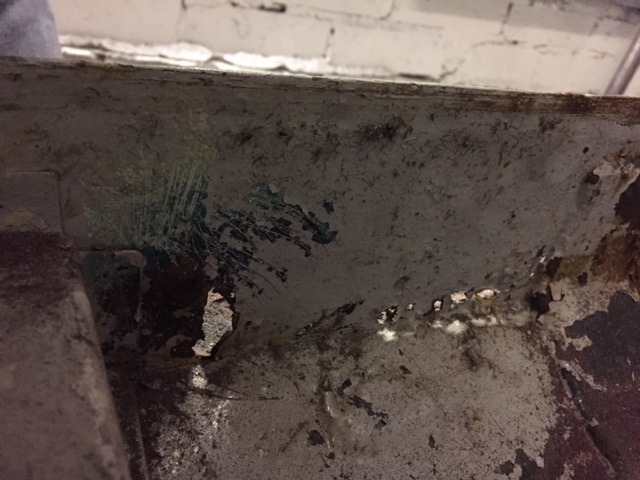
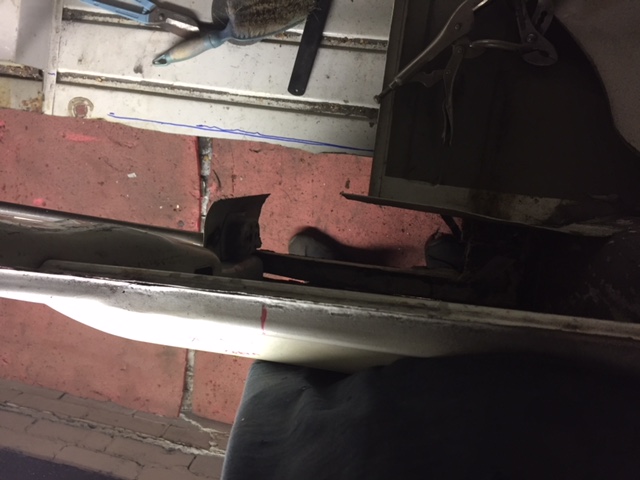
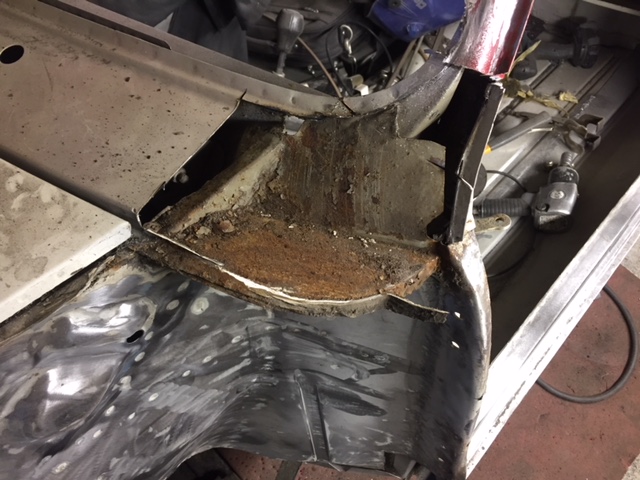
More today, the o/s post was full of rot, so i thought even though the n/s looked ok, id cut out nad see what was behind!
... and to my surprise, it wasnt that bad at all!
So i just welded in a new bit after some rust prevention was added in the post
2k epoxy primed the new panels today too....
#129
Avtovaz
-
- Members
-
- 1,234 posts
One Carb Or Two?
- Location: Babylon and Ting
Posted 07 December 2018 - 05:34 PM
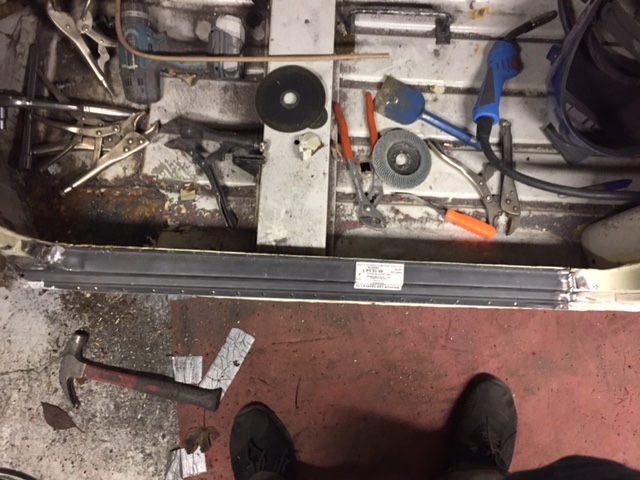
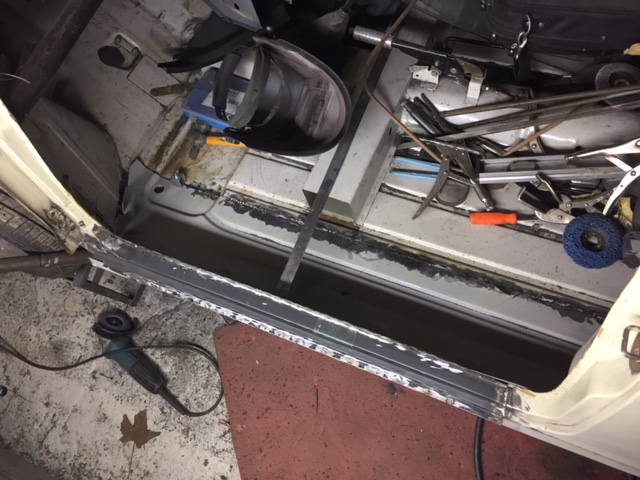
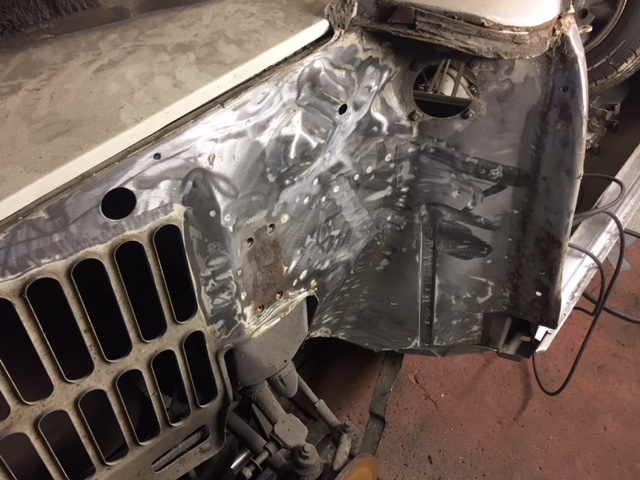
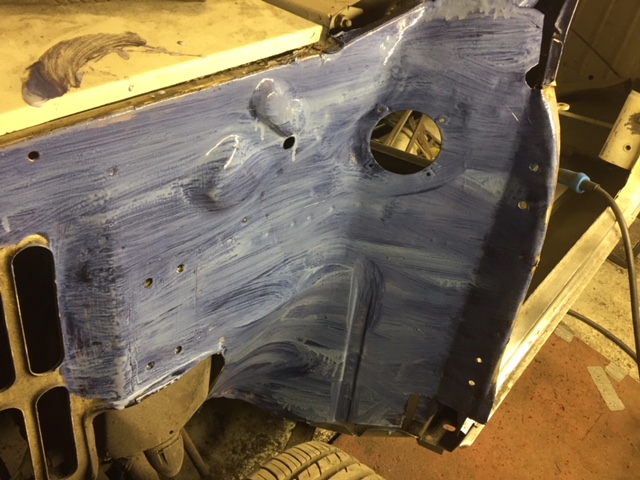
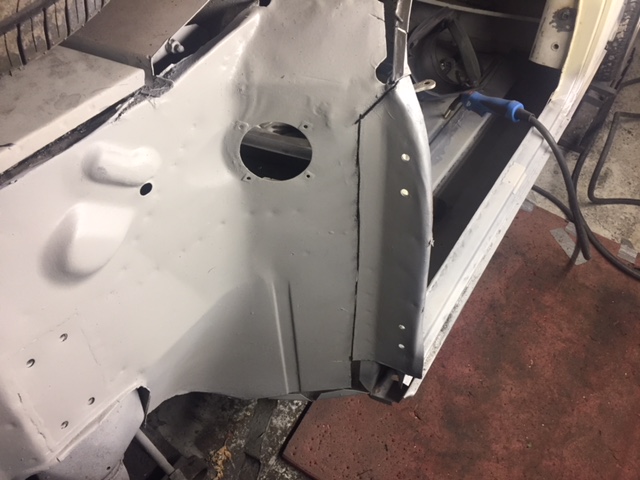
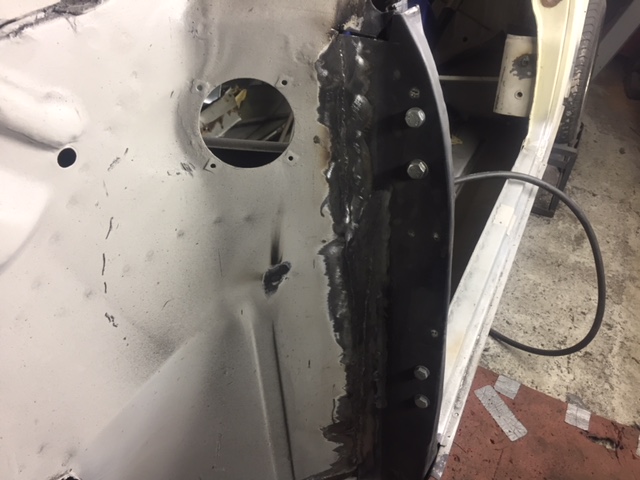
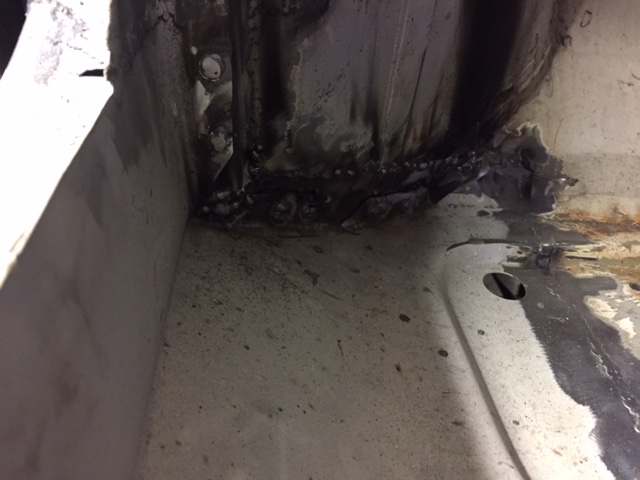
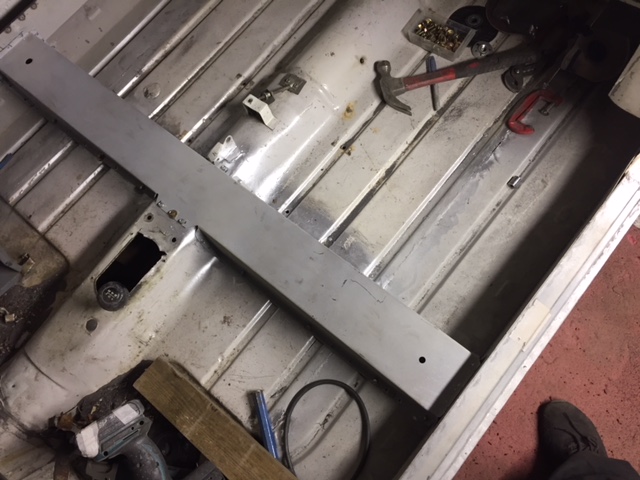
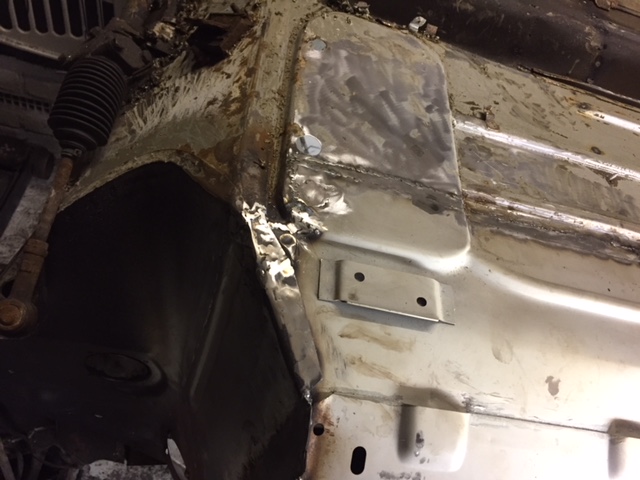
finished the front of the floor today, needs tidying up a bit more but its solid now
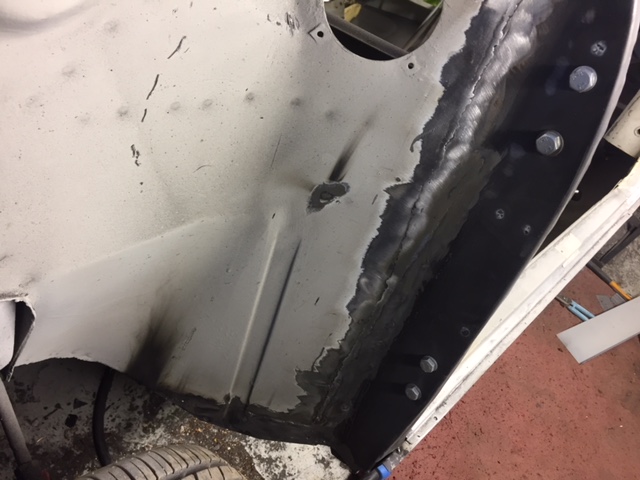
Thought id have a go at the quarter repair next, and see how good i could get it...
Had to joggle the panel myself for the edge kick plate bit
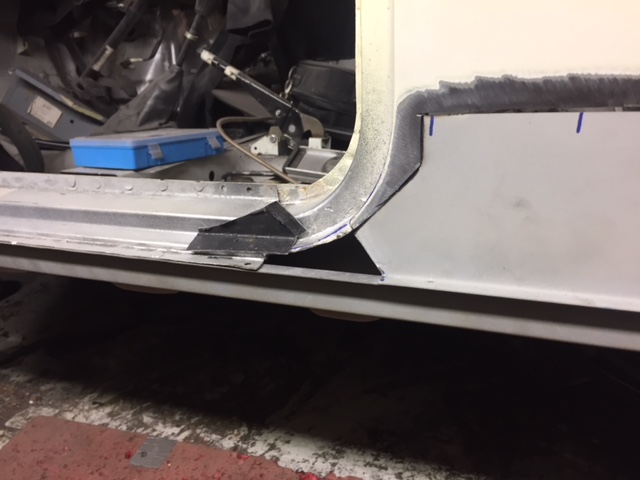
Leaving a big gap makes such a difference, easier and quicker to weld, defo helped with distortion
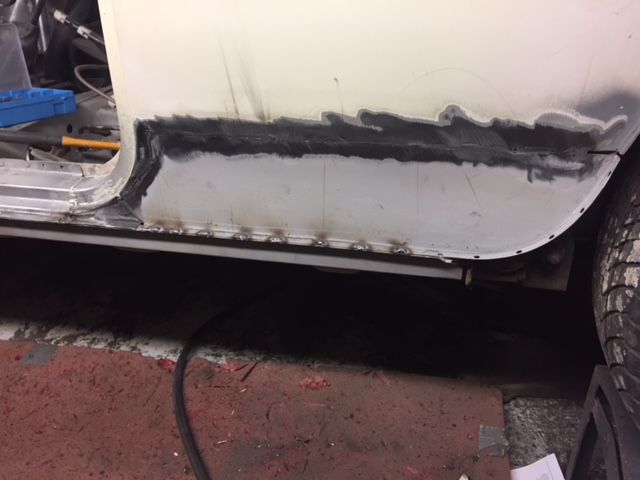
Wish the little section was a little bit closer to the quarter, but i can sort that out with sealer or something later
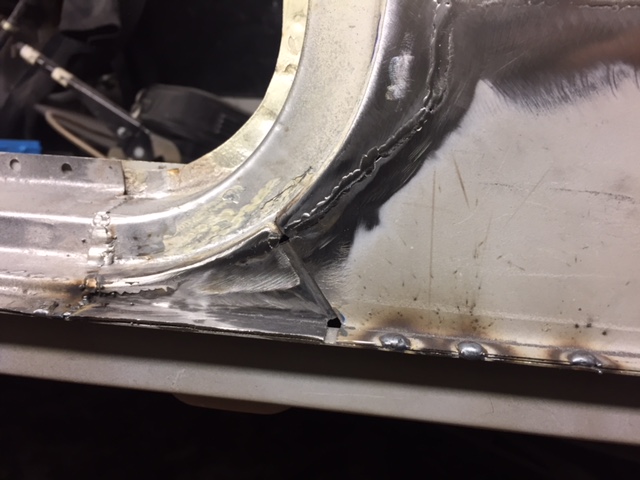
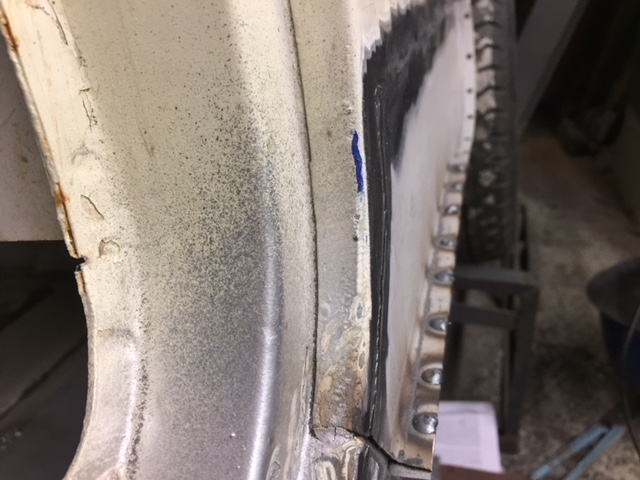
Will just need a slight skin of filler so happy with it!
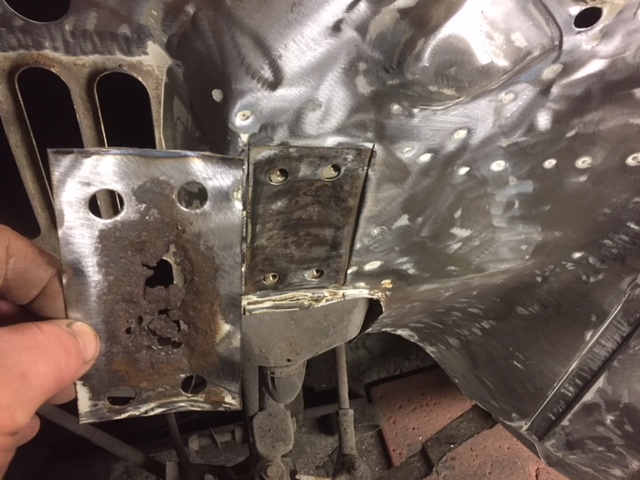
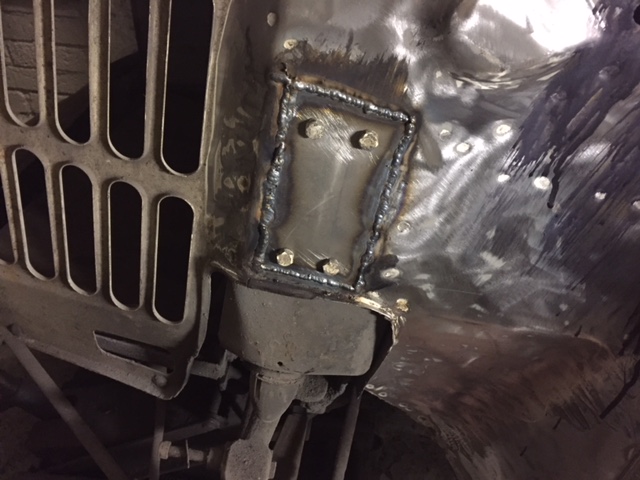
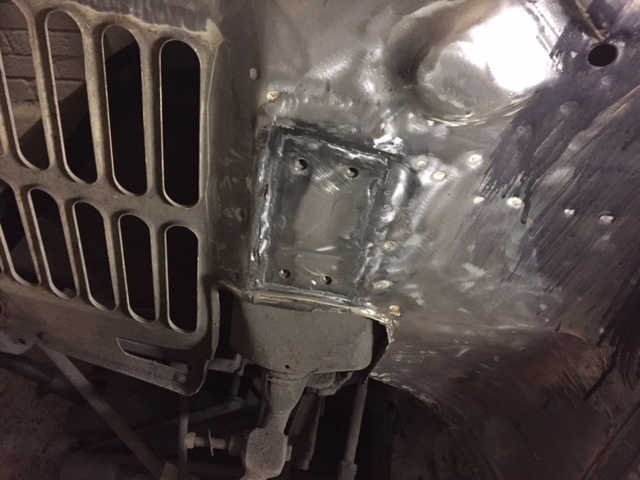
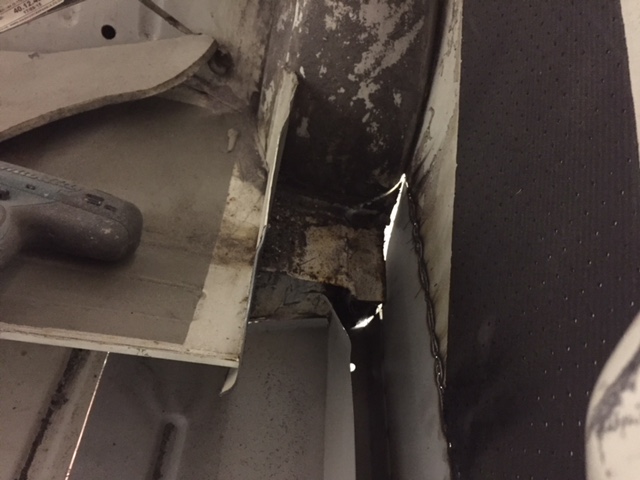
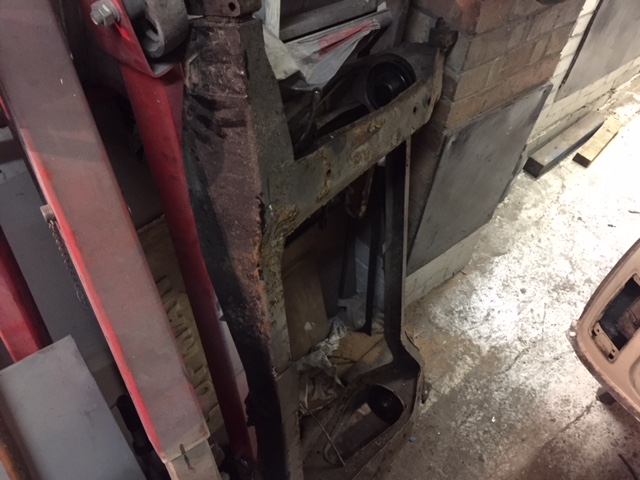
there is this subframe mounting box part to sort out, i map put the car on its roof when it comes to this bit, havnt decided yet...
#130
Ben_O
-

- Paint Doctor
-
- 9,794 posts
Mill Road Garage
- Location: Isle of Wight
Posted 07 December 2018 - 08:42 PM
Good to see you are getting on better with the welding now.
Looking back at some of your previous bits when you were saying about it distorting outwards, some of them look like they could do with a bit more of a grind up is all.
When you grind the welds, do you grind just the welds or buzz over the surrounding steel too?
#131
Avtovaz
-
- Members
-
- 1,234 posts
One Carb Or Two?
- Location: Babylon and Ting
Posted 07 December 2018 - 08:54 PM
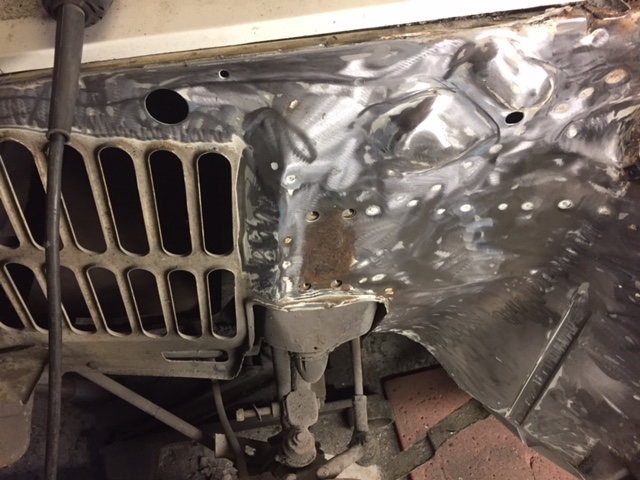
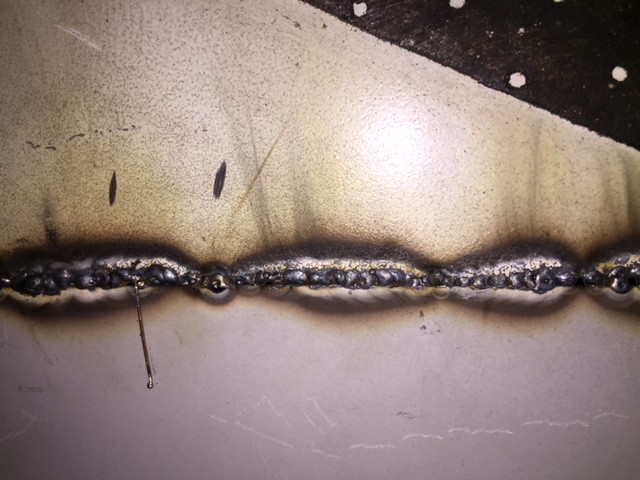
they always seem to distort inwards, but today i left a massive gap, not only was it easier to weld, but the time taken to weld was a lot shorter, so less heat. I also think todays welds as they didnt need to get as hot ground off easier. These welds today, i polished up with the soft pad first, the the roloc discs, they are still sat in a little bit, i put a hacksaw blade over the panel, from bottom to further up, and its in enough i can get a little skim of filler over it to cover it. If i can repair it that well now, that will do , like on the rear pillars when i put the roof on, tiny bit of filler and it was done. I think also having an inverter welder has helped lots, its making the arc every time, where my old one was spluttering all the time and maybe one in ten would work fine.
Oh also,, i try to grind only the welds so not to make the surrounding steel thin.
thanks for the advice! AGAIN!!!
Edited by Avtovaz, 07 December 2018 - 09:01 PM.
#132
Avtovaz
-
- Members
-
- 1,234 posts
One Carb Or Two?
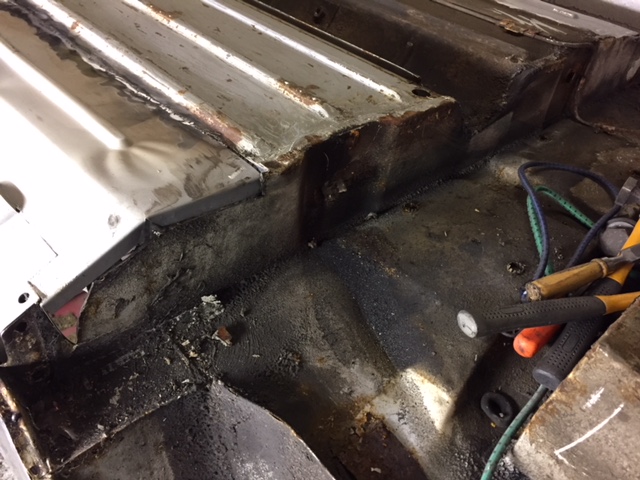
- Location: Babylon and Ting
Posted 08 December 2018 - 05:24 PM
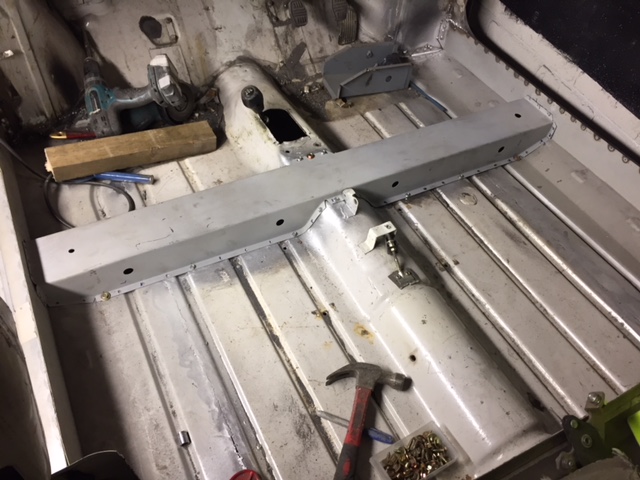
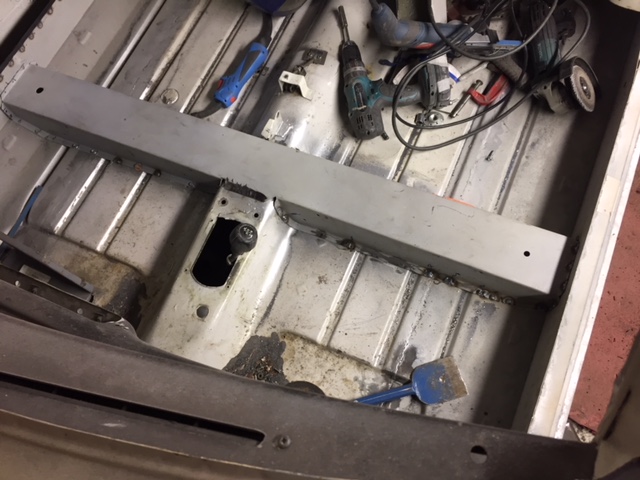
and the cross member partly in today !
#133
Avtovaz
-
- Members
-
- 1,234 posts
One Carb Or Two?
- Location: Babylon and Ting
Posted 15 December 2018 - 06:11 PM
not much of an update, but a little. made a new roofrack for the mini
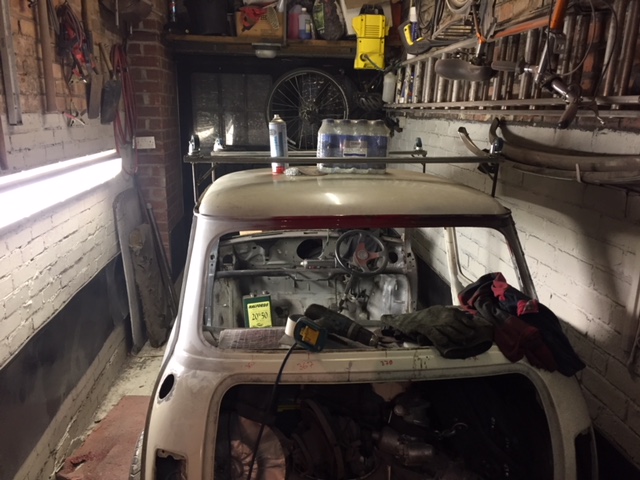
Plan is to turn it over onto its roof, makes life lots easier, doing subframe mounting panel, maybe complete boot floor, also i can sort the main floors out, see what condition they are in, and gind off any of the welds i did when putting in the sections of floor.
Rear subframe off, i think its not the original one, its in fair condition and all the bolts just flew out of it.
stripped down, its not taking up too much valuable garage space...
Its on axel stands on the back now, going to take the front subframe off tomorrow, with the car upside down, the front subframe can sit ok under the front of the car on the floor, so no space problem with that.
More tomorrow hopefully.
#134
Avtovaz
-
- Members
-
- 1,234 posts
One Carb Or Two?
- Location: Babylon and Ting
Posted 18 December 2018 - 08:23 PM
more!!!
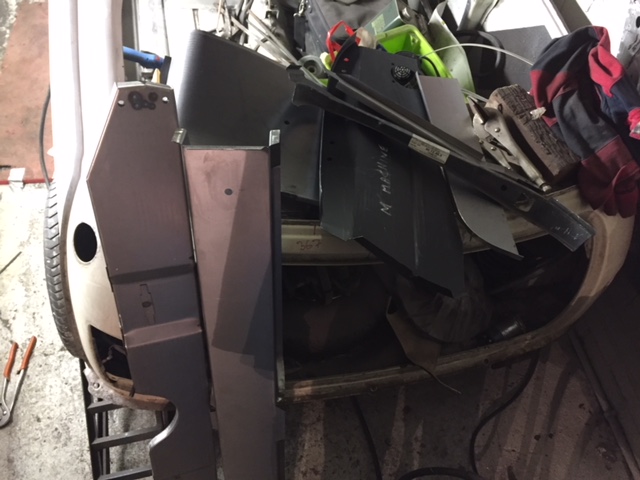
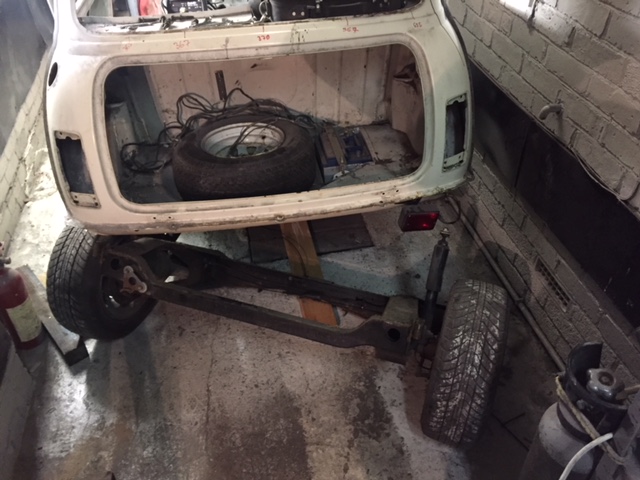
as i said i wanted to make this roof rack work so i could turn the car over, and work on the underneath. So i managed to finish that today...
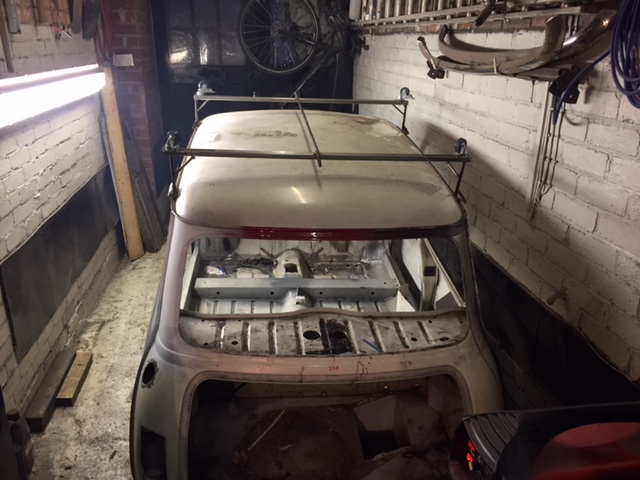
So with the help of my brother we turned the car over, was really surprised, the shell dosnt weigh anything. If i would get it in the right position to lift it some how, i think i would lift it by myself its that light. I remember years ago, it took us 4 to lift a mk2 escort shell up onto a trailer that my mate has just had painted. When i was building my Lada 2105 riva, there was no chance of 4 picking that up LOL!
So here it is
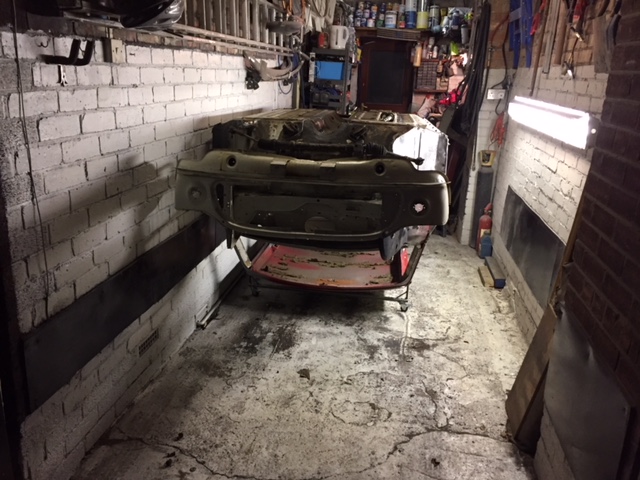
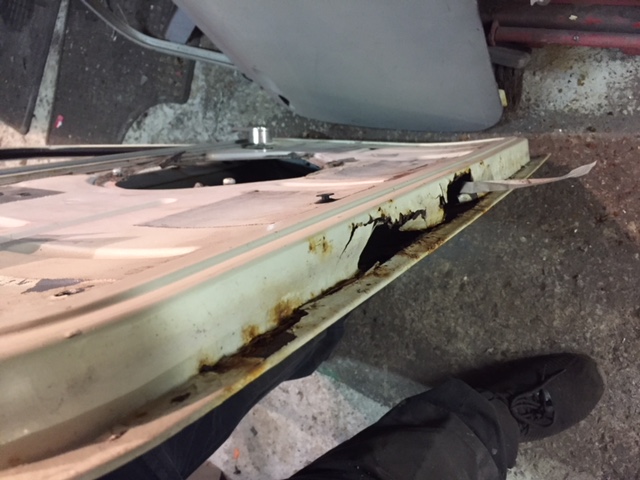
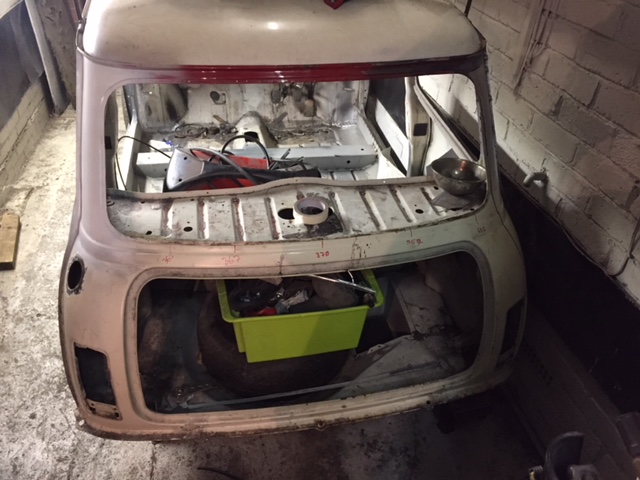
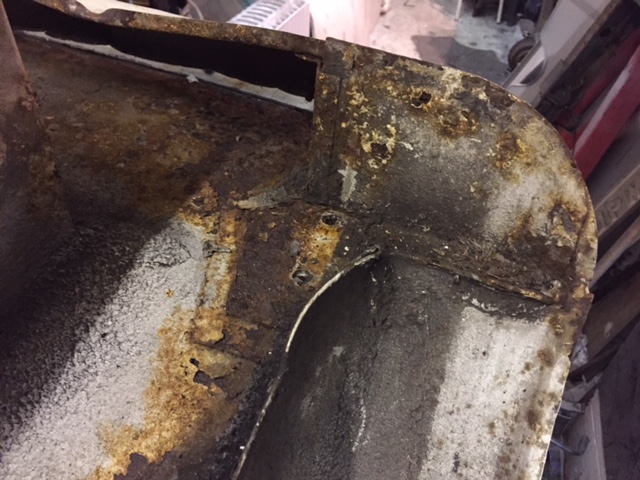
What a difference that has made to working on it. So looking at the rot we have
rear valance
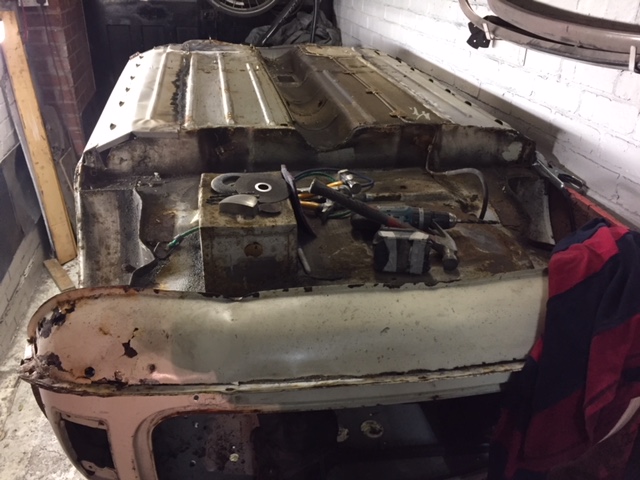
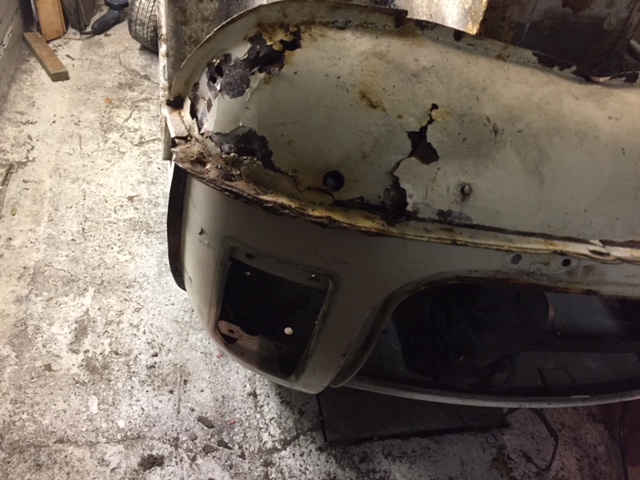
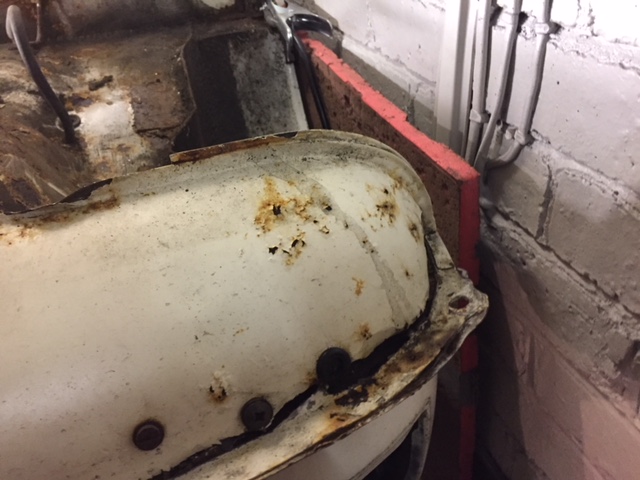
Subframe area
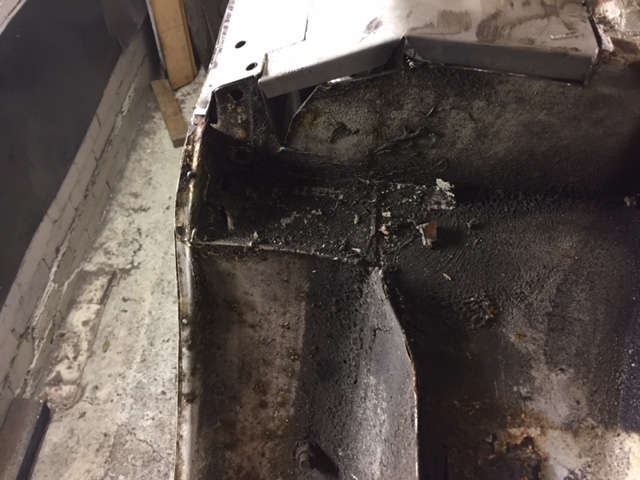
Boot floor
subframe mount part a bit grotty too
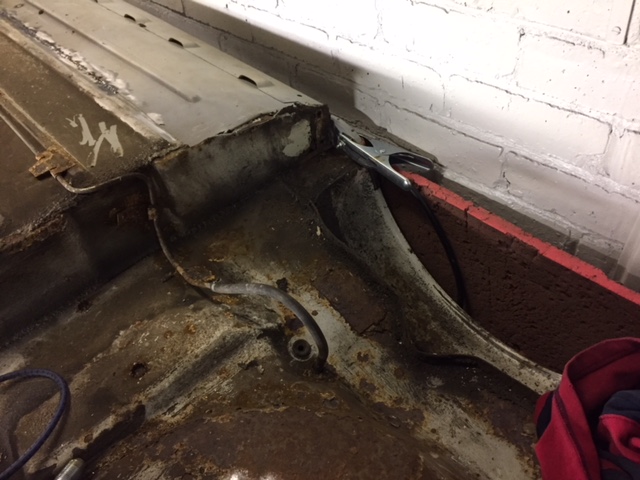
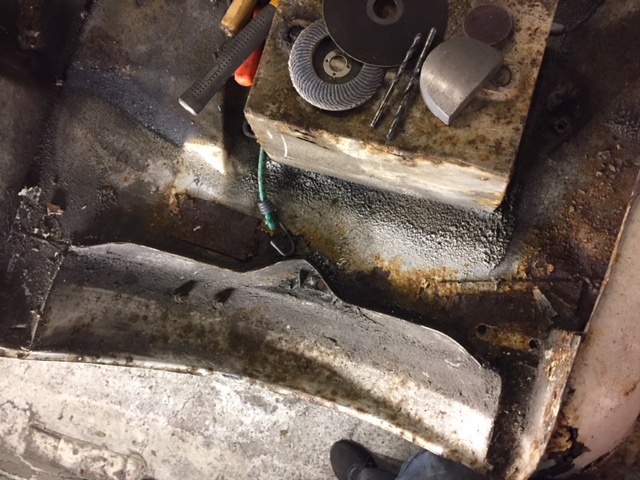
So this is the tunnel and n/s floor as it was
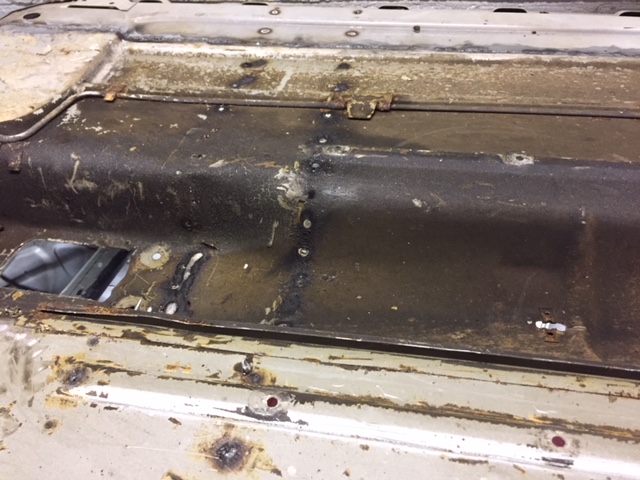
this is how the o/s came up after just scraping it lightly with a chisel and a wire brush thing
I took the brake pipe mounts off as there is always rust under them, and well the floor isnt in bad state, could be a lot worse, and as the car is 30 years old, im impressed. Think the next step is either knock the welds with a hammer and dolly along the floor depending if next door is in tomorrow, or start cutting the rear subframe mount off.
Friday, an order from M machine is comming. Genuine boot floor, inside lip, strengthening parts, 2 wheel arches, and some more little bits.
Its looks a big job for me to do the boot floor! Not sure if i should brace the shell now or what?!
thanks
#135
Ben_O
-
- Paint Doctor
-
- 9,794 posts
Mill Road Garage
- Location: Isle of Wight
Posted 18 December 2018 - 10:29 PM
Any photos of your old Riva?
I used to have one funnily enough!


1 user(s) are reading this topic
0 members, 1 guests, 0 anonymous users


