
I have only done mk1 type doors, but they have a spot weld half way down each side and brazed at top near frame front and back, although I seam welded there when did mine, for bending the flange I bought a door skinning hammer and use a block of wood behind.
It is angled to make it easier,

Door Bottom Repair
Started by
JonnyAlpha
, Sep 21 2016 09:13 PM
25 replies to this topic
#17

sonikk4
-

- Admin
-

- 16,177 posts
Twisted Paint Polisher!!!
- Name: Neil
- Location: Cotwolds.
Posted 04 October 2016 - 06:22 PM
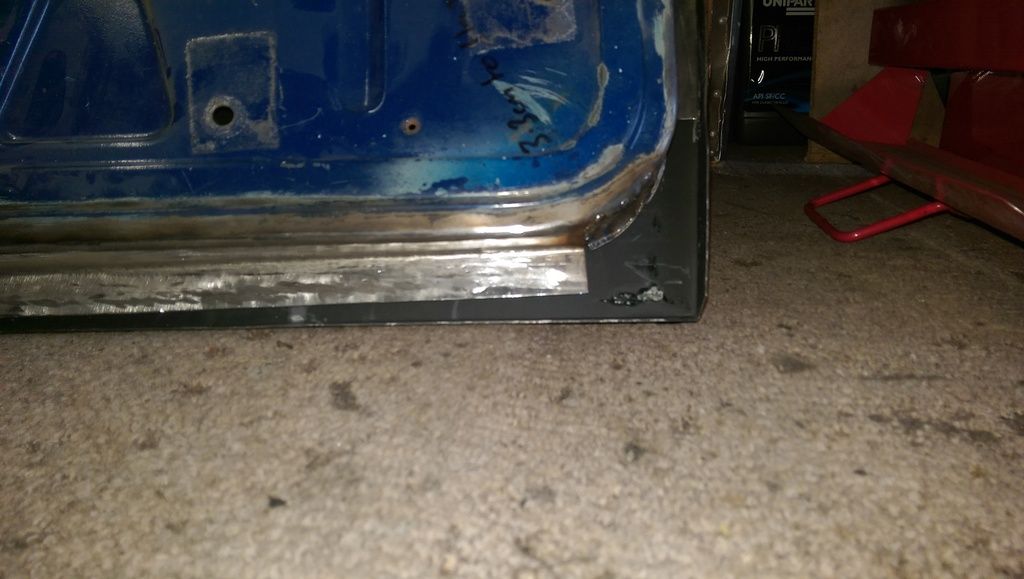
0.9mm steel sheet required here.
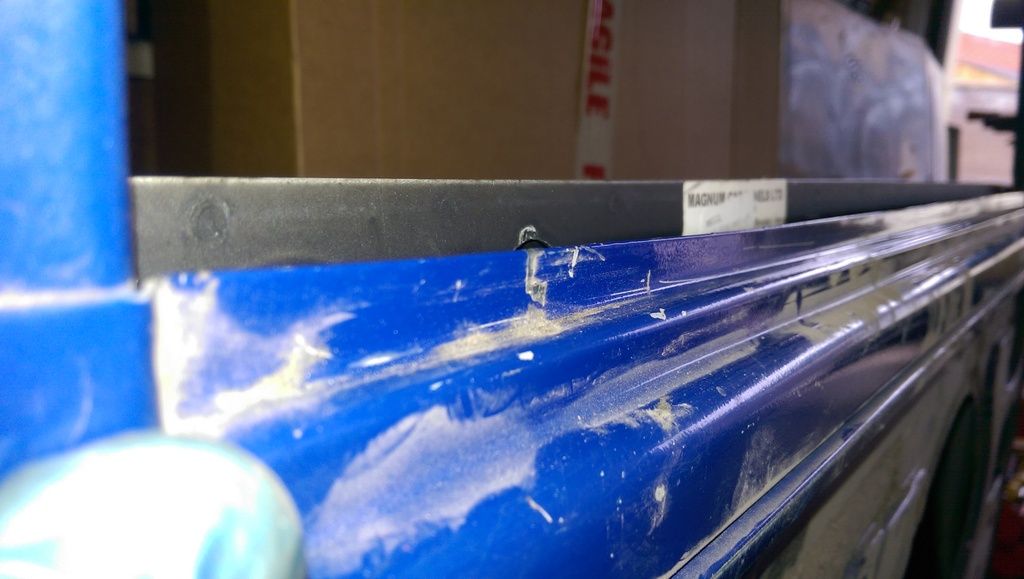
Now i cheat a bit with the repair sections as normally there would be a small curve along the length of the door, however personally i loose that when i form the repair section. Also what i tend to do providing there is enough material left of the original frame it to make sure my repair section marries up to each end. This will then give you no issues with the width. ( loosing the curve is not the end of the world and having done this on three cars now you would be hard pushed to notice.) Having just checked my first door this statement is not strictly true. I did looking back at it induce a small curve using my shrinker plus making sure the ends of the repair married up to the original side sections. I do know on Project Erm the bought repair panels were bad I had to section a large amount to remove the stupidly large curve that was in them.
I'm currently in the process of doing my other door so i will double check the width tomorrow and let you know.Thanks Neil.
Couple more questions on the door.
1. I guess the seal that sits inside the window fram and down into the door needs to be removed?
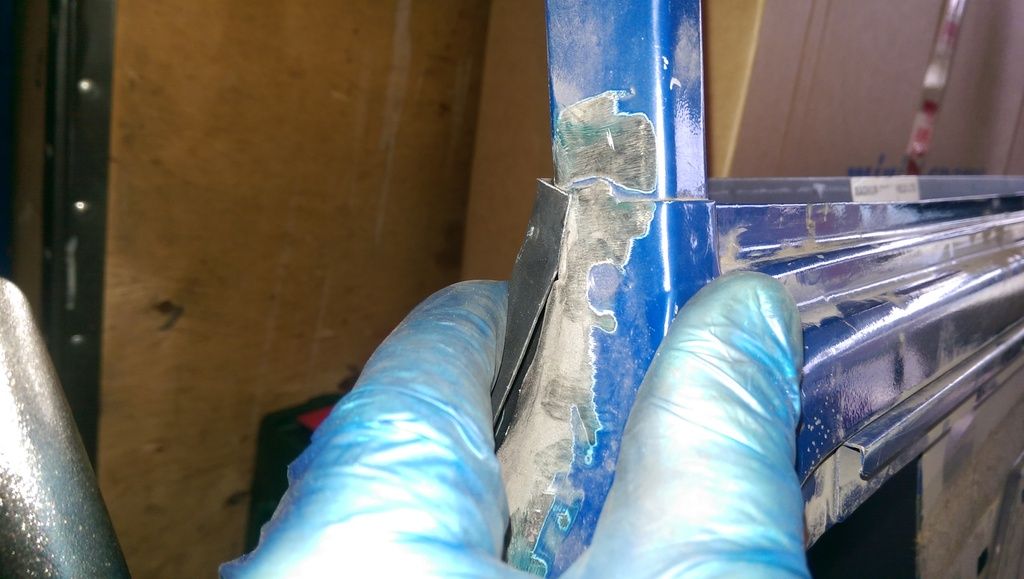
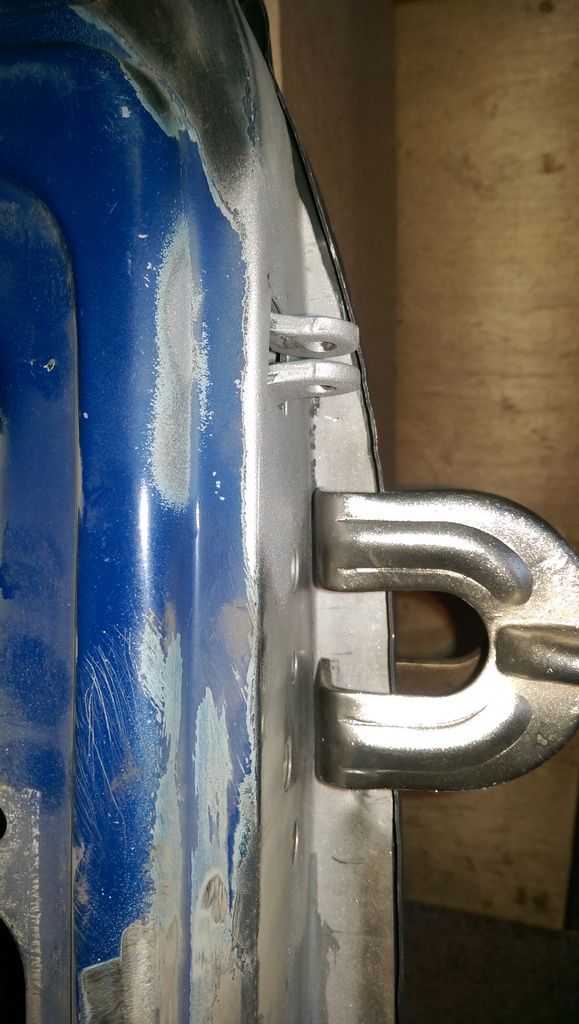
2. Can you confirm where the skin is welded. Looks like a couple of seam welds at the top front and back of the door and the original looks like the Door Skin is also spot welded to the bottom of the Window Frame?
3. Best method for clamping the Skin Flange to the Door Frame - Mole Grips, Piece of Wood and cloth AKA A Panel? Or Hammer?
1:- Yes do remove the window seal.
2:- I plug weld in three places along the bottom then two up each side. Where the skin fits onto the window frame there is one plug weld on each side. At the top of the skin both sides its seam welded.
3:- I use skin pins to clamp the skin to the frame before i plug weld, this way you can position the skin on the frame in the door cutout to get the gaps as close as possible. Then once the plug welds are done i remove the pins and weld the holes up, clean up the back of the plug welds then fold the skin over using a hammer and dolly.
You will need to make several passes on each flange making sure the flange is folded over as flat as possible.
I seriously recommend you paint the inside of the skin completely then the same on the inside of the frame and on the flanges. yes there will be a little bit of burnt paint but once the skin is on you can access all of the damaged areas inside the door frame to touch it up.
#18
sonikk4
-
- Admin
-
- 16,177 posts
Twisted Paint Polisher!!!
- Name: Neil
- Location: Cotwolds.
Posted 04 October 2016 - 06:25 PM


#19
JonnyAlpha
-
- Members
-
- 2,749 posts
Up Into Fourth
- Location: North Devon
- Local Club: Exmoor Minis
Posted 04 October 2016 - 07:46 PM
Do you fancy doing my door for me  - what a fantastic repair !!!
#20
sonikk4
-
- Admin
-
- 16,177 posts
Twisted Paint Polisher!!!
- Name: Neil
- Location: Cotwolds.
Posted 04 October 2016 - 08:05 PM
It's not finished yet. Doing the gapping next with extra filler rod being welded in.
#21
JonnyAlpha
-
- Members
-
- 2,749 posts
Up Into Fourth
- Location: North Devon
- Local Club: Exmoor Minis
Posted 07 October 2016 - 06:31 PM
Took my doors for sand blasting today and managed to get the frame I am repairing done while I waited so I could finish repairing it.
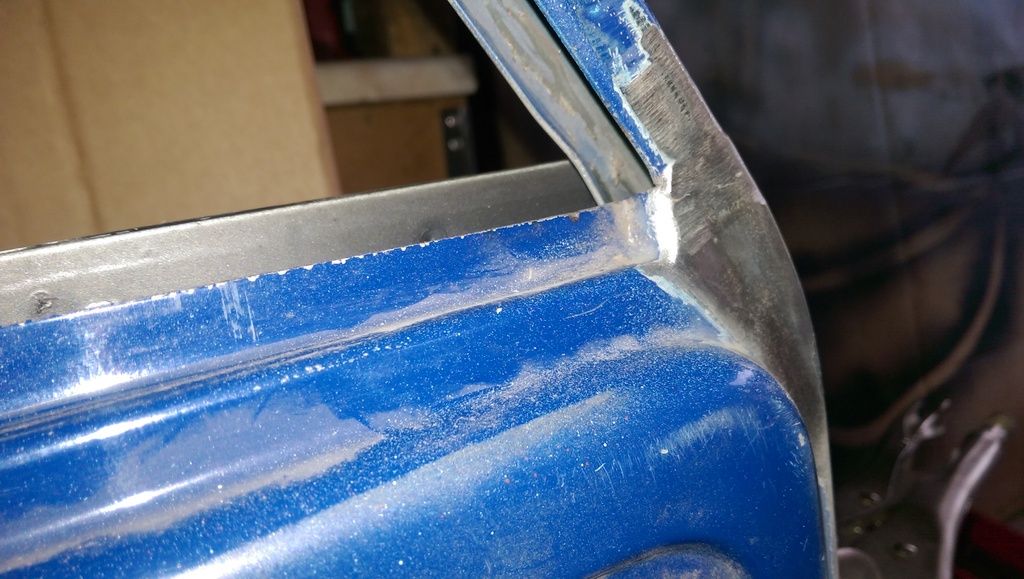
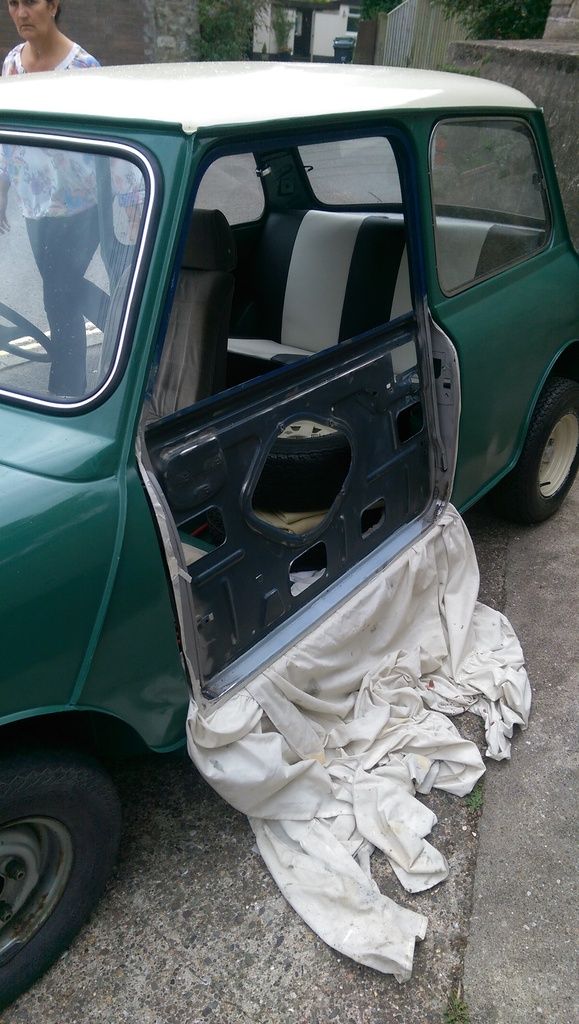
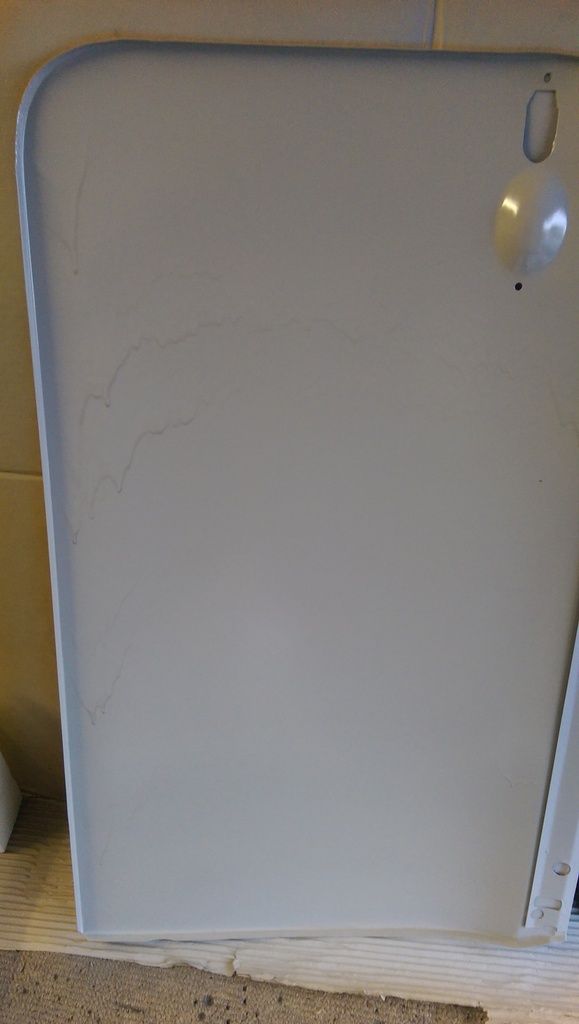
I started to repair the corners and realised that I could not use the other door as a reference to make sure they where correct so I thought I'd simply use the door skin.
Not sure if its a problem but what I thought would be simple is proving complicated. I put the door skin on and the only reference point is one of the handle screw holes. With this lined up there appears to be a problem?? With the top of the outer door skin in line with the inner there is not enough flange on the frame at the bottom and with the skin butted up against the flange the outer door skin sits higher than the inner.
Once I get the other door back I can check it on there but in the mean time where does the door skin sit, is the top of it (where the door trim clips on) supposed to be at the same height as the inner skin?
Some pics:
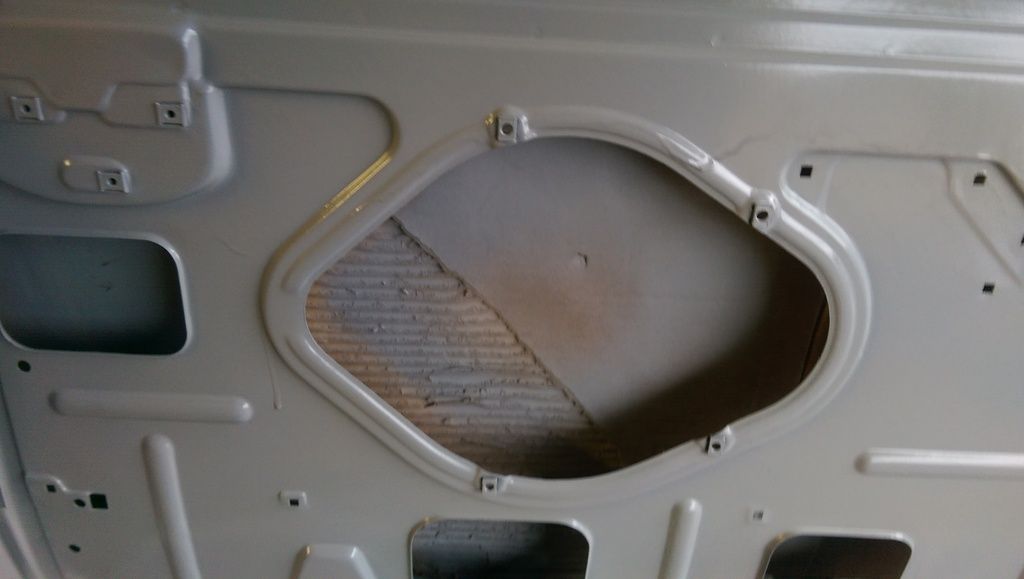
Is this top corner supposed to sit at the same height as the inner:
When it does the outer skin seems higher than the inner?
But this side also lines up:
And the profile seems OK:
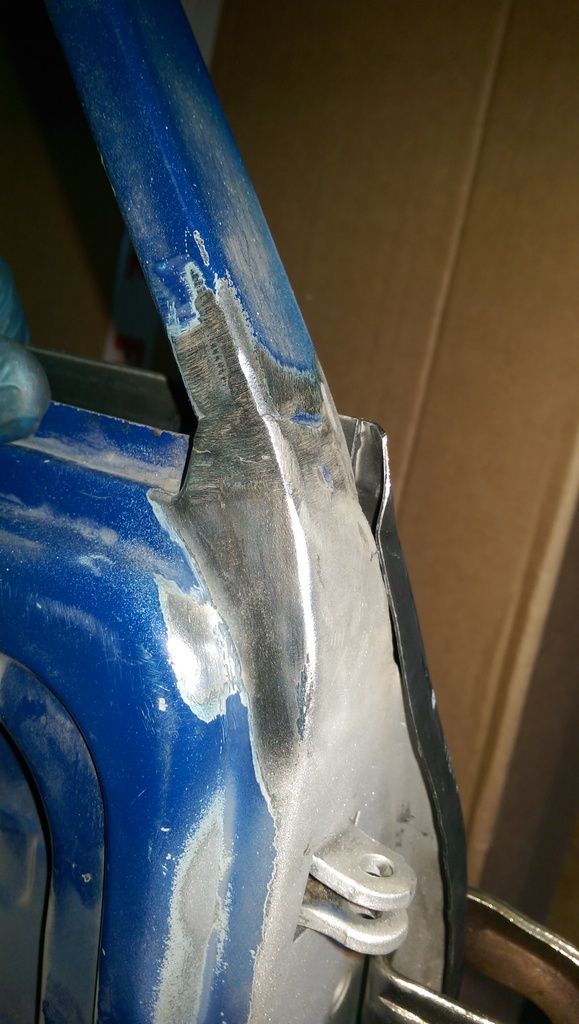
But the bottom front corner just seems wrong:
I could weld on an extra piece on the flange but first I think I'll try and trial fit it (don't have any Cleco Pins :-( ) put the door hinges back on and test it in the door opening?
But can I also confirm that the top of both the inner and outer skin should sit level or is the outer higher (or doesn't it really matter?
#22
sonikk4
-
- Admin
-
- 16,177 posts
Twisted Paint Polisher!!!
- Name: Neil
- Location: Cotwolds.
Posted 07 October 2016 - 06:57 PM
Is this a Magnum skin??
What you need to do is fit the door frame back to the car first, get that positioned nicely then offer the skin up. You can then use the swage line from the rear quarter as a guide for the skin height.
Where the skin does not fit correctly at the top, have you removed all of the old weld that is there??
#23
JonnyAlpha
-
- Members
-
- 2,749 posts
Up Into Fourth
- Location: North Devon
- Local Club: Exmoor Minis
Posted 07 October 2016 - 07:35 PM
Is this a Magnum skin??
What you need to do is fit the door frame back to the car first, get that positioned nicely then offer the skin up. You can then use the swage line from the rear quarter as a guide for the skin height.
Where the skin does not fit correctly at the top, have you removed all of the old weld that is there??
Ah yes I see the method  Hence the reason this should be done before painting the car
Thus ensuring that it all lines up nicely.
I'll masking tape the door surround to avoid scrapes and fit the frame and line it all up.
Thanks
#24
pete l
-
- TMF+ Member
-
- 1,482 posts
One Carb Or Two?
- Location: East of France
Posted 08 October 2016 - 07:44 AM
Go get yourself some genuine heritage skins, the fit is almost perfect. Just done my two doors no problem at all.
#25
sonikk4
-
- Admin
-
- 16,177 posts
Twisted Paint Polisher!!!
- Name: Neil
- Location: Cotwolds.
Posted 08 October 2016 - 09:34 AM
Magnum skins will fit, they just need to be fettled more. The doors I reskin for selling I only use Magnum skins and had no bad feedback yet.
I always say though that you may need to fettle to get a really good fit as second hand doors very rarely fit perfectly straight away.
I always say though that you may need to fettle to get a really good fit as second hand doors very rarely fit perfectly straight away.
#26
JonnyAlpha
-
- Members
-
- 2,749 posts
Up Into Fourth
- Location: North Devon
- Local Club: Exmoor Minis
Posted 09 October 2016 - 06:40 PM
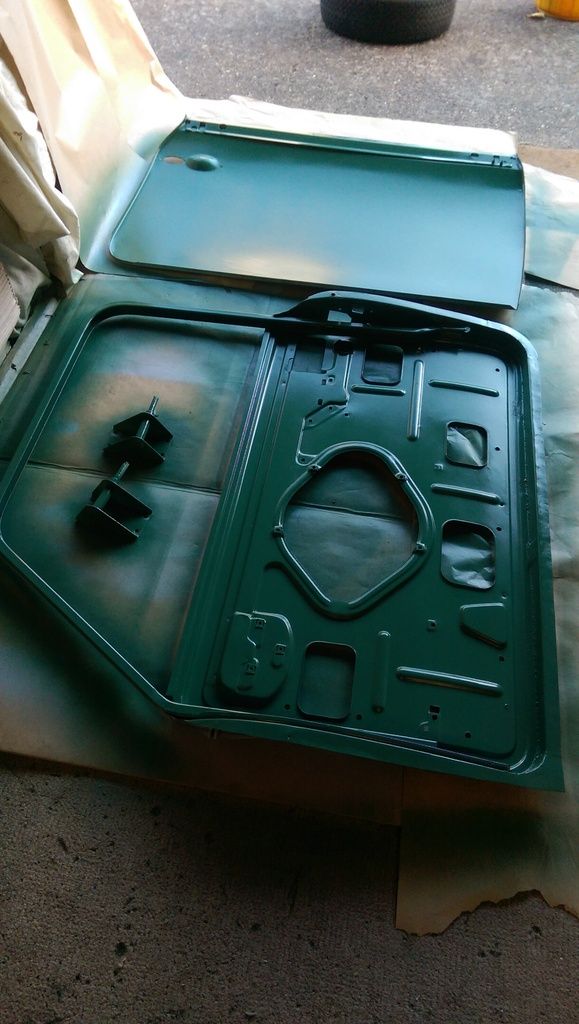
Had a go at test fitting the door frame but sadly I could only find one hinge - all the actual hinges are off getting sand blasted so I'll have to wait.
So in preparation for fitting the skin I had to strip of the paint:
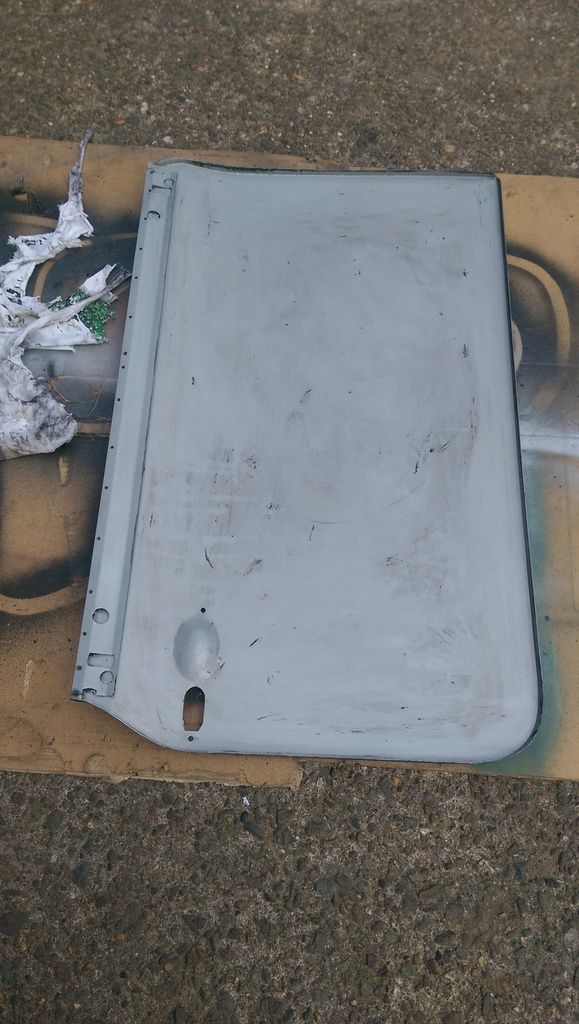
Then had to do the back as well:
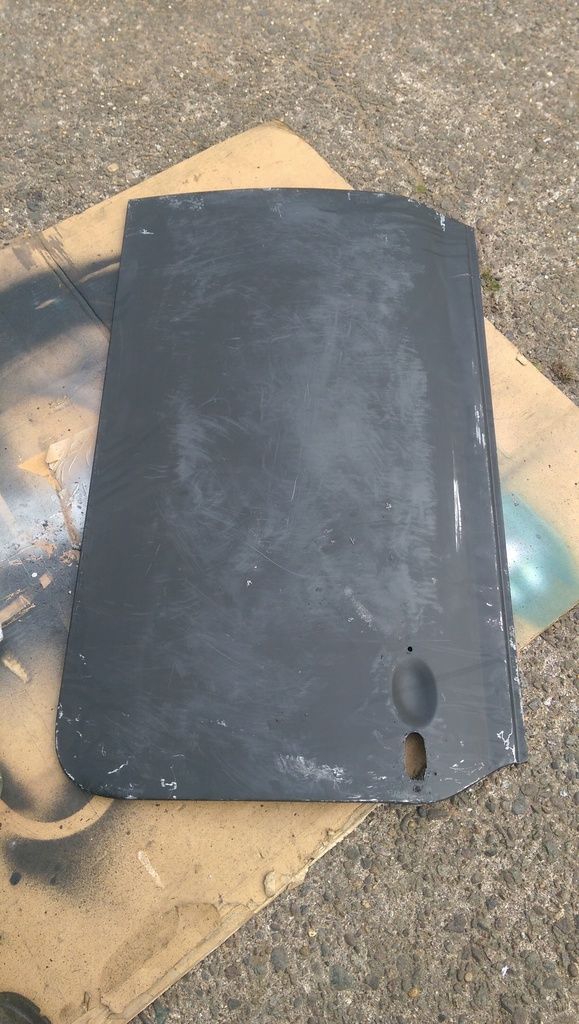
Then before I finished up for the day, after some sanding I managed to get some Epoxy primer on both the inside of the door frame and door skin:
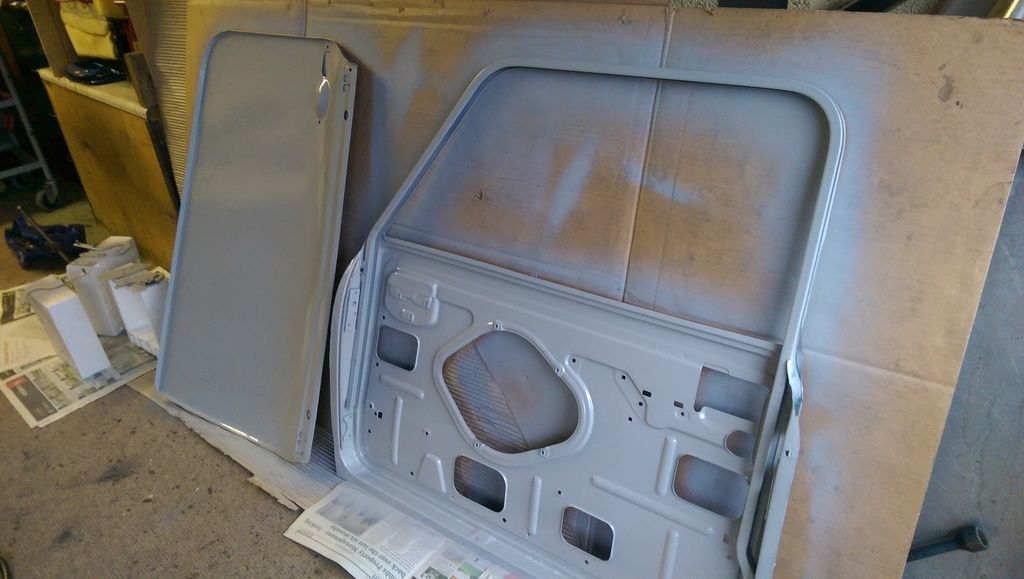
Not the best spray job as when I started I had the pressure turned down too far.
Also cleaned up the last few odd brackets that needed painting (Blanking Plate, Bonnet Mounts, Engine Stay and some Door Hinge Plates).
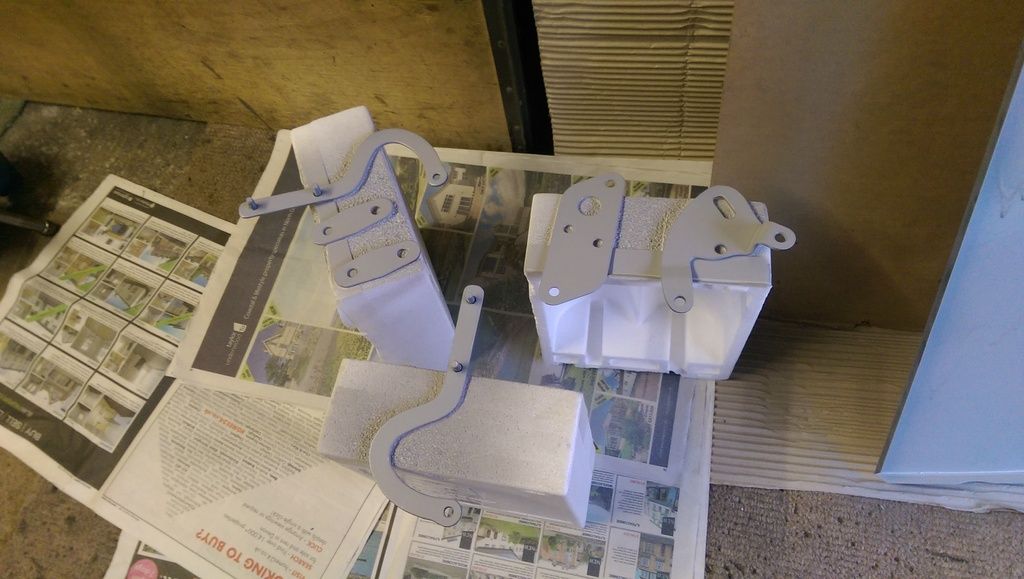
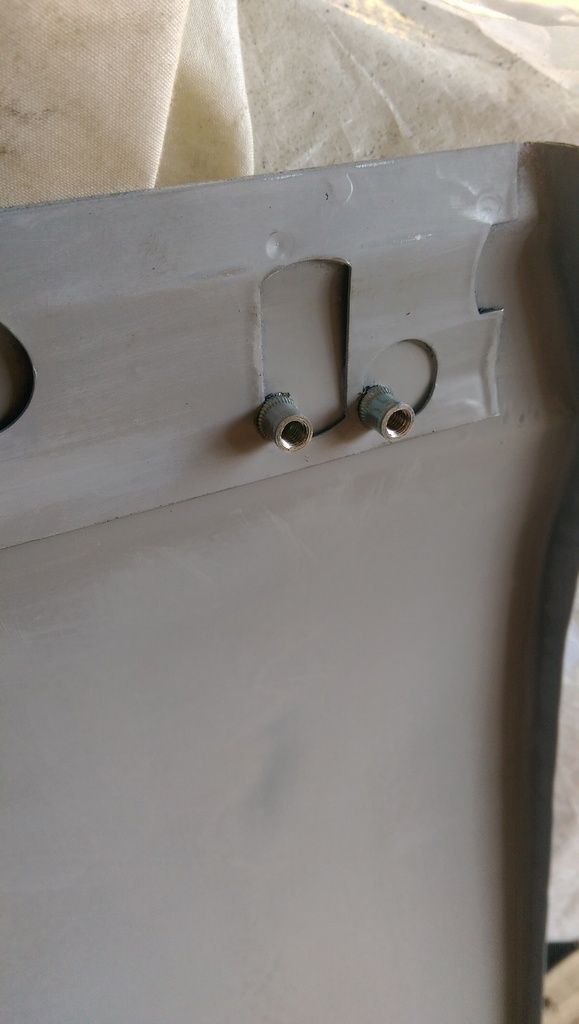
And then today I marked and drilled the holes for the Wing Mirrors and installed 2 x Rivnuts:
Then after rubbing down the runs with some 320 W&D I put on three or four coats of Top Coat. All ready for when I get the Hinges back so I can line up the Skin, do some fettling and get it welded on.
Edited by JonnyAlpha, 09 October 2016 - 07:12 PM.


1 user(s) are reading this topic
0 members, 1 guests, 0 anonymous users


