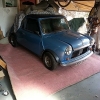
Mcmini Micra Conversion
#106

Posted 19 October 2016 - 02:15 PM
On the plus side I will be spending a lot less on my mini bits than the price of a handbag!
#107

Posted 21 October 2016 - 09:47 PM
Yokohama A008 were on the cards then a set of new Starmag with new Yokohamas appeared on Ebay for 250 quid so I have bought them. There is a wee bit damage to the rims but it saves me refurbishing either my mini special wheels or sorting my KN mercury ones.
Plan is to run it on the starmags for a bit and change to the mercury wheels later. I like them and they are pretty rare.
And seing as I was splashing out I didn't spend too much at Minispares. Just cylinders, springs and shoes for the back brakes.
Roll on payday!
#109

Posted 23 October 2016 - 03:51 PM
So engine mount needs to come back off and get busy with a round file.
That is the easy bit as moving the engine forward will probably make the inner left pot joint touch the subframe. If it does then I have to take the engine back out and modify the subframe with an angle grinder.
This is a bit of a set back but I will just have to get on with it.
#110

Posted 24 October 2016 - 08:38 AM
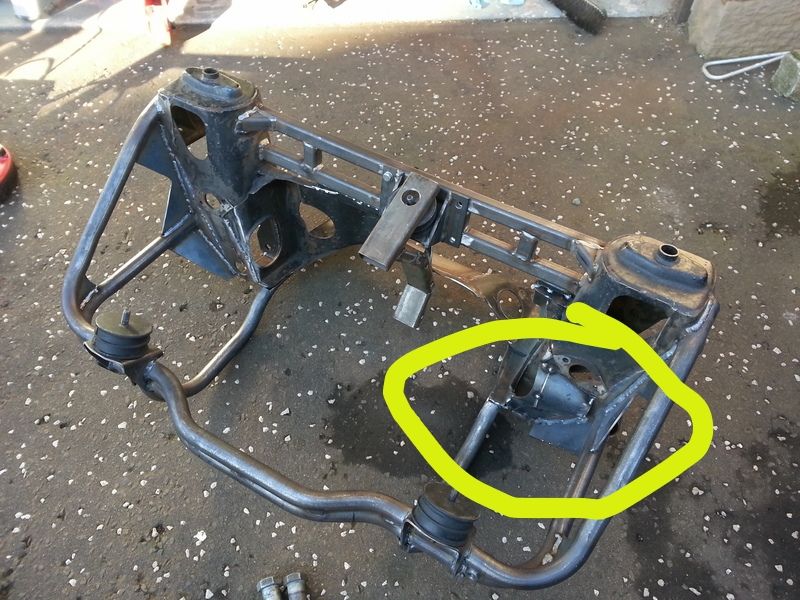
I slotted out the front engine mount on the subframe but can't get the engine forward enough as the pot joint is hitting the subframe in the area shown. I was hoping that lower the engine at the rear would help but no chance.
I
It looks like fairly major surgery on the subframe as I need to cut out the pocket and replace it with a bigger one. It's my fault for trying to make things too neat and tidy.
Make new pocket
Mark up subframe
Engine out
Cut out old pocket
Weld in new pocket
Grind and paint
That;'s at least a weeks work at my pace. Bummer!
#111

Posted 24 October 2016 - 10:21 AM
#112

Posted 24 October 2016 - 11:55 AM
I slotted out the front engine mount on the subframe but can't get the engine forward enough as the pot joint is hitting the subframe in the area shown. I was hoping that lower the engine at the rear would help but no chance.
I
It looks like fairly major surgery on the subframe as I need to cut out the pocket and replace it with a bigger one. It's my fault for trying to make things too neat and tidy.
Make new pocket
Mark up subframe
Engine out
Cut out old pocket
Weld in new pocket
Grind and paint
That;'s at least a weeks work at my pace. Bummer!
That frame is lush, really nice bit of work.
#113

Posted 24 October 2016 - 12:43 PM
As the old saying goes - the man who didn't make a mistake didn't make anything!
Just need to get on with it.
#114

Posted 24 October 2016 - 01:11 PM
#115

Posted 24 October 2016 - 02:47 PM
What I should have done was to completely build the car and get it running. Then strip it and paint it.
I was trying to cut corners and speed things up by assuming things were "good to go".
To be fair to myself, this is the only biggish problem I have come across (so far).
#116

Posted 24 October 2016 - 02:51 PM
Aah, bad one. Thats why Im leaving it all unfinished until its all running, then strip and paint it all up.
I already had to strip and cut out the bottom arm on the drivers side after the front end was fouling it as it flipped forward. Some amount of work, but its worth doing right.
Hope it all goes to plan. All e best.
#117

Posted 26 October 2016 - 12:04 AM
#118

Posted 26 October 2016 - 08:15 AM
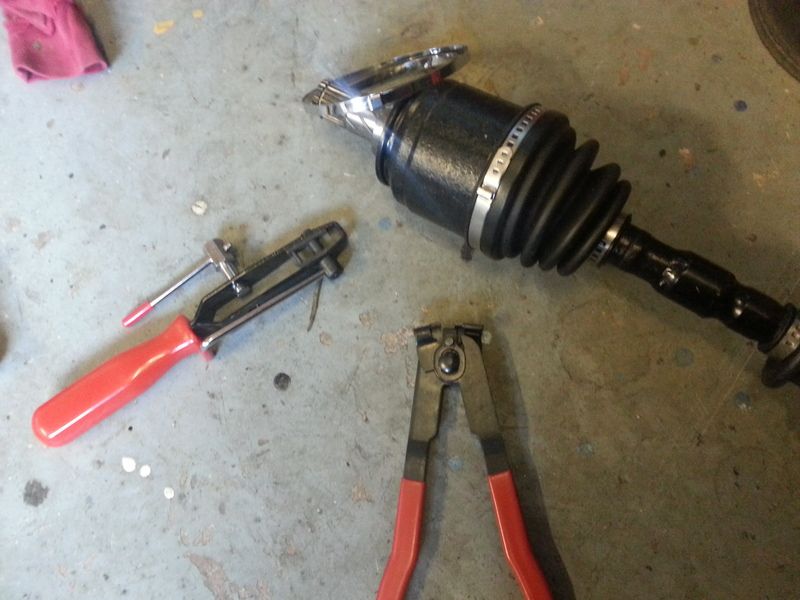
Even when the engine was right back an hitting the rack there was not much clearance on the pot joint and the rubber boot. The last thing I need is shredding inner boots when it's up and running so a mod to the subframe is the best option. I did modify the area with oxy/acetylene and a big hammer before I painted it as the boot was just hitting the bottom edge of the pocket. Obviously still wasn't enough.
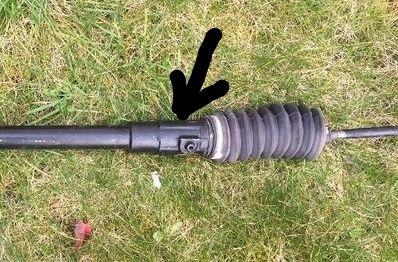
I may still modify the rack and dif housing for a few mm more clearance. Is it safe to grind a bit off the rack?
#119

Posted 26 October 2016 - 08:58 AM
There are ribs on the rack as shown above and it's the one on the front of the rack that is the closest point to the dif (obviously). A steering lowering bracket makes matters worse by rotating the rack. I will look inside the old rack to check that it is safe to grind off a bit of the rib (don't want a hole in my new rack!).
#120

Posted 27 October 2016 - 09:31 PM
1 user(s) are reading this topic
0 members, 1 guests, 0 anonymous users


