Mcmini Micra Conversion
#196
Posted 21 February 2017 - 11:48 PM
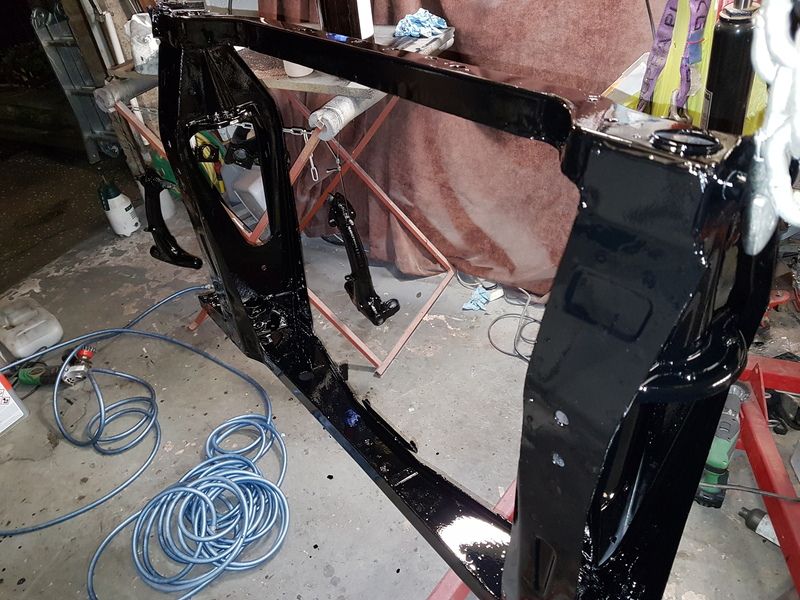
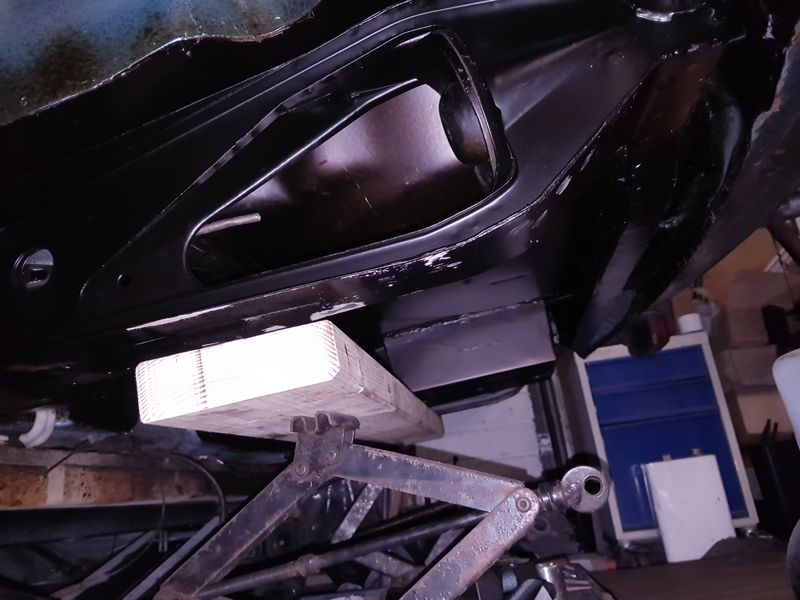
So that's half the back end done. I need to get on with the subframe next. It needs a bit of a clean up and then the painting starts all over again. There are a good few bits and pieces need done at the same time
Heater
Rear arms
Back plates
Handbrake brackets
Subframe
Everything has been sandblasted except the subframe. It won't fit in the cabinet!
It's slow progress and I can't wait to get it all finished and get back on to the good part - the engine conversion!
#197
Posted 27 February 2017 - 06:43 PM
Got all the black bits painted in a marathon paint fest at the weekend.
I used my new home made air fed mask for the first time. I'll get some photos up of it as worked perfectly. Running the compressor outside the garage at 10pm was not ideal. Neighbours must hate me!
#198
Posted 27 February 2017 - 07:09 PM
#199
Posted 03 March 2017 - 12:13 AM
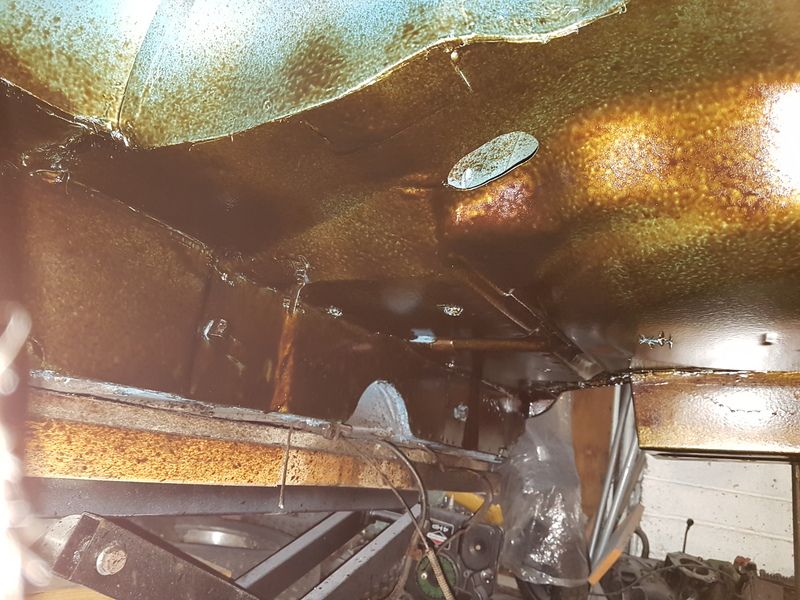
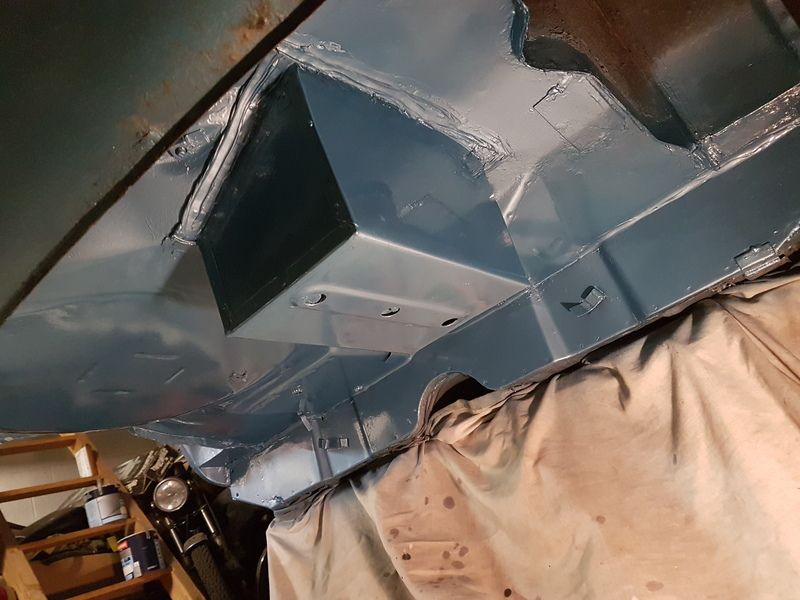
They recommend 2 coats of the UB. It goes on a lot wetter than I was expecting. It's a bit messy but to be fair it's no worse than waxoyl. I supose it's the spray can that fooled me.
I need another can of the UB as it doesn't go as far as I was expecting.
That's my plan of getting the subframe back on this weekend buggered up.
I have also started making a tool for reaming the bearings on the radius arms. It did not go well as I was getting chatter on the lathe and the surface finish was poop!
I need to ask the experts in the machine shop tomorrow and no doubt I'll get hard time.
#200
Posted 05 March 2017 - 09:59 PM
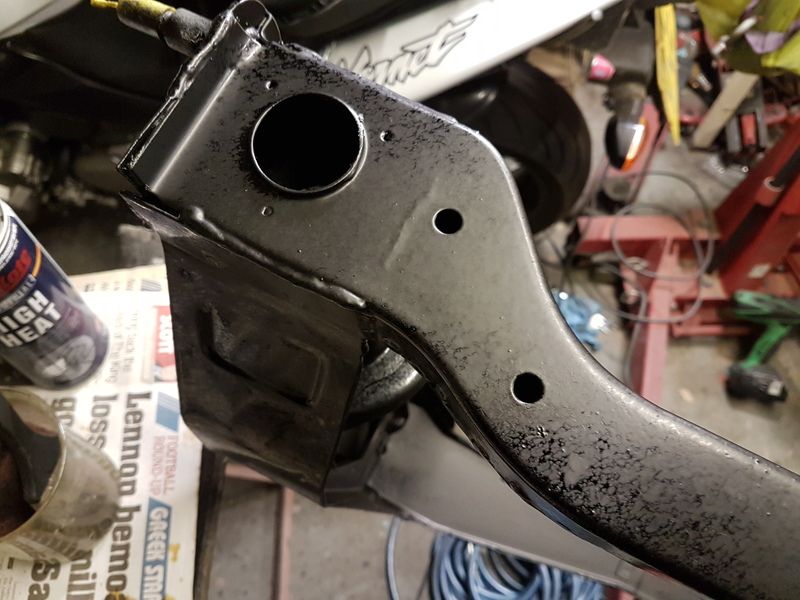
I think I have given myself a bit of a problem. I did not weld captive nuts on for the exhaust bracket attachment on the subframe. The rear beam is all boxed in now and I'll need to drill a hole to fit a couple of nuts.
I don't have a bracket and the exhaust is next on the list after subframe and suspension are on.
I have a maniflow back box and I need to make a centre pipe in stainless to mate up to the 4-2-1 manifold. So I'll make a bracket in stainless. I take it it mounts on two bobbins into these holes?
More TIG welding coming soon.
#201
Posted 06 March 2017 - 11:12 PM
Must remember to drill exhaust hanger holes and route in the brake and petrol pipes before I fit the subframe. I hope it lines up ok as it's not a genuine one.
#202
Posted 11 March 2017 - 08:07 PM
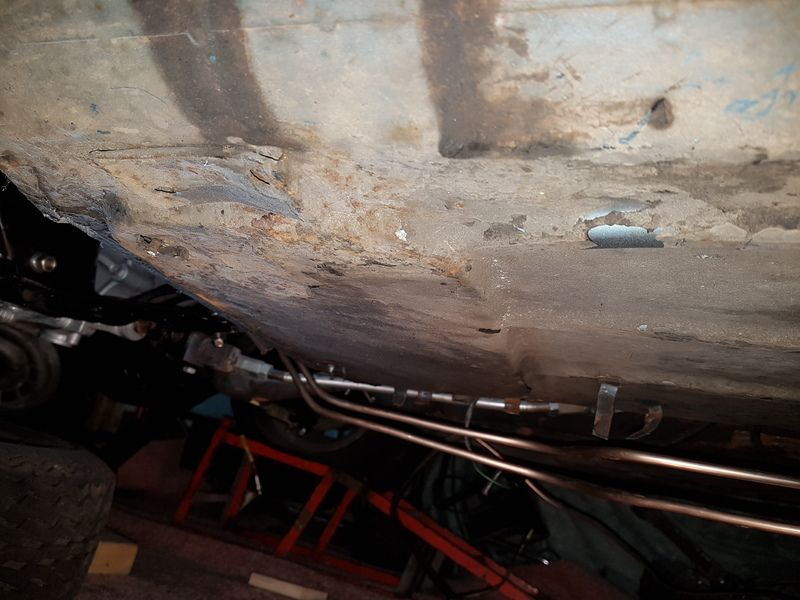
I was thinking that I need to get the underside of the floor scraped and painted but after a bit more thinking I will leave it until the car is on the road. The floor is solid but there is quite a bit of surface rust.
The reason I am leaving the floor (and wheelarches) is that I will put a cage in and need to weld in the strengthening plates. Also need to weld in fixings for rear seatbelts (which I scored for £1.99 from Ebay and arrived today).
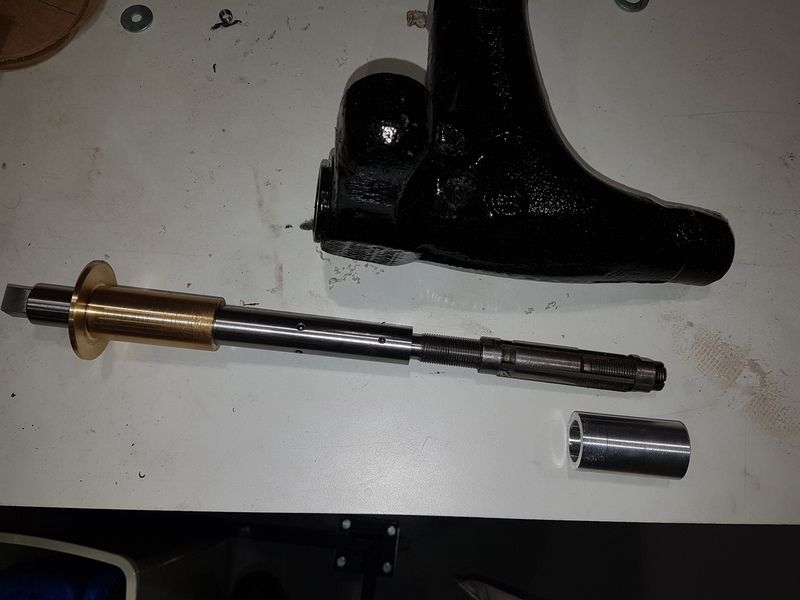
Here is where I a with my rear arm bearing reamer. Still a fair bit to go.
#203
Posted 12 March 2017 - 12:56 AM
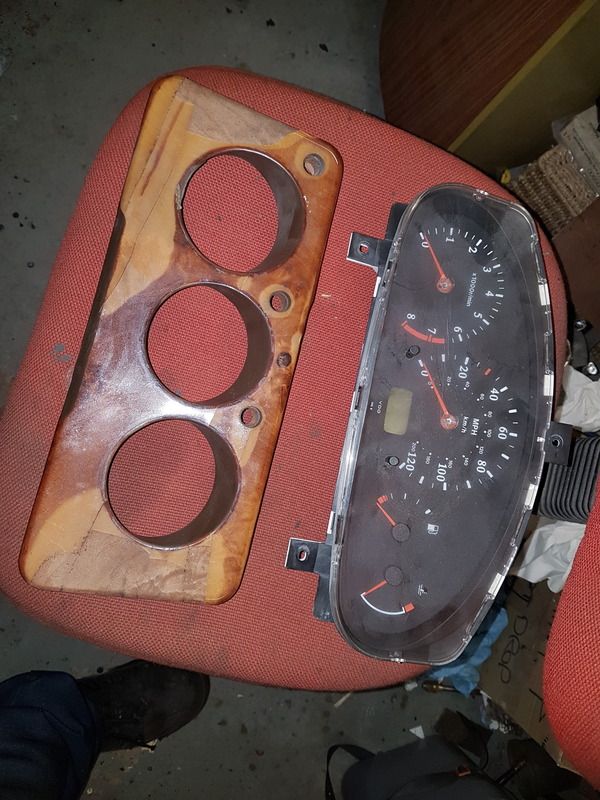
So a wee side project - the dashboard.
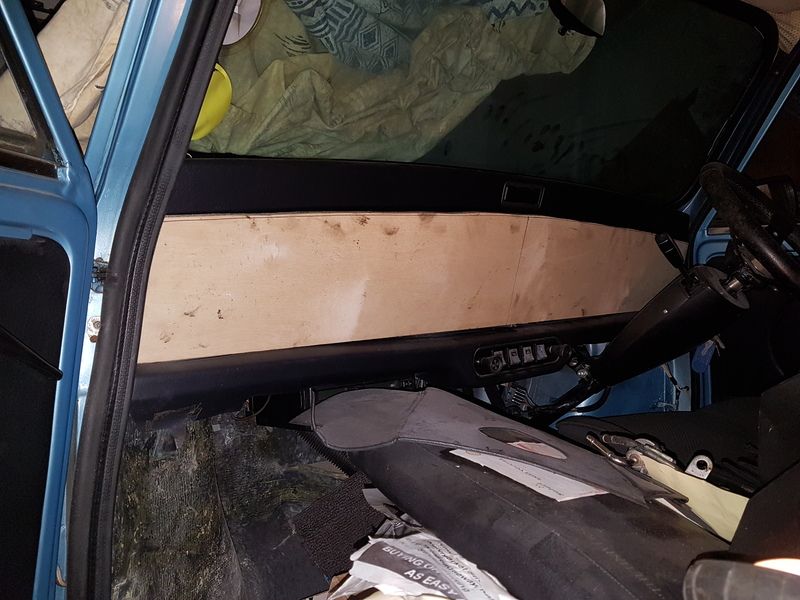
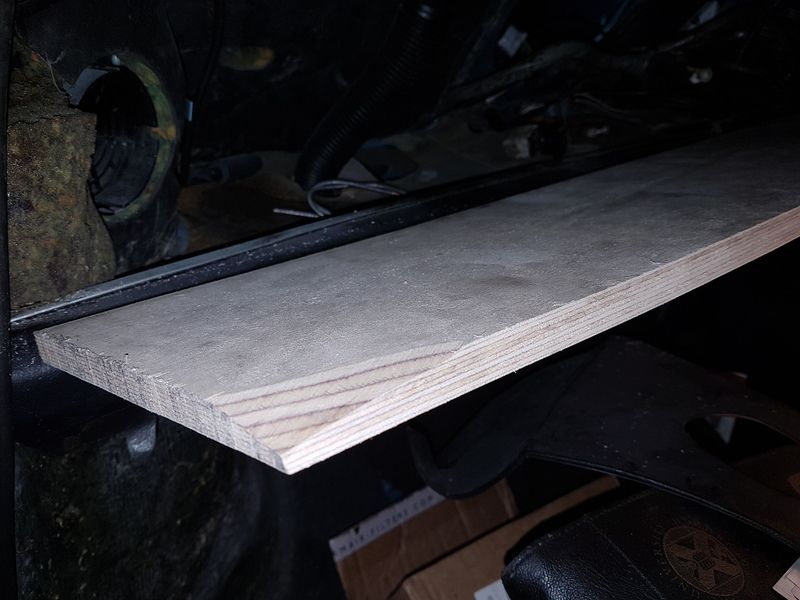
The plan is to make a wooden dash. I intend to make it in plywood and then try my hand at hydrographic dipping. Burr walnut with lots of lacquer for a nice gloss.
I found a template on line and ruffed a piece out.
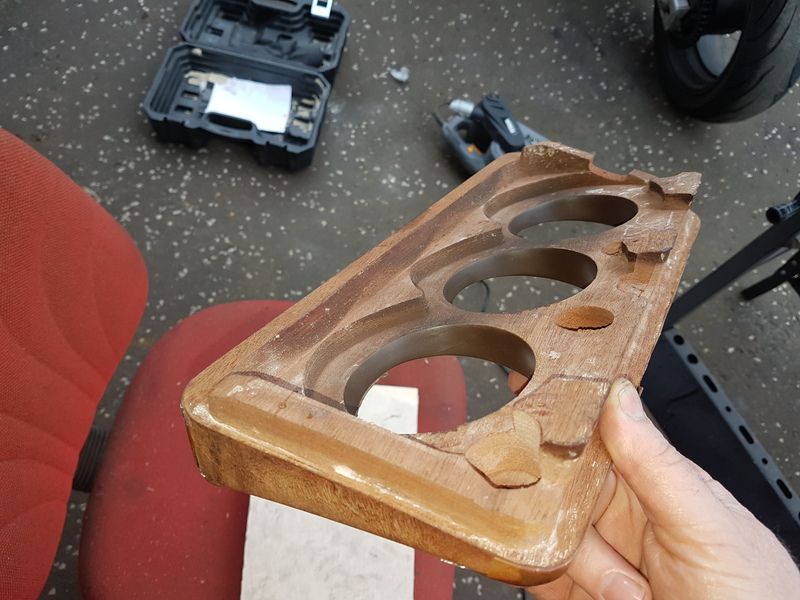
My original plan was to use a mini 3 clock set up and I bought a second-hand clock surround.
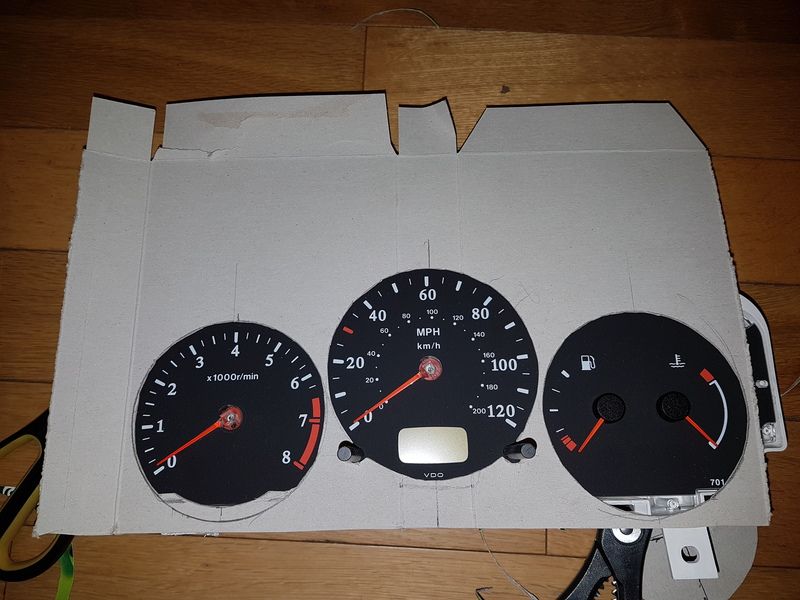
The plan has now changed and I am looking to use the Micra clocks in a similar style to the mini clocks. This should make the wiring easier.
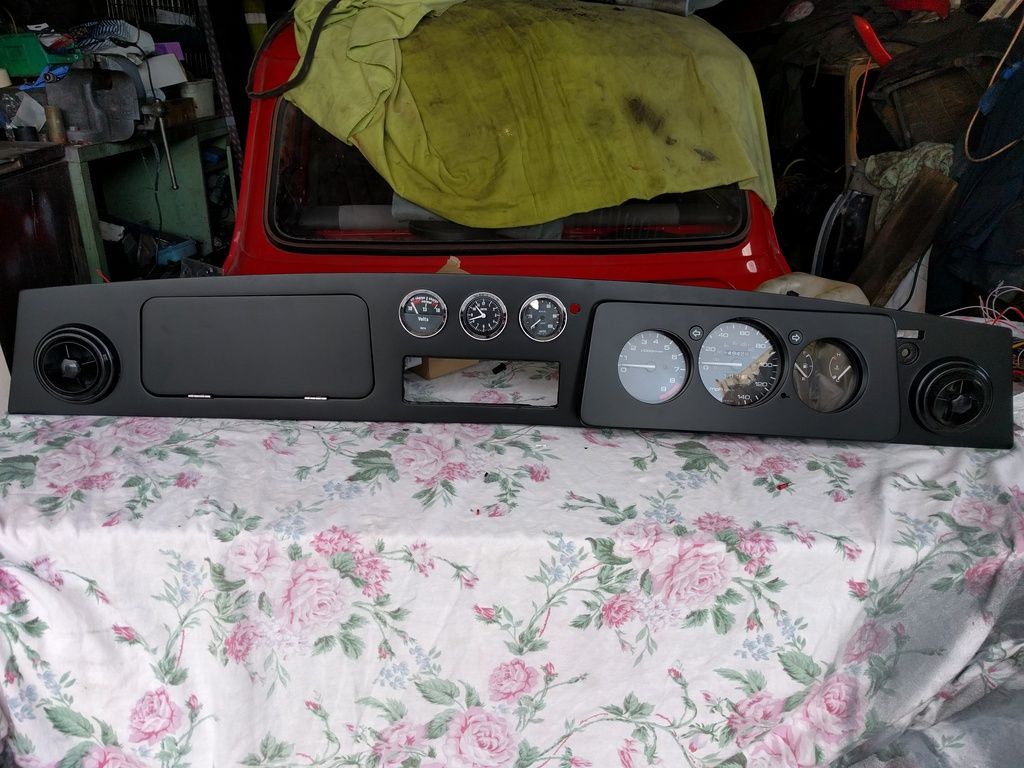
This gives you an idea of what I'm trying to do. Don't know if it will work as the dials are not in line. There's going to be a lot of sawdust tomorrow!
#205
Posted 12 March 2017 - 10:44 AM
If I work it right I can use the Micra dash warning lights.
What is the finish on yours?
I am also going for the 3 centre gauges but with the radio on top and gauges at the bottom so that I can fit a radio with a flip out screen.
#206
Posted 12 March 2017 - 11:47 AM
#207
Posted 12 March 2017 - 01:06 PM
I am trying to keep it looking like a mini inside (up to a point). I will use things like the Micra indicator and wiper stalks to make things easier for the wiring (which is something I am dreading). I can't have to many electric gadgets as my alternator is tiny at 40 amps.
#208
Posted 12 March 2017 - 03:28 PM
I take it the clamps pull the dash into place? Looks like it's miles out at the top in the middle.
I took a bit off the corners on the top to get a better fit.
#209
Posted 17 March 2017 - 09:32 PM
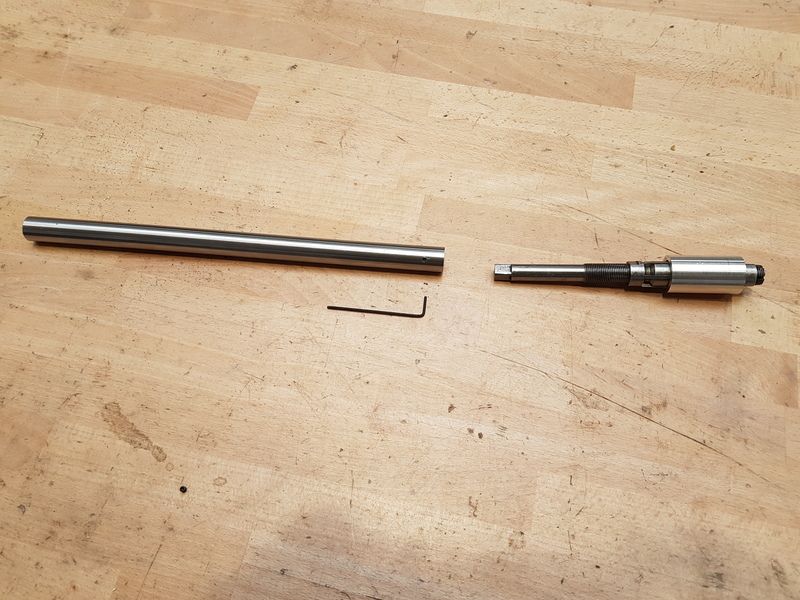
Finished my reamer. There are 4 grub screws that secure the adjustable reamer into tbe shaft. You can just about see them in the photo. There are another 3 grub screws nearer the reamer that allow me to adjust the concentricity. I set it up on the lathe and trued it using a clock gauge.
I went to visit my parents on the way home from work. Told my dad I was late as I was making a reamer tool for my radius arm. 'Oh. I've got one of those in the garage'
Oh well. I've got one too!
#210
Posted 20 March 2017 - 07:31 AM
Nice work making that!
2 user(s) are reading this topic
0 members, 2 guests, 0 anonymous users