Jump to content


Photo
- - - - -

Rolling Snot


  • Please log in to reply
890 replies to this topic

#526 Tomf

Tomf

    Baby Tom

  • Traders
  • PipPipPipPipPipPipPipPipPipPip
  • 6,440 posts

Posted 08 June 2008 - 08:05 PM

Well i did a little bit this morning. Fits up i built up the flywheel cover, fitting new clutch bearings and engine mount, then putting everything back together.

Posted Image

I then fitted that:
Posted Image

Posted Image

I then fitted the timing cover and bottom pully:
Posted Image

Then i fitted the other engine mont to the rad support bracket, and thats all i did down the garage:
Posted Image

I then had a go at removing more of the seand deading stuff that had been fitte, iv managed to remove it all from the front floor pans and the boot floor, but its stuck stiff on the rear seat, and on the rear seat in the boot side, and the parcel shelf. Any one got any tips for gettin it off?

#527 Tomf

Tomf

    Baby Tom

  • Traders
  • PipPipPipPipPipPipPipPipPipPip
  • 6,440 posts

Posted 08 June 2008 - 09:19 PM

Well i have decided to give up on my diff, so iv been talking to guessworks and he is going to be sorting me out with one of these bad boys, a X pin diff :) hes even going to swap the bits of mine and build it up for me, how good it that servies.

Posted Image

#528 Tomf

Tomf

    Baby Tom

  • Traders
  • PipPipPipPipPipPipPipPipPipPip
  • 6,440 posts

Posted 09 June 2008 - 04:46 PM

Well today, first i removed the heater and piping, i then got the generator up to the barn, where my mini is kept and got started on cleaning up the bulkhead, so i used both a wire brush in a drill and a wire brush on the grinder. Once i was happy with that i slapped some harerite on. Its not the best job as i didnt bother removing much, but it will atleast keep the rust away lol.

I then started romoving the farcory fitted sound geading off the rear seat. I got all that off, but ill clean it up and paint tomorrow.

I then started removing the sound deading from the passanger floor and it was all great untill i hit the inner sill section, where i found the sound deaing has been just catching water, where it had been jacke up on the floor before and this cracked the sound deading and let water in.

I also got a couple of bits done n the engine this mornin, i fitted the rad mount bracket thingy, the water pump, the water pump pully and fan. I also fitted the alternator brackets. so now all i have to do is fit the starter, dizzy alternator and head and it will be ready to go in.

So now that means iv got to chop that out and weld a patch or 2 in, but for the time being i used the dringer with wire brush atatchment and cleaned off the rest of the sound deading and covered it in hamerite. When i get the engine in ill drive the mini up to my house so i can power my welder as my generator wont power it. and get some partchs welded in.

As i had found the rust i got a bit annoyed and decided to give up for the day. ill get the driver side done tomorrow and hope i dont find any rot.

Iv set a deadline for the end of the month, well the 29th as there is a local run then lol, but that might change, depending on how annoyed my girl friend as i wont be spending any time with her lol. Mini always comes first.

Ill get some pics up later.

#529 Tomf

Tomf

    Baby Tom

  • Traders
  • PipPipPipPipPipPipPipPipPipPip
  • 6,440 posts

Posted 09 June 2008 - 05:38 PM

Here are some of the pics, they arent great, but you get the idea of what i have done, and just to add i now offically hate sound deading lol.

The engine:
Posted Image

Cleaned up bulkhead and painted:
Posted Image

Passanger inner sill rust :) luckly its not too bad, you can see through the floor in a couple of little sopts, but im prety sure the surrounding area should be good, i think its only rusted where the mini has been jacked up on the floor and this has cracked the sound deading and let the water in.
Posted Image

Cleaned up floor and painted:
Posted Image

Flashing nearly all removed from the boot, so far i have got it all of the tank, the boot floor and about 1/3 of the rear seat back.
Posted Image


The sound deading removed fron teh rear seat base, still got all the flashing on the rear seat upright though, the original sound deading isnt to bad as its solid so comes off in lumps, where as the flashing is sticky and just doesnt want to come off.
Posted Image

Not looking forward to doing the drivers floor now as that has been jacked up on the floor aswell, but it doesnt look anywhere near asbad as the passanger side did, time will soon tell if i have to do more welding lol.

What do people think i should do with the rear floor? should i bother removing the sound deading or just leave it, the only reason i say is because its going to be hard to get the deading out from under the rear seat.

#530 Tomf

Tomf

    Baby Tom

  • Traders
  • PipPipPipPipPipPipPipPipPipPip
  • 6,440 posts

Posted 09 June 2008 - 07:37 PM

:P :( :( NOT happy, i thought i would pop out ahd hack the sound deading off the drivers side so i can see if there is more welding and i had the same as the other side, but not as bad, it starts where the outer sill ends on bother sides, so i guess where it has been jacked up on the floor the follor has stopped bending at this point as the sill has taken the strength...

However the drivers side i also have a hole where the floor meets the inner wing and the subframe mount isnt looking to great, but i knew that was like that before anyways and i was planning on sorthing that out soon, so ill just sort it all at once, the plan is get the head finished tomorrow, then put that on the engine, and put the other couple of bits on, so it is ready for fitting, apart from the diff obviously.

I picked up my diff today ready to send to guessworks tomorrow.

I also picked up my fiesta calipers and ill pack them up soon as they are being sent off to biggred a break caliper referbishing company.

Also if i get the Time ill try and remove the rest of the flashing stuff from the boot, then get the boot cleane up and painted, but ill have to whip the tank out first and ill clean that up and paint that aswell.

The final thing that *Drunk or yellow human water* me off tonight was i though i would take the breaks off ready for me to fit the fiesta stuff and one of the Fing caliper bolts snapped so no i have to try and get that out the hub, not happy.

#531 Tomf

Tomf

    Baby Tom

  • Traders
  • PipPipPipPipPipPipPipPipPipPip
  • 6,440 posts

Posted 10 June 2008 - 12:37 PM

Well im being a lazy bum today, so im not doing anything on the mini. I did get a couple of bits through the post though :lol:

I got my hight tensile bolts along with some washers, so i can fit the fiesta bits.

I sent the diff off to john (guessworks) today, so hopefully ill have a nice shiny X pin diff soon :rolleyes:

And finaly i also got my miglia arches through, i offered up the rear and i think i prefer them over the group 5 euros i currently have, the pics dont make them look greate, but the car is backed up, so the wheel wont sit anything like that, i plan to lower the car right own so the tyre is sitting up inside the arch. I might trim them down a bit, so they arent over arched, but ill have to wait for my wheels to come through before i can see how much i will need to trim back.

#532 Tomf

Tomf

    Baby Tom

  • Traders
  • PipPipPipPipPipPipPipPipPipPip
  • 6,440 posts

Posted 10 June 2008 - 03:22 PM

Well i have had a bit of a weight saving idea, so im going to changing the idea of having a rear seat and rear carpet, but insted ill be fitting acoustic carpet. the only reason he rear seat was going to be fitted was for aethsetics, so i though i might aswell just get rid of it along with the rear carpet and go for the lighter option.

Now i have paid out for everything iv just saving up for a decent head and perspex windows now. And once i have brought them i think i have sent all the money i need to for a while on the mini, but im sure i will come across some nice bits that i will just have to buy lol

#533 Tomf

Tomf

    Baby Tom

  • Traders
  • PipPipPipPipPipPipPipPipPipPip
  • 6,440 posts

Posted 11 June 2008 - 11:40 AM

Well i got the sheered bolt out the hub today :D i then drilled the 4 caliper mounting brackets out for the fiesta caliper carrier. Ill grind down the carrier to fit in a little bit and get that fitted.ill also try and get the bolts off the mini drive flange to fit them to the metro flange and 7.9" disk. I had a quick go earlyer, but they didnt seem like they wanted to come out :)

Also when i cam back down, the postman had been and my wheels have turned up :thumbsup:, so if i get the chance ill get the tyres on them today.

Got alot planned to do today ill update you how far i get later.

#534 kcchan

kcchan

    One Carb Or Two?

  • Members
  • PipPipPipPipPipPipPip
  • 874 posts

Posted 11 June 2008 - 02:44 PM

Tom I just want to know, what wheels are you running now? Its just that if your not using the wellers, can I buy em?

Your getting alot done atm. Makes me want my exams to be over so I can get mine started again.

I WILL see this in real life one day, be it in pieces or running. Ha ha.

#535 Rhys

Rhys

    One Carb Or Two?

  • Members
  • PipPipPipPipPipPipPip
  • 898 posts

Posted 11 June 2008 - 02:50 PM

Nice car, always loved it since i started following the thread ages ago, you seem to take to the work very easily, you must have a technical brains.

I know the exam feeling, Friday the 20th and mini work will be in full flow.

Rhys

#536 Tomf

Tomf

    Baby Tom

  • Traders
  • PipPipPipPipPipPipPipPipPipPip
  • 6,440 posts

Posted 11 June 2008 - 06:47 PM

Cheers for the comments ;D I sent you a PMk cchan...

Well today Dom popped over to give me a hand. So first up i showed ome how to lap the valves in on my metro head.

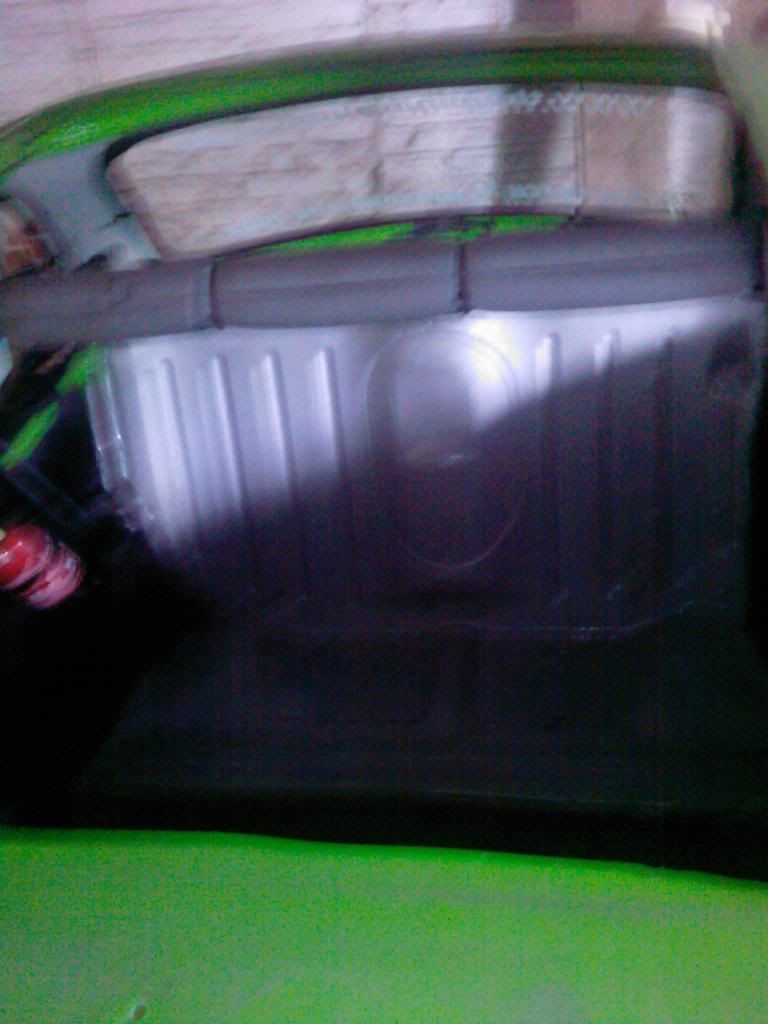
We then set about removing the flashing from the rear seat back and parcel shelf, and i must say i really do hate the stuff now. We spent hours with the scrapers working it away, once the bulk of it was gone, i then got out some thinners and cleaned it up, whilst we both got high. After the thinners was used to clean up the flashing tar stuff this removed alot of the remaining stuff left.

I then got out th griner with a wire brush bit on and cleaned up that along with the seat base. We then slapped some smooth hamerite on.

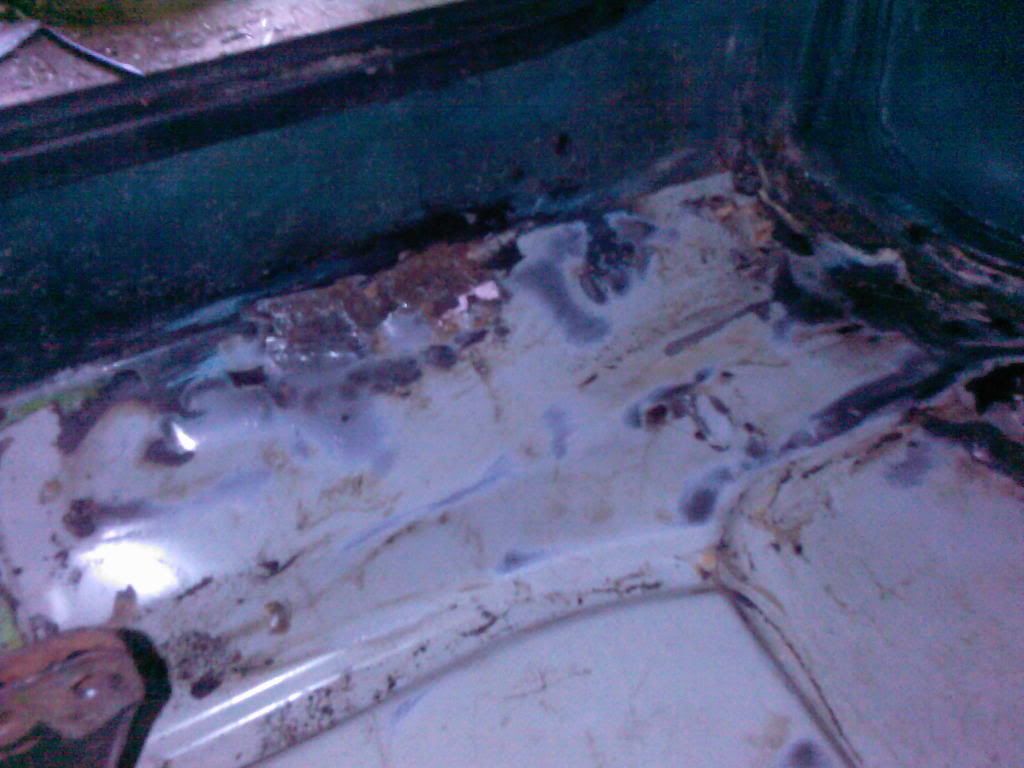
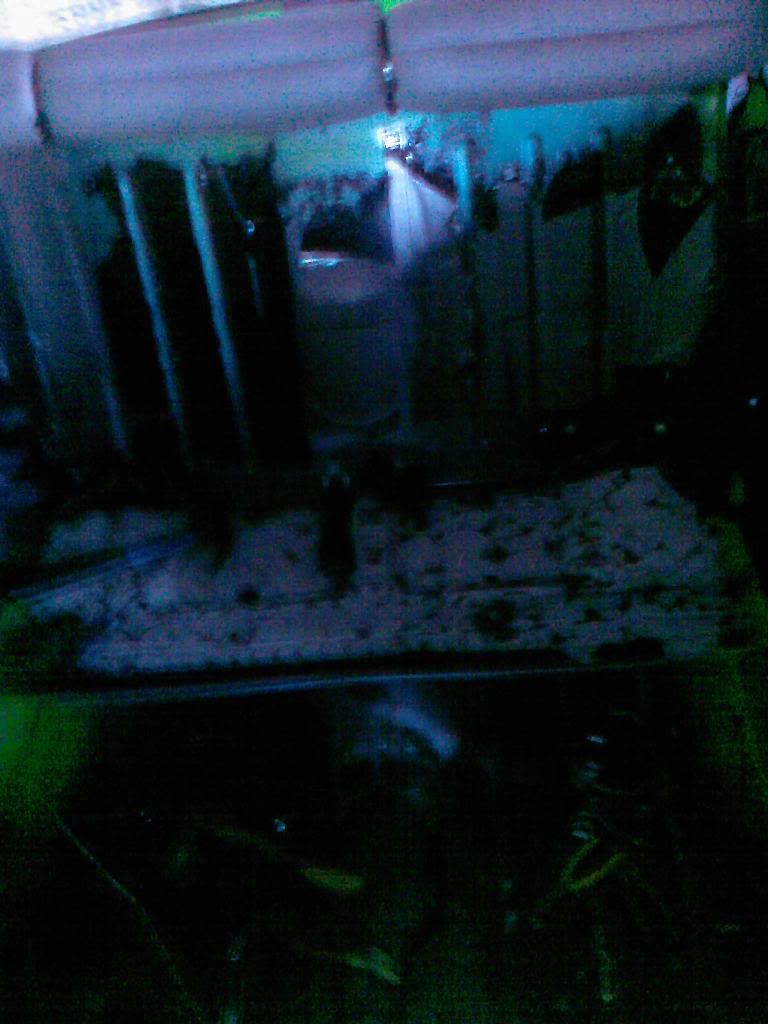
Before pic, well part way through removing the flashing:

Posted Image

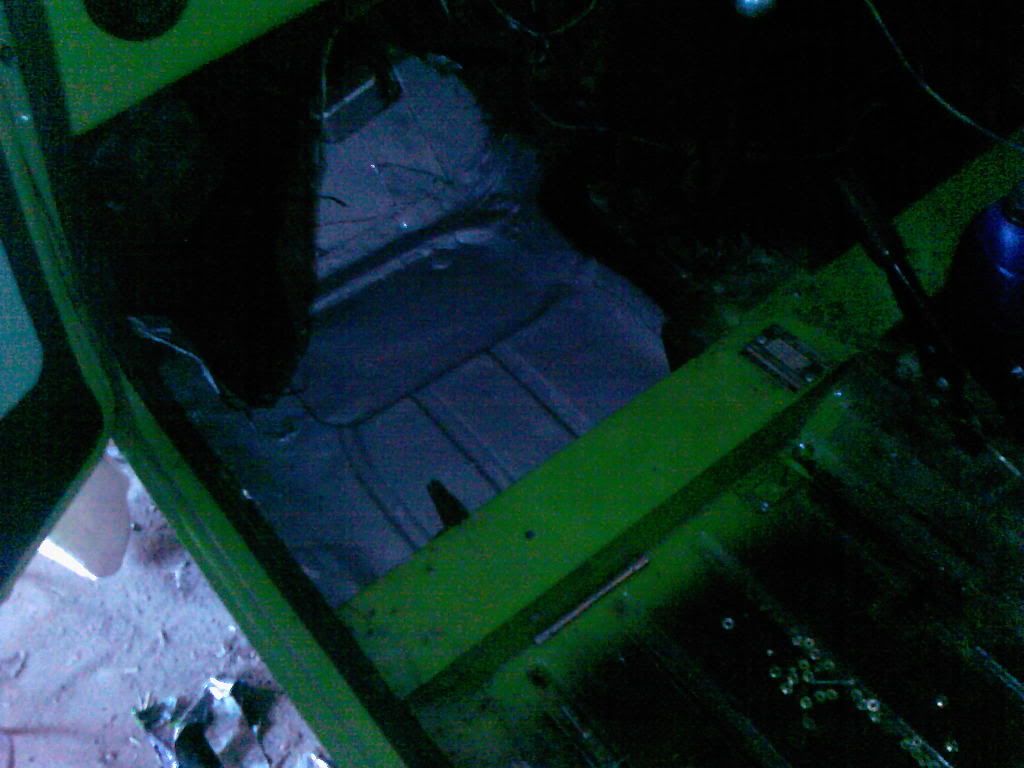
Flashing removed and cleaned up with thiners:

Posted Image

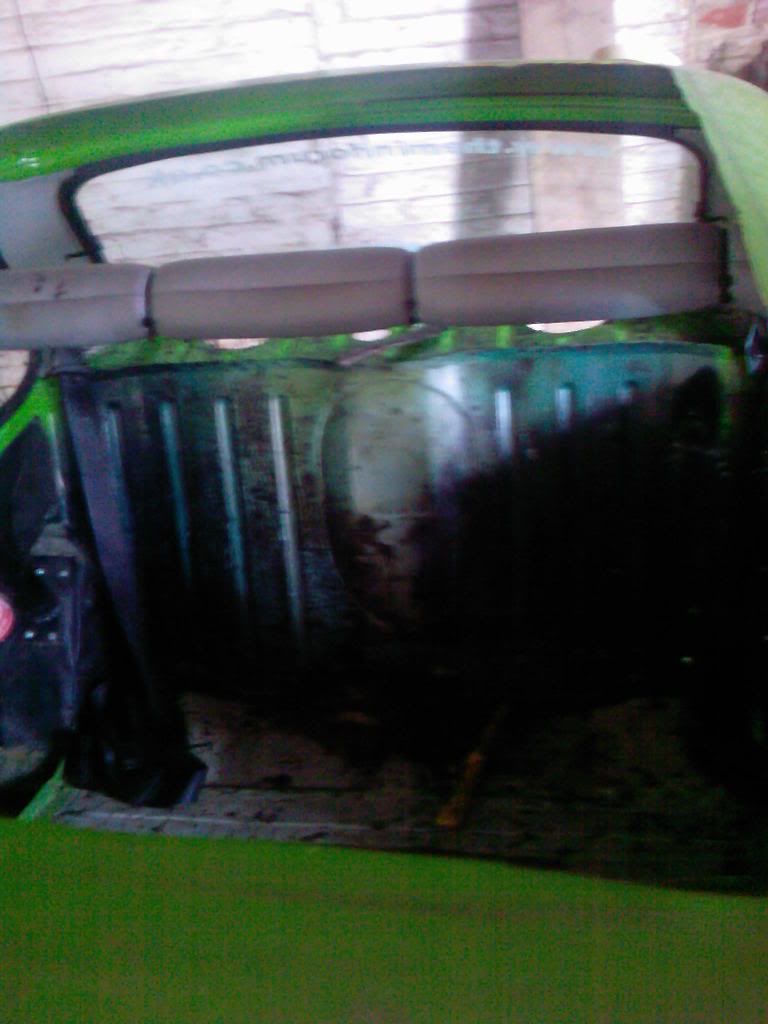
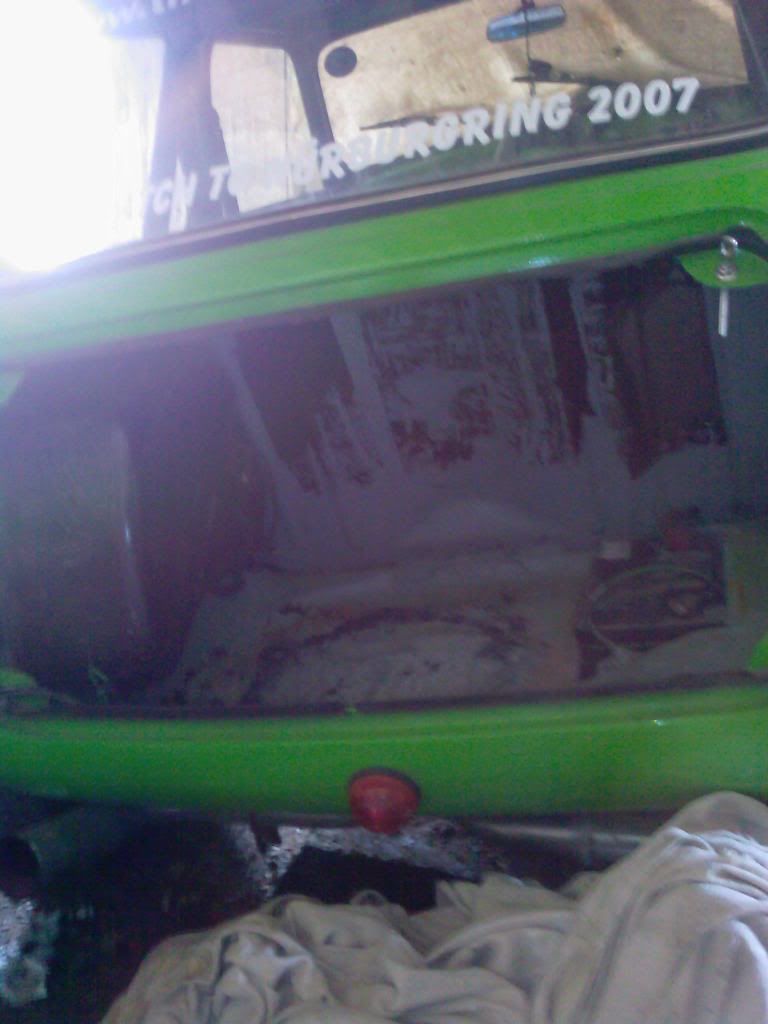
Cleaned up with a grinder and painted:

Posted Image

Posted Image

I also gave the drivers side rear floor a quick clean up and gave that a lick of paint.

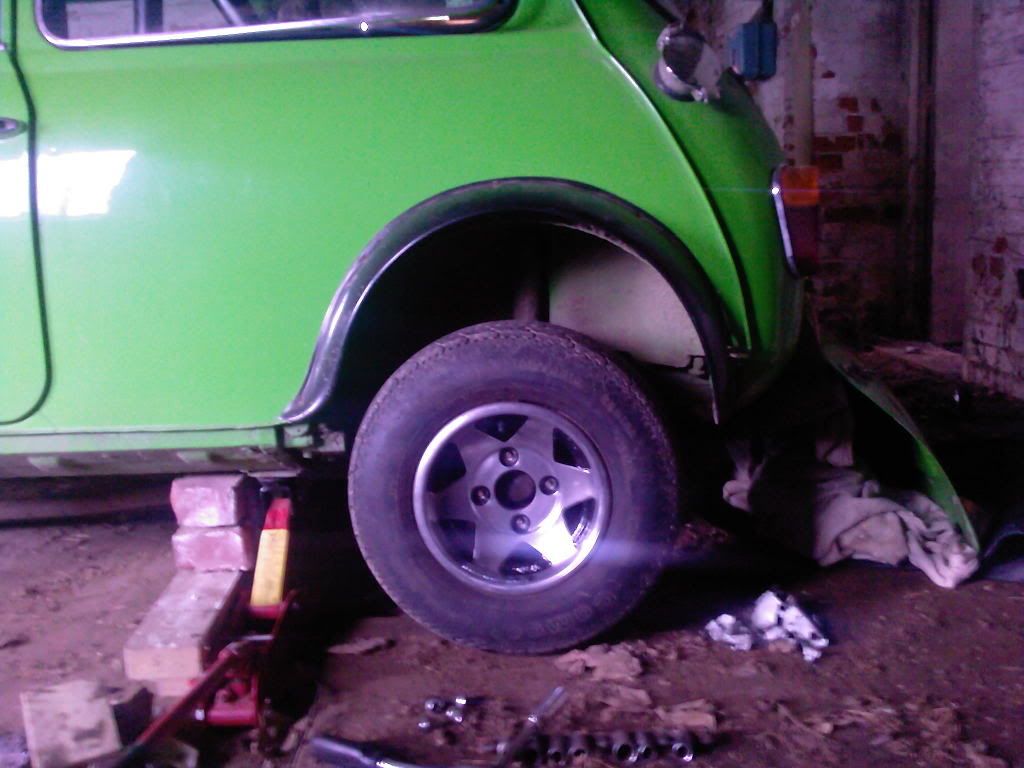
We also popped down to the local tyre place and got them to remove the 5 tyres off my banded steelies, i also got them to take the tyres off 3 of my wellers and got them fitted to the Starmage, ill get the last one fitted when i get the change, only reason i didnt get it done today is i had nothing to lift the car of the ground on all four corners, i could only lift 3 lol.

Posted Image

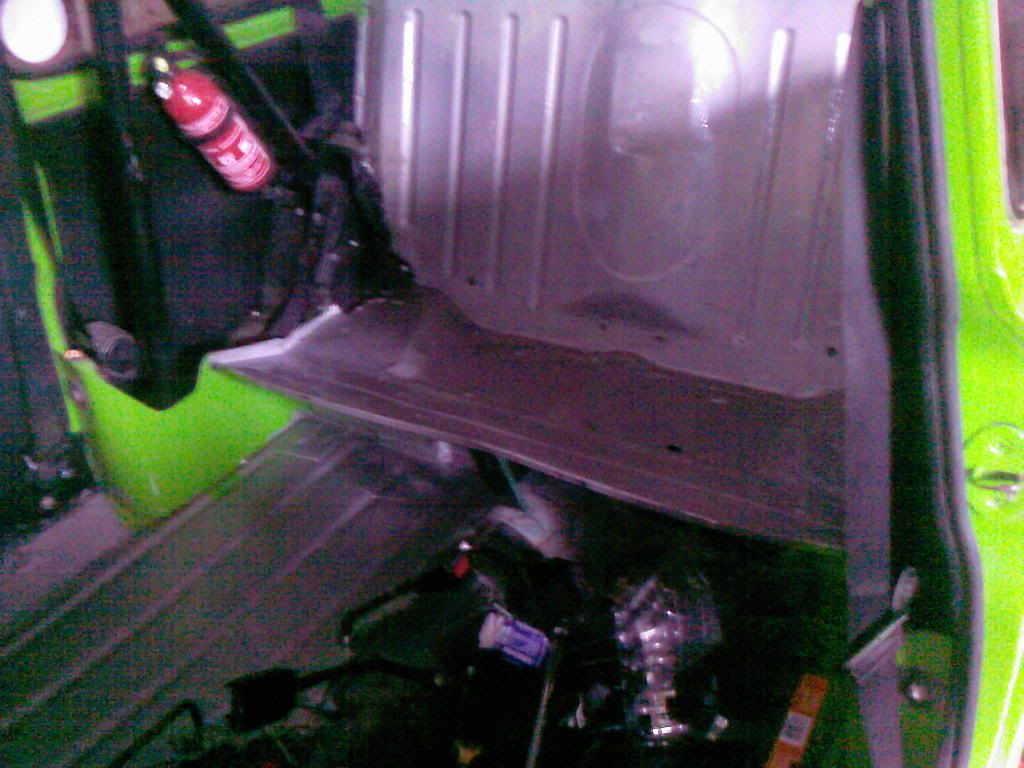
I then went to take the tank out, undid the retaining strap, but i couldnt get it out because i have a cap on the outside and i didnt have an allen key small enough to get that off, so ill try and find one that will fit then that means i can fit my rear hi-lows, adjustable spax and new knuckles. Hopefully ill get that sorted not tomorrow but the next day, then i will also be able to clean up and paint the boot.

Ill also take the exhaust off.

The finish line is in sight now lol

#537 1340_cluby_estate

1340_cluby_estate

    Stage One Kit Fitted

  • Noobies
  • PipPipPip
  • 65 posts

Posted 11 June 2008 - 08:04 PM

tom just a quick question, was you running your wellers over 8.4 inch brakes??? if so how did you do it and how much did they stick out afterwards??? far enough to run miglia arches???

many thanks
owen

#538 Tomf

Tomf

    Baby Tom

  • Traders
  • PipPipPipPipPipPipPipPipPipPip
  • 6,440 posts

Posted 11 June 2008 - 08:11 PM

No they wouldnt be sticking out far enough to run standard miglias, but if i had used larger spacers i guess they could have been, i didnt want to put big spacers on as i didnt want to put much more stress on componants, so i only used 10mm spacers and cut more off the calipers...

For the miglias i am going to be modifying them to make them fit, to do this i will be cutting away material, so they dont stick out as far... So you could cut them down and fit them with the smaller spacers for the wellers i guess.

#539 Dom

Dom

    Moved Into The Mazda

  • TMF+ Member
  • PipPipPipPipPipPipPipPipPipPipPip
  • 10,685 posts
  • Location: Nürburgring

Posted 11 June 2008 - 08:35 PM

:goaway: Those fumes *cough* *cough* ;D

Good to get the remainder of that sound proofing out though, and the starmags look great :goaway:

Nearly there :ph34r:

Posted Image

#540 Tomf

Tomf

    Baby Tom

  • Traders
  • PipPipPipPipPipPipPipPipPipPip
  • 6,440 posts

Posted 11 June 2008 - 08:48 PM

LOL yea them fumes were bad haha.

The pic looks good ;D Just got to get the engien down there now, then ill get the head on and the diff when it comes back and it will be ready to go in :goaway:

by the way thanks again to John (guessworks) for building the X pin diff up for me, a great service you have got going there :goaway:


1 user(s) are reading this topic

0 members, 1 guests, 0 anonymous users