What colours this one going to be?


Rolling Snot
Started by
Tomf
, Aug 12 2006 03:30 PM
890 replies to this topic
#436

Dom
-

- TMF+ Member
-

- 10,685 posts
Moved Into The Mazda
- Location: Nürburgring
Posted 04 March 2008 - 03:07 PM
#437
Tomf
-
- Traders
-
- 6,440 posts
Baby Tom
Posted 04 March 2008 - 03:36 PM
Not sure on a colour for this one yet, i dont hink ill go so wild, but i dont know. anyone got any sugestions?
#438
miniallsort
-

- Members
-
- 4,723 posts
Up Into Fourth
Posted 05 March 2008 - 11:23 PM
wow love the van tom hope u get better soon mate
#439
minivanman
-

- TMF+ Member
-
- 3,454 posts
Up Into Fourth
- Local Club: Backstreet Minis
Posted 06 March 2008 - 12:12 AM
Looks like you've got your work cut out there dude  While you're at it, I would convert it to take mk3 doors - much better than mk1s! They're a right pain in the arse. The section across the rear of the roof you were asking about the other day doesnt look too bad though? Look forward to seeing it coming back to life...
While you're at it, I would convert it to take mk3 doors - much better than mk1s! They're a right pain in the arse. The section across the rear of the roof you were asking about the other day doesnt look too bad though? Look forward to seeing it coming back to life...
#440
miniboo
-

- Members
-
- 9,327 posts
Lord of Original Thinking
Posted 06 March 2008 - 03:50 AM
easier said than done though. i think mk1 doors are a different shape around the window as well not just the a panel part.
#441
Tomf
-
- Traders
-
- 6,440 posts
Baby Tom
Posted 06 March 2008 - 09:02 AM
Can anyone confirm if the top of the door is different? as ill be changine the inner wings and door steps so it would be easy to change the bottom of the door. But if the top of the door is different then that would make things a bit harder.
The top part doesnt look to bad in the pics, but i think it might be worse than it looks. ill get a wire brush on the grinder and see once iv got my cast off.
The top part doesnt look to bad in the pics, but i think it might be worse than it looks. ill get a wire brush on the grinder and see once iv got my cast off.
#442
minivanman
-
- TMF+ Member
-
- 3,454 posts
Up Into Fourth
- Local Club: Backstreet Minis
Posted 06 March 2008 - 03:34 PM
I know Syholl did it on toad, so its definately possible. Just depends how much cutting n' shutting there is.
#443
miniboo
-
- Members
-
- 9,327 posts
Lord of Original Thinking
Posted 06 March 2008 - 03:56 PM
as i remember Syholl said it was a bit of a mare to do. mk1 doors are better i think. unless you dont have any that is
#444
Tomf
-
- Traders
-
- 6,440 posts
Baby Tom
Posted 07 March 2008 - 09:20 AM
Yea i dont have any doors for it yet, so convert to interior hinges would be easier as i can get hold of interior hinged doors easier. But i do prefer the exterior hinge look.
#445
minivanman
-
- TMF+ Member
-
- 3,454 posts
Up Into Fourth
- Local Club: Backstreet Minis
Posted 07 March 2008 - 10:38 PM
Trust me, they are nothing but trouble. Definately the part I'm least happy with on mine. 
#446
analogue_radio
-

- TMF+ Member
-
- 4,897 posts
Up Into Fourth
- Location: Melton Mowbray, UK.
Posted 11 March 2008 - 10:06 PM
Have you got any more pictures of your lime green? Looks really nice.
#447
Tomf
-
- Traders
-
- 6,440 posts
Baby Tom
Posted 22 March 2008 - 07:35 PM
Sorry i dont have any more pictures at the moment.
Well even with my broken wrist i managed to get some work done today, iv started to disconnect everything from the engine to take it out, i didnt have the hoist today so its still in the only thing left attatched are the driveshafts and the speedo cable, so that will come out once iv got a hoist where the mini is.
Im also just about to place a big order with minispares for everything i need to complete my engine re-build cant w8 to get the 1380 in.
LOL not even a broken wrist can keep me away from workin on my mini.
Well even with my broken wrist i managed to get some work done today, iv started to disconnect everything from the engine to take it out, i didnt have the hoist today so its still in the only thing left attatched are the driveshafts and the speedo cable, so that will come out once iv got a hoist where the mini is.
Im also just about to place a big order with minispares for everything i need to complete my engine re-build
cant w8 to get the 1380 in.LOL not even a broken wrist can keep me away from workin on my mini.
#448
miniallsort
-
- Members
-
- 4,723 posts
Up Into Fourth
Posted 23 March 2008 - 09:35 PM
top work mate keep it up cant wait to see the engine finished
#449
Tomf
-
- Traders
-
- 6,440 posts
Baby Tom
Posted 25 March 2008 - 08:57 PM
Cheers mate yea i cant wait to get the engine re-built.
yea i cant wait to get the engine re-built.
Edited by Tomf, 07 April 2008 - 11:33 PM.
#450
Tomf
-
- Traders
-
- 6,440 posts
Baby Tom
Posted 07 April 2008 - 11:58 PM
Well i havent really got the time or money to do the van, so its for sale on ebay at the moment. Im also selling off a few other bits that will be collected in the next couple of weeks. Then once i get the money though ill be making a few orders to get "Rolling Snot" back on the road.
Things iv already got that i will be changing:
LCB manifold
Sump guard protector
fiesta break setup (ill get the calipers re-furbished though)
Things to order when iv sold the van and other bits:
Carbon fiber, or if i can find on Kevlar roof skin
CF or Kevlar (depending on roof) bonnet showing wave
All the gaskets and engine parts for the 1380 re-build
New carpet set
New buckets
New wheels
New tyres
Harnesses
Well the last couple of days iv been working on a fiberglass dashboard. And this is a small guide to what i have done so far.
Making the Plug
First up i masked off the mini dash area, as if to fill the hole between the dash rails.
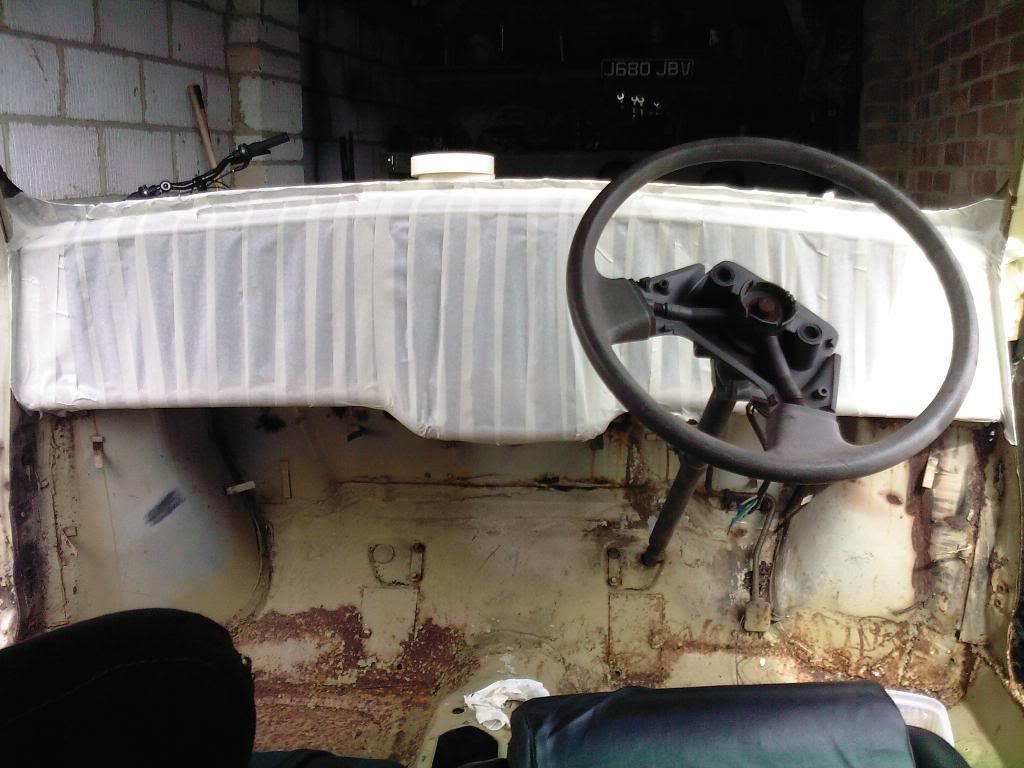
I then mixed up the resin and cut the matting to shape, im doing this to make sure the dash would fit nicely when the actual dash is come to fit.
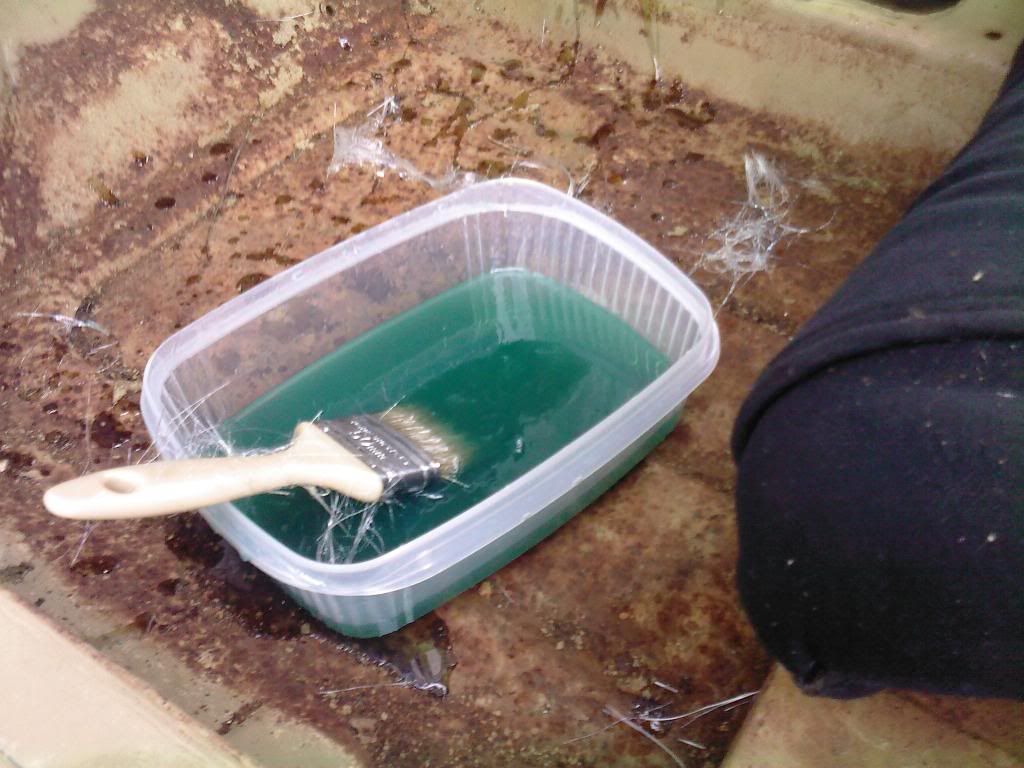
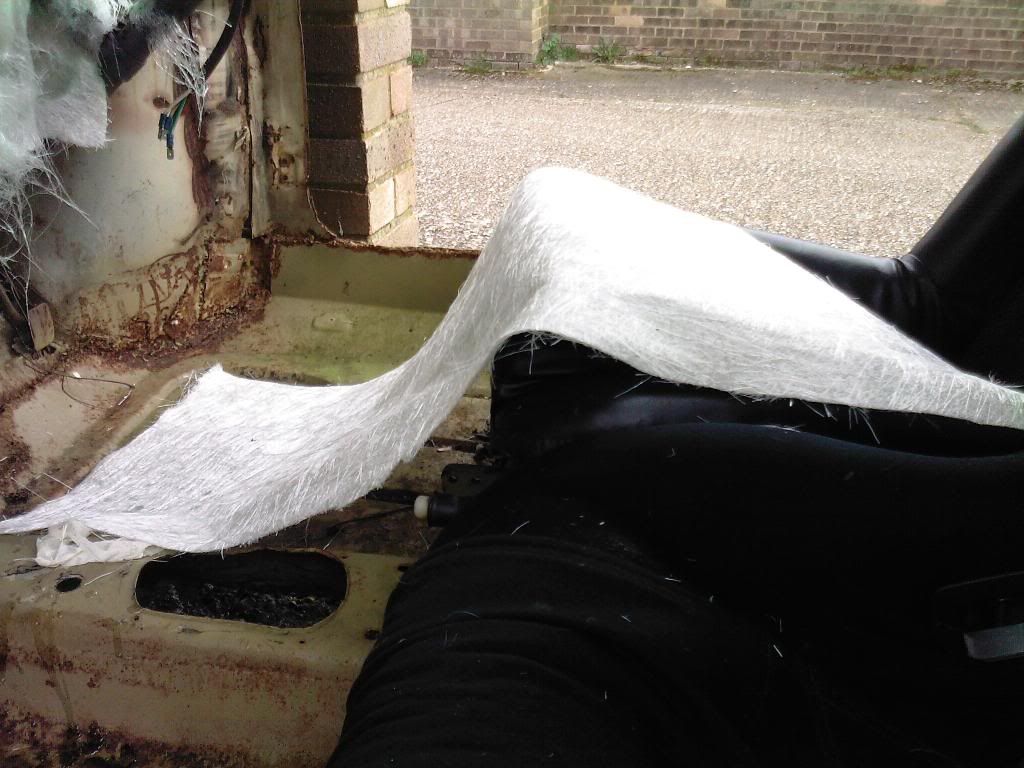
Once the matting was cut to shape i put this in place and applies the resin/catalyst.
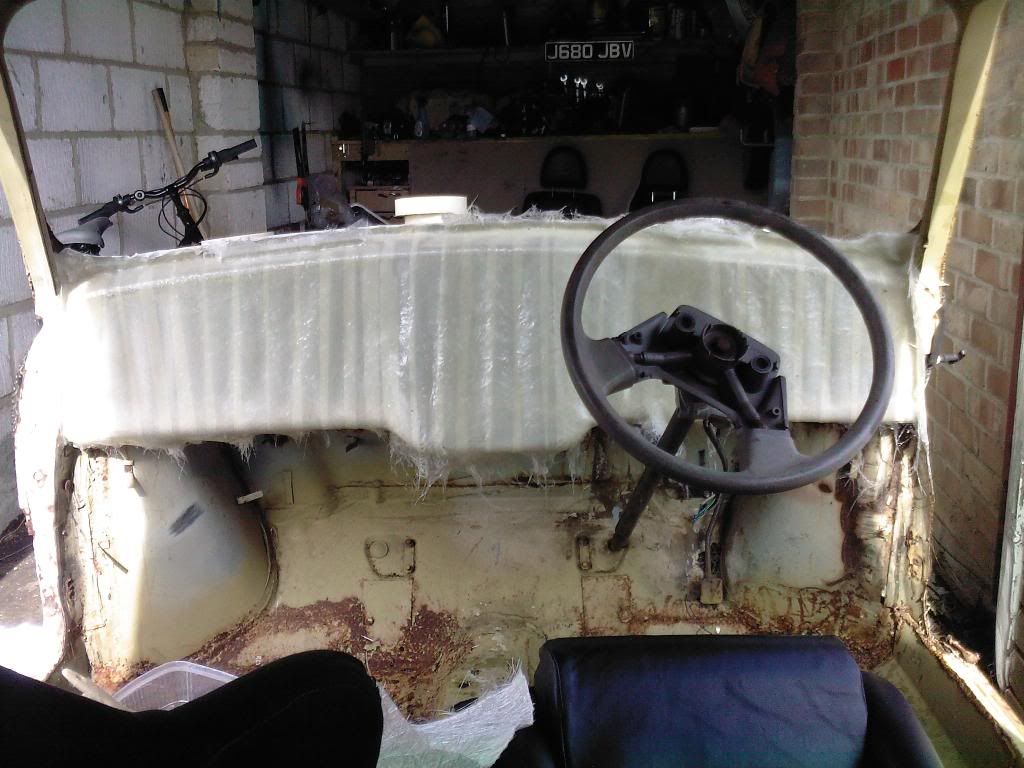
I then left this to set and removed it from the mini. once removed i cleaned up the edges of the fiberglass to make it look a bit nice.
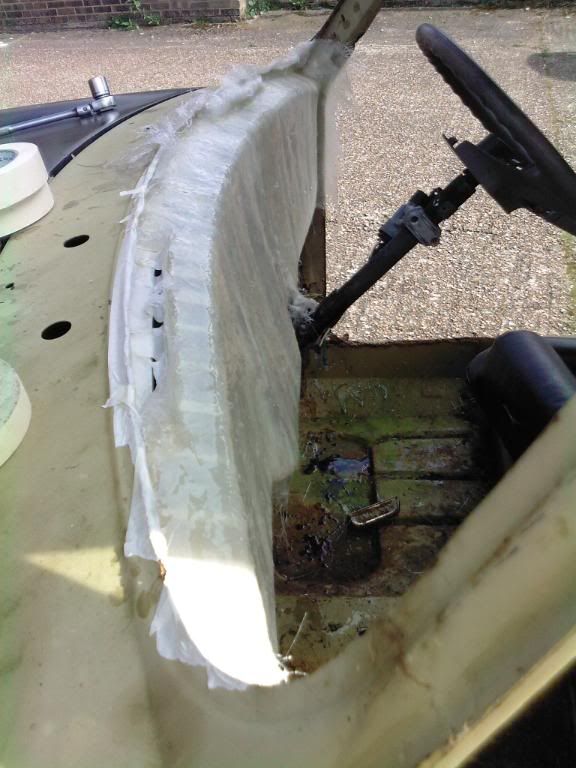
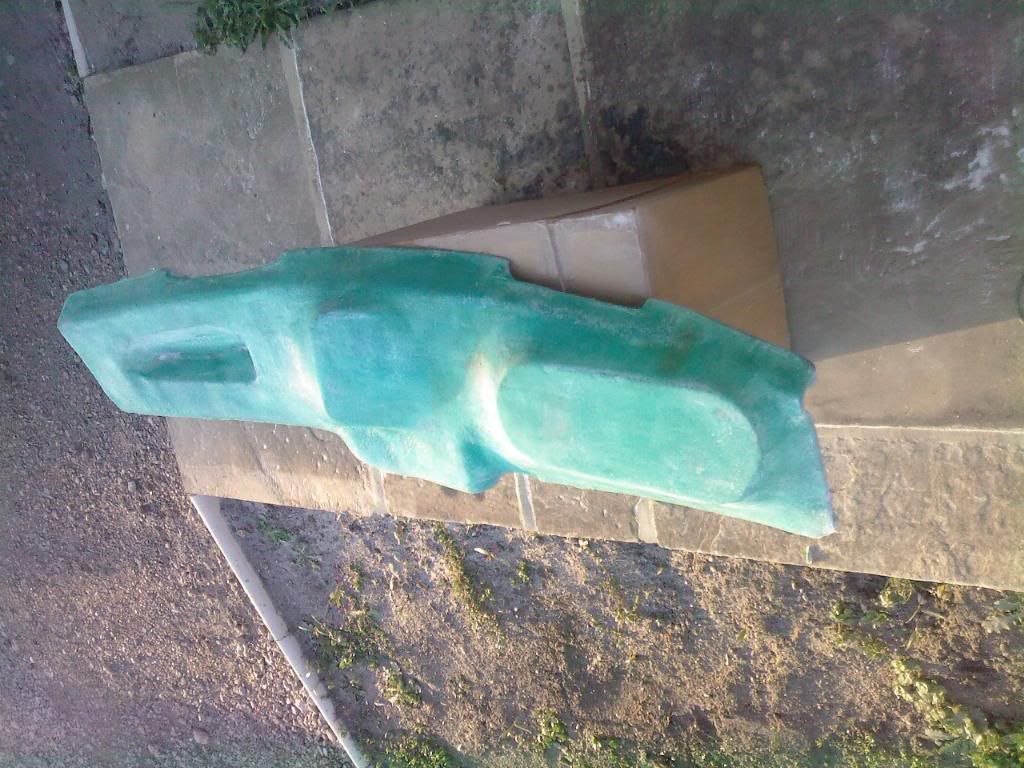
I then started to make the different shapes of bits i wanted the dash to have and fixed these in place, i also cut a hole for the glove box.
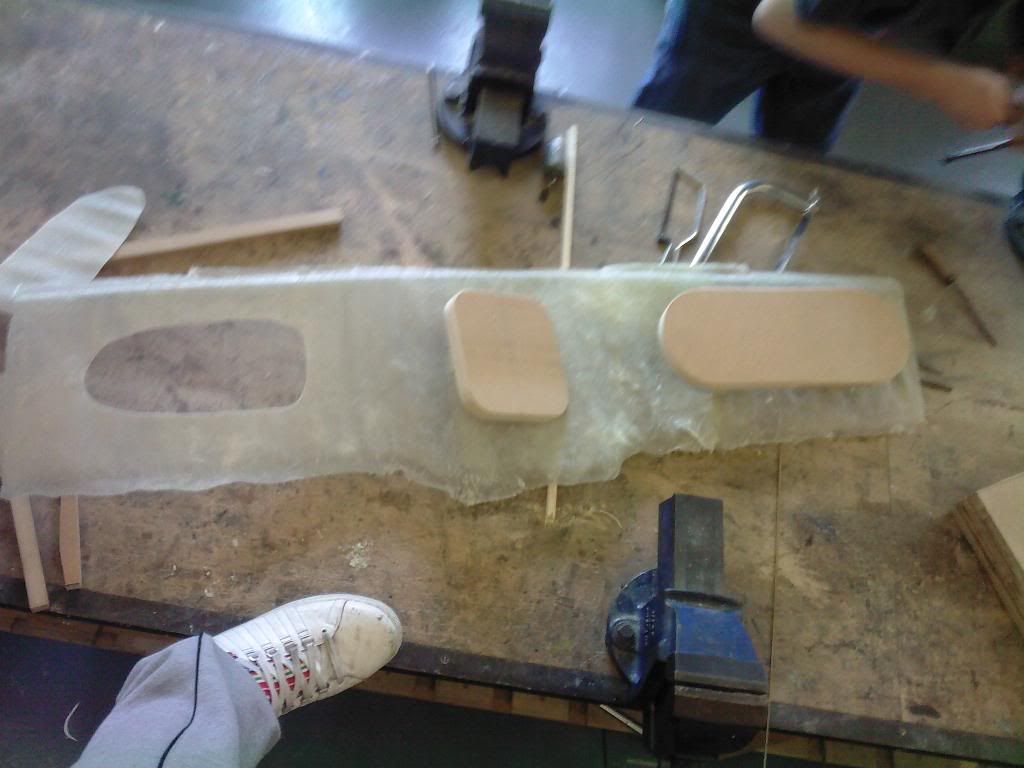
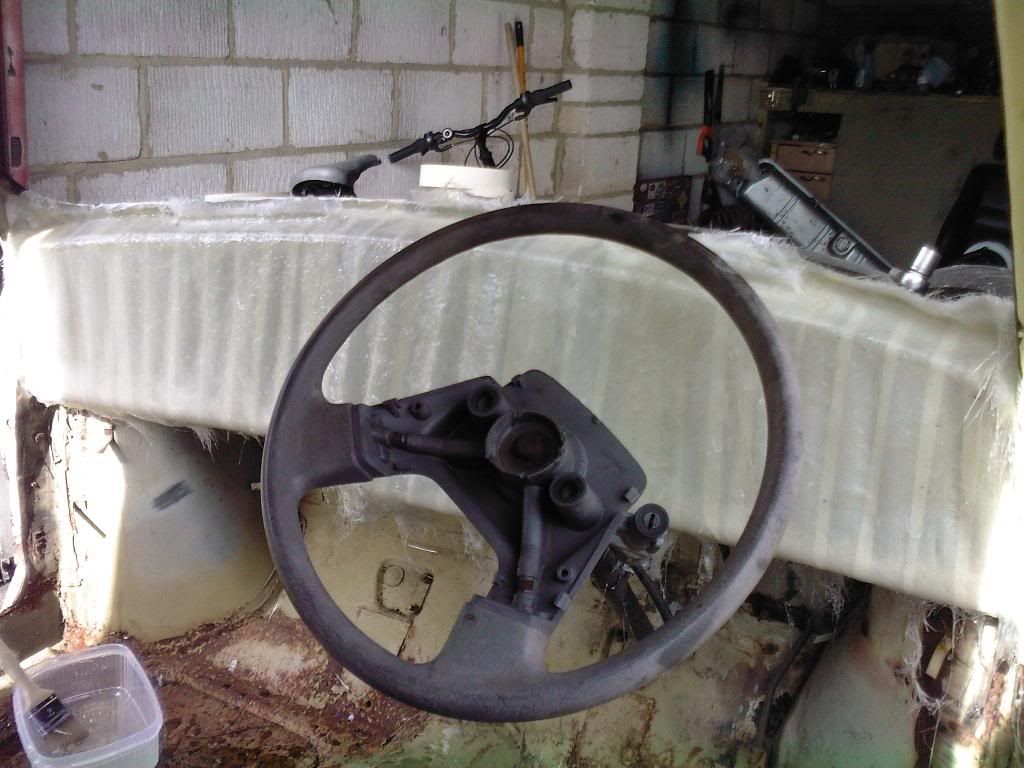
Once they were all fixed in place i pulled some fleece material tightly over everything and glued this in place. I then applied the resin/catalyst to the fleece material.
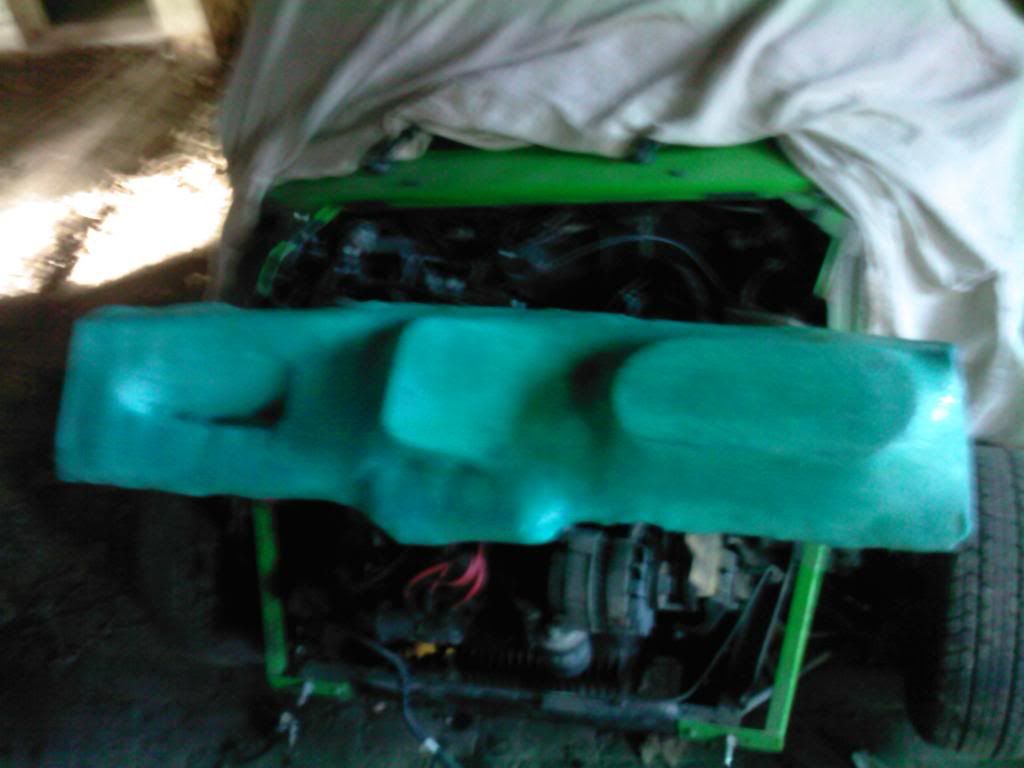
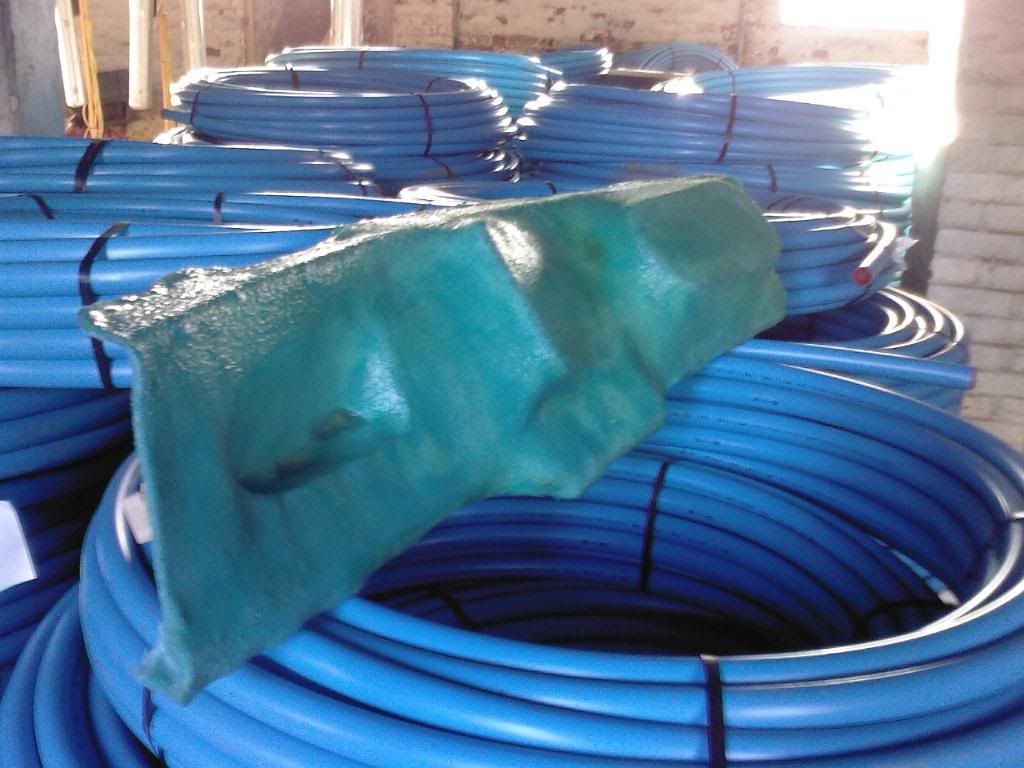
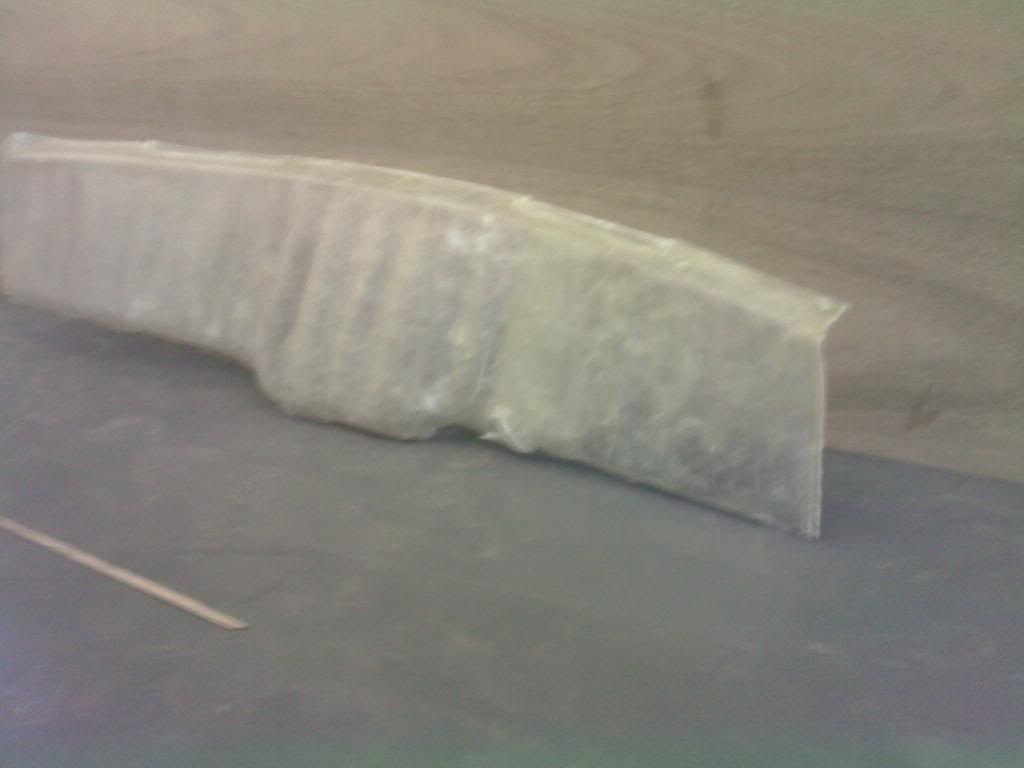
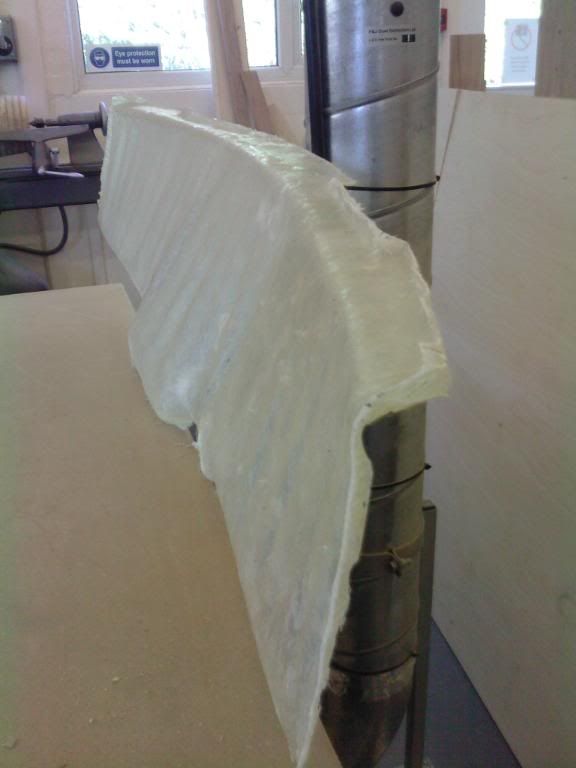
Once the resin had set i started to sand back the whole thing.
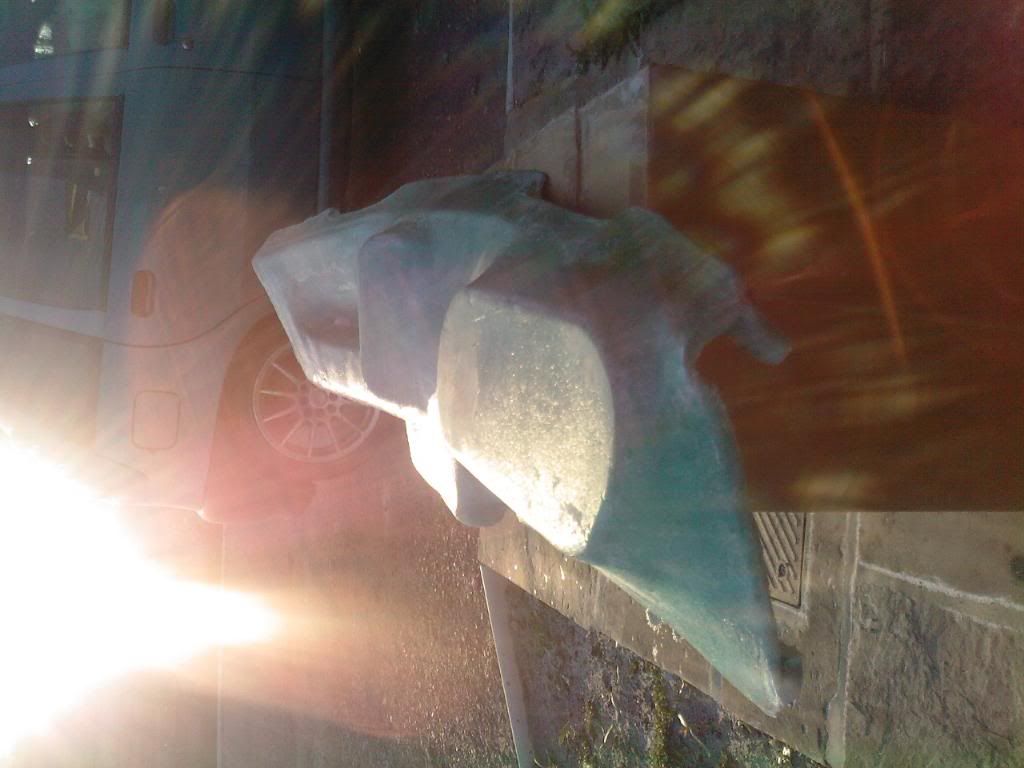
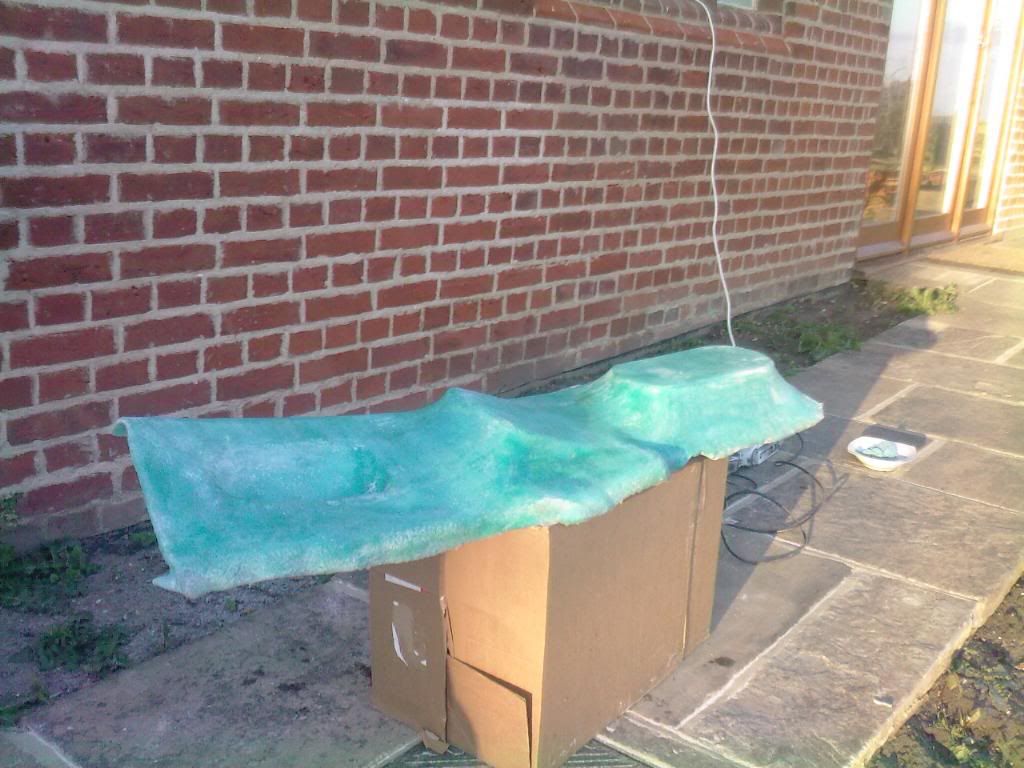
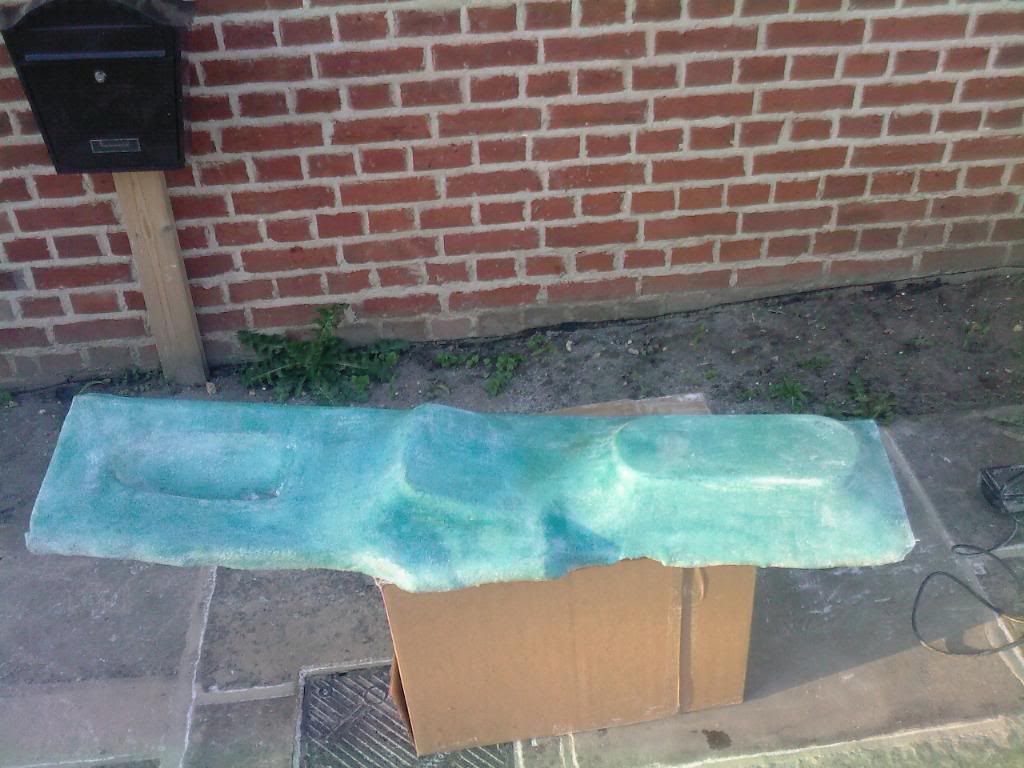
This is as far as i have got at the moment, but when i get the chance ill fill the imperfections on the dash, from this stage ill then apply relies wax to the plug and apply the gel coat, the fiberglass over this to create a mold. I will do about 3-4 layers of fiberglass matting to make the mold. then i will add relies wax to the side of the mold where the gel coat is, then start creating the actual dash, but ill update this as i do more.
If people are interested ill make a proper guide once i have completed the dash.
Things iv already got that i will be changing:
LCB manifold
Sump guard protector
fiesta break setup (ill get the calipers re-furbished though)
Things to order when iv sold the van and other bits:
Carbon fiber, or if i can find on Kevlar roof skin
CF or Kevlar (depending on roof) bonnet showing wave
All the gaskets and engine parts for the 1380 re-build
New carpet set
New buckets
New wheels
New tyres
Harnesses
Well the last couple of days iv been working on a fiberglass dashboard. And this is a small guide to what i have done so far.
Making the Plug
First up i masked off the mini dash area, as if to fill the hole between the dash rails.
I then mixed up the resin and cut the matting to shape, im doing this to make sure the dash would fit nicely when the actual dash is come to fit.
Once the matting was cut to shape i put this in place and applies the resin/catalyst.
I then left this to set and removed it from the mini. once removed i cleaned up the edges of the fiberglass to make it look a bit nice.
I then started to make the different shapes of bits i wanted the dash to have and fixed these in place, i also cut a hole for the glove box.
Once they were all fixed in place i pulled some fleece material tightly over everything and glued this in place. I then applied the resin/catalyst to the fleece material.
Once the resin had set i started to sand back the whole thing.
This is as far as i have got at the moment, but when i get the chance ill fill the imperfections on the dash, from this stage ill then apply relies wax to the plug and apply the gel coat, the fiberglass over this to create a mold. I will do about 3-4 layers of fiberglass matting to make the mold. then i will add relies wax to the side of the mold where the gel coat is, then start creating the actual dash, but ill update this as i do more.
If people are interested ill make a proper guide once i have completed the dash.


1 user(s) are reading this topic
0 members, 1 guests, 0 anonymous users


