Jump to content


Photo
- - - - -

1960 Austin Seven. Us Spec Ex Scca Car


  • Please log in to reply
159 replies to this topic

#46 Chappers

Chappers

    Mini Mad

  • Noobies
  • PipPipPipPip
  • 129 posts
  • Location: Columbus, IN

Posted 01 July 2016 - 02:39 AM

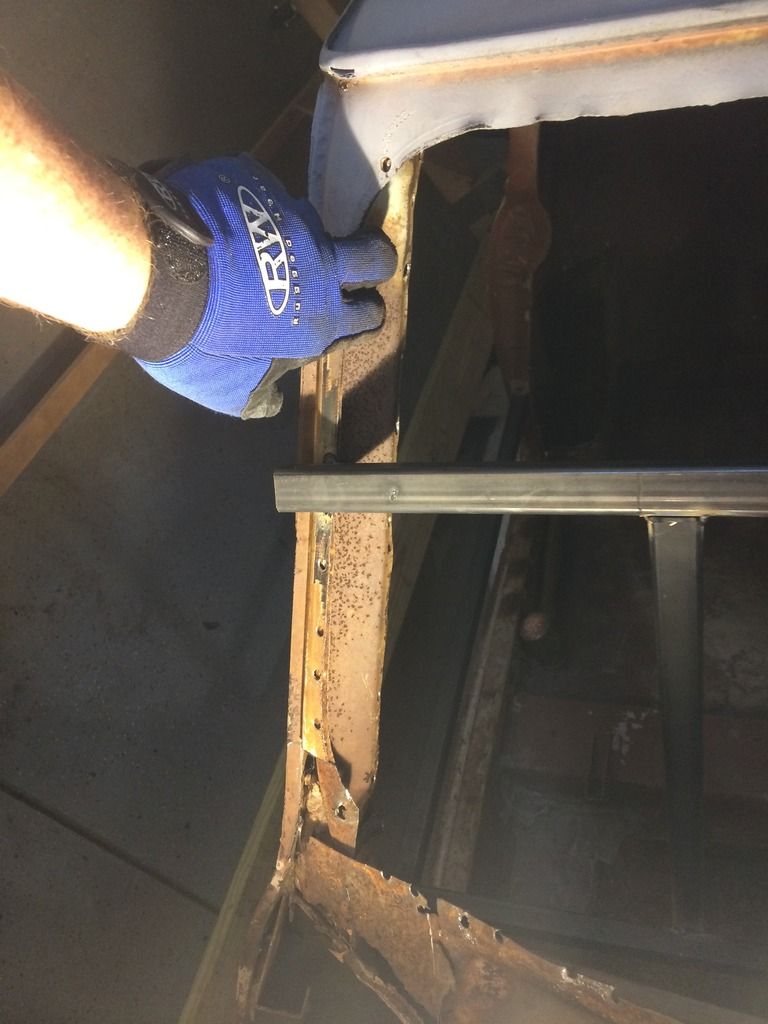
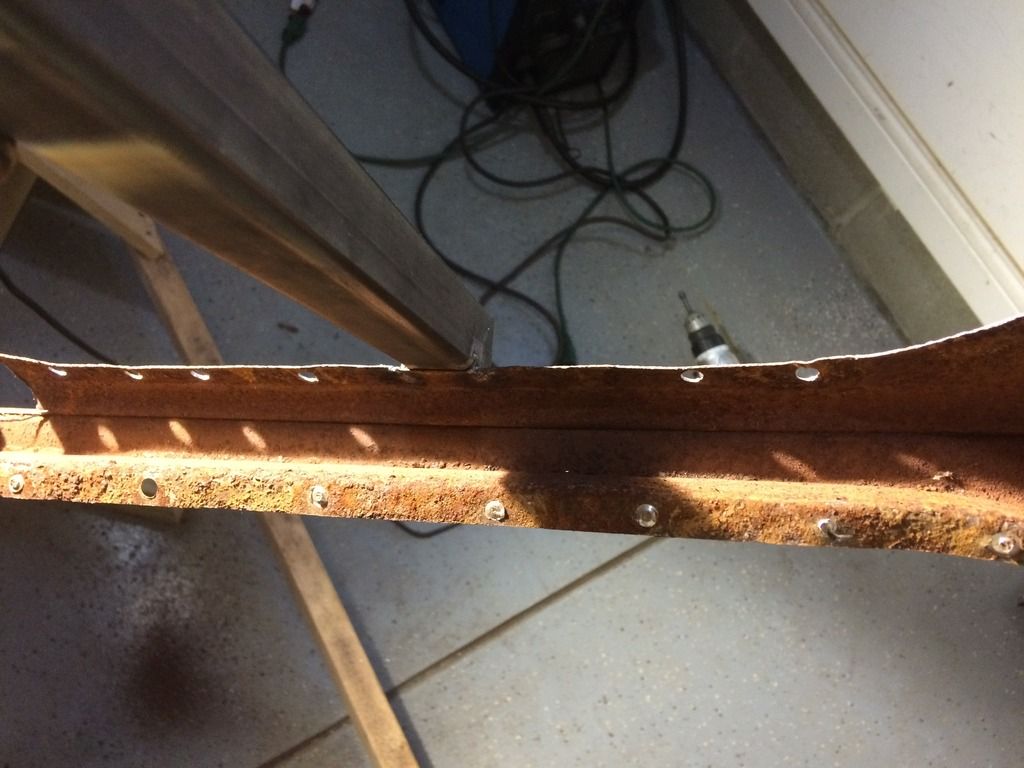
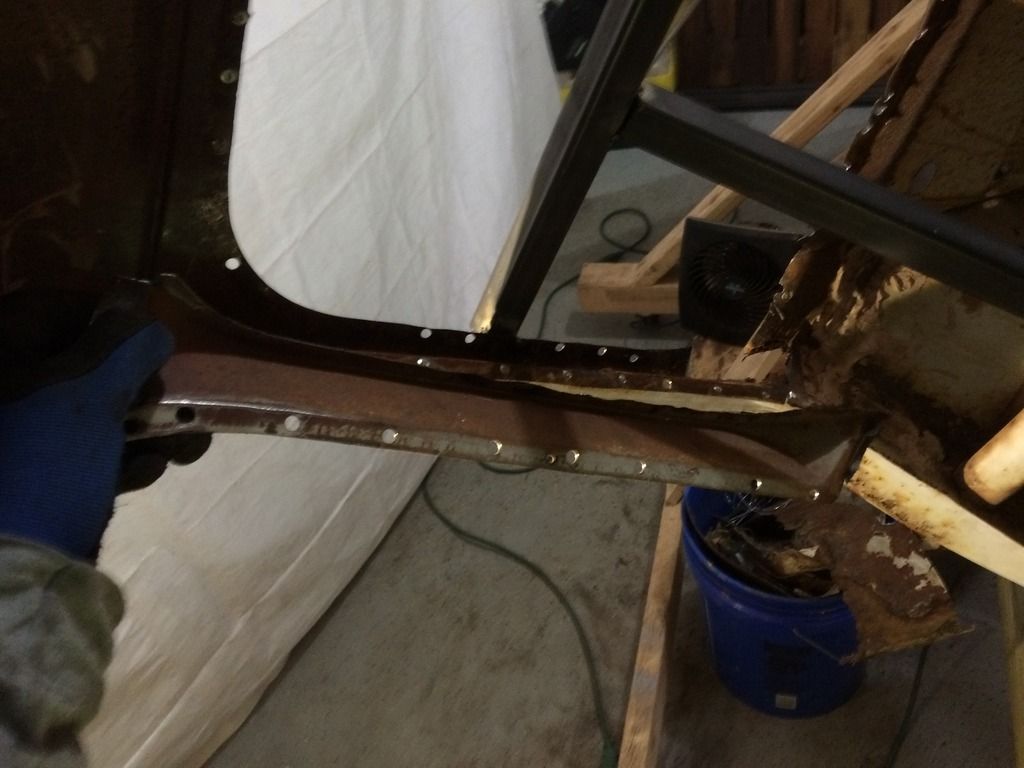
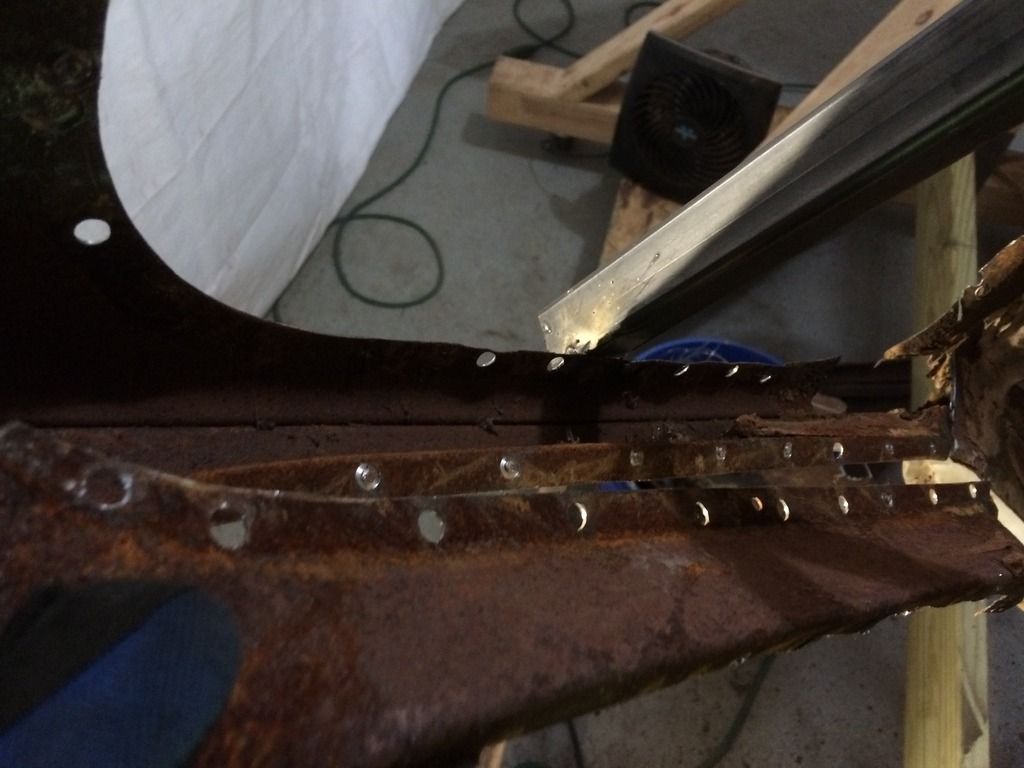
Not much progress today, but I did manage to remove 1 inner a post panel to unearth some more of our ferrous friend that was lurking inside.

And I realized i have to take more steps forward to go...erm....backwards, I will explain.


I was worried that i had put the bracing bar over the spot weld i needed to drill out, but I got lucky and placed it right in the middle of 2.

72F955E6-BA1D-4083-8376-544B7112E56D_zps


7E259B01-8068-4F65-AEA1-2D16AA00CFA4_zps


Inner panel removed

A3A584E2-1B28-445D-9F06-C92F759E79F6_zps


Furry inside

29A66755-303B-4347-9709-03501709AC19_zps


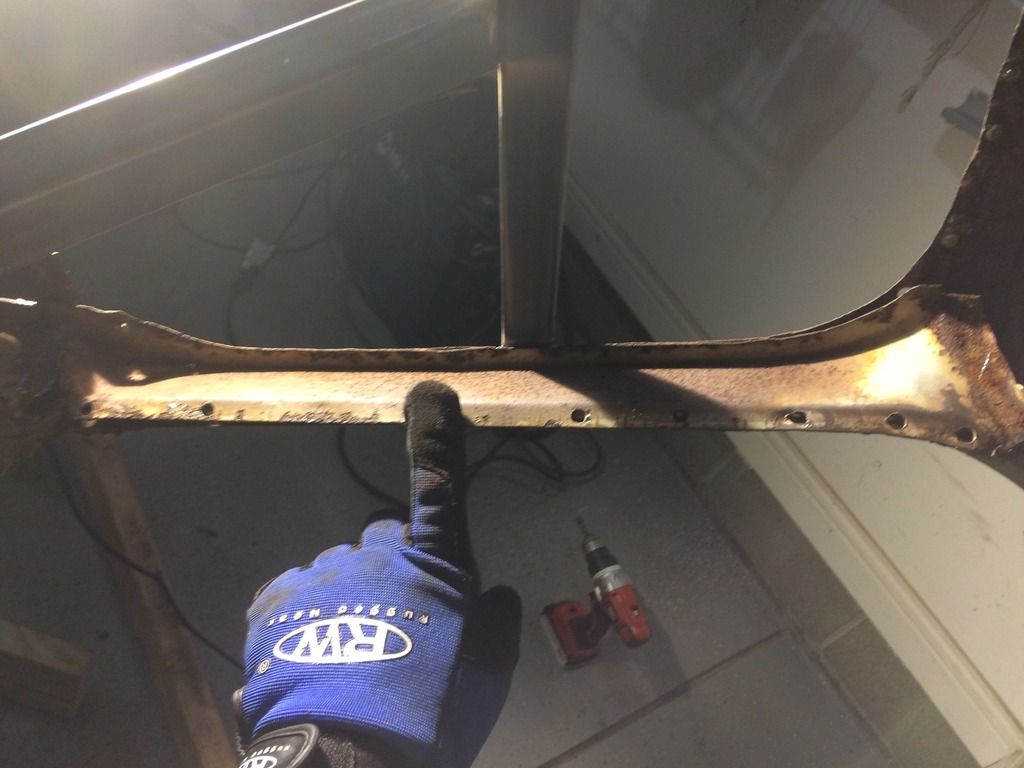
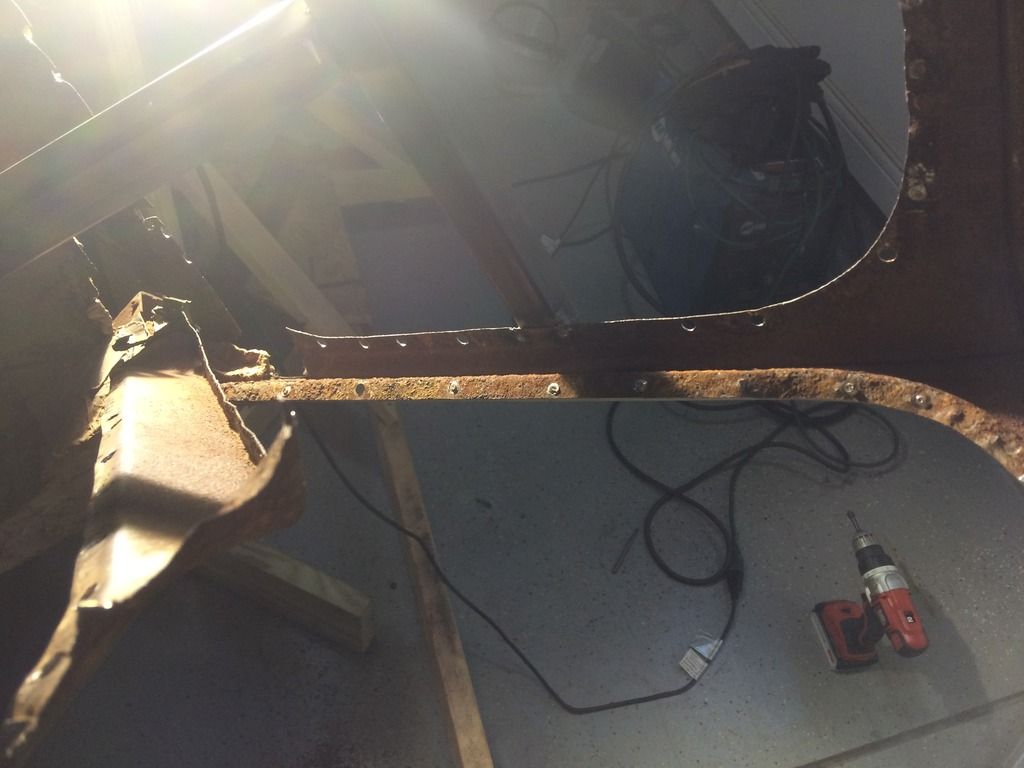
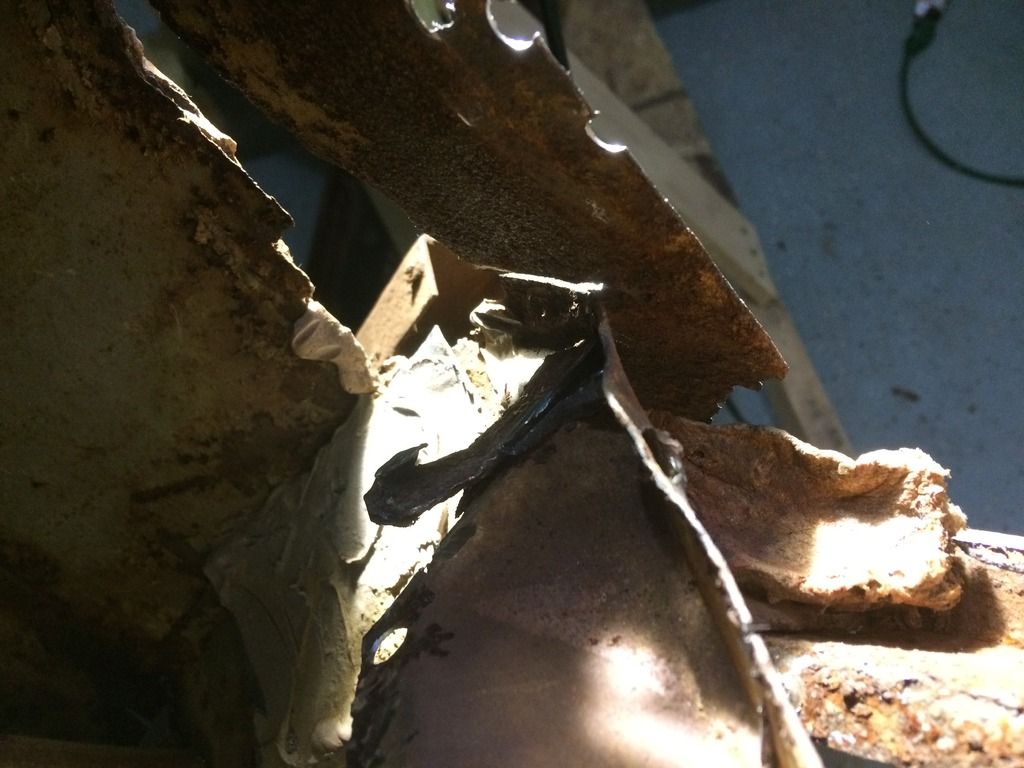
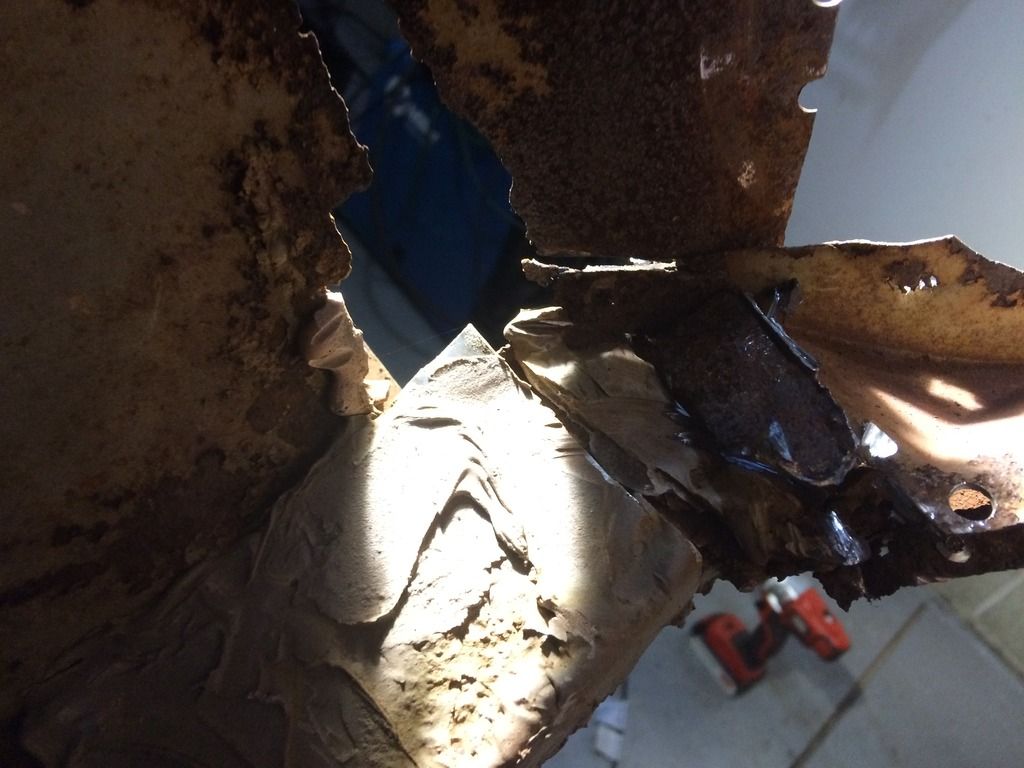
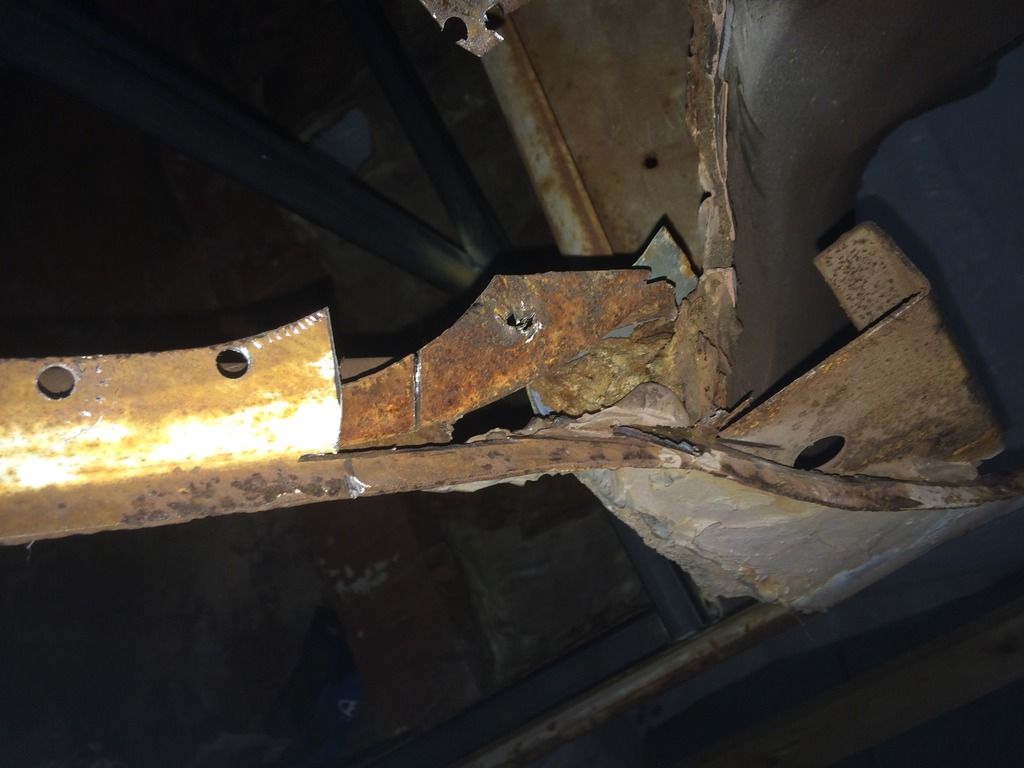
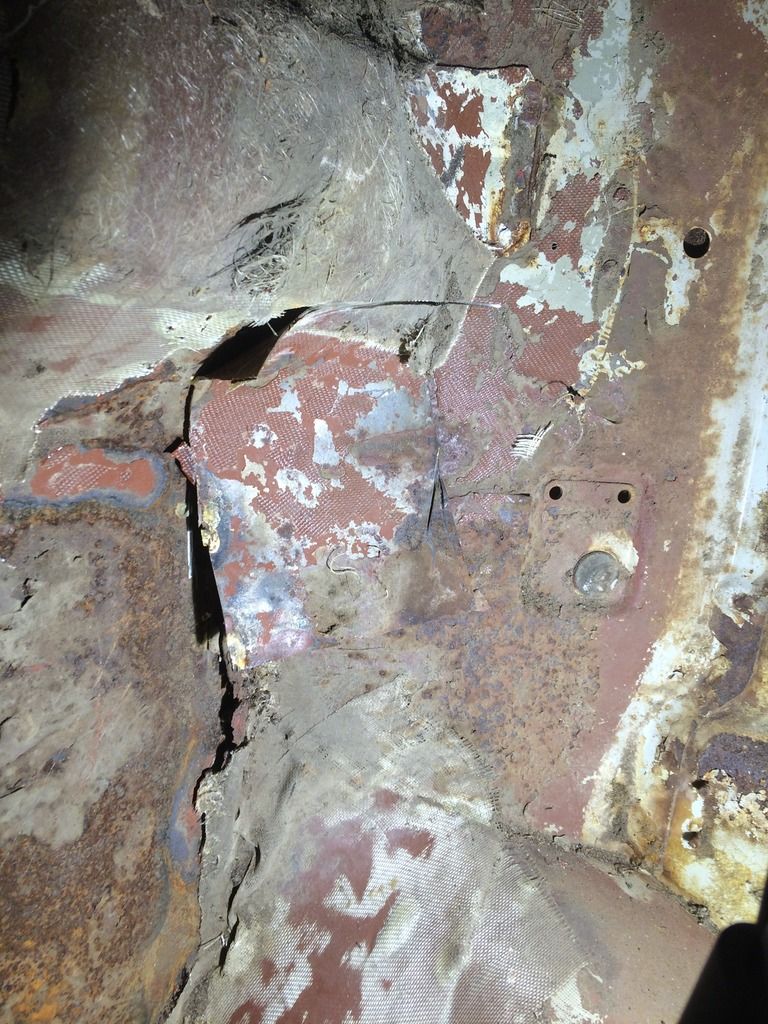
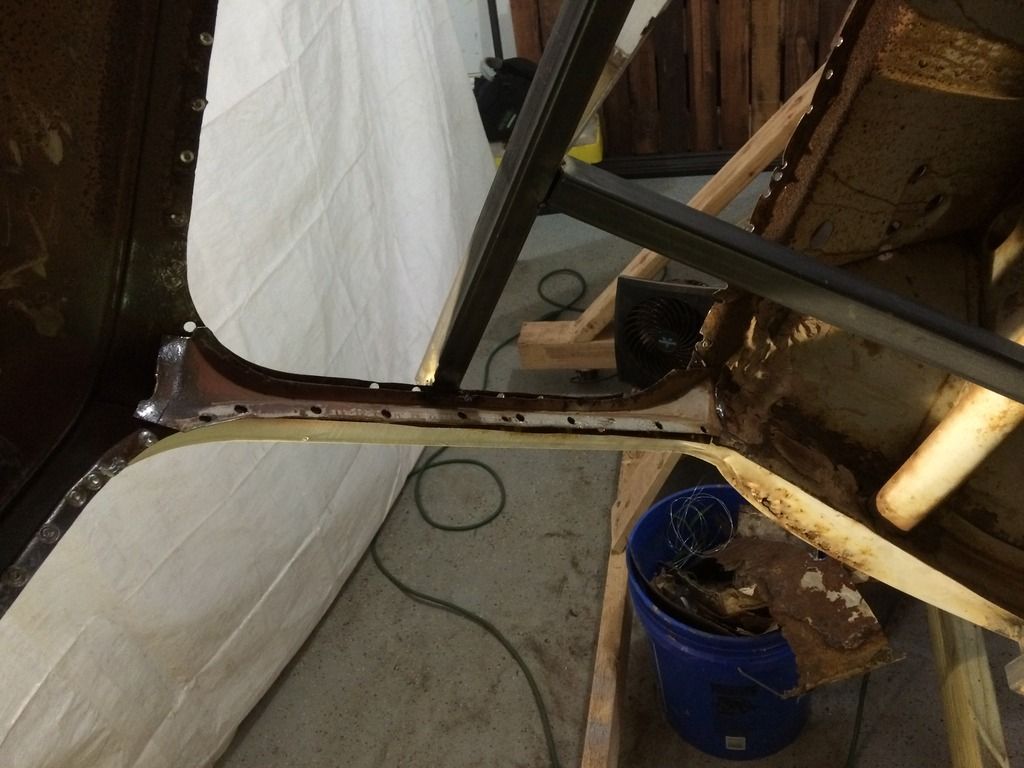
Eugh what a mess where the A post meets the bulkhead and the inner wing.

9EF9C2C3-793F-4908-9ED3-63180D533A77_zps


Not much holding this all together, and that patch that looks like filler at the bottom of the photo is just that, a metal patch glued on with filler.

549F2CCC-E1F5-4FC5-995C-1D665CE9A6DB_zps


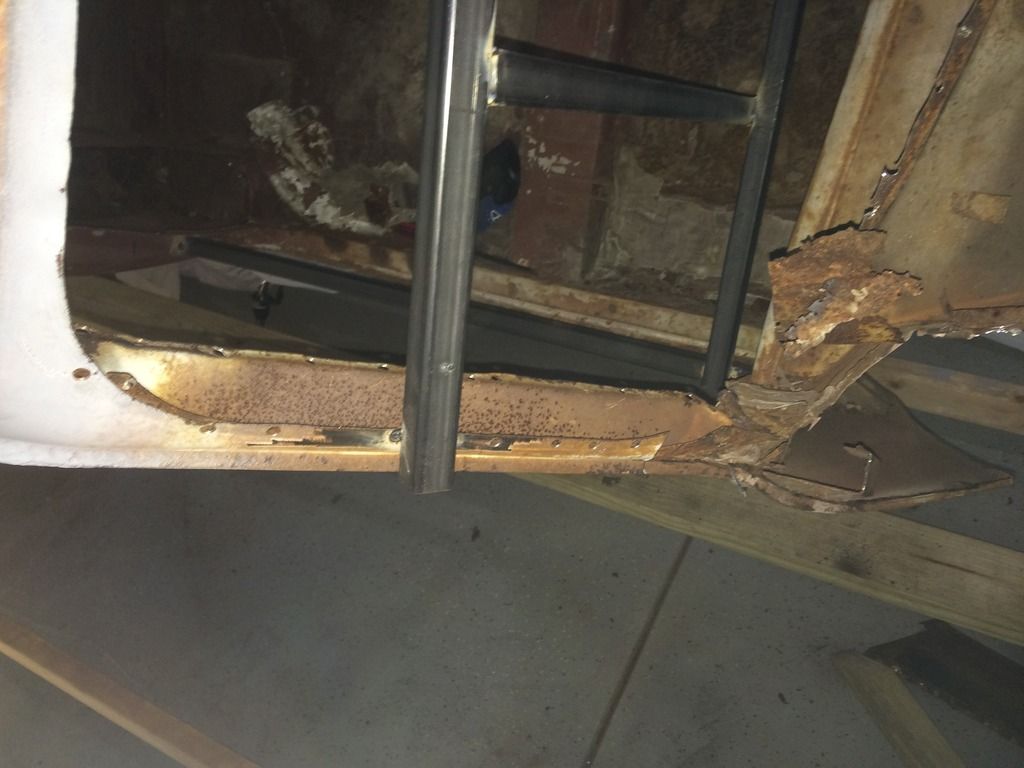
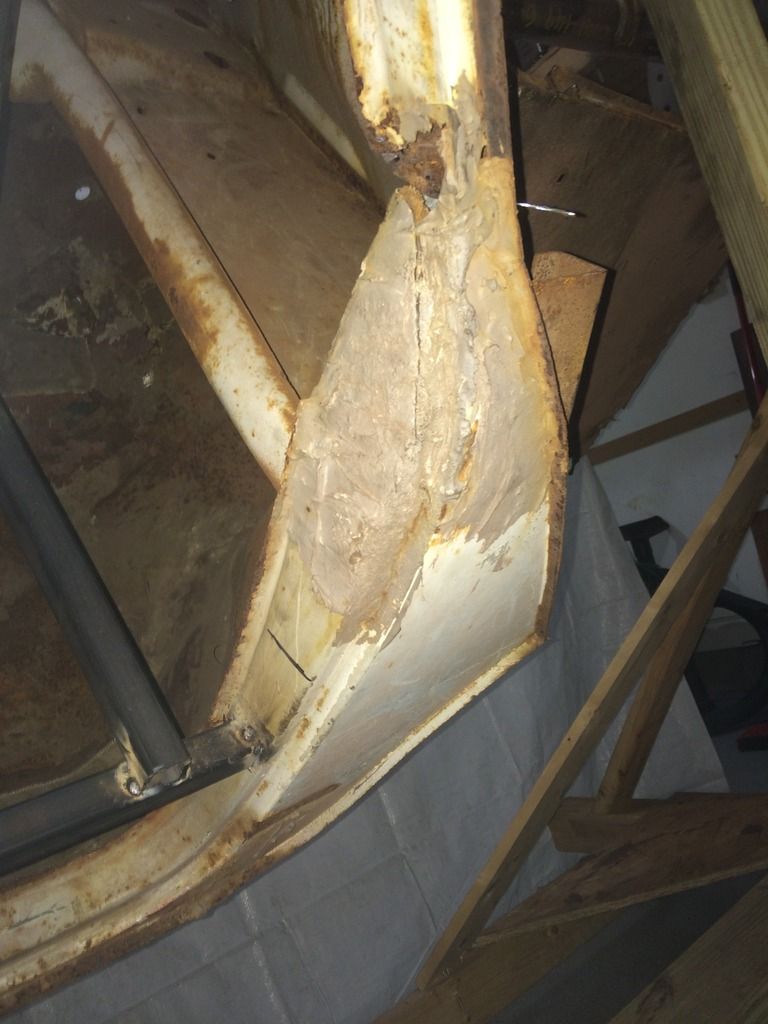
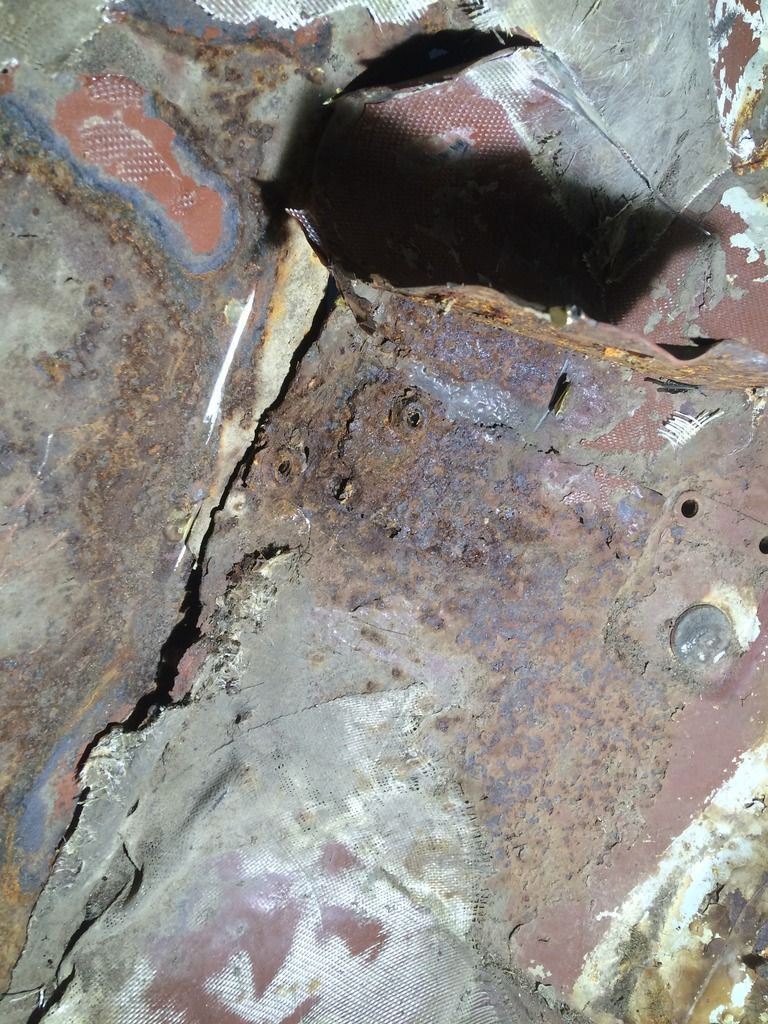
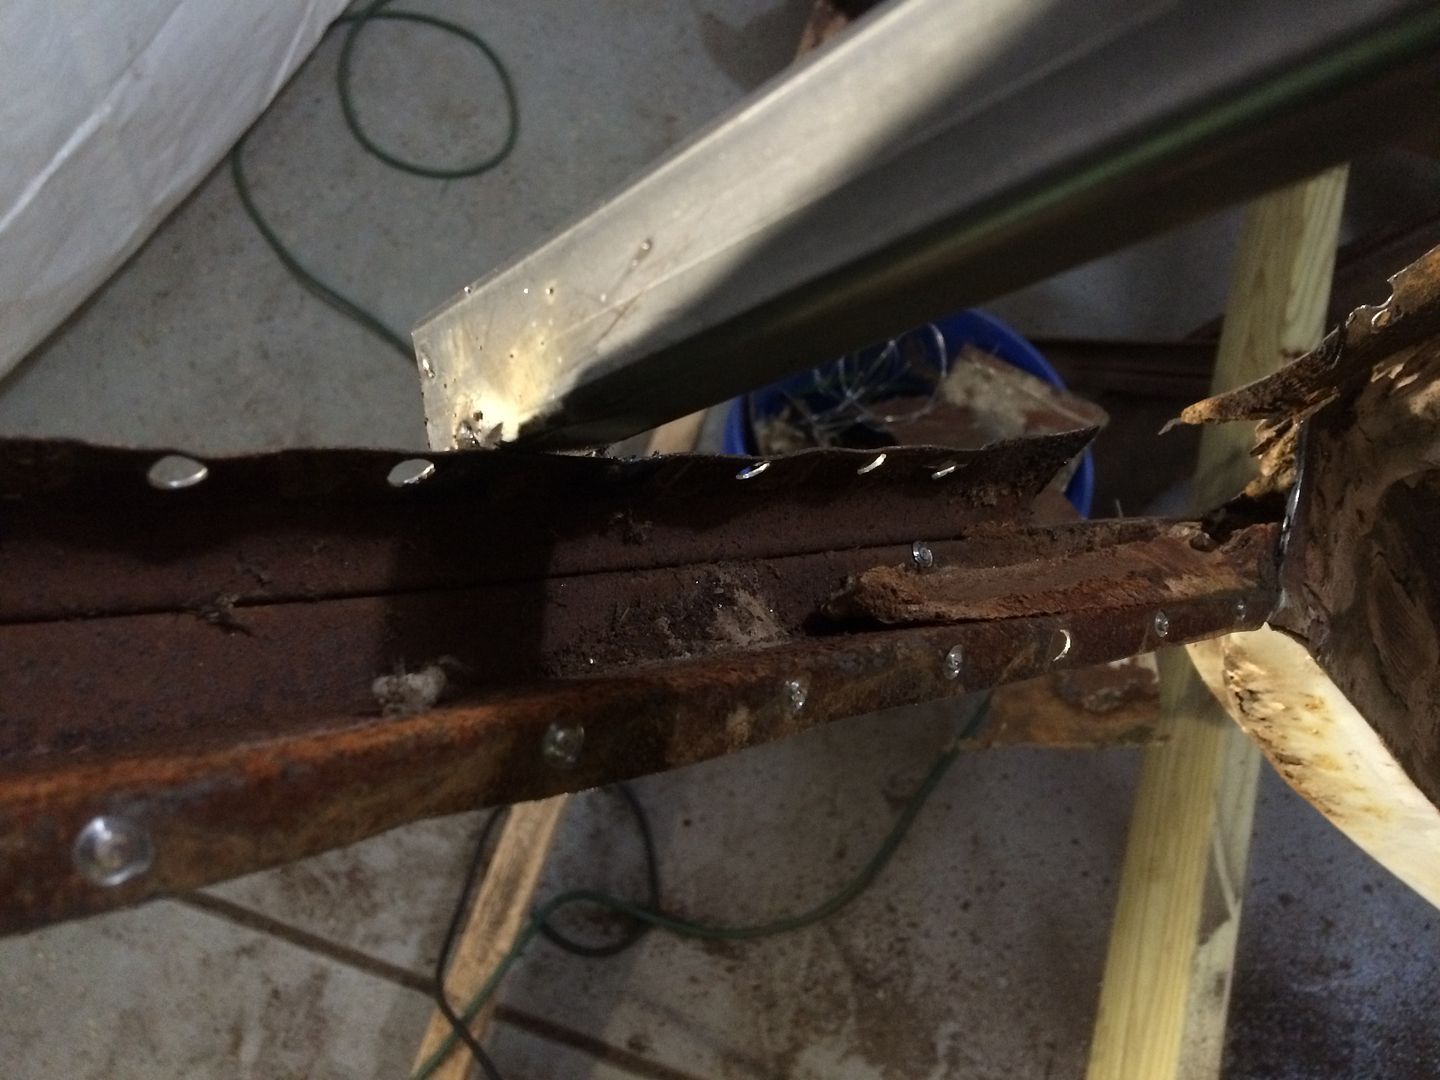
Top down view of the outer A post and how it connects (or lack thereof) to the rest of the shell.

4664C823-390B-4E2C-BBEB-1A7A07C34DF6_zps


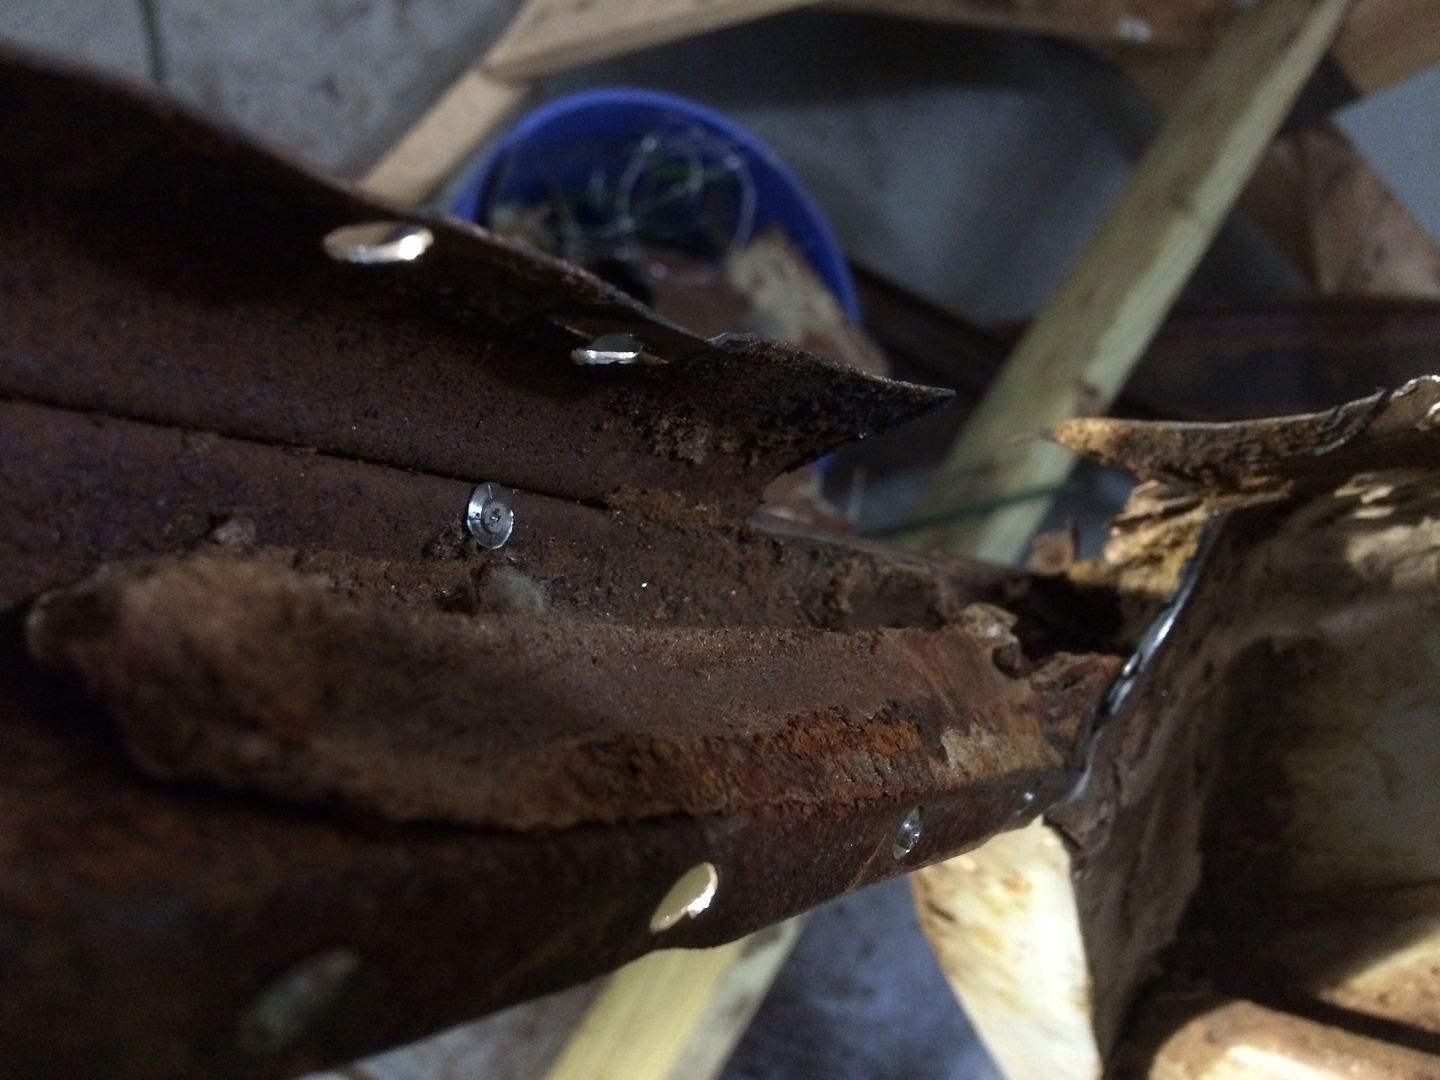
Front view of the connection

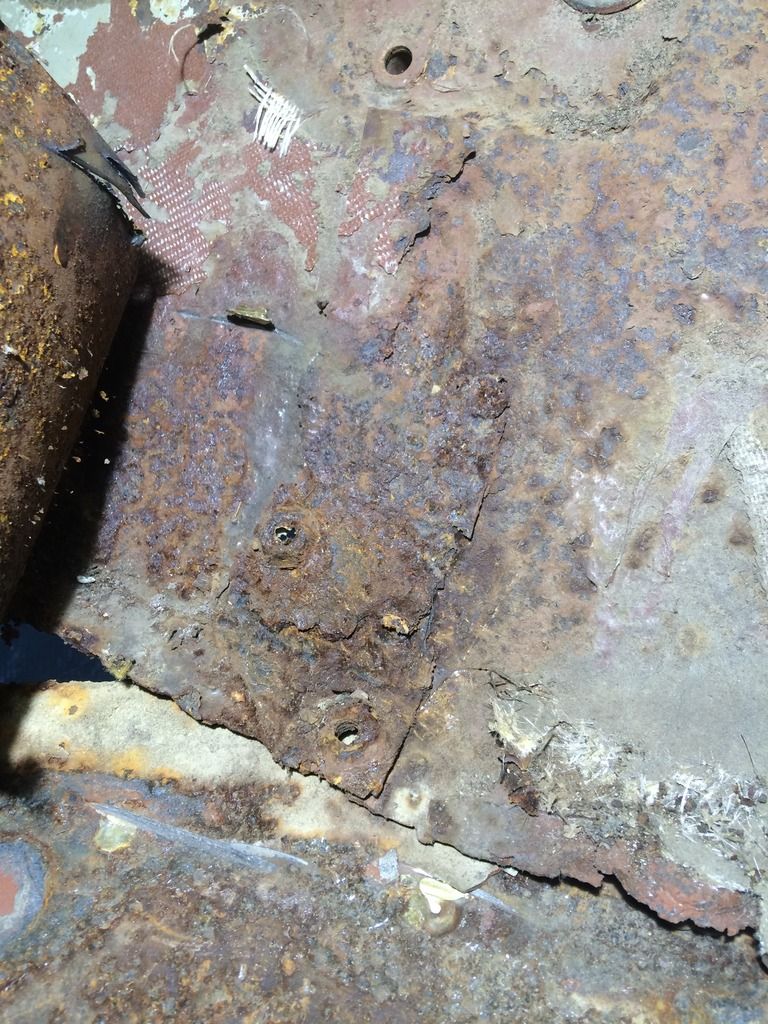
35F2F26C-8FAF-42FB-A89A-D2FA4A6D0576_zps


This mess, eugh

06BC5AC5-AFE4-4C07-86E0-2A26361ADB9E_zps


So, how do I clean up the insides of the A post, weld it back on and connect it to the inner wings and the A panel? But as the A panel and door frame need replacing anyhow, why bother? 

My door bracing and the cross brace across the shell is tied to the A panel and door frame area too. So cutting it off and replacing it for new might be a challenge as it will jeopardize the upper A post real position I'm trying to maintain with the bracing! Chicken and the Egg scenario.


Or could I brace from somewhere else close to the door frame point? How about the sub frame mounting points in the floor/toeboard?

Nah, they are probably long gone when the floor was bodged in the 70s, right?

Wrong.......


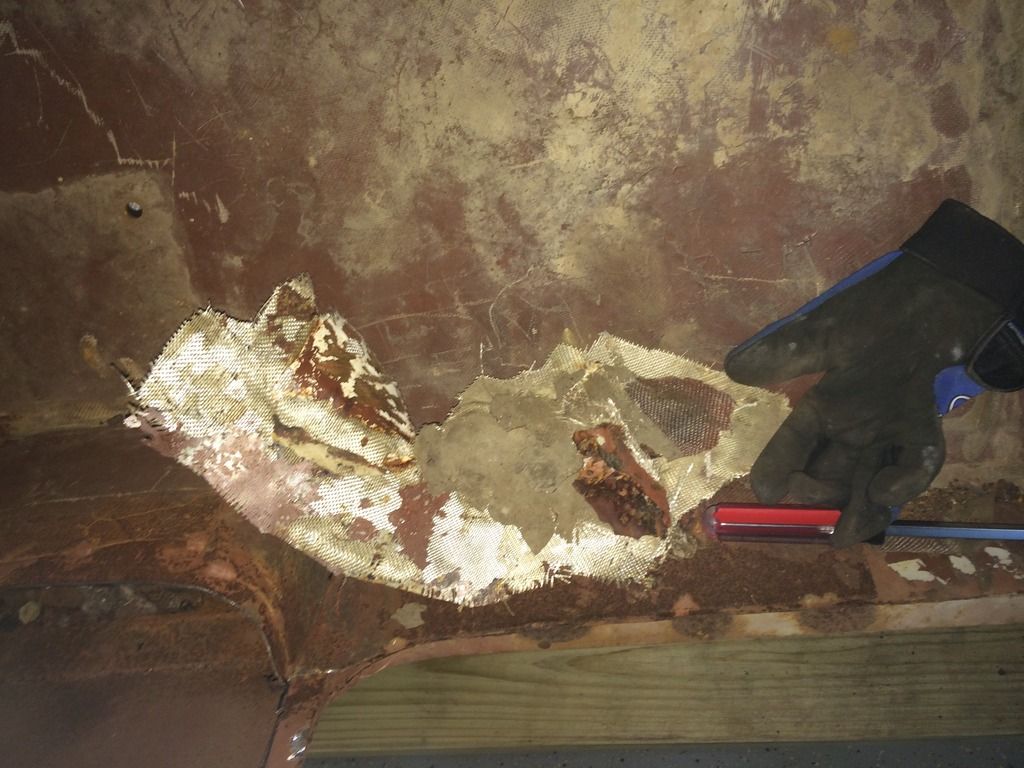
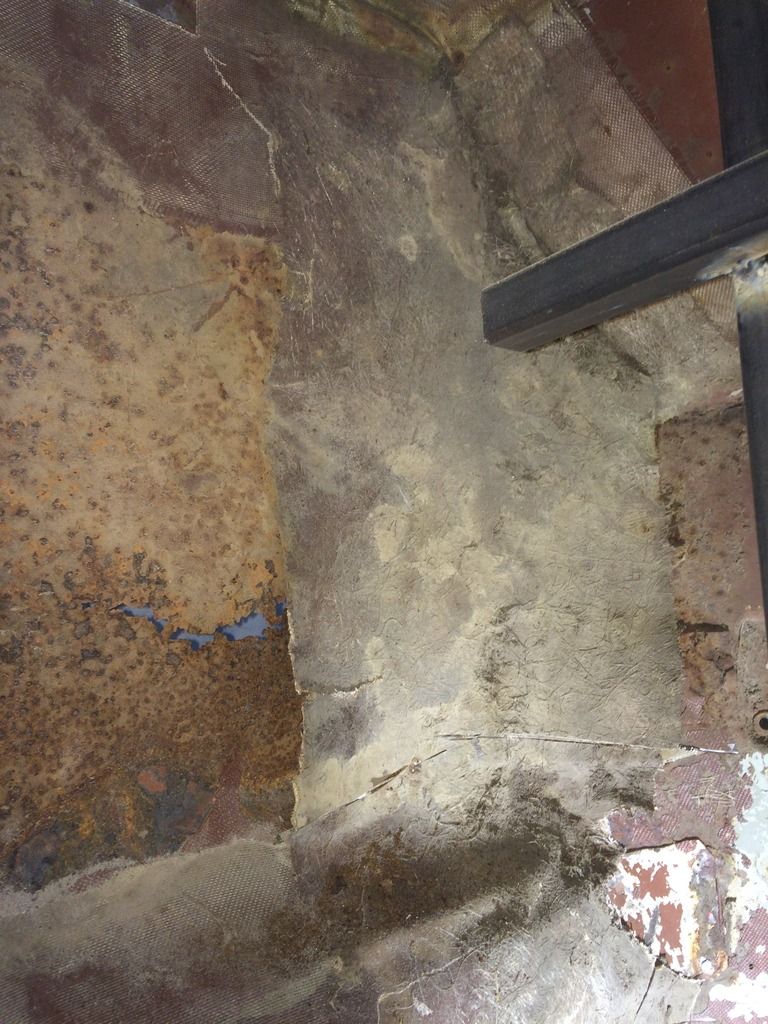
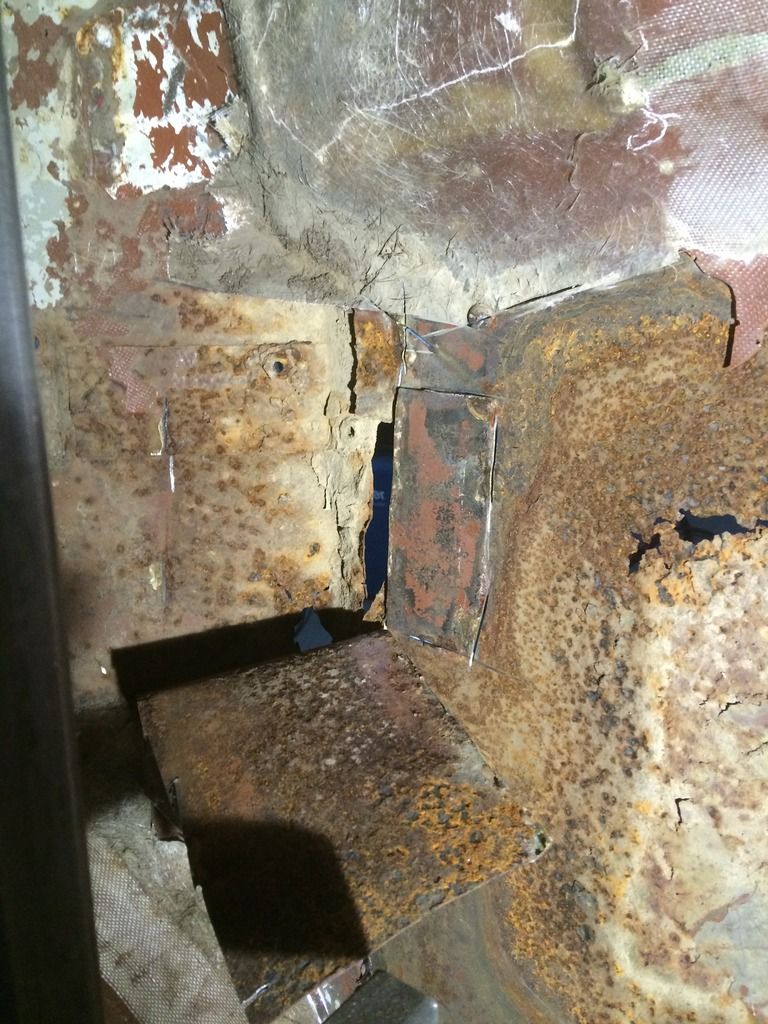
Here's what I was faced with, the 'replacement' floor has been covered with fiberglass, but I started to chip away at it and managed to pull away loads to unearth a patch, brazed on.

3C097FA7-3F6D-4157-AA08-991CABD92547_zps


Here's the patch, difficult to see, in the centre of the picture.

455CAA5E-0D14-41E1-9EE4-4FC544BD70B9_zps


And here's some of the 1970s fibreglass work ripped off

5027AC9C-A37C-4860-84F1-C481327BCDC3_zps


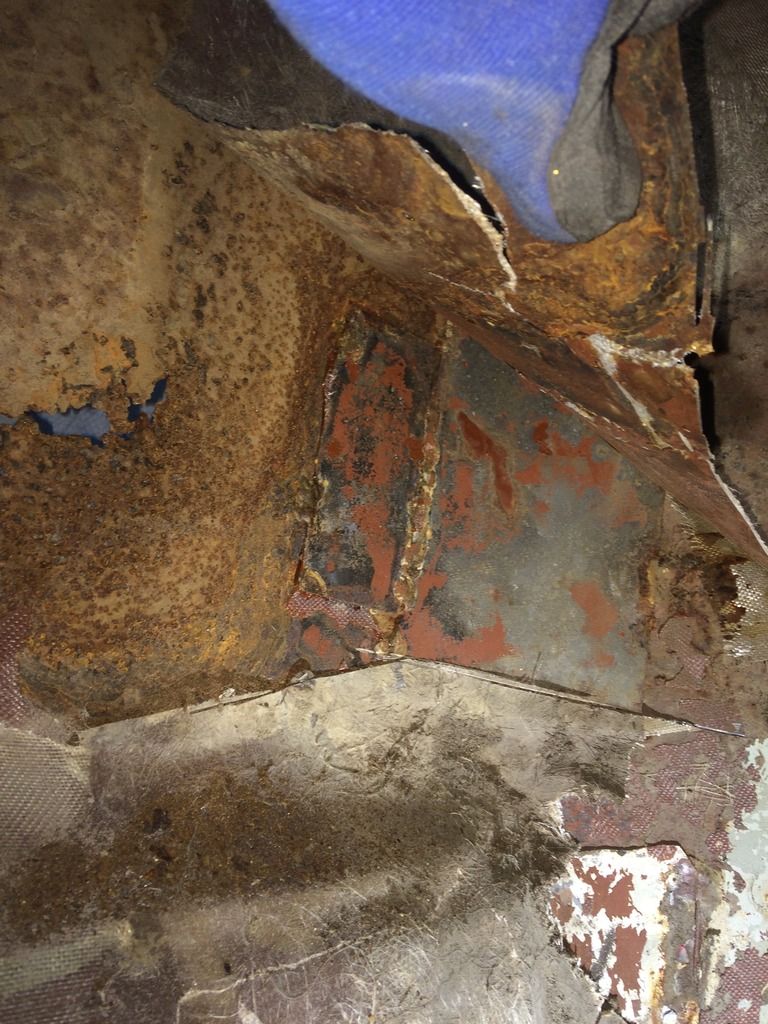
I started to cut and pull the patch away

A8321603-3915-48D9-8072-0B5F1E1A9A70_zps


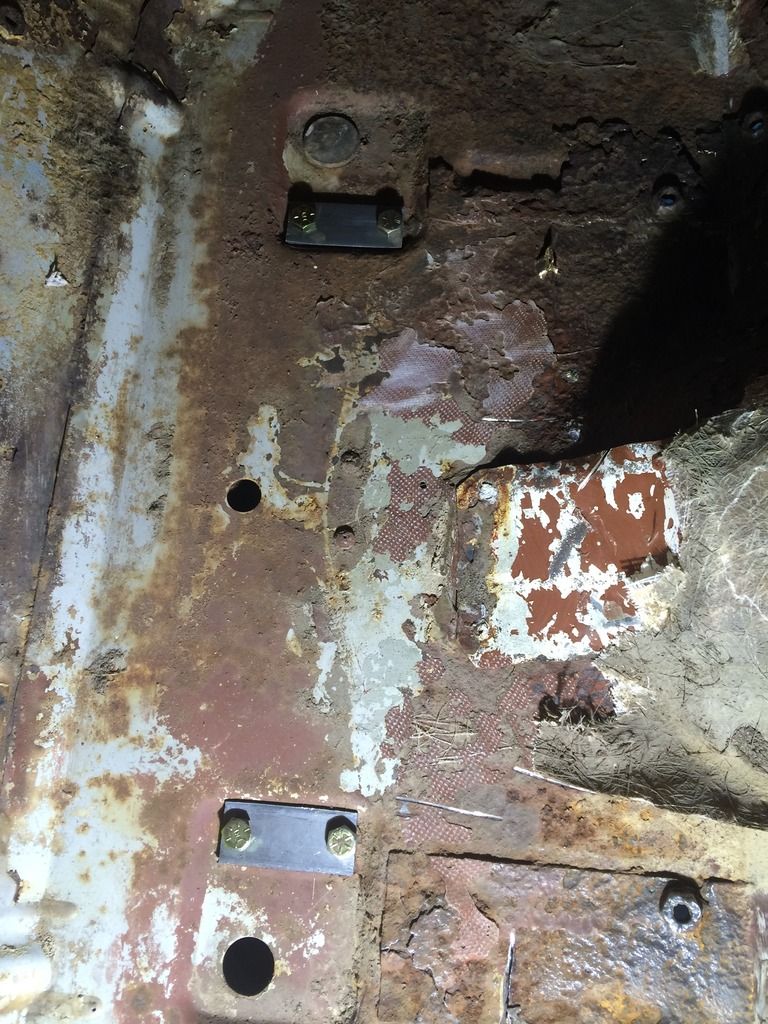
Finally unearthed the subframe captive nuts on the toeboard!

FAA6DDC0-B9C2-4A79-9D19-44F7D56094CB_zps


Rusty, but they are there!

D659BBCA-6527-426C-BC36-CCD20D4E9183_zps


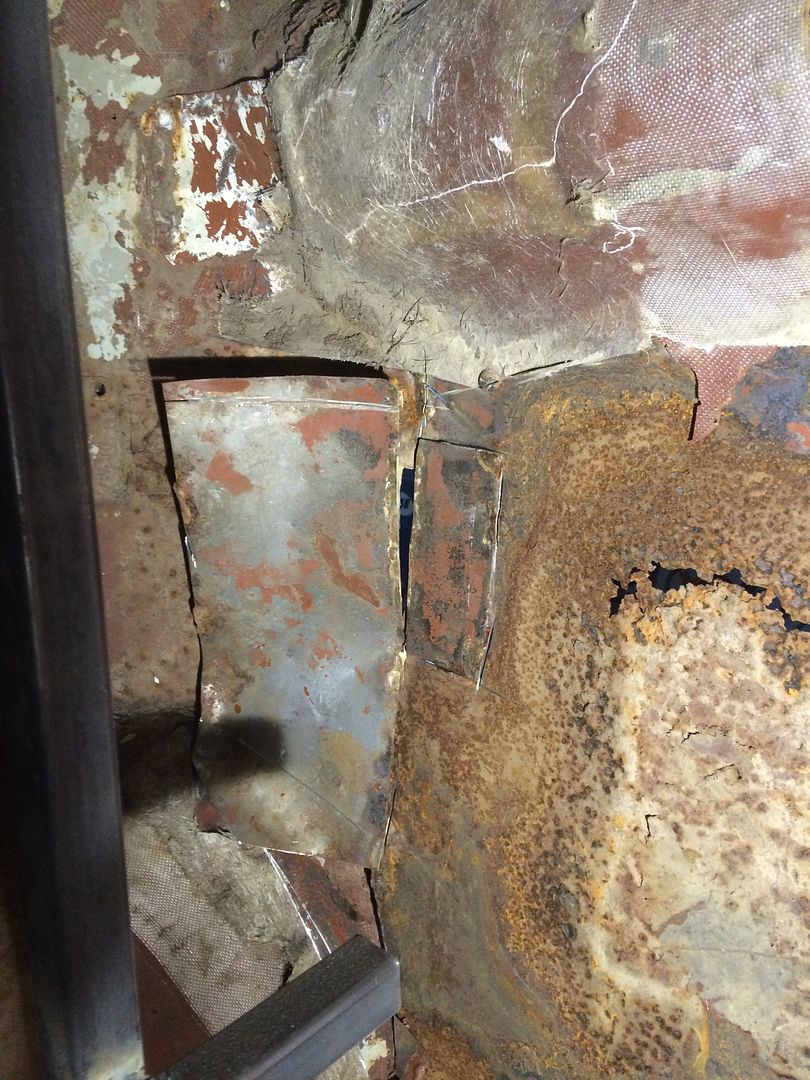
I started on the drivers side

8C81846C-E4A1-404B-8540-7996E6EFDA02_zps


Cut away the fibreglass, to find a big patch again brazed onto the floor, just covering the nuts.

9CABF852-0BB4-4C41-9F8E-AD2717213553_zps


That's as far as I got this evening, as my next job would be to fire up the grinder to get that patch off.


The next job is to make some pickup points from the cross brace down to the 2 subframe mounts on the toe board, that way I can undo the welds on the bracing from the A panels to replace those and get them back exactly where the old ones went and tie then it all back to the A posts. 

I can also then, if I want, cut the toe board off and replace or restore or whatever and put it back exactly where it went.


Then I can start to refit the cant rails and inner B posts (basically the reverse order I removed them)


In other news, I also called M Machine to price up a new floor. The lady I spoke to was very helpful and knowledgeable and asked if I had the early mk1 floor. I said I wasn't sure as it's just a patchwork of crappy panels brazed on and covered in fiberglass in the early 70s. 


But she told me things to look out for to identify it, like the cross member going all the way through the inner sills and the early mk1 floors didn't have separate outer sills, but separate inner sills. I had no idea.


I checked mine and it looks like, yes, I do indeed have the very early mk1 floor. So it will be £650+VAT + shipping to USA converted to dollars in adding up to a lot of money!

Or save a bit on shipping and get it in kit form instead of assembled.


I have a question to you smart chaps, do I have to fit this early mk1 floor or can i just fit the more common later mk1 floor? Are they easily interchangeable into my shell?

The more common mk1 floor is £550+VAT compared to the 1959-1960 floor which is £650+VAT.


Edited by Chappers, 01 July 2016 - 02:49 AM.


#47 jchomme

jchomme

    Stage One Kit Fitted

  • Noobies
  • PipPipPip
  • 99 posts
  • Location: Georgia

Posted 01 July 2016 - 07:12 AM

You shouldn't have to pay VAT, but you'll have to pay a little in customs charges, also, The GBP conversion rate  is the best it has been ever.


So, There are no sills on the exterior and the front seam lip goes inside to out.  I have a hard decision myself about floors and how far I want to take the Originality.  I welded up a floor Using M-machine panels for "practice" but its a later style floor and often contemplate just using it.  Here are some pics of my floor parts for a complete early MK1 floor , note the difference in crossmember .


20160701_024805_zpswwdi8nea.jpg

20160701_024824_1_zpsmcfwft4z.jpg

20160701_024928_zpstxufkt40.jpg

20160701_025035_zpspjistqw5.jpg


#48 Chappers

Chappers

    Mini Mad

  • Noobies
  • PipPipPipPip
  • 129 posts
  • Location: Columbus, IN

Posted 07 July 2016 - 01:22 AM

hey thanks jchomme, so you have 2 different types of floors and you don't know which to fit? Well once you decide which one you're going with I'll be interested in the other!


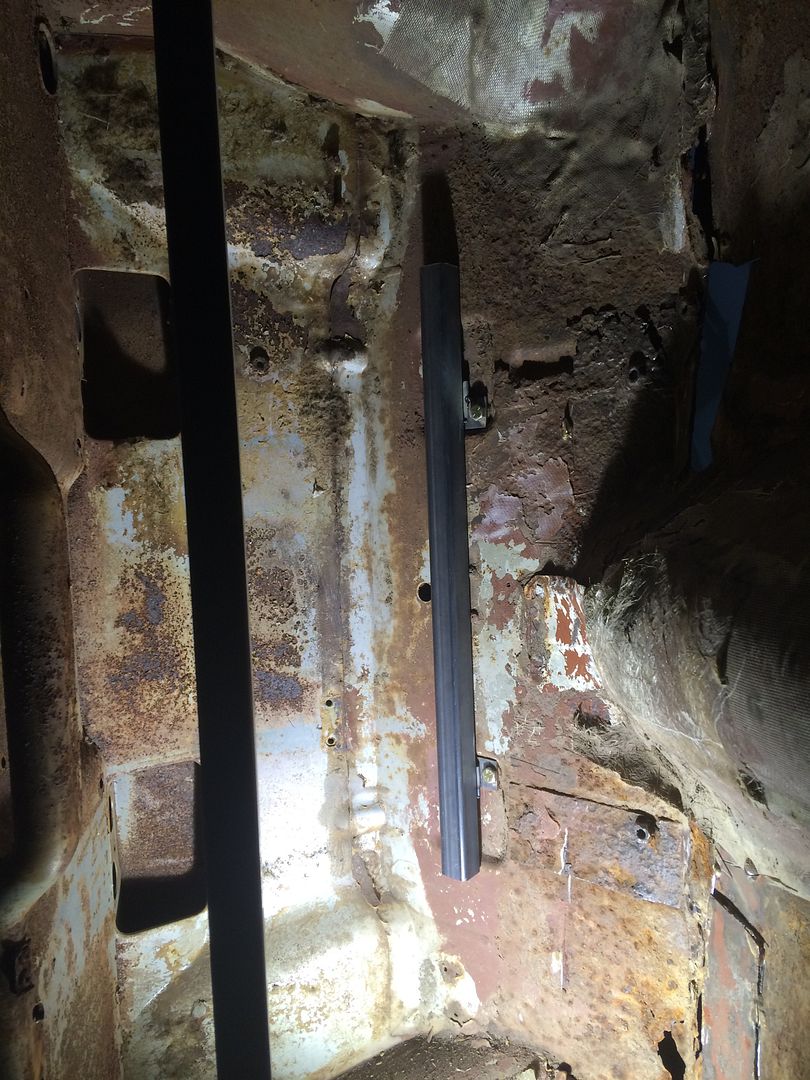
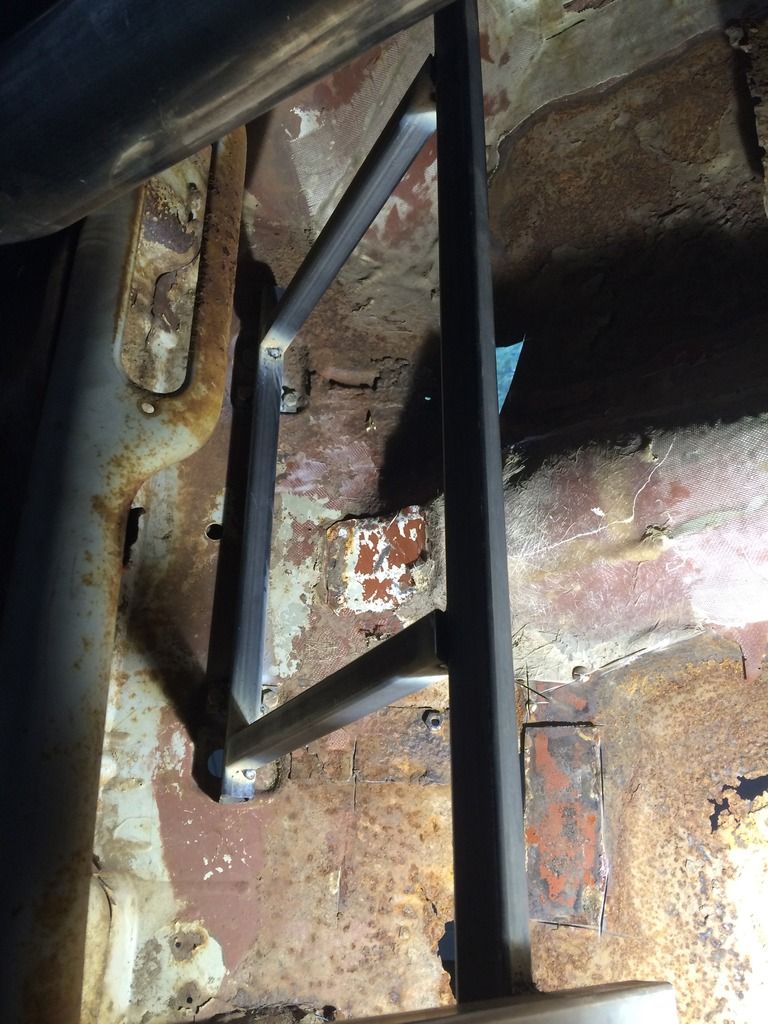
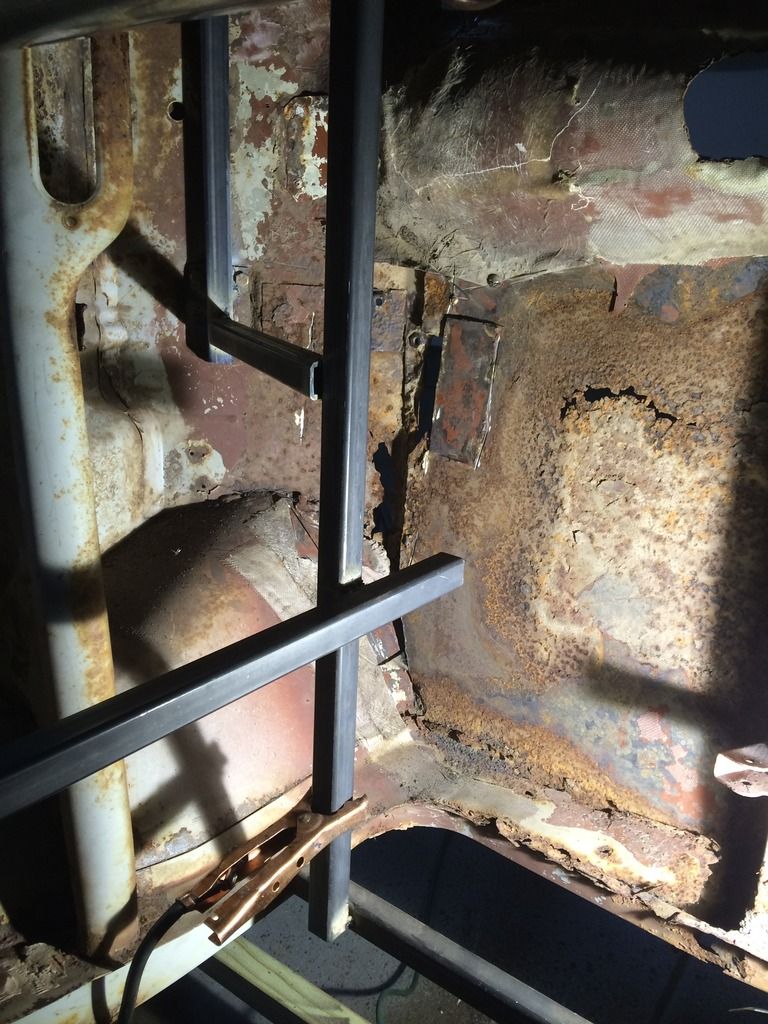
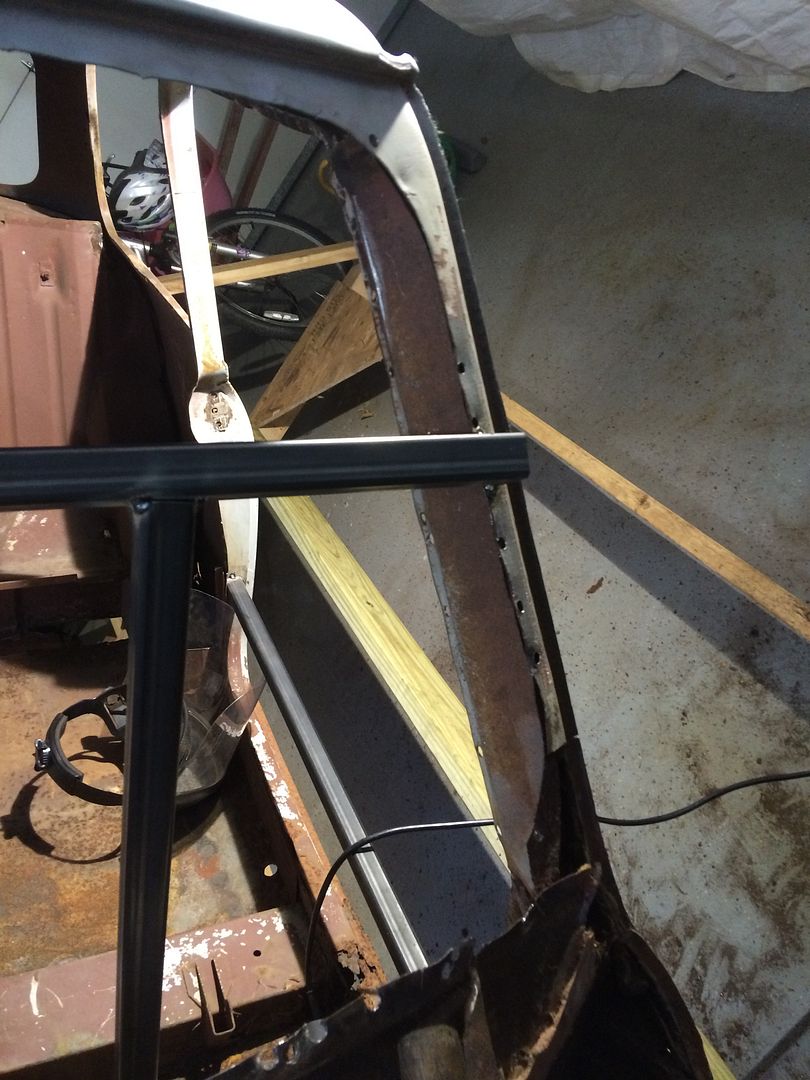
I had a couple of hours tonight to spend working on the unearthing the drivers side rear subframe mounts in the toe board.

FC411149-F51B-445C-9557-D6D42D2115A8_zps

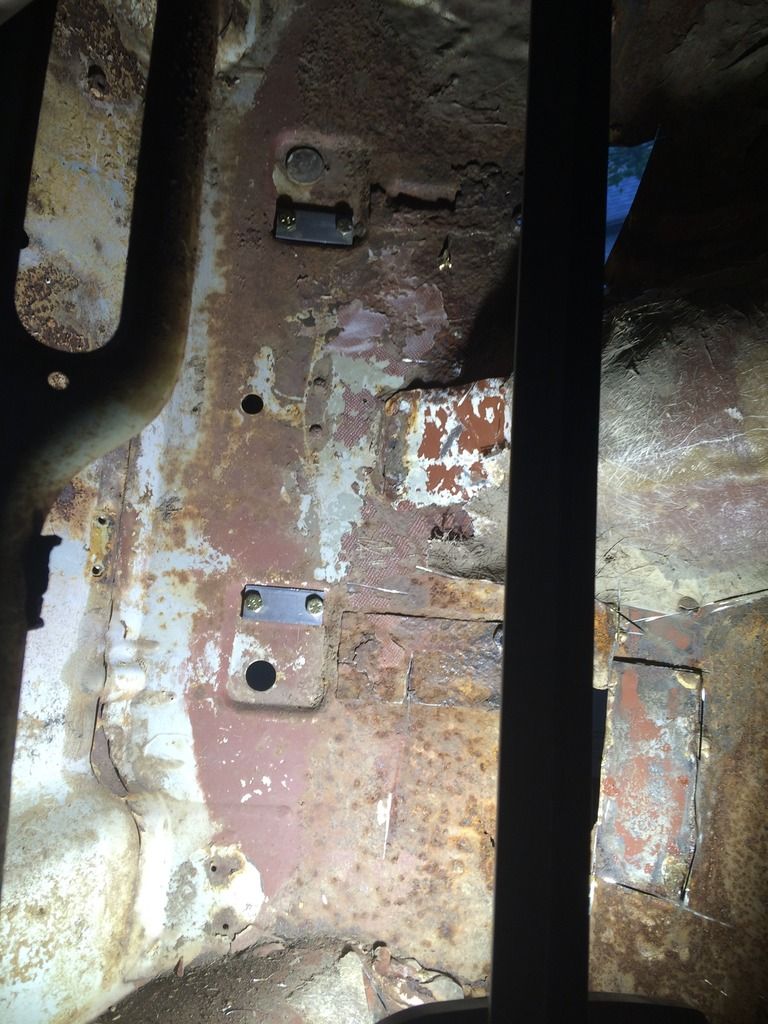
I found that the drivers side captive nuts were in place too

71AF1F7C-7EF8-4841-B89D-5D10325D45A2_zps


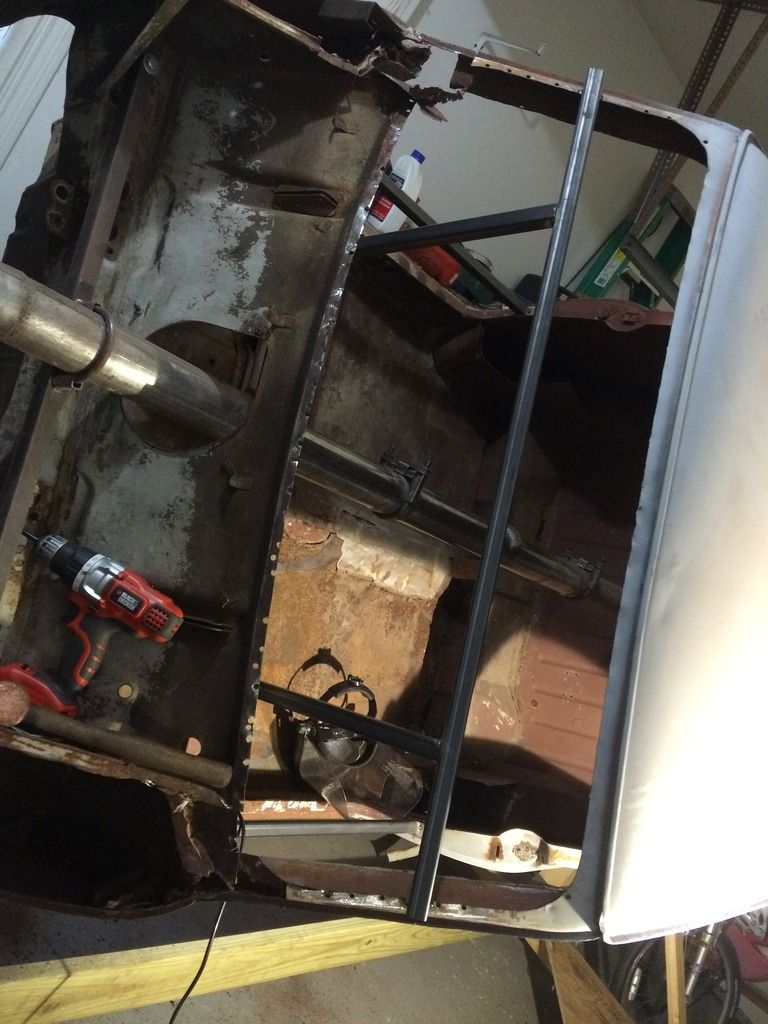
However after cleaning these areas up and starting to make a couple of angled plates to bolt to them I noticed that they weren't very straight anymore. Since these areas were bent and pounded around to accommodate the 'new' floor which was fitted in the 70s .


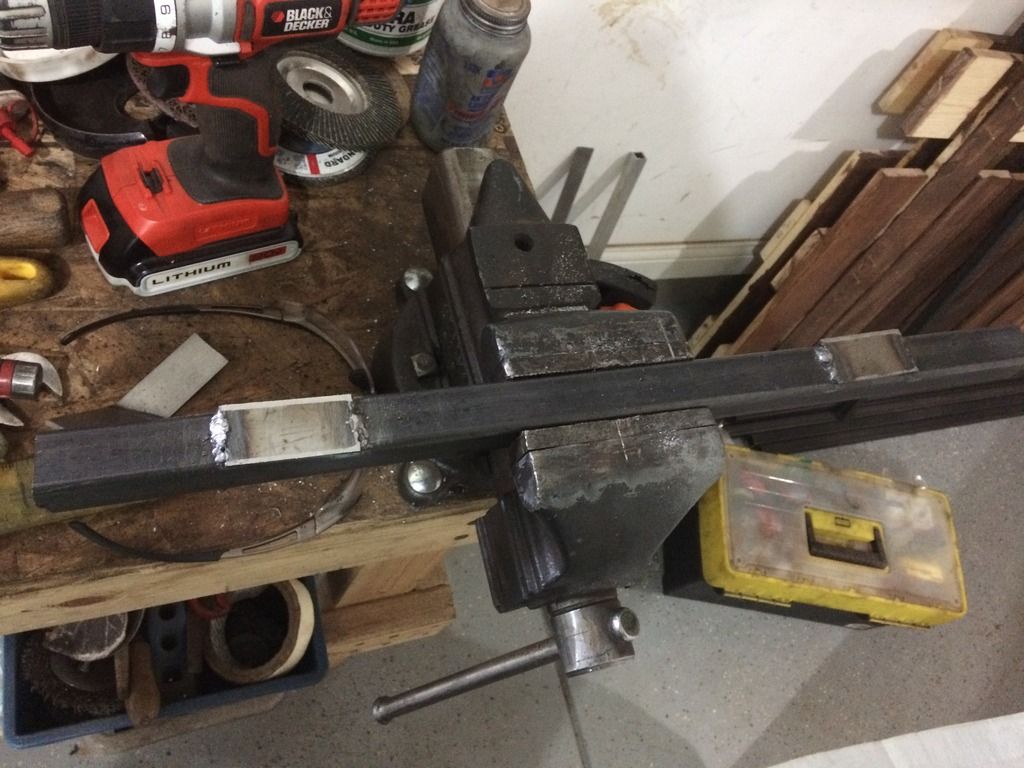
A much better bet was to make some plates to attach to the steering rack mounts.

FBC3934B-44CC-4471-947F-63C779E41B02_zps

5074D8C3-7E50-4AA8-9600-E1E65807F073_zps

8F9E722B-49BE-4536-A88A-452CF301F6ED_zps

6B177D76-BA16-4BBB-ABC1-B8E926B291EA_zps

202E01E5-0D82-4E84-B80A-E3DBE427702E_zps

0D5872B7-C65A-4E65-A3A4-76511046B3F6_zps

E6BEF363-D661-44C9-82C8-492AEA242B57_zps

A1DAD8FC-495D-4329-974F-B9043F69AE09_zps


Sorry for the pictures being so dark and moody, i cant seem to get good light in there and take a photo. (I need to wire up some big strip lights in the garage)


The last 2 pictures show how this new mount will also support the frame and keep everything aligned when I undo the tack weld on the door posts to replace them.


Then I started to drill out spot welds on the drivers side inner A post and remove that.

69CAEE93-B05D-42E1-A978-E16478454BCD_zps

4B551D6B-BEC6-46F4-90C8-0FED858576DC_zps

28652D04-1094-48DA-9D5C-BAFF3FF97BA3_zps

00C11D8D-D3DE-45B0-B0E7-8658D5878AC2_zps

3C85AA21-140D-4E2F-B90A-956682F98D1A_zps

28A5F229-1A84-4B40-A5E7-86F3D454BCCA_zps

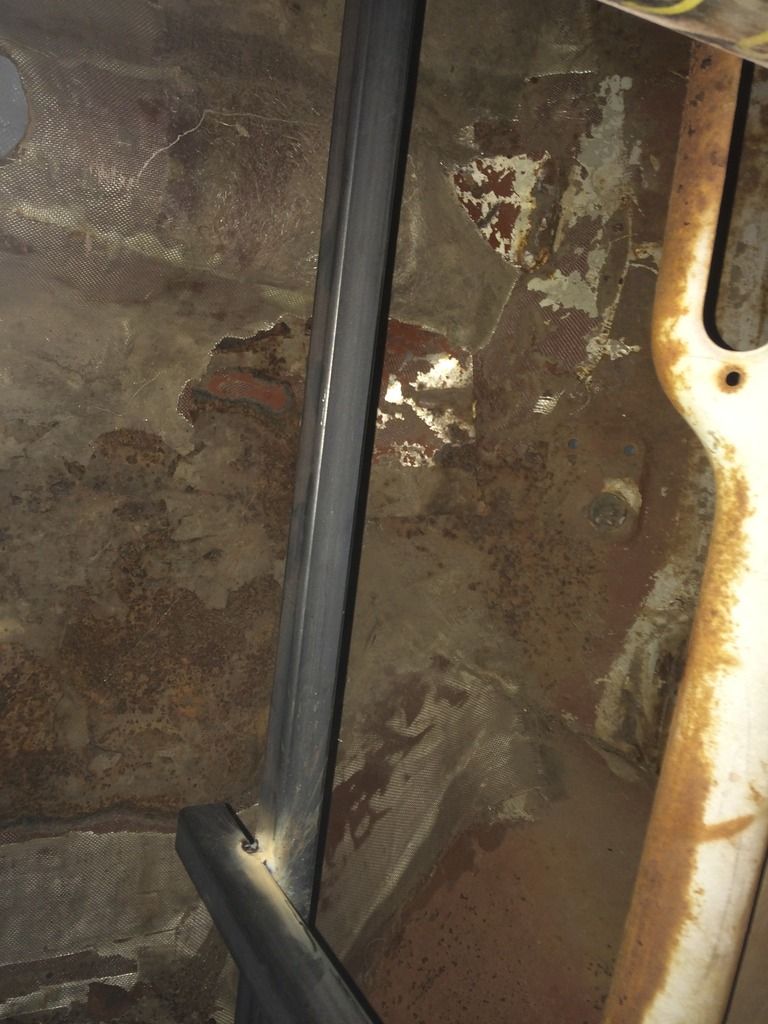
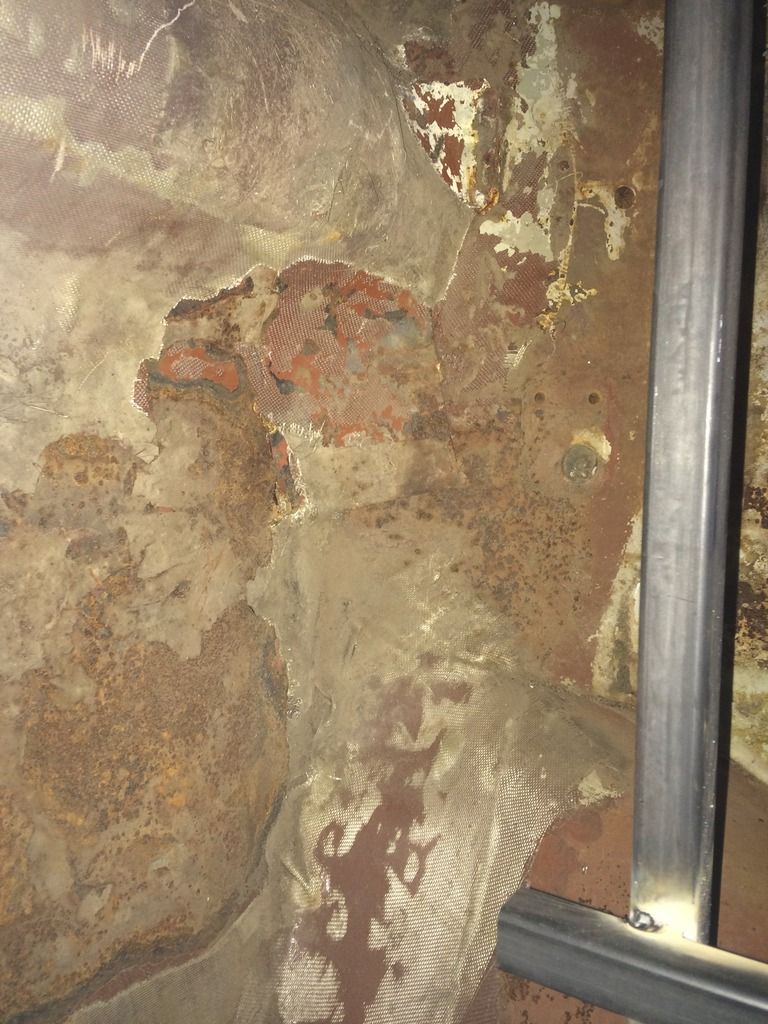
Again very rusty inside, with spider webs and that strange fibrous foam type material.


Here's another shot of my cramped, dimly lit work-space, but its coming along...

E1B3F6AB-DFF2-4E05-A114-B72A7075381D_zps


#49 johnR

johnR

    Up Into Fourth

  • Members
  • PipPipPipPipPipPipPipPipPip
  • 2,290 posts
  • Location: Dorset

Posted 07 July 2016 - 07:43 PM

Shaping up to be an epic job - appropriate that the pictures are dark and moody! Persevere!
I wish you people from the revolting colonies wouldn't post pics of the size your garages - it causes unrest!
JohnR

#50 Chappers

Chappers

    Mini Mad

  • Noobies
  • PipPipPipPip
  • 129 posts
  • Location: Columbus, IN

Posted 04 August 2016 - 08:56 PM

Sorry not much progress on the mini of late, I got distracted and the mini has to share its home with another project.
Apologies as it might be off topic.

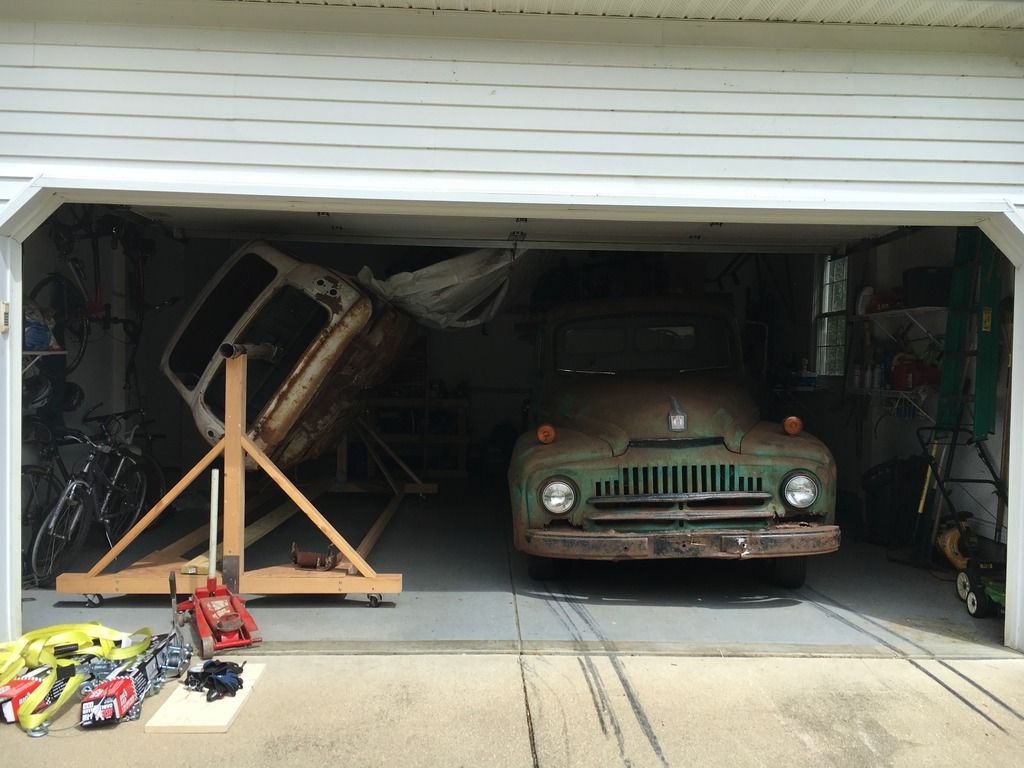
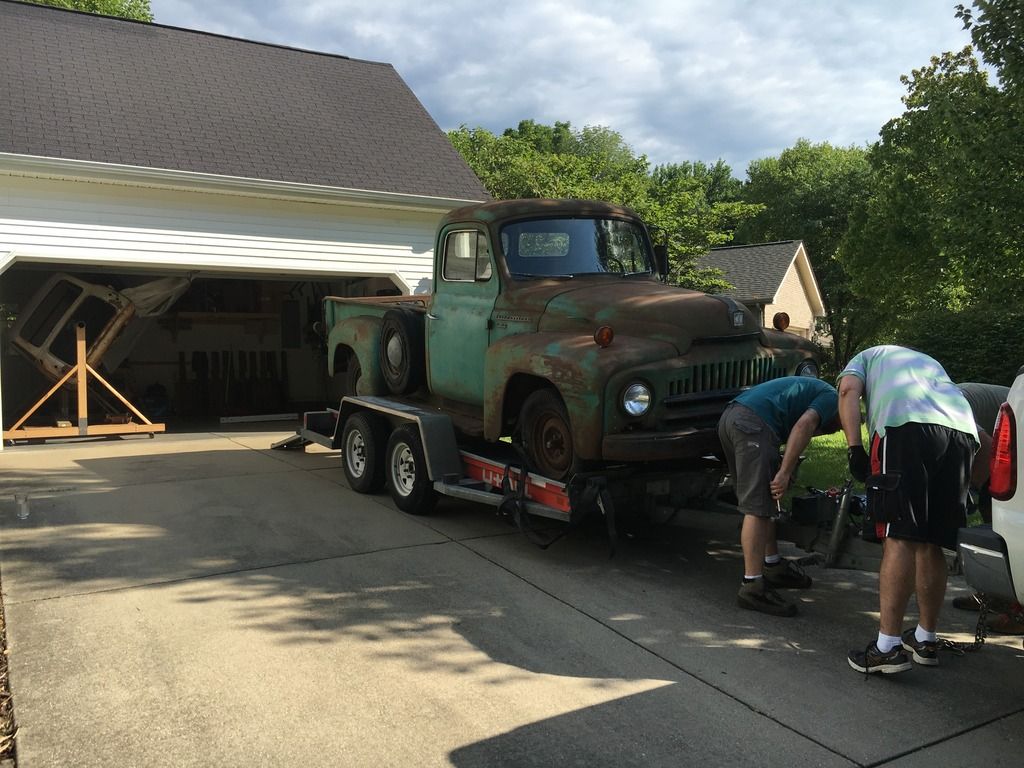
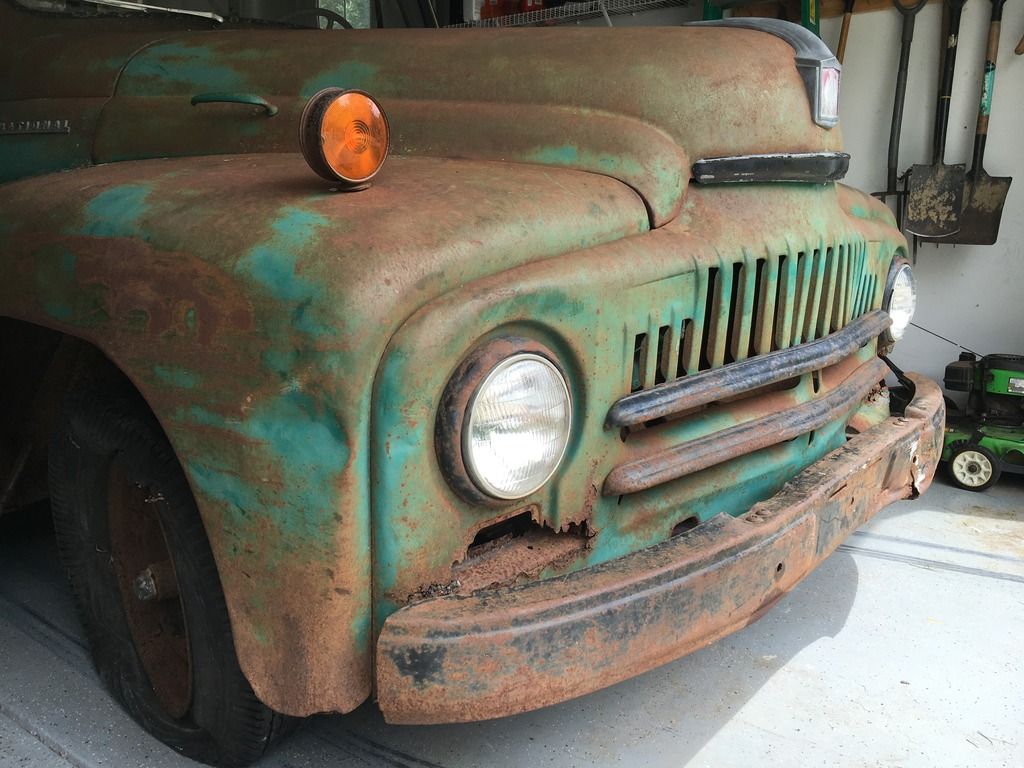
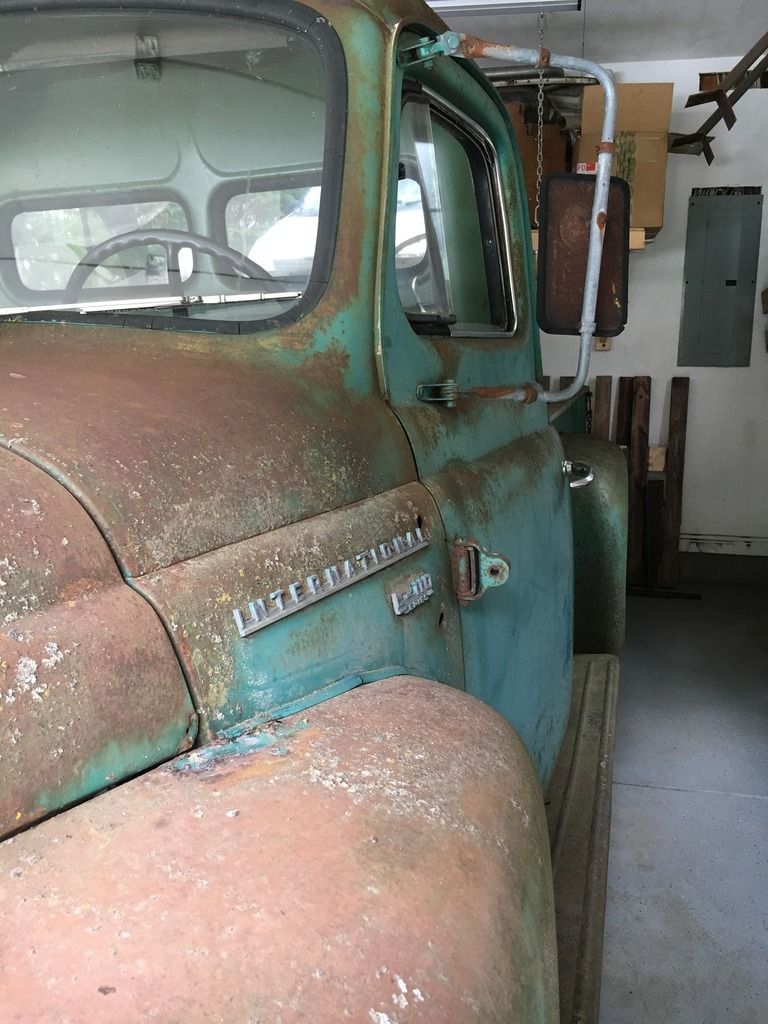
This one is even older! And will eventually become a rather cool tow vehicle for the mini..
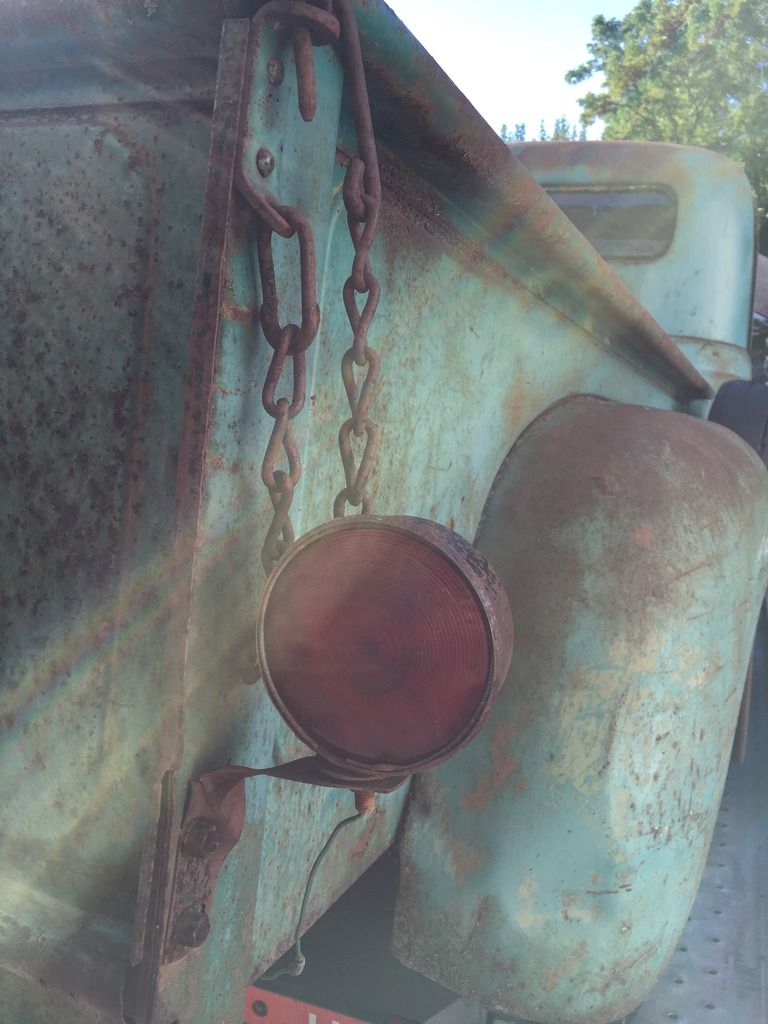
A 1951 international harvester L110 "half-ton" pickup.
561887CD-FEF4-4EAD-9644-203D2E196680_zps

71613D83-6A8B-445E-A695-50453E08950A_zps

E46E96C5-4E4B-40E6-AB46-55FB422B8F93_zps

FD683F92-755D-4803-9064-DD3CC0166657_zps

BBED0D77-85B1-4C7B-9511-946A7674F4EA_zps

Yes that rust is staying, it has the perfect patina!
The moss will be cleaned off.

It will be receiving a 2005 5.7L hemi engine and a few more up-to-date features hidden under the 65 year old bodywork....

I'll post the build thread of this one in a separate sub forum....

#51 phil hill

phil hill

    Super Mini Mad

  • TMF+ Member
  • PipPipPipPipPipPip
  • 616 posts
  • Location: Lincoln, UK

Posted 05 August 2016 - 08:12 AM

Nice truck !!

Have seen/are you "Genade" on Retro-rides ??

http://retrorides.pr...er-pickup-truck

Very impressive work !!

Phil.

#52 Chappers

Chappers

    Mini Mad

  • Noobies
  • PipPipPipPip
  • 129 posts
  • Location: Columbus, IN

Posted 05 August 2016 - 02:09 PM

Hey Phil, no I'm not grenade, but I have read his threads and spoken to him a few times.

I decided I liked the concept, so I wanted to build one myself.
He's not the first to do these conversions, there's plenty of people putting Chevy s10 running gear under old pickups or dodge Dakota chassis under internationals. He is the first, I think, to try the Durango 4x4 running gear though.

I told him I'm not doing a build thread on RR as its his thing on there and he has a following.
But I do like the formula and plan on doing a very similar thing, but with a couple differences.

I did intend on buying a '55 gmc 3100, but the sale fell through. I then saw this international and the price was right and I love the look of it!
So quite by accident I ended up with the same formula as Grenade.

#53 Chappers

Chappers

    Mini Mad

  • Noobies
  • PipPipPipPip
  • 129 posts
  • Location: Columbus, IN

Posted 05 August 2016 - 02:34 PM

On the mini front I forgot, I did score some great finds.
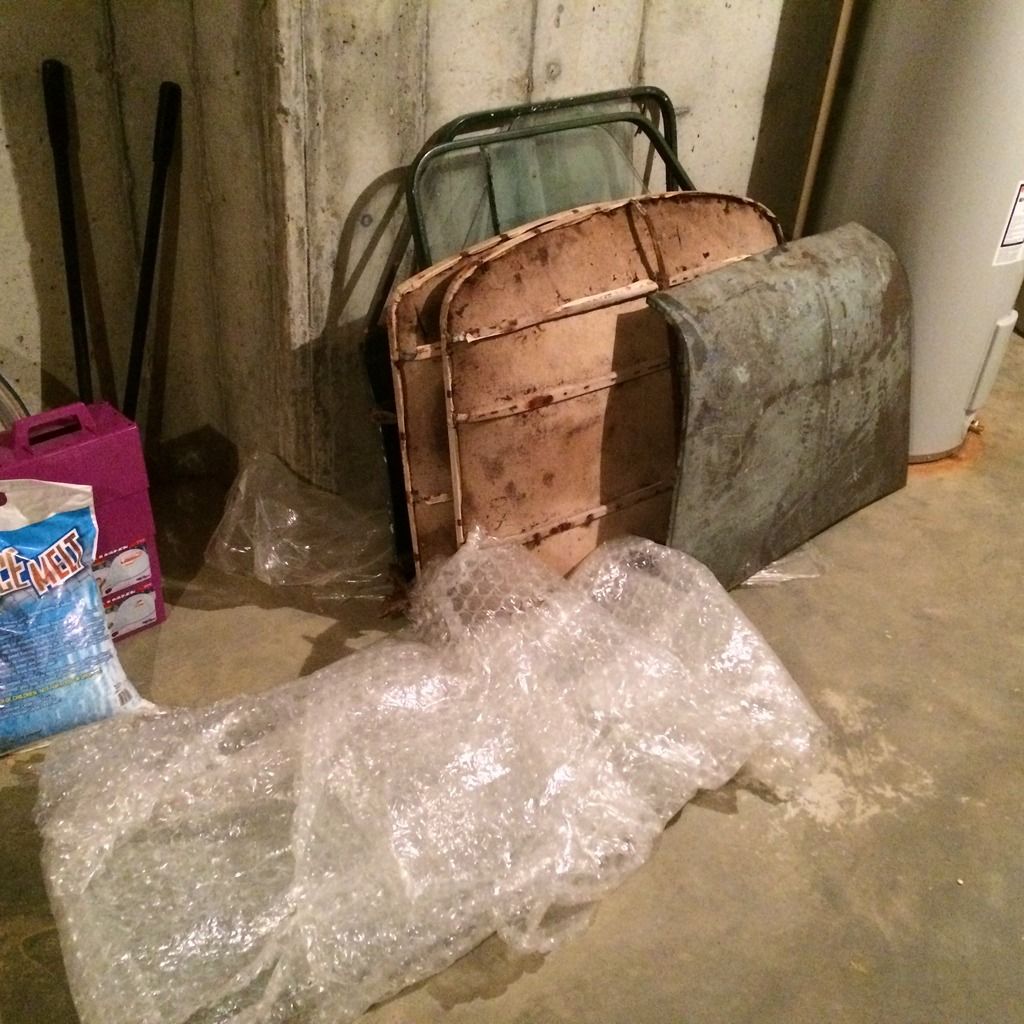
Windshield and back window for mk1 ($25 each)
Mk1 Headliner ($25)
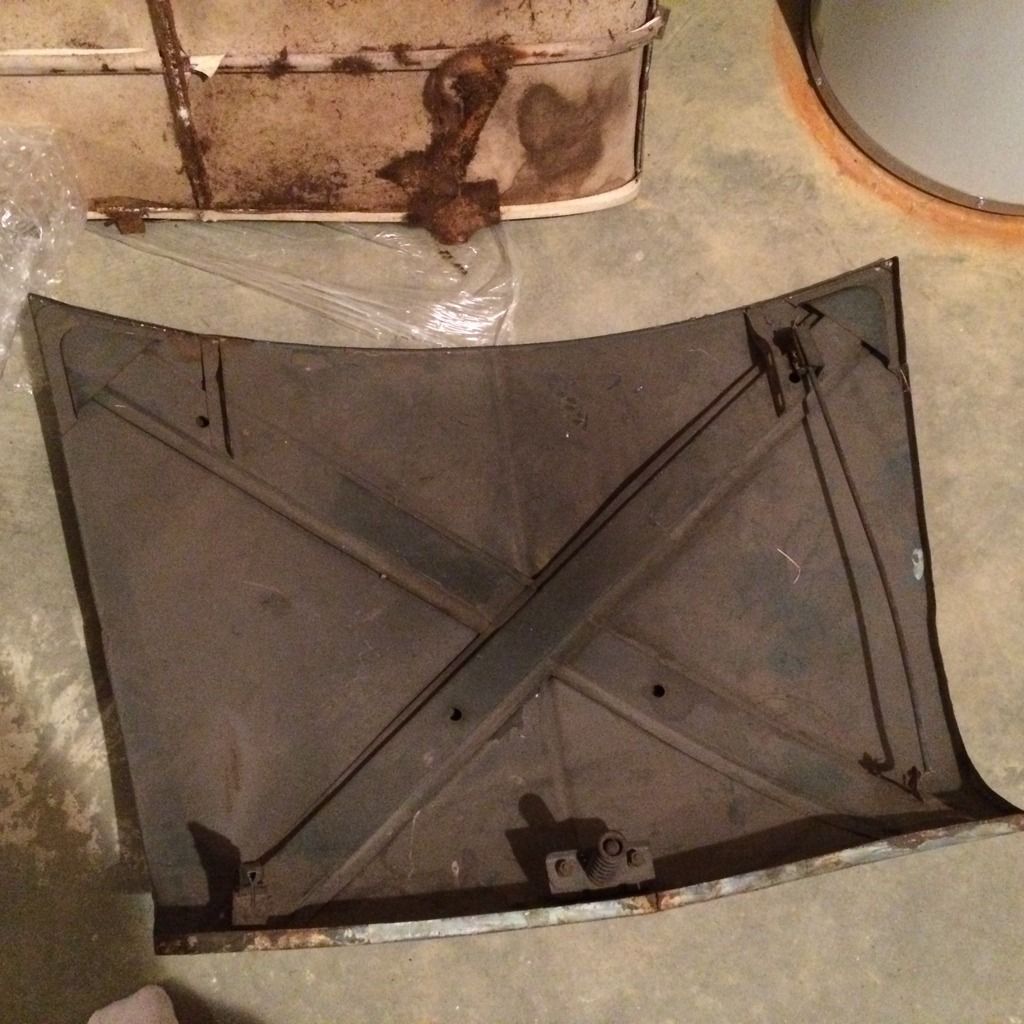
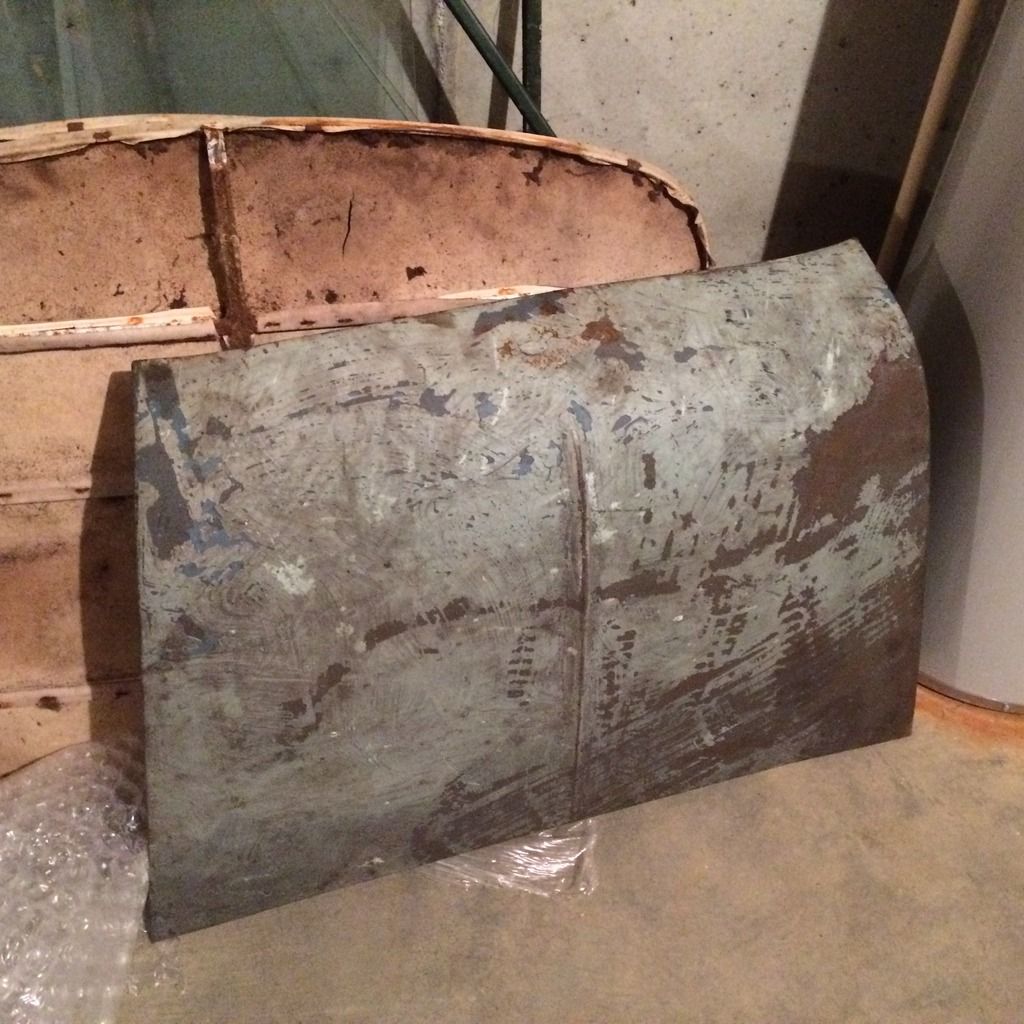
Mk1 bonnet, really solid, just needs sanding ($40)

0724D2F8-4418-472C-BE9A-4142852674EC_zps
DDD586FD-0A43-4D92-BB70-091BA8C4CC15_zps
AC3F968D-5706-45A8-A18A-99B047D3E921_zps

#54 Chappers

Chappers

    Mini Mad

  • Noobies
  • PipPipPipPip
  • 129 posts
  • Location: Columbus, IN

Posted 01 December 2017 - 02:34 AM

Wid9v0K.jpg

Edited by Chappers, 01 December 2017 - 02:39 AM.

#55 Chappers

Chappers

    Mini Mad

  • Noobies
  • PipPipPipPip
  • 129 posts
  • Location: Columbus, IN

Posted 01 December 2017 - 02:52 AM

I’ve started back in the mini, after a little over a year off from it!
I finished the truck, enjoyed it for a while, did the 2017 Hot Rod Power Tour long haul with a mate from the UK and sold it for a bit of a profit.

With said profit I bought a few trail motorcycles, rebuilt 2 of them, enjoying riding with my 6 year old most weekends.

Then this month I bought a load of panels from M machine, including the early mk1 floor assembly and I’m currently waiting for the shipment to clear customs and arrive.

So I unearthed the mini and had a good poke around what I need to start on first. I decided I would tackle bracing the shell and chopping out the floor.
I also bought a 4’x5’ sheet of 20gauge for the repairs needed to existing panels, or I may decide to buy the replacement panels from mini mania if they are too far gone to save.

#56 Chappers

Chappers

    Mini Mad

  • Noobies
  • PipPipPipPip
  • 129 posts
  • Location: Columbus, IN

Posted 09 December 2017 - 10:46 PM

Eventually cleared customs and my giant air fix kit is here!
Now I just need to pull my finger out and rove the old crusty floor. Should be a fun time with the grinder...

vST96RV.jpg

#57 Chappers

Chappers

    Mini Mad

  • Noobies
  • PipPipPipPip
  • 129 posts
  • Location: Columbus, IN

Posted 11 December 2017 - 01:48 AM

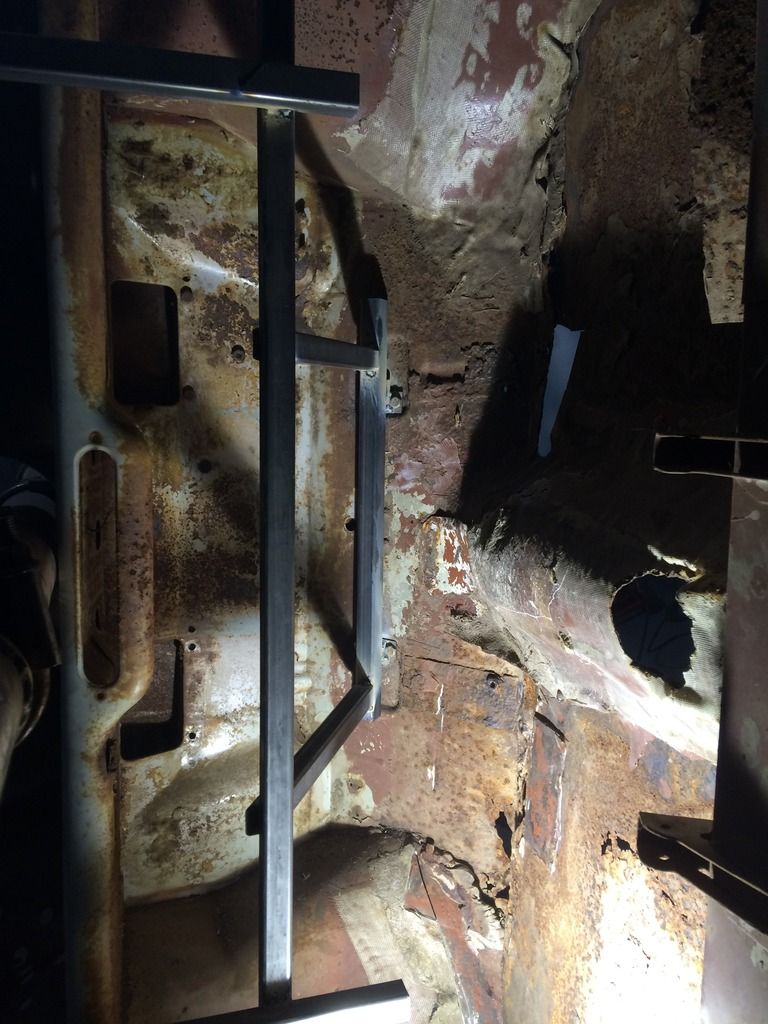
Decided to grab the bull by the horns today and hack out the floor. I didnt even try to find any spot welds and drill them out, it was that bad.
Heavy plates had been brazed on over the original rusty floor and smothered in fiberglass.

OryPa6Z.jpg
ngbdrmr.jpg
sGSEg35.jpg
3xAI9qR.jpg

Ive got this new toe board to fit, and I can see the spot welds really nicely on the original panel, I also took a datum reference from the original steering rack mounts, so Im hoping this will be the first new panel to put in and give me a good place to attach the new floor to.
Z63Ejk7.jpg

F6BMNPC.jpg

lwqPGon.jpg

Oh also while rotating the shell on my homemade rotisserie, the front wooden upright decided to split right down the middle and the whole shell then fell! Only saved falling 4 to the ground by having a large 1 box section still wedged in the indexing disc in the rotisserie, which propped it up.
I had to make a splint (like for a broken leg) to repair the rotisserie and ask my wife to help me lift the shell back up onto the rotisserie! Phew

#58 minimans

minimans

    Speeding Along Now

  • Members
  • PipPipPipPipPip
  • 411 posts
  • Location: Bay Area San Fransico

Posted 11 December 2017 - 06:42 AM

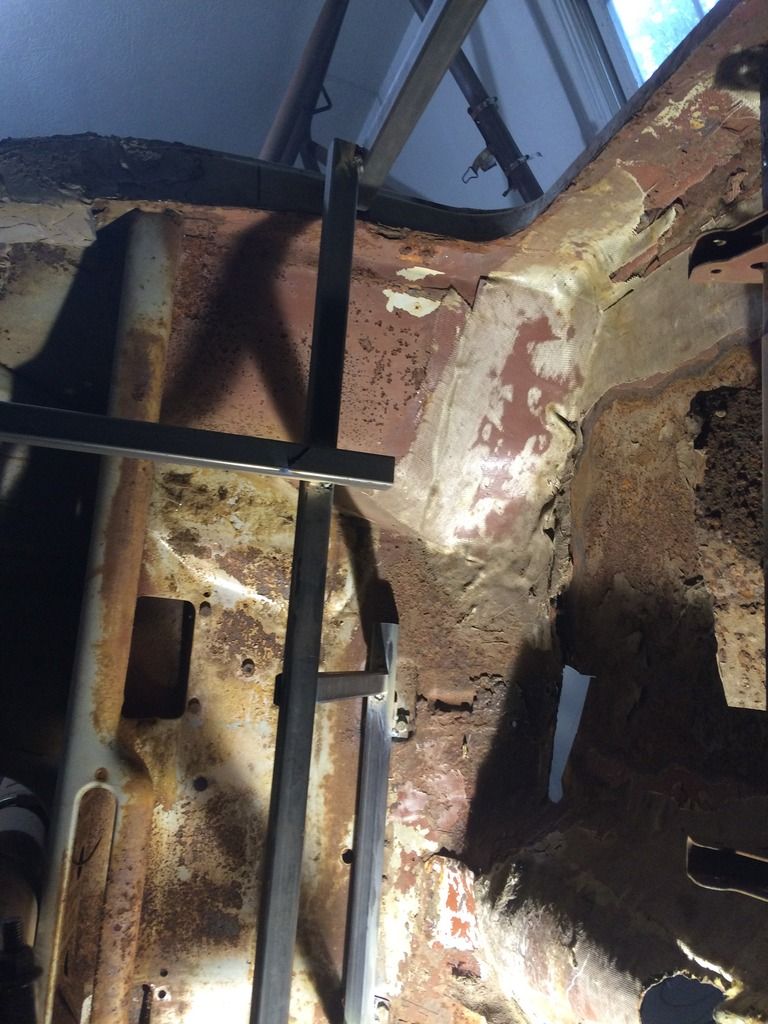
This looks more like one of those UK restorations with all that tin worm! Best of luck with it, at least you went for the complete floor which will make things a lot easier. I don't think I've ever seen an original US car so rotten, usually to be that bad it would have been an import. I'll post a few pictures of my March 1960  That I'm building the lack of rust will make you weep.

Attached File  mini.JPG   65.45K   1 downloads

Attached File  tanks.JPG   58.63K   0 downloads


Edited by minimans, 11 December 2017 - 06:47 AM.

#59 Chappers

Chappers

    Mini Mad

  • Noobies
  • PipPipPipPip
  • 129 posts
  • Location: Columbus, IN

Posted 12 December 2017 - 03:21 AM

Hey miniman whats the story with yours? Where are you based? It does look very solid. Damn you! Ha
#60 Chappers

Chappers

    Mini Mad

  • Noobies
  • PipPipPipPip
  • 129 posts
  • Location: Columbus, IN

Posted 12 December 2017 - 03:40 AM

So I removed the toe board tonight, went pretty smoothly, found the spot welds easily compared to the rest of the crusty panels.
Next Ive got to clean up the firewall inside and out and then Ill fit the new toe board panel.
But I couldnt resist offering up the new panel to see what it will look like with some new metal going in.

Im glad I fitted the steering rack reference points to the frame inside the shell, as the new panel was very easy to mount.

S35mj9y.jpg
teERwx0.jpg
mtHuh45.jpg
DYnz7QG.jpg
6WyDN2S.jpg

I also measured the positions and removed the seat mounts from the old floor as I can perhaps salvage them.


1 user(s) are reading this topic

0 members, 1 guests, 0 anonymous users