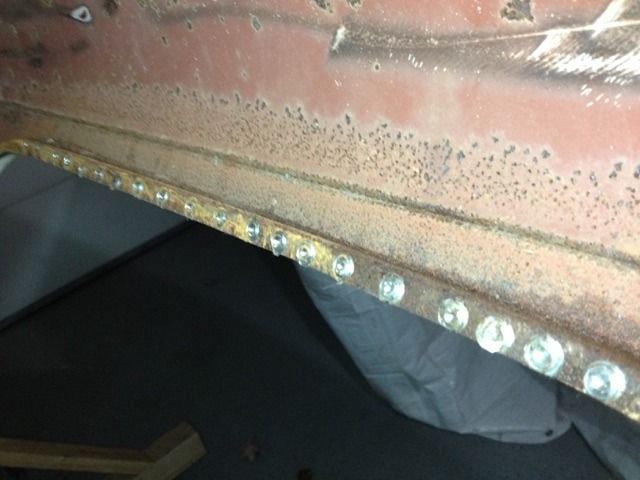
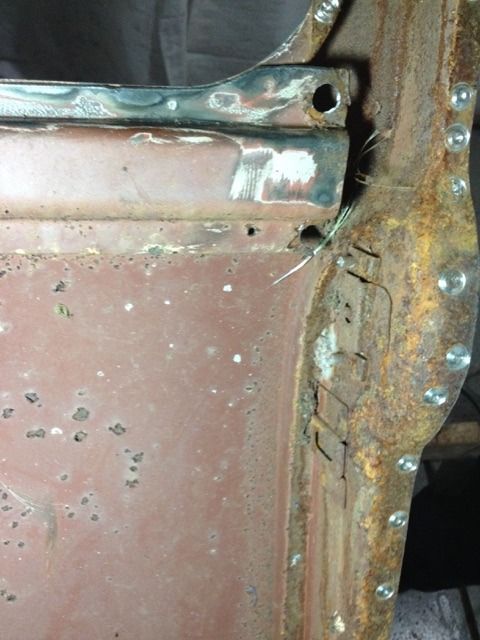
1960 Austin Seven. Us Spec Ex Scca Car
#31
Posted 02 November 2015 - 04:48 AM
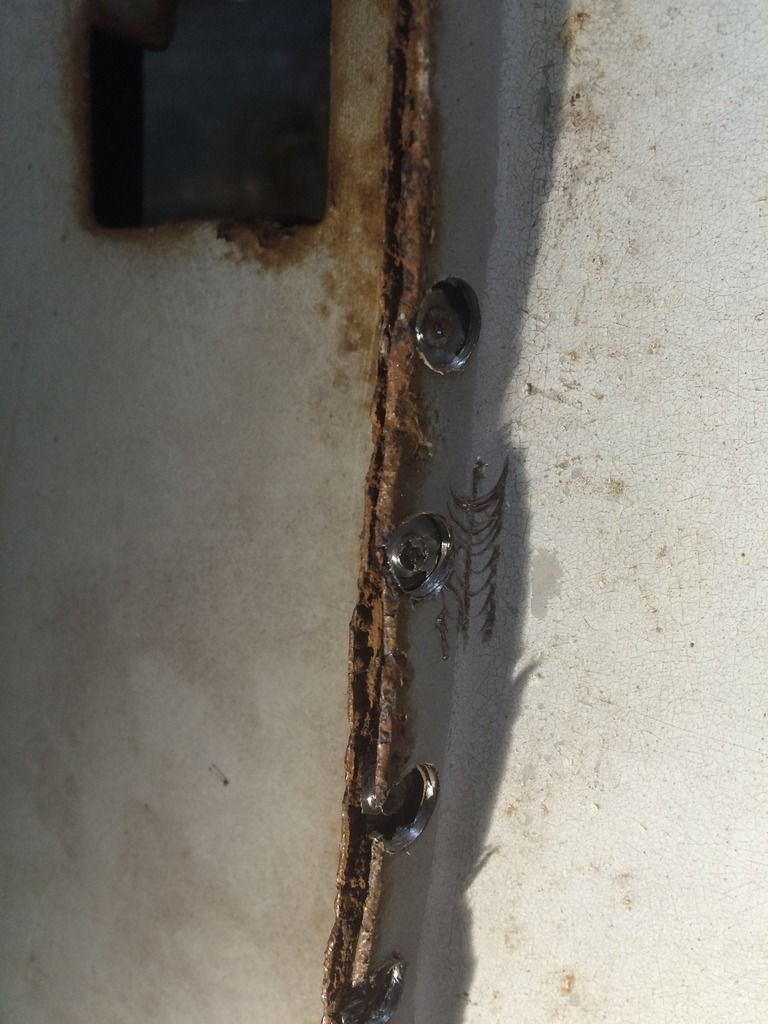
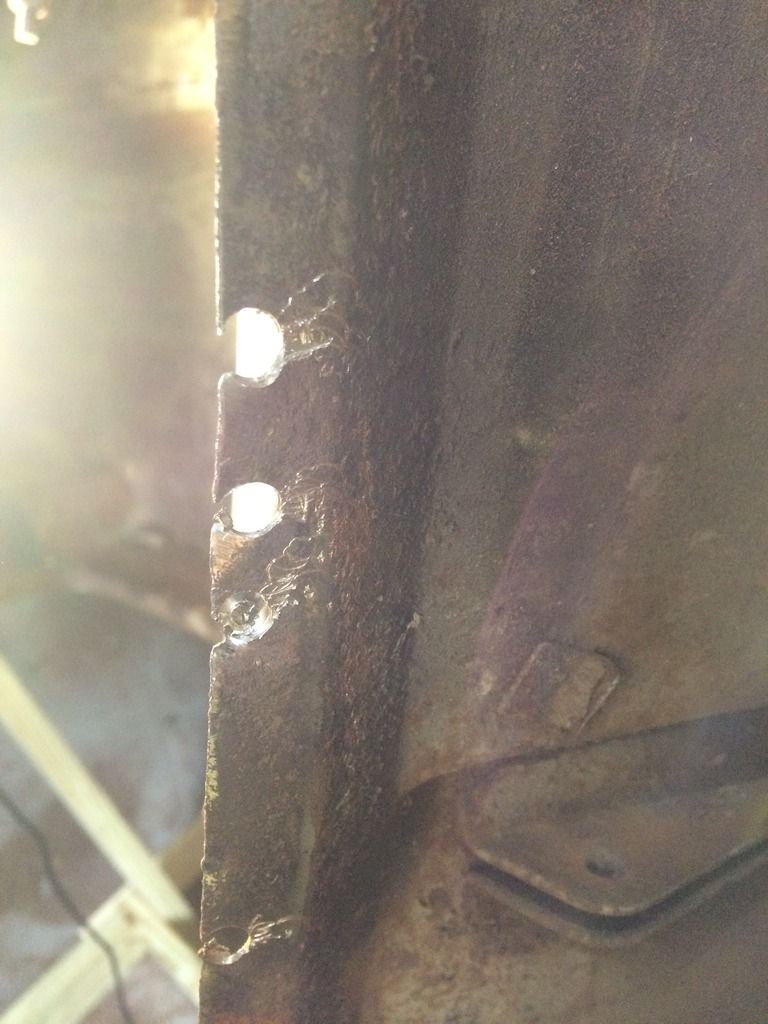
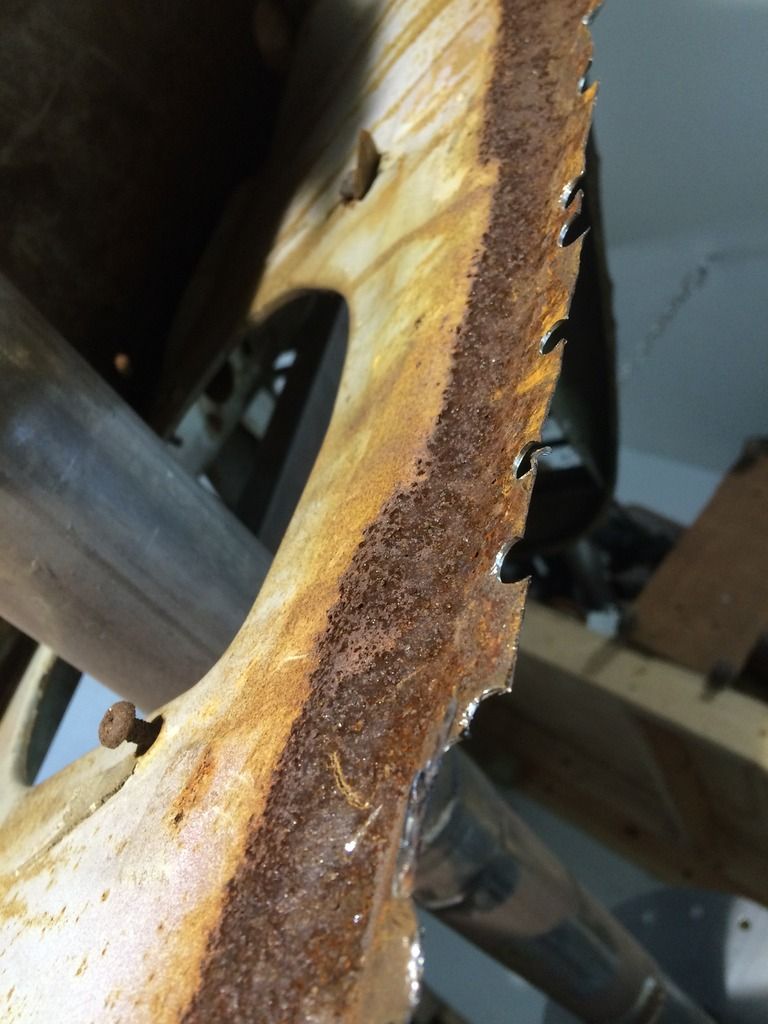
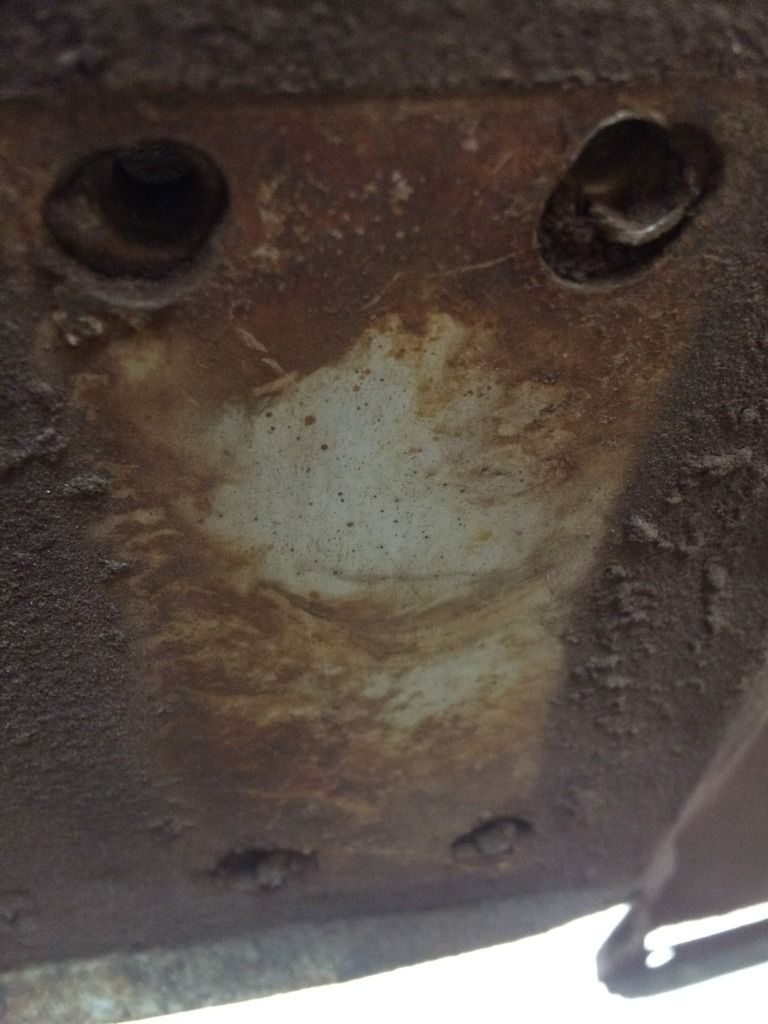
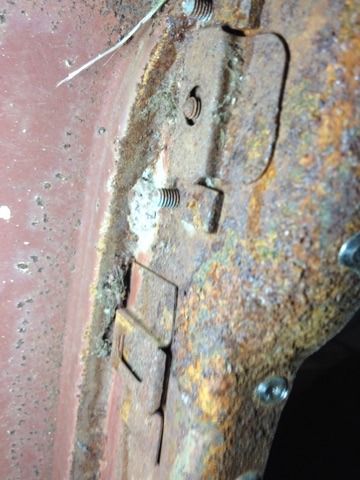
I've got great access to the door striker plate, as the screws were seized I can get some liquid wrench and heat in here no problem
#32
Posted 02 November 2015 - 04:52 AM
#33
Posted 03 June 2016 - 02:33 AM
Well after a 6 month hiatus, where other work and projects got in the way, I'm back on the mini.
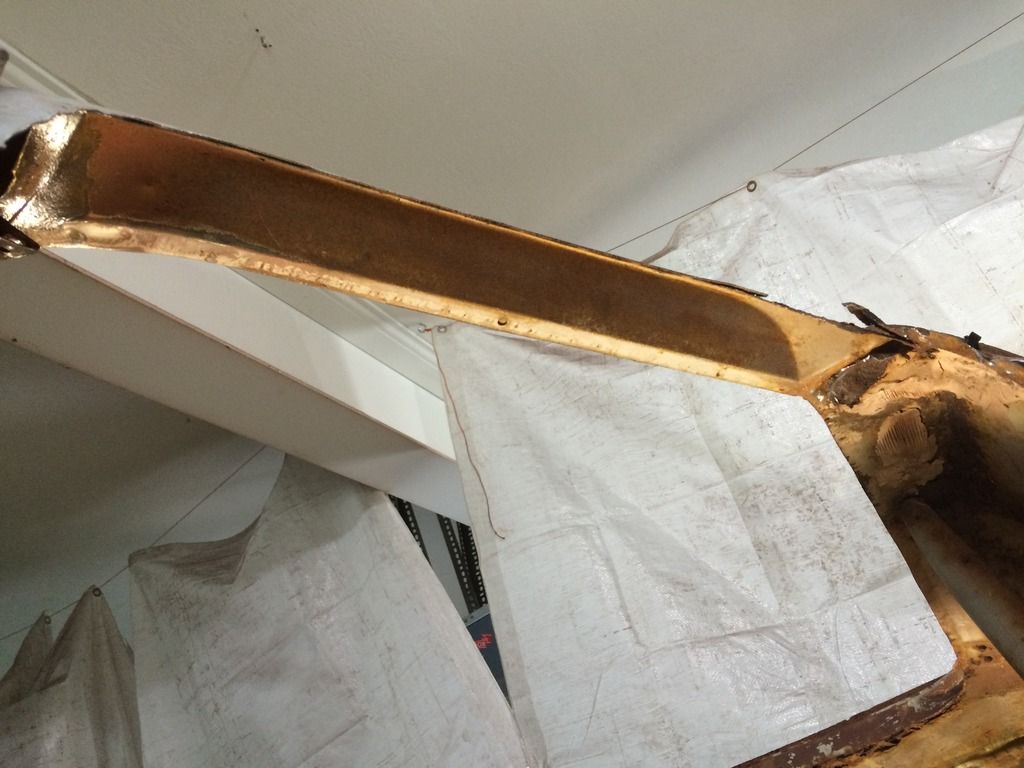
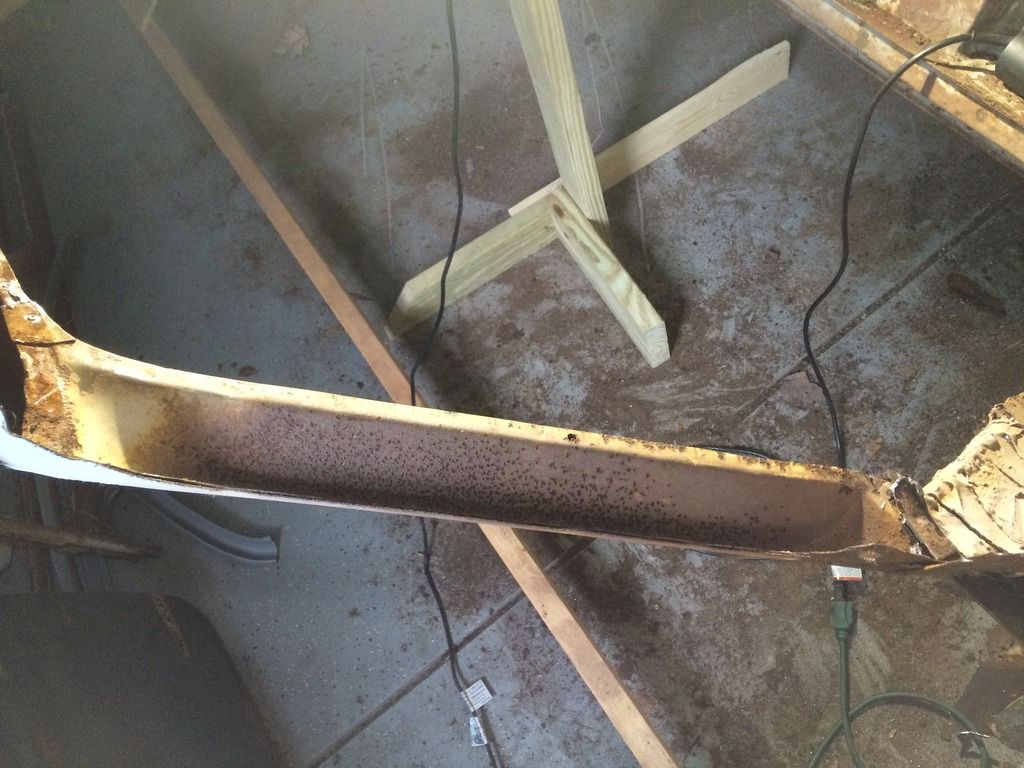
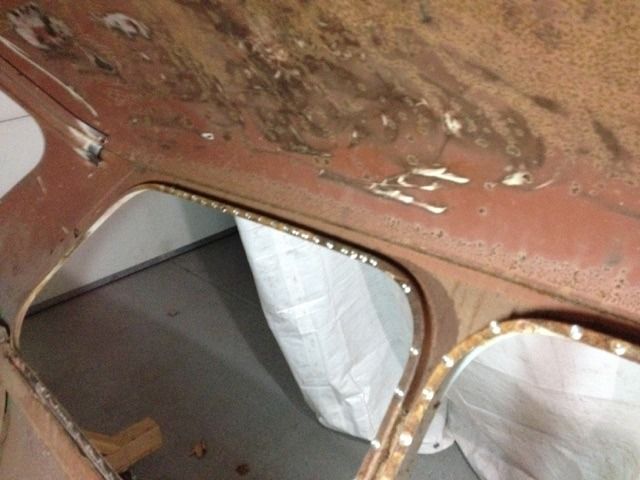
I started back on removing the entire cant rails from the roof, cleaning up the back side with a knotted wire brush in my grinder until shiny and then hitting it with some weld thru (zinc) primer.
In an effort to future-proof, I also welded on some captive nuts and flat washers to the back of the B posts for seatbelts while they are off too.
Then I'd like to get the inner A post panels off .....
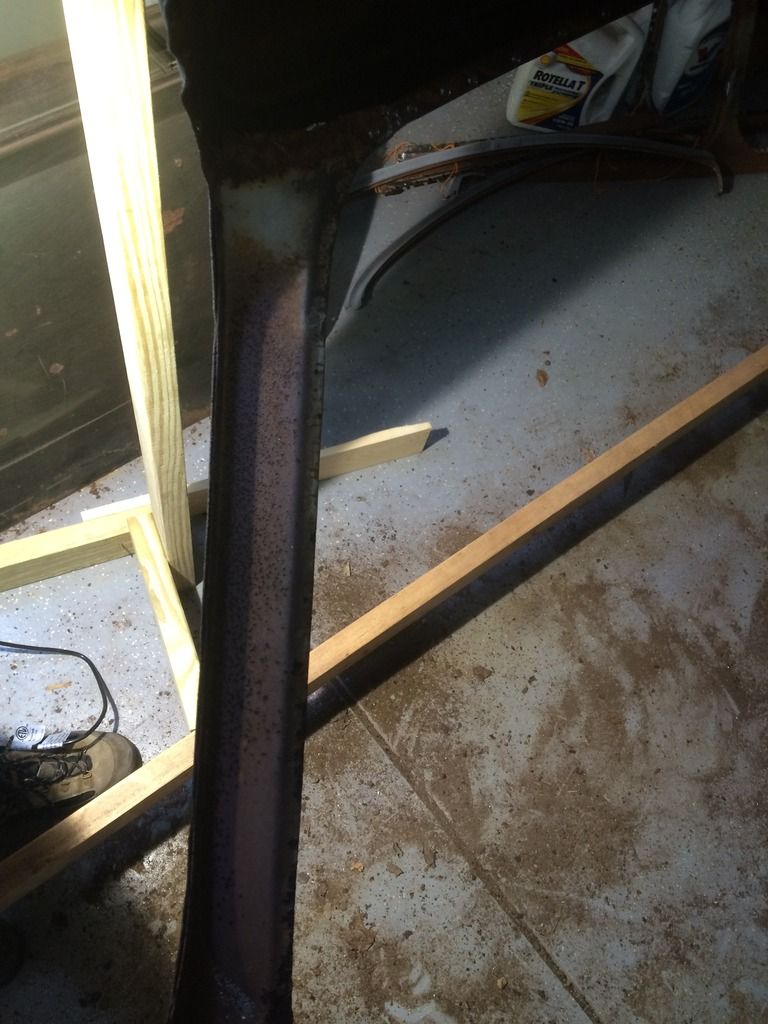
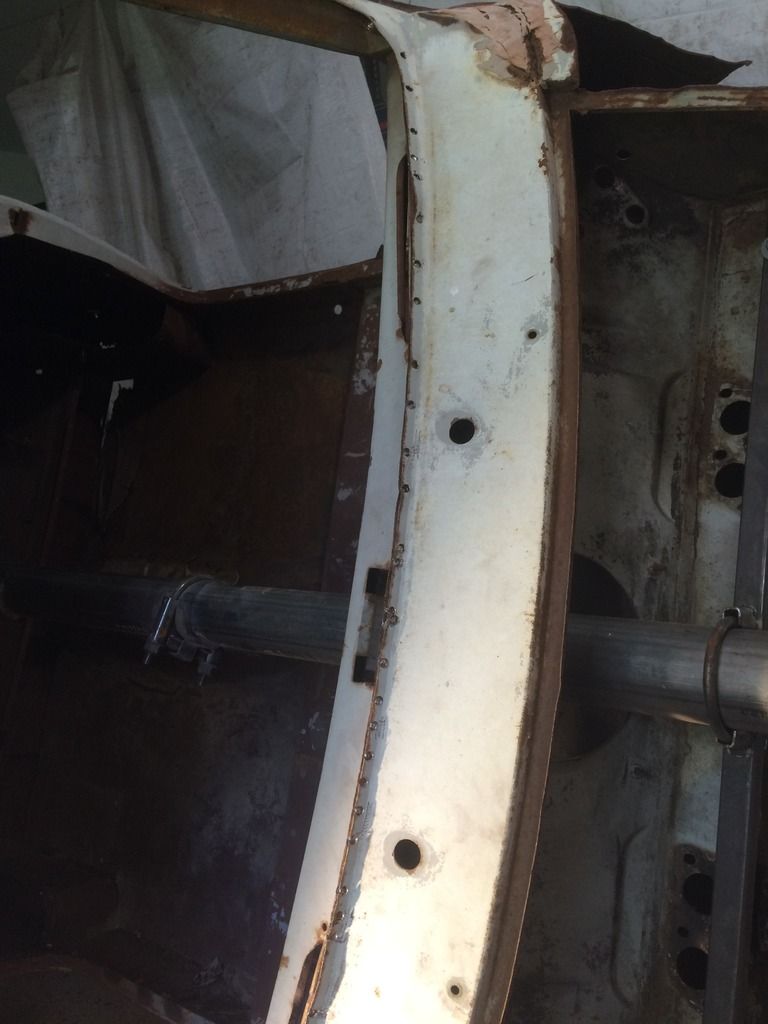
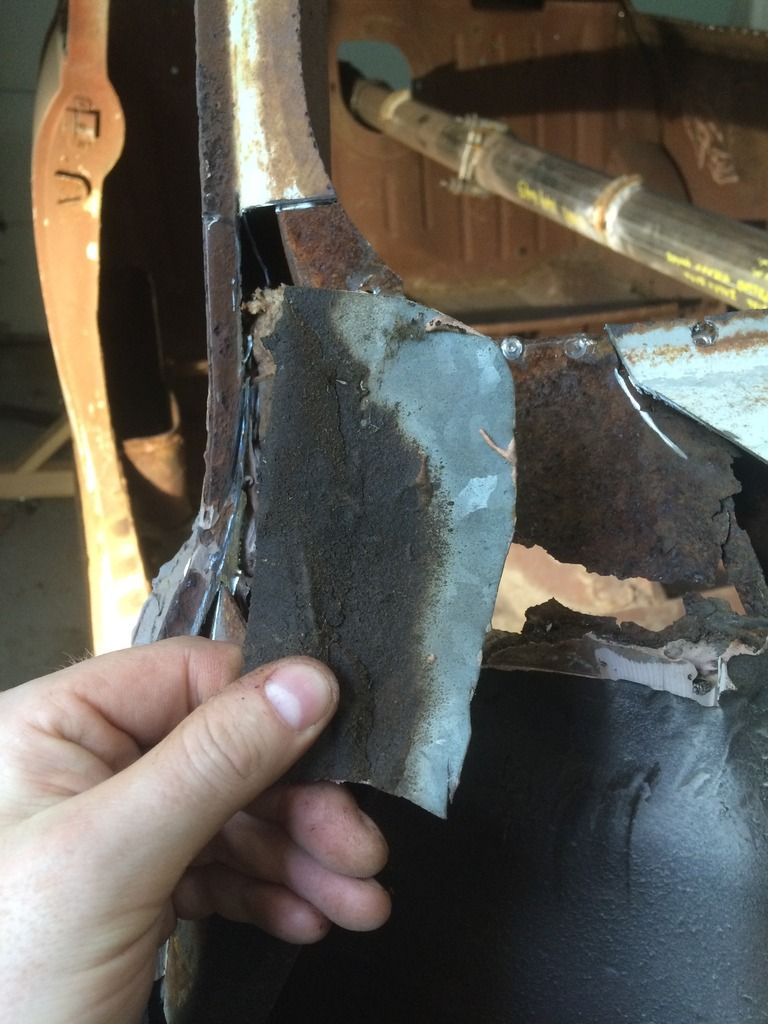
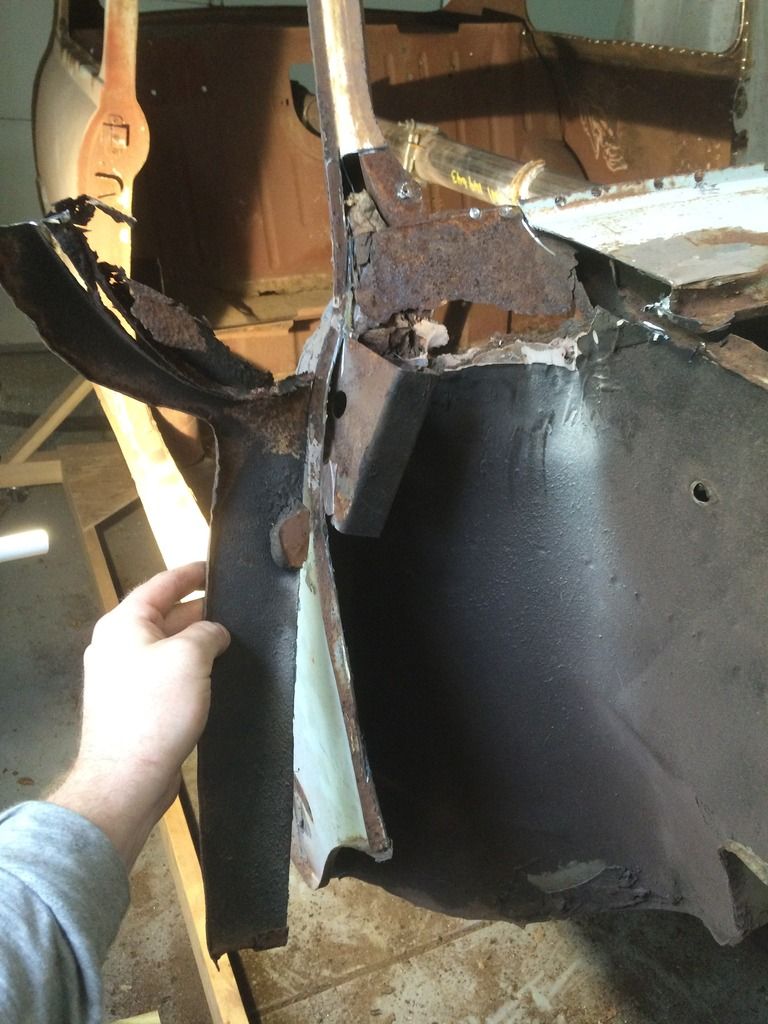
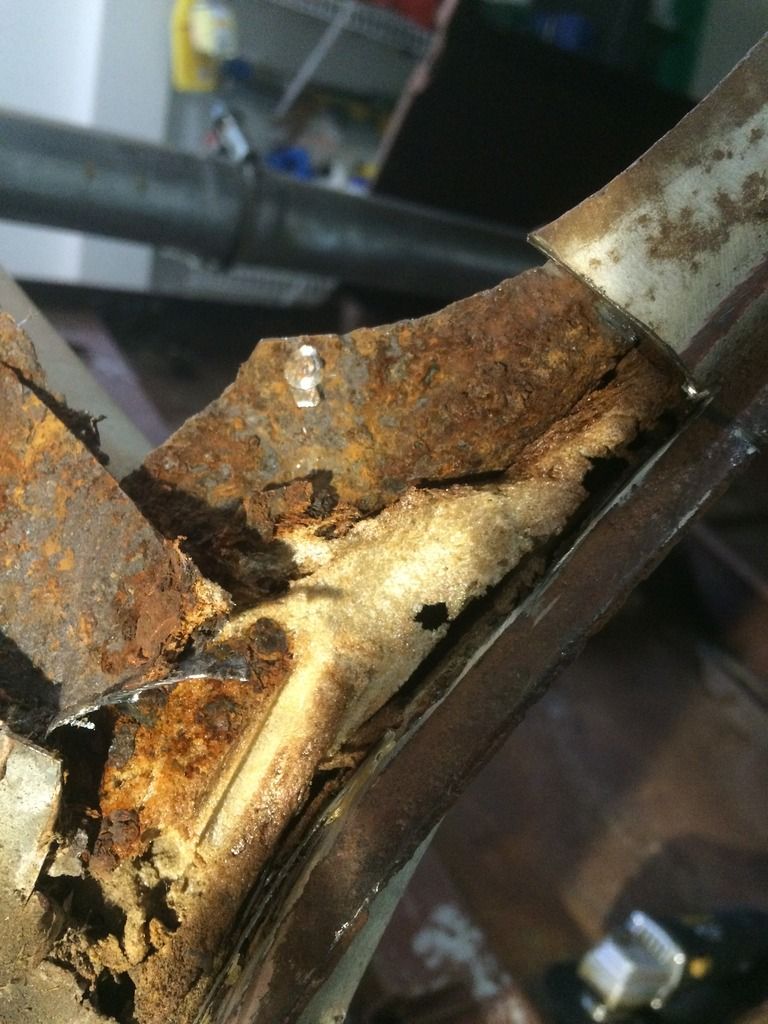
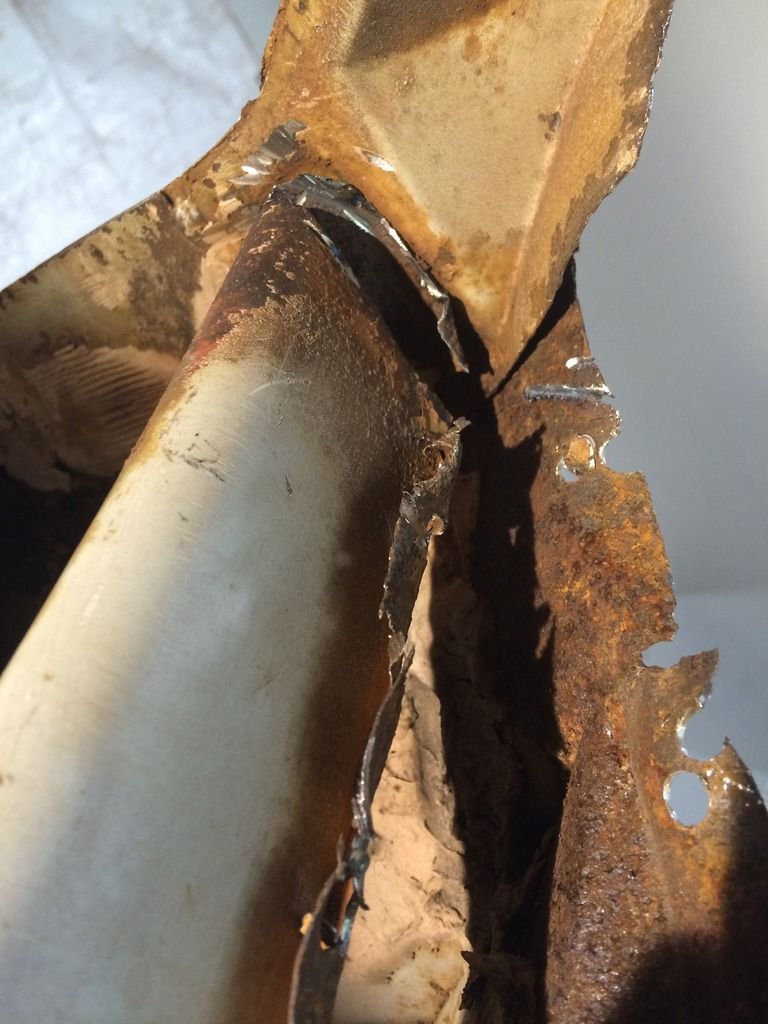
.....because of this furry mess inside. This is looking inside the A post from the opening at the top now available since the cant rail was removed.
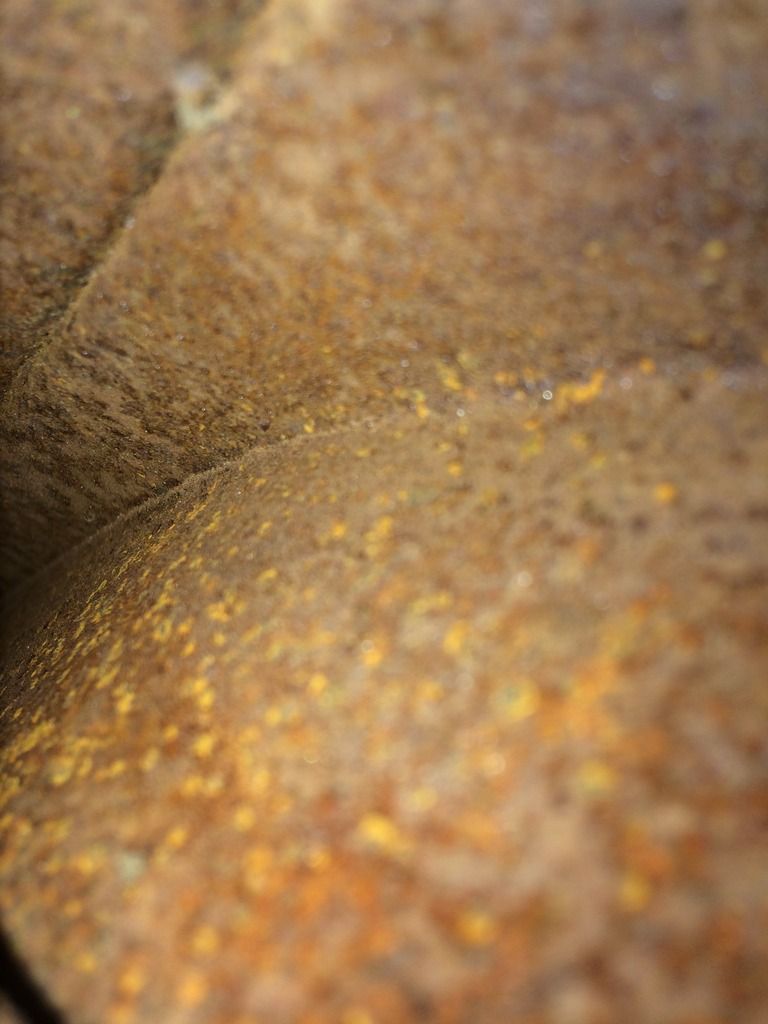
But before that I have to take off the upper dash rail, which is attached to the bulkhead, but to get the rail off I have to get the scuttle panel off first.
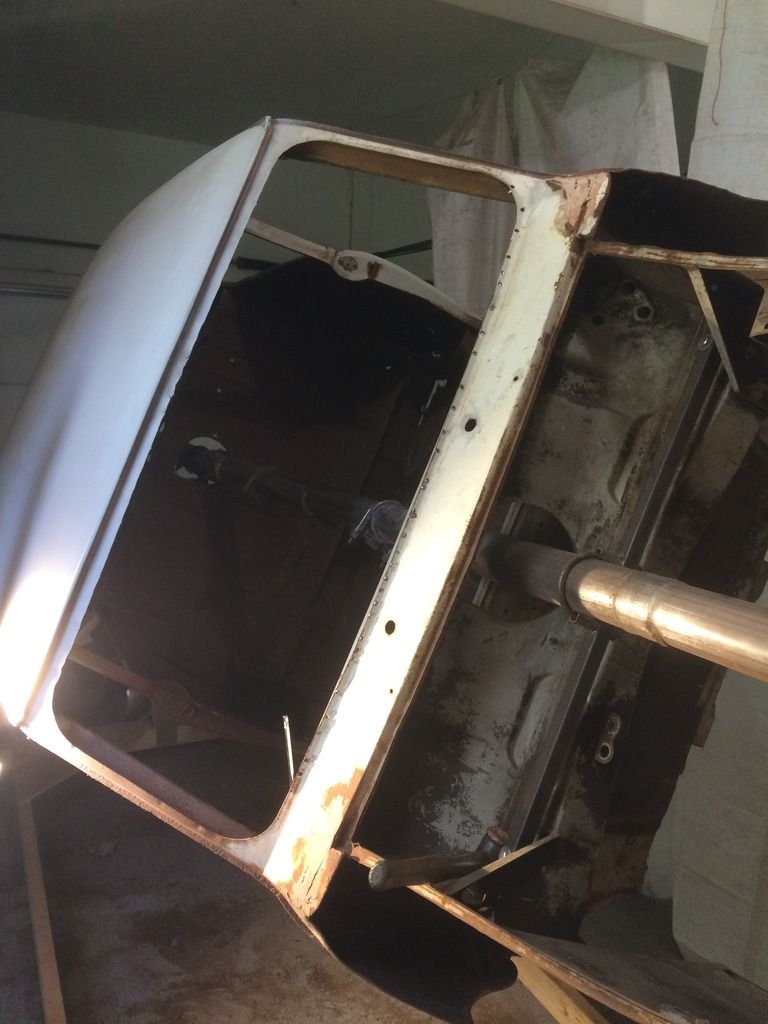
et voila!
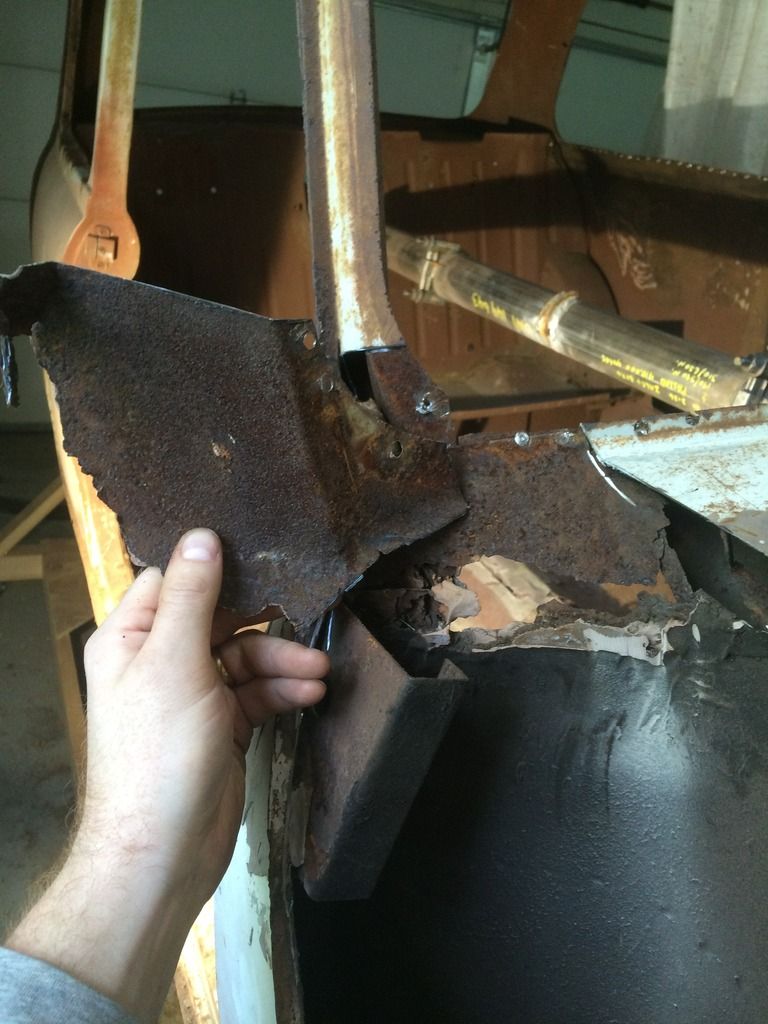
rustiness is served, delicious!
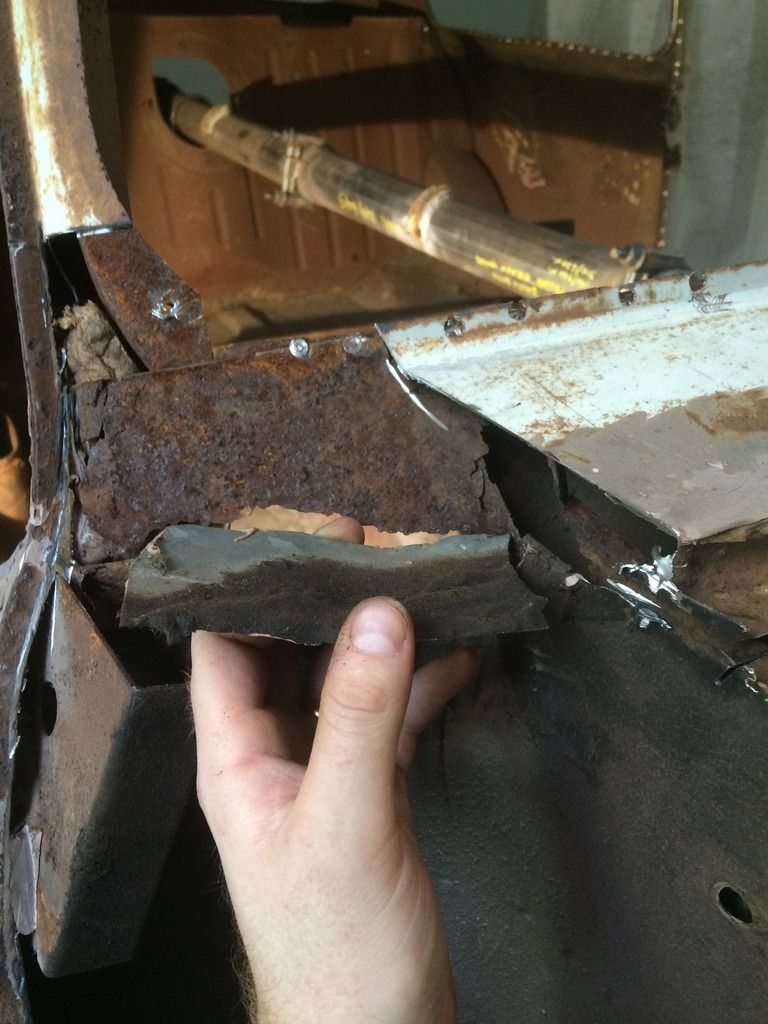
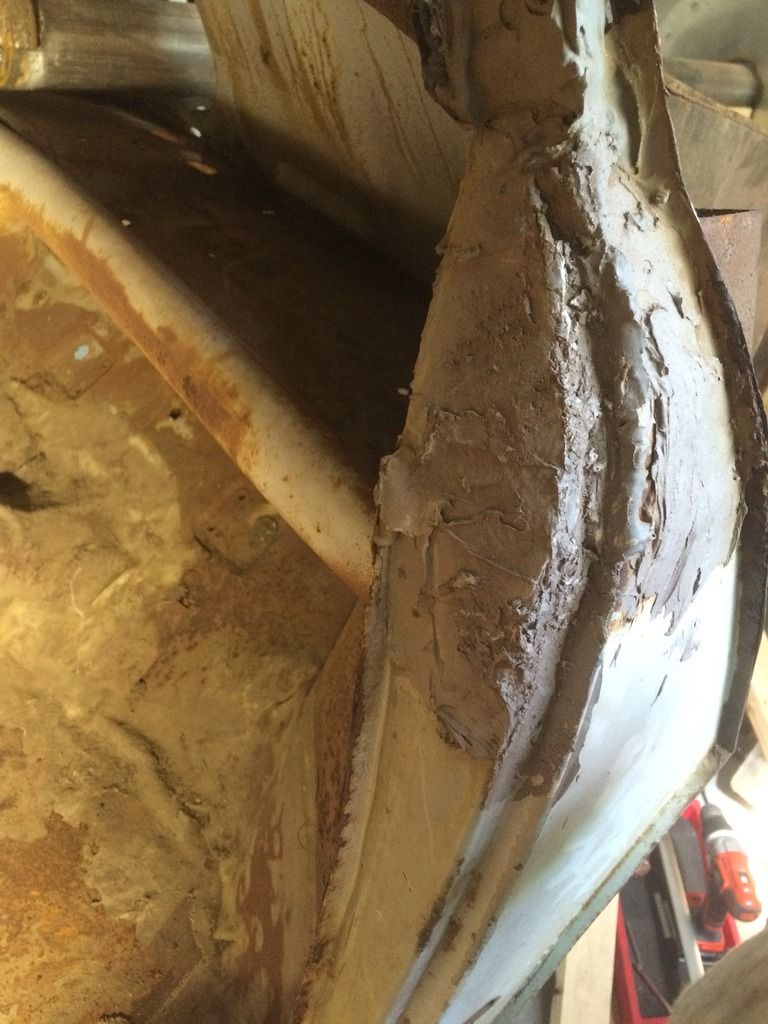
closing panel made of galv sheet and body filler.
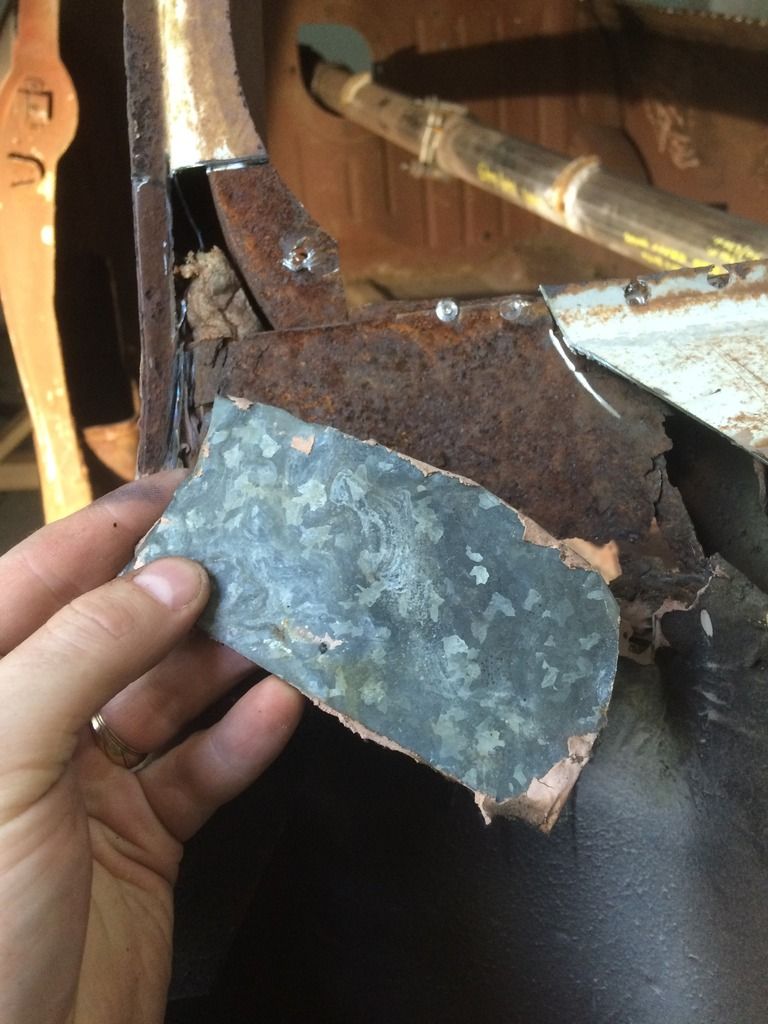
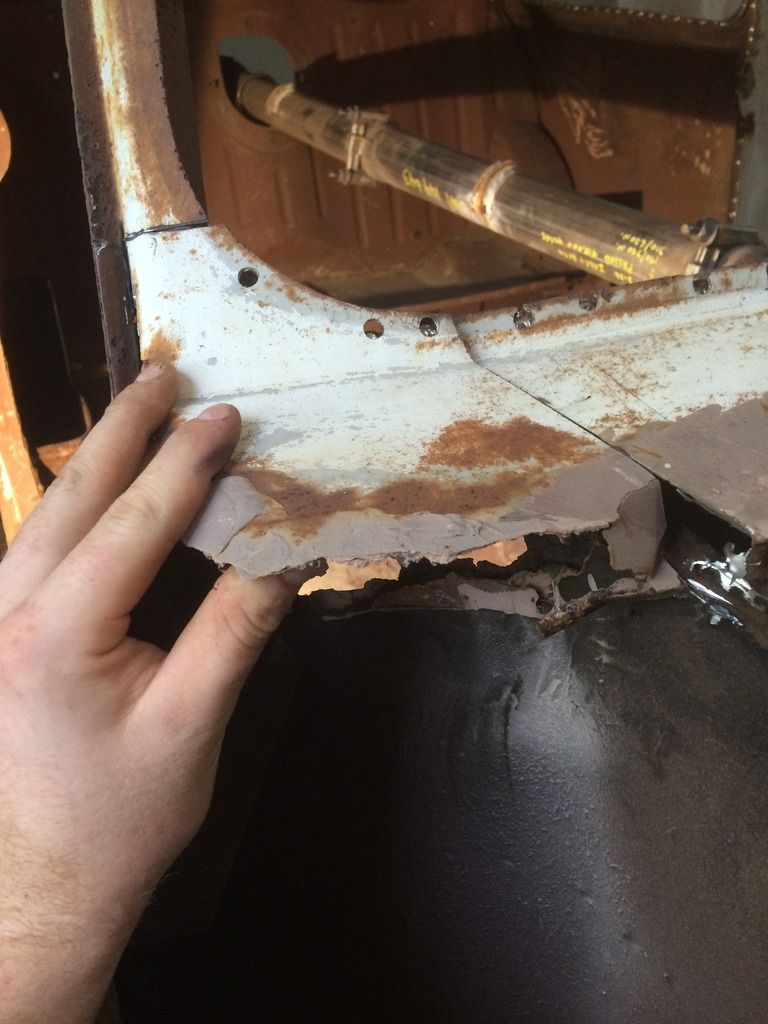
Also the upper door hinge bracket is some piece of metal girder from sometime in the 70's most probably.
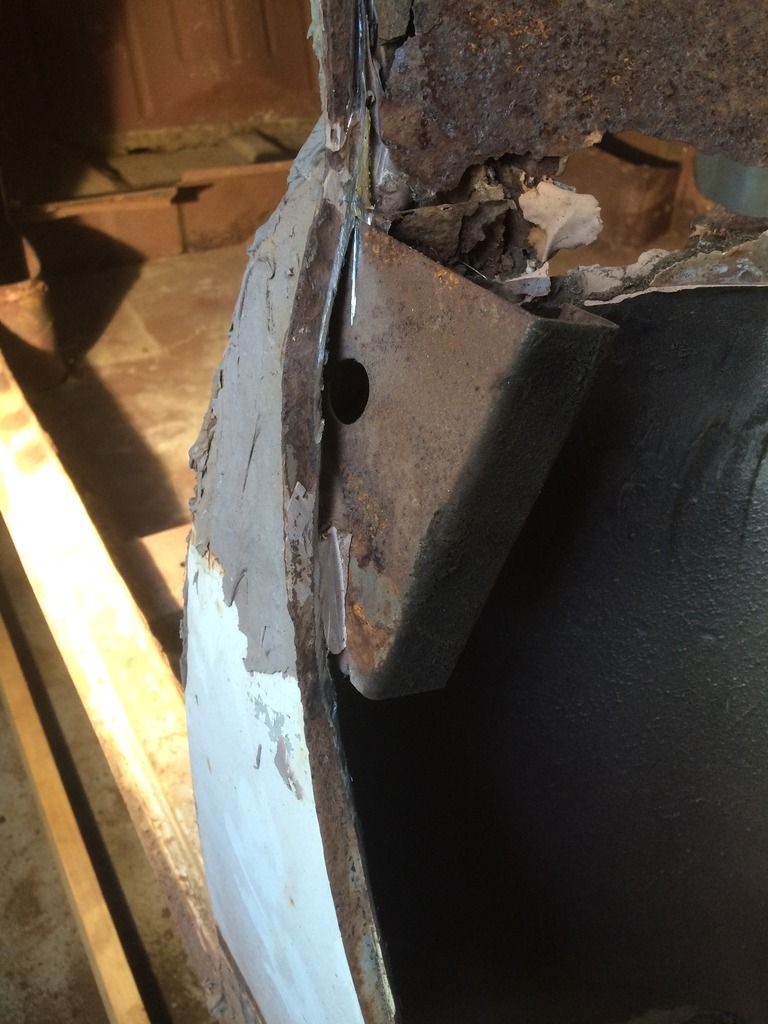
Had the remove the severed bit off the old wing first to get to the scuttle ends.
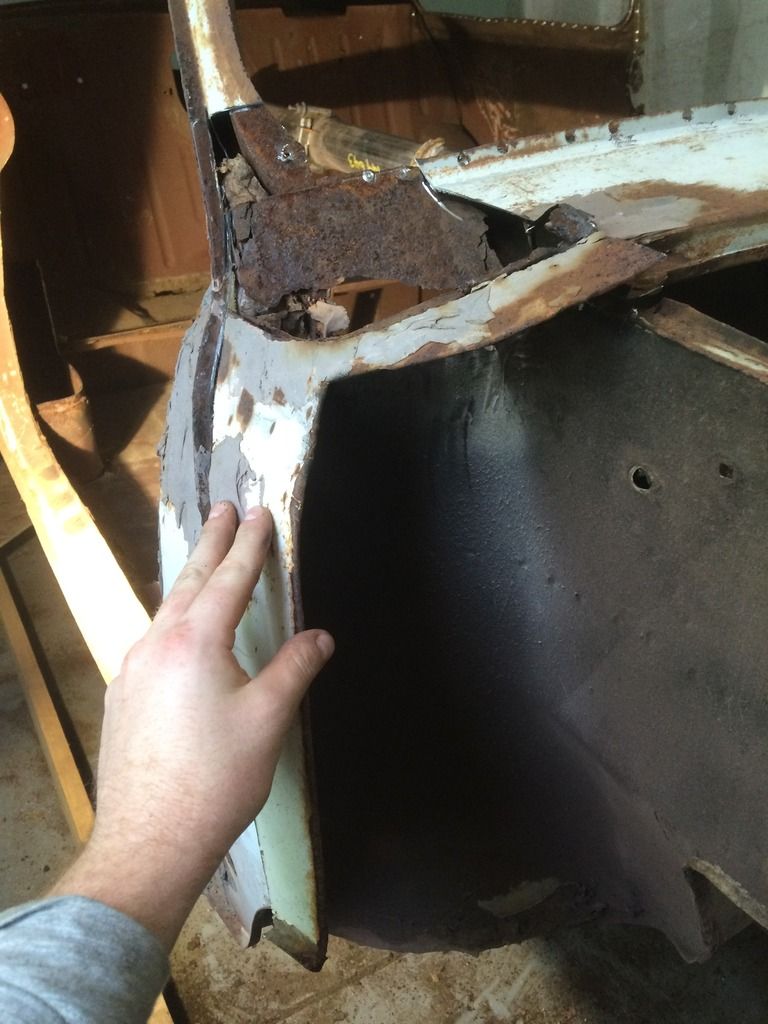
This was the other side
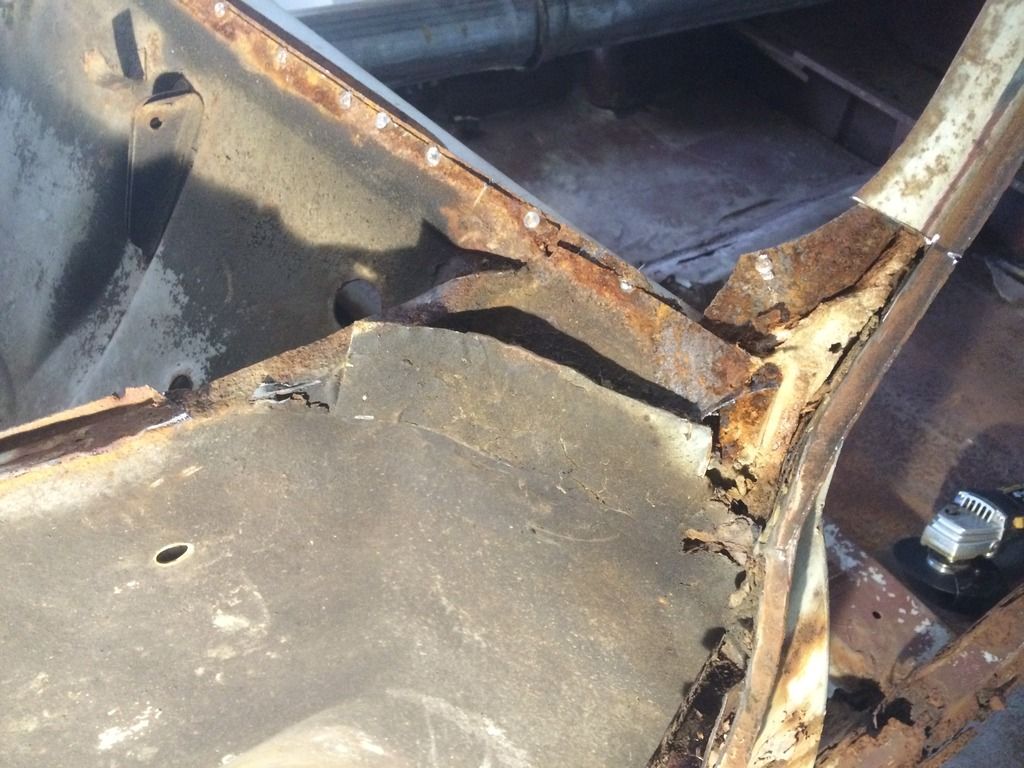
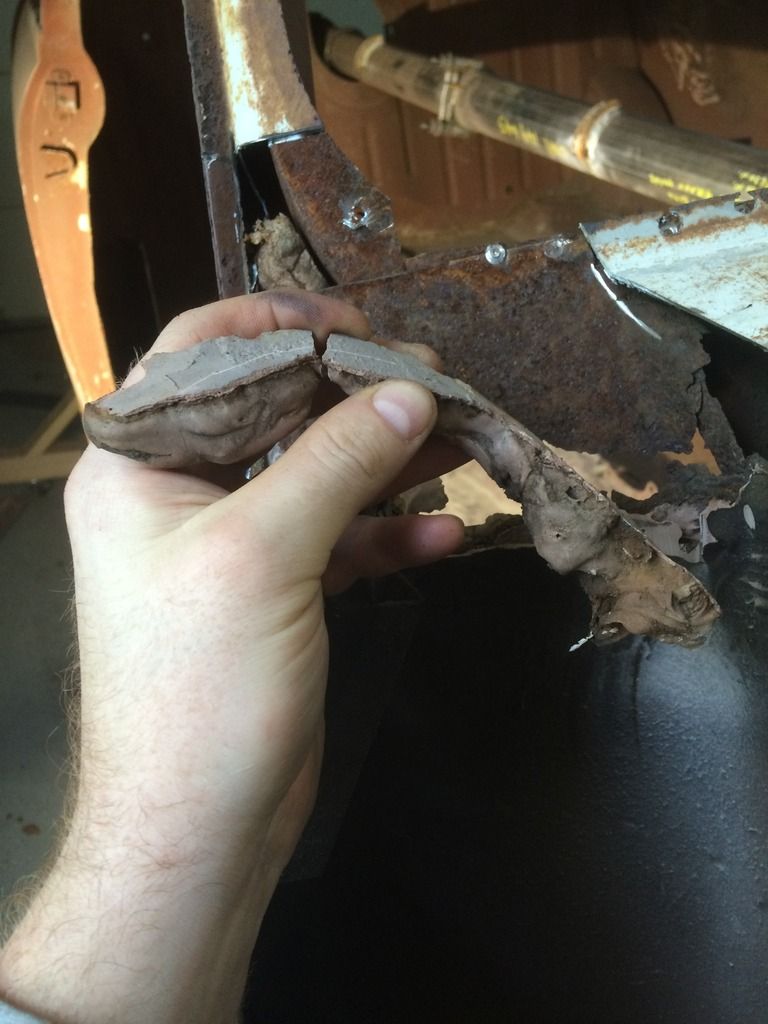
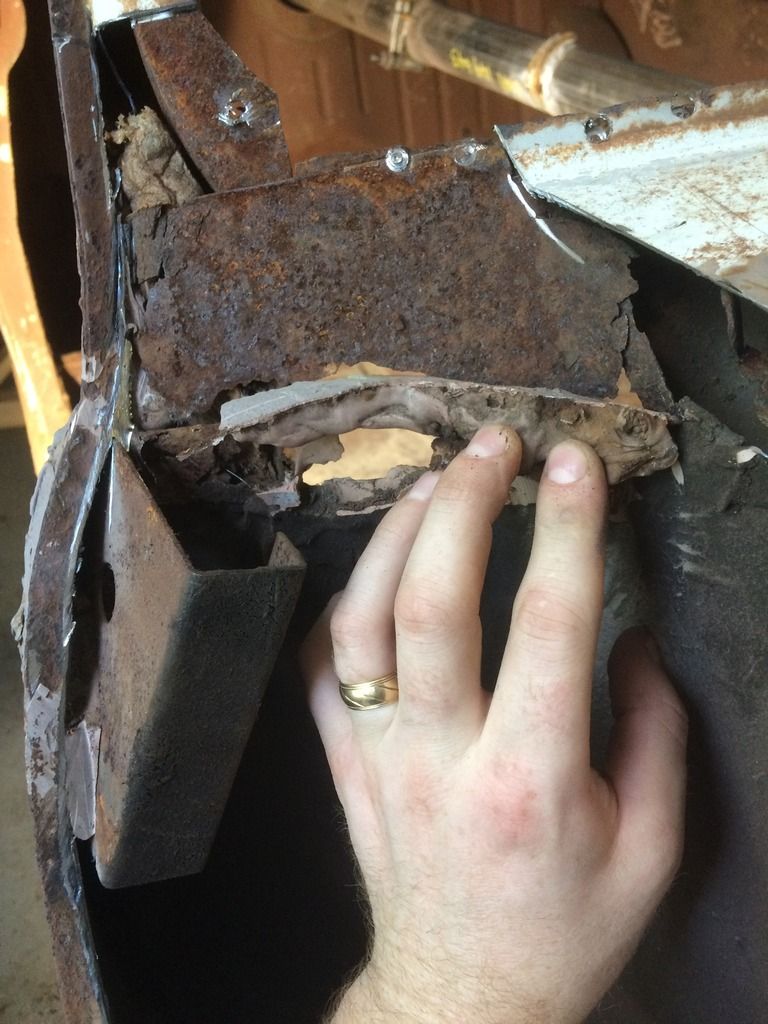
What is this foam stuff in the A pillar? Why is it there and what was it meant to do, apart from trap moisture and make rust?
Is it asbestos? Either way It's getting removed post haste.....
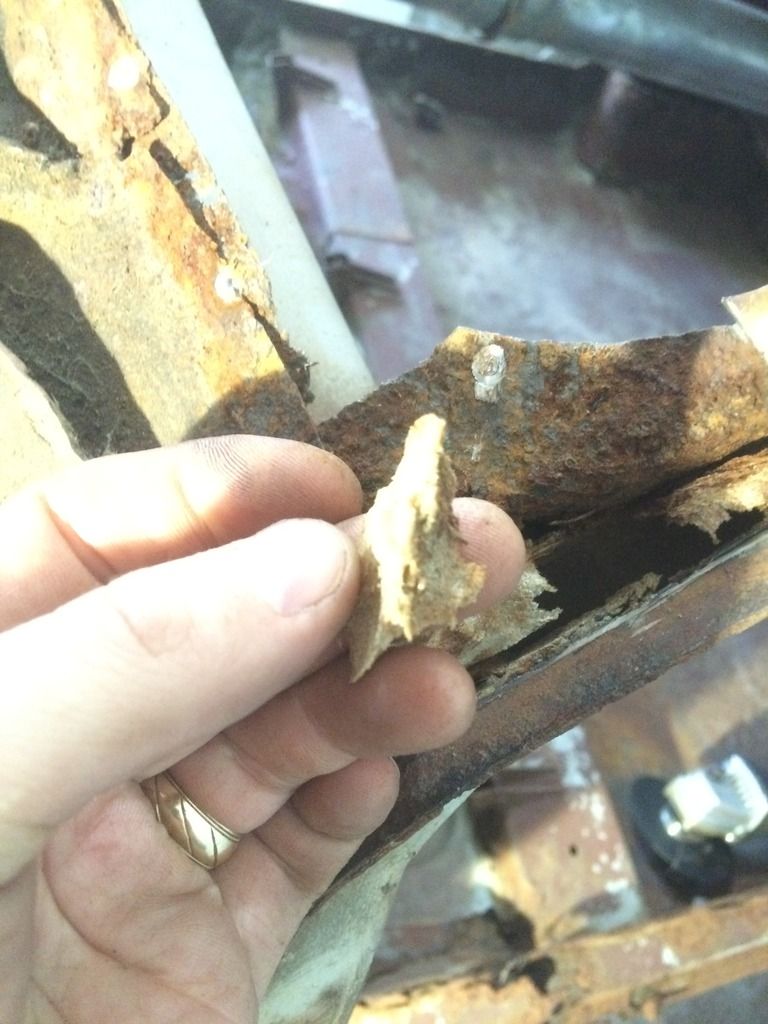
Then i could remove the scuttle
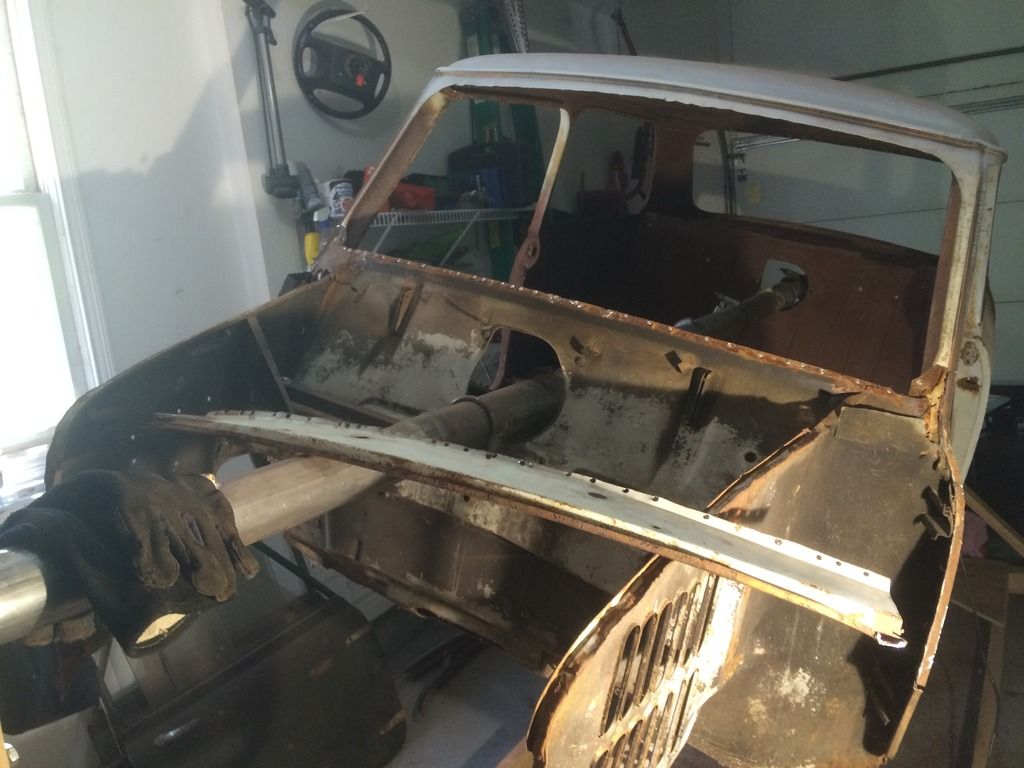
Rusty underside, but its just surface corrosion and should coem off, I plan to renovate this inner part combined with M machine end repairs.
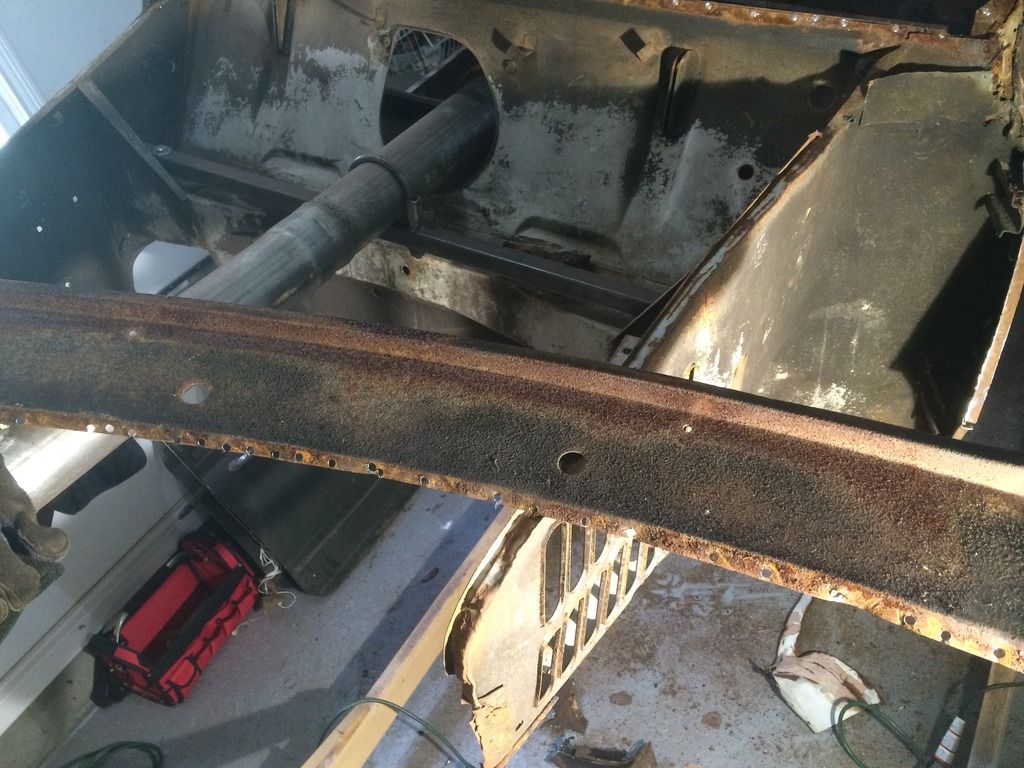
Oh and then I started on removing the the dash rail, and there are twice as many spot welds. I think they built it by spot welding the dash rail to the bulkhead and then spot welded the scuttle to both the bulkhead and the dash rail.
And the spot welds are very hard to find, and no order to them, probably totally up the chap on the assembly line where he chose to put them I guess?
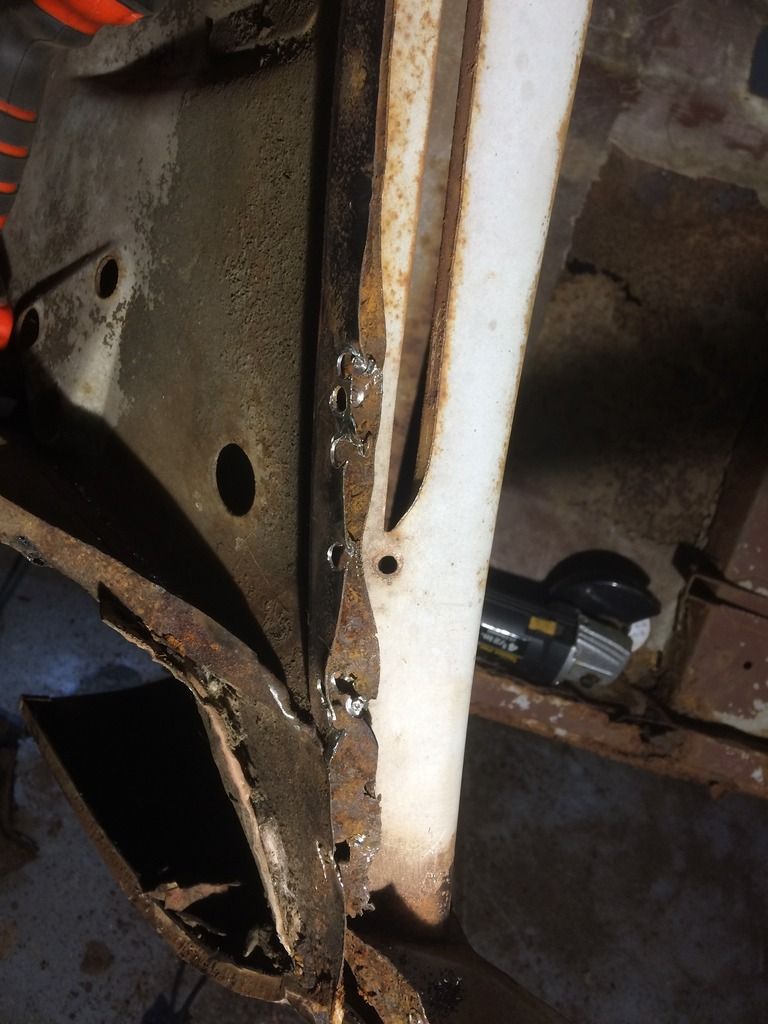
It looks a mess, but I can tidy both flanges up when they are separated
Oh and here are some bonus pictures of the lovely body filler job to the A panel.
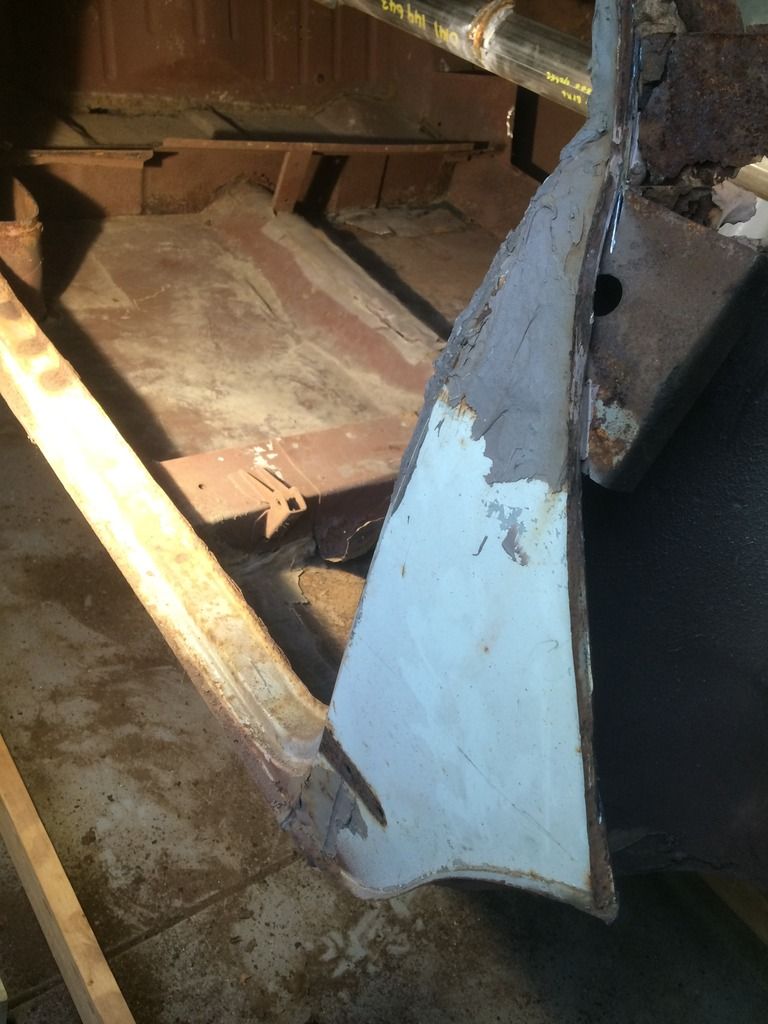
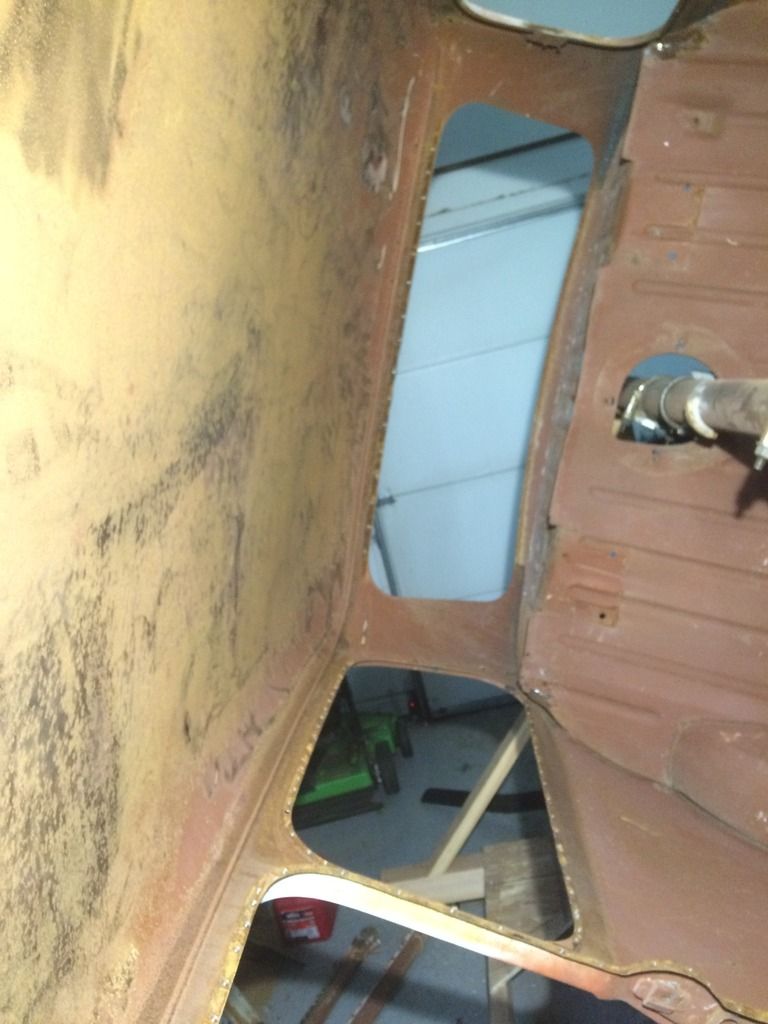
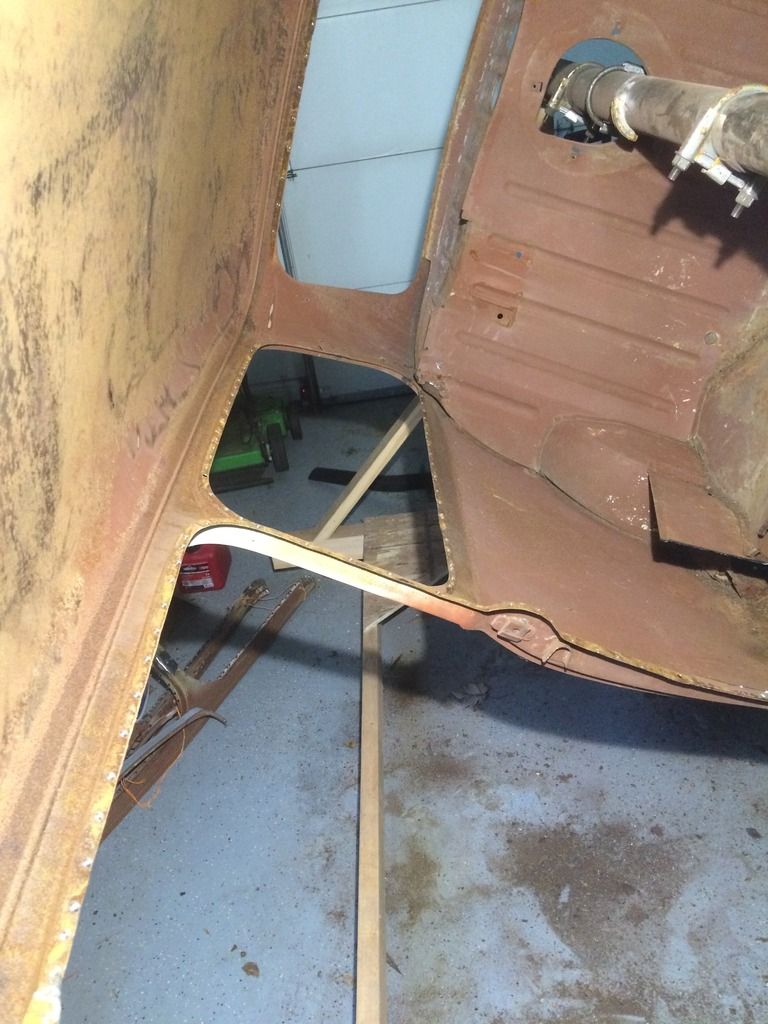
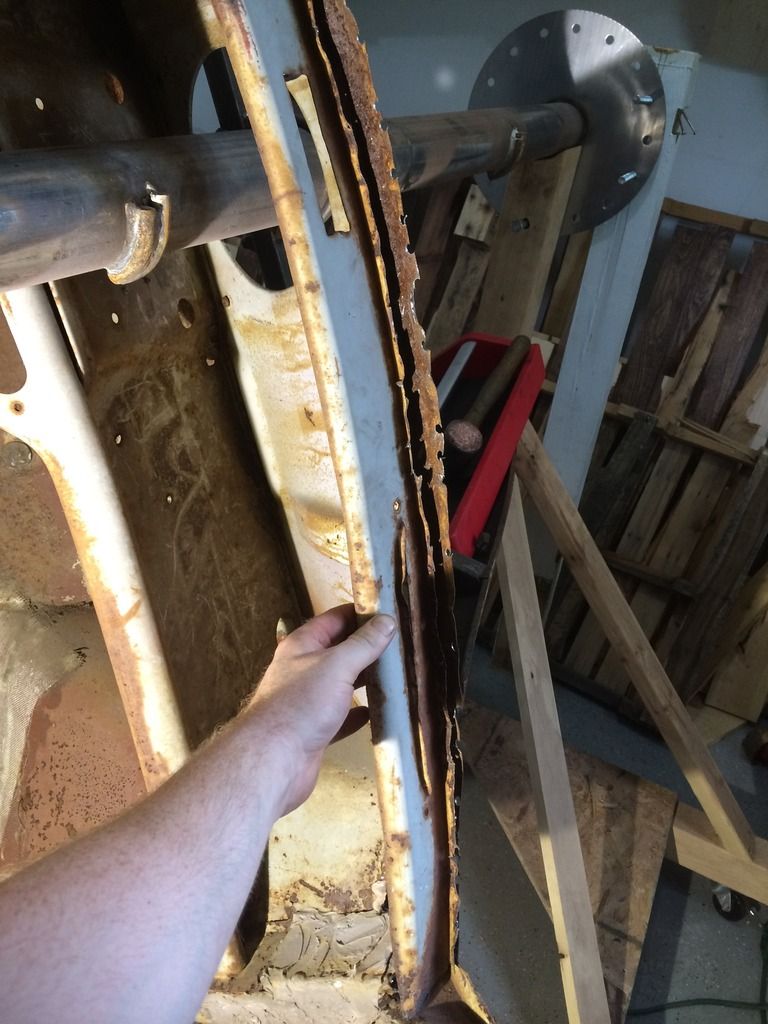
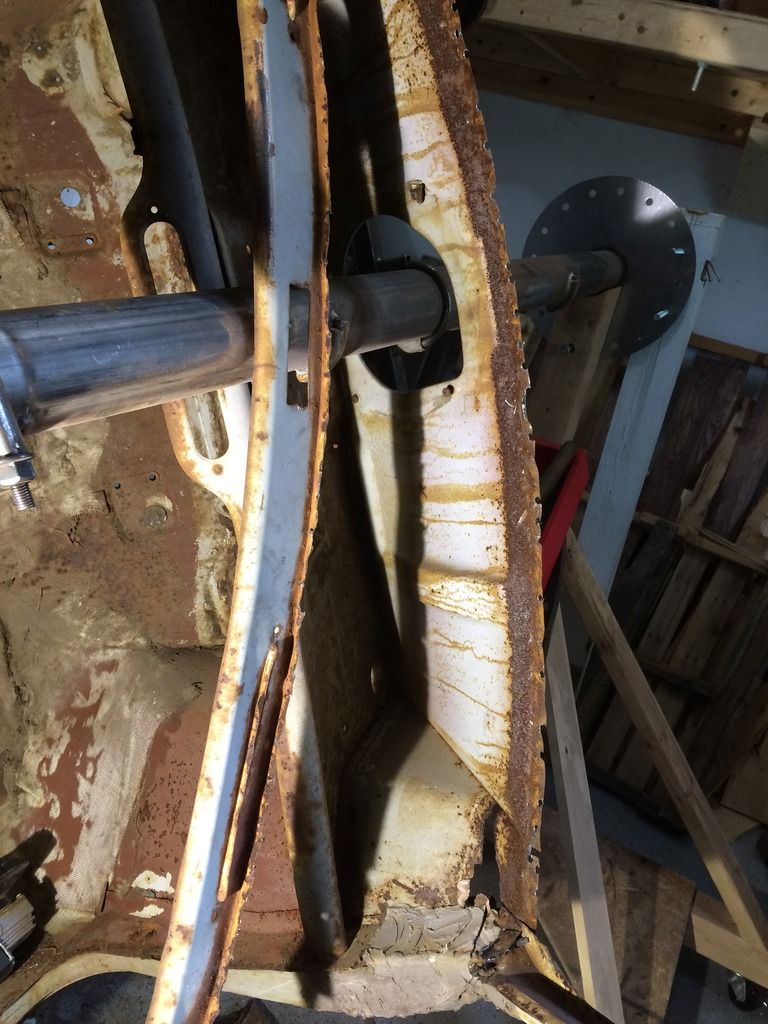
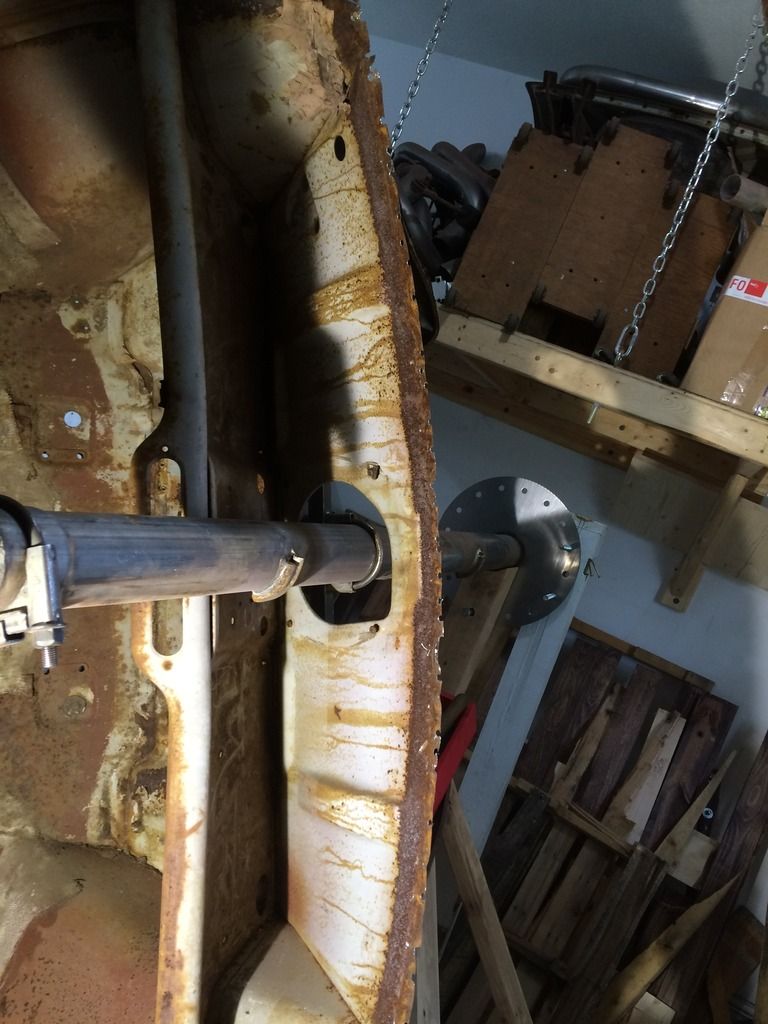
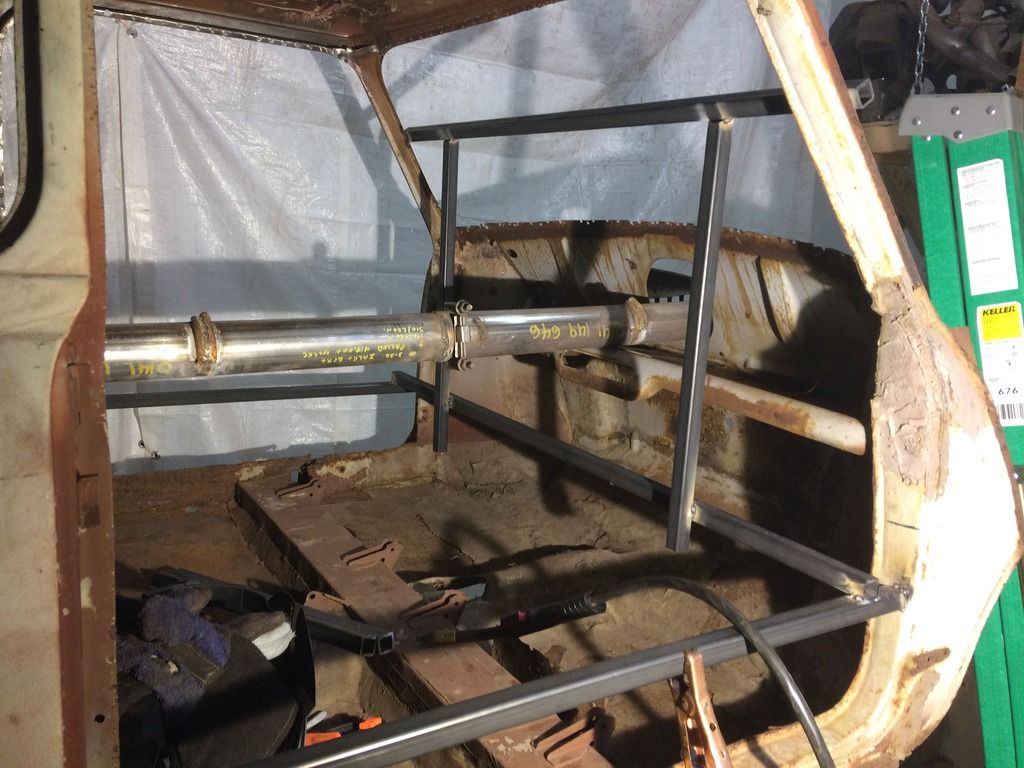
Here's the inside without any cant rails attached.
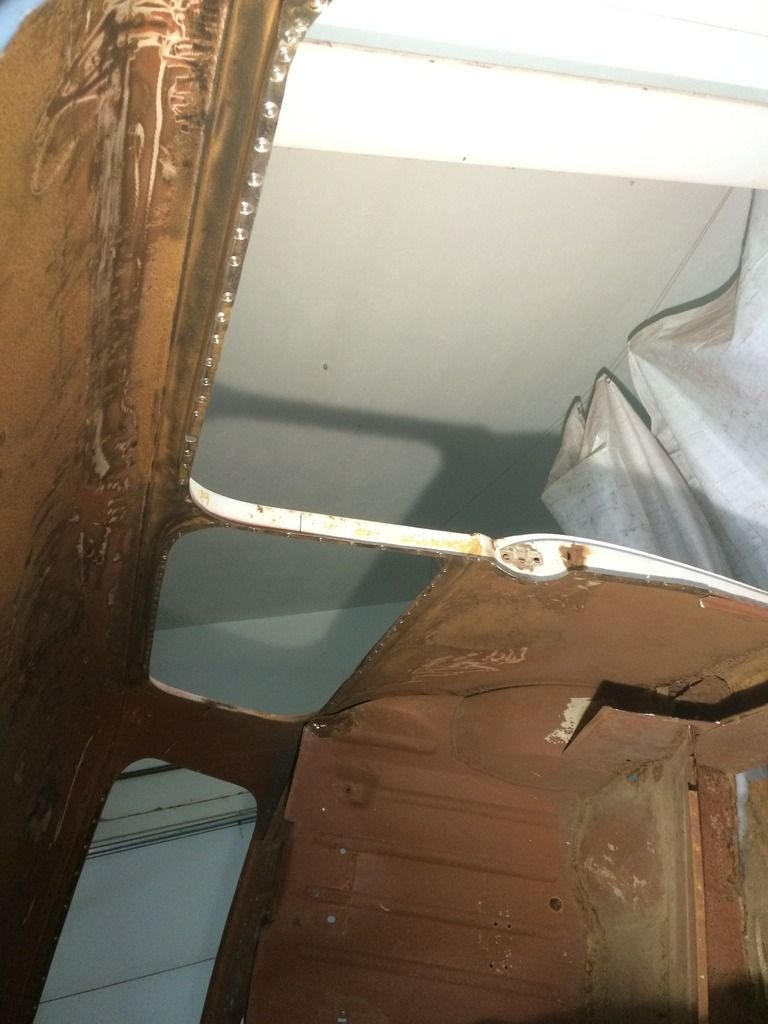
I'm now thinking of starting to brace the shell since I'm taking more of the inner panels out.
Edited by Chappers, 03 June 2016 - 02:35 AM.
#34
Posted 03 June 2016 - 07:32 AM
#35
Posted 03 June 2016 - 10:50 PM
I'm excited to get new panels and get them on.
I should be ready to order a new floor from m machine very soon.
Definitely looks like a mammoth task. But I'm trying to take a methodical approach, one panel per week.
#36
Posted 04 June 2016 - 07:03 AM
Exciting looking project you have there, nice to see a really early shell with it's subtle differences getting sorted out. What I think I would do rather than a bike engine is go A series (1380cc) with a supercharger good power and torque and totally in keeping with the period. As after market supercharger kits where offered early on in the Minis production. Keep the updates coming and I too am envious of your garage.
#37
Posted 04 June 2016 - 03:10 PM
I had thought about A series. But here's the thing, I live in the middle of Midwest America where they didn't sell many minis or even a whiff of a MG metro where I could access a 1275 donor engine.
There are however a lot of sport bikes and big v8 trucks, they often collide due to shocking standards of driving, so crashed crotch rockets are pretty plentiful.
A friend of mine recent did manage to source a 1275 engine from uk, but I didn't dare ask how much he paid for it.
The other thing to consider is this car by accident found a second lease of life. It was sat in a barn for 40 years, 40 years! and I reckon any longer it would have returned to the earth.
The guy I bought it from (Bill) is in his late 70s, he said his kids were not bothered about his old projects so after dragging it out into the light he took one photo of it and just stuck it on Craigslist with a $300 asking price. I was browsing CL for nothing in particular and saw the ad.
A British guy just 2 years into living in a foreign country, in the middle of no where who happened to mess about with minis in his youth. Found a CL advert by mistake for a car that had just been dragged out of 40 year coma, by a guy who 40 years previously had been racing the mini in a place where no one else had even seen a mini!
I decided that despite its appearance and severe amount of work required I would salvage what I could and turn it around.
The car never had a title (v5) from the previous owner before him (perhaps the original owner). It was owned by a farmer who for some reason again in the middle of nowhere had this mini. He used in on the farm and left it in a field when the engine died.
Bill who had just returned from the navy and fought in Vietnam somehow found it in the early 1970s bought it from the old farmer and turned in to a race car. When the floor was so far gone and no access to new panels he just repaired it with fiberglass and plates etc. He never had any intention of driving it on the road so never applied for a title.
But thankfully he kept the chassis number plate on the radiator shroud.
I wanted to see what I could eventually end up doing with it, if I could road register it or just have a racing car.
It took me a year to apply for the Indiana title, as it wasn't in their database, they also didn't recognize what a Austin mini even is!
I had to apply for a affidavit of ownership and have a police officer check the car and VIN number. But eventually the title came in the mail.
Think of all the series of events that have been involved with this classic and people's lives and how it ended up in my possession and how I even ended up with a title to be able to one day drive it on the road!
I am determined to finish it and its next incarnation will be in the spirit of how Bill treated it.
#38
Posted 04 June 2016 - 05:01 PM
When you put it that way it makes perfect sense to use what engine you can find. Good luck with the build.
#39
Posted 05 June 2016 - 01:05 AM
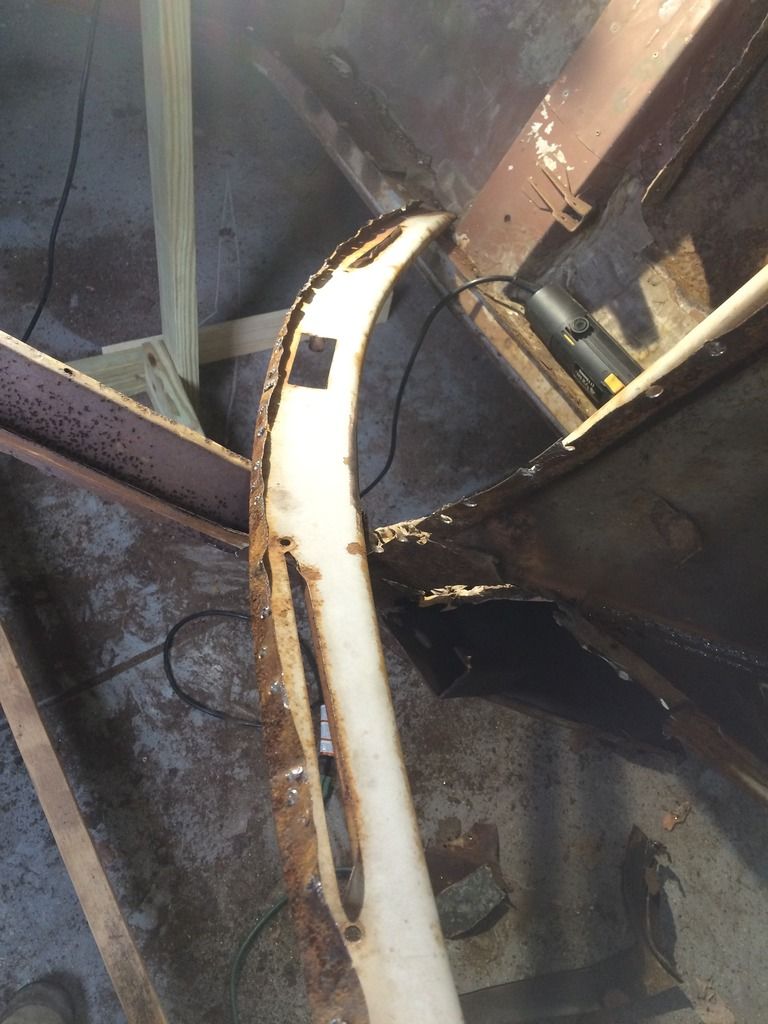
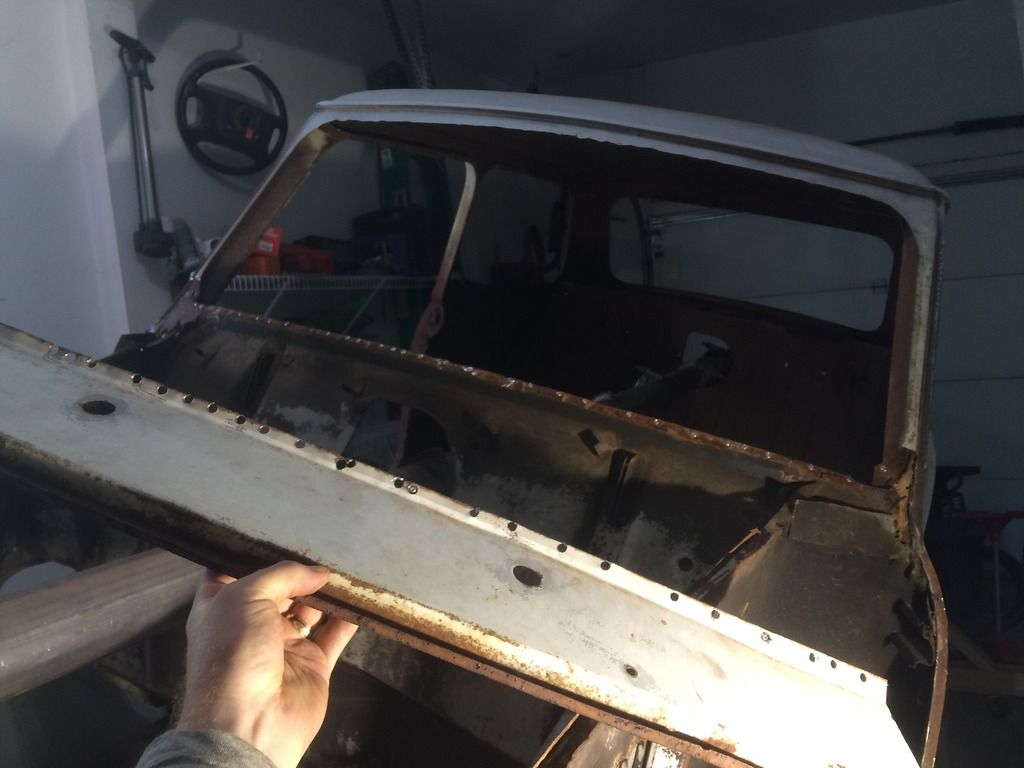
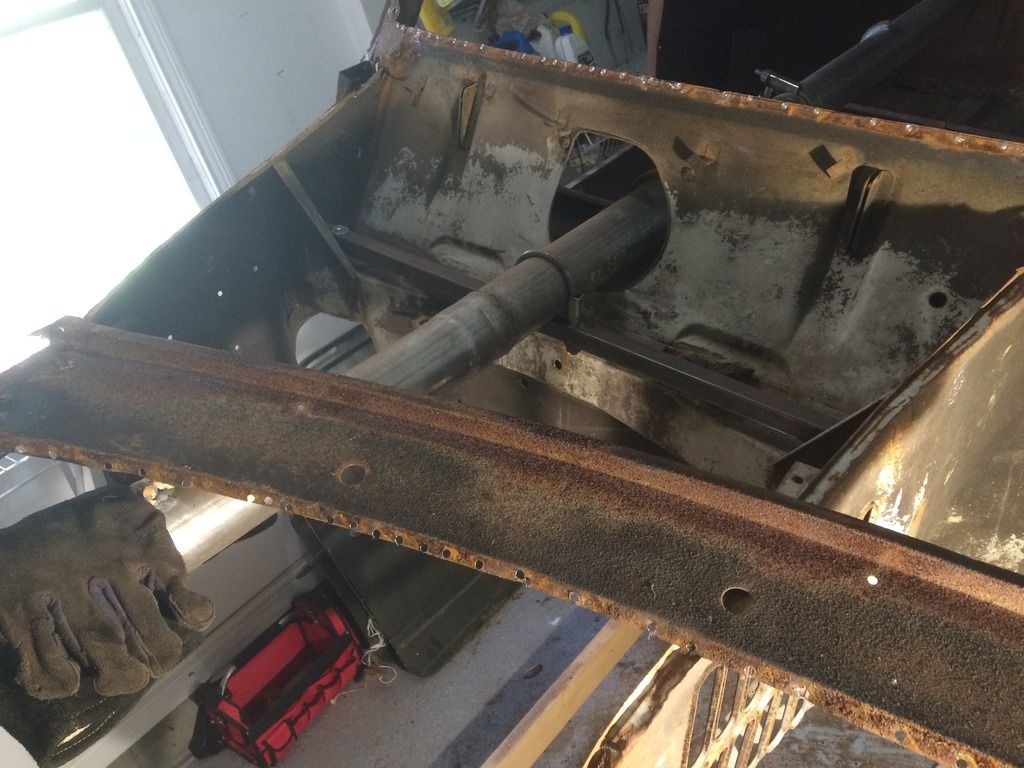
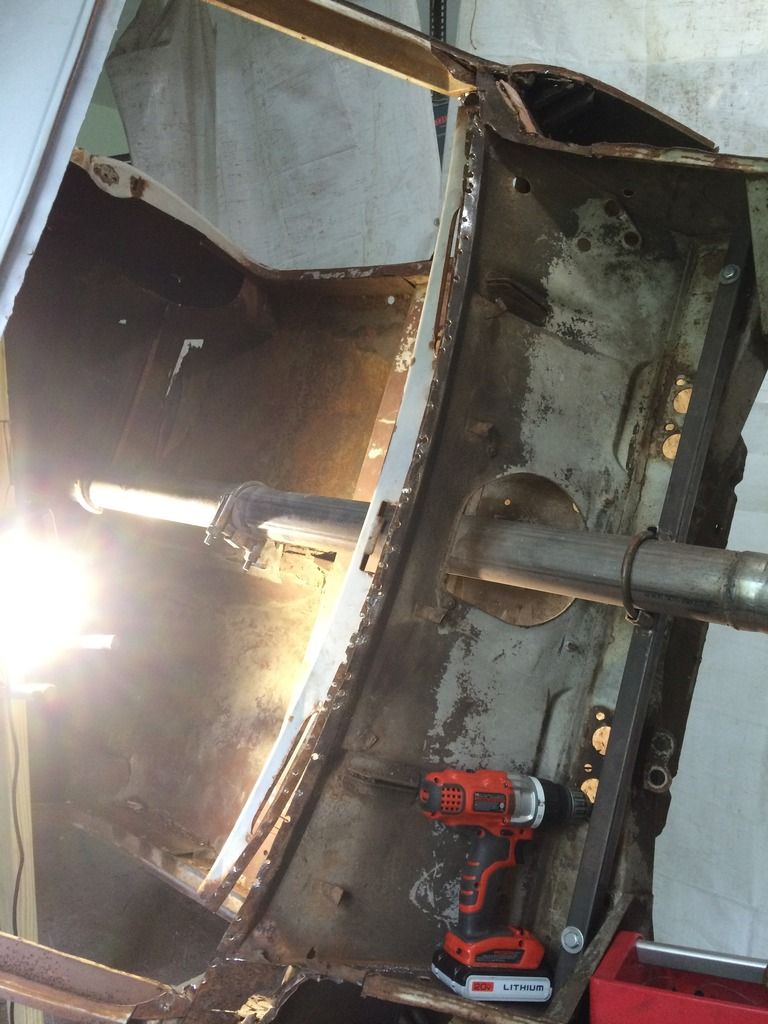
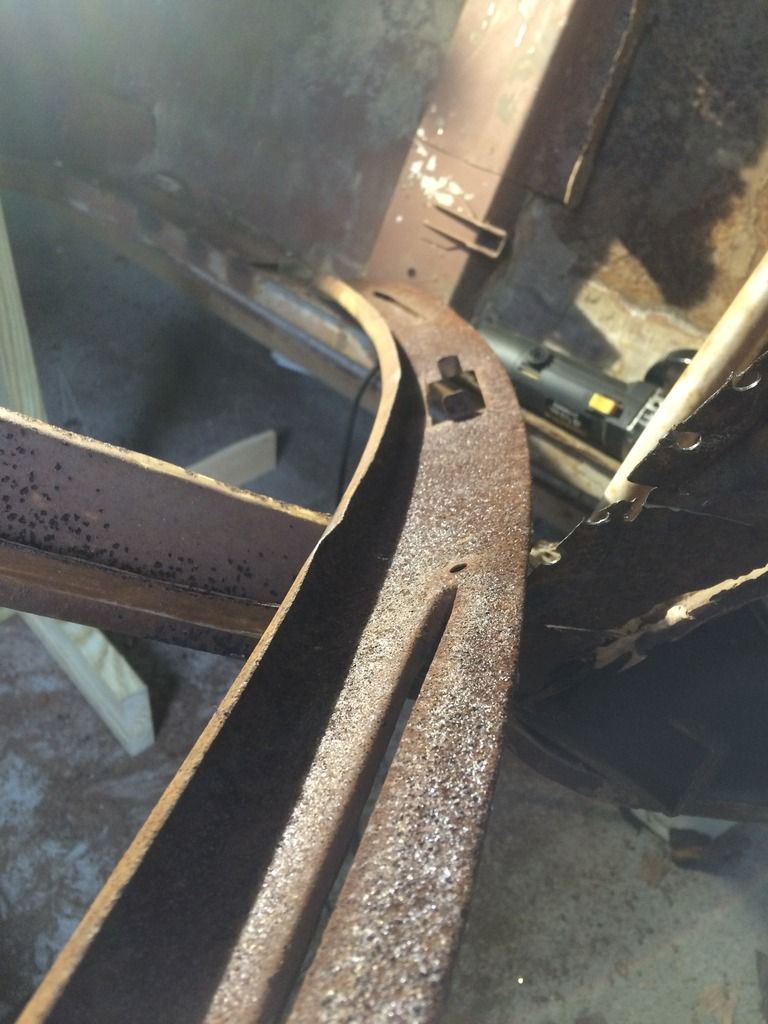
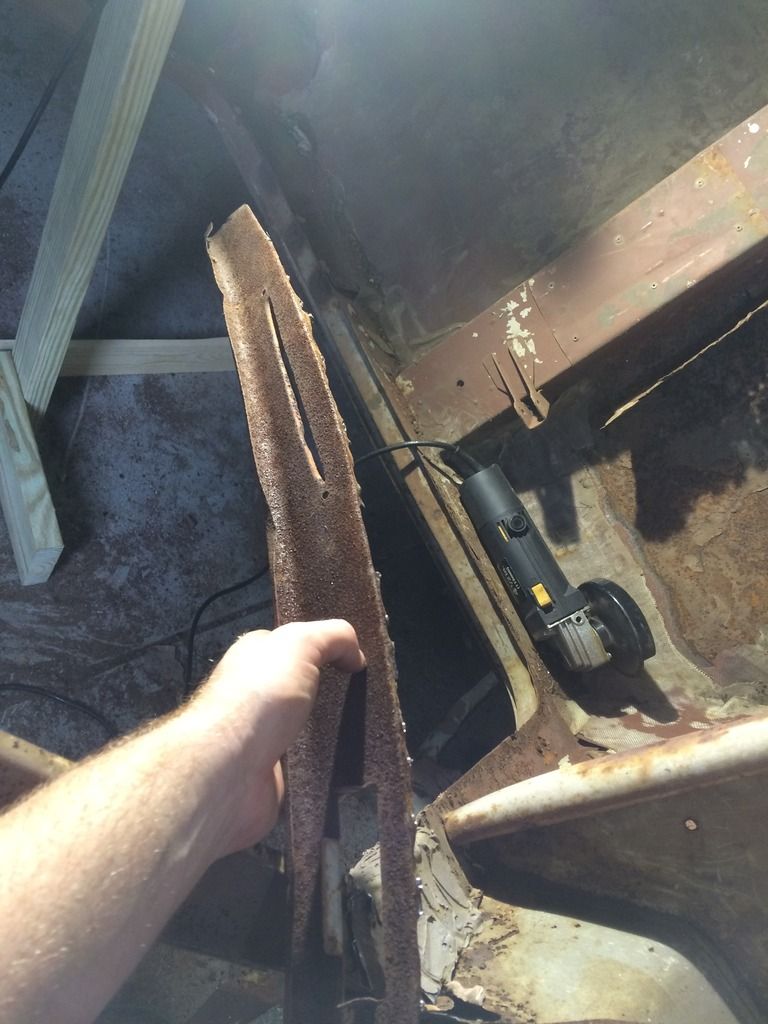
I did a bit more drilling and hacking today, removing the upper dash rail.
It's really starting to get a bit weak in that area so I will start to attach some bracing across the windscreen and down to the floor area to keep everything square.
After a lot of spot weld drilling the center point in the tool started to blunt and the tool skips. So I sharpened the tip using my angle grinder in my bench vise and rotated the tool in my drill.
After much drilling and hammering I had the dash free.
Glad I'm removing these panels as look at the rust hidden underneath.
All the attachment points will need some attention to rebuild when I start to reassemble.
But now I can access the inner A panels, after I brace the shell of course.
#40
Posted 05 June 2016 - 01:10 AM
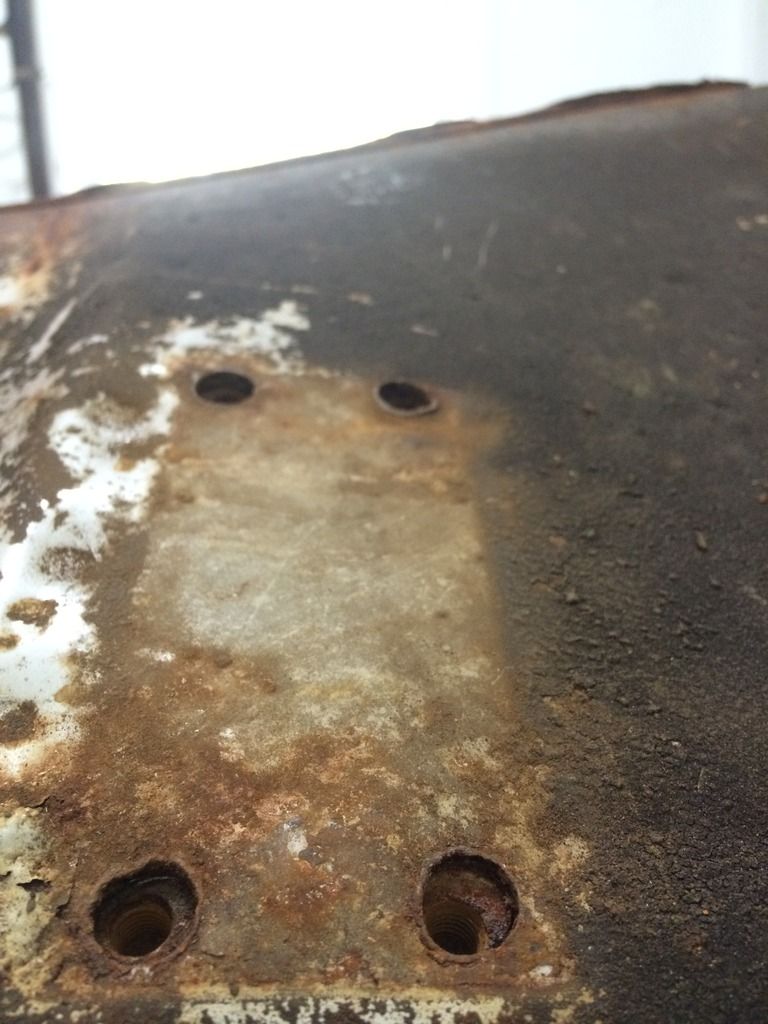
Very unusually for any mini, ha!
That's the original paint!
#41
Posted 05 June 2016 - 06:03 AM
#42
Posted 17 June 2016 - 12:53 AM
Small update, I bought 10 x 6ft lengths of 1" 3mm thick box section from the metal yard today. $70 bargain. So going to start the bracing frame inside.
I noticed that my bulkhead doesn't have a hole for a cabin air feed hose, but I've seen other mk1s have them.
Does anyone have a good resource of all the subtle nuances/changes of the mk1 from 1959 onwards?
My body number is 147xx according to heritage certificate, built 9th March 1960.
Cheers
Edited by Chappers, 17 June 2016 - 12:54 AM.
#43
Posted 18 June 2016 - 03:29 AM
Good luck with your project, but it definitely looks like you have the skills to do the job!
#44
Posted 24 June 2016 - 01:45 AM
My plan is to make sure the A series could be refit if ever I wanted one. It's not going to be a daily driver so I'm not too bothered about practicality, this will be a fun (quick) toy on a budget.
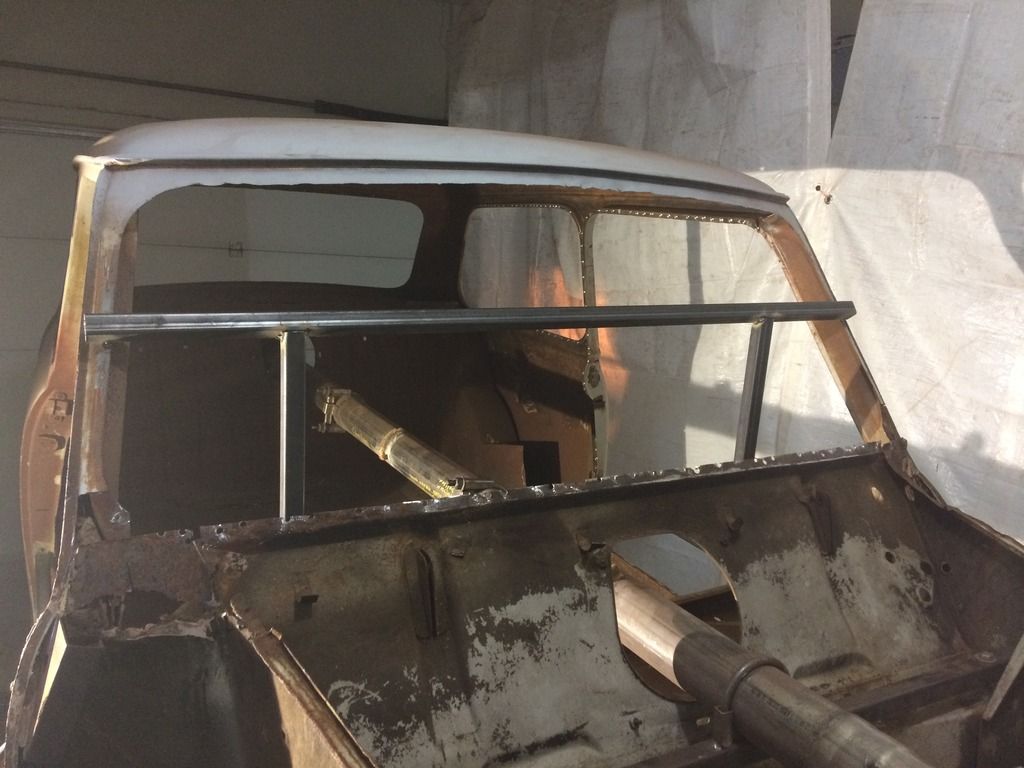
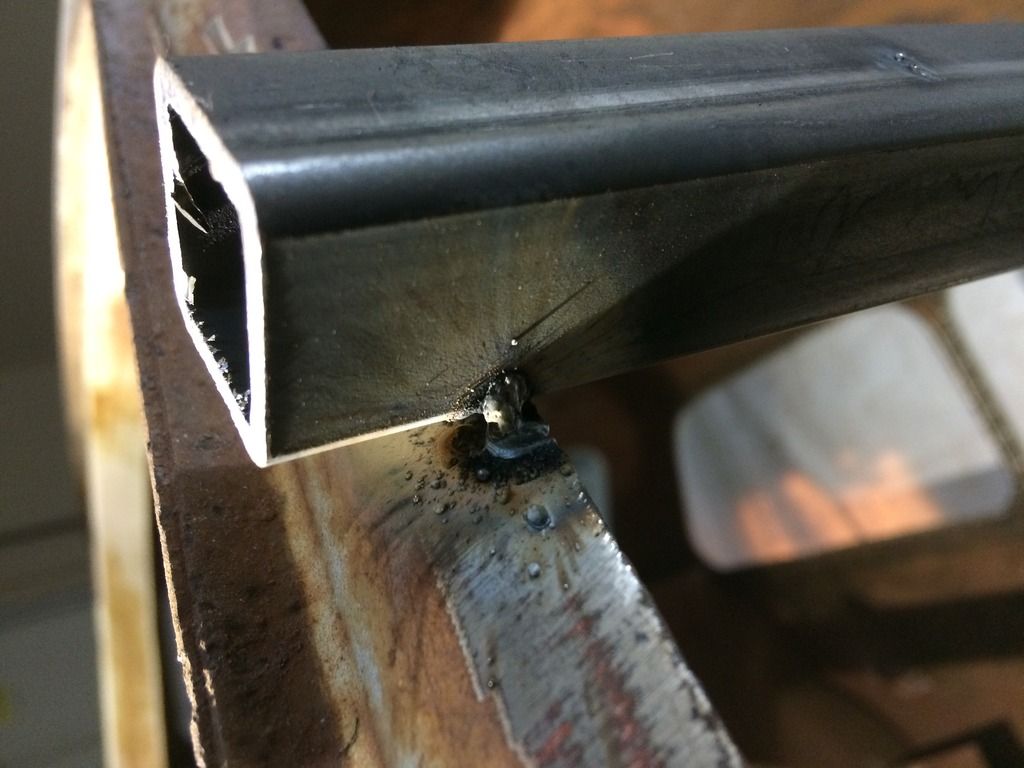
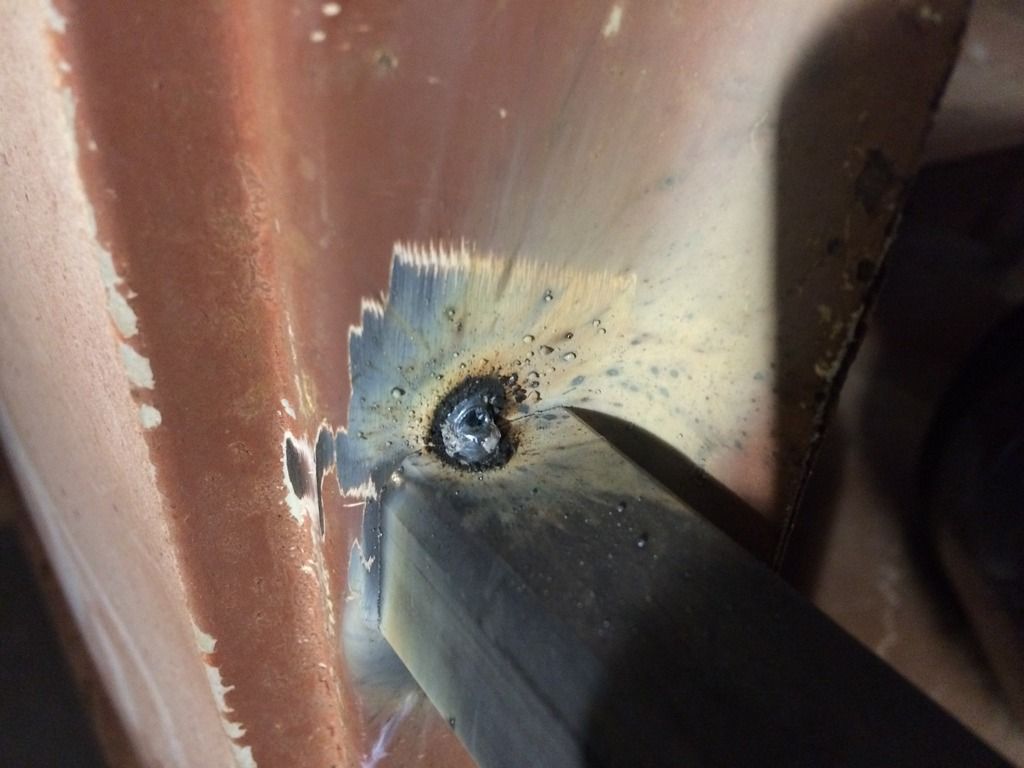
I spent a couple of hours tonight adding a bit of bracing for the front panel and the door apertures.
I'm having to think many steps ahead of what order I'm doing this. What are my next few jobs and what are mid term jobs.
Not gone crazy welding to the shell, these tack welds are enough, I need some gas though, hate this flux core.
I decided that this is sufficient enough for now to hold the front window aperture in place while I remove the inner A post panels, de rust everything and weld the cant rails, a panels and b panels back in.
Then I will add more bracing or reconfigure it to brace the shell enough to chop the floor out.
#45
Posted 26 June 2016 - 07:00 PM
Nice Project, definitely would like to share notes. I'm in Georgia by the way.
I feel the same about resurrecting such a unique find, especially when you really think about the history.
This thread will be a welcomed source of motivation.
1 user(s) are reading this topic
0 members, 1 guests, 0 anonymous users