Jump to content


Photo

A-Panel Welding


  • Please log in to reply
6 replies to this topic

#1 MiniMoe2008

MiniMoe2008

    Mini Mad

  • Members
  • PipPipPipPip
  • 163 posts
  • Location: Waldfischbach
  • Local Club: None Around Here

Posted 05 September 2015 - 10:19 AM

Hello All,


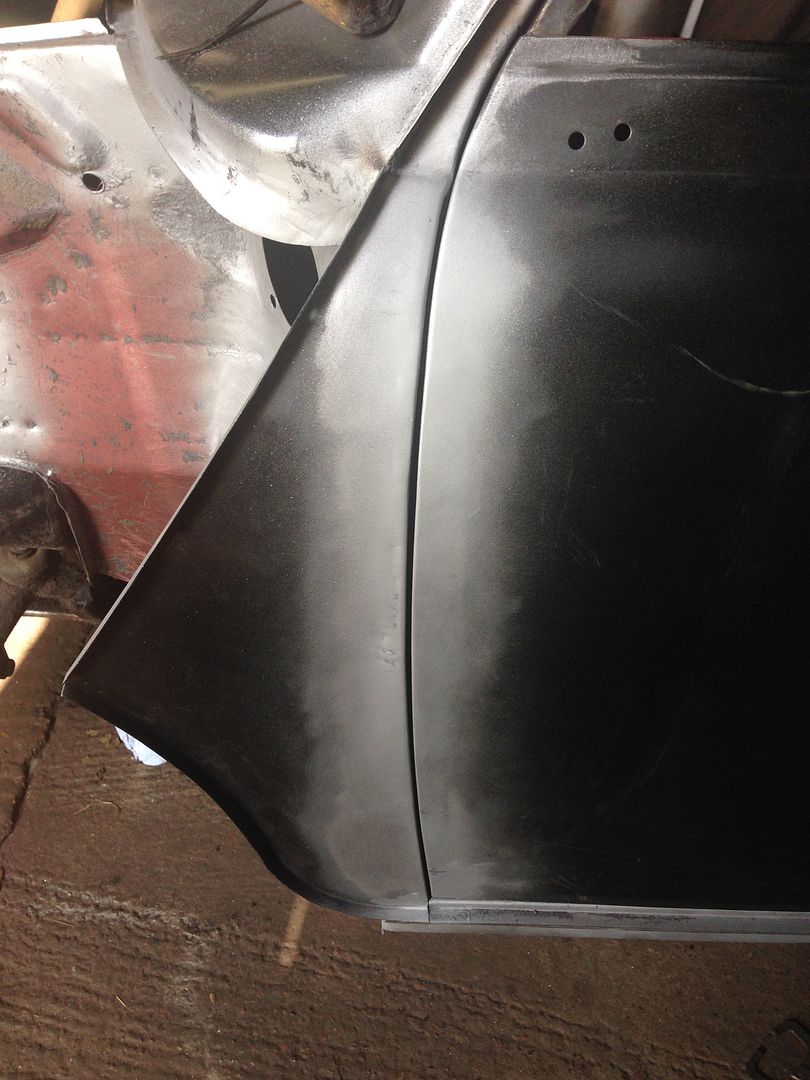
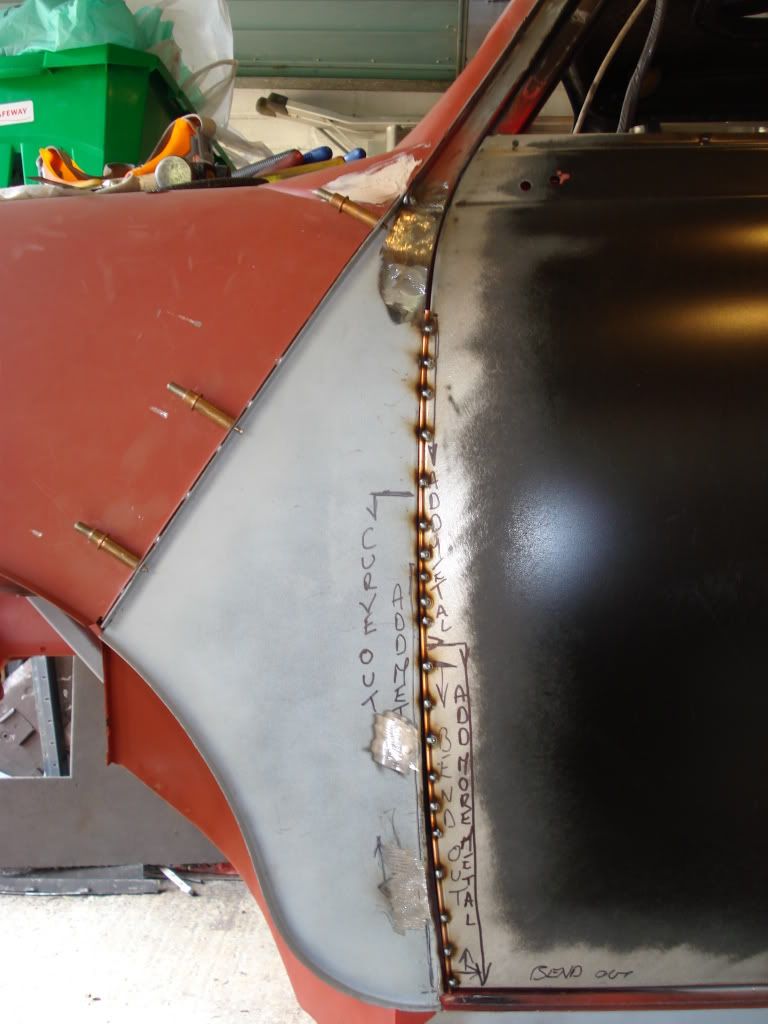
    So I just finished installing the flitch panels on my mini and want to press with the scuttle and A-Panels. Does anyone have good pictures of how the A-Panels are welded at the top and bottom? The flitch panels didn't line up well until I hammered and beat them into shape.I had to cut some excess metal but I just want to make sure its lined up correctly. Any pictures or a good description on how they did it would be greatly appreciated. Thanks again!


#2 Ben_O

Ben_O

    Mill Road Garage

  • Paint Doctor
  • PipPipPipPipPipPipPipPipPipPip
  • 9,793 posts
  • Location: Isle of Wight

Posted 05 September 2015 - 10:23 AM

http://www.theminifo...rebuild/page-59


Hope that helps


#3 sonikk4

sonikk4

    Twisted Paint Polisher!!!

  • Admin
  • PipPipPipPipPipPipPipPipPipPipPip
  • 16,018 posts
  • Name: Neil
  • Location: Oxfordshire

Posted 05 September 2015 - 10:52 AM

The one thing i do with  the A panel especially at the top is to seam weld along the top edge then carefully shape it with a carbide bit to get the contour line. Several spot welds or plug welds down the back of the A panel edge then at the bottom where it sits on the doorstep another plug / spot weld. On the inside of the inner wing where the A panel butts against the flitch return this is then cleaned and seam sealed.  


IMG_3435_zps6cce2be6.jpg

IMG_3434_zps6f6881be.jpg


#4 MiniMoe2008

MiniMoe2008

    Mini Mad

  • Members
  • PipPipPipPip
  • 163 posts
  • Location: Waldfischbach
  • Local Club: None Around Here

Posted 07 September 2015 - 04:30 PM

Thanks guys for sharing!!! You're both life savers!


#5 Blatherskite

Blatherskite

    Super Mini Mad

  • Members
  • PipPipPipPipPipPip
  • 501 posts
  • Location: Bærum
  • Local Club: Norsk Mini Cooper Club

Posted 01 October 2015 - 06:18 PM

IMG_3435_zps6cce2be6.jpg[/url]
IMG_3434_zps6f6881be.jpg


There's a shutline to be proud of. Must have taken hours to get it like that!

#6 sonikk4

sonikk4

    Twisted Paint Polisher!!!

  • Admin
  • PipPipPipPipPipPipPipPipPipPipPip
  • 16,018 posts
  • Name: Neil
  • Location: Oxfordshire

Posted 01 October 2015 - 07:09 PM


IMG_3435_zps6cce2be6.jpg[/url]
IMG_3434_zps6f6881be.jpg

There's a shutline to be proud of. Must have taken hours to get it like that!


Little bit more to that than meets the eye though. Adding metal to the edge of the door or A panel to get the even gap. A bit like this

DSC03891.jpg


#7 myminipickup

myminipickup

    Mini Mad

  • Noobies
  • PipPipPipPip
  • 152 posts
  • Location: Southampton

Posted 01 October 2015 - 08:33 PM

Hi,


Following on from this - does anyone have any pictures or description of how the A panel and inner A panel are put together and welded on a Pickup (or MK1 Mini) please? I can't really work out how the inner A panel is put onto the inner wing/front bulk head, and how the outer A panel is then welded onto this.

Many thanks 


1 user(s) are reading this topic

0 members, 1 guests, 0 anonymous users