Fc or polo hmmm


'nad' 1976 Mk3 Leyland Mini
Started by
Will16
, Aug 04 2015 08:14 PM
276 replies to this topic
#211

mini_matt_106
-
- Members
-

- 591 posts
Super Mini Mad
- Location: Andover
Posted 03 October 2017 - 09:16 AM
#212
Will16
-
- Members
-
- 1,090 posts
Wants a custom member title
- Location: Abingdon, Oxfordshire
Posted 03 October 2017 - 06:00 PM
Fc or polo hmmm
I know, I know, huge downgrade! but the polo will be a bit special when done, and if a good fc comes up I'll be buying it

Edited by Will16, 03 October 2017 - 06:01 PM.
#213
minimissions
-

- Members
-
- 3,427 posts
Up Into Fourth
- Location: North West
- Local Club: M.M.O.C
Posted 10 October 2017 - 01:10 PM
Nice work on the mini, I am glad your not painting it. Those little polo 6n's look nice with some tweeks.decent little daily.
#214
Cypher
-
- Noobies
-
- 6 posts
Just On Tickover
- Location: Cheltenham
- Local Club: GMOC
Posted 05 November 2017 - 04:37 PM
Nice build man! Where did you pick up the Louvres from?
#215
Will16
-
- Members
-
- 1,090 posts
Wants a custom member title
- Location: Abingdon, Oxfordshire
Posted 13 January 2018 - 04:05 PM
Nice build man! Where did you pick up the Louvres from?
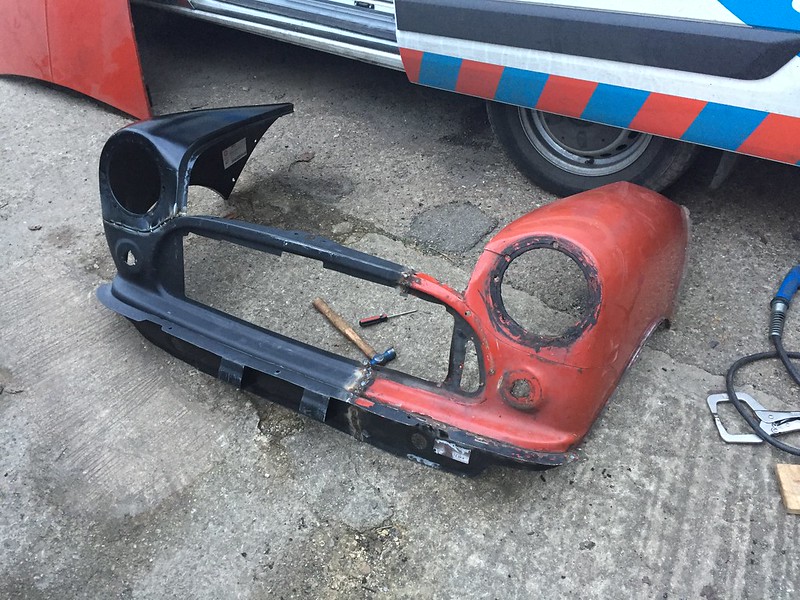
Thanks! The louvres I got very cheap off facebook, its tatty, but matches the car, ABS motorsport reproduce them now
Pic heavy update!
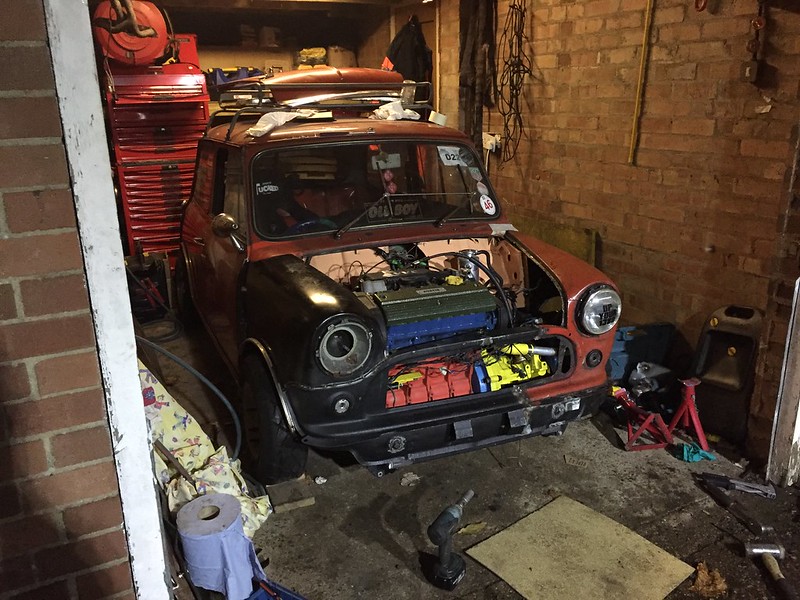
Well, nothing was wrong with the car and it was very nice to drive, so I thought there was no better of a time to strip the car down and do a load of changes that no one will even notice  I kid, whilst the car doesn't get used over winter I thought it was a good opportunity to alter a few things and improve it. The engine already had to come out for the new gearbox, so I thought I'd make it sit level too, and whilst the engine was out I thought I'd repaint the bay, and then I was like I may aswell get rid of the unused holes, you get the picture!
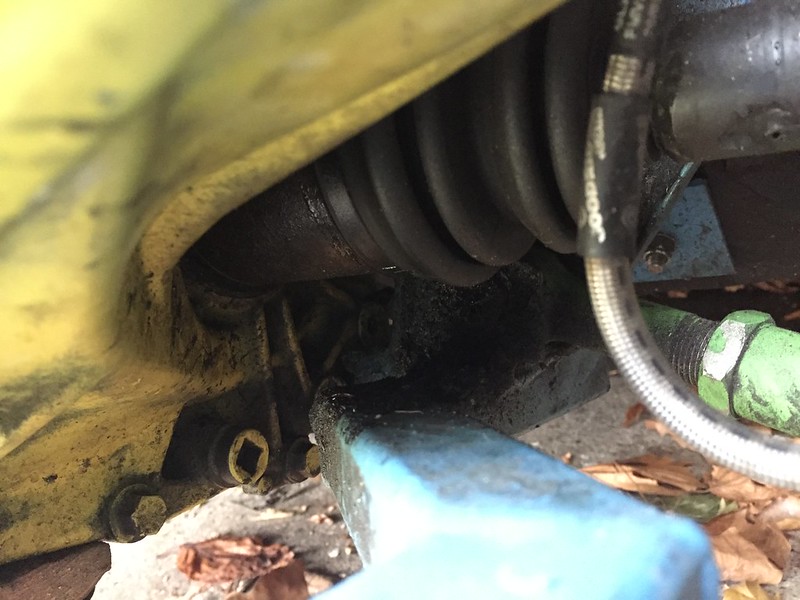
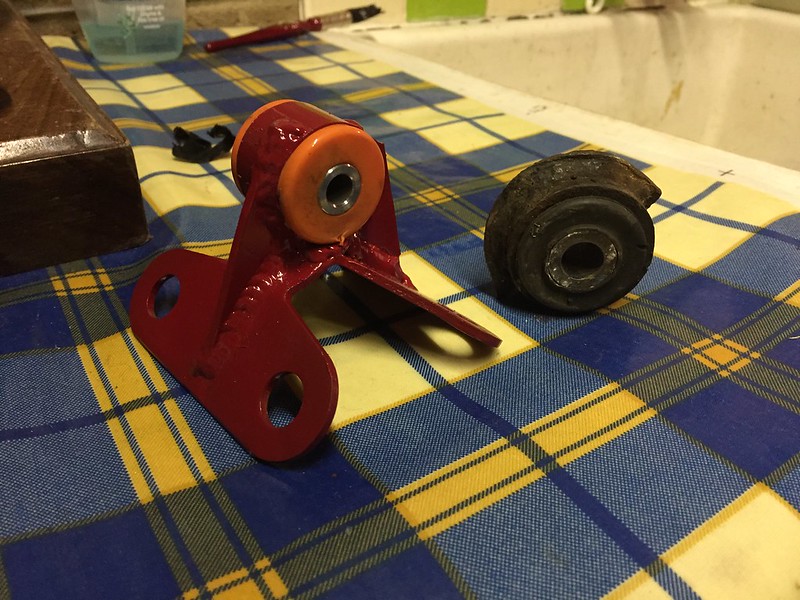
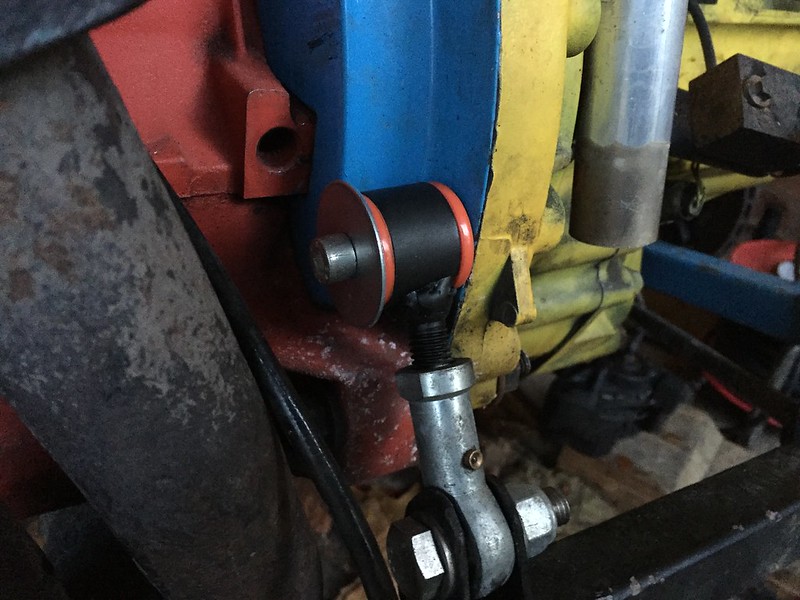
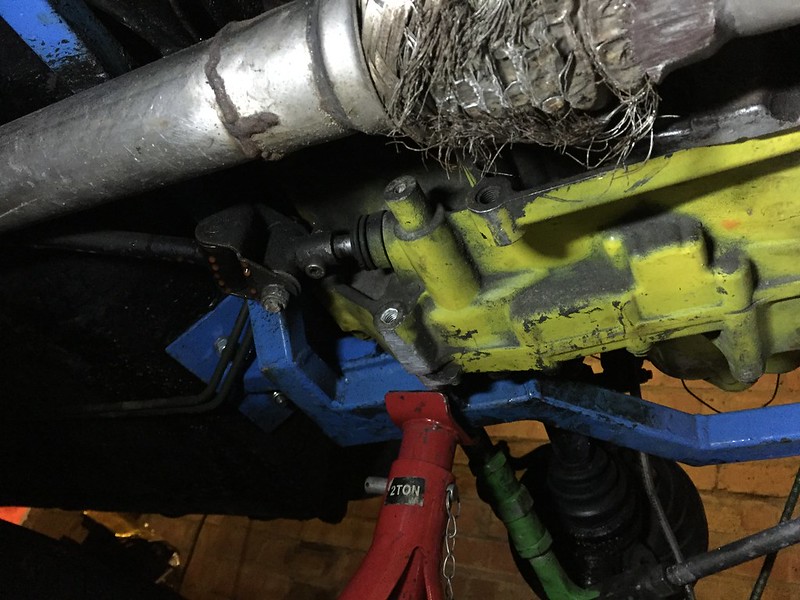
The engine has always been slanted down towards the gearbox, I way overestimated how much I though the Rover rubber mount would sag, and this meant the passenger side gearbox cv was rubbing the subframe. To fix this I just needed to drill a new hole, did that but then the rear engine steady was out, made a new one using a series polybush's and tube and modified the rose joint front steady to make it less harsh. Then the engine could come out
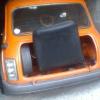
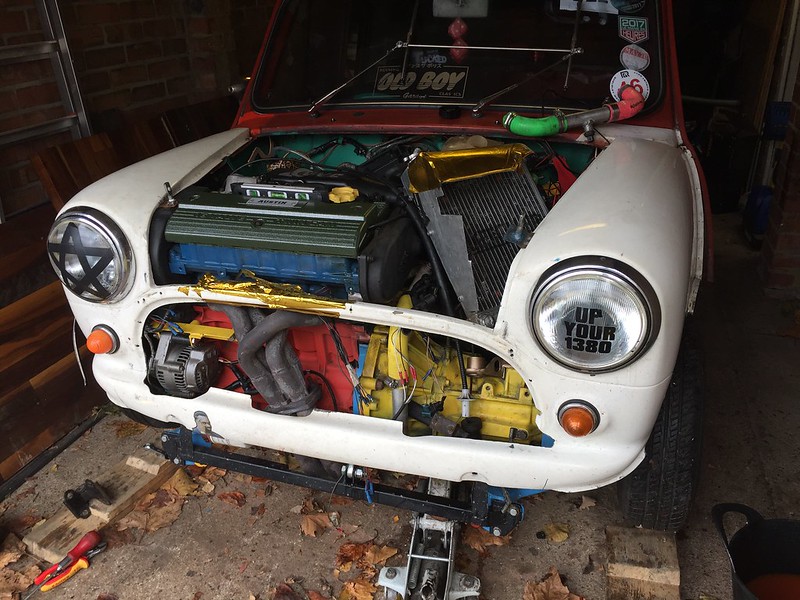
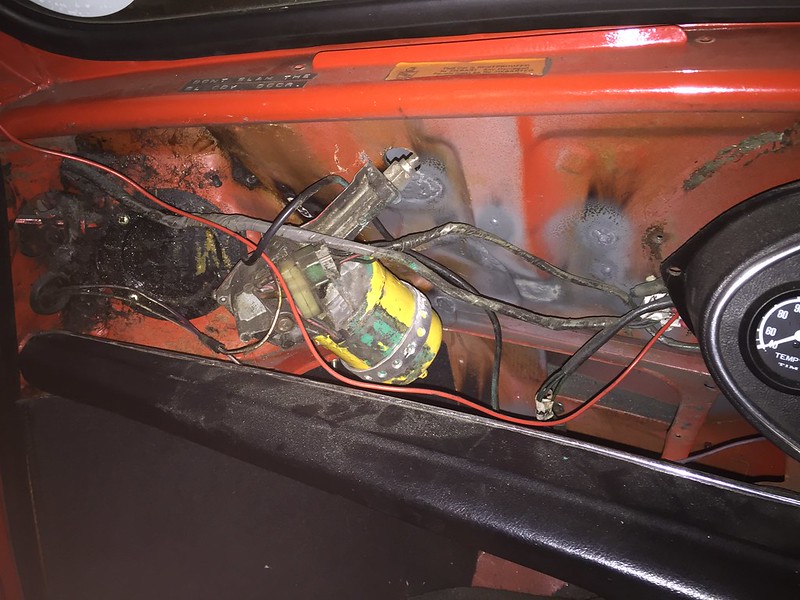
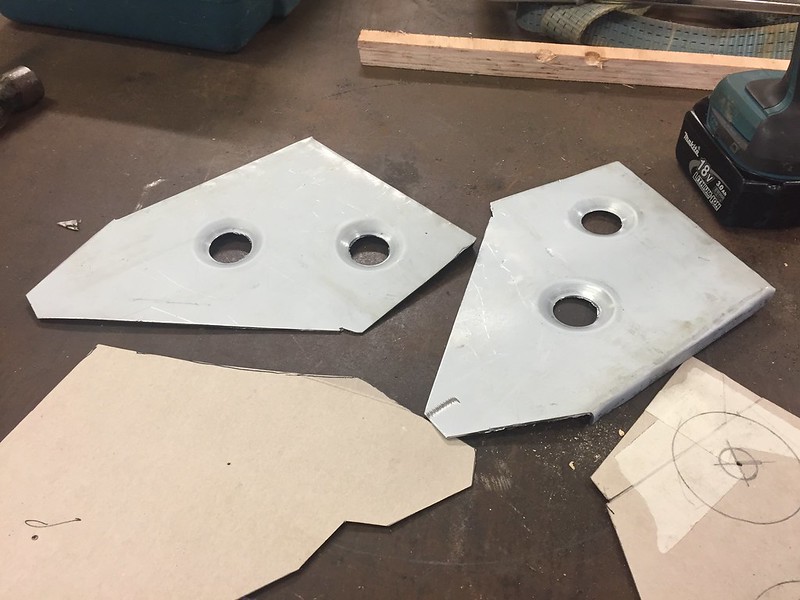
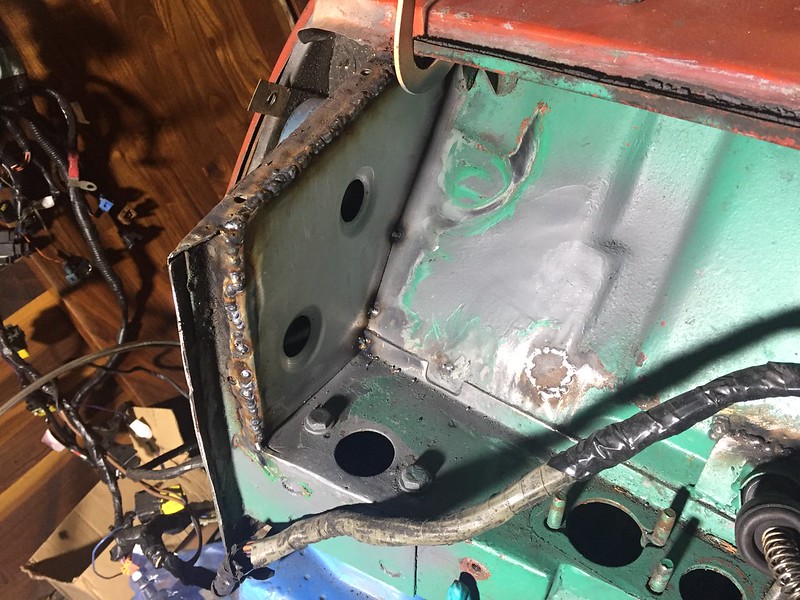
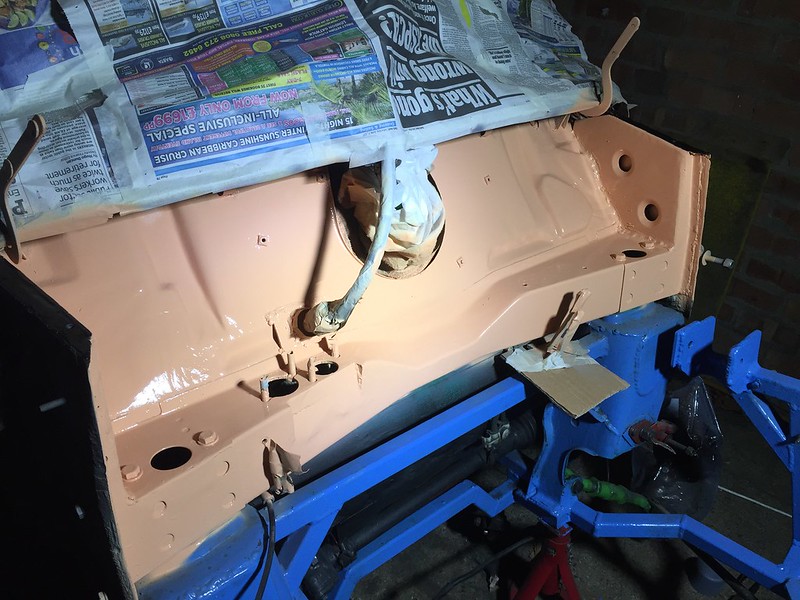
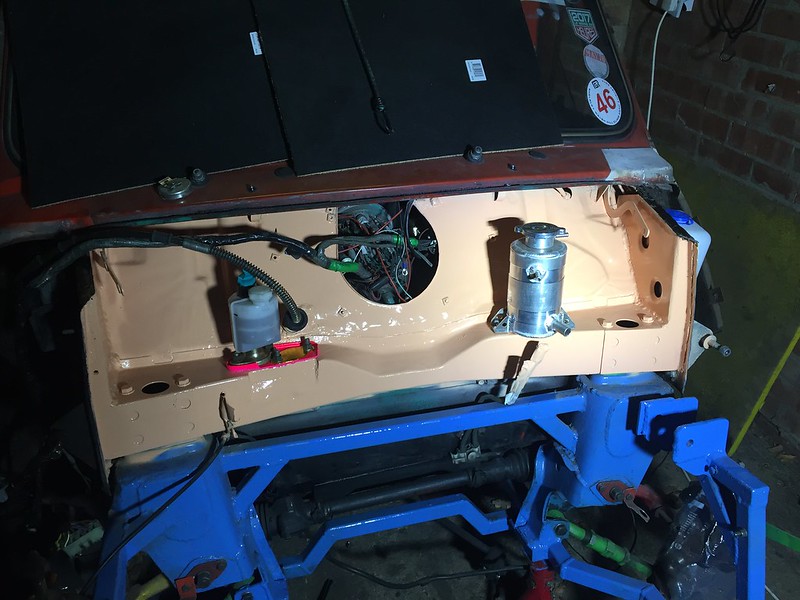
I wanted to tidy up the bay a bit, I was never too keen on it as it was very cluttered and 'thrown in'. I'm not going for a full shaved bay, the engines been in and out more times than I can remember now so properly tucking everything would be a nightmare! The wiper motor got moved behind the bulkhead, I got rid of that leopard print washer bottle, a lot of the wiring was simple to do and unplugged and replugged behind the dash. Also got rid of the inner wing braces and boxed the ends in, made some dimple dies at work so put them to use After all the hole filling, smoothing and hiding, the bay got a colour change. I do wish I’d spent a little more time to prep the bay and get it really smooth, but I’m happy with how its come out for a rattle can job
See how cluttered the bay is
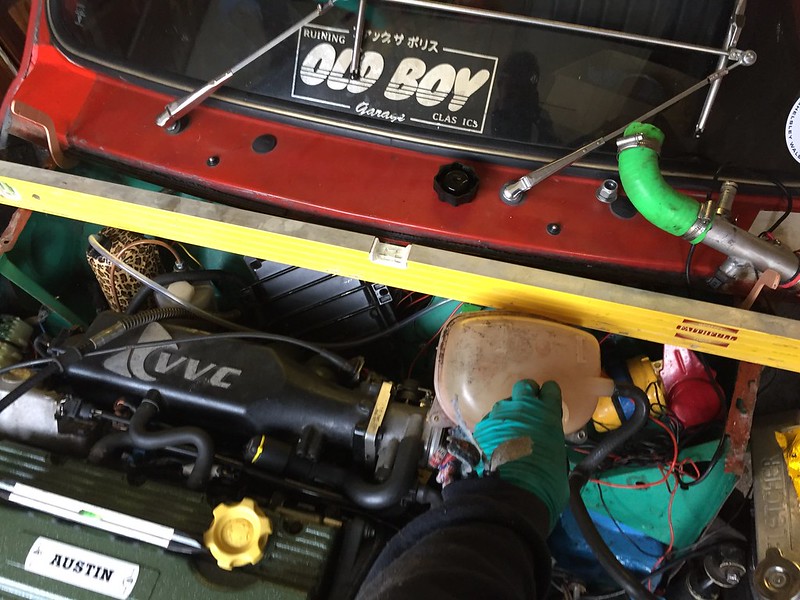
Much needed clearance
Front still fits with the new engine position
Plated round the old hole
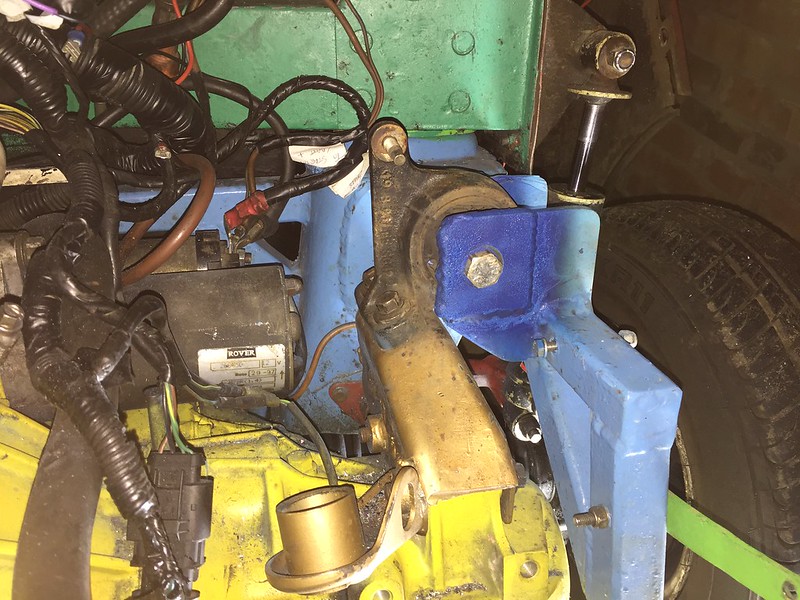
New rear engine steady
Exhaust flexi and gearbox have been rubbed a little
Wiper motor
 [
[
Start of the bay
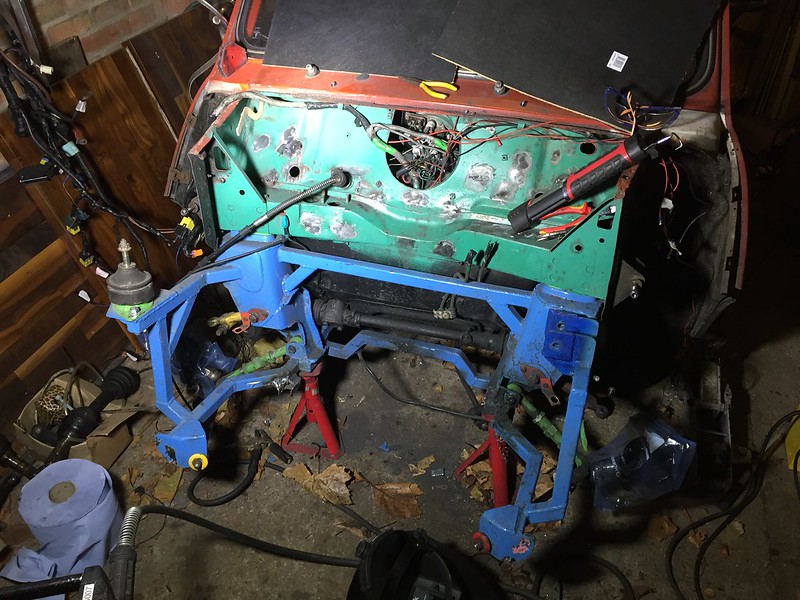
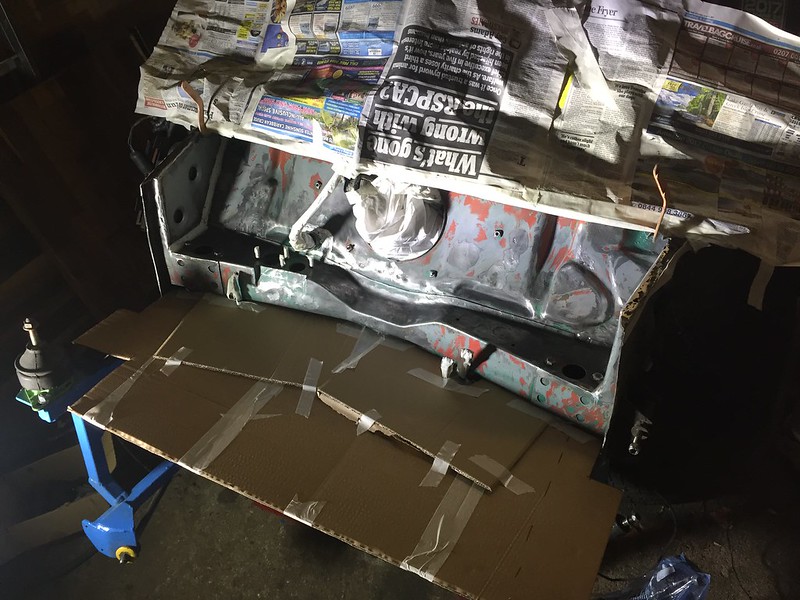
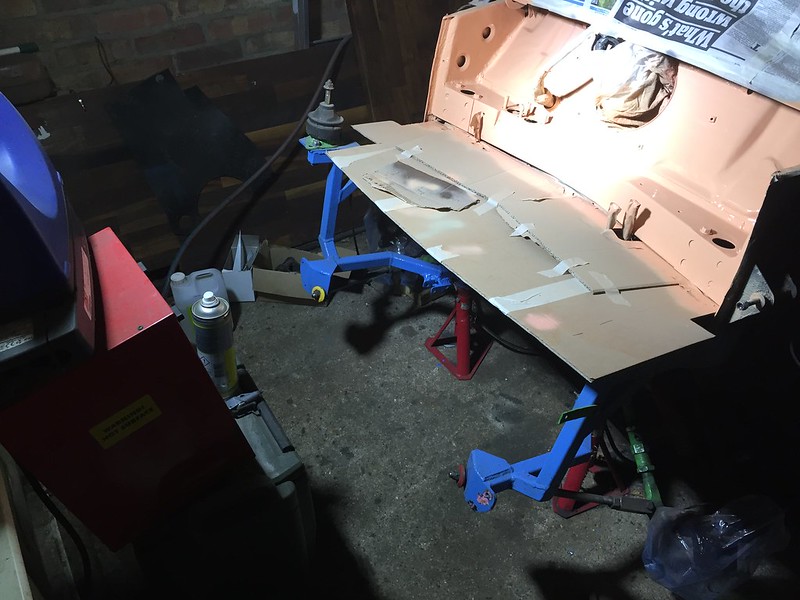
My garage set up
How the bay came out, its shinier than it looks
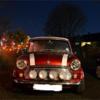
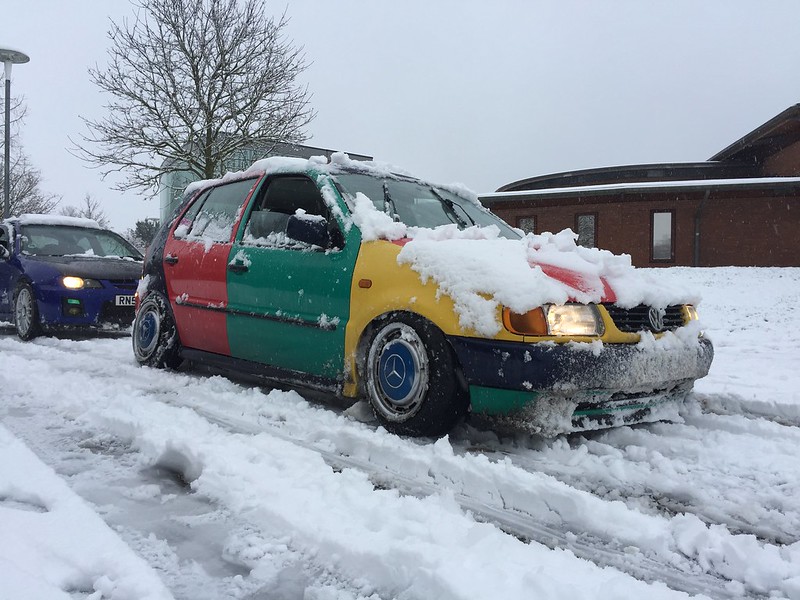
Oh, and the Polo changed a bit too…
Edited by Will16, 13 January 2018 - 04:08 PM.
#216
Vinay-RS
-

- Members
-
- 2,114 posts
Put's foolish ideas in peoples heads
- Location: Cape Town
Posted 13 January 2018 - 04:19 PM
The engine bay metalwork is looking good. Really like your Polo too.
#217
lawrence
-

- Members
-
- 1,340 posts
One Carb Or Two?
Posted 13 January 2018 - 06:45 PM
looking good :) Need to get some ITBs on there now tho ;) get rid of that nasty single throttle body and plenum
#218
alex-95
-

- Members
-
- 6,025 posts
I am THE CLAMP MAKER
- Location: l
Posted 13 January 2018 - 07:13 PM
Looks great mate, are you changing the fibreglass front still?
Loving the polo as well, Did you paint it yourself?
#219
Homersimpson
-

- Members
-
- 829 posts
One Carb Or Two?
- Location: Redditch
Posted 13 January 2018 - 10:16 PM
I assume the polo is a harlequin edition?
I bet the body shops loved them back in the day, no problems matching paint colours!
#220
Will16
-
- Members
-
- 1,090 posts
Wants a custom member title
- Location: Abingdon, Oxfordshire
Posted 14 January 2018 - 05:21 PM
Thanks chaps  Appreciate it!
Polo is a harli replica, I just swapped out the panels for the differnt colours, though I painted the wings and grille myself, another rattle can job
Lawrence, I'd love ITB's, I've priced them up before and its more moeny than I'd want to put into the car really, love the sound of them though!
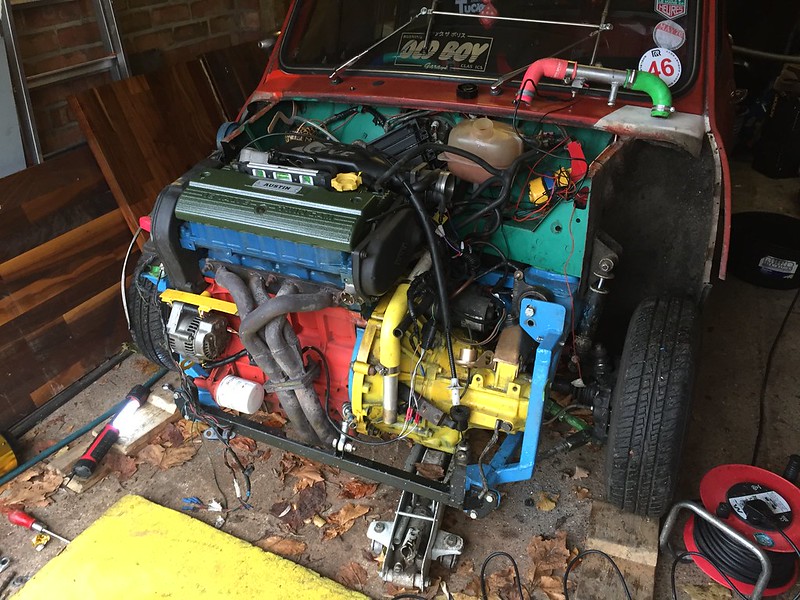
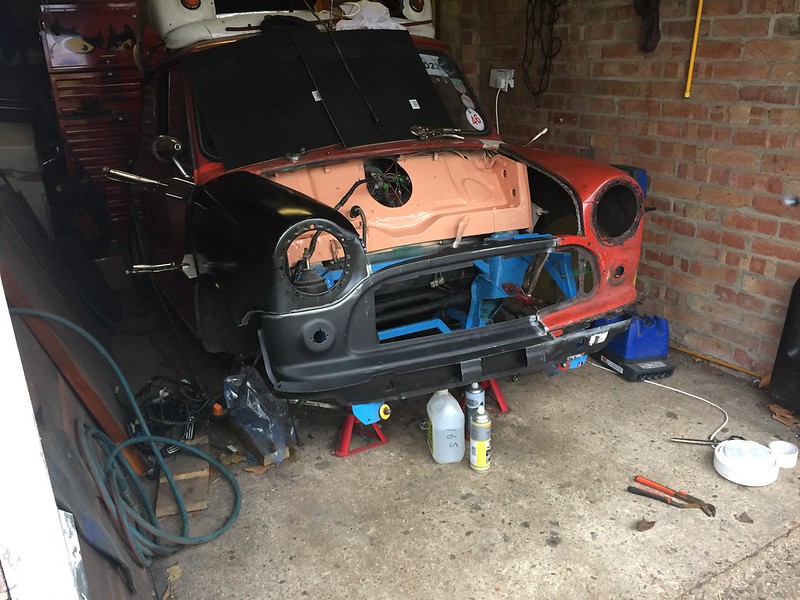
Made a start on the metal front end. Now if your thinking I’ve made it hard for myself using the original passenger wing and part of the front panel and wondering why I’ve done it like that, so did I once I had started  Worked out ok in the end, still needs finishing off but I was nursing a hangover. Also put some stuff back in the bay, bought a nice owens motorsport expansion bottle. The normal rover plastic tank cap opens at 1 bar, I went for a 15 lbs mini cap which is a close value. Thats everything in the bay that will be there, apart from the ecu. Also sprayed the subframe ends black, I’m trying to hide the conversion a bit

#221
Vinay-RS
-
- Members
-
- 2,114 posts
Put's foolish ideas in peoples heads
- Location: Cape Town
Posted 14 January 2018 - 06:19 PM
You should keep the colour split at that weld (even if you clean up the weld.) It adds character :)
#222
minimissions
-
- Members
-
- 3,427 posts
Up Into Fourth
- Location: North West
- Local Club: M.M.O.C
Posted 15 January 2018 - 06:39 AM
haha nice! Love it!
#223
Steve8274
-

- Members
-
- 580 posts
Super Mini Mad
- Location: Wigan (north west)
Posted 15 January 2018 - 08:07 AM
Just read this from start. Amazing work. Car looks great
#224
Will16
-
- Members
-
- 1,090 posts
Wants a custom member title
- Location: Abingdon, Oxfordshire
Posted 21 January 2018 - 04:59 PM
Cheers lads, and yep Vin the contrasting front will be staying
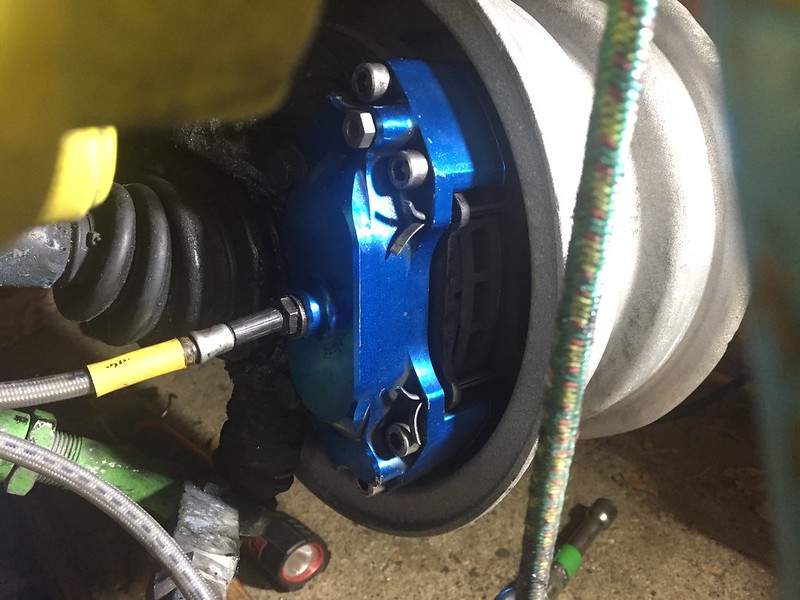
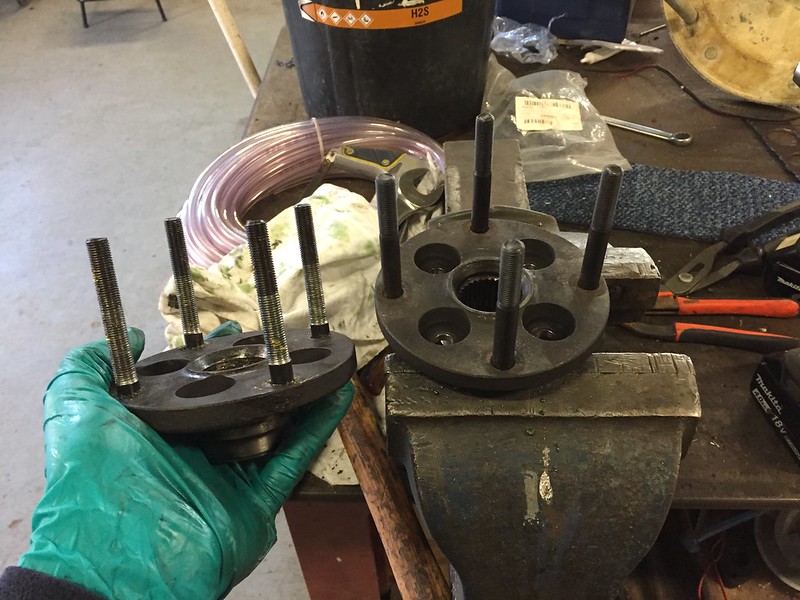
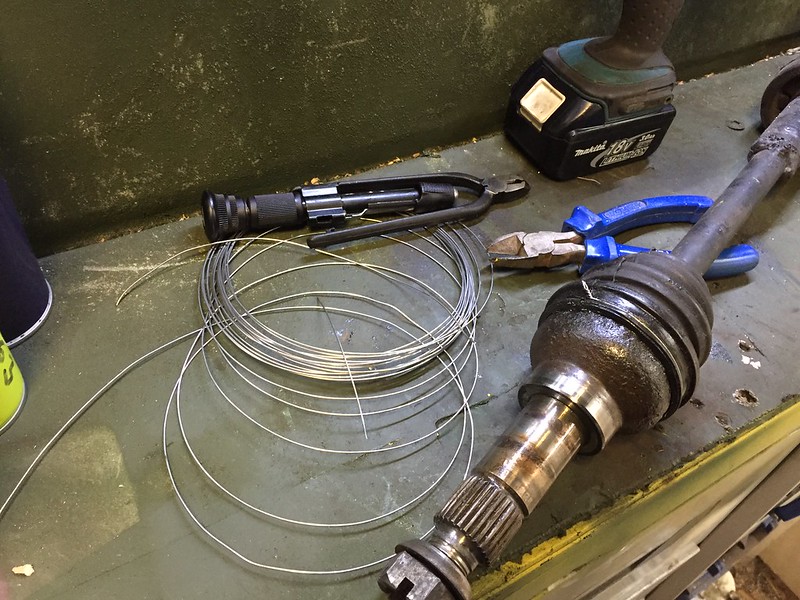
One step forward, two steps back atm. Thought I get the engine / new box back in the car yesterday, before that the brakes needed fitting. I got a set of minisport 7.9" vented alloy 4 pots for a good price off another 16v guy. Alot bigger than my old 7.5's! My new wheels need a 1/4" spacer to clear, but then I needed longer wheel studs for the nuts I've also had trouble with securing my outer cv boots as normal clips dont fit in the hubs, so lock wired them this this, should keep them from spraying grease everywhere.
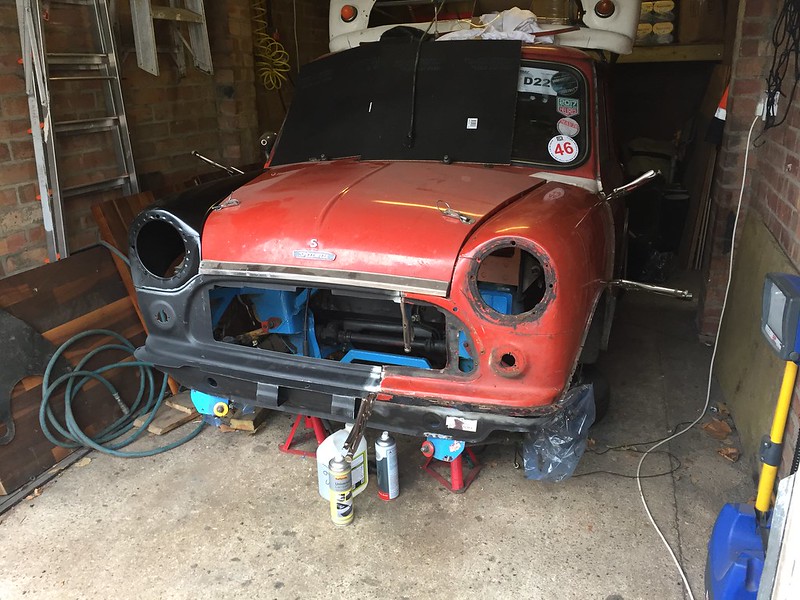
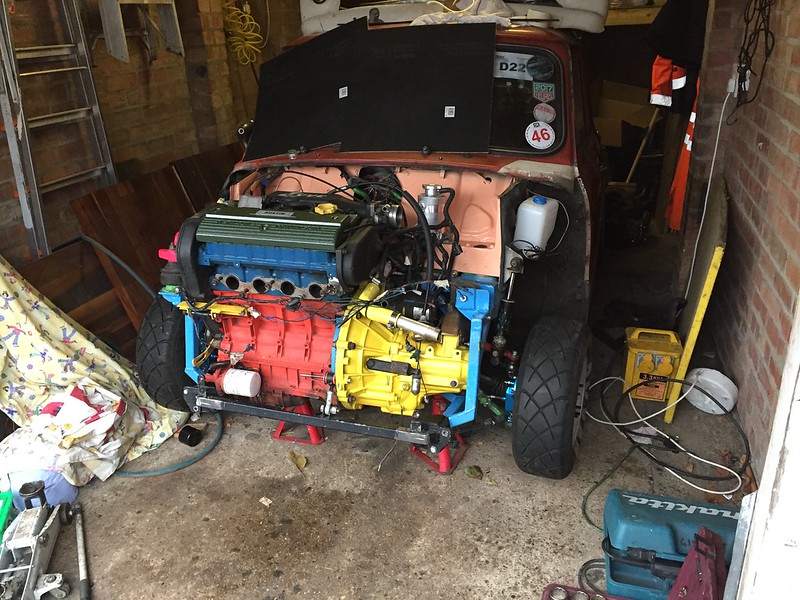
The new gearbox is one I built myself with a lower final drive and a torsen lsd, should make the car put the power down better and give a lower cruising rpm, as well as making 1st/2nd more useable. Put the engine it, I couldnt resist putting the front end roughly on and seeing what its going to look like. I then tried to push it out the garage *clunk* feels like it stuck in gear, my gearbox building skills obviously arent up to scratch at all  Spoken to some 16v guys who think it might be the selector box, but this means its all got to come out again lol. Will be staying in the car for time being, need to cut the metal front around alternator / exhaust / radiator and make a new full 2" exhaust for it, so it can just be put together once the box is fixed.
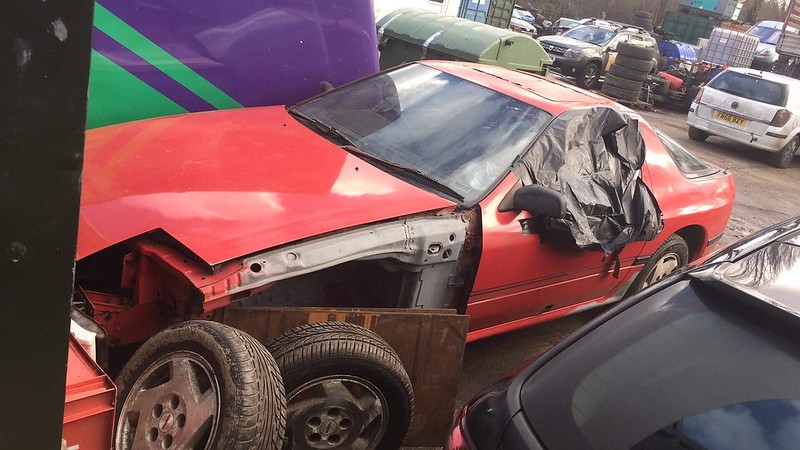
But to lighten the mood, just bought another dream car of mine, FC RX7! Its a project, but will be fun, though it means I'm 20 with 3 projects and a work van 
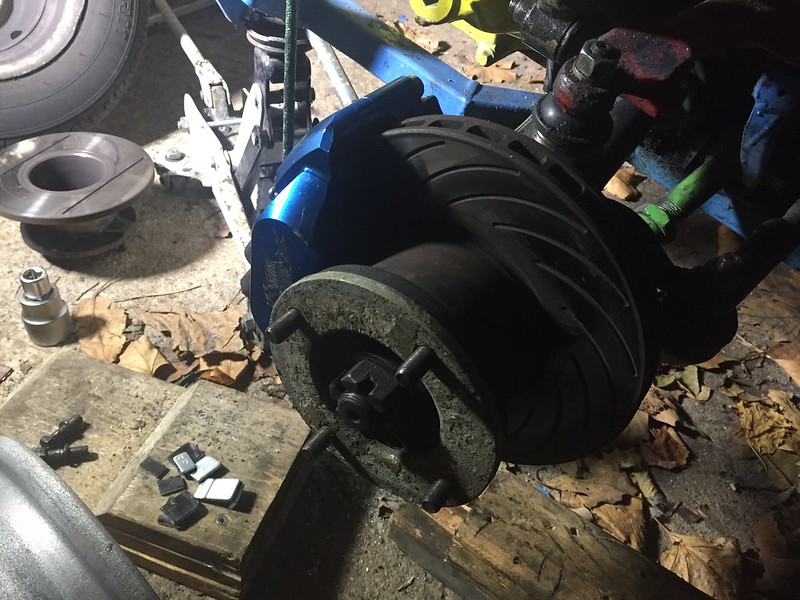
Longest wheel studs ever!
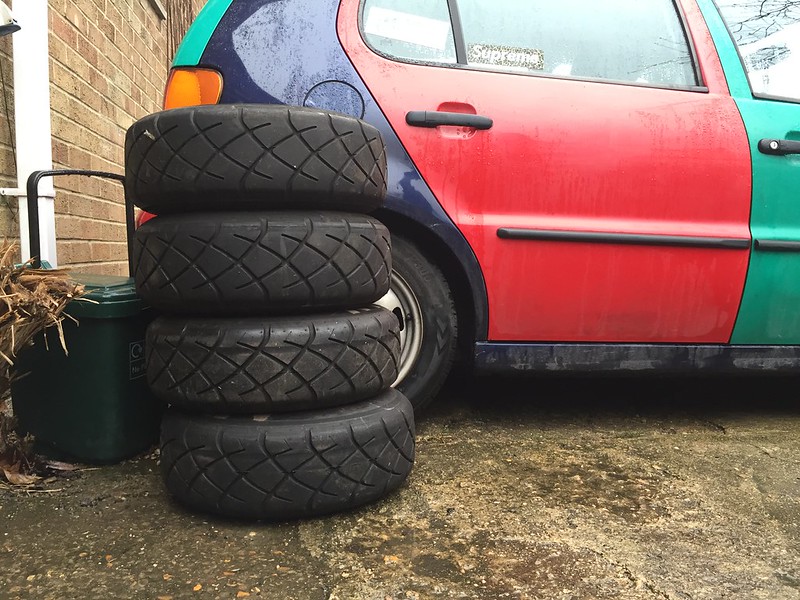
Bye 10x7's 
Edited by Will16, 21 January 2018 - 05:00 PM.
#225
Vinay-RS
-
- Members
-
- 2,114 posts
Put's foolish ideas in peoples heads
- Location: Cape Town
Posted 21 January 2018 - 05:39 PM
More like, you're 20, building three awesome projects on your own, and learning and teaching yourself a lot. it is very cool to follow.
Why do you need to get rid of the 10x7 wheels?
Why do you need to get rid of the 10x7 wheels?


1 user(s) are reading this topic
0 members, 1 guests, 0 anonymous users


