because I'm a nice guy like that
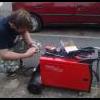
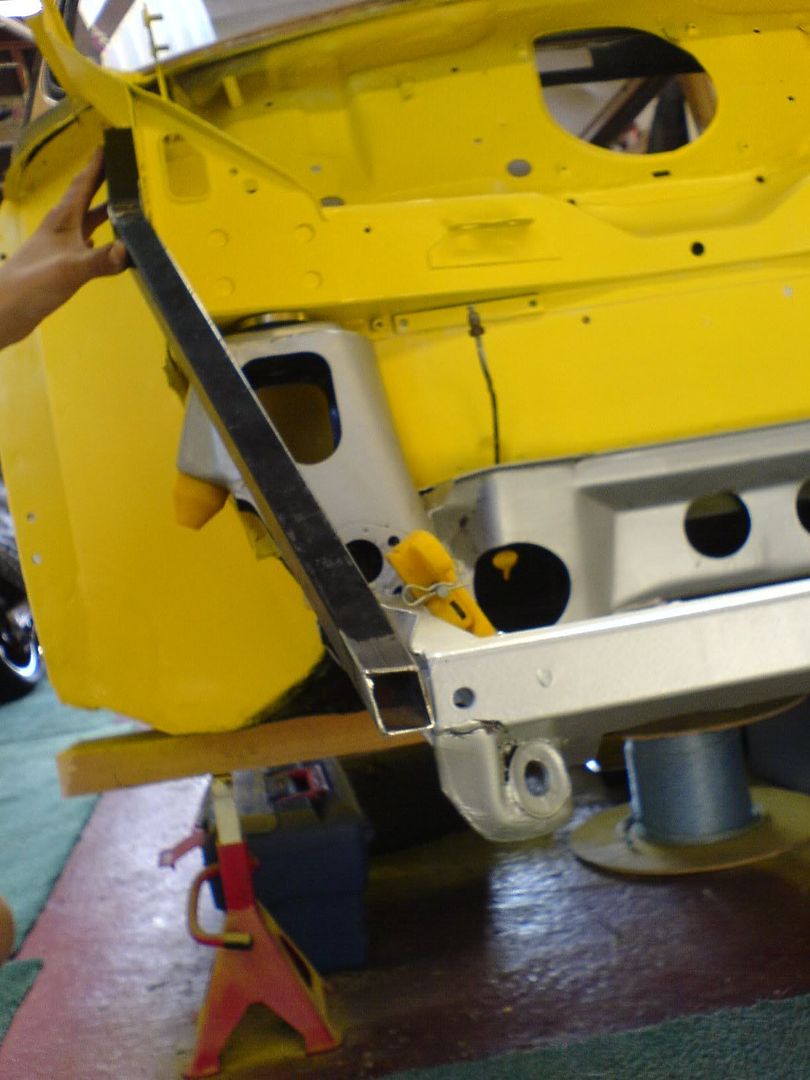
 1 - Start off by getting yourself some 1inch box section, you'll need about 60 inches of it to do both sides, as one side is around 28 inches long.
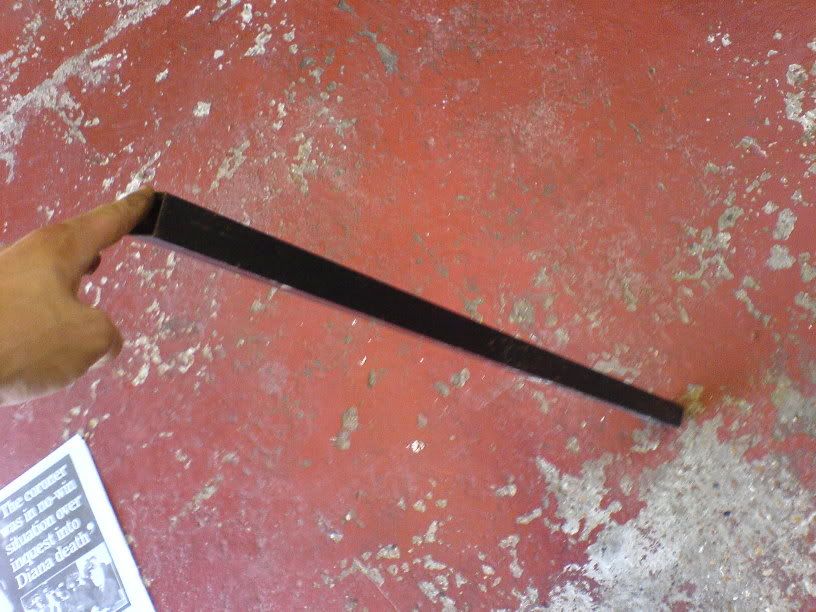
2 - Put a couple of cuts through it to create the bend you need. You'll need to offer it up to your own wing and subframe to decide on where these cuts should go and how many you'll need (do one at a time). Obviously they're going to go on the straight bit between the wing and subframe and the closer to the wing the better. Remember to wear all proper safety gear when using power tools people


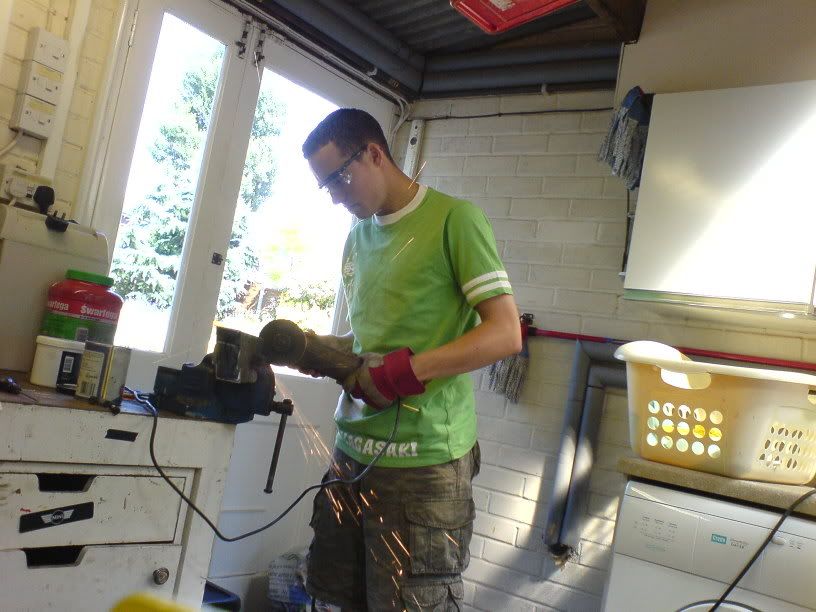
3 - You'll then need to dust off your welding skills and weld those cuts together. Grind them down after, looks neater
well not with my welding 
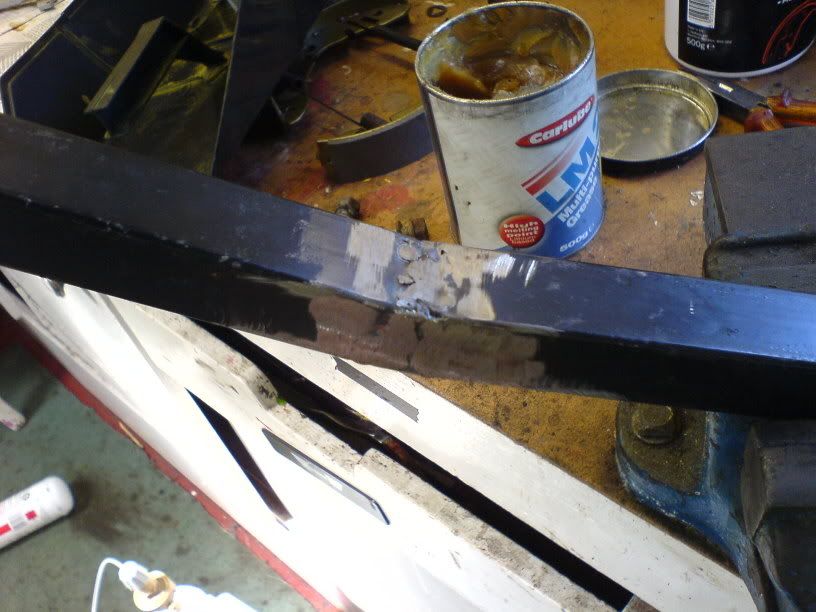
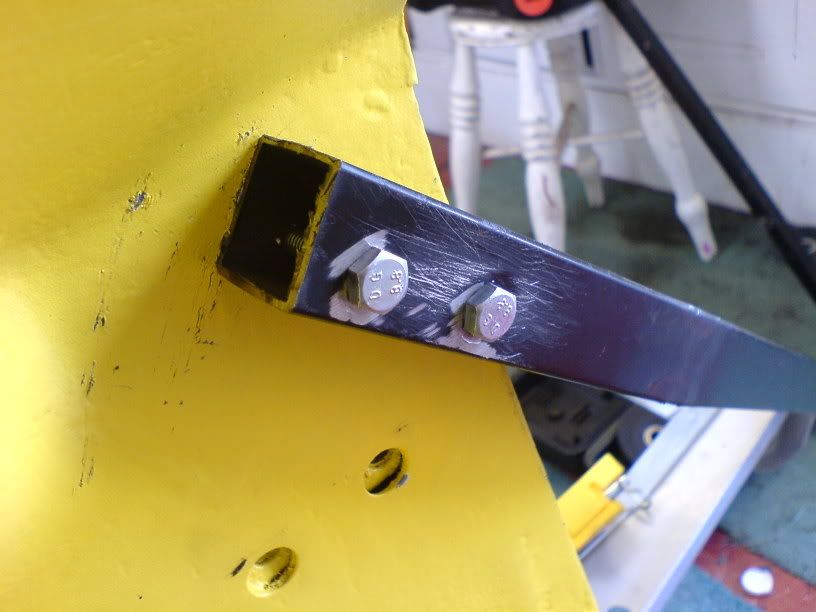
4 - My bar will be mounted on the front edge of the subframe. Offer your bar up to the subframe to judge the angle you'll need to cut the bottom end to fit the mounting plate.
5 - It's a dodgy angle so remember, measure twice, cut once

6 - After filing this down until the front plate will sit happily against the bar and the subframe it's time to weld it on.

7 - Pop a few holes through the brace bar/inner wing/subframe to make sure it all fits nice and straight and solid.
8 - Paint it up and bolt it in, stand back and admire your master skills, allow them to sink slightly when you remember you've still got to do the other side


So there you go, remember to put a bit of paint on the insides of the holes you've drilled through the inner wing and subframe to resist the rust monster.
Disclaimer: Brace Bars are a very important structural component to a flip-fronted mini and making your own is a task that shouldn't be taken lightly, however easy it is. If you choose to follow my guide I accept no responsibility for any damage, injury etc that occurs as a result of your brace bars not being up to the job.
Thanks