I really really love this, that carbon cover is awesome! Love the wheels too.
Mini 95 Pickup K1100 Twincam
#76

Posted 27 May 2016 - 08:21 PM
#77

Posted 31 May 2016 - 03:01 PM
#78

Posted 31 May 2016 - 03:12 PM
Great install - how did you settle on Rover 75 hinges? That internal bracing on the underside of the cover looks pretty substantial, does the cover flex at all,when you open and shut it or is it totally rigid ?
there is a video of that cover being stood on. so I don't think it will flex much.
#79

Posted 31 May 2016 - 03:19 PM
Great install - how did you settle on Rover 75 hinges? That internal bracing on the underside of the cover looks pretty substantial, does the cover flex at all,when you open and shut it or is it totally rigid ?
Just looked at the ABS website and answered my question!
#80

Posted 31 May 2016 - 05:52 PM
The hinges were recommended by ABS and there's no flex at all. The cover is pretty substantial.Just looked at the ABS website and answered my question!Great install - how did you settle on Rover 75 hinges? That internal bracing on the underside of the cover looks pretty substantial, does the cover flex at all,when you open and shut it or is it totally rigid ?
I've ordered some Quik Latch pins today. They look the business. I ordered aerocatches for it, but they'll be returned as they just don't look right for my install.
#81

Posted 31 May 2016 - 05:58 PM
#82

Posted 31 May 2016 - 06:08 PM
Thanks 😊. I think it suits it really well. It does need a little refining to get it looking completely mint (nothing that won't buff out).Awesome! The carbon looks so nice with the yellow
These are the catches I plan to fit:
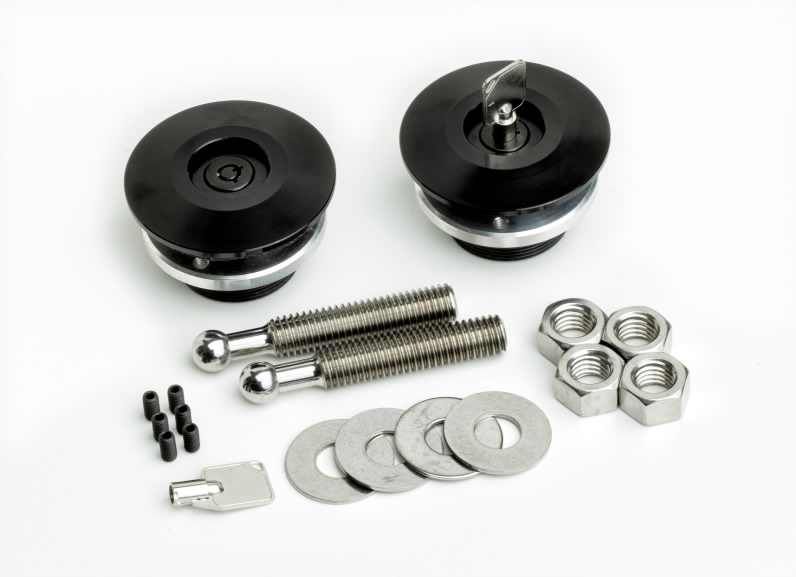
They are only 2.5 inches in diameter and good for 500lbs each. Plus they lock. I think they'll look good.
#83

Posted 31 May 2016 - 07:16 PM
Liking the look of those latches, will look pretty neat.
#84

Posted 25 June 2016 - 06:14 PM
First came the brackets. These are totally bare at the moment and stand in place of some carbon fibre ones that I'll switch out at a later date:
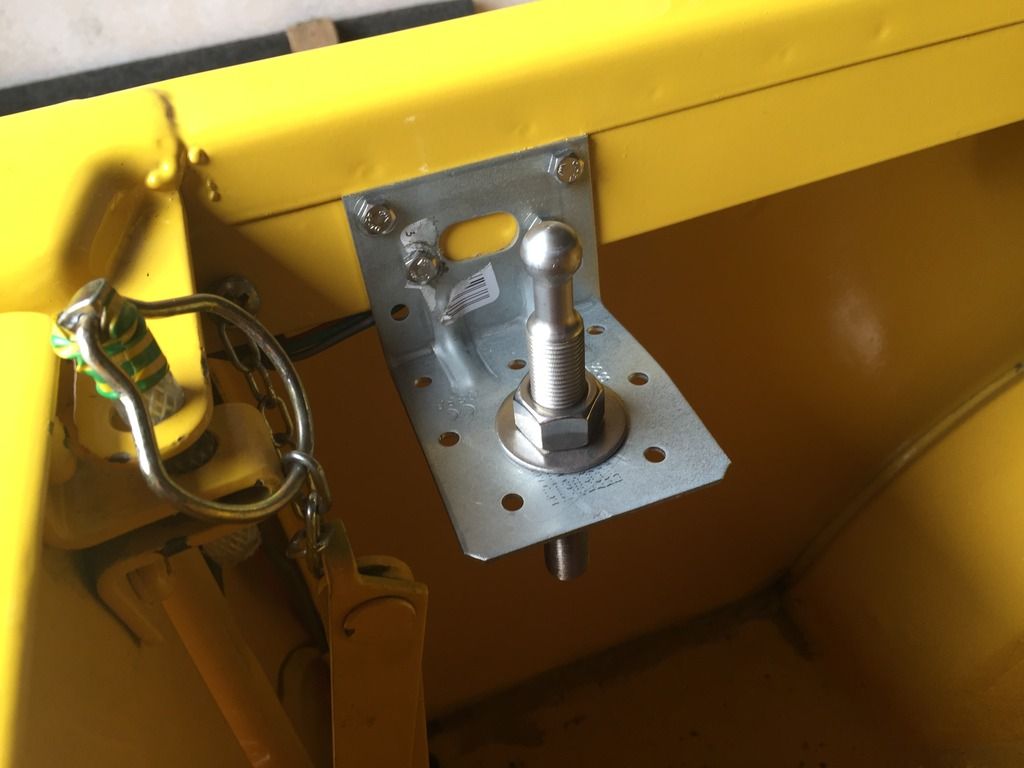
Everything was then masked up and I used a tiny bit of grease to mark where to drill the pilot holes:
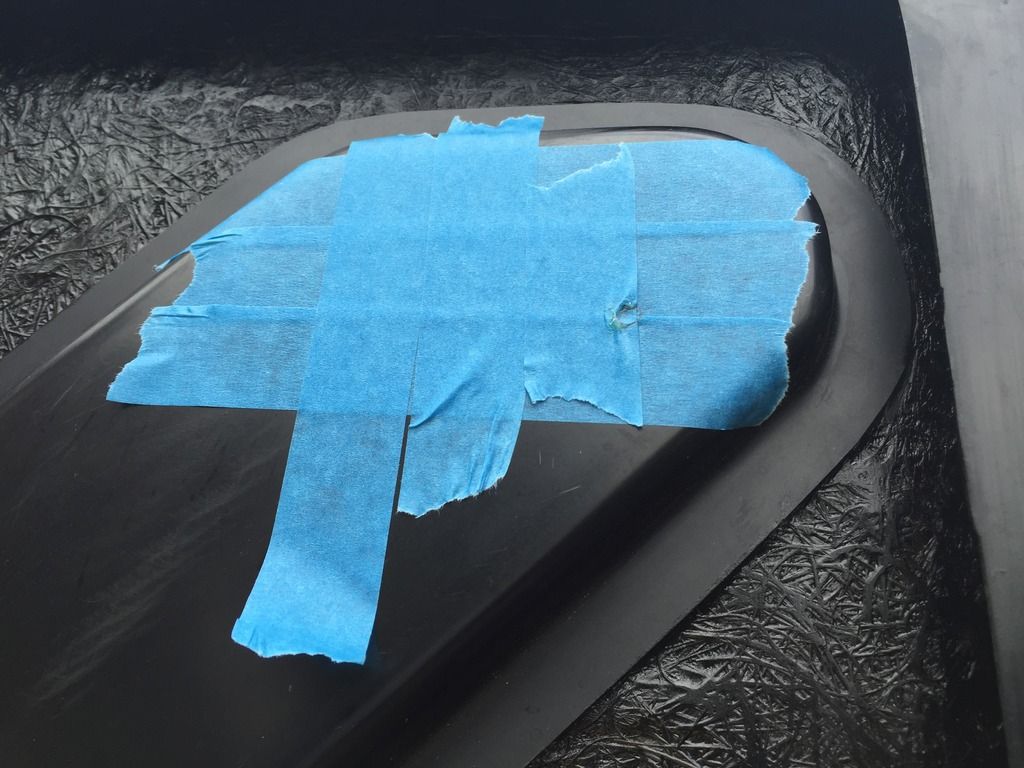
Next, after some nail biting came the carbon drilling part. I bought a tungsten carbide hole saw especially for the job and it came out neat at you like.

Here's the finished article:
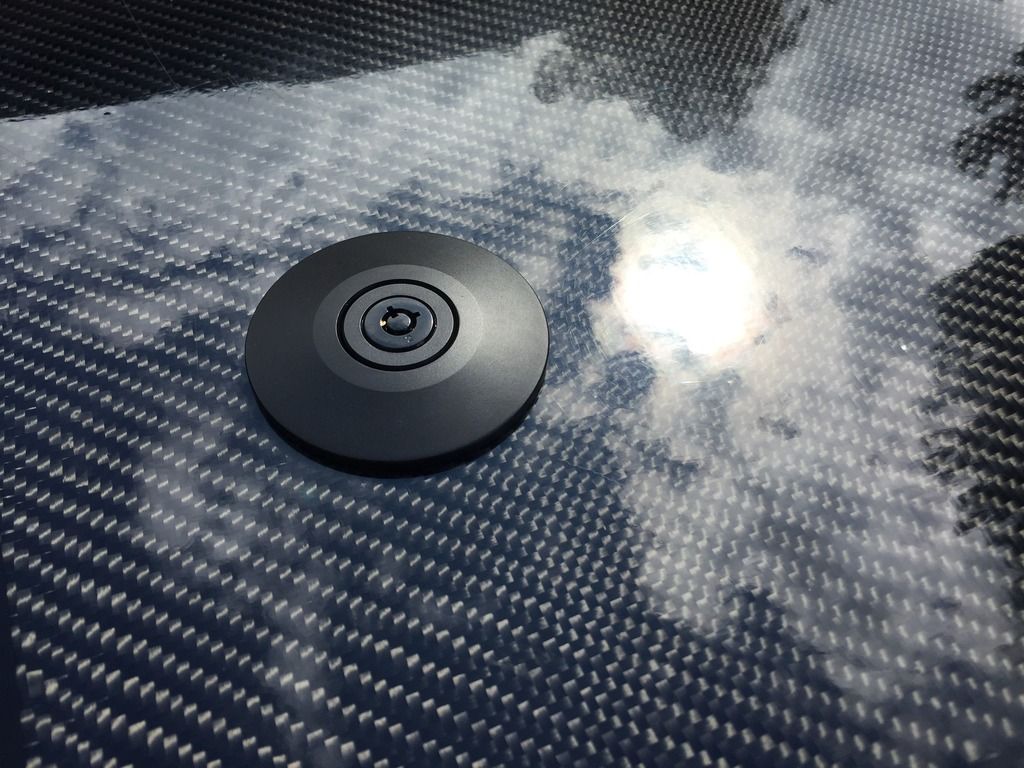
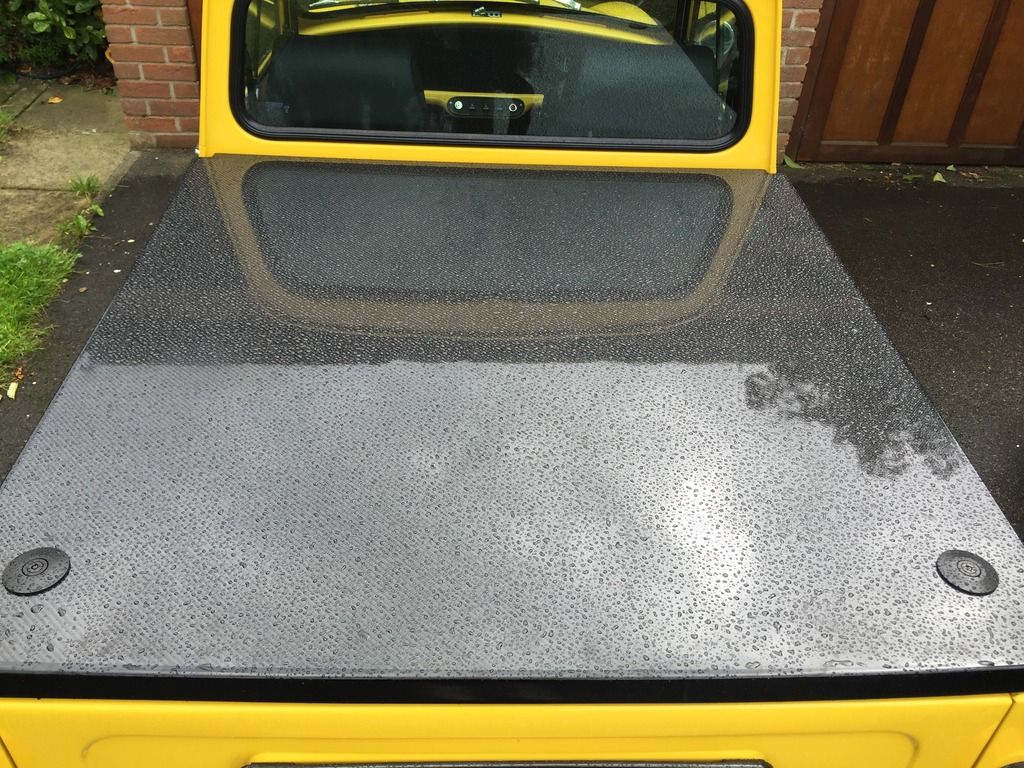
It was all pretty fiddly but straightforward. A dremel sanding bit worked well on the underside hole (pictures to follow). I can now take it all apart for a wet sand and laquer.
#85

Posted 25 June 2016 - 06:32 PM
Lovely pick up !
Catches look great really subtle
#86

Posted 25 June 2016 - 06:55 PM
Nice ![]()
#88

Posted 26 July 2016 - 05:37 PM
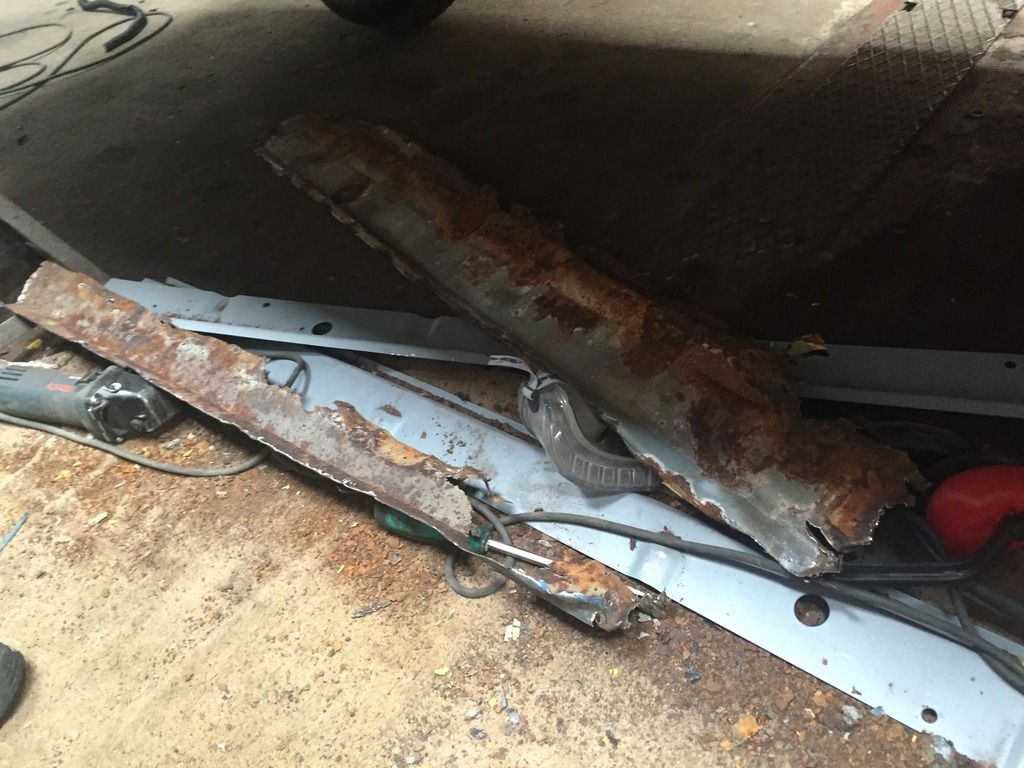
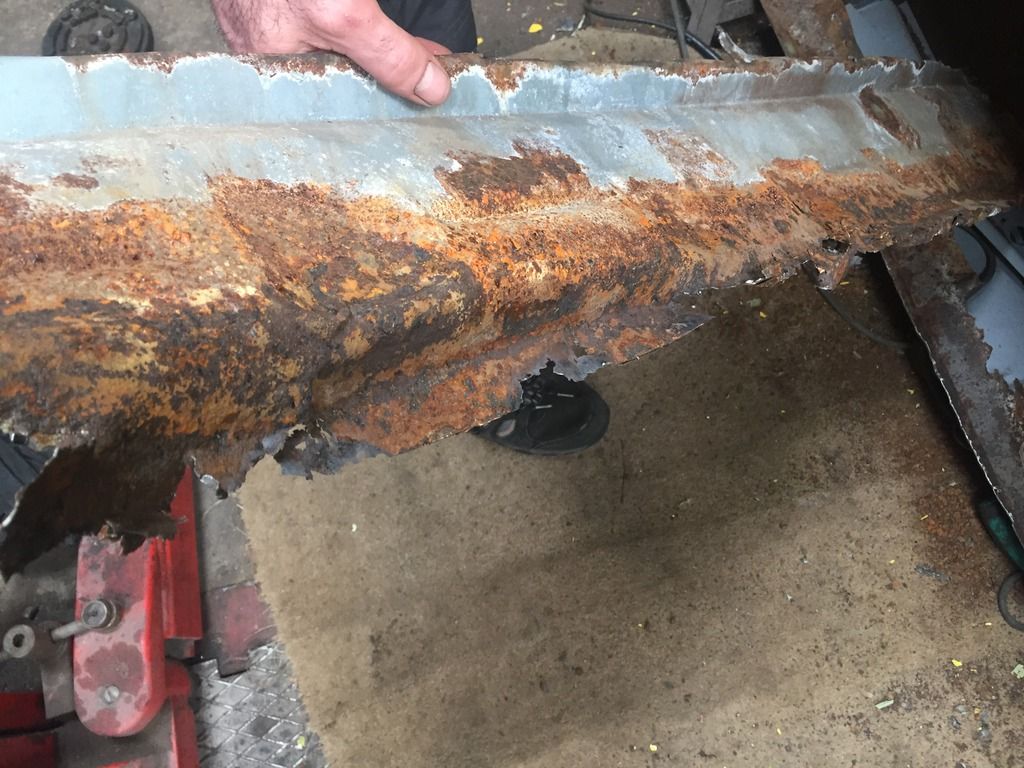
I'd really hoped the oversills had just been used instead of proper sills. But alas they had just been (very well) welded over the old ones. The end result is not pretty:
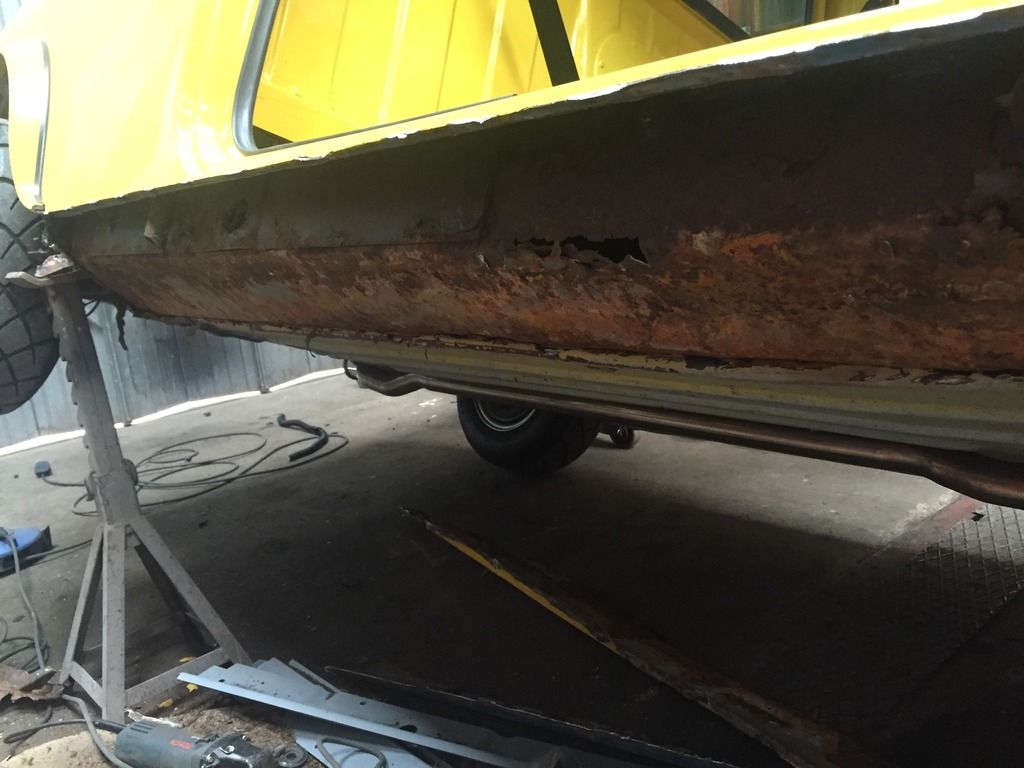
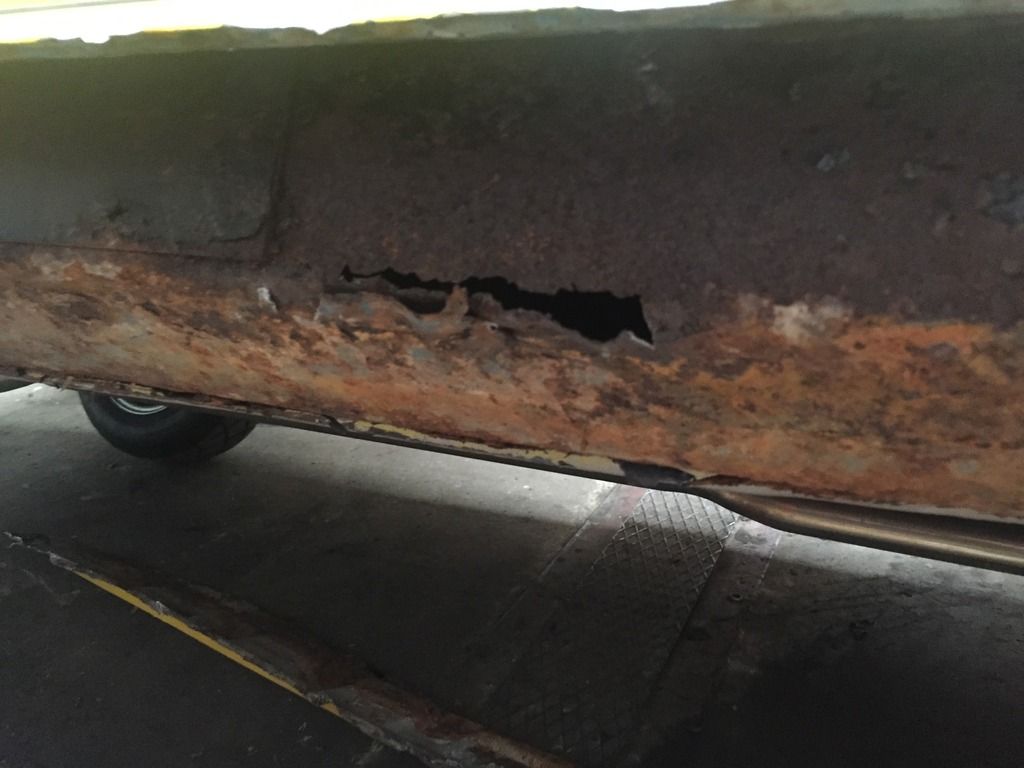
Here is the oversill. Pretty damning, especially as the car has seen very little of the wet stuff:
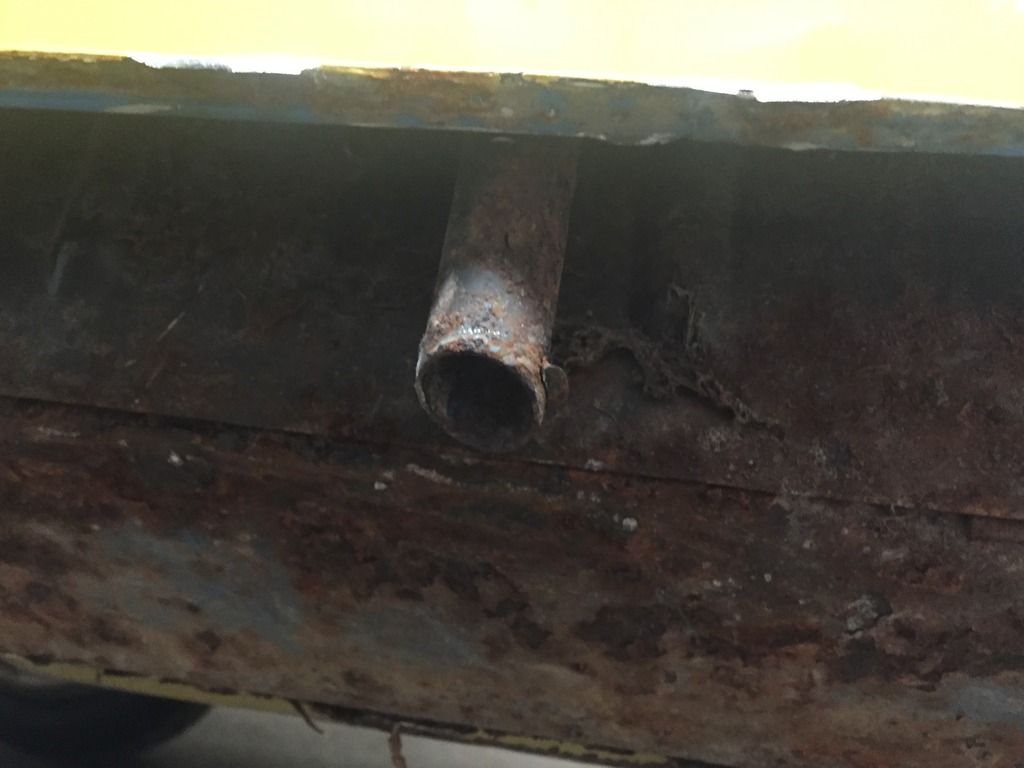
Any idea what this is?
#89

Posted 26 July 2016 - 06:02 PM
Think thats a drain hole that takes water out of the buck
#90

Posted 26 July 2016 - 06:51 PM
that would explain the rust then I guess. That was inside the oversill 🙈Think thats a drain hole that takes water out of the buck
1 user(s) are reading this topic
0 members, 1 guests, 0 anonymous users


