Jump to content


Photo
- - - - -

To Shell And Back


  • Please log in to reply
130 replies to this topic

#76 feybrand

feybrand

    One Carb Or Two?

  • Members
  • PipPipPipPipPipPipPip
  • 1,247 posts
  • Location: Rugeley

Posted 01 October 2016 - 03:11 PM

Got in the garage a bit today


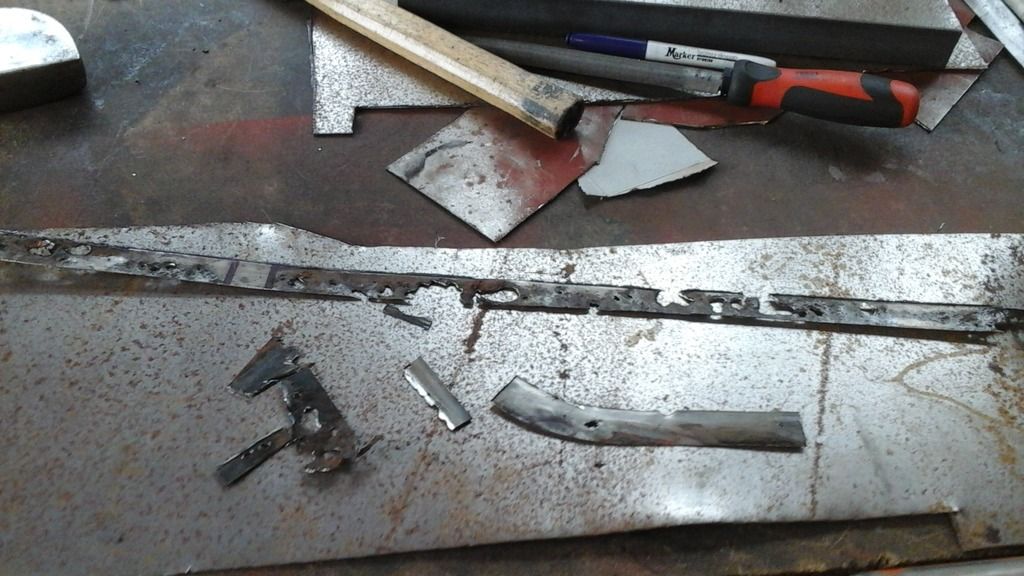
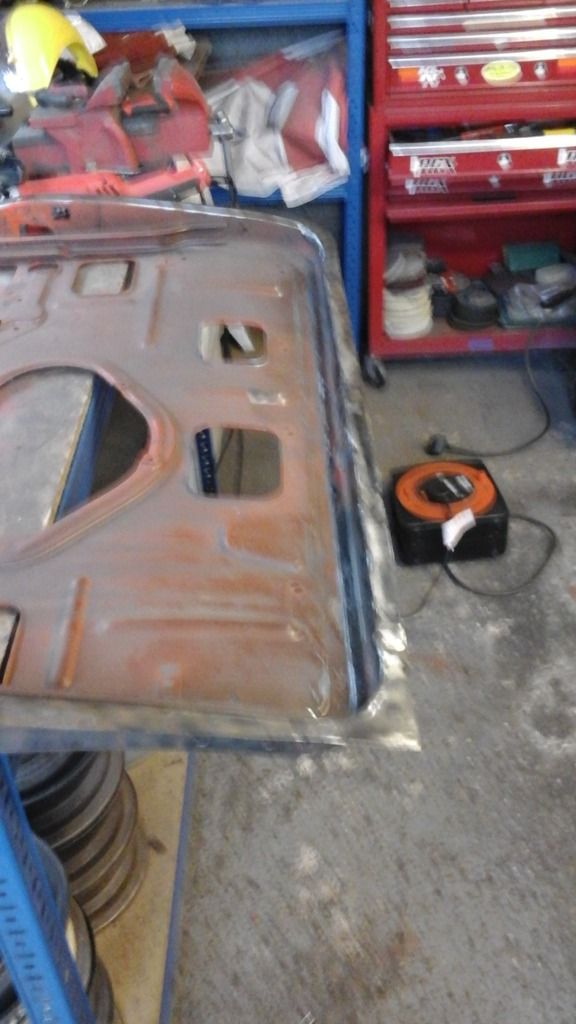
First job was to cut the rot out of the passenger door

20161001_102029.jpg


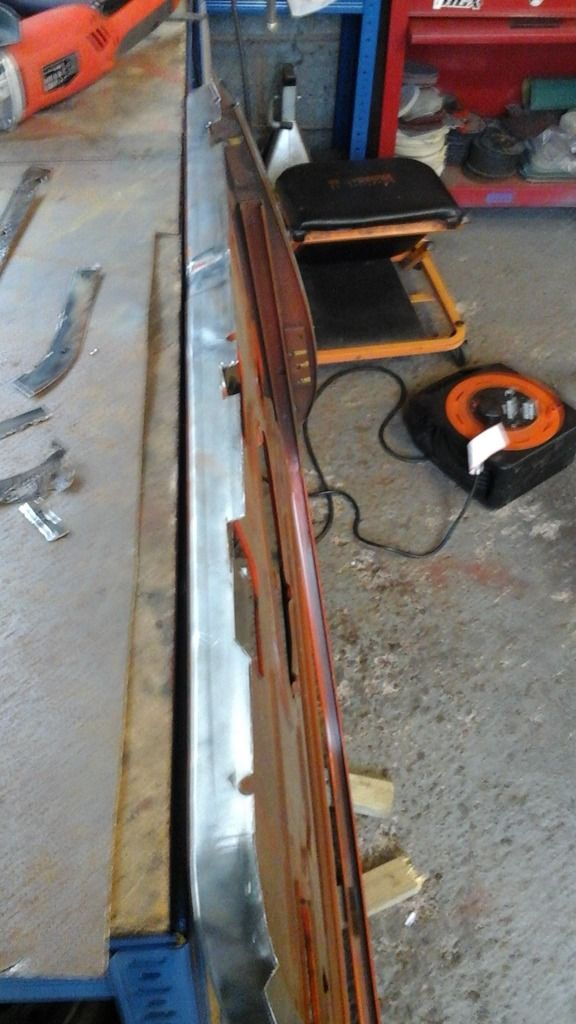
the door from underneath once id butchered it


20161001_102049.jpg


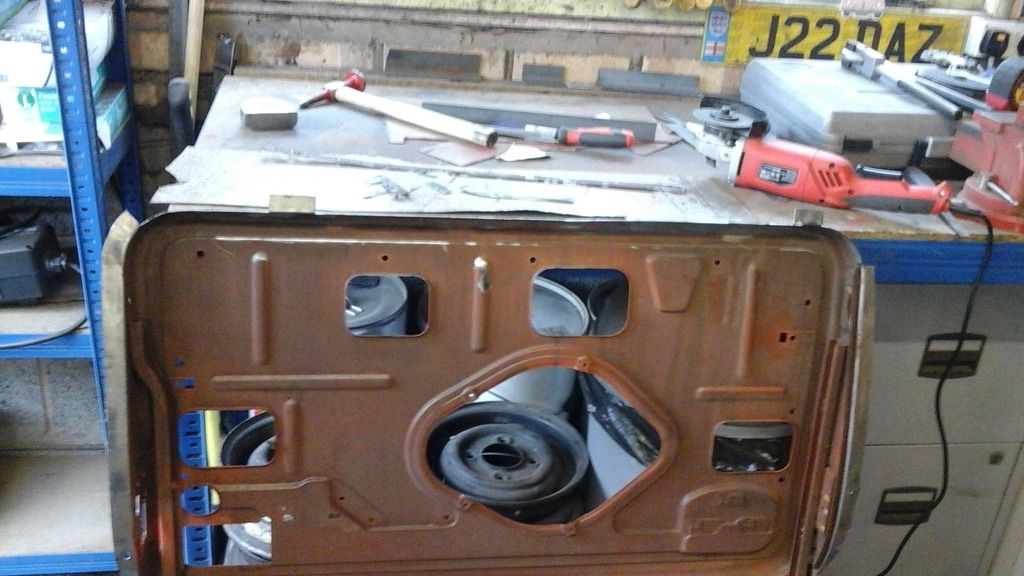
and from the front


20161001_102059.jpg


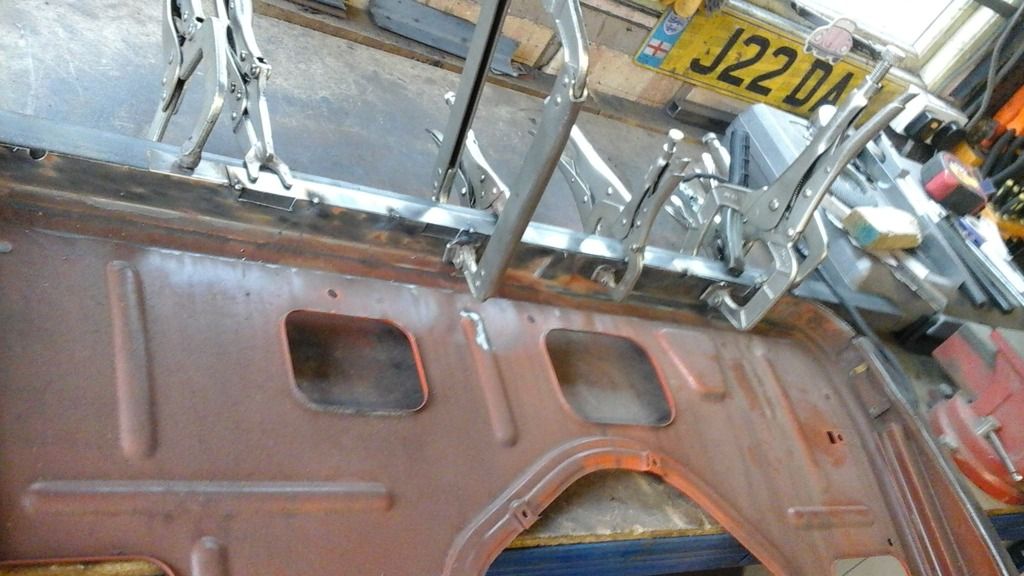
you can never use too many clamps ...aparrently


20161001_112724.jpg


metal welded in sorry bout the picture quality i was hungry and had the shakes lol

20161001_144018.jpg


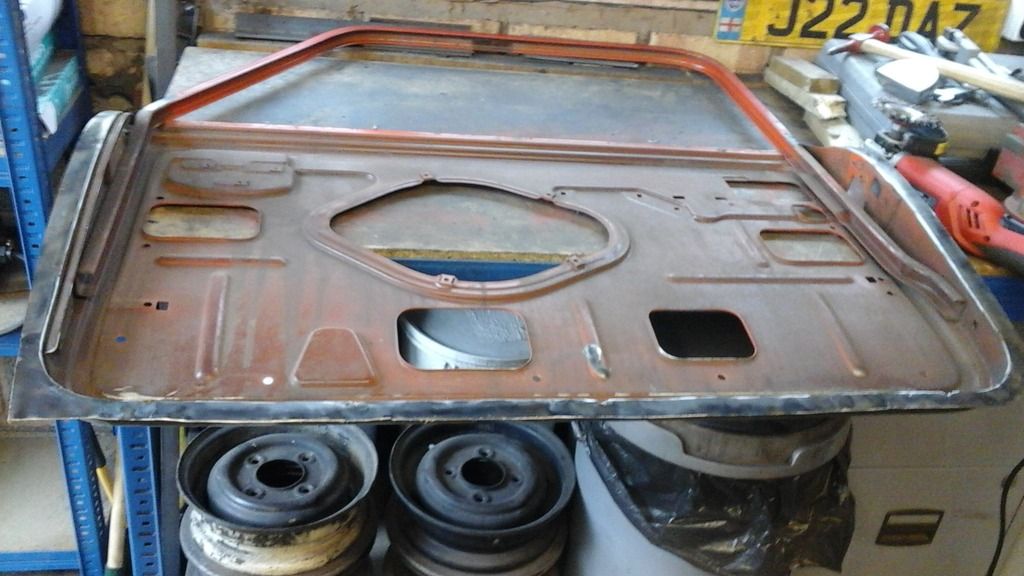
flatted all the welds back and then cleaned the inside of the door


20161001_144034.jpg


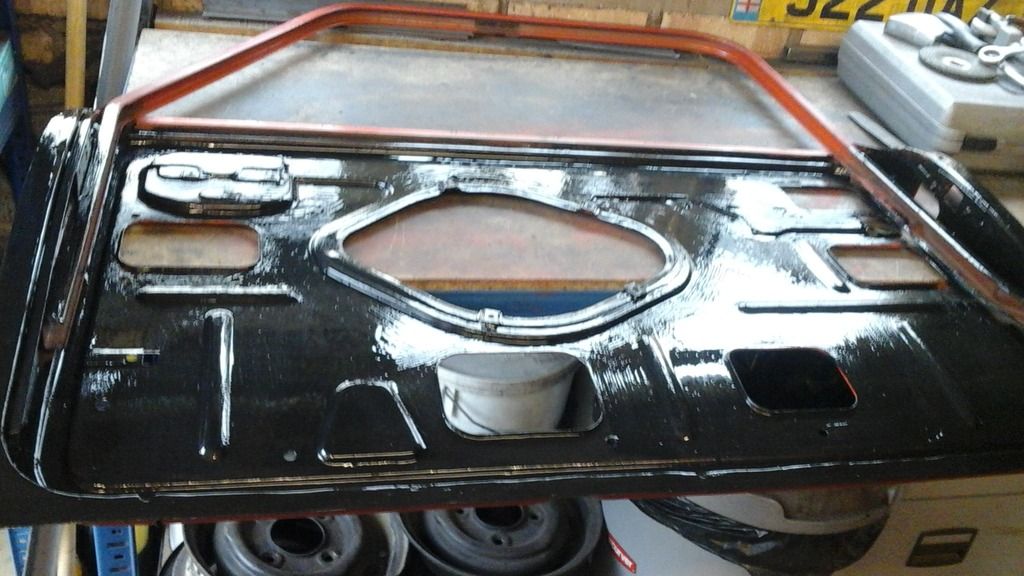
and finally a bit of any old paint i could find to coat the inside that i will never be able to get to again


20161001_154632.jpg


im hoping to get it skinned tomorow or possibly monday watch this space


#77 feybrand

feybrand

    One Carb Or Two?

  • Members
  • PipPipPipPipPipPipPip
  • 1,247 posts
  • Location: Rugeley

Posted 03 October 2016 - 03:07 PM

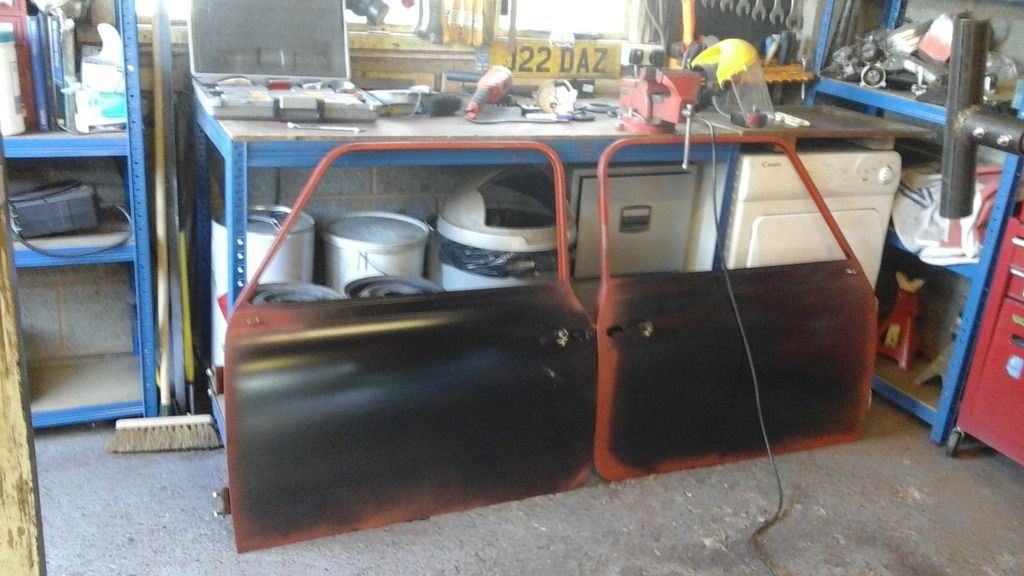
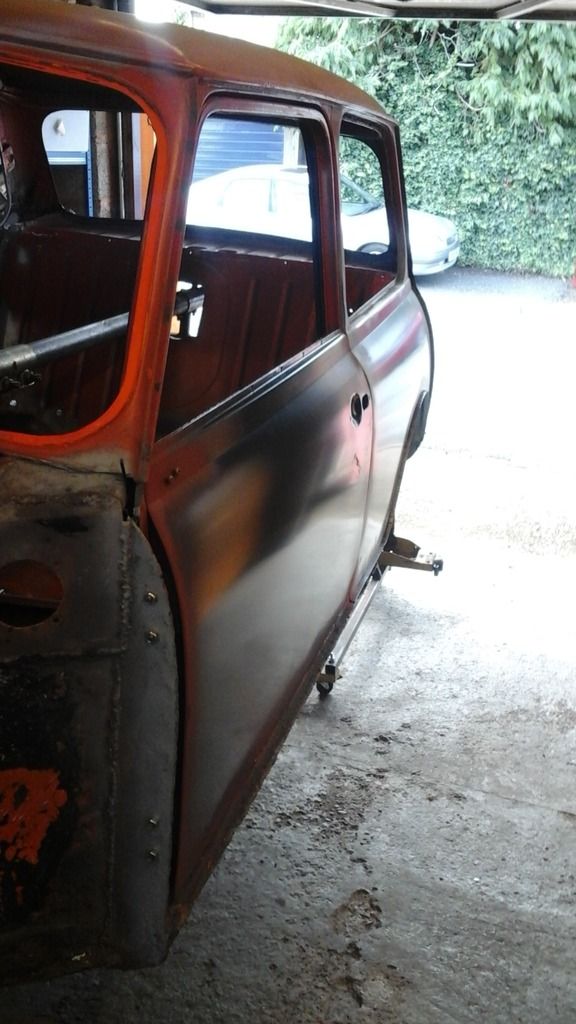
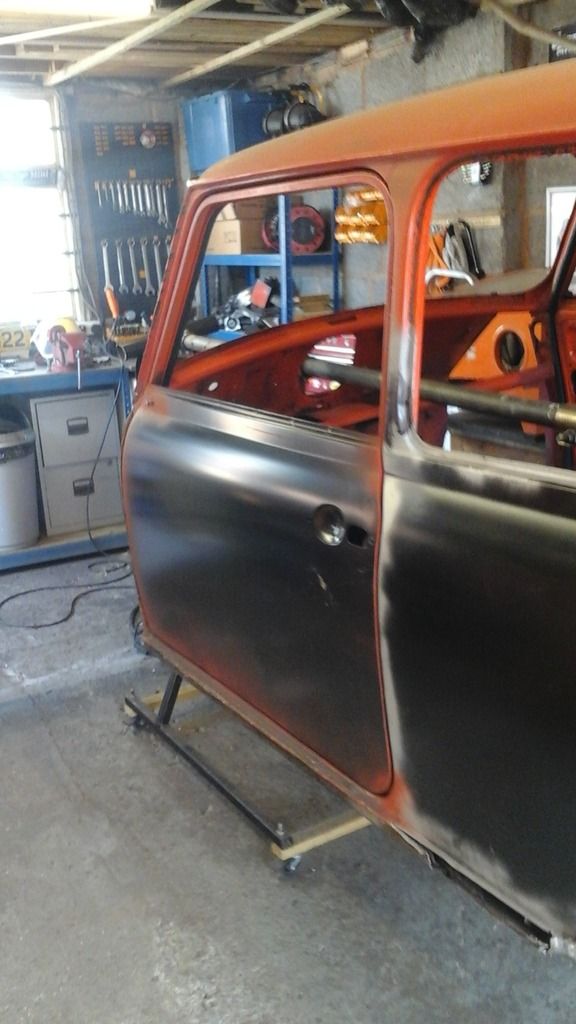
As promised...passenger door is now re-skinned


Both doors all finished

20161003_153919.jpg


I did a little bit of adjusting etc but the fit was pretty good straight off

20161003_143102.jpg


The lines across the top are pretty spot on the only issue i have is the gap along the closing edge could do with being 2 or 3 mm smaller ...ive got room round the frame to fit another shim in so i will probably deal with this issue when its time to fit the A-panel if all else fails a little bead of weld will do it.

Dunno if this picture shows it well enough


20161003_143050.jpg


The gap at the bottoms poor but if you look along the step its 3 different heights so has obviosly had a few step repairs over the years and is slightly wonky.


Thats the doors all done for now the rest of the week will be spent unpicking this mess


20161003_153809.jpg


20161003_153821.jpg


Just like the other side it looks like it has 3 outer sills :)


#78 feybrand

feybrand

    One Carb Or Two?

  • Members
  • PipPipPipPipPipPipPip
  • 1,247 posts
  • Location: Rugeley

Posted 03 October 2016 - 06:24 PM

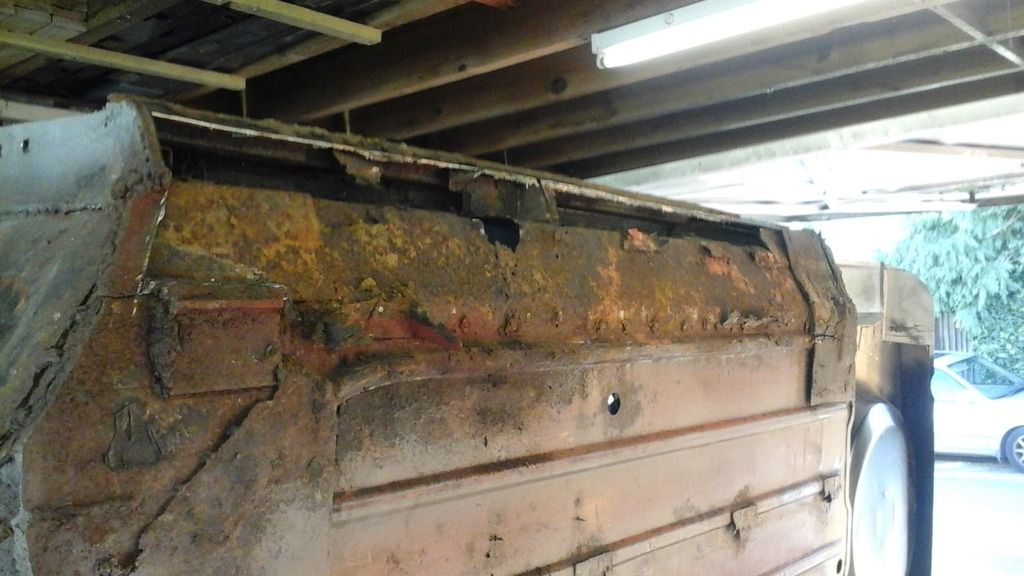
I cut the sills off before calling it a night


20161003_164830.jpg


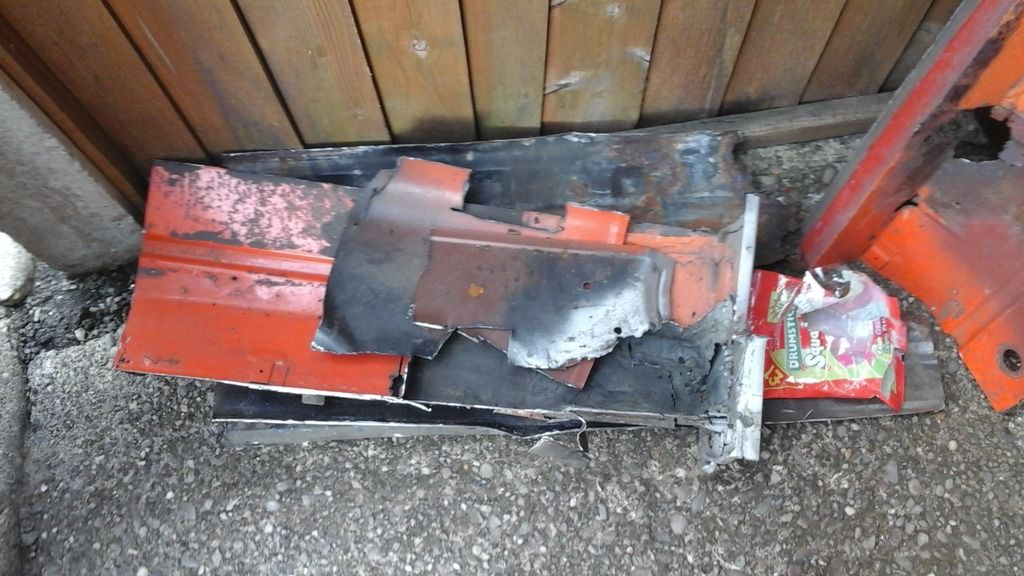
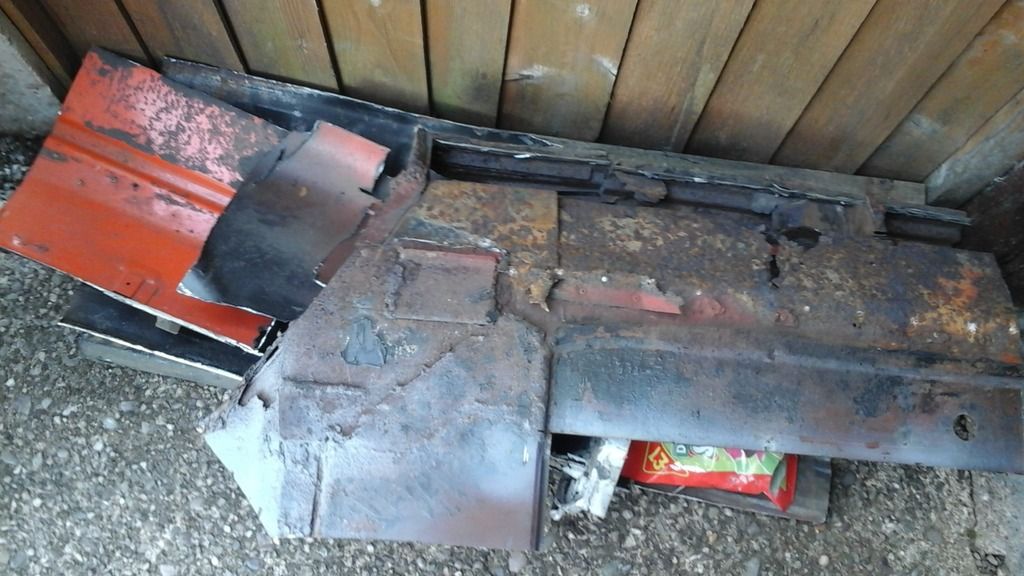
all rather rotten behind the sills and i was right 3 outer sills  2 oversills and the original what was left of it


20161003_164822.jpg


Its not been repaired with as much plating as the other side so hopefully will come apart a bit easier....maybe.


#79 feybrand

feybrand

    One Carb Or Two?

  • Members
  • PipPipPipPipPipPipPip
  • 1,247 posts
  • Location: Rugeley

Posted 04 October 2016 - 05:32 PM

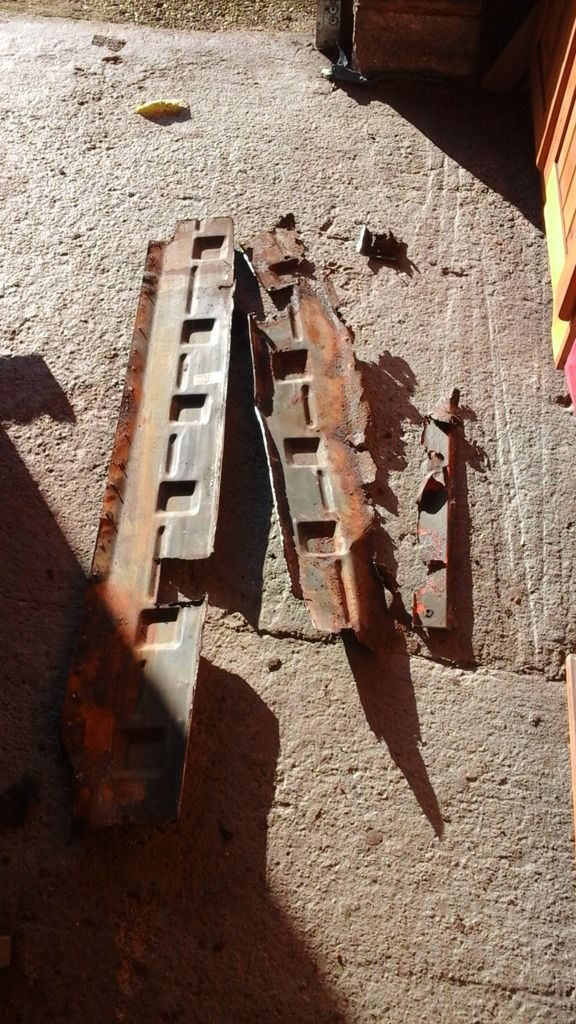
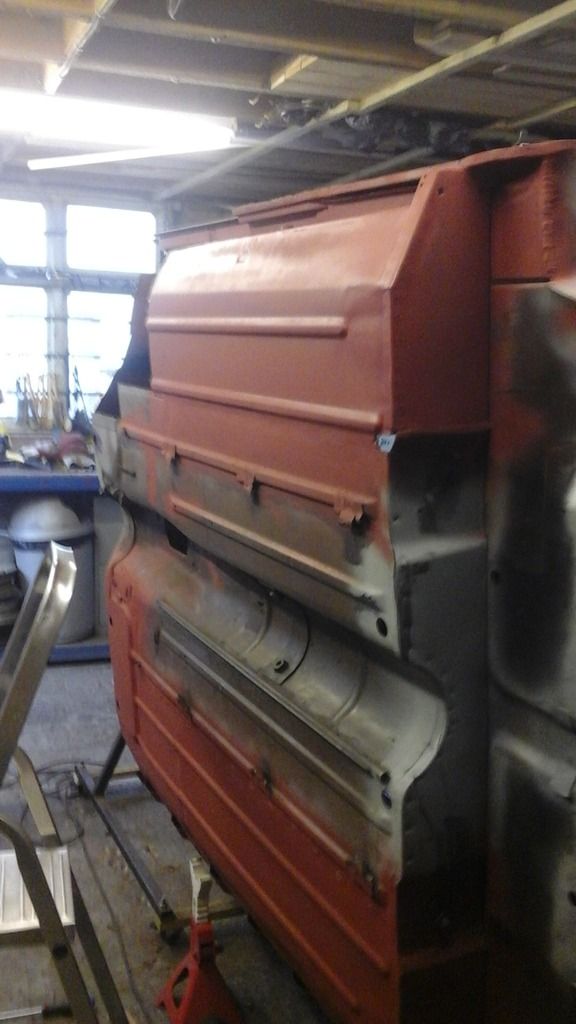
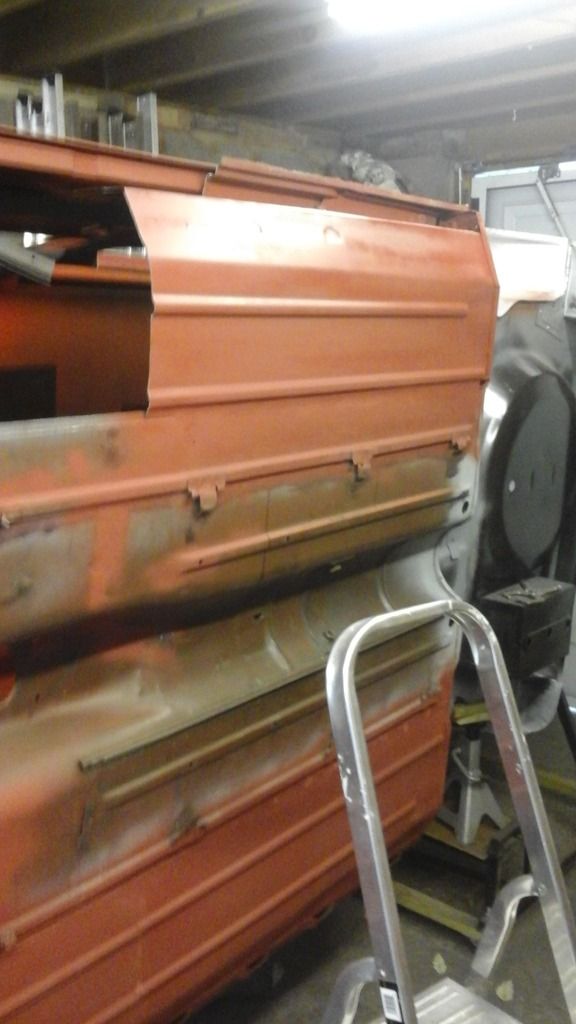
cut out the passenger side floor today ..it was an absolute nightmare the last owners plating had ruined anything that was salvageable


The back part of the floor


20161004_132013.jpg


front part...this bit was very heavy and took ages to get out


20161004_132024.jpg


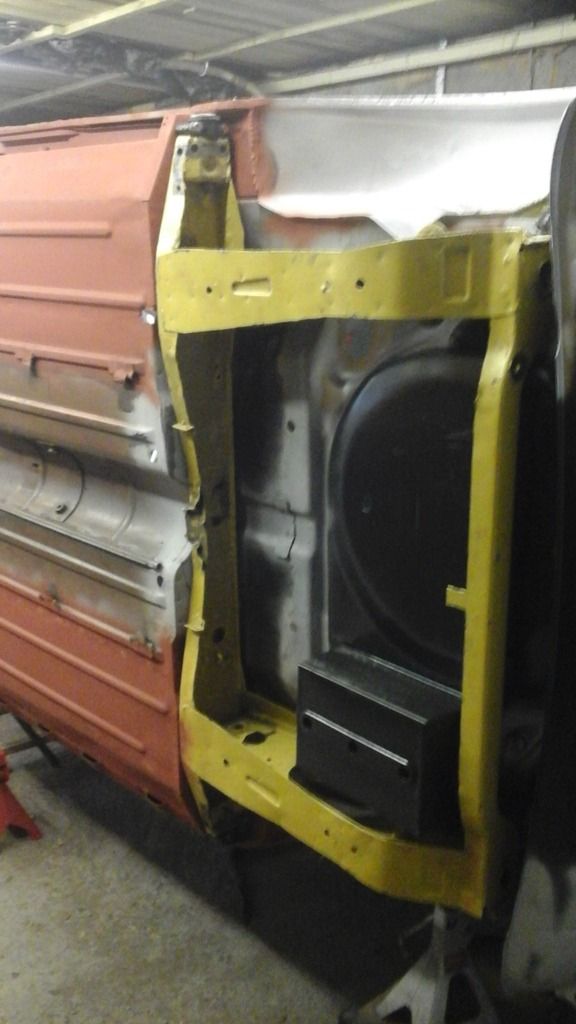
the hole thats left behind


20161004_132055.jpg


i tried to get a picture of the bottom of the A post ..its not very clear but it might be enough to point out the plating ....everything on the right of the pic is originl the 2 pieces of metal on the left are plating that the last owner welded on ..its 4 or 5 times thicker than the original metal ..its at least twice as thick as the post stiffener panel and its all welded in by stupid amount of weld,as much as an inch thick in places its making everything difficult to get out and has pretty much ruined any original panels that would of been repairable


20161004_131936.jpg


#80 mini_matt_106

mini_matt_106

    Super Mini Mad

  • Members
  • PipPipPipPipPipPip
  • 591 posts
  • Location: Andover

Posted 04 October 2016 - 10:13 PM

That sucks about the shoddy repairs, I really don't know what goes through these people's minds when they decide to add oversills!

Good luck though, it looks like you are working your way through it

#81 feybrand

feybrand

    One Carb Or Two?

  • Members
  • PipPipPipPipPipPipPip
  • 1,247 posts
  • Location: Rugeley

Posted 05 October 2016 - 05:42 PM

Not much done today ..or at lest it wont look like much,i lined up the heelboard and welded it in


20161005_155730.jpg


It doesn't look like much but its one of those bits that has to be right so i took my time and fitted and unfitted the subframe god knows how many times.

Only other thing i did today was a bit of cutting and adjusting to the little closing panel that fits to the heelboard and to the Rear quarter,when i originally fitted it i had my doubts as to how well it was lined up due to the dodgy old repairs and panels i had to use to line it up,turns out i was right it was fitted about 7 or 8 mm out so bit of cutting and rewelding got it sat right.


Tomorrow i need to do a bit of work on the sill stiffener as the end that mounts to the closing panel is a right state and then its time to fit some floor :)


#82 feybrand

feybrand

    One Carb Or Two?

  • Members
  • PipPipPipPipPipPipPip
  • 1,247 posts
  • Location: Rugeley

Posted 06 October 2016 - 05:44 PM

Lots done today

Welded up the heelboard


20161006_172830.jpg


rear floors mostly in just need to do a few bits and bobs to it


20161006_172817.jpg


and then i trial fitted the sub again to make sure nothings moved


20161006_175002.jpg


got a bit of an issue with the cross member its pushing the end of the floor out too far so that the door doesnt sit right ...it was an issue i was half expecting as there was no inner sill to line the xmember up on so tomorow i need to sort that out might just be a case of adjusting the flanges on the end of the xmember


Edited by feybrand, 06 October 2016 - 05:58 PM.


#83 feybrand

feybrand

    One Carb Or Two?

  • Members
  • PipPipPipPipPipPipPip
  • 1,247 posts
  • Location: Rugeley

Posted 15 October 2016 - 05:39 PM

Got a lot more done over the last week


it started off very badly ...whilst doing the very last bit of welding on the rear bin i got a bit carried away ...and warped the dam panel ...DOH!!!
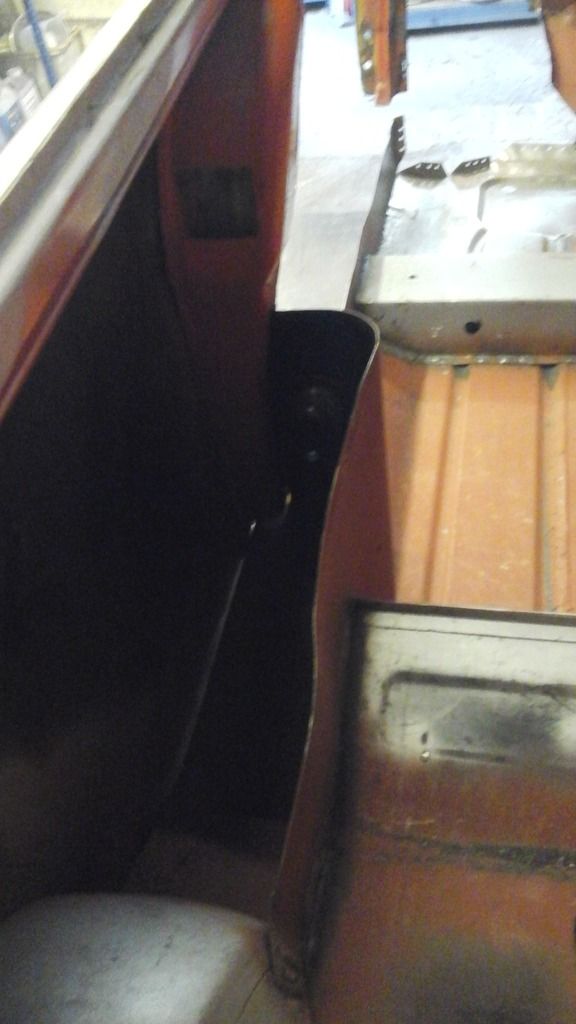
 

20161015_164012.jpg


so any tips on correcting that im all ears ....


I decided the only thing i could do about it is pretend it wasnt warped and move on


so i welded in the front floor pan and then the cross member finally after months of it being held in by screws
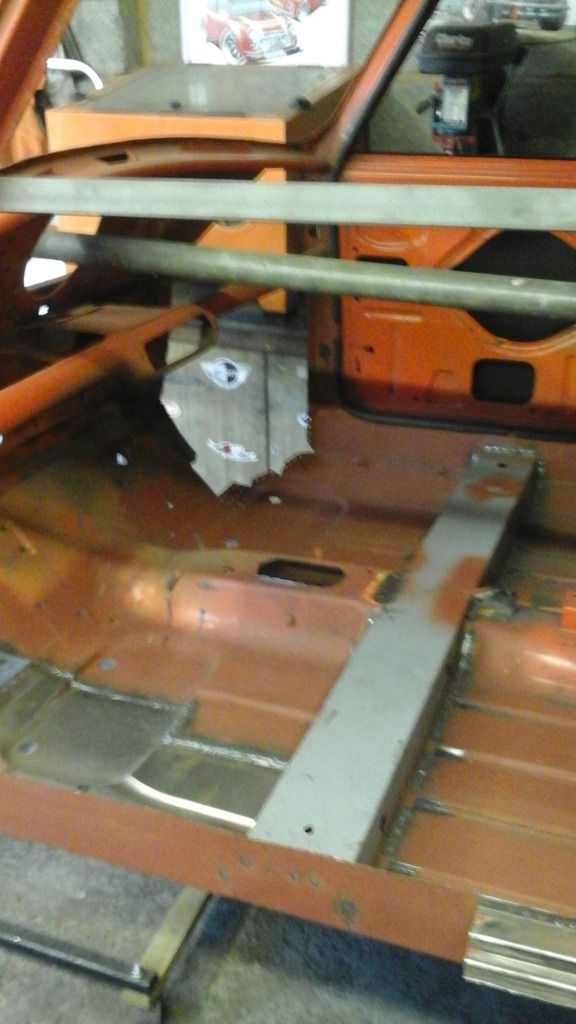
 

20161015_163932.jpg


ran out of primer so its still bare metal


i then attacked the inner wing ..which is the last bit with the over the top old repairs so its something of a milestone to get the wing out
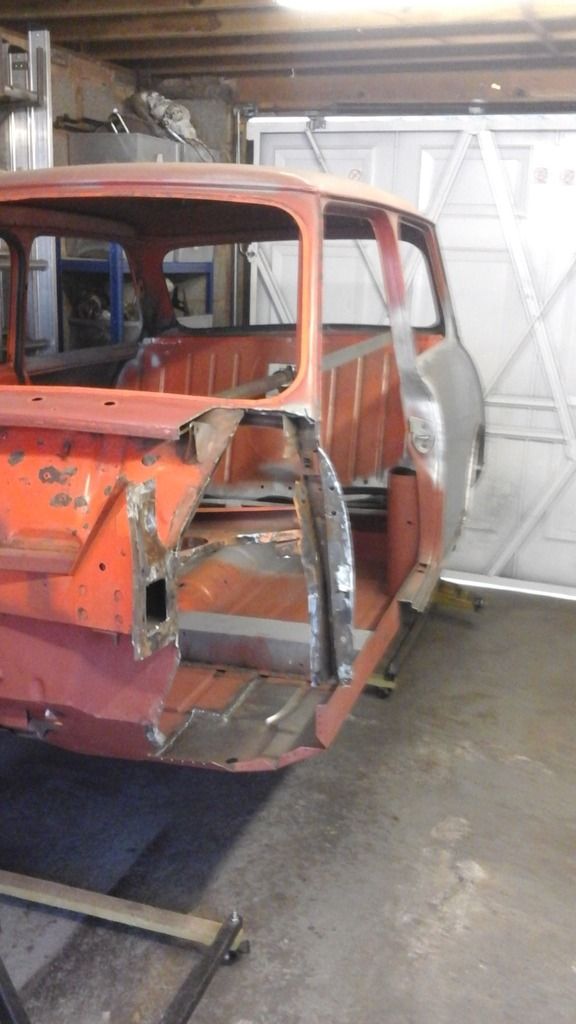
 

20161015_163915.jpg


i also replaced the little brackets on the floor that hold the brake lines in place ..they were a bit grotty and i wanted to make sure there was no nasty suprises hiding behind them
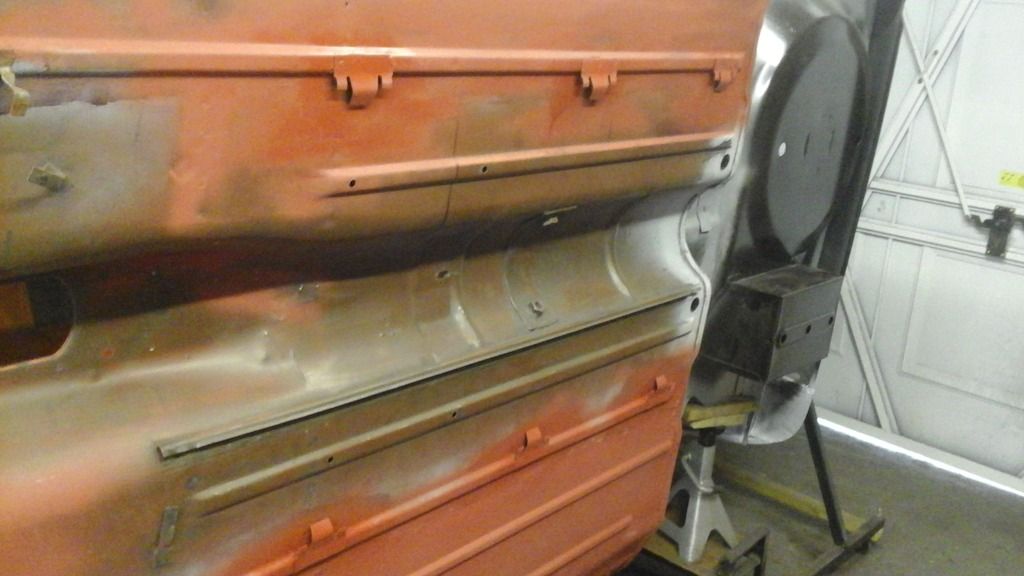
 

20161007_131257.jpg


when i took the inner wing out i managed to save most of the door post so i may cut out bits and repair it using the new posts i have rather than spend days trying to reshape the new panels i have ...depends what state the old post is when i strip all the paint off.


And finally i spent a day reshaping the doorstep panel i bought as the dimensions are horrible and thinking back explains the drivers side step aswell ..so that may get redone as well now i know. I also had to do some work on the new outer sill as its non genuine and is also rubbish,it tapers on the vertical part as you move forward along the car and when i measured it its 6 mm shallower at the front than the back ...which is a massive difference when added to the 3 or 4 mm out that the step is and the 2 mm out that the inner sill part of the floor pan is ...which i didnt realise till after i welded it in ... and explains the gap at the bottom of the door being within fettling distance at the back and then at the front being so big i can get my thumb in the gap ....i understand that non genuine panels may be out of shape but surely getting it the right size is a must.


That said even the genuine panels i've used haven't been straight forward as lining things up of the old parts of the car was tricky due to the work done to it over the years .......


OK rant over lol


Next job on the list is to clean the inside of the door post off work out what needs replacing and then paint it inside


#84 feybrand

feybrand

    One Carb Or Two?

  • Members
  • PipPipPipPipPipPipPip
  • 1,247 posts
  • Location: Rugeley

Posted 21 November 2016 - 06:46 PM

Soooo progress has continued on this but i didnt get round to taking pictures ,,,the post is done and the sills fitted i also fitted the door step ....then cut it off and fitted it again ...then cut half of it off and put it in the bin and made my own replacement ...and the finish is better but still rubbish.
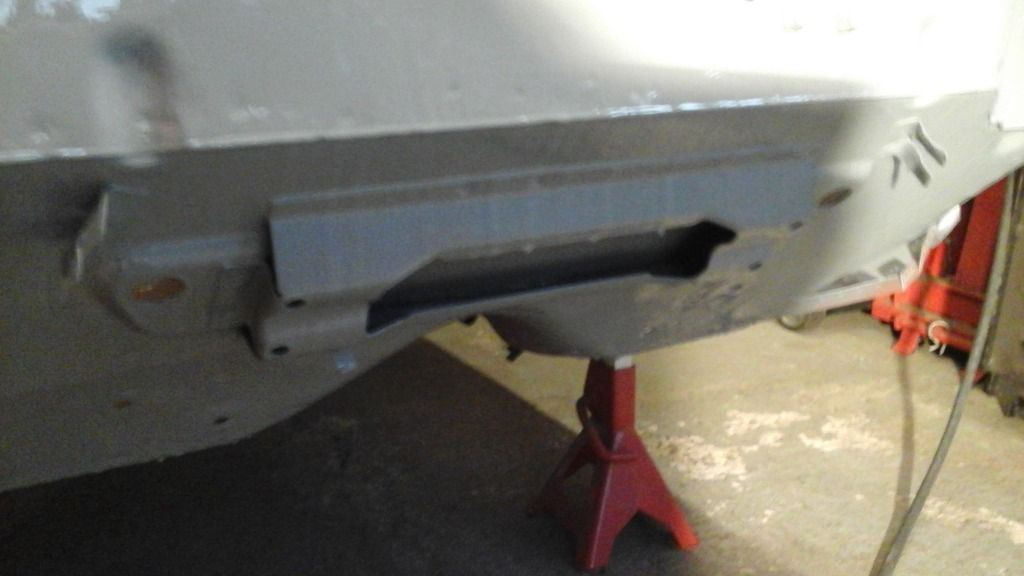
 

as a result i decided that i should move on and come back to the door step later rather than let it demoralize me now.


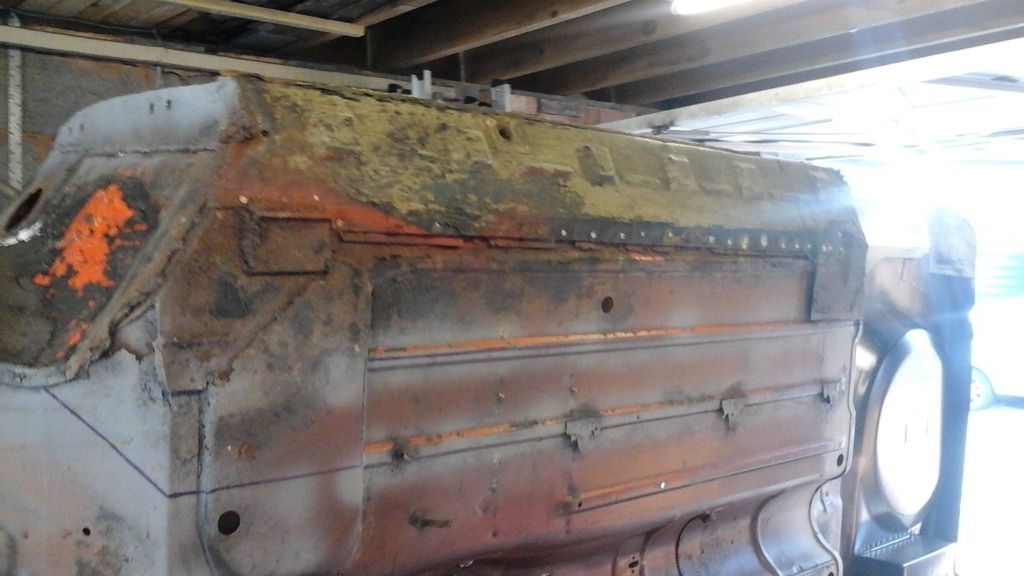
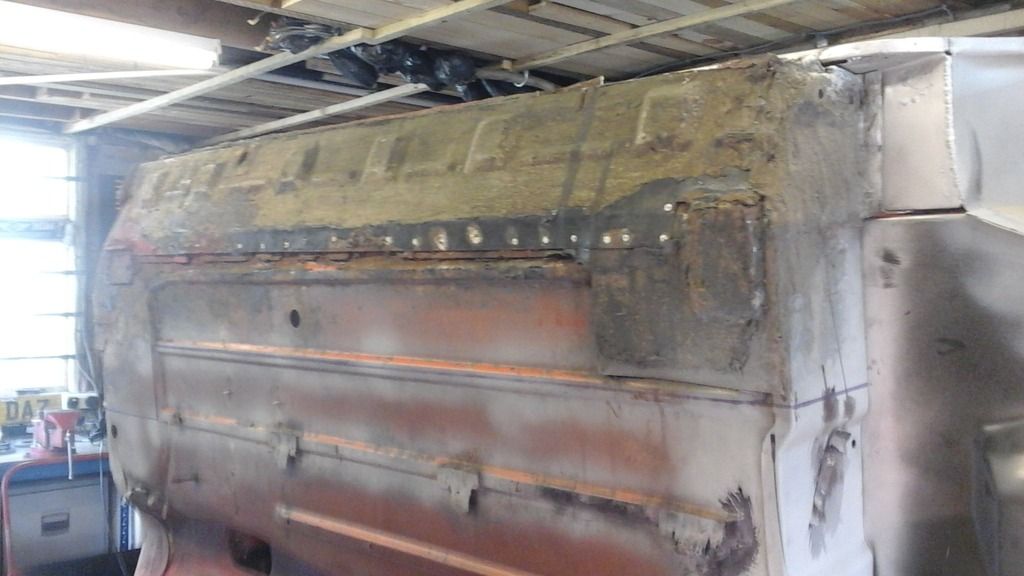
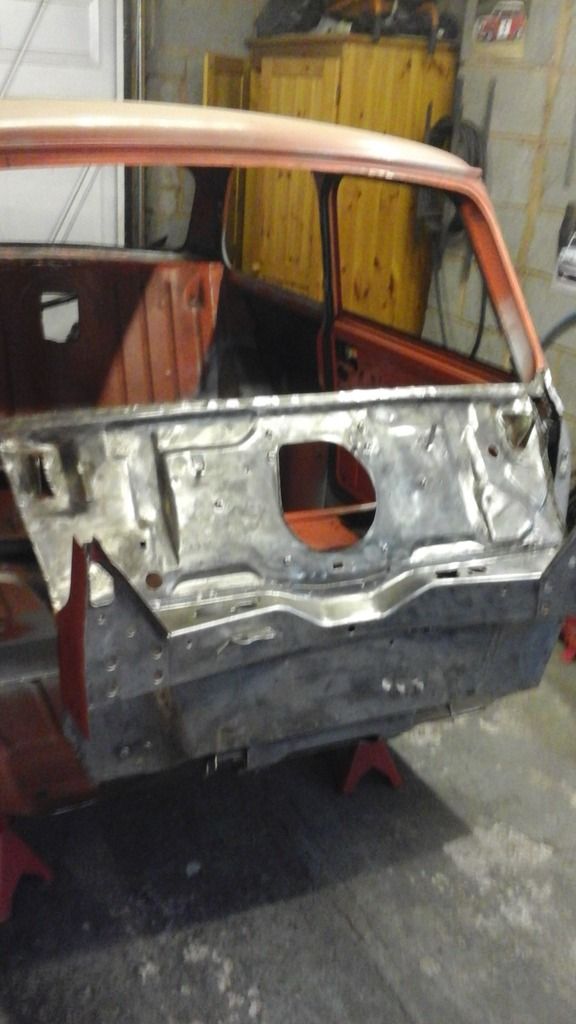
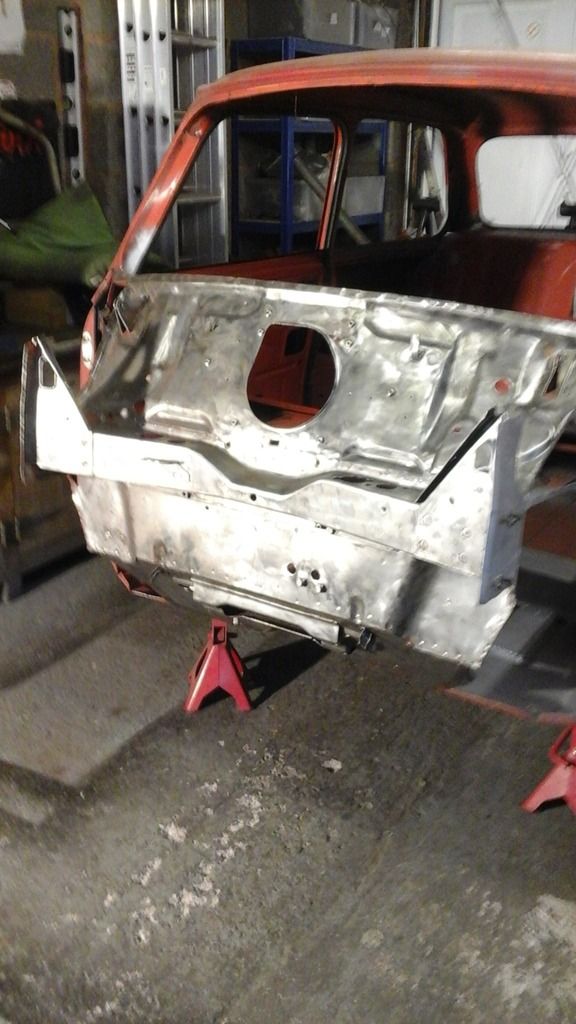
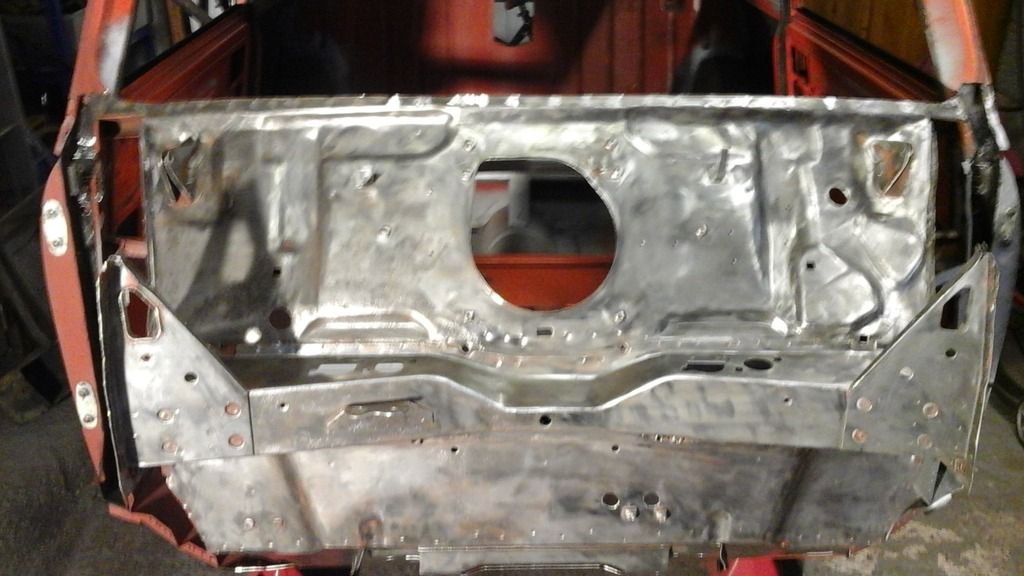
Instead i decided to cut the scuttle off and wire brush all the paint off the bulkhead .....i havent lost my marbles ..honest,i worked out that due to the state of the bulkhead i really needed to get all the old paint,rust and sealer off completely and once i have fitted the new inner wings and scuttle on i wont be able to get to all of it without a struggle.


so i stripped the bulkhead

20161121_133448.jpg


20161121_133527.jpg


20161121_133558.jpg


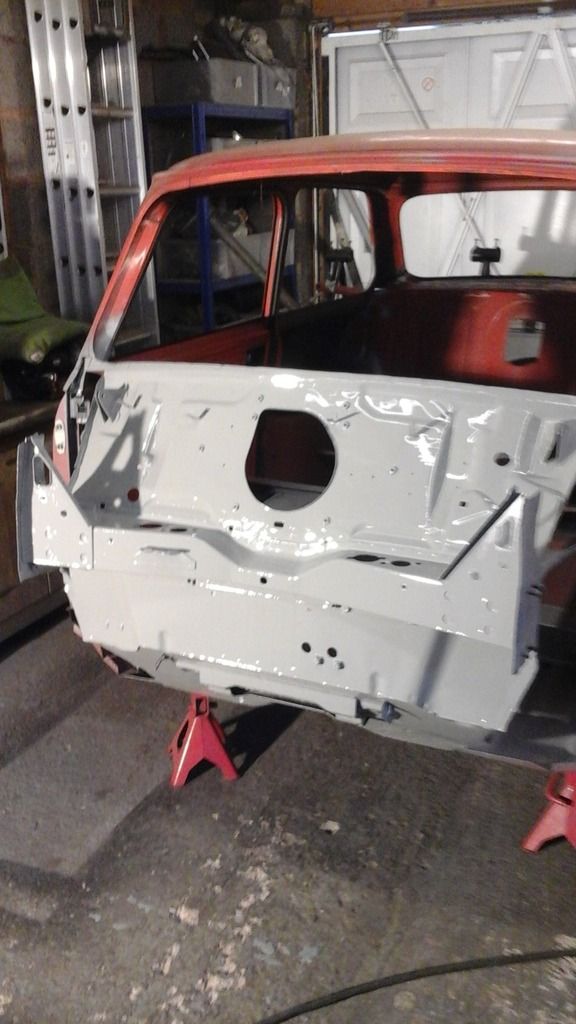
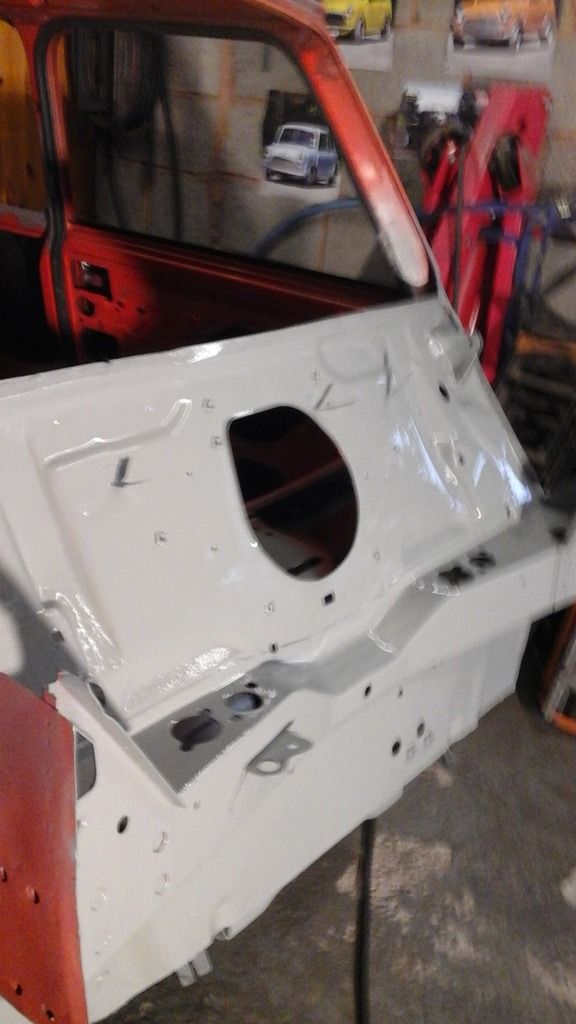
and then i etch primed it ...ive used a spray gun before however ive never used this etch primer before and it caught me out its a lot thinner than i expected lol as a result i now have runs and droplets on my floor ...the top half is spot on though so not the end of the world.


20161121_142248.jpg


20161121_142258.jpg


20161121_142313.jpg


20161121_142317.jpg


probably wont be anymore posts for a bit as im only doing odd jobs and tidying up untill i have the grand i need for all the front end panels.


#85 Daz1968

Daz1968

    Up Into Fourth

  • Members
  • PipPipPipPipPipPipPipPipPip
  • 2,058 posts
  • Location: Dudley

Posted 21 November 2016 - 07:49 PM

Looking good, just for future reference acid etch primer only really needs a light coat, then you overcoat with high build primer.
Epoxy is a good thicker primer to use to bare metal and also has advantage of being water resistant

#86 feybrand

feybrand

    One Carb Or Two?

  • Members
  • PipPipPipPipPipPipPip
  • 1,247 posts
  • Location: Rugeley

Posted 01 December 2016 - 09:12 PM

so ..after talking nicely to the misses i placed an order for the final body panels ...and £1000 later the misses had started to regret agreeing to the order lol.

i brought all heritage this time hence the price so fingers crossed the fit and finish will be better.

I couldnt help clamping the new panels on so i could see what it was gonna look like.


20161201_203310.jpg


20161201_203319.jpg


and before anyone tells me ...the gaps are bad lol its only dropped into place at the moment and i can already spot a few issues that need sorting before i start to line the panels up right

i also brought new step panels because im not happy with the old ones so im going to redo them this time with the heritage step panels.


Busy few weeks ahead :)


#87 feybrand

feybrand

    One Carb Or Two?

  • Members
  • PipPipPipPipPipPipPip
  • 1,247 posts
  • Location: Rugeley

Posted 30 January 2017 - 12:37 PM

sooo i went to bingley yesterday with some money burning a hole in my pocket and £300+ later the plans for the mini have changed.

Now instead of doing it to close to its original condition i have decided to make a few cosmetic changes ...wheels and exhaust that sort of stuff.


anyway this is what i got from the show.

image_3.jpeg

image.jpeg


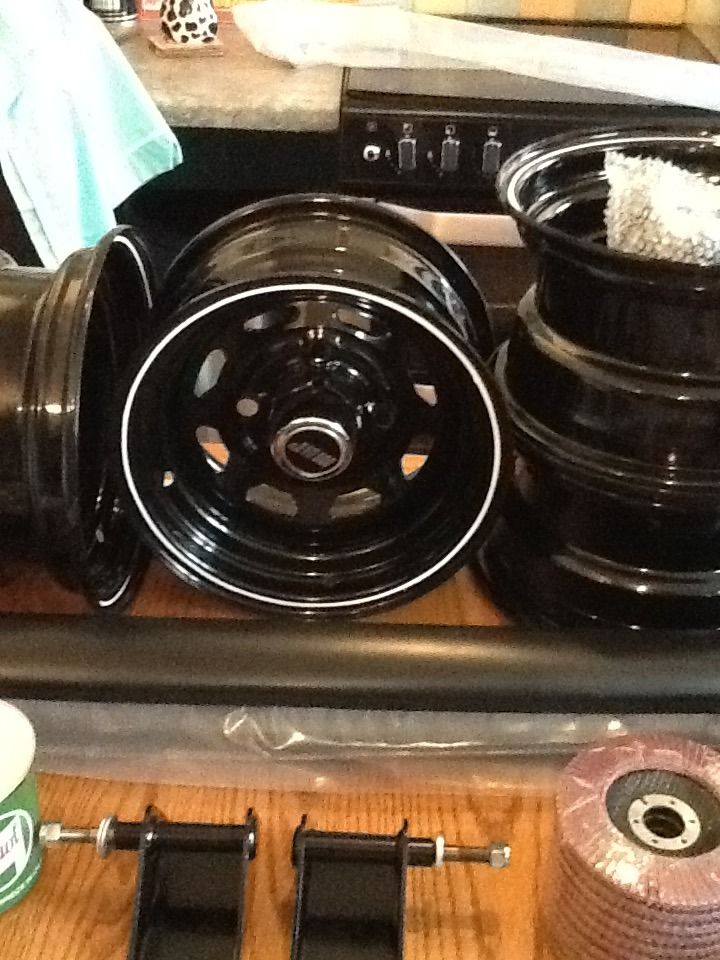
i brought some flap discs,couple of bungie ropes and a mug and for the car i brought the petrol hard line a steering rack both front damper mounts and 2 black bumpers.


Oh and some 10 inch 5.5j weller steel replicas :)


image_5.jpeg


#88 feybrand

feybrand

    One Carb Or Two?

  • Members
  • PipPipPipPipPipPipPip
  • 1,247 posts
  • Location: Rugeley

Posted 27 February 2017 - 06:05 PM

Haven't done any major work on this lately,i've been fettling the front end and doing little jobs and slowly the front end gaps are getting there,hopefully ill be welding it all on this weekend.


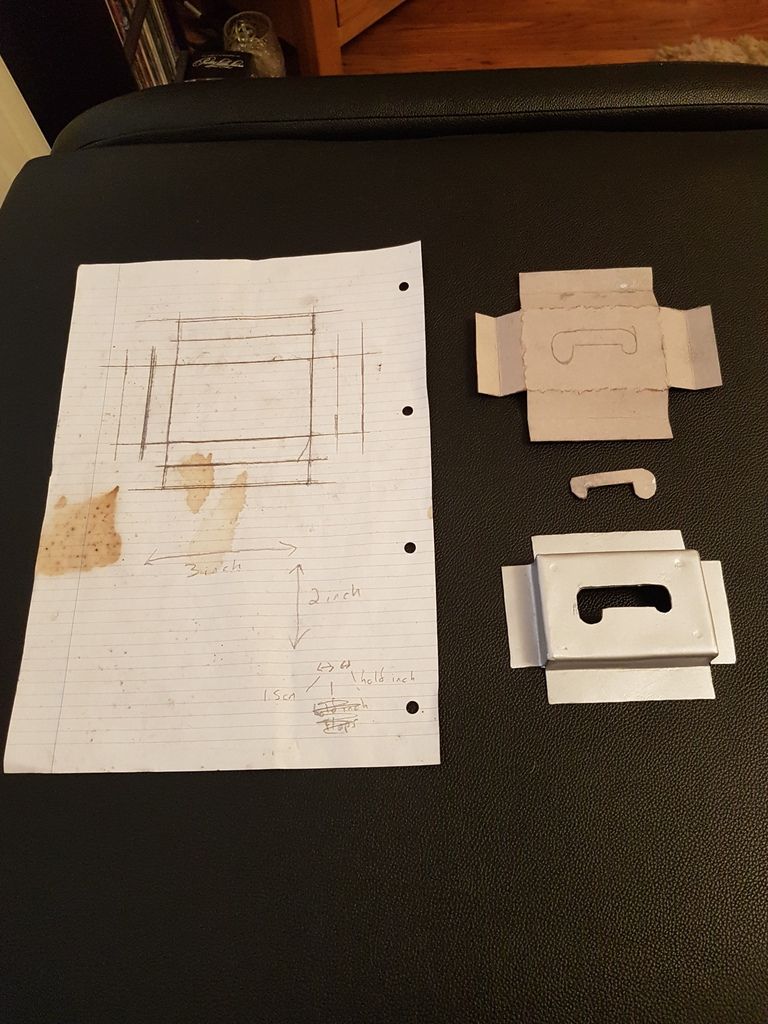
In the mean time i've been trying to get hold of the little bracket that the bonnet prop slides into as this didn't come with my new wing.Basically nowhere seems to have them and those who do normally have them are out of stock,so today i had a go at making the bracket ...it's not perfect as i was doing it from a vague memory and its not 100% square but it will do the job.


20170227_174207.jpg


Not perfect but im pretty happy with it ...it's a little more heavy duty than the original as i went over the top with it but i'm pretty confident it won't bend or deform if i for example accidently lean on the bonnet while its propped up.


Hopefully the next post will be the front end all attached with nice even bonnet gaps.


#89 domdee

domdee

    Formally known as dominicdee

  • Members
  • PipPipPipPipPipPipPip
  • 1,183 posts
  • Location: hull
  • Local Club: hull clubs on FB

Posted 01 March 2017 - 06:56 AM

great repairs!


#90 feybrand

feybrand

    One Carb Or Two?

  • Members
  • PipPipPipPipPipPipPip
  • 1,247 posts
  • Location: Rugeley

Posted 04 March 2017 - 08:09 PM

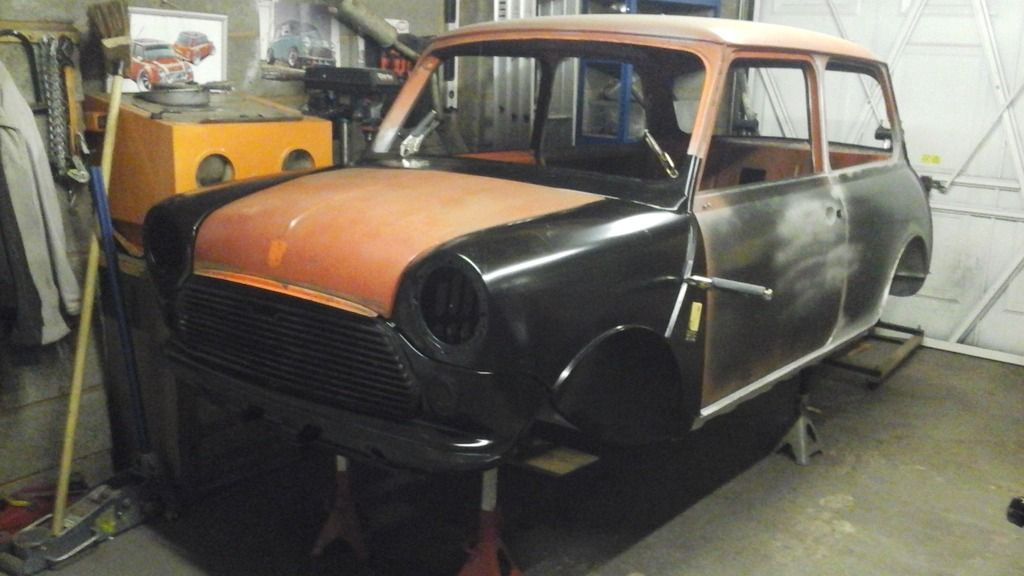
Got another day in the garage...welded in my bonnet prop.


20170304_175135_1.jpg


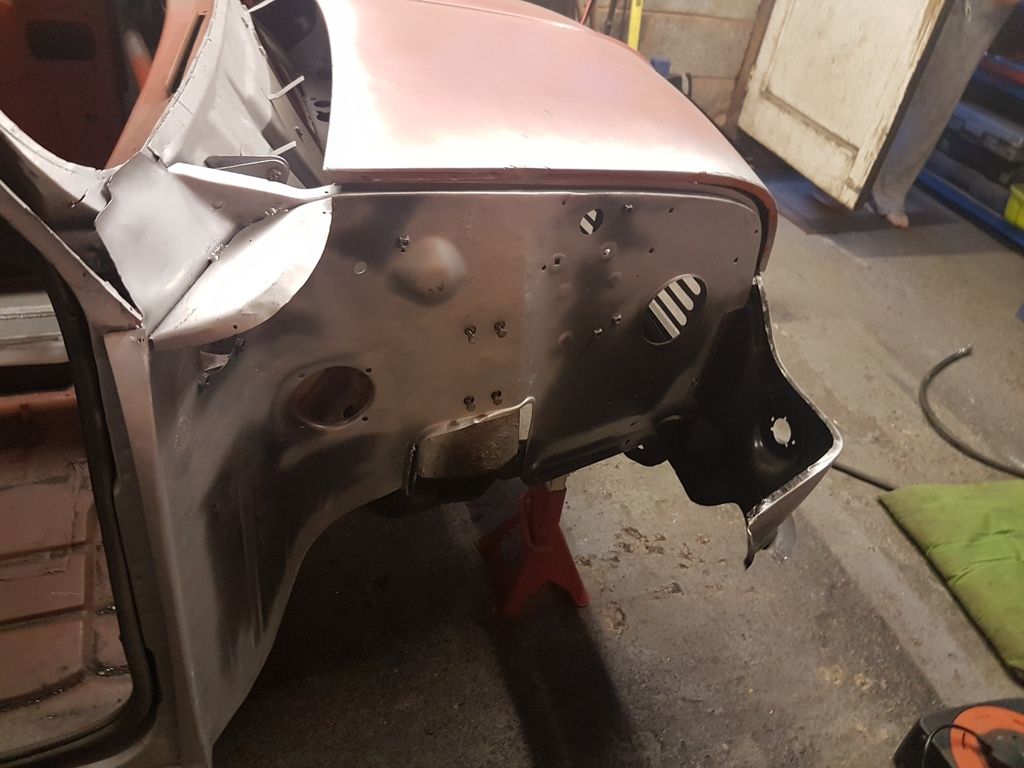
and then i prepped the inner wing and welded that in ...prepping it took ages.


20170304_175055_1.jpg


all welded in and flatted back


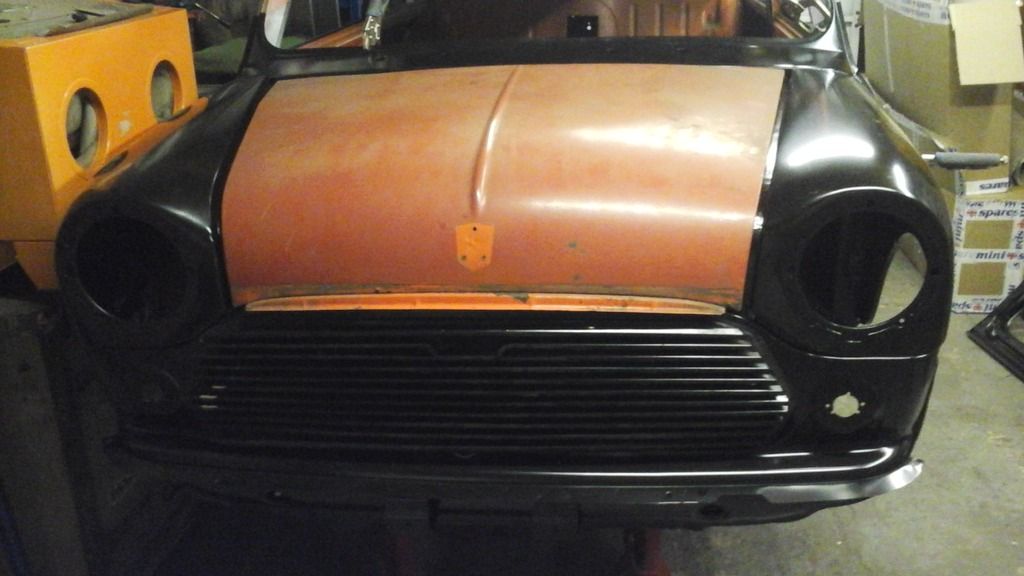
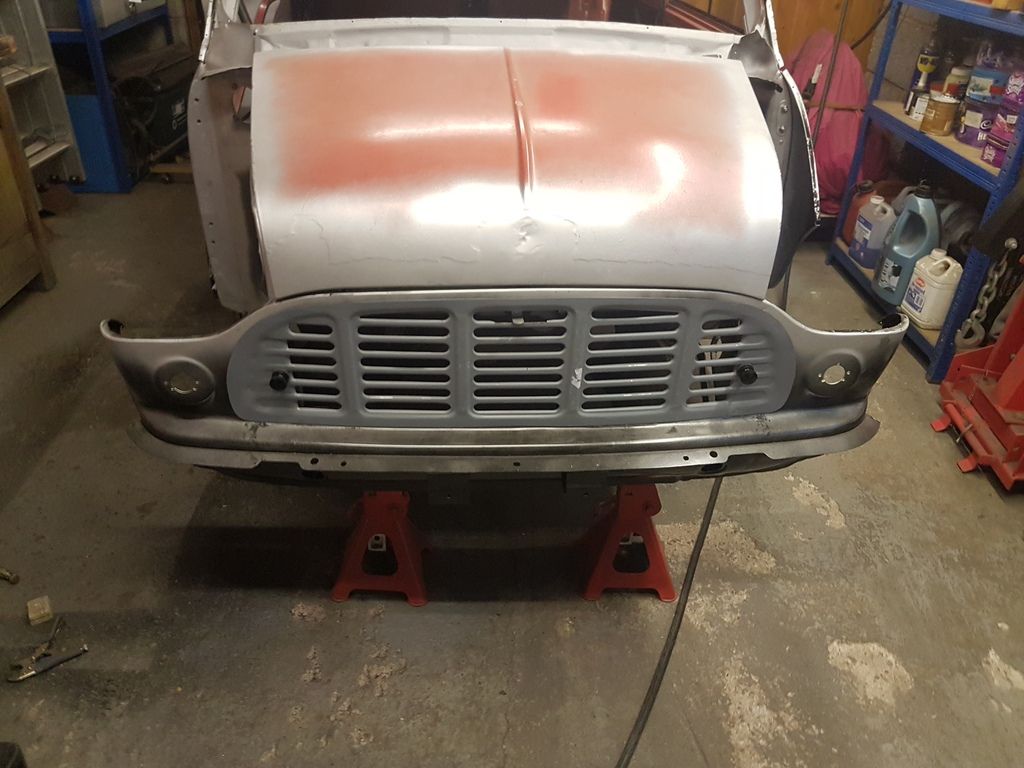
I also had time to fit my new grille


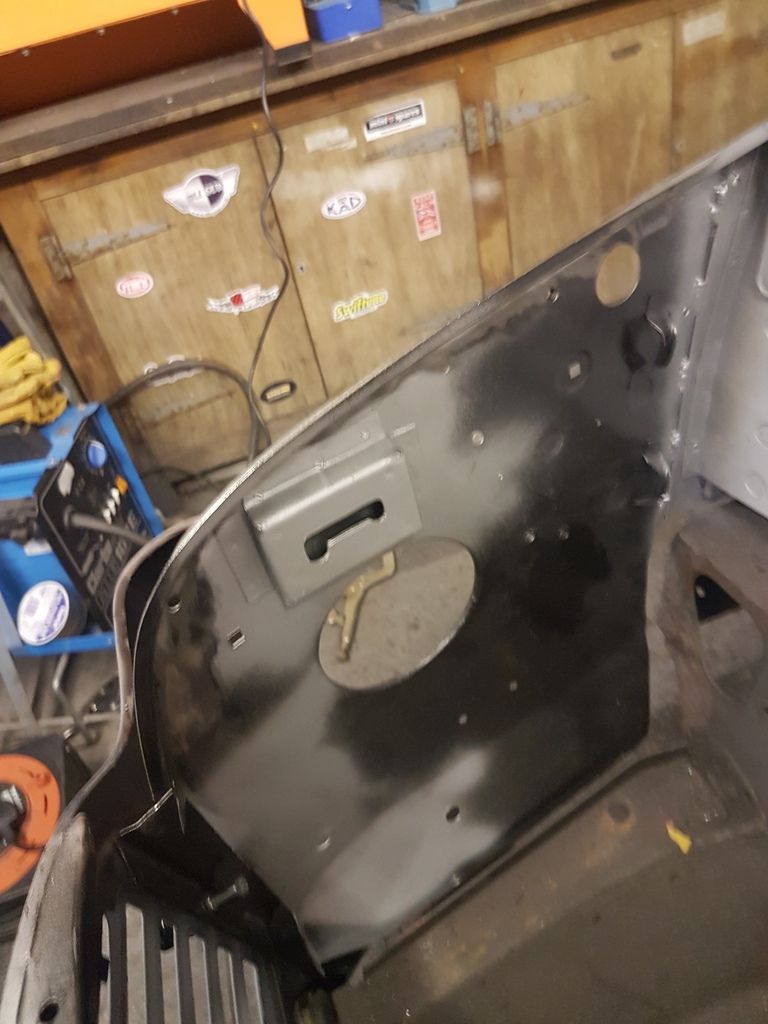
20170304_175109.jpg


Had to do a minor modification to the grille to make the bonnet catch fit ...ouldnt bend it up any further so i took a little bit out of the top of the grille slat.


More to come tommorow got the whole weekend on the car.


1 user(s) are reading this topic

0 members, 1 guests, 0 anonymous users