Jump to content


Photo
- - - - -

To Shell And Back


  • Please log in to reply
130 replies to this topic

#61 feybrand

feybrand

    One Carb Or Two?

  • Members
  • PipPipPipPipPipPipPip
  • 1,247 posts
  • Location: Rugeley

Posted 03 December 2015 - 06:50 PM

ye it runs off the regular sockets ....it depends which one you buy i got mine from machine mart they sell 2 the cheaper one works of a regular socket the more expensive one doesnt


chepest one has no frills aswell ...no timer etc and can only weld 1mm +1 mm metal


#62 Stu.

Stu.

    One Carb Or Two?

  • Members
  • PipPipPipPipPipPipPip
  • 912 posts
  • Location: My workshop.

Posted 03 December 2015 - 07:47 PM

Great Ta. Do you find yours does the job ok one you got used to it?

Edited by Stu., 03 December 2015 - 07:50 PM.


#63 feybrand

feybrand

    One Carb Or Two?

  • Members
  • PipPipPipPipPipPipPip
  • 1,247 posts
  • Location: Rugeley

Posted 03 December 2015 - 09:39 PM

ye its a bit heavy on the arms when u do horizontal bits like the bottom of the side windows... i had to hold it upright to get onto the seam properly.

Also it struggles if u have too much weld thru primer ive found that if i coat the inner 2 faces of a seam and keep the outer 2 faces bair metal it welds ok then i prime up the outer 2 faces after,also keep a bit of scotch bright or something simalar handy and clean the tips off every few spots they get clocked up with muck and soot and then the spots arent right.

other than that its great much less work after than plug welding and much quicker 2.


#64 Stu.

Stu.

    One Carb Or Two?

  • Members
  • PipPipPipPipPipPipPip
  • 912 posts
  • Location: My workshop.

Posted 03 December 2015 - 11:50 PM

I'll be getting one then. Thanks.

#65 feybrand

feybrand

    One Carb Or Two?

  • Members
  • PipPipPipPipPipPipPip
  • 1,247 posts
  • Location: Rugeley

Posted 04 May 2016 - 04:49 PM

Heello all


Haven't touched this for a while untill this week  just been collecting parts ...so far i have


2 outer sills

2 floor pans

2 steps

2 jacking points

2 door skins

cross member

heelboard


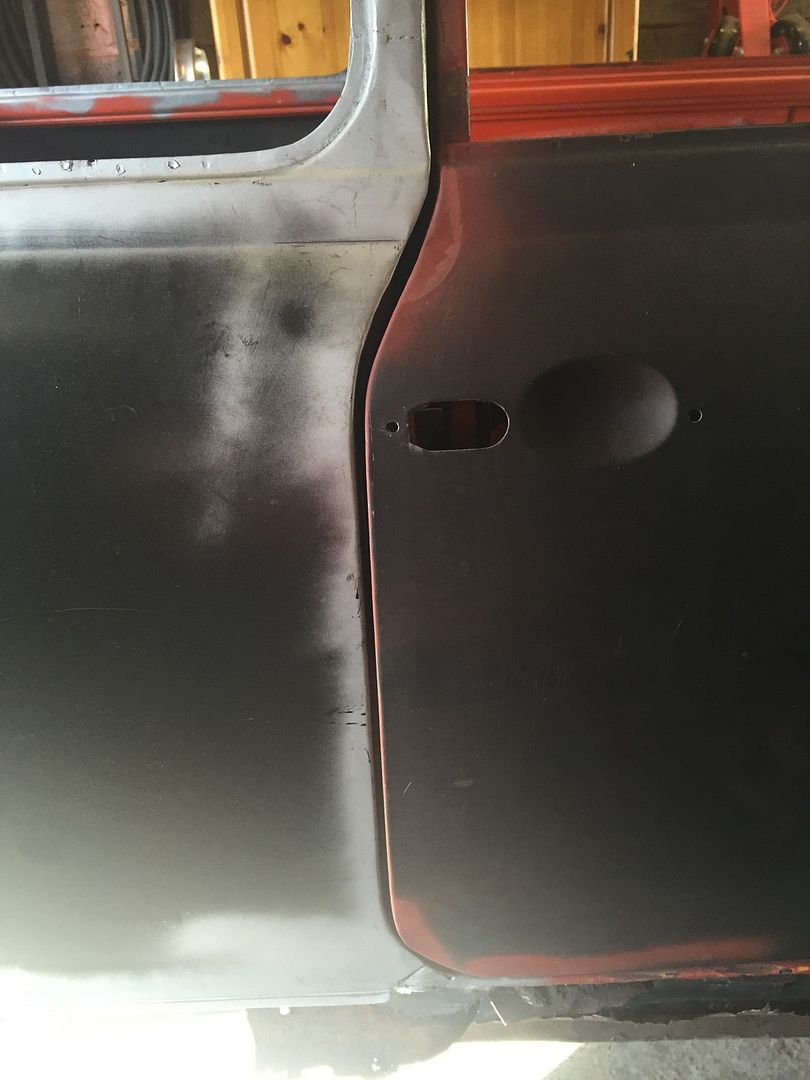
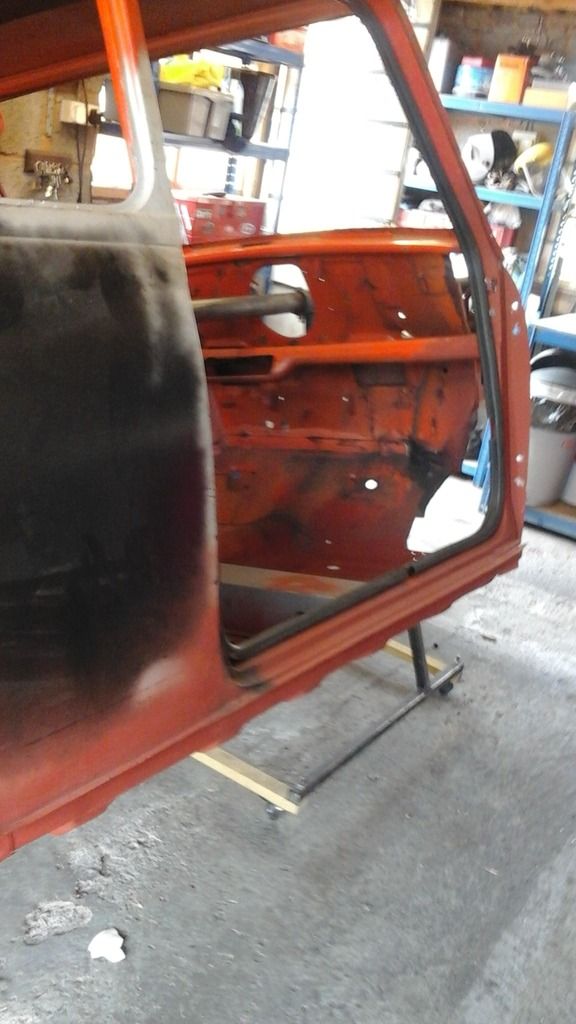
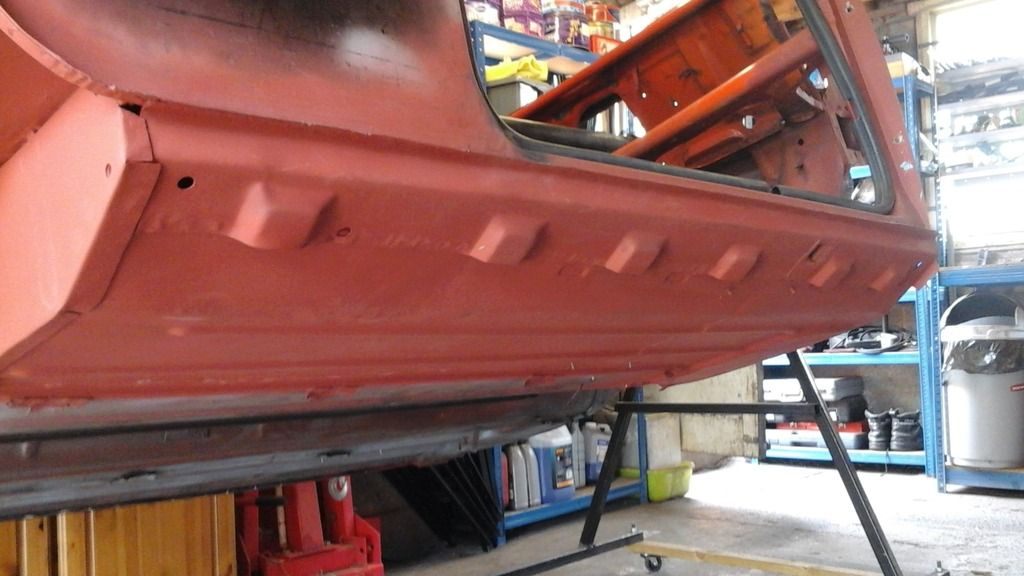
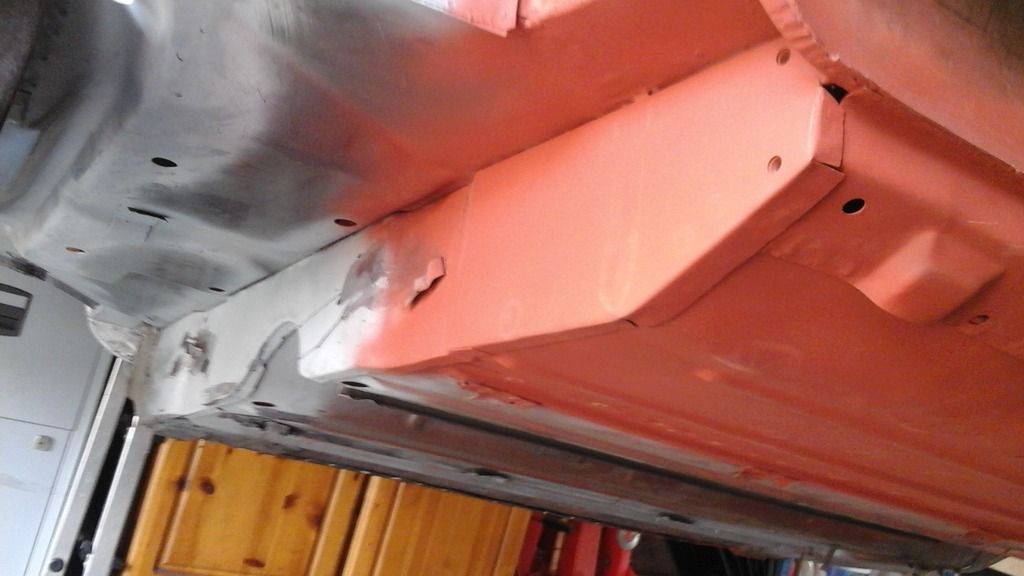
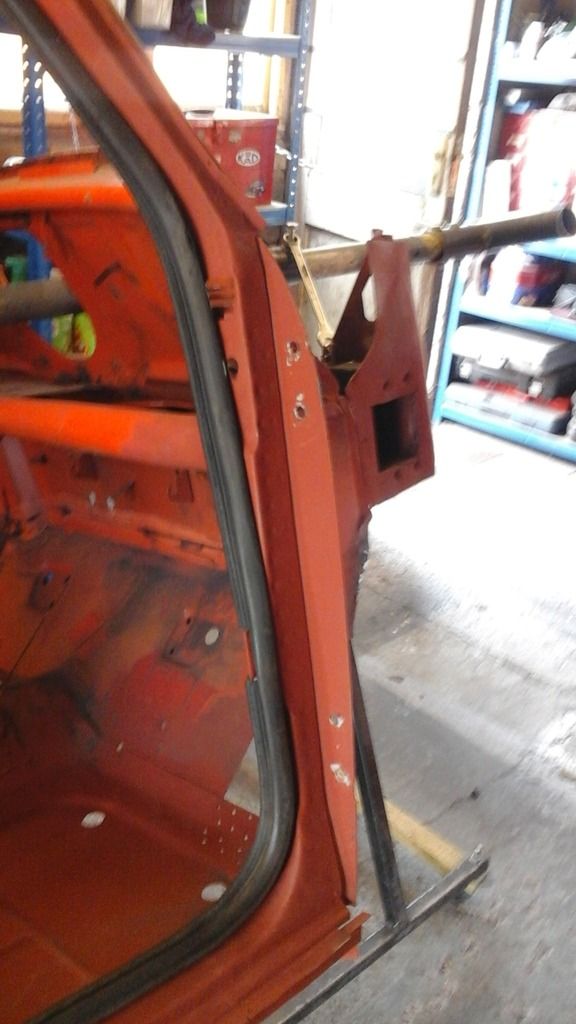
First job i tackled this week was the drivers door skin ..i figured if i line the door up i can work off it for the step.It all came apart nice and easy (sorry no pics) and needed 2 little repairs on the bottom lip which went well i was pretty pleased with the result.

I then fitted the door skin ,a job ive done before however the skins i have are unfortunately magnum panels and it proved very difficult to get a decent fit and ive since noticed that the top lip that the window sits against isnt as well defined as on the original panels,i also have a little issue with the gap down the back edge (where the catch is) and along the curve at the bottom


image_4.jpeg


#66 feybrand

feybrand

    One Carb Or Two?

  • Members
  • PipPipPipPipPipPipPip
  • 1,247 posts
  • Location: Rugeley

Posted 04 May 2016 - 04:56 PM

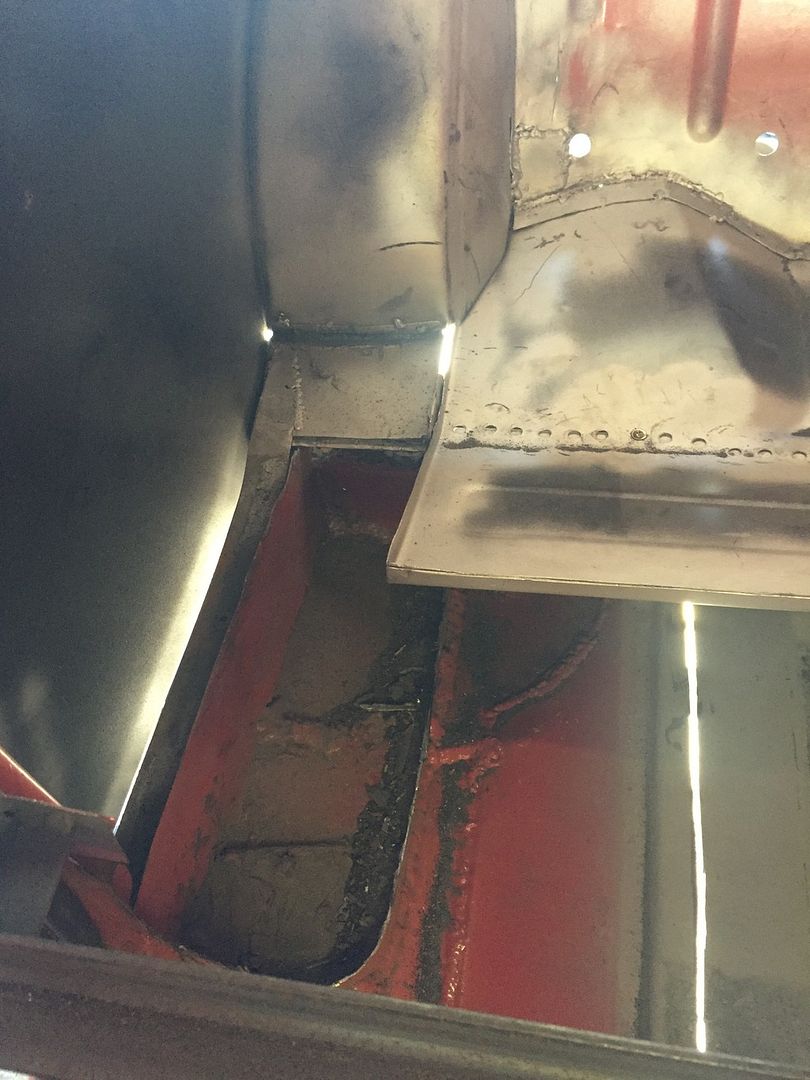
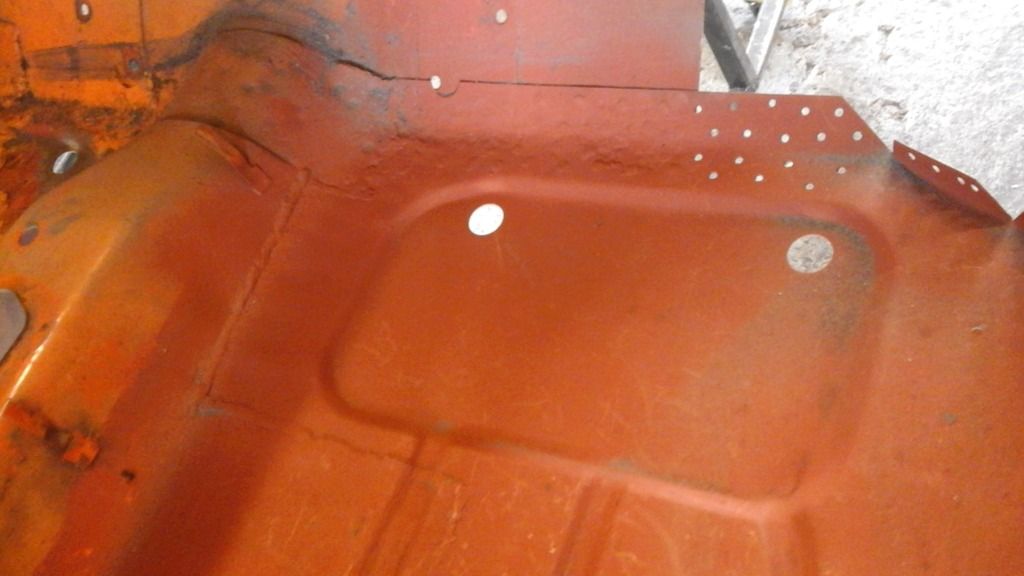
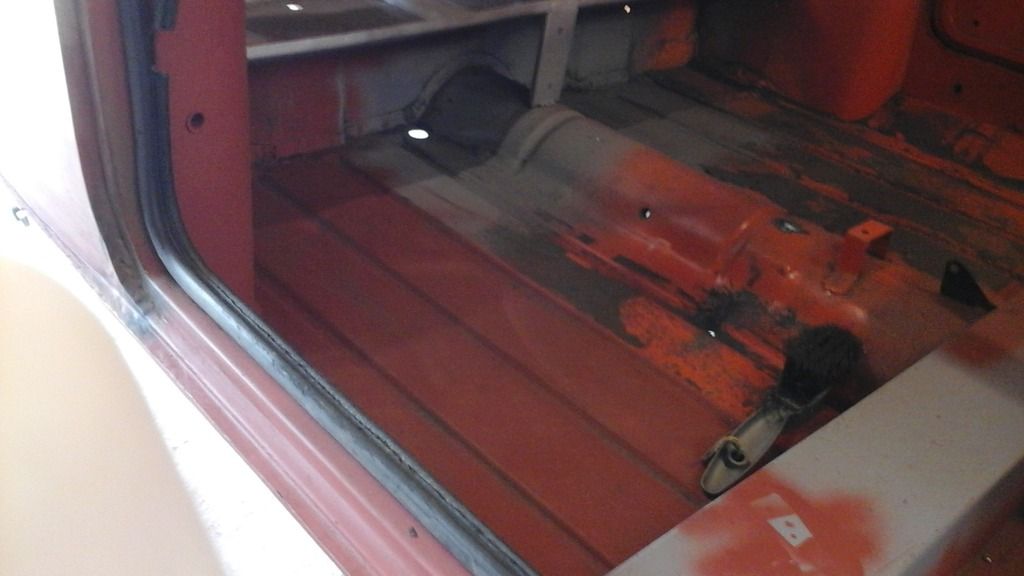
I gave up on the door after a while and set about cutting the inner pocket ..cross member...floor and sill off


image.jpeg


image_3.jpeg


image_2.jpeg


image_5.jpeg


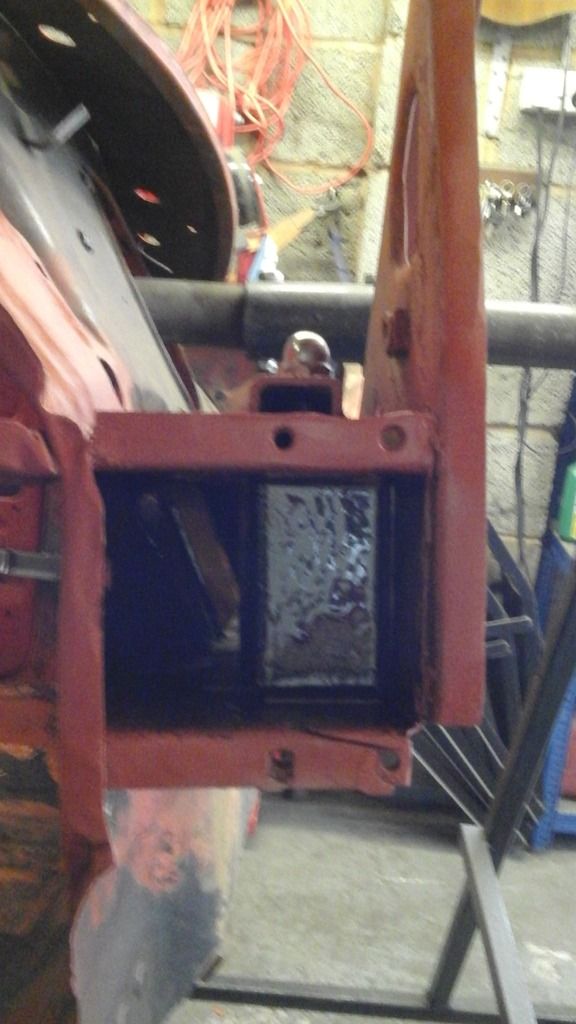
this highlighted a few other issues with the car ..mainly some old botches that i cant explain,for example theres a 2-3 mm thick girder inside the crossmember despite the crossmember having never rusted or been damaged


image_7.jpeg


it even extends to the jacking point


image_1.jpeg


#67 feybrand

feybrand

    One Carb Or Two?

  • Members
  • PipPipPipPipPipPipPip
  • 1,247 posts
  • Location: Rugeley

Posted 09 May 2016 - 05:47 PM

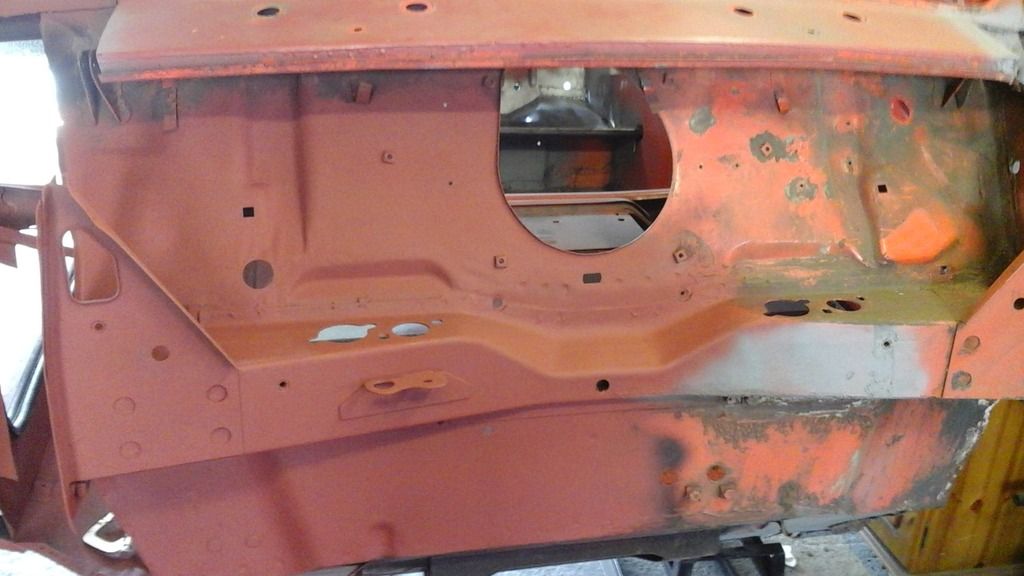
So at the end of my first week off of the year i have removed the driverside floor,inner sill,outersill,rear pocket,driverside rear heelboard and the cross member.


The floors not cut out neatly at the moment ive cut out less than i intend to replace so far so that when i line up the new panels i have a little bit of room for error before final fitting.


the new crossmember is lined up and screwed in with self tappers for now so that i can remove it for the final cut on the floor.


The plan is to line up the heelboard repair first using the subframe to get it in the right spot then the floor panel ..step and outer sill ...all lined up and either tacked or screwed in place before i fully weld anything in so that i can make adjustments at any time. woking of the subframe at the back the crossmember in the middle,the front bulkhead at the front and the door for the door step placement .


Quick couple of pictures of my butchery so far.....


View from the rear through where the heel board would normally be
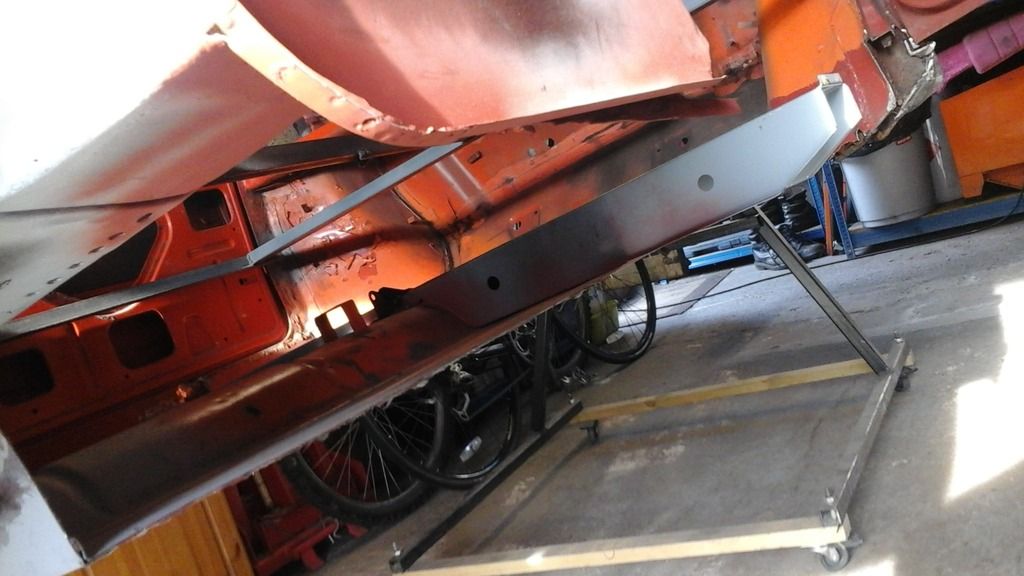
20160509_181935.jpg


cross member and front floor pan ...or lack of
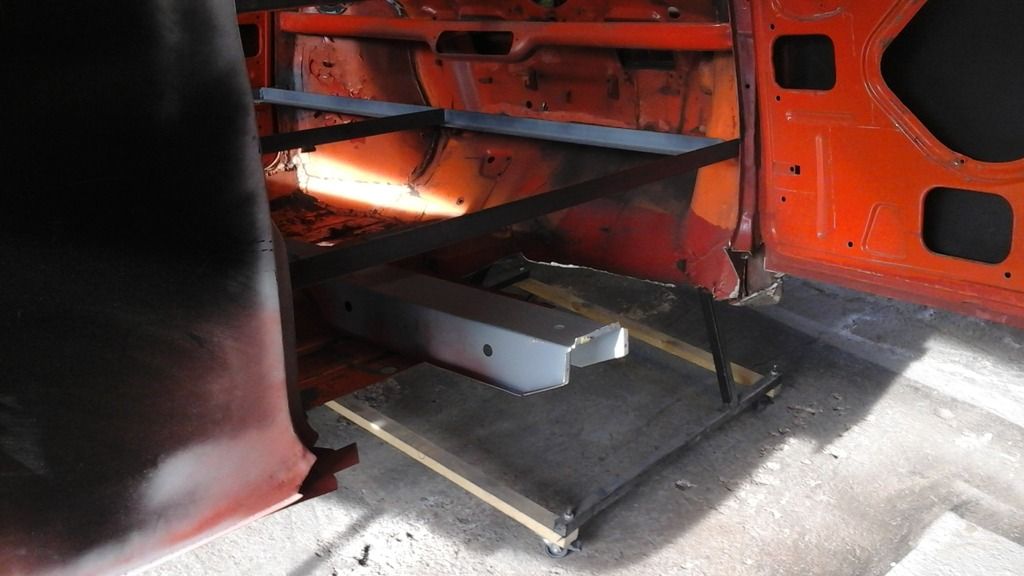
20160509_181925.jpg


and finally the view inside the car

20160509_181925.jpg


Hoping to get out and work on this a lot more often now the weathers warming up ive wasted the last 6 months stuck in the house


#68 feybrand

feybrand

    One Carb Or Two?

  • Members
  • PipPipPipPipPipPipPip
  • 1,247 posts
  • Location: Rugeley

Posted 01 August 2016 - 06:44 PM

Soooo i didn't have a camera for a while hence no updates but i have still been busy


The driver side floor panel is in as well as the inner and outer sill and the door post and driver side rear bin


pics


front floor

20160801_125759.jpg


rear floor and rear bin

20160801_125831.jpg


door step

20160801_125842.jpg


outer sill

20160801_125859.jpg


heel board repair

20160801_125909.jpg


door post

20160801_125932.jpg


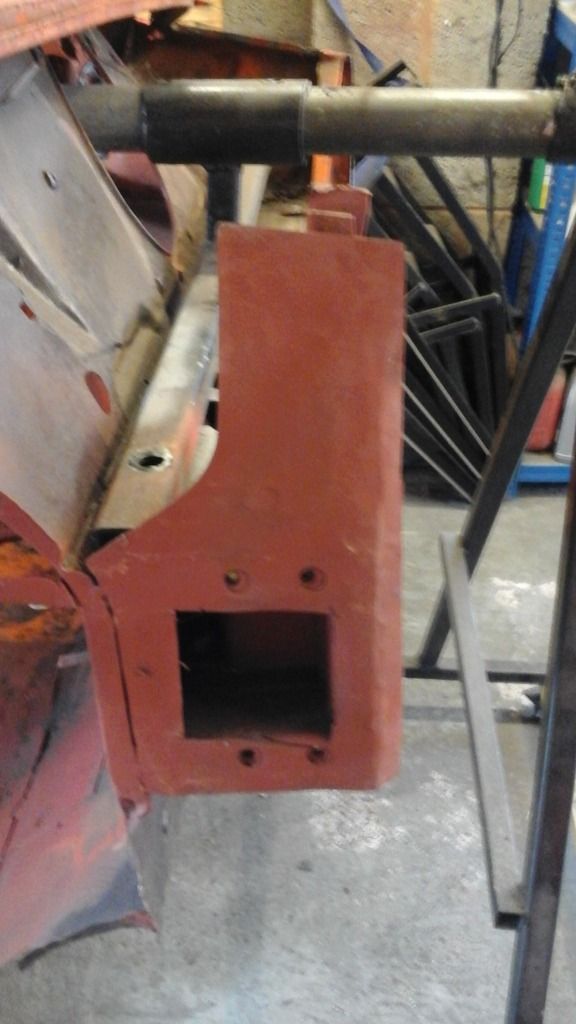
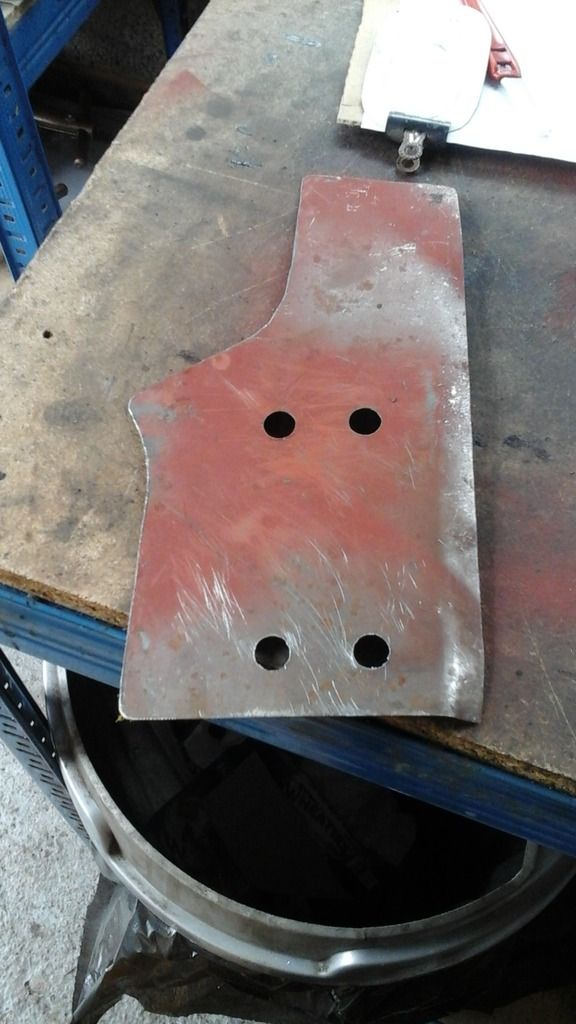
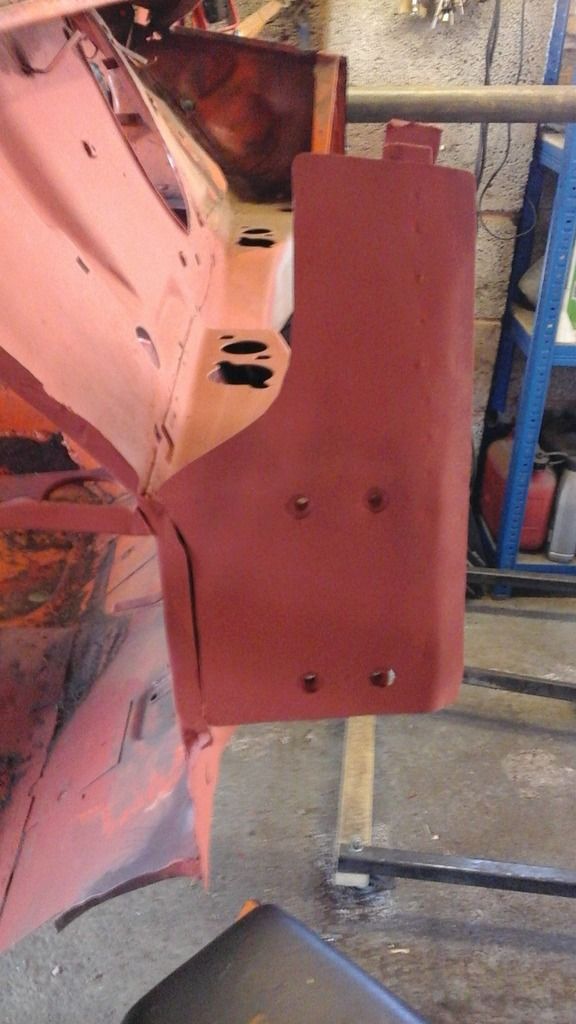
and today i have finished off the last few bits of the inner wing removal and started replacing the little panel that sits behind the damper mount ...i was gonna patch it but i decided to take it off n replace it


this is the one

20160801_153248.jpg


made up a new panel

20160801_153319.jpg


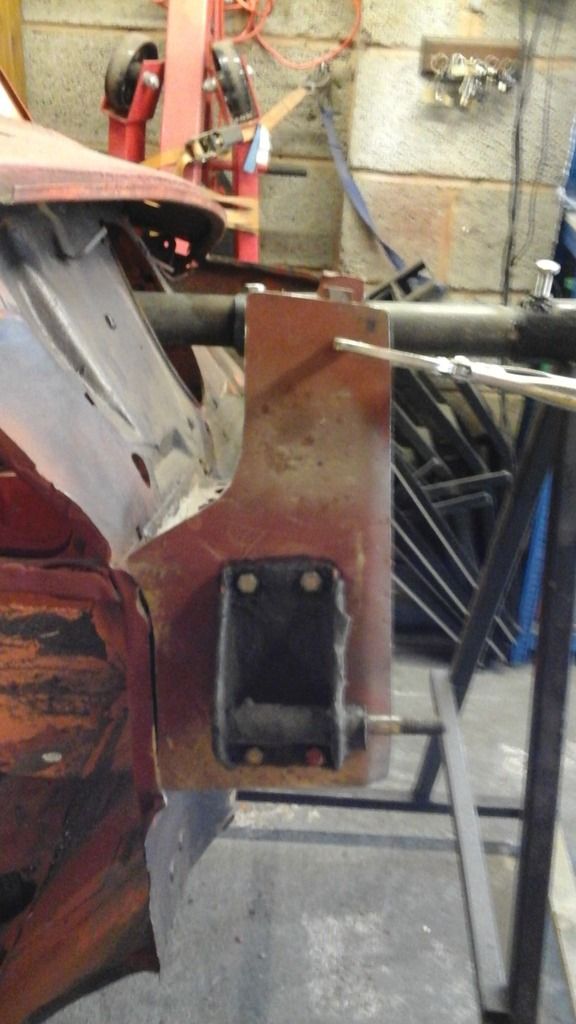
then i trial fitted it with an old mount as a guide ...took ages of little tweaks to get this right for such a simple panel that no one will ever see

20160801_171243.jpg


once i was happy i removed the old panel

20160801_171510.jpg


painted everything i could reach inside...i also did the same in the sill and door post

20160801_172407.jpg


and thats the lot lol

it was going well so i thought lets leave it at that before it goes wrong......as it did a few weeks ago when i pressed on and now ive got to redo the drivers door skin..again


havent got any time off now till october so planning to do little jobs untill then when i will start the passenger side


#69 blueovalcraig

blueovalcraig

    Mini Mad

  • Members
  • PipPipPipPip
  • 193 posts
  • Location: Rothesay, Isle of Bute

Posted 01 August 2016 - 09:49 PM

Great work mate

#70 Twilton

Twilton

    Stage One Kit Fitted

  • Noobies
  • PipPipPip
  • 57 posts
  • Location: Up North

Posted 02 August 2016 - 08:38 PM

Very nice man, looking good!

#71 feybrand

feybrand

    One Carb Or Two?

  • Members
  • PipPipPipPipPipPipPip
  • 1,247 posts
  • Location: Rugeley

Posted 07 August 2016 - 02:55 PM

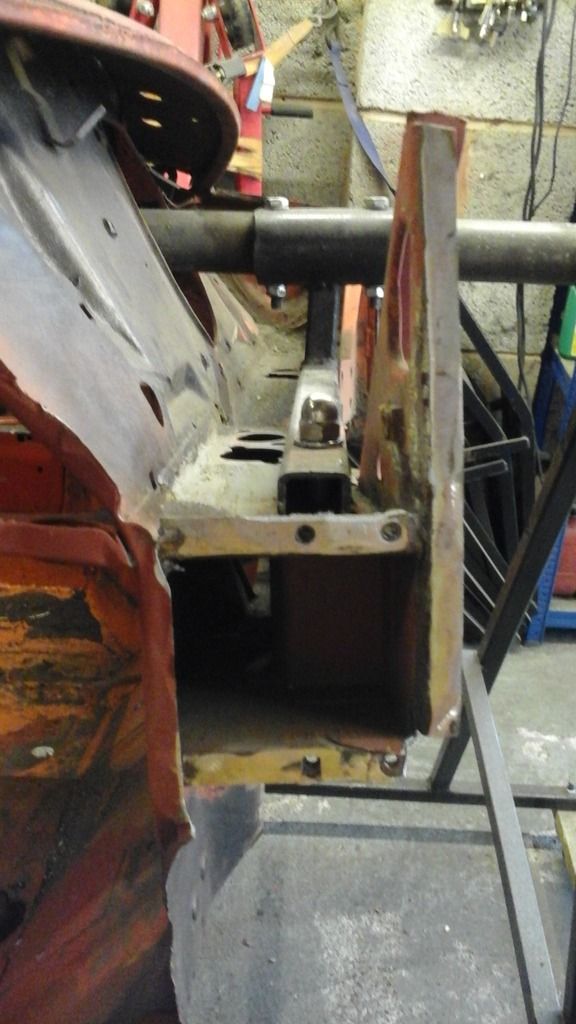
Small update today ...my grinder packed in halfway thru cleaning off the bulkhead so i primed it up ..the end i needed doing was finished anyway


20160807_150055.jpg


and then i attached the panel from the other day ...spot welded the front edge and plug welded around the mount holes,with a little seam weld on the back across the top of the block that has the threads in for the damper bracket.


20160807_150037.jpg


Edited by feybrand, 07 August 2016 - 02:56 PM.


#72 slidehammer

slidehammer

    One Carb Or Two?

  • Members
  • PipPipPipPipPipPipPip
  • 1,154 posts
  • Location: Surrey
  • Local Club: LSMOC

Posted 08 August 2016 - 09:26 PM

The bodywork is really starting to come together, keep up the good work.


#73 feybrand

feybrand

    One Carb Or Two?

  • Members
  • PipPipPipPipPipPipPip
  • 1,247 posts
  • Location: Rugeley

Posted 29 September 2016 - 05:27 PM

soooo just a small update but should be followed by some more ive got a fortnight off work


ive redone the drivers side door skin this time using a genuine panel and the result is much better ...still not quite perfect but thats down to my cheap door step and not the door panel.


i have also started to strip the passenger side door which is pretty much the same condition as the drivers side was


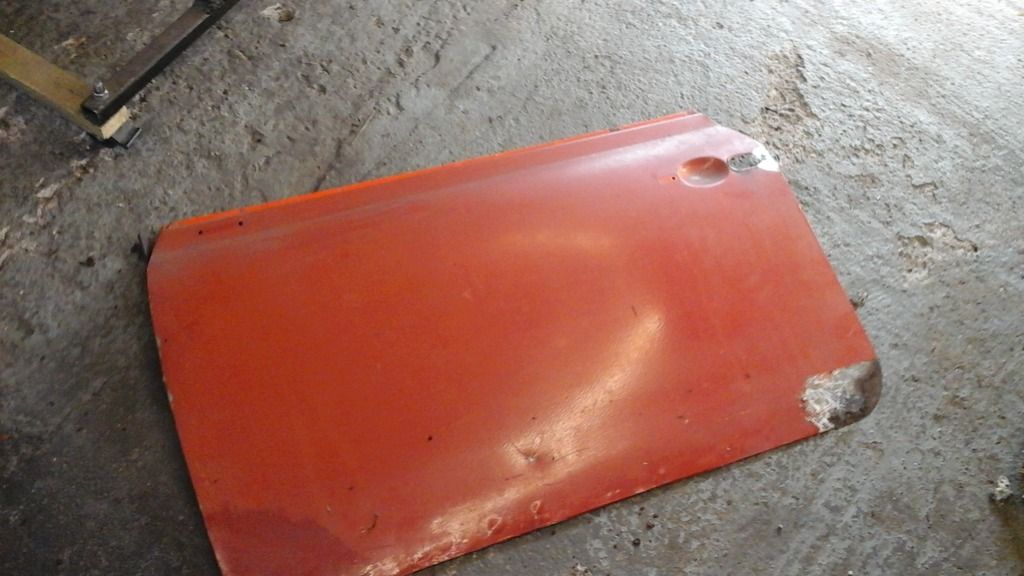
old skin

20160929_161926.jpg

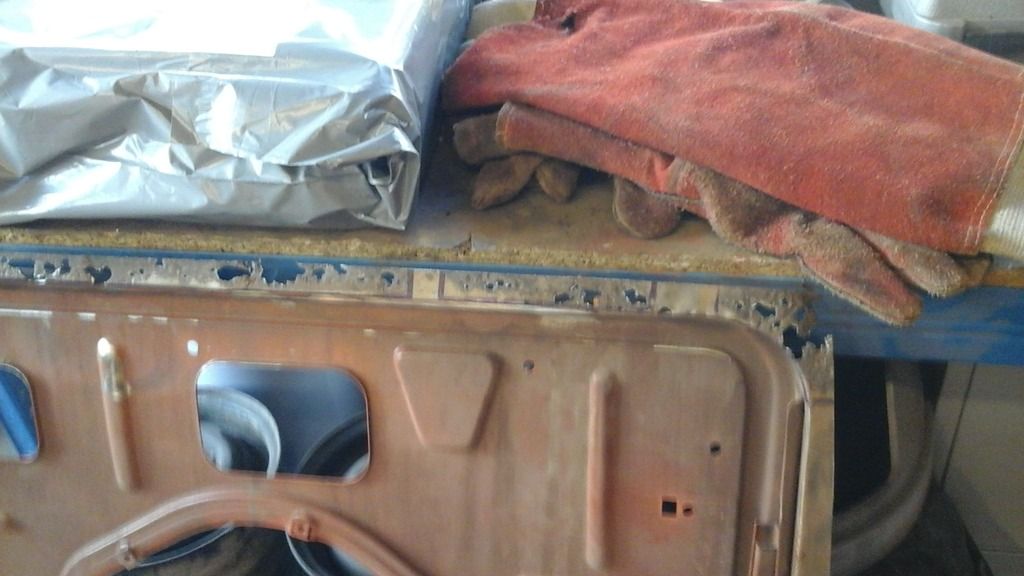
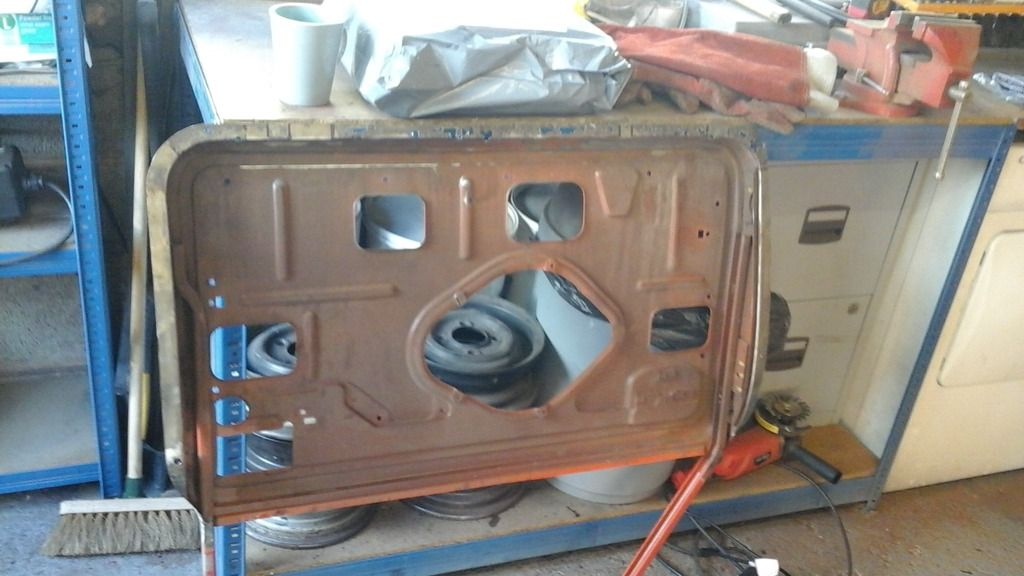
and a quick few of the rotten lip of the door frame

20160929_161921.jpg


20160929_161914.jpg


needs a bit of work but easy salvageable


#74 inkyjamesdee

inkyjamesdee

    Stage One Kit Fitted

  • Noobies
  • PipPipPip
  • 83 posts
  • Location: Cambs

Posted 29 September 2016 - 11:40 PM

Great project and good work looking forward to seeing more. Followed.

#75 ryomini

ryomini

    Super Mini Mad

  • Members
  • PipPipPipPipPipPip
  • 583 posts
  • Location: Hiroshima

Posted 01 October 2016 - 02:22 PM

Yep nice work, a pretty big project you have here


2 user(s) are reading this topic

0 members, 2 guests, 0 anonymous users