To Shell And Back
#16

Posted 02 May 2015 - 07:40 AM
#17

Posted 02 May 2015 - 10:16 AM
The device you are using shouldn't really make a difference. Click on the IMG code just once (it will turn yellow and say Copied). If you can't do it like that because of touch screen, press anywhere in the field, and hold it for a second. You should then have an option to Select All and then to Copy. Slightly slower but the same thing.
Then in your replies here, just tap and hold for a second, and click paste. You should get this:
The IMG code is the bottom one of the four on the right of the picture. Hope this helps.
#18

Posted 02 May 2015 - 10:19 AM
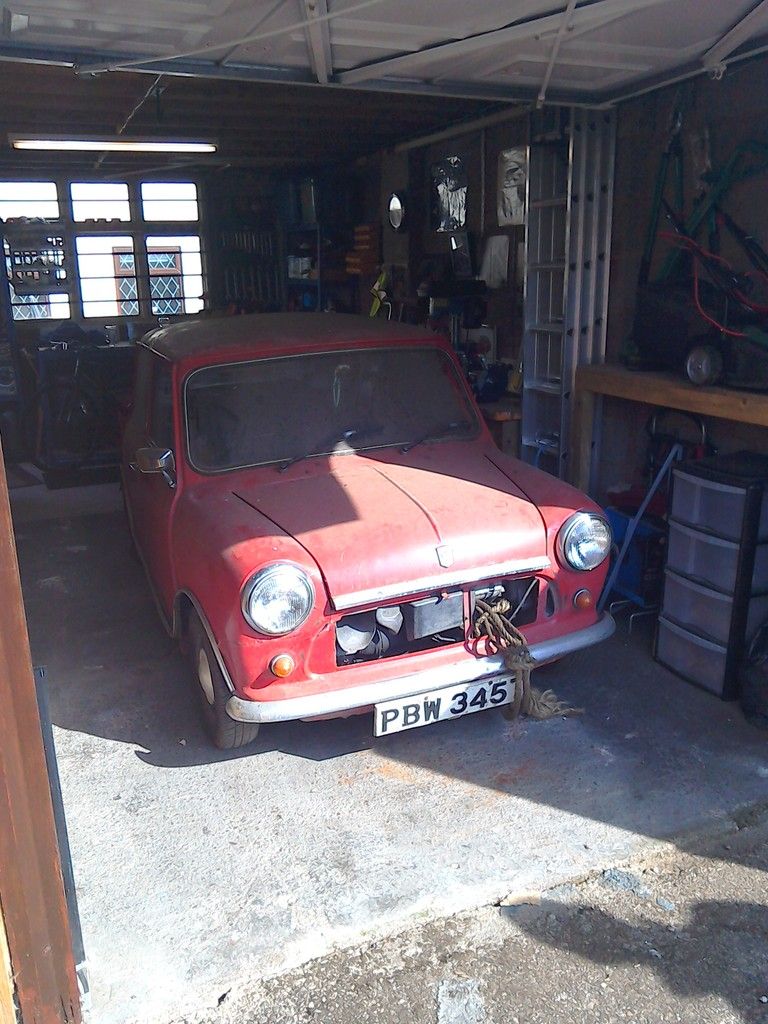
P.S I love cars like this. Plain and simple, nothing too fancy or shiny. A good clean up and put it through the MOT would be y course of action and just use it for the summer before ripping it apart. There is something to be said for a mechanically sound slightly scruffy looking mini, especially compared to all the show winning cars out there. A nice used and loved look.
#19

Posted 02 May 2015 - 11:45 AM
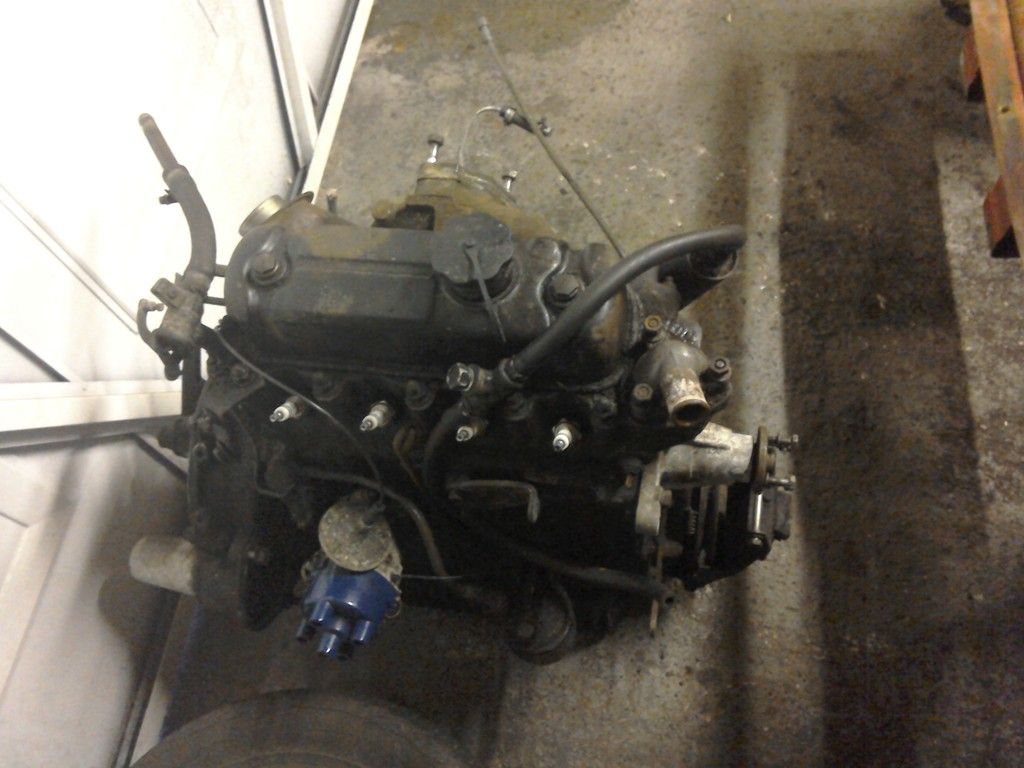
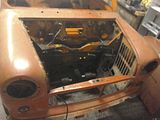
Hmm getting there but why's the one smller
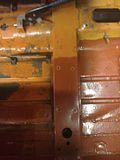
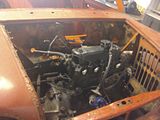
http://s572.photobuc....jpg.html]http:[/url[/url
http://s572.photobuc...75635.jpg.html]
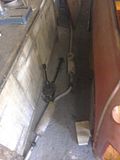
Edited by feybrand, 02 May 2015 - 12:17 PM.
#20

Posted 02 May 2015 - 11:59 AM
Edited by feybrand, 02 May 2015 - 12:14 PM.
#21

Posted 04 May 2015 - 05:21 PM
i gave up and used my old laptop to correct the pictures
its stuck in safe mode but still did the job better than the hudl :)
hope thats better for everyone
#22

Posted 05 May 2015 - 11:34 AM
Looks like a really nice little project nice to see something so original as well. Love the idea to put it back its original colour to its such a nice colour. Good luck with the project.
#23

Posted 05 May 2015 - 08:30 PM
#24

Posted 06 May 2015 - 08:46 AM
looks like a nice project, looking foreward to see it restored ![]()
#25

Posted 07 May 2015 - 05:00 PM
soooo the strip down continues...slowly due to working extra hours to pay for the rebuild lol
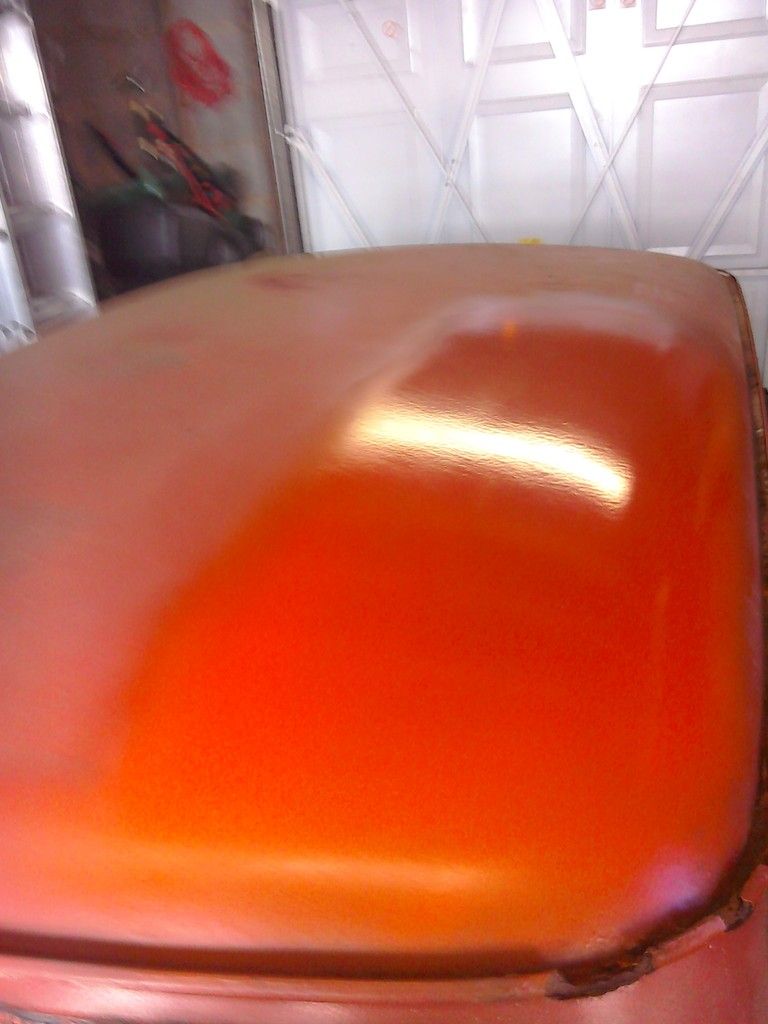
i got a sample of paint to see if i was right about the colour ...its a bit orange peely but it is the right colour so now i know what to order when the time comes ....colours growing on me aswell .
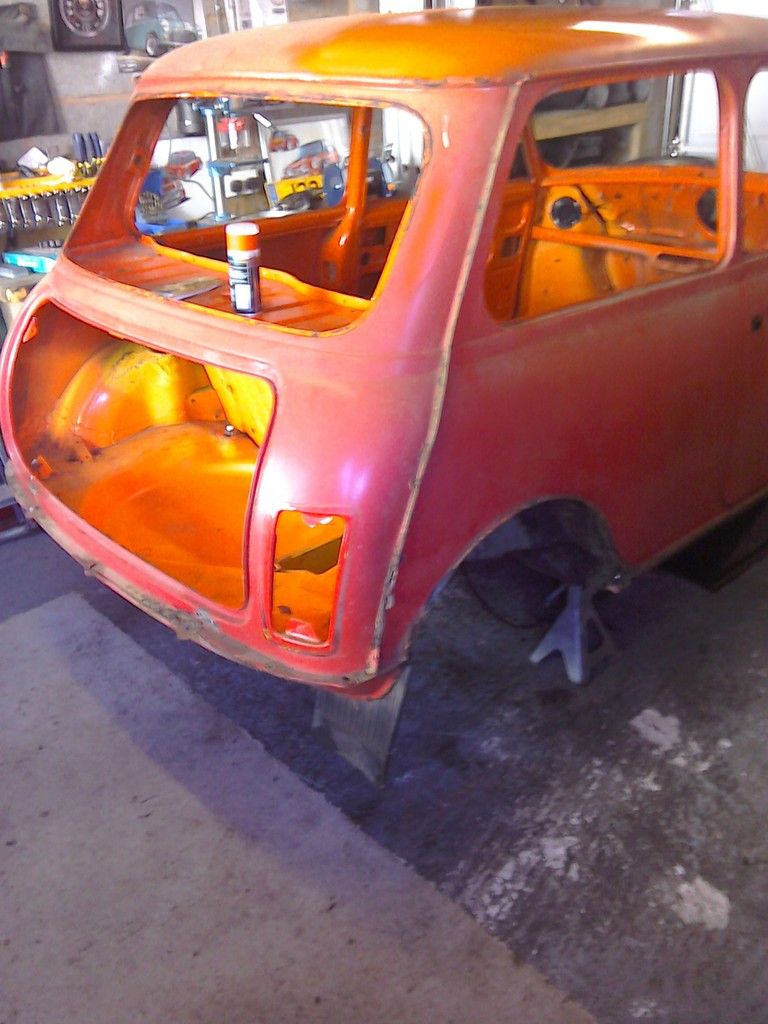
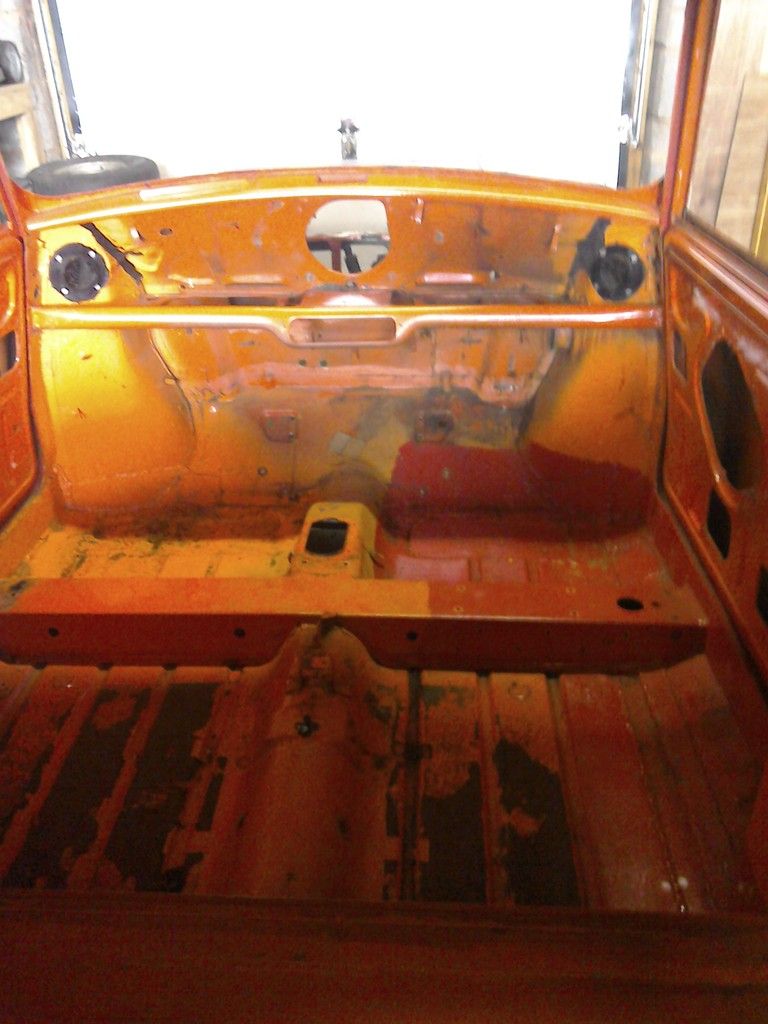
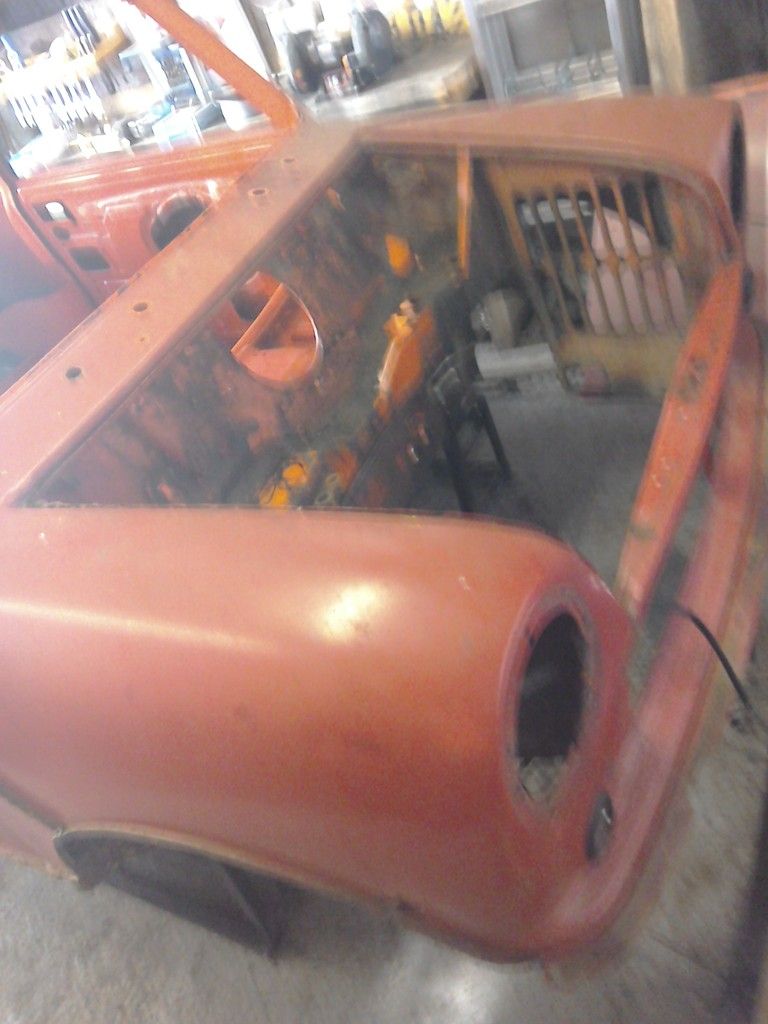
also stripped the car down a bit more
rear sub is off
near enough all the interior now minus the 2 vents that i cant get off
brake pipes in the engine bay and the front sub are also off
and the subframes are awaiting a strip / clean
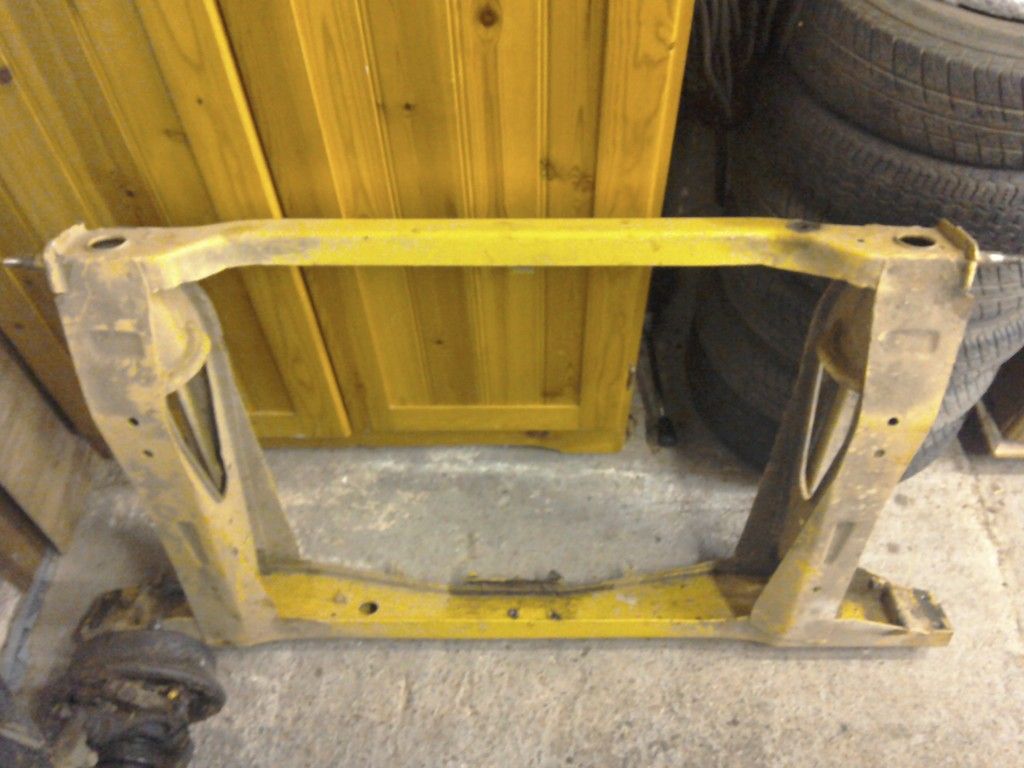
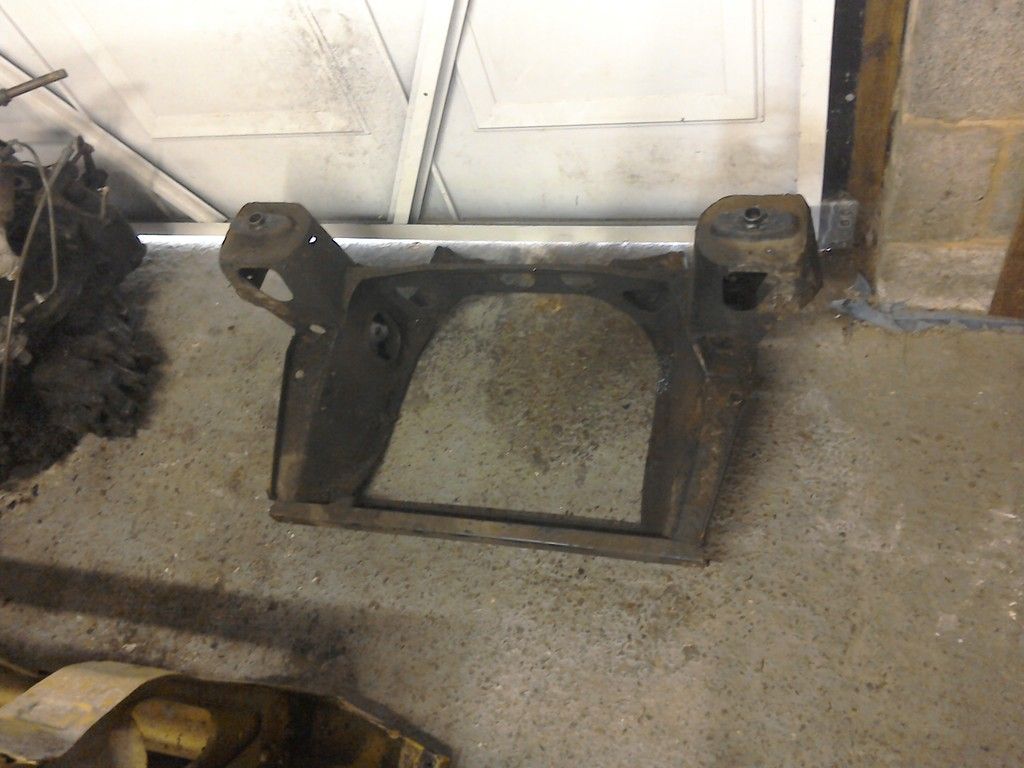
looks like the rear sub is a replacement and is in very good nick ,front subframe has what looks like just surface rust under where the radiator would be but i wont know for sure untill the years of muck is cleaned off,all in all though they look ok which im very pleased about
more soon :)
#26

Posted 10 May 2015 - 07:26 PM
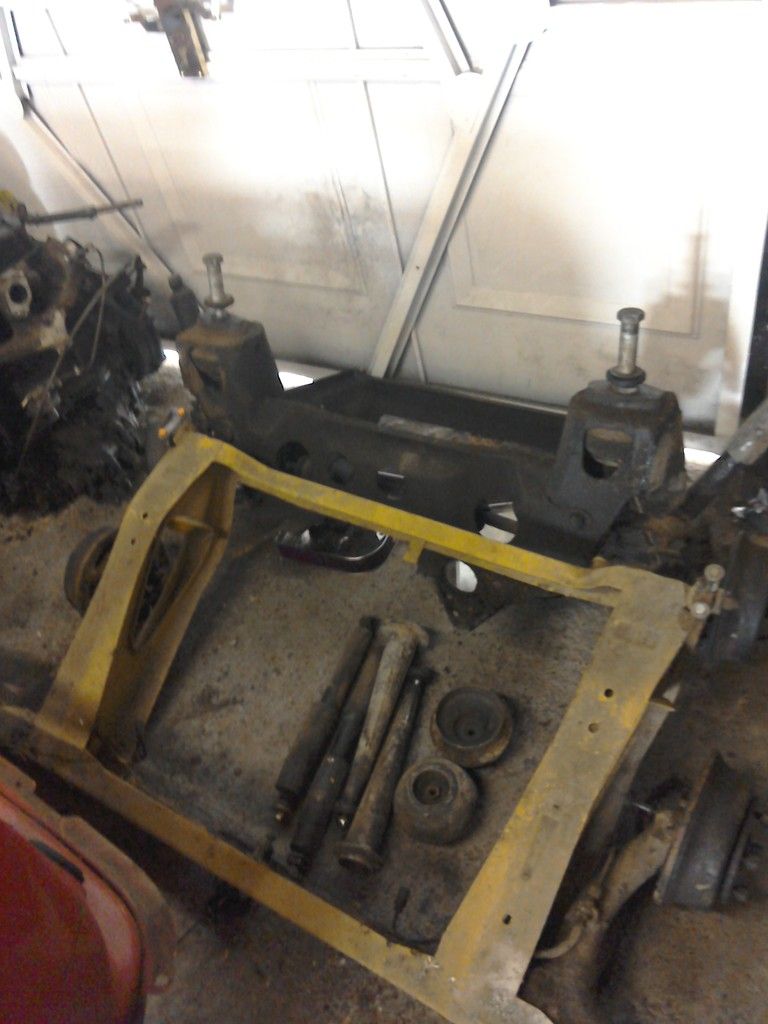
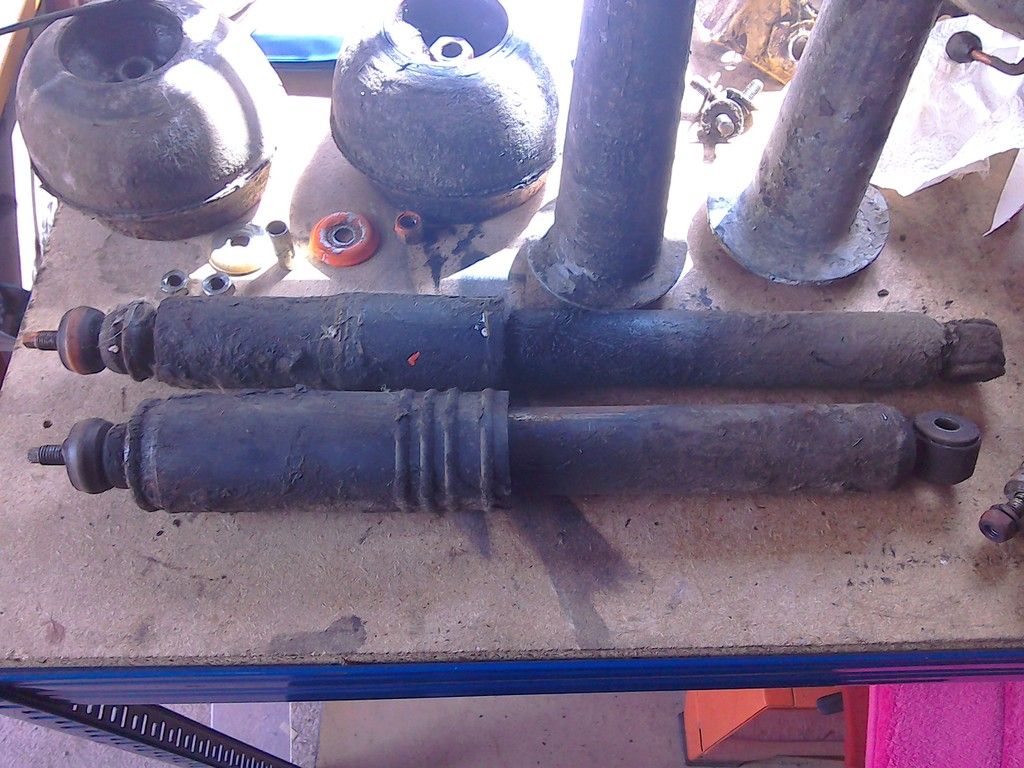
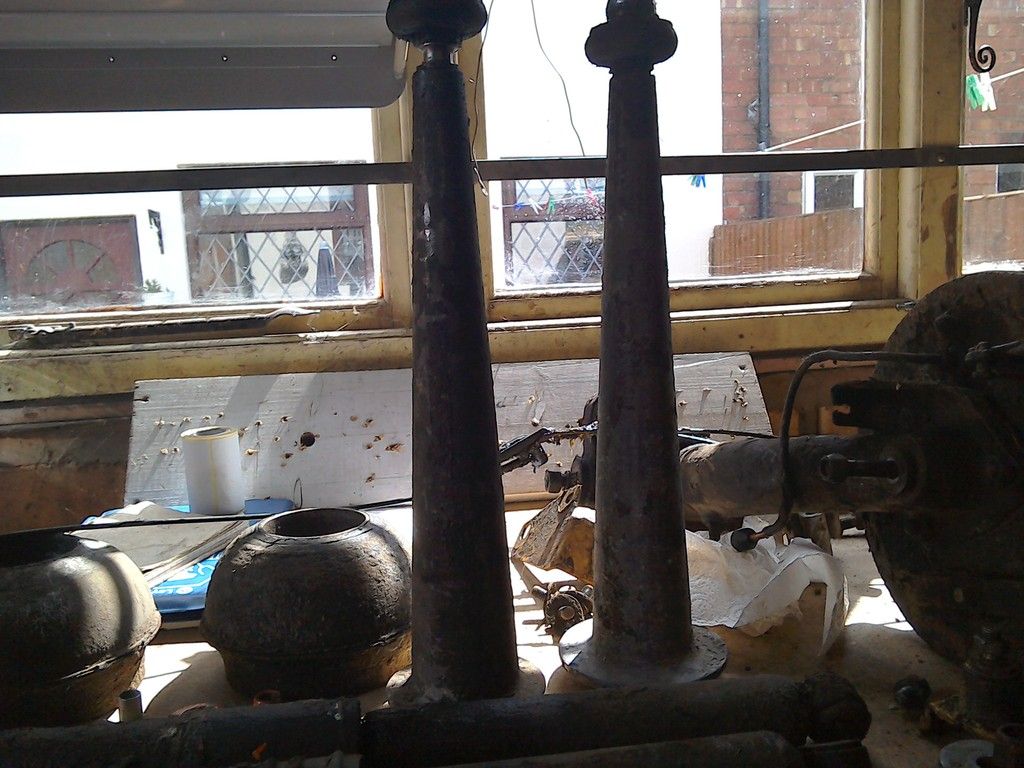
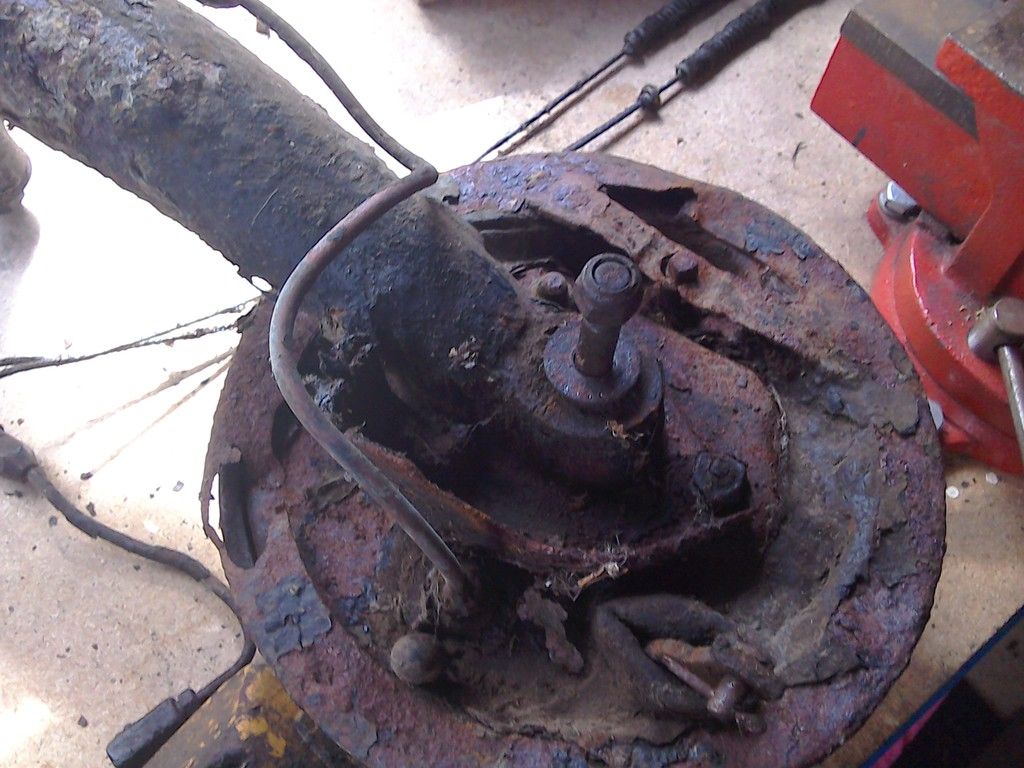
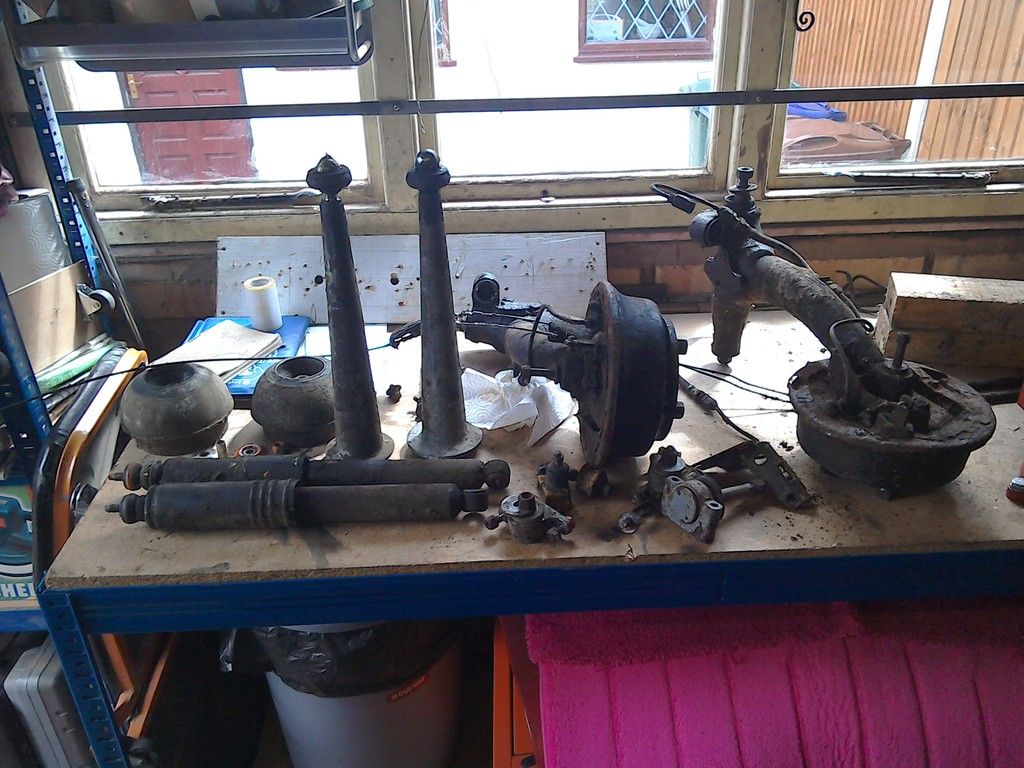
soooo saturdays labour
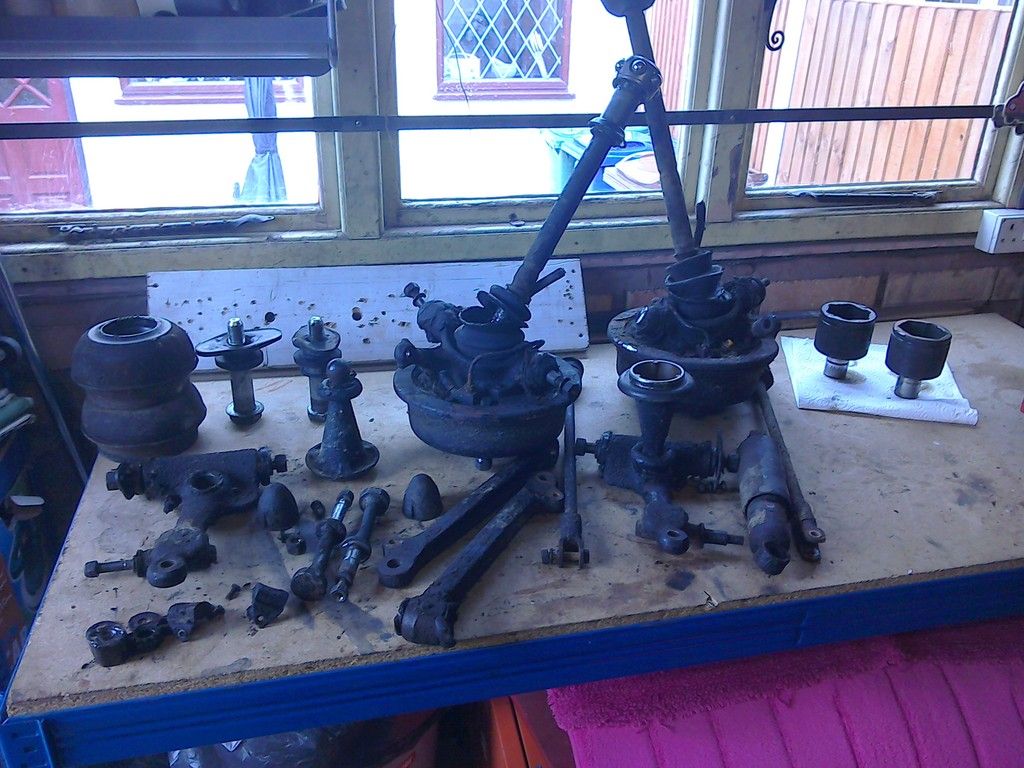
rear sub fully stripped...came apart nice and easy aswell
the car sat wonky now i know why ....odd dampers
and odd trumpets
3 out of 4 backplates are past it
rear sub parts awaiting a strip and clean ready to be stored
front subframe stripped...compared to the back sub this one was a pick nearly everything was ceased on or broke off
lots of grotty bits
#27

Posted 10 May 2015 - 07:29 PM
mini show today and i bought my first bits for the car
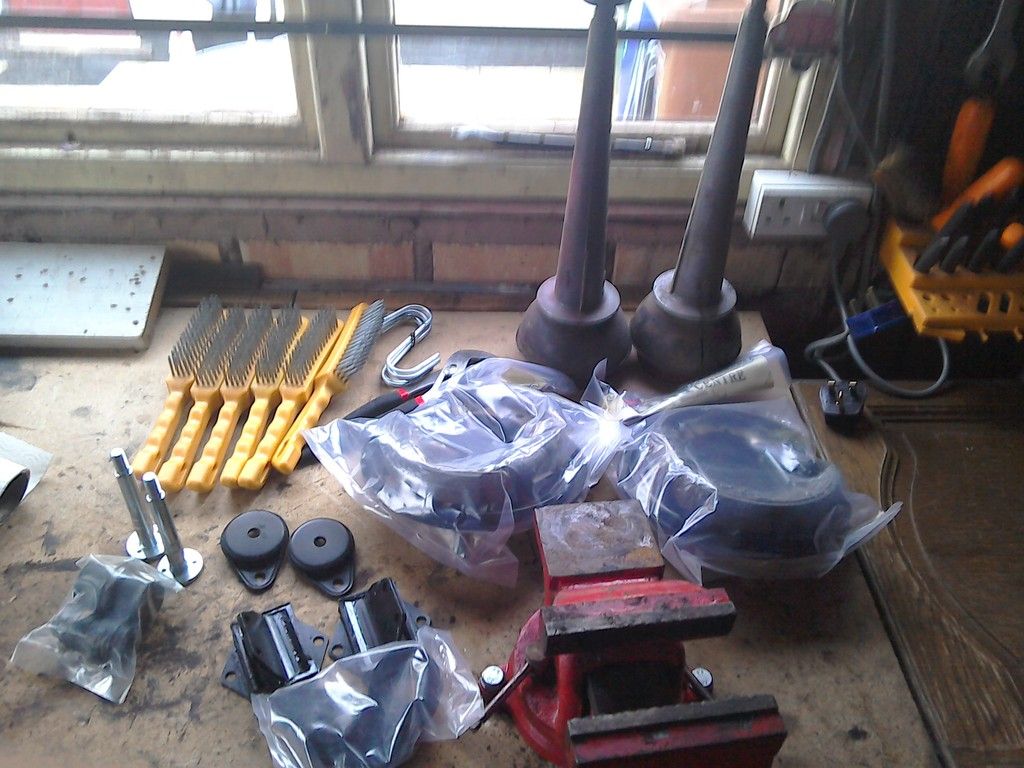
bought all the rubbers for the subs so that i can mount themn when im fitting panels to make sure everything lines up right
a matching set of rear trumpets off one of the jumble stalls
also lots of wire brushes i think im going to need them
and finally replacement back plates for the rear brakes ...wasnt going to get them yet but they were a bargain so i couldnt resist :)
Edited by feybrand, 10 May 2015 - 07:30 PM.
#28

Posted 10 May 2015 - 10:11 PM
Keep up the great work, some of those old parts looked rather nasty.
Not having a go but maybe some camera adjustments or practice?
#29

Posted 17 May 2015 - 05:18 PM
ok so bit more progress this weekend
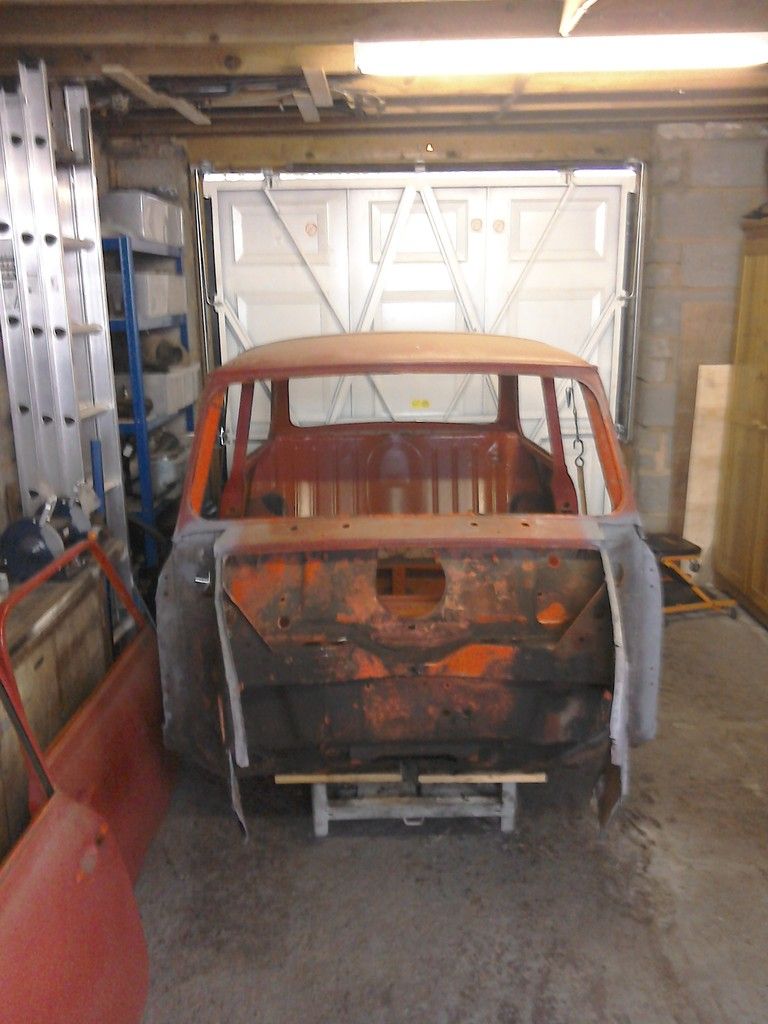
the shell is now stripped of every single nut bolt and grommet,ive took the front panel and the wings off and also had a poke around under some of the sealer to see what bodges were hidden
pic of the missing wings...i got 2 black bags of seam sealer out of the front 2 arches,it was everywhere and hid a lot of rust
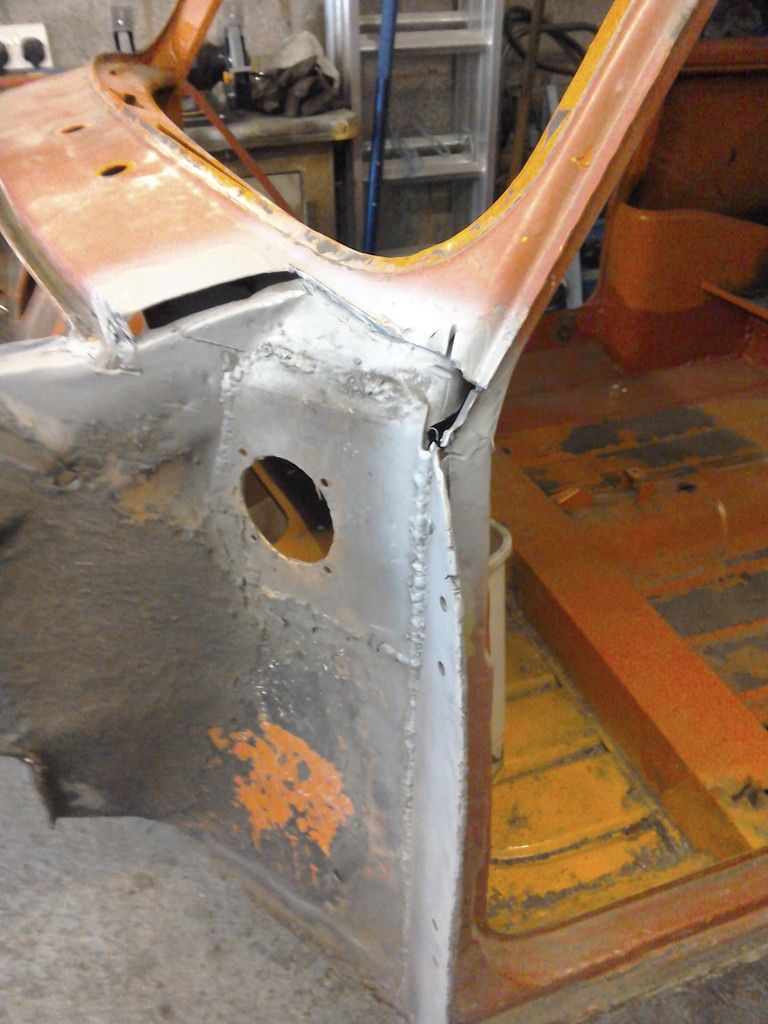
close up of an inner wing as you can see theres been a lot of repairs in the past as you would expect ....bit to much weld on them aswell shame i didnt weigh the car when i started.bottom of the inner wings is shot aswell.
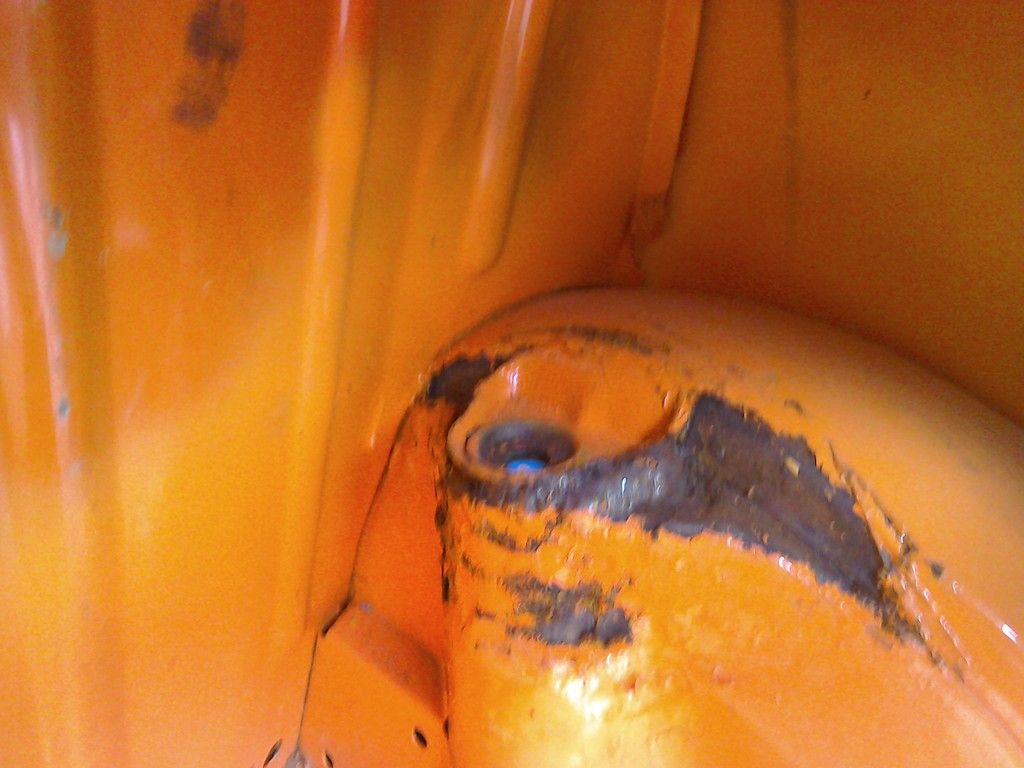
damper mounts hid holes as they usually do.
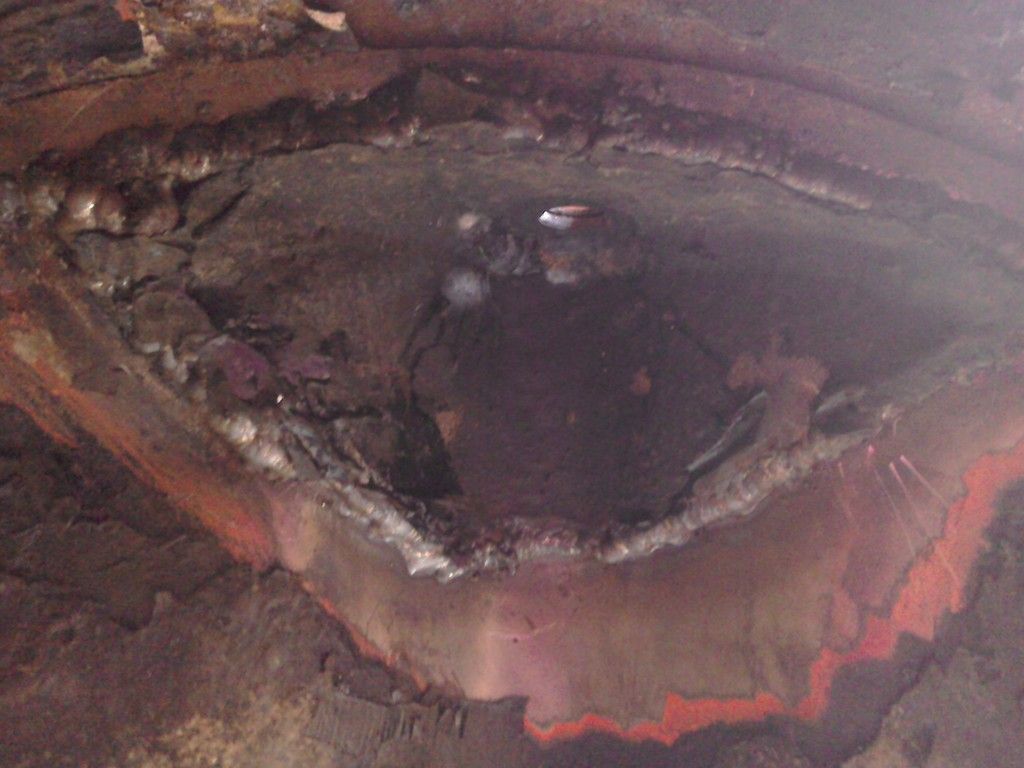
past repairs to the damper mounts in the rear arches ...again lots of weld,its not the clearest picture but the weld is nearly an inch deep.
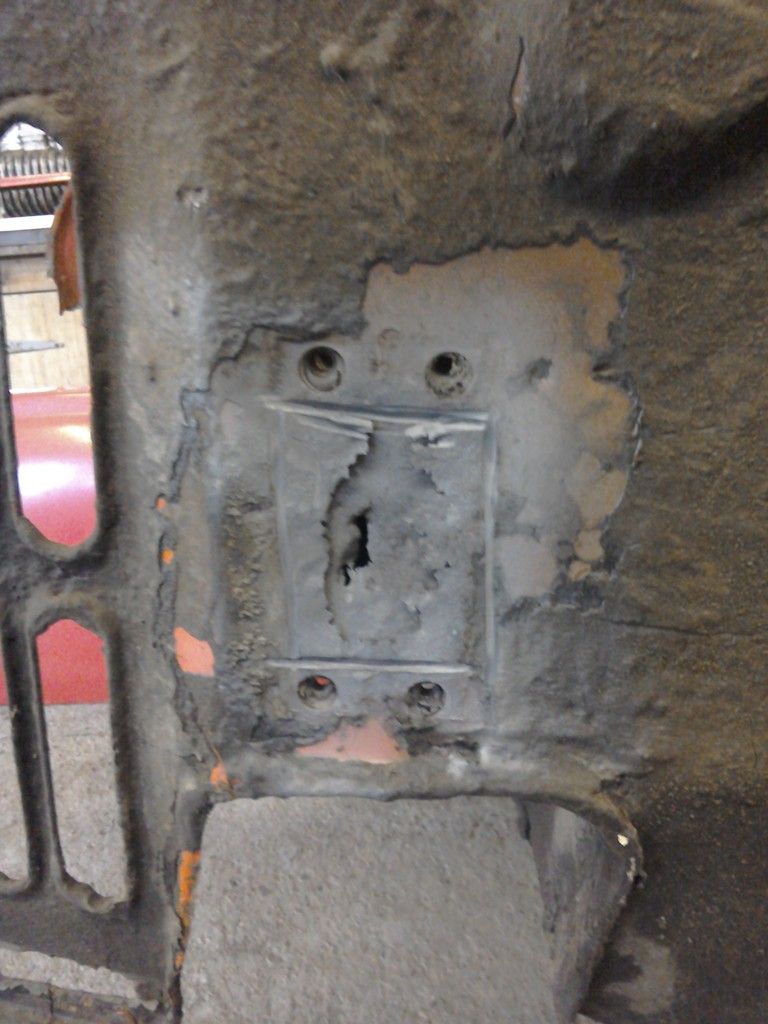
underside of the rear arch has a hefty patch on it ...all the plating on the rear arches and the front inner wings seems to be with a much thicker gauge metal ..... obviosly they werent worried about weight lol.
and thats all this weeks progress ... not much more i can do untill i get the box section to make a spit and then itl be the lovely job of scraping all the muck off the underside to see what delights are hidden underneath
#30

Posted 05 June 2015 - 08:45 PM
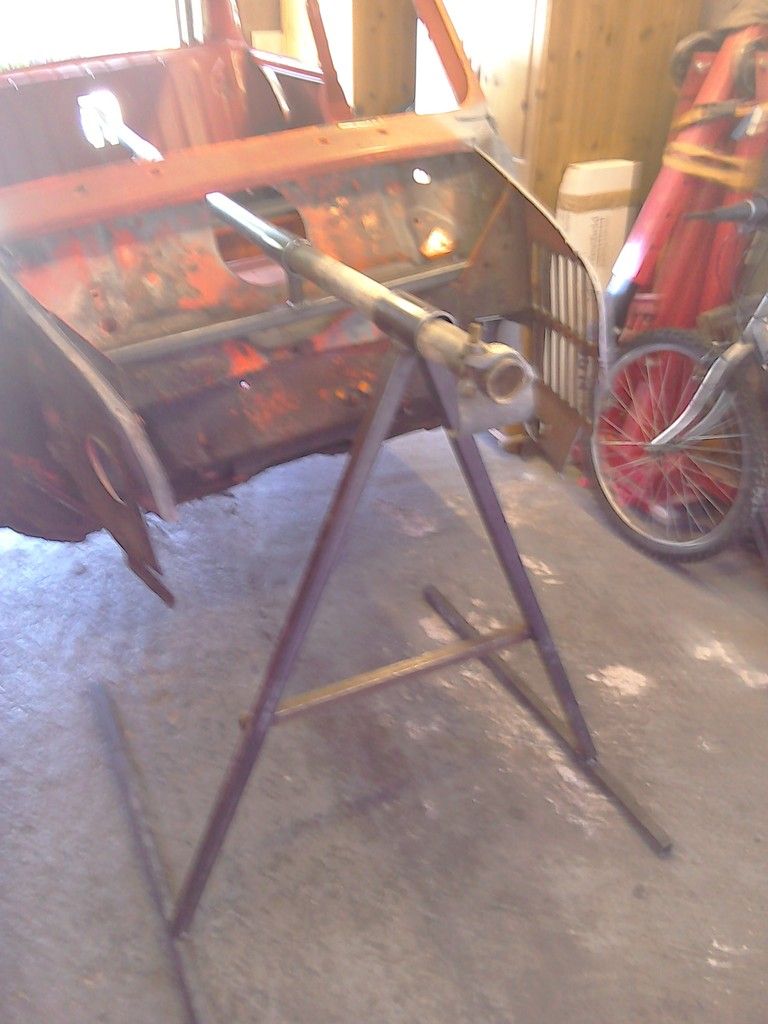
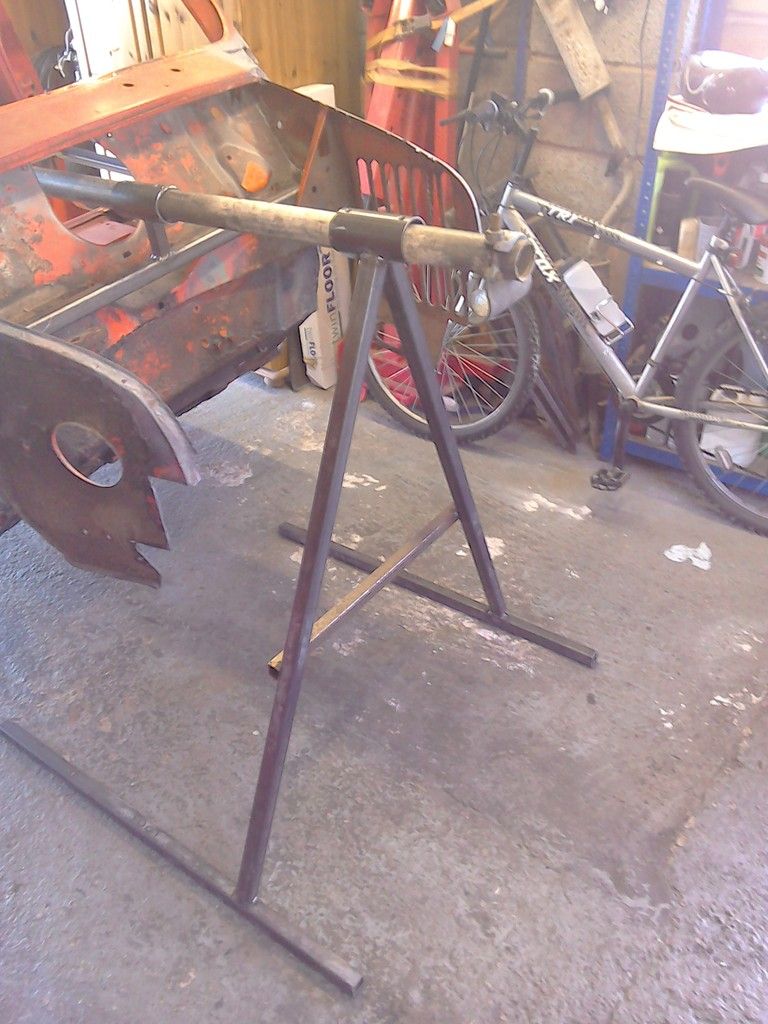
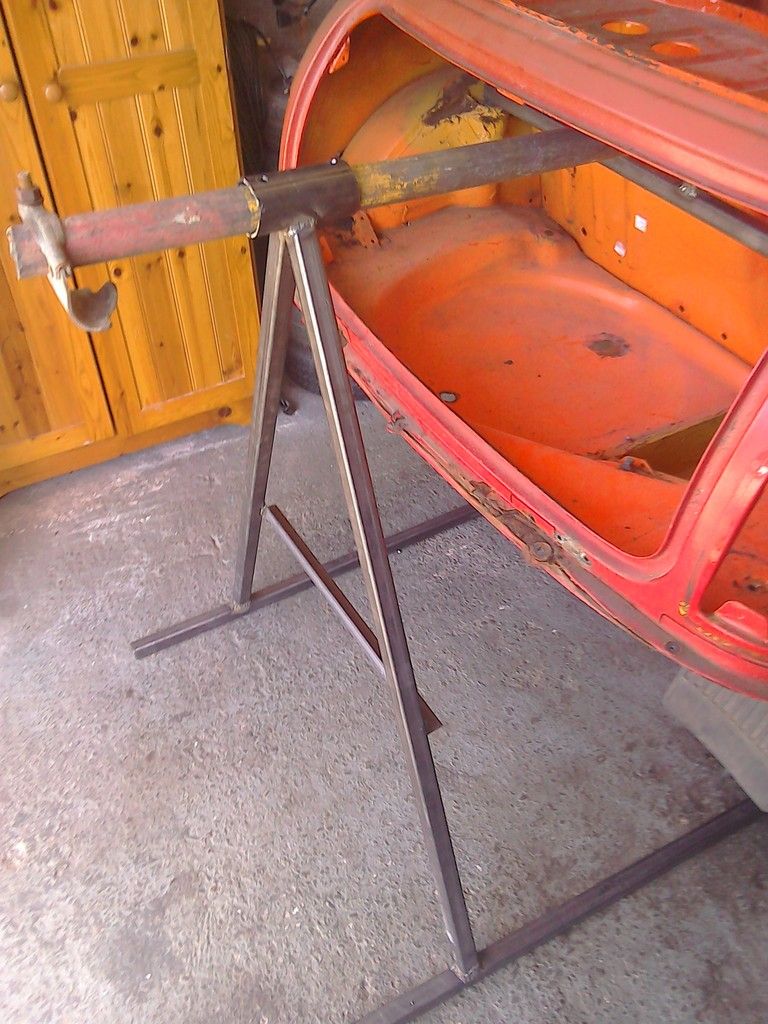
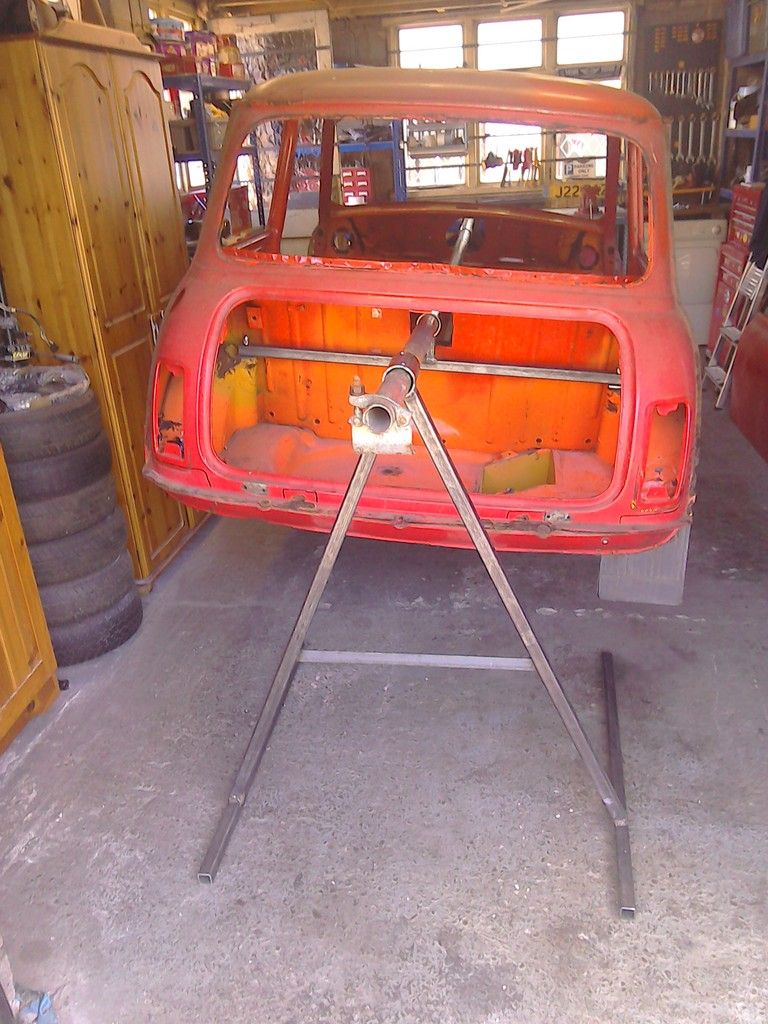
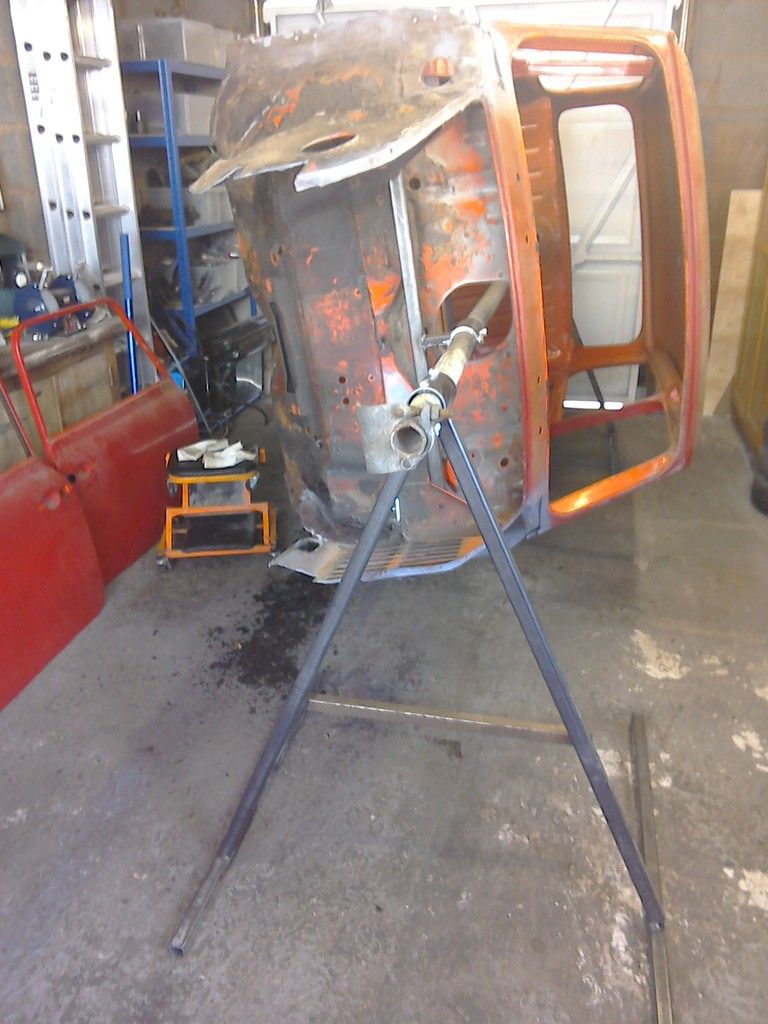
not posted in a while mostly because ive been putting off the next bit which was building a spit but ive had a few days off work and finally got it done.
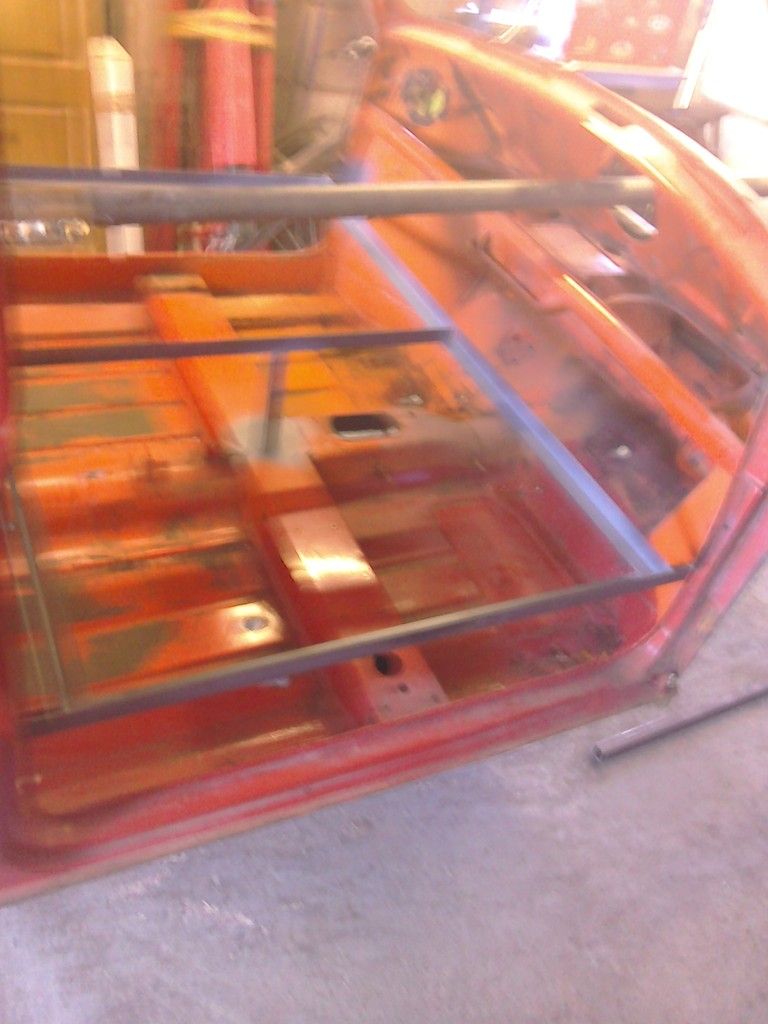
non of it is particularly neat or even square lol but its sturdy and will do the job ...i had one before from mk2mania so i just built it kind of similar but added a few things like longer feet and bolts that go all the way through the scaffold pole to lock the mini in place rather than a nut welded on top of the A frame and the bolt holding the scaffold pole in place by being over tightened which i found after a while scored a groove into the pole and didnt hold the mini still anymore.
started stripping the muck off the underside to discover at least 2 oversills per side so that could be interesting when i take them off to see how many sills are underneath :) then i got bored and did some work round the house so thats all my progress to date
3 user(s) are reading this topic
0 members, 3 guests, 0 anonymous users


