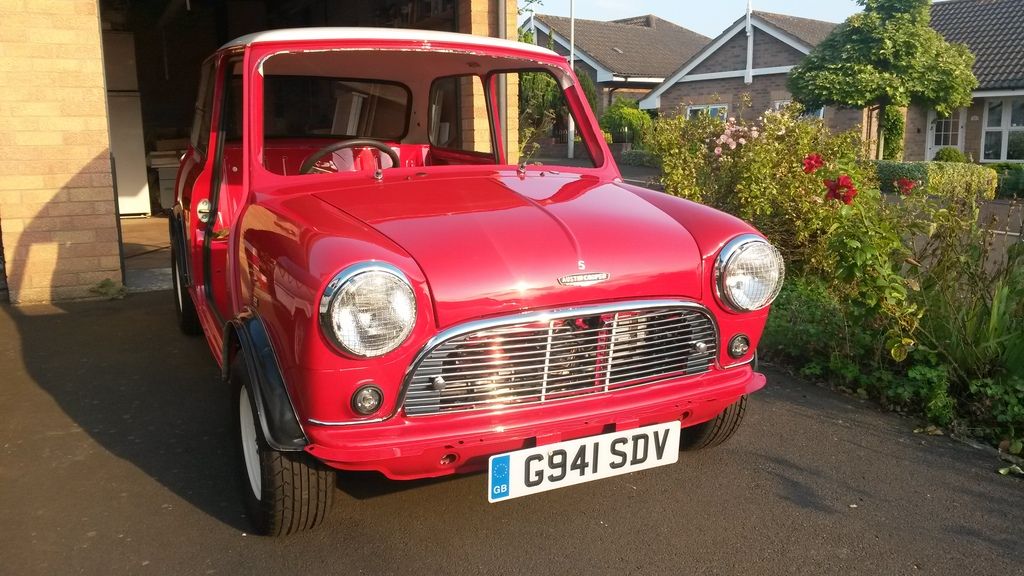
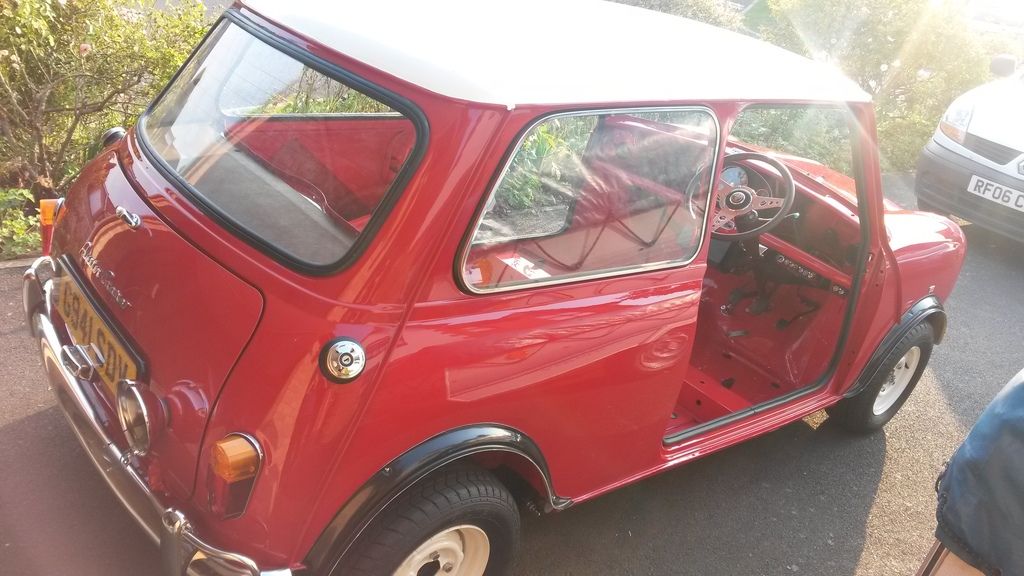
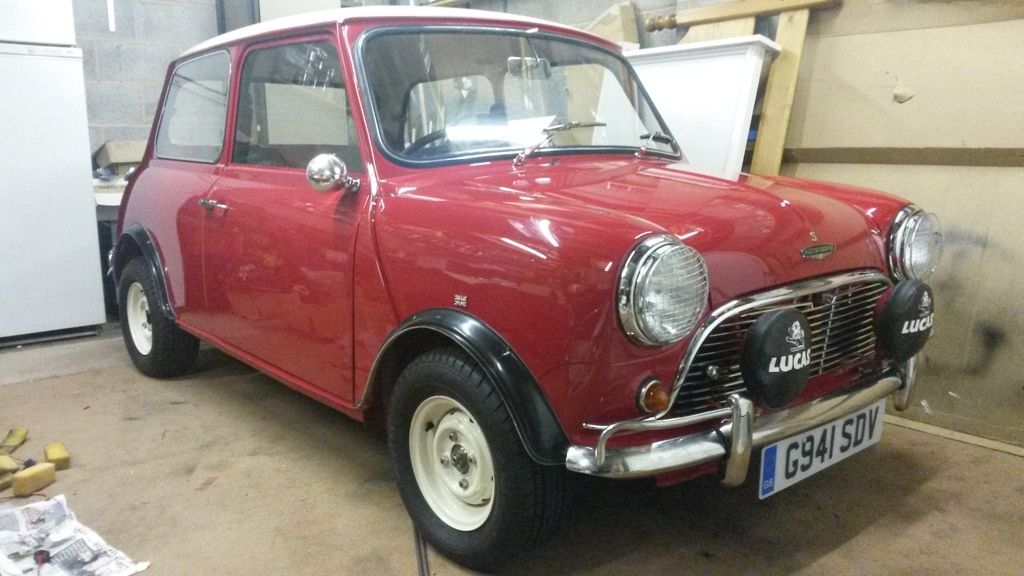
'89 Mini City To 'mk1 Cooper S'
#106

Posted 23 July 2015 - 12:34 PM
John
#107

Posted 09 August 2015 - 03:21 PM
I haven't had much chance to post recently as the deadline for my finishing the car is one or absolute max, two weeks away.
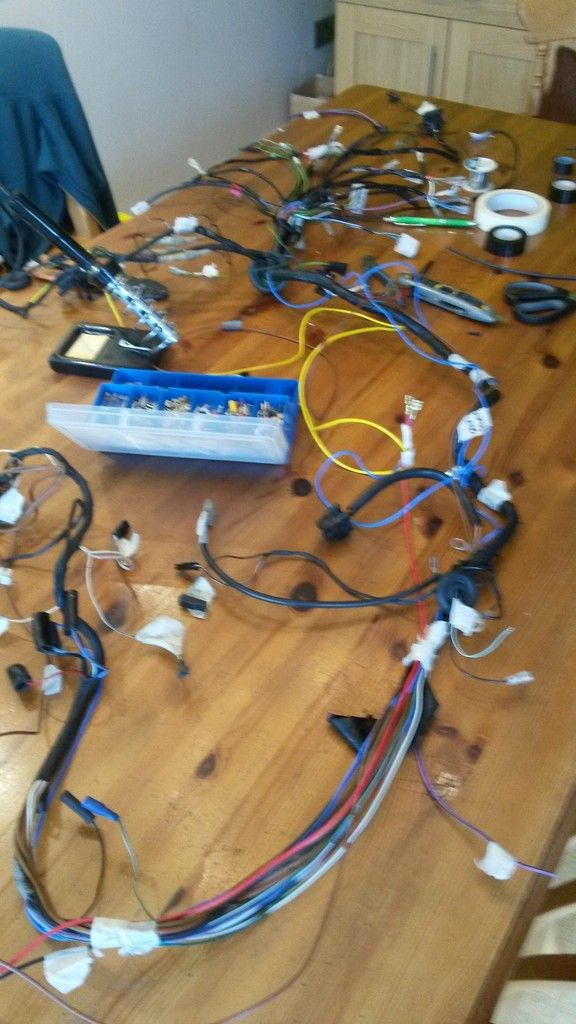
Most of the work has been with a soldering iron as I convert the loom to toggle switches, add wiring for spotlights and charging sockets.
My son and I bolted the exhaust on - definitely a two man job and a real fiddle getting the manifold clamp on!
Thanks to advice form forum members I think I have most of the wiring sorted - just need to put in an order to VWP to finish it.
I bought an extra fusebox from VWP that is identical to the original one which I was very pleased about.
I had a thin inset welded into the dash for the mk1 switch panel and had the spotlamps painted red at the same time - still waiting for the re-designed brackets for them - 'next week' is the current estimate.
The dining table has been requisitioned for loom adjustments as the wind is making it difficult to solder in the garage - British summers!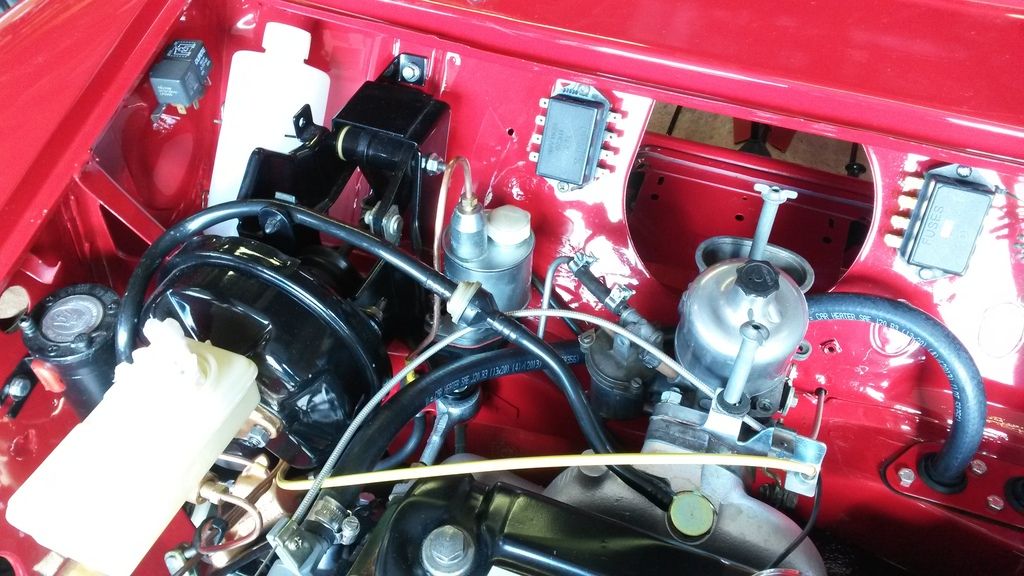
John
#108

Posted 09 August 2015 - 08:10 PM
#109

Posted 10 August 2015 - 06:23 PM
Today I worked on the doors - one of the windows wouldn't shut properly - it was going up unevenly when wound up. I ended up having to take one of the channels off the window, removing the rubber channel and replacing it with body caulking so that it sits lower in the channel evening up the window.
I don't know if it was like that before we took it apart - presumably it was which may have explained some of the rust on the floor!
I've ordered some window sealant, bolts for the external door handles and wires and connectors.
I had to cut 50mm off the outer of my Mk1 choke cable as the inner wouldn't reach the choke arm - it's fine now - another example of how nearly everything needs changing or fettling to some extent!
I fitted my Downton style mirror to the drivers door - I drilled through where there is a slot on the inner skin at the top of the door and slipped a washer in there, followed by an spring washer and the nut, having cut the bolt down to just long enough.
What a fiddle though - it took two of us with lamps and tweezers to get the fixings in place! I'm pleased with the look, even if I won't be able to see much out of it!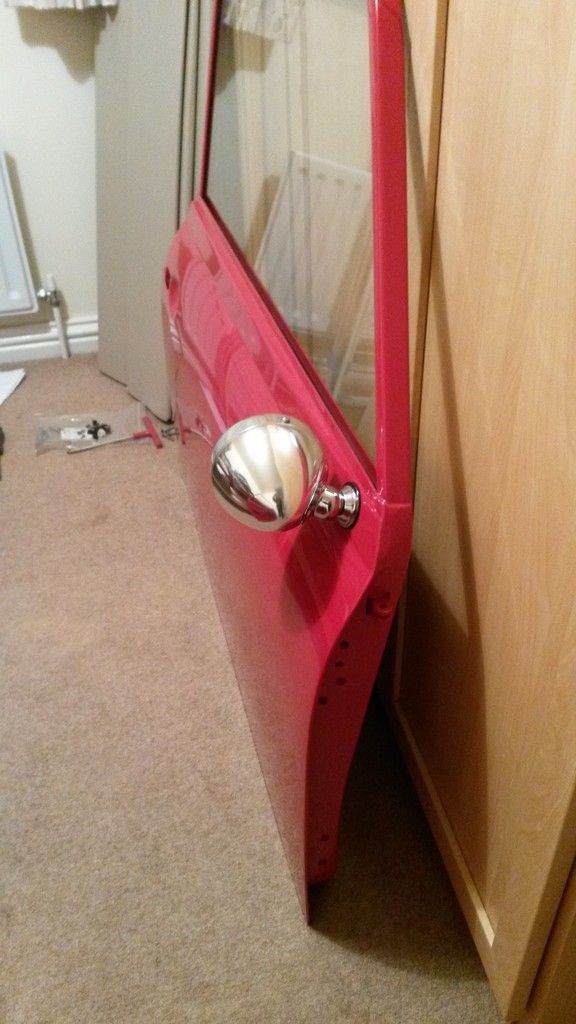
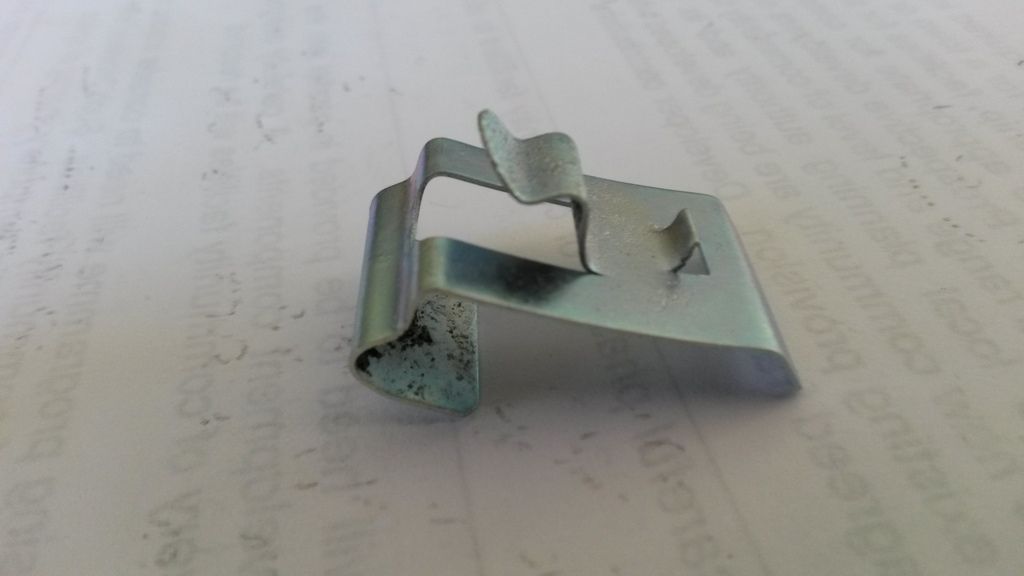
Can anyone tell me what these clips are for - I've got about 10 of them?
John
Edited by johnR, 01 November 2015 - 09:43 AM.
#110

Posted 11 August 2015 - 08:18 PM
Wiring loom all but finished so I'm spraying the bulkhead plate before I re-fit it, together with all the switch brackets.
Today I also finished wiring in the rear numberplate light and reversing spotlight.
Can anyone help me with identifying this clip? - hoping it shows this time!!
#111

Posted 11 August 2015 - 08:18 PM
Yaay!!
#112

Posted 11 August 2015 - 09:06 PM
Is it the clip to hold the heater cable to the valve?
Andy.
#113

Posted 12 August 2015 - 02:55 PM
#114

Posted 13 August 2015 - 10:09 PM
Can anyone help with the purpose of the brackets in the picture above?
#115

Posted 16 August 2015 - 08:49 PM
After much procrastination we finally had a go at re-fitting the rear window on the basis that, being smaller it would be easier than the front one. It went quite well - I had some soapy water to hand and I smoothed over the roughness of the glue and roofllining with windscreen sealer. After fitting the rubber seal to the flange we pushed the window in on one side and then began easing it in with my trusty big screwdriver to ease the lip of the rubber out. We found that having someone inside to push the seal out slightly as you go made it easier to get the lip over.
We couldn't finish the job as I'm still waiting for a fillet tool to arrive - Monday hopefully.
On Saturday I had a go at the wiring - and fried the wires to the reversing light - something earthing where it shouldn't still haven't found it yet.
On sunday I had more luck and successfully wired up the lights, wipers, indicators and hazards (I did away with the original two relay system in favour of a single one and a double pole toggle switch for the hazards.
I discovered that the steering column needed earthing for the horn to work and that is now done.
I need to scrape paint off the column outer for the indicator stalk light to work and track down that short but otherwise the wiring is nearly there.
I also cut out some discs to cover the air vent holes so all in all a good day.
#116

Posted 17 August 2015 - 09:44 PM
Today we fitted the opening rear side windows, sorted the column outer earth issue so the stalk light works and finished off the other electrical bits except running a new wire to the reversing light because I didn't have a long enough piece.
Also re-fitted the heater. I was annoyed with MiniSport for again not sending my order out on Friday - they've promised to get it out today but it's been nearly a week!
I've ordered a new windscreen rubber so hopefully that will come tomorrow.
Finally we re-fitted the bonnet - I had to cut slots in the body of the spring loaded hook that stops the bonnet opening because the hook wasn't locating under the radiator grille rail.
Good progress again - helped by a sunny day!
I'll have to put up with the original registration number for now because I don't think I'll have time to get a '60s number before we go away in it.
JohnR
#117

Posted 19 August 2015 - 08:51 PM
Work intruded into my Minitime today but I was able to pick up my modified spotlamp brackets and some screws for the rear quarterlights.
I've fitted the windows and the brackets and trial fitted the spotlamps - I'm very pleased with them. I'll wire them in tomorrow.
I also fired the engine up for the first time - it seems to run fine.
JohnR
Edited by johnR, 13 June 2017 - 09:06 AM.
#118

Posted 20 August 2015 - 07:06 AM
Really coming together nicely now.
#119

Posted 20 August 2015 - 07:53 AM
Looking really nice. Great work.
#120

Posted 20 August 2015 - 10:00 PM
Had a good day today - started by finishing my air vent hole covers, then tried to track down the reason the indictors on one side flashed faster than the other but the hazards flashed normally on the same flasher unit. After testing all the wires it turned out to be one of the bulbs - although it was working fine - when I took it out and put it back the problem was cured!
I then filled the car with coolant and started it up to find I hadn't tightened up one of the jubilees in the heater pipe above the heater. I dropped the heater and fixed the leak - glad I tried it before fitting the carpets1
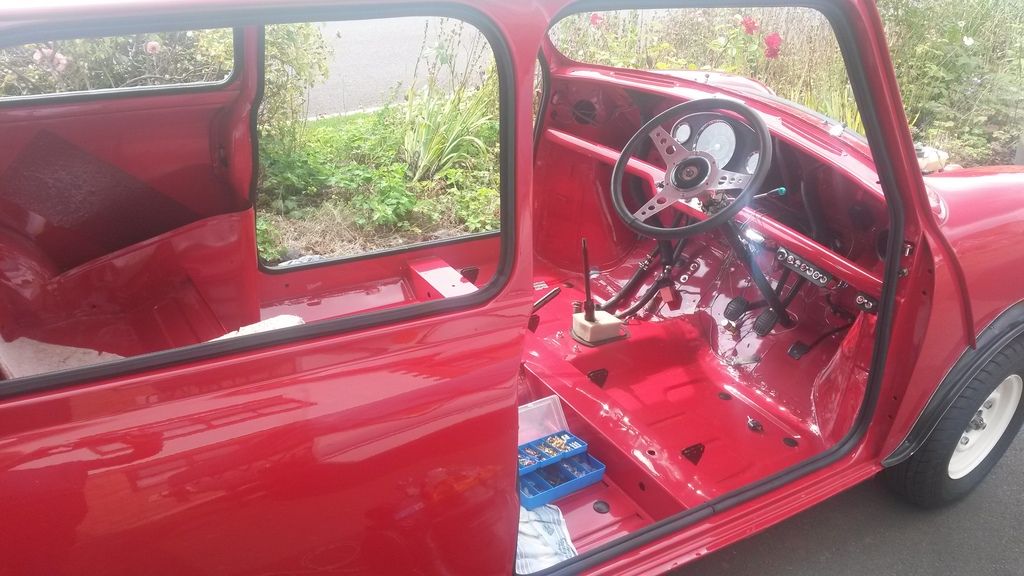
Then my son and I glued and fitted the carpet underlay, rear carpet, rear seat, seatbelts (bit of head scratching there to work out where the belts mounted) and then we made some templates for the front wheelarch carpet as it needs cutting 'round the fresh air vent and my charging socket on the passenger side.
There's a bit more to do on the carpets but they're nearly finished so we concentrated on getting the car ready for it's MOT tomorrow.
We fitted the spotlights after copper riveting the mounting bolt keepers to the shells. I hadn't checked the bulbs and one didn't work at all and the other gave a feeble light
so there's a bit more to do there after the weekend.
Finally we fitted the seats and then the drivers door - I'll do the passenger one tomorrow before I run it up to the testers - I've also got to sort out why the inside door opening levers don't work which is a bit of a mystery.
1 user(s) are reading this topic
0 members, 1 guests, 0 anonymous users


