Jump to content


Photo
- - - - -

'89 Mini City To 'mk1 Cooper S'


  • Please log in to reply
616 replies to this topic

#91 johnR

johnR

    Up Into Fourth

  • Members
  • PipPipPipPipPipPipPipPipPip
  • 2,289 posts
  • Location: Dorset

Posted 14 July 2015 - 05:24 PM

Made some progress and had a setback.
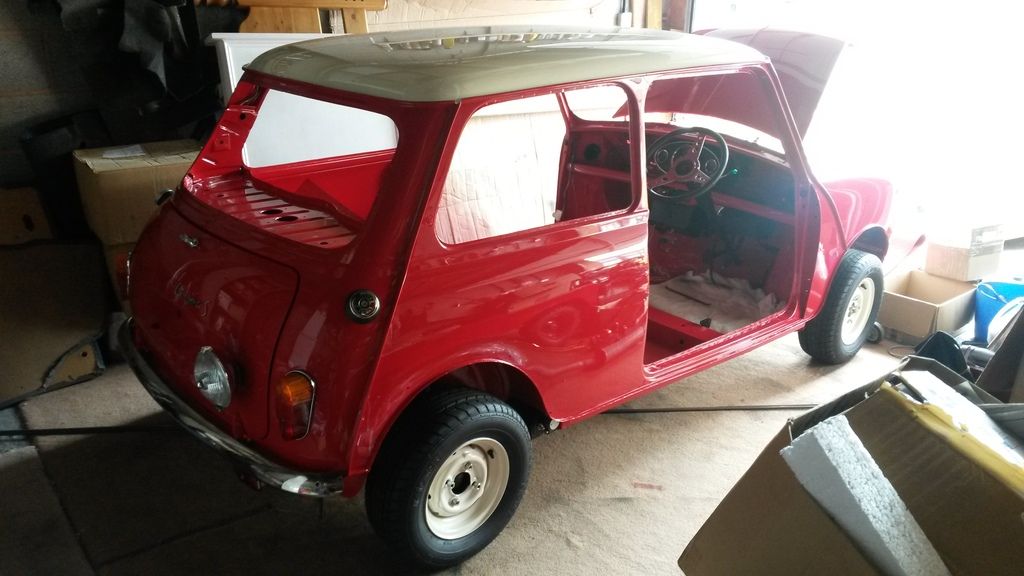
I fitted the boot with some concerns about it being quite hard to close fully with the new seal - think it'll be Ok though.
When I tried to open it again I found that the lid fouled the bumper overriders!
I'd made up the bumpers while the car was being welded and positioned the overriders where they seemed to fit best on the curves of the bumper not realising that they needed to be about half an inch further out to miss the bootlid!
I'll have to get another bumper and re-fix the overrriders on it (so if anyone wants a new stainless non original bumper pre drilled for FRONT overriders let me know!
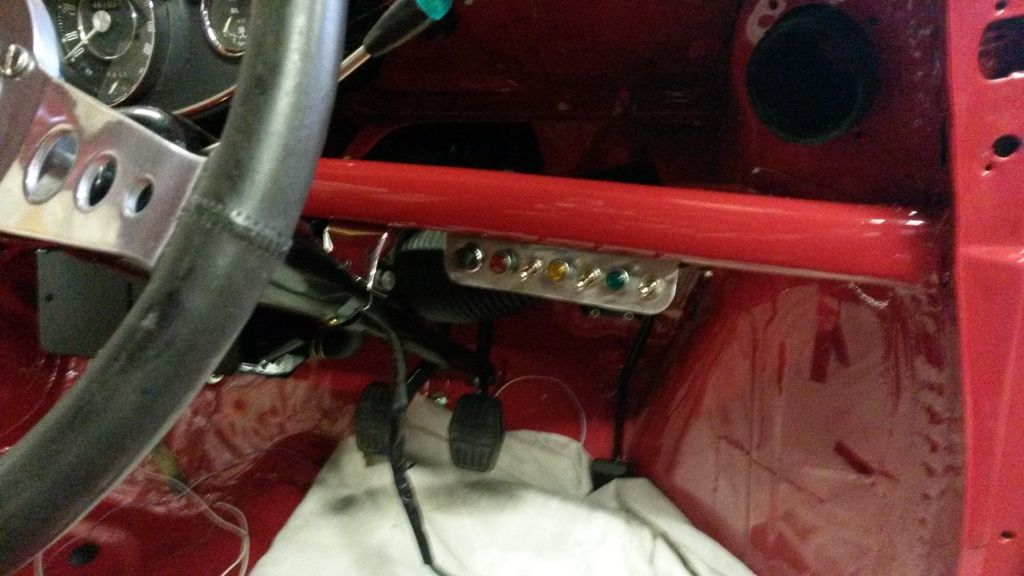
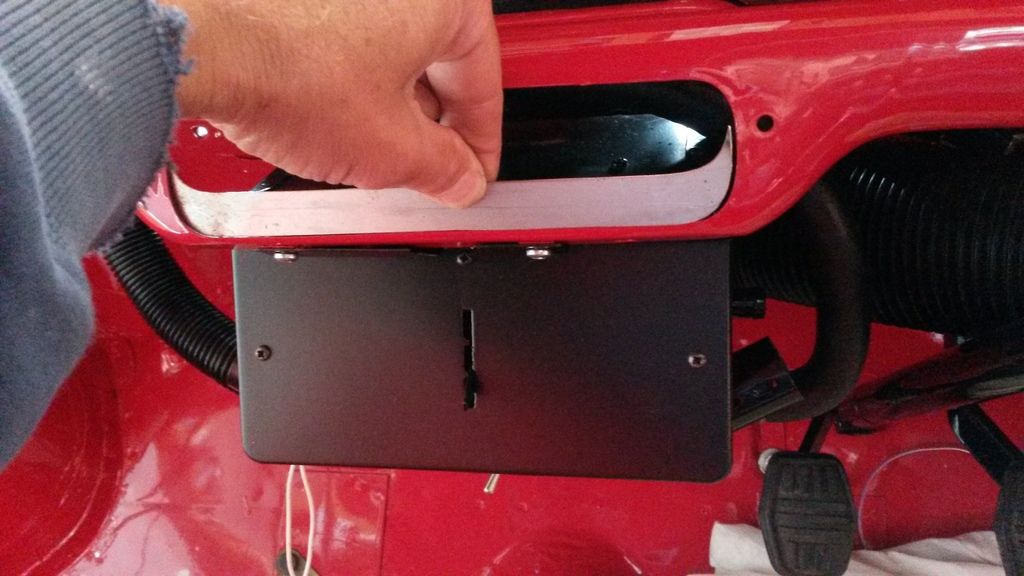
Today I cut out a filler strip to weld into the lower dash rail to be able to use the Mk1 centre switch panel - wish I'd realised I needed to do that before it was painted but you live and learn!
Also made the main aux. switch panel for starter button,spots,hazards and heated rear window.
Conveniently there are two holes in the lower dash rail perfectly placed to mount this!
Now I need to make more brackets for 12v sockets, washer and rear fog.
I've got my lovely 7" spots and ordered the brackets for them. I'm going to collect some reasonably priced Lucas Lion covers for the spots from Bristol tomorrow.
%5BIMG%
021_zpsakxrnphw.jpg[/URL


Edited by johnR, 01 November 2015 - 09:45 AM.


#92 mk1leg

mk1leg

    Crazy About Mini's

  • Members
  • PipPipPipPipPipPipPipPipPipPip
  • 9,343 posts
  • Location: Jersey
  • Local Club: Mini Club Jersey, MCR

Posted 14 July 2015 - 09:25 PM

wow thats looking good....keep up the good work..... :highfive:


#93 johnR

johnR

    Up Into Fourth

  • Members
  • PipPipPipPipPipPipPipPipPip
  • 2,289 posts
  • Location: Dorset

Posted 14 July 2015 - 09:35 PM

Another attempt to post the pictures!

022_zpsplpxmnqj.jpg

020_zpscqmjl4kl.jpg


Edited by johnR, 14 July 2015 - 09:35 PM.


#94 jagman.2003

jagman.2003

    One Carb Or Two?

  • Members
  • PipPipPipPipPipPipPip
  • 1,307 posts
  • Location: In the shed.
  • Local Club: Owner of my own club of Minis

Posted 15 July 2015 - 06:39 AM

Great work, nice attention to detail.


#95 johnR

johnR

    Up Into Fourth

  • Members
  • PipPipPipPipPipPipPipPipPip
  • 2,289 posts
  • Location: Dorset

Posted 18 July 2015 - 07:39 PM

The Minispares spotlamp brackets arrived - the hole is too small for the mounting bolts on my lamps and there's not enough metal to open them out to the right size.
I'm going to have a 40mm disc with a 25mm 'tail' welded to the existing brackets.
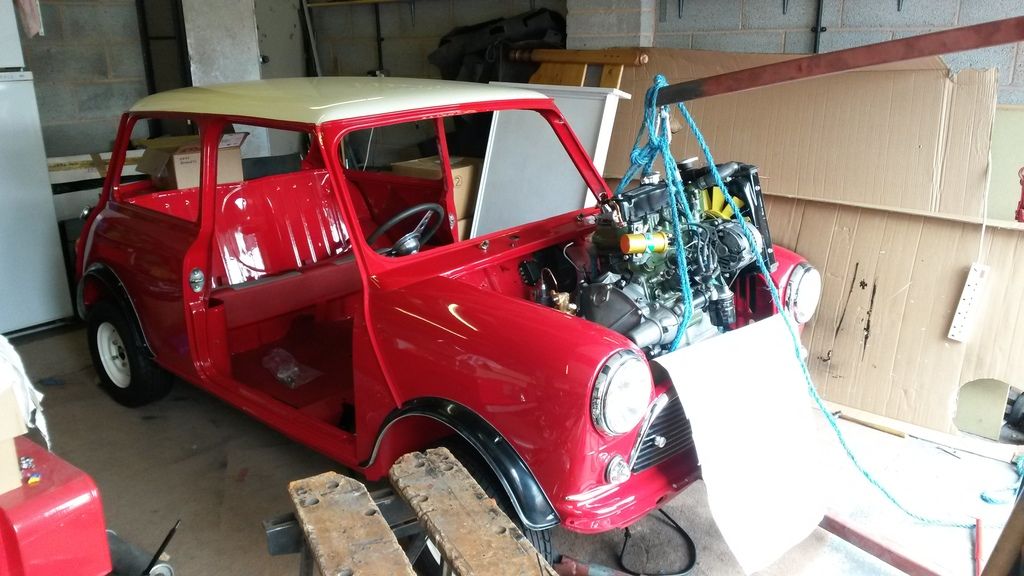
I removed the brake servo and master to clear the engine bay ready for putting the engine back in.
It dropped in with no problems but when it came to trying to bolt the mounts to the subframe - what a pain!
I suppose because the mounts are new the engine doesn't seem to want to drop in far enough for all the holes to line up - the most I've been able to get in so far are three bolts with no obvious sign of the last one lining up.
I think i'll have to get small bolts in all four holes then work each one in turn with a screwdriver until I can get the larger bolts in.001_zps1dj3uhfg.jpg


003_zpscb8cynbh.jpg


Edited by johnR, 01 November 2015 - 09:45 AM.


#96 johnR

johnR

    Up Into Fourth

  • Members
  • PipPipPipPipPipPipPipPipPip
  • 2,289 posts
  • Location: Dorset

Posted 19 July 2015 - 09:20 PM

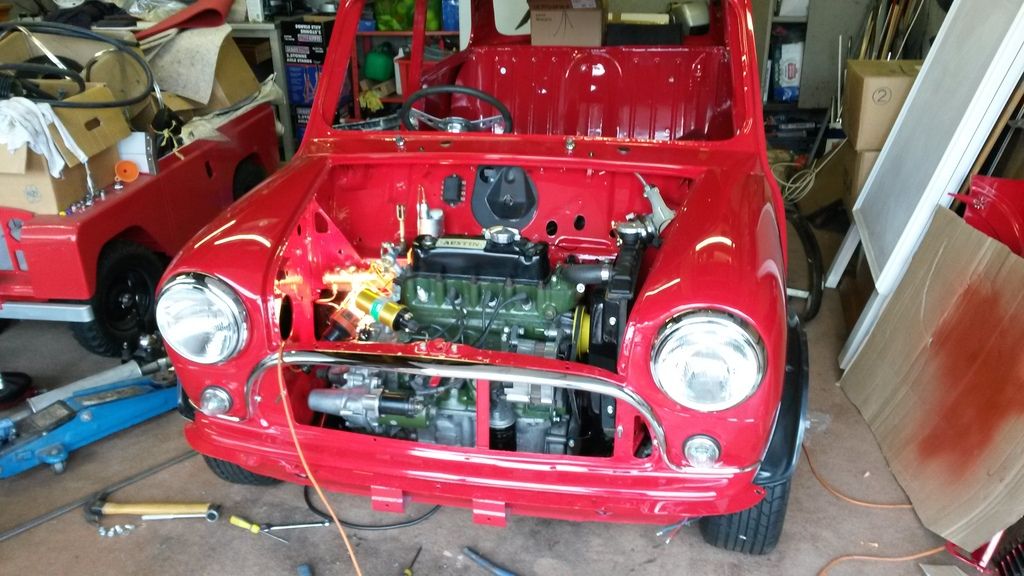
I had a very frustrating time trying to get these engine mounts sorted - the motor just wouldn't drop far enough in to get the bolts in. In the end I took out the top long bolt from the big bracket which mounts the bottom of the radiator and has the left engine mount on it. this allowed the bracket to swing inwards enough to get the engine mount bolts in place, then I jacked the engine up until I could replace the long bolt - job done! Except that it then took another hour to get the nuts on because they're so bloody inaccessible!
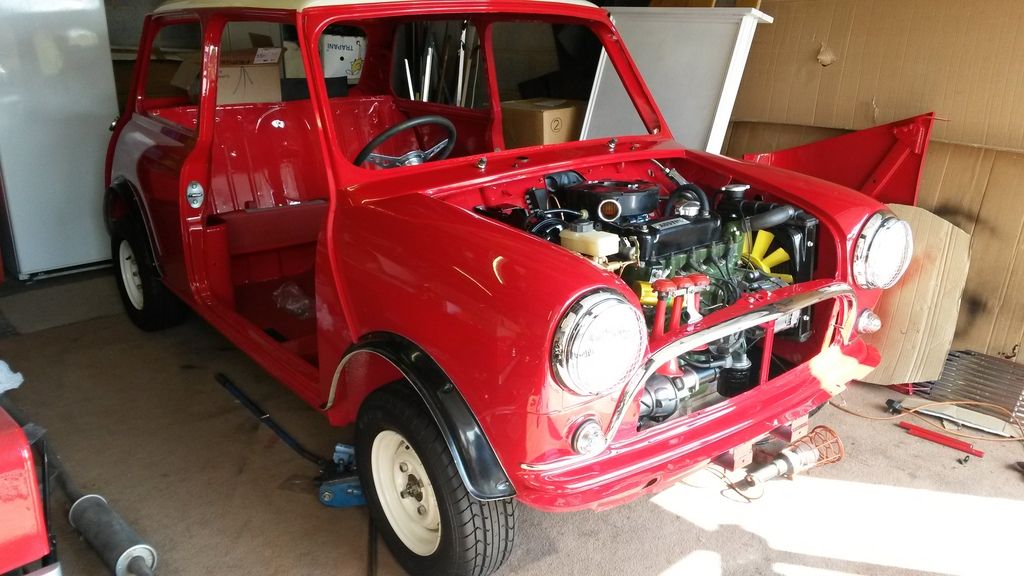
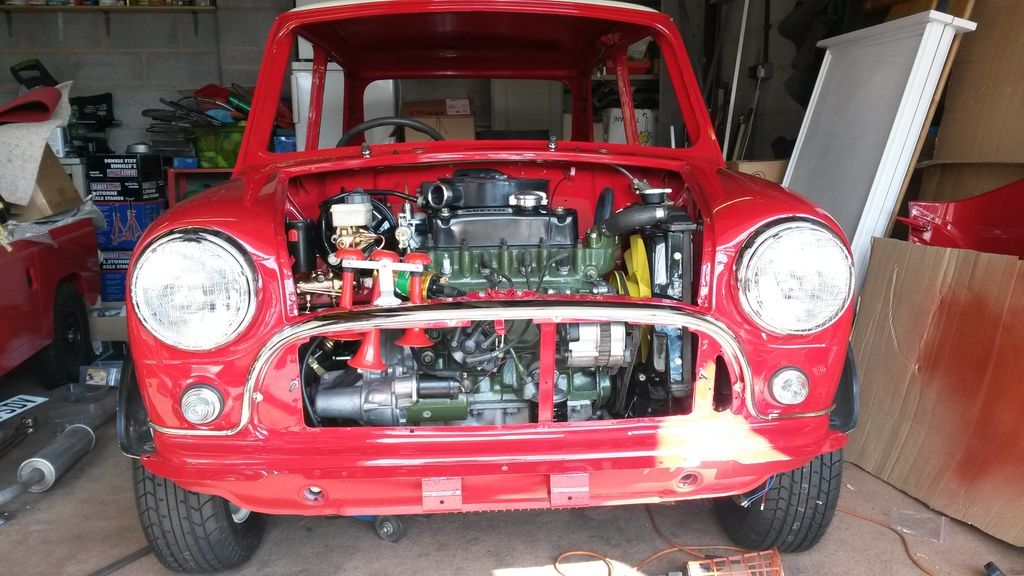
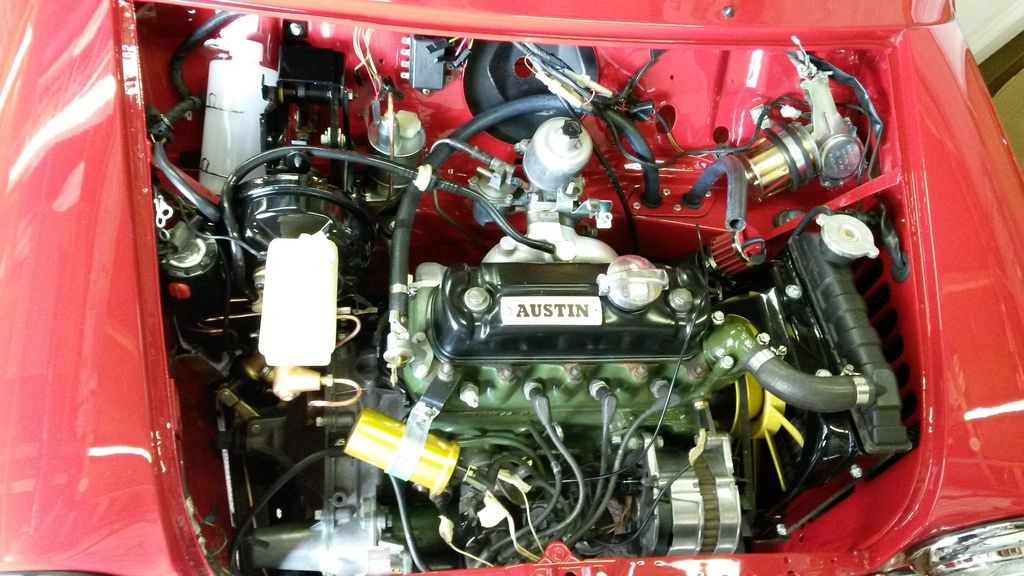
having got to this stage it was full steam ahead - on went the engine steadies, clutch slave cylinder & plate, finished running the battery lead, made up the heater hoses, bolted on the compressor and air horns and made up the pipes and replaced the brake servo and master cylinder. Then as a reward I fitted mesh stoneguards to the headlights.
So now I need to first fit the main wiring loom and make up the new back bumper. Still waiting to hear the progress on my seats but hopefully they'll be ready soon.
I also took my spotlamp brackets to the local engineering workshop for adaptation as mentioned. Whew!002_zpsd5m5owh5.jpg


Edited by johnR, 11 January 2016 - 05:24 PM.


#97 johnR

johnR

    Up Into Fourth

  • Members
  • PipPipPipPipPipPipPipPipPip
  • 2,289 posts
  • Location: Dorset

Posted 19 July 2015 - 09:25 PM

Still not having much luck posting pictures - only about 5% actually show - very annoying!
John

#98 Vinay-RS

Vinay-RS

    Put's foolish ideas in peoples heads

  • Members
  • PipPipPipPipPipPipPipPipPip
  • 2,097 posts
  • Location: Cape Town

Posted 20 July 2015 - 09:37 AM

Nice to see the engine inside the car :) 


#99 johnR

johnR

    Up Into Fourth

  • Members
  • PipPipPipPipPipPipPipPipPip
  • 2,289 posts
  • Location: Dorset

Posted 20 July 2015 - 04:47 PM

Picture post attempt:
%5BIMG%5Dhttp://i76.photobucket.com/albums/j32/johnR21/001_zps2pftukml.jpg

#100 johnR

johnR

    Up Into Fourth

  • Members
  • PipPipPipPipPipPipPipPipPip
  • 2,289 posts
  • Location: Dorset

Posted 20 July 2015 - 04:48 PM

Failed!!!


#101 Ben_O

Ben_O

    Mill Road Garage

  • Paint Doctor
  • PipPipPipPipPipPipPipPipPipPip
  • 9,785 posts
  • Location: Isle of Wight

Posted 20 July 2015 - 04:54 PM

001_zps2pftukml.jpg


#102 slidehammer

slidehammer

    One Carb Or Two?

  • Members
  • PipPipPipPipPipPipPip
  • 1,154 posts
  • Location: Surrey
  • Local Club: LSMOC

Posted 20 July 2015 - 05:17 PM

Looking really nice keep up the good work. Be nice to see the finished result.

#103 johnR

johnR

    Up Into Fourth

  • Members
  • PipPipPipPipPipPipPipPipPip
  • 2,289 posts
  • Location: Dorset

Posted 23 July 2015 - 09:40 AM

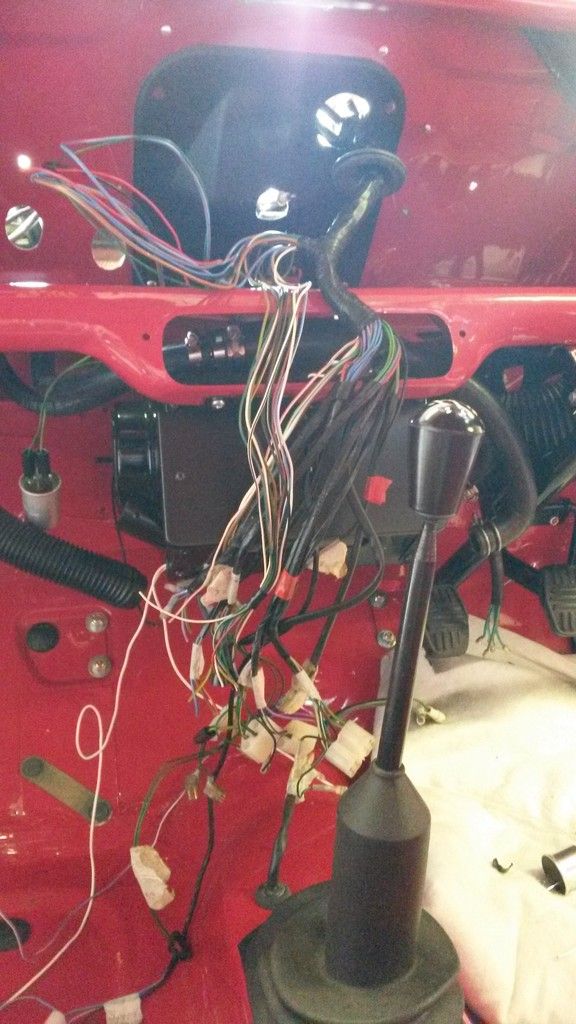
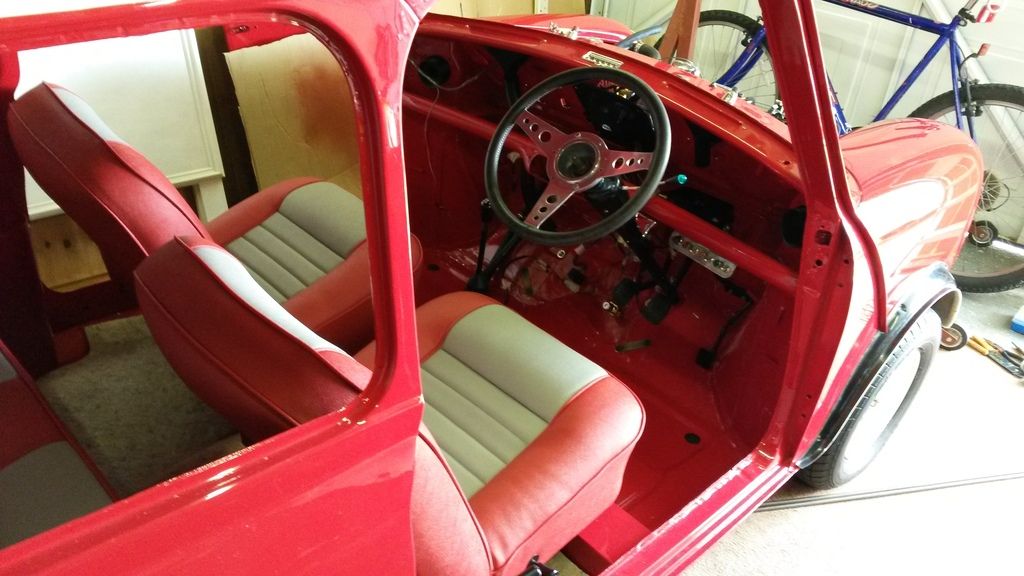
The first attempt at the wiring went well - I was worried that there was a big bundle of wires that would need to go in the instrument binnacle and because I'd like to retain the bulkhead plate there wouldn't be room. I ran the engine bay wiring (which will be standard except for moving the horn wiring to the airhorn compressor position and adding spotlight wires)and poked the rest through the hole in the bulkhead plate - so far so good.
Moving inside I separated the old three clock multi-connector wires out and cut about 9" off them ready for the new multi-connector for the Mk1 instruments.
The remainder (switches, heater wires,gear lever reverse microswitch etc dropped down below the front parcel shelf level and the majority wont need changing at all. I will need to extend the wires for the auxiliary switches such as fog, heated rear window, hazards,starter and spots across to my new switch panels under the dash.
Now I've got to marry up the Mk1 steering column wiring to the later loom and wire in the dipswitch which I've mounted on the floor.
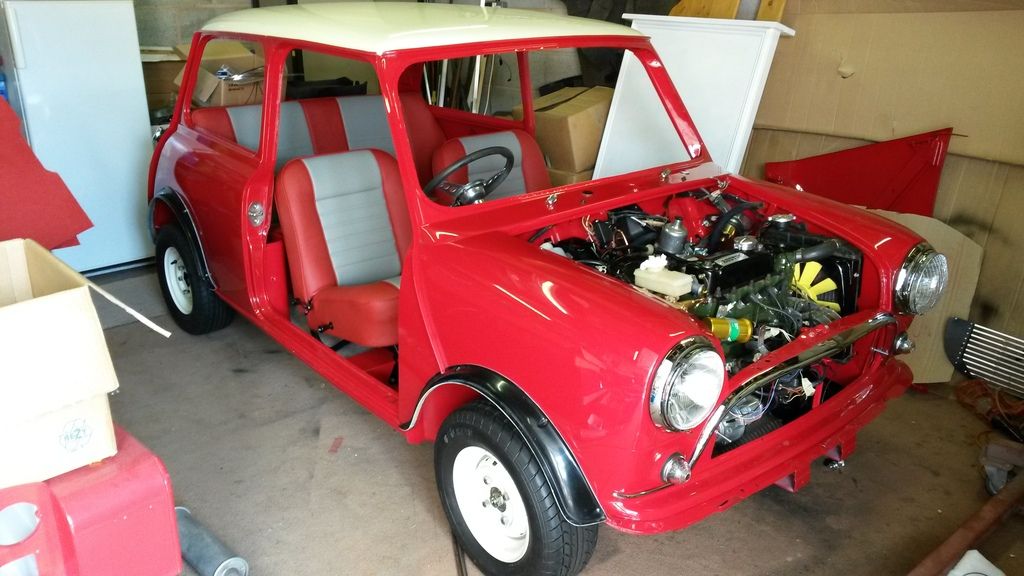
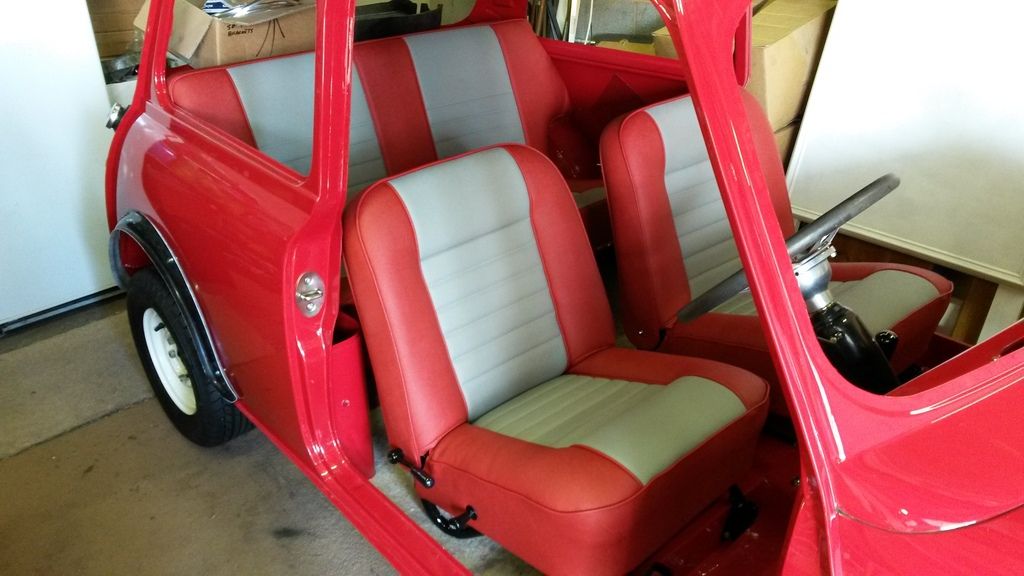
The seats have arrived! Newton have done a great job covering them, they really look the part.
Last night I drilled the new rear bumper for overriders and mounted them (so they don't foul the boot this time!)
This was a Minispares non-original stainless bumper which seems to be made of slightly thicker metal than the previous MiniSport one - however, the mounting bolts are welded to strips of metal that partially cover the place where the over-rider rails bolt on so needed to be partially cut away which was a fiddle.
On the MiniSport ones the bolts are mounted on the return flange so aren't in the way. Also the Spares one was fractionally too long at one end and took some paint off the seam strip before I noticed.


Edited by johnR, 11 January 2016 - 05:26 PM.


#104 jagman.2003

jagman.2003

    One Carb Or Two?

  • Members
  • PipPipPipPipPipPipPip
  • 1,307 posts
  • Location: In the shed.
  • Local Club: Owner of my own club of Minis

Posted 23 July 2015 - 10:01 AM

Nice attention to detail. It would be too easy just to connect up most of the original dash. But this will look better.

Photos pasted for ease of viewing.

002_zpsnydxlohc.jpg

003_zpsxnqxpd3t.jpg

004_zpswoau1o8e.jpg

006_zpspcebel6c.jpg

007_zpshnocltto.jpg


Edited by jagman.2003, 23 July 2015 - 10:04 AM.


#105 Vinay-RS

Vinay-RS

    Put's foolish ideas in peoples heads

  • Members
  • PipPipPipPipPipPipPipPipPip
  • 2,097 posts
  • Location: Cape Town

Posted 23 July 2015 - 11:18 AM

Lovely looking seats and carpets. Nice work on the loom as well.


2 user(s) are reading this topic

0 members, 2 guests, 0 anonymous users