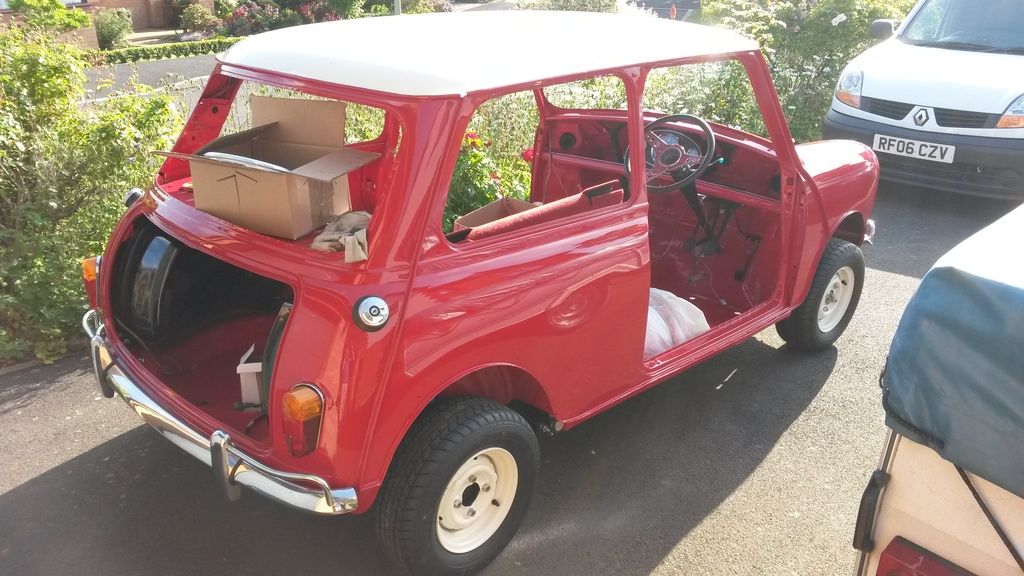
'89 Mini City To 'mk1 Cooper S'
#61

Posted 04 June 2015 - 06:27 PM
#62

Posted 04 June 2015 - 07:11 PM
Must be personal ha ha, car looks great with all 4 wheels
#64

Posted 06 June 2015 - 12:16 PM
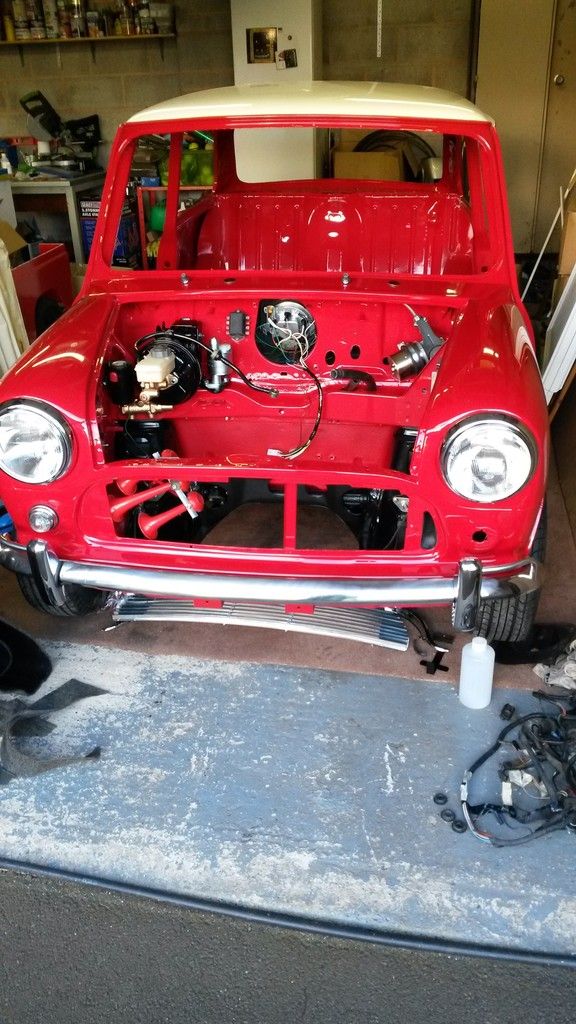
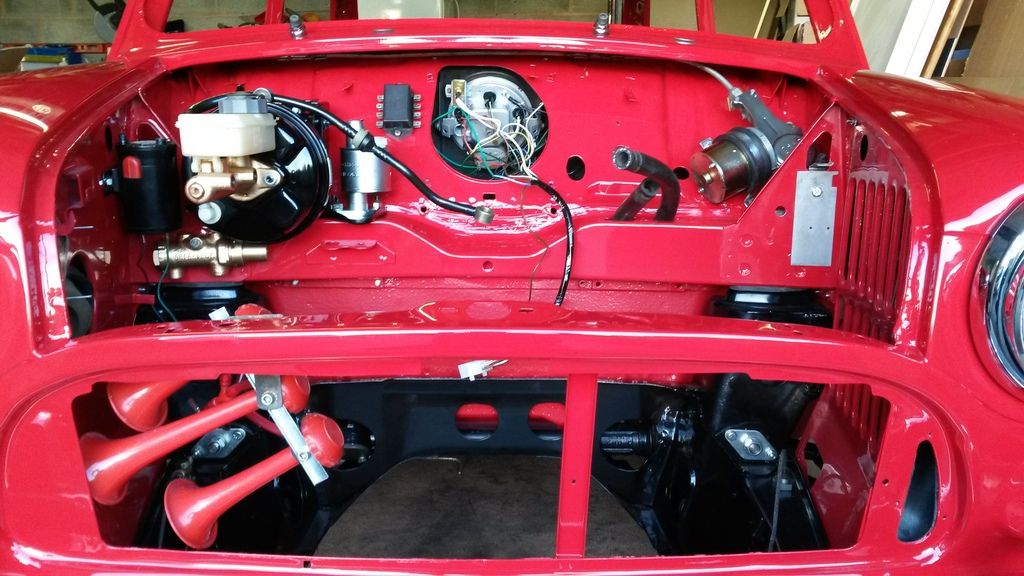
Very nice! You may be able to answer a question - where did you route your heater pipes? Unfortunately I didn't notice before I sent it off for welding that the centre instrument binnacle covers one of the original heater pipe holes in the bulkhead and is on the edge of the other. I dont want to send it back for more welding to blank the holes so I was thinking of cutting a piece of steel to fit the hole and bond it in with another slightly larger thin piece behind it. I wondered about bringing the heater pipes up through the LHD master cylinder blanking plate?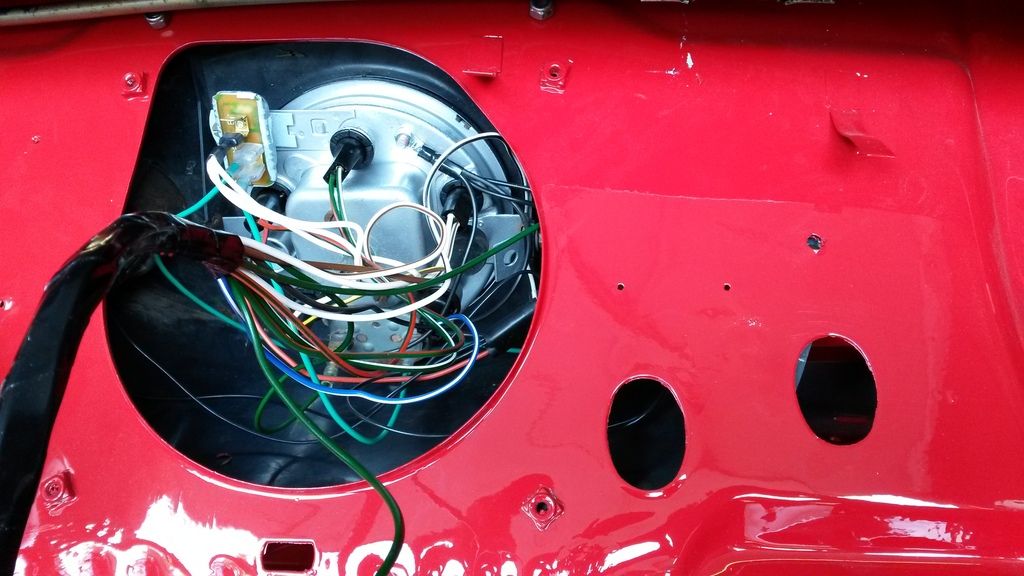
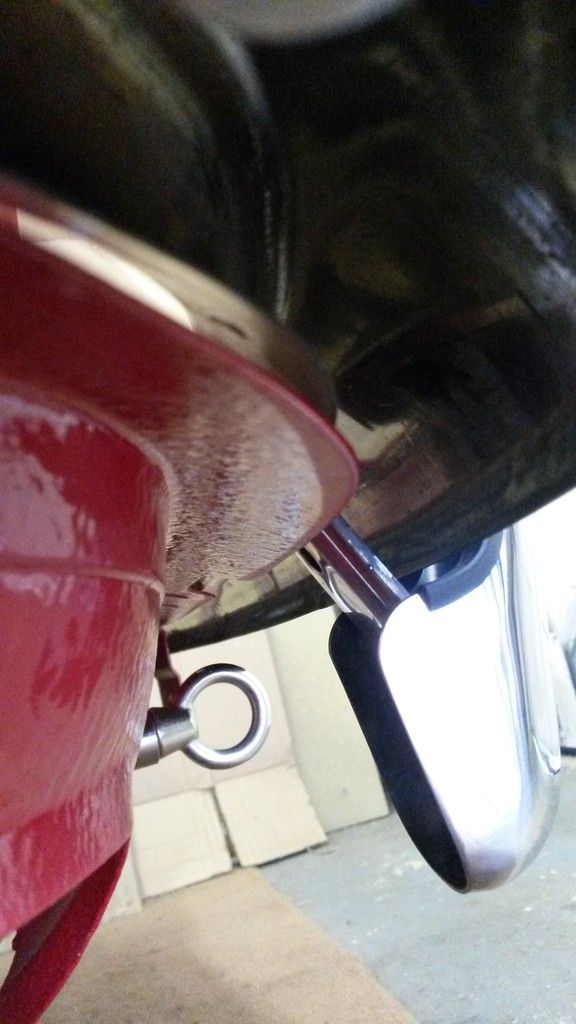
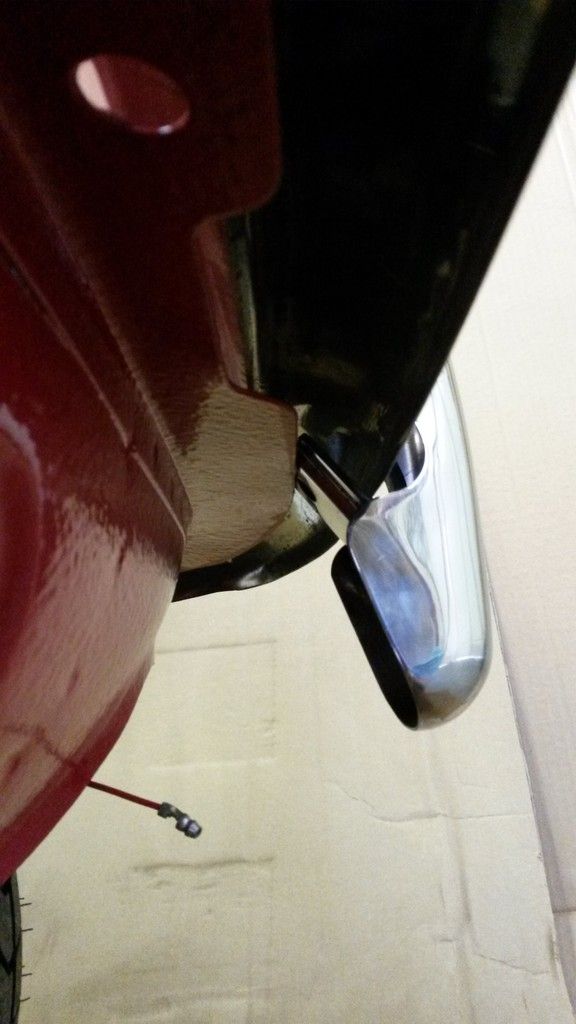
Another issue is the front bumper overriders - has anyone else found that the overrider clamping bolts foul the front panel to valance flange?
The final annoyance (so far) is the dash switch panel - I assumed that a MK1 version would be a direct swap for the later type - but the holes for the mounting screws on my dash rail are off centre so there may be no way round having to have them welded up and drill new ones - the shape of the hole is wrong too - it needs enlarging widthways.
#65

Posted 06 June 2015 - 05:30 PM
Very nice! You may be able to answer a question - where did you route your heater pipes? Unfortunately I didn't notice before I sent it off for welding that the centre instrument binnacle covers one of the original heater pipe holes in the bulkhead and is on the edge of the other. I dont want to send it back for more welding to blank the holes so I was thinking of cutting a piece of steel to fit the hole and bond it in with another slightly larger thin piece behind it. I wondered about bringing the heater pipes up through the LHD master cylinder blanking plate?
Earlier cars had the heater pipes run through the redundant l/h/s master cylinder holes. You should be able to get the blanking plate used on the earlier cars no problem which is just a flat plate that bolts on with 2 holes for the hoses.
As for the heater holes in the bulkhead, i wonder if you could do something elegant like 2 stainless plates cut slightly oversize with a piece of threaded bar welded to one of them and then pass it through with a rubber gasket and then the front one can have a hole drilled for the threaded bar to pass through with a nice stainless wing nut on it.
if that makes sense.....
#66

Posted 06 June 2015 - 08:24 PM
Yes, I've got the flat plate so I think that's the way I'll go. I need longer heater pipes anyway because I've done away with the in-line heater control so I'll measure up for a complete run through the plate.
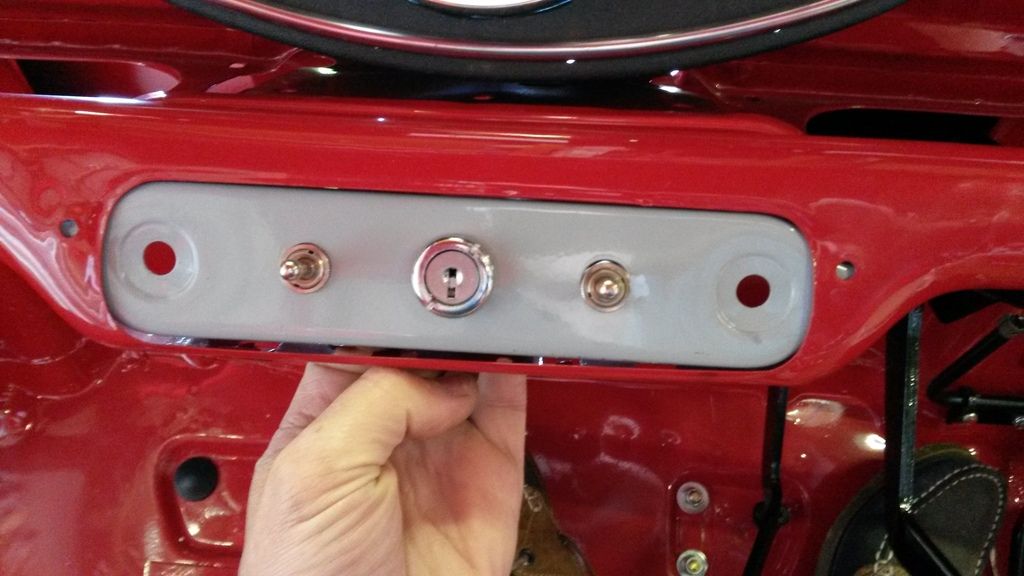
I've had a day of two halves today, it went well to start with in that I found there were two holes on the inner wing where the washer bottle would normally be
(I'm converting to Mk 1 style one up on the bulkhead) that are perfectly spaced to mount the compressor for the air horns ant the standard horn bracket looks as though it will be fine to mount the trumpets on.
Then I couldn't get enough slack in the handbrake cable to reach the lever and found after much head-scratching that I'd mistakenly put the quadrants on the top of the swinging arms and the backplates on the wrong sides which has the effect of shortening the cable by about 2".
So now I've got to swap all that around. Tomorrow I hope to be able to move on to fitting the fuel tanks.
Edited by johnR, 14 June 2015 - 06:09 PM.
#67

Posted 06 June 2015 - 11:54 PM
You could just put rubber grommets in the holes, that would look slightly factory.
#68

Posted 07 June 2015 - 08:49 AM
I could do that with the one on the left in the picture (if there is an oval one available?) but the rim of the instrument binnacle is partially over the other one which would mean I wouldn't be able to tighten it to the bulkhead without pushing the grommet out.
John
#69

Posted 12 June 2015 - 10:48 AM
I've been doing little jobs to move the project along, I've changed the rear backplates over to the correct sides and connected up the handbrake successfully.
I've test fitted the fuel tanks and tweaked the connecting pipe to fit - I've taken them out again while I run the rear wiring loom and connect up the rear lights.
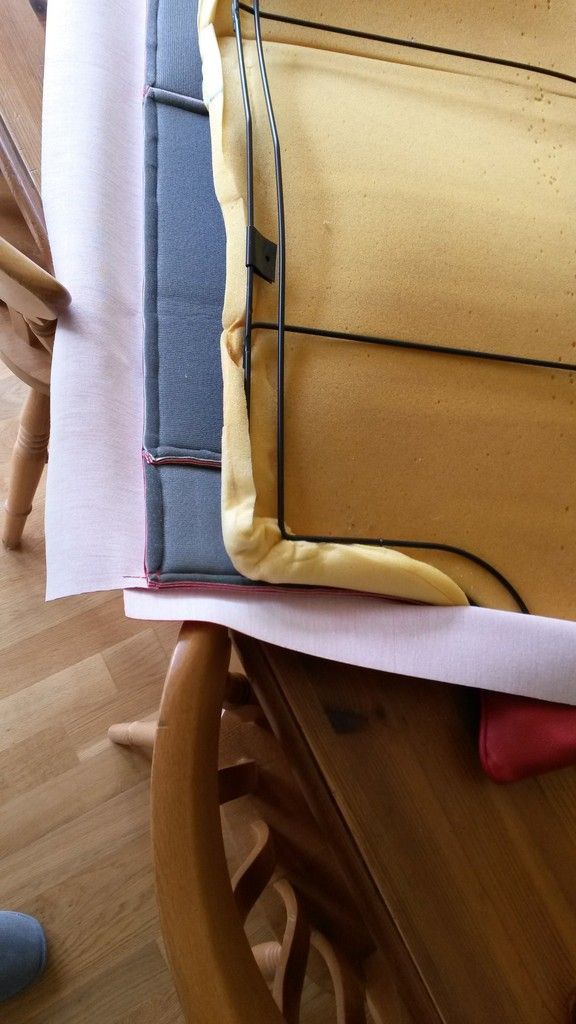
Good news - the carpets and seat covers arrived from Newton. Bad news - the rear seat back cover is two inches short at the top and the same long at the bottom and the cover ripped as I was vainly trying to pull it in place. Good news - Newton were very keen to put things right and I will send my old cover back for them to use as a pattern.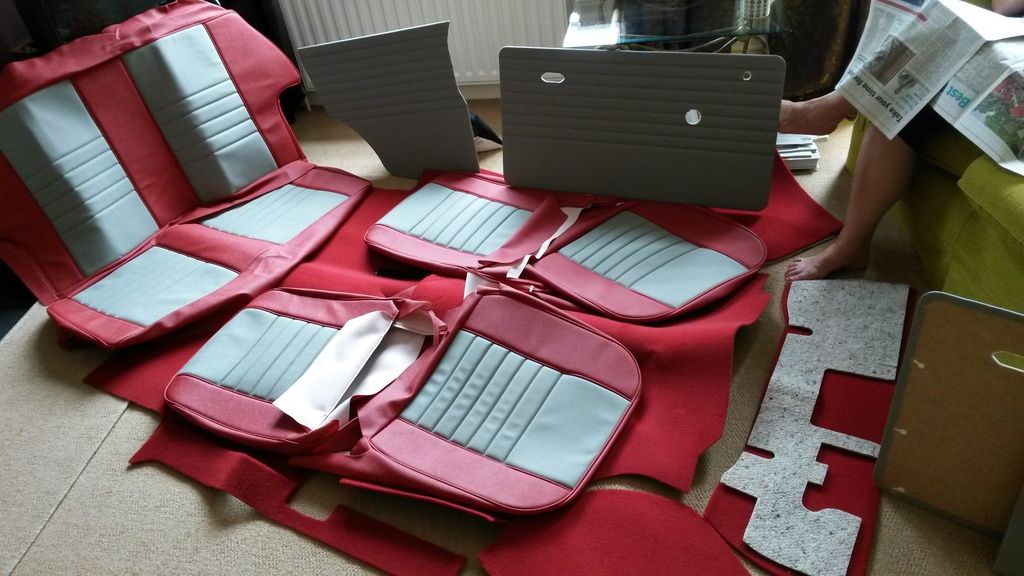
Edited by johnR, 14 June 2015 - 06:05 PM.
#70

Posted 12 June 2015 - 10:49 AM
Having successfully managed to hoodwink the computer into posting some photos I've gone back and re-posted some more.
JohnR
Edited by johnR, 14 June 2015 - 06:07 PM.
#71

Posted 12 June 2015 - 10:49 AM
#72

Posted 12 June 2015 - 12:14 PM
Nice selection of interior panels there. Newton certainly seem to do a good job.
#73

Posted 12 June 2015 - 03:01 PM
Edited by johnR, 12 June 2015 - 03:03 PM.
#75

Posted 14 June 2015 - 05:59 PM
I have low expectations of my computer allowing me to post the pictures but I wonder if anyone has had this issue with the overriders on bumpers - my front ones can't be tightened onto the bumper because the bolt fouls the body seam in fact even the captive nut plate fouls without the bolt.
I don't really want to notch the seam but can't really see any other option?
JohnR
Edited by johnR, 14 June 2015 - 06:02 PM.
1 user(s) are reading this topic
0 members, 1 guests, 0 anonymous users


