Jump to content


Photo
- - - - -

Keeping Another Mini Out Of The Scrappy


  • Please log in to reply
572 replies to this topic

#61 alchall

alchall

    Super Mini Mad

  • Just Joined
  • PipPipPipPipPipPip
  • 604 posts
  • Location: Chorley

Posted 12 July 2015 - 09:28 PM

 I also welded up any extra holes that aren't needed. 


Good thinking, I may do this myself, also, those small square holes held plastic "nuts" on mine so it may be worth welding in some captive nuts instead.



#62 James_eaton_thewholething

James_eaton_thewholething

    One Carb Or Two?

  • Members
  • PipPipPipPipPipPipPip
  • 1,063 posts
  • Location: Manchester

Posted 12 July 2015 - 10:14 PM


 I also welded up any extra holes that aren't needed. 


Good thinking, I may do this myself, also, those small square holes held plastic "nuts" on mine so it may be worth welding in some captive nuts instead.


yeah only ones i kept are for the clocks and the wiper motor couldn't be bothered with any others. I'm still deciding if i want to keep the massive one in the drivers side inner wing as i won't be needing it to put the fresh air pick up through and would mean less intrusion of water into the engine bay


#63 Keith Staley

Keith Staley

    Stage One Kit Fitted

  • Noobies
  • PipPipPip
  • 83 posts
  • Location: Bedford

Posted 15 July 2015 - 02:09 PM

Wow, good for you for deciding to do it up.


#64 Keith Staley

Keith Staley

    Stage One Kit Fitted

  • Noobies
  • PipPipPip
  • 83 posts
  • Location: Bedford

Posted 16 July 2015 - 02:30 PM

Good for you for keeping her from scrappy. Looks like a lot of work ahead to be done. Are you doing this on your own, and have you set yourself a deadline for completion?? A friend and I are currently doing up a 1972 850 which I last drove in 1995. It has been garaged since, and was buried under 20 years of family clutter!!! Luckily, the main bodywork, apart from the boot area, is pretty sound as I extensively had nearly the entire floor rewelded in 1993. 

Came into a bit of money so decided to investigate the condition of the car. This was last August. The car had fallen down on her wheels and looked a sorry sight, after I cleared away the clutter and rubbish from garage. We gave her a good inspection and decided yep to start the process of restoring the car for the road again.

11 months later the car is now been overhauled enough to be able to buy a battery sometime soon to try to start her. It is obviously a satisfying project to be involved in. We are taking it slow with no real deadline as such but it will be good to try to get her through a MOT September time. Regards, Keith.


#65 James_eaton_thewholething

James_eaton_thewholething

    One Carb Or Two?

  • Members
  • PipPipPipPipPipPipPip
  • 1,063 posts
  • Location: Manchester

Posted 16 July 2015 - 09:08 PM

Good for you for keeping her from scrappy. Looks like a lot of work ahead to be done. Are you doing this on your own, and have you set yourself a deadline for completion?? A friend and I are currently doing up a 1972 850 which I last drove in 1995. It has been garaged since, and was buried under 20 years of family clutter!!! Luckily, the main bodywork, apart from the boot area, is pretty sound as I extensively had nearly the entire floor rewelded in 1993. 
Came into a bit of money so decided to investigate the condition of the car. This was last August. The car had fallen down on her wheels and looked a sorry sight, after I cleared away the clutter and rubbish from garage. We gave her a good inspection and decided yep to start the process of restoring the car for the road again.
11 months later the car is now been overhauled enough to be able to buy a battery sometime soon to try to start her. It is obviously a satisfying project to be involved in. We are taking it slow with no real deadline as such but it will be good to try to get her through a MOT September time. Regards, Keith.


Thanks for looking. I have got quite a lot left but at least the list is definitely shorter than when I started. I'm doing all of this on my own, a friend was meant to help me but he never gets time because of work. But I don't mind it's relaxing and I'm learning a lot through the process. I've not really got a dead line but I really want the car painted by the end of October beginning of November and I'm sure I will hit that target. I'm so looking forward to the day that it's finished and cannot wait to put it through its mot. Got loads of things I'm going to be doing once the shell is finished so my total overall finished goal is next June but I will see. Hope you get yours through its mot so you can get on with enjoying it

#66 James_eaton_thewholething

James_eaton_thewholething

    One Carb Or Two?

  • Members
  • PipPipPipPipPipPipPip
  • 1,063 posts
  • Location: Manchester

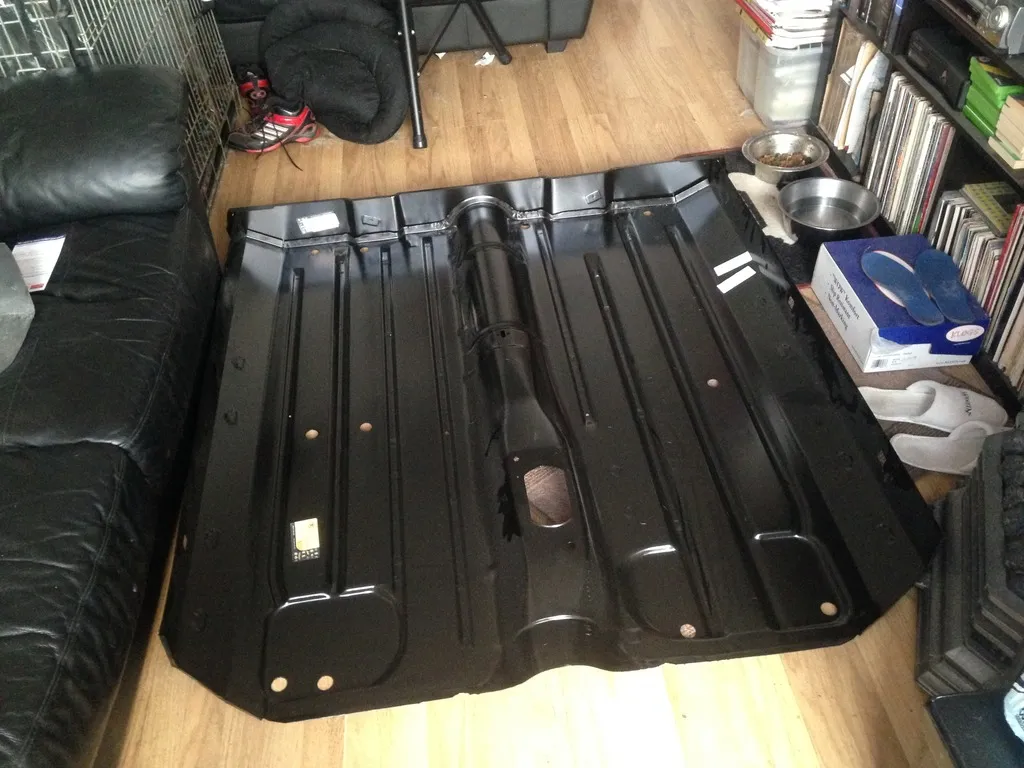
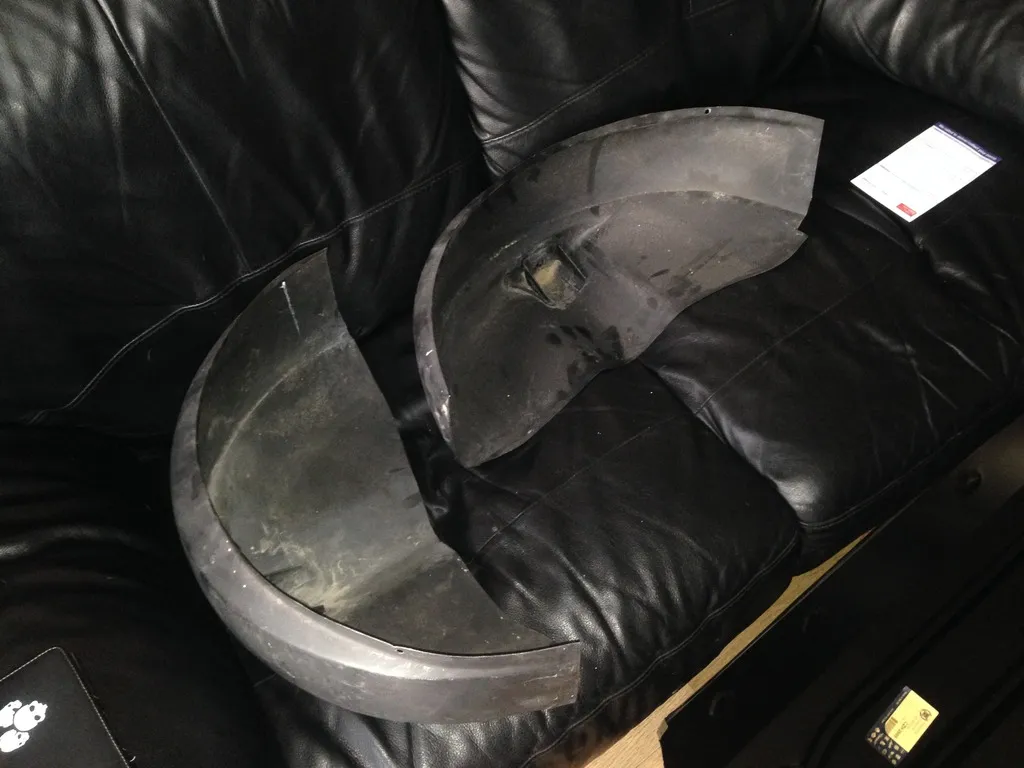
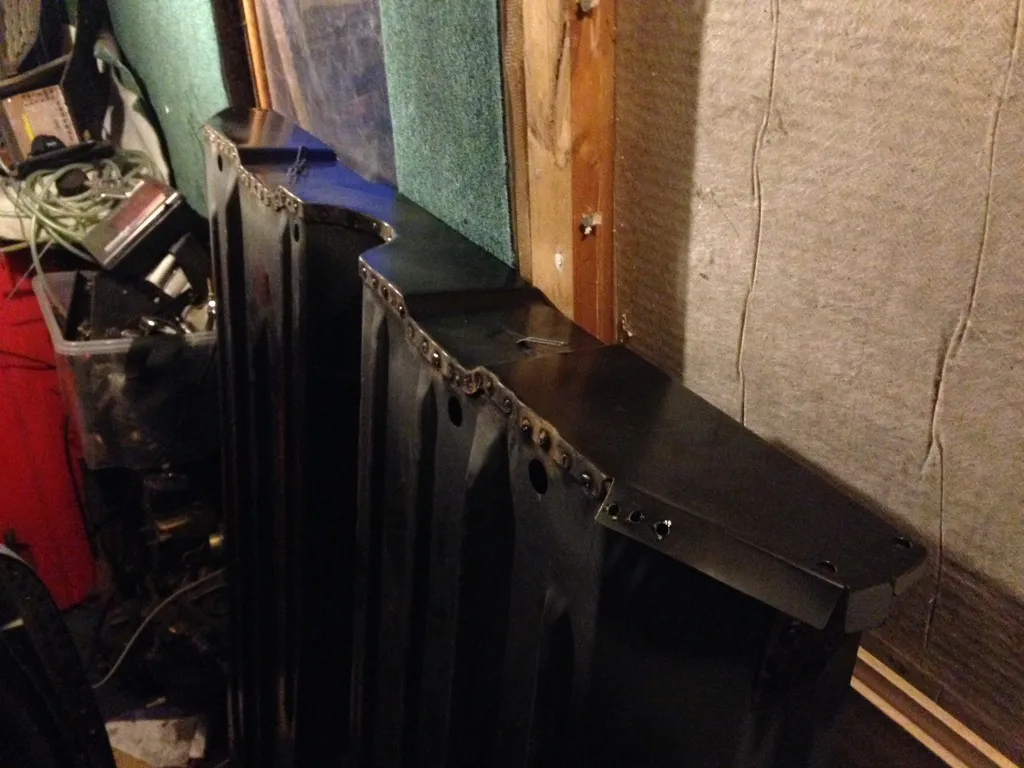
Posted 18 July 2015 - 10:24 AM

An all new pay day and that means only one thing more panels

80E01FEC-E82A-4EDD-95A2-A5863E389F43_zps

New floor and heel board

BA222FA4-7597-48A8-848D-DB1279C78AD2_zps

New rear arches that my friend had and I got them for a really decent price

7B92F07F-4A63-4C6E-99B2-7A7F72C42197_zps

Managed to get the heel board partly welded on going to finish that after the weekend and then I shall attempt to put it into the car I cannot wait this is the last of the big jobs to do on the car everything else won't seem as bad. Just wanting it done now so I can spend all my time picking out what colour to paint it

#67 James_eaton_thewholething

James_eaton_thewholething

    One Carb Or Two?

  • Members
  • PipPipPipPipPipPipPip
  • 1,063 posts
  • Location: Manchester

Posted 20 July 2015 - 10:19 PM

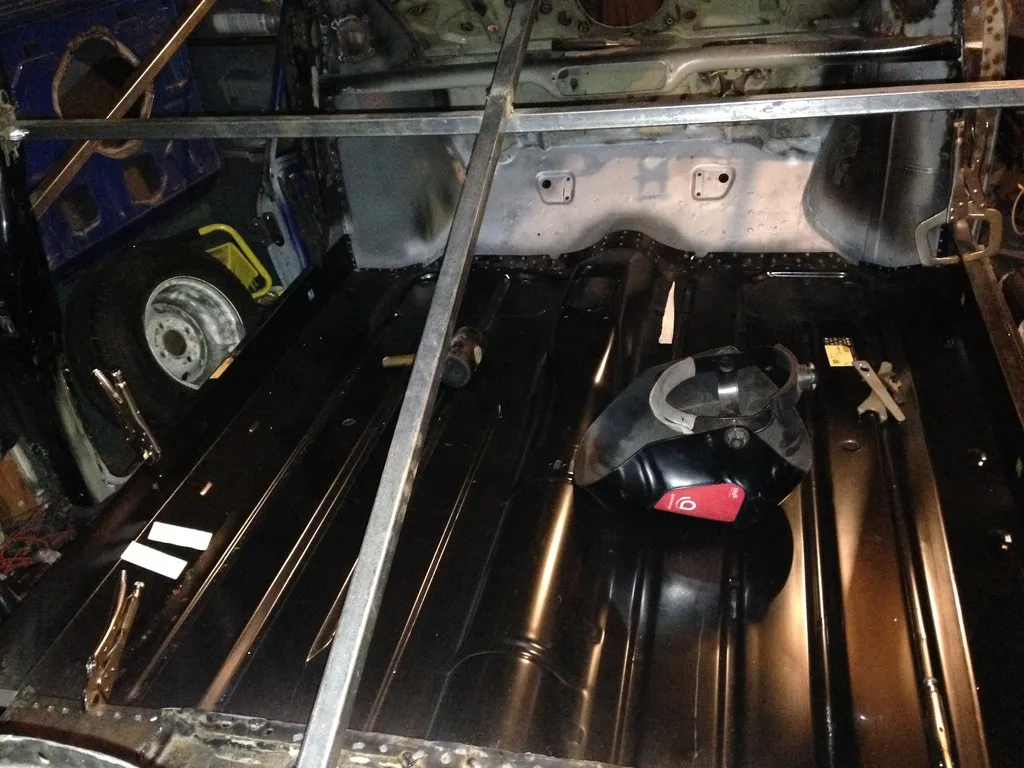
I was able to finish work early today so got the time to test fit the floor into the shell. Let's just say it went it went as planned if the planning had been done by an idiot and that idiot being me haha.

1841EEEE-A237-4A9F-ACBB-6CE1600B1EB3_zps

Finished off the heel board welding and then coated in primer that went well

6883D9AD-6848-4FA3-A4C9-44519FF2963C_zps

Put the floor into the shell with the help of my dad, that went a lot easier than getting the old one out.

6A0A3D00-14D7-4D6B-AEFC-ED683744E821_zps

Lined it up at the back and got it straight and in line with a couple of reference points and clamped it into place.
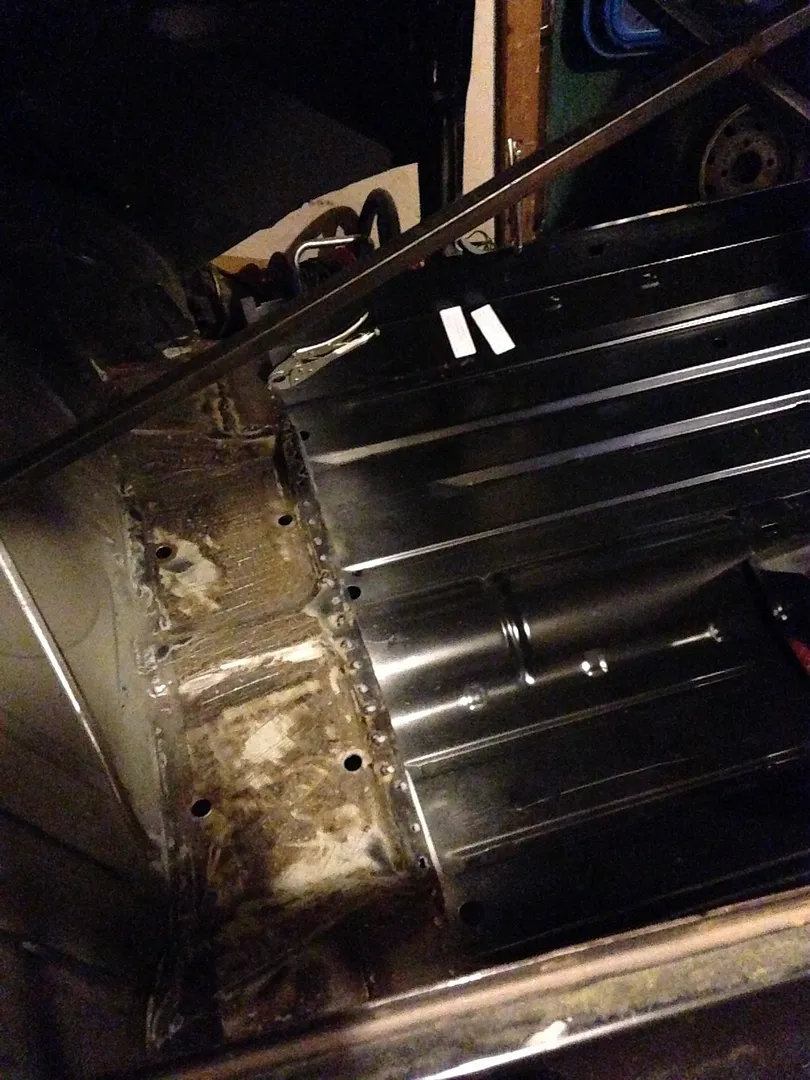
This is where all my planning started to go down the toilet. The heel board flange is slightly different to the old one so part of the rear seat pan will need extending. I'm also going to seam weld parts of the seat pan and heel board front and back for added strength. This isn't anything major so not that bothered about it.

56EB863D-2E81-4E29-8B4F-40EBFA95AA92_zps

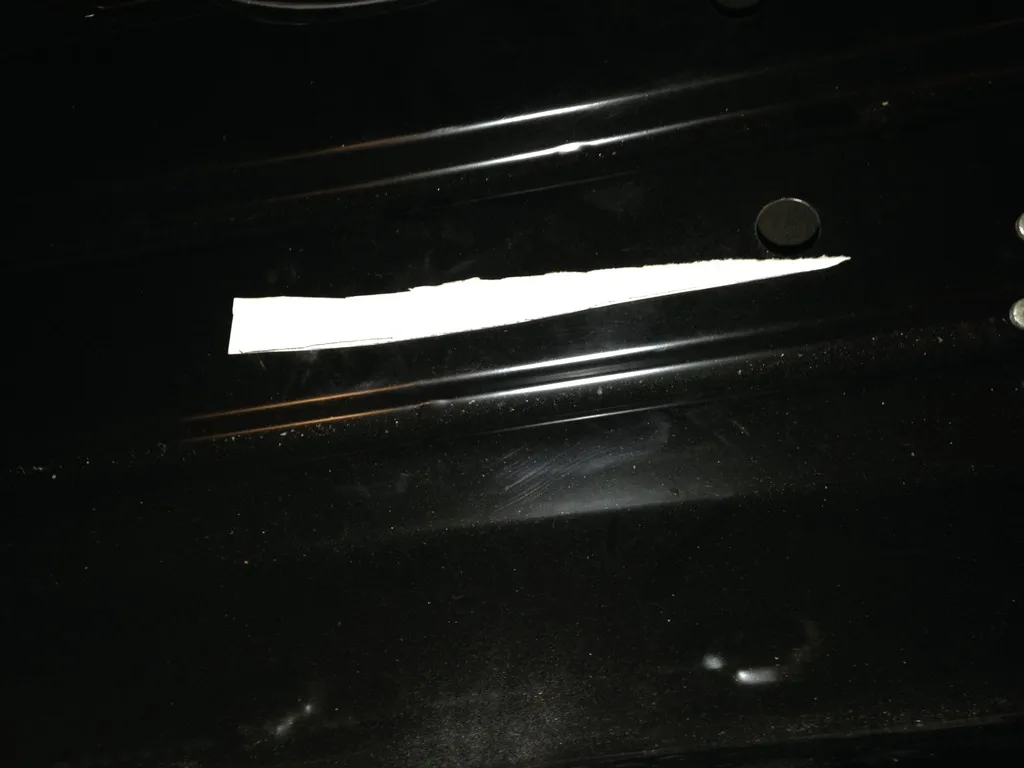
This little bit of card is the main stupid thing I've done, when repairing the toe board i made up the bottom sections and on the drivers side I did a good job and the flange and floor are good with all the holes drilled in the right places. Now on the passenger side it's a different story. Basically I need to extend it by the amount shown in the picture. It's nearly by an inch at its thickest point. Cannot believe I did that feel so stupid lol. Other than that both inner wings will need persuasion in the form of a hammer and dolly to fit snug on the rest of the flanges but nothing to hard to do.

That's all for now

#68 James_eaton_thewholething

James_eaton_thewholething

    One Carb Or Two?

  • Members
  • PipPipPipPipPipPipPip
  • 1,063 posts
  • Location: Manchester

Posted 23 July 2015 - 08:03 PM
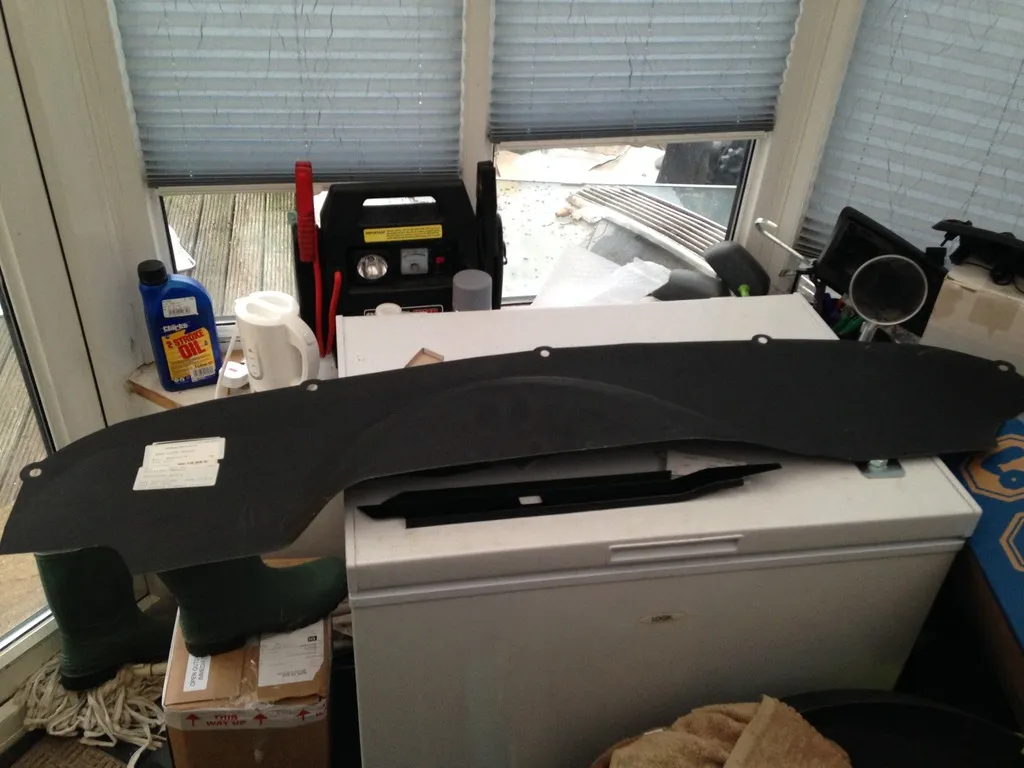
It's finally in didn't even take that long to be honest wasn't as hard as I thought and now it's solid.

C9978641-C06B-4F34-AAED-696DE9AFB595_zps

Stupid little extension piece I had to make welded in

A14B8566-288E-4719-AD56-0FF924A72AD8_zps

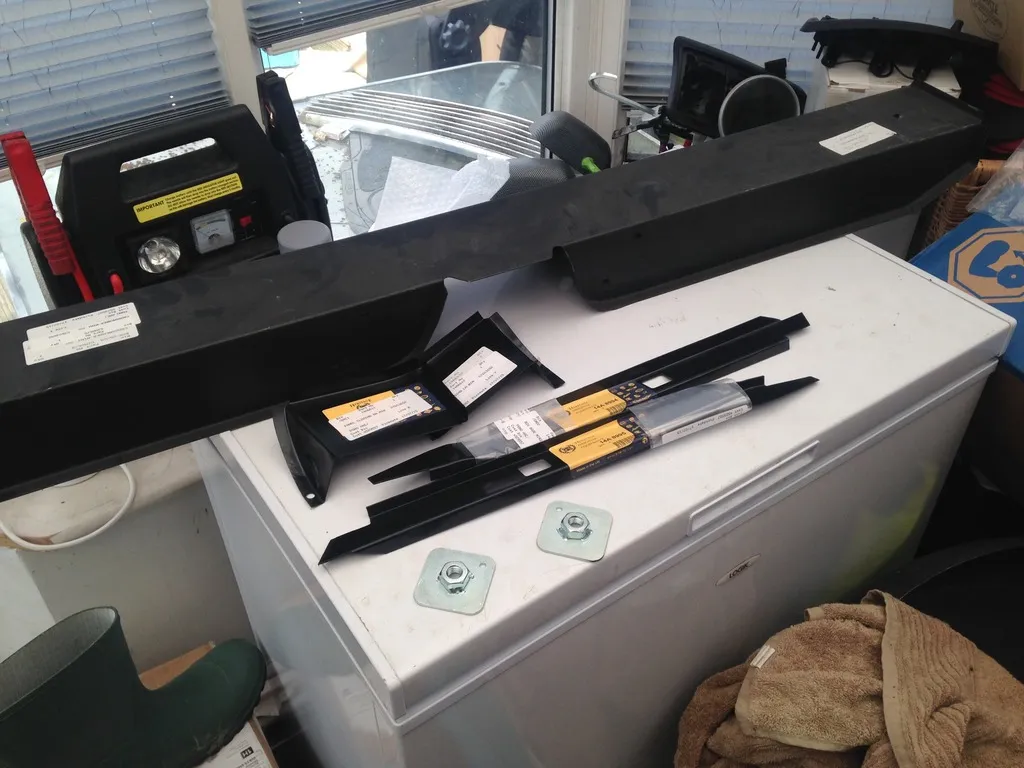
More panels picked up along with some new seat belt mounts

9E1B9781-F19C-44CF-85D5-CE25E7998E78_zps

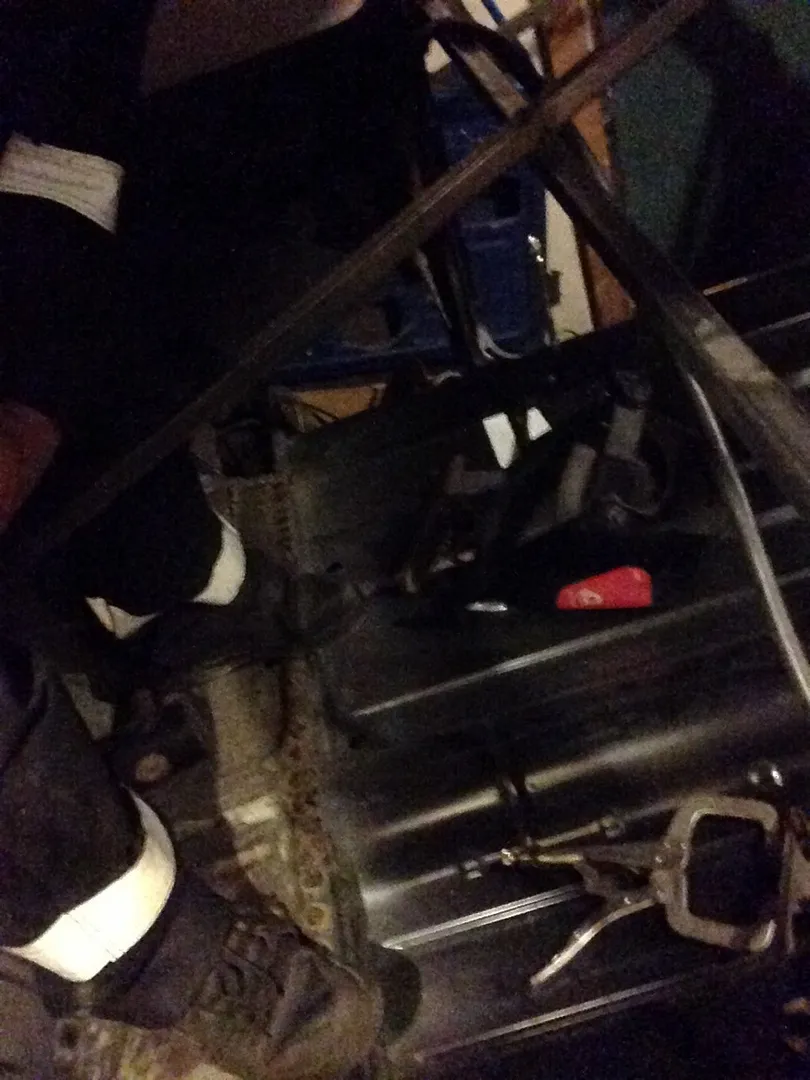
Ignore the potato phone picture but tested the rear seat pan welding by standing on it hahaha

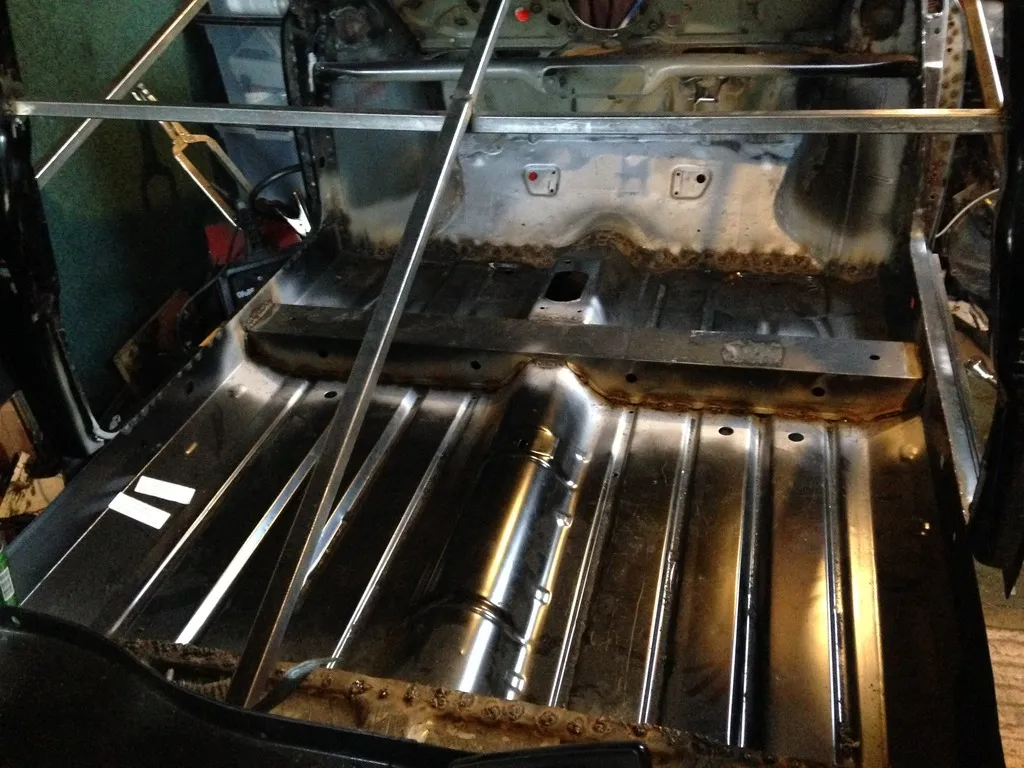
5EE52A83-BF2D-4938-A107-551CCD15CB1D_zps

Finally all welded in and the crossmember added. I was definitely concerned I wasn't going to be able to do this bit. My welding is getting better. I didn't plug weld the crossmember on for two reason. One I'm sick of drilling holes and two wanted it to be really strong so i seam welded it in. Now just have to salvage the hand brake mounts from my old floor and the inner seat belt mounts.

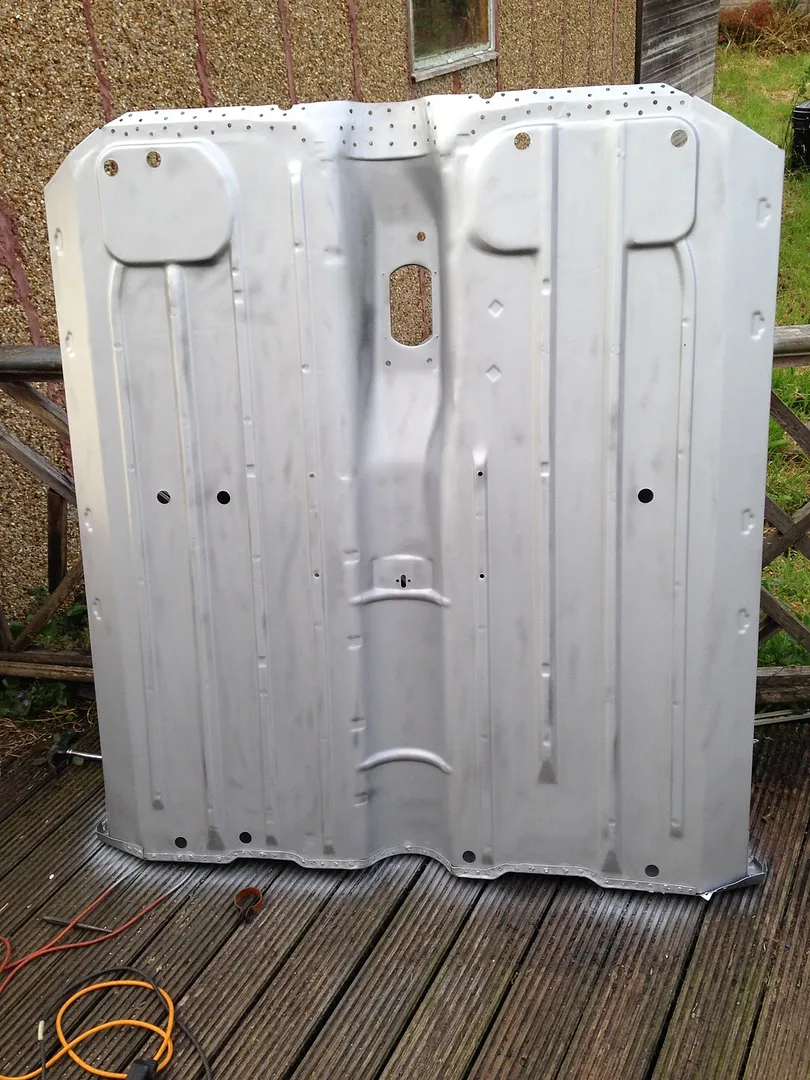
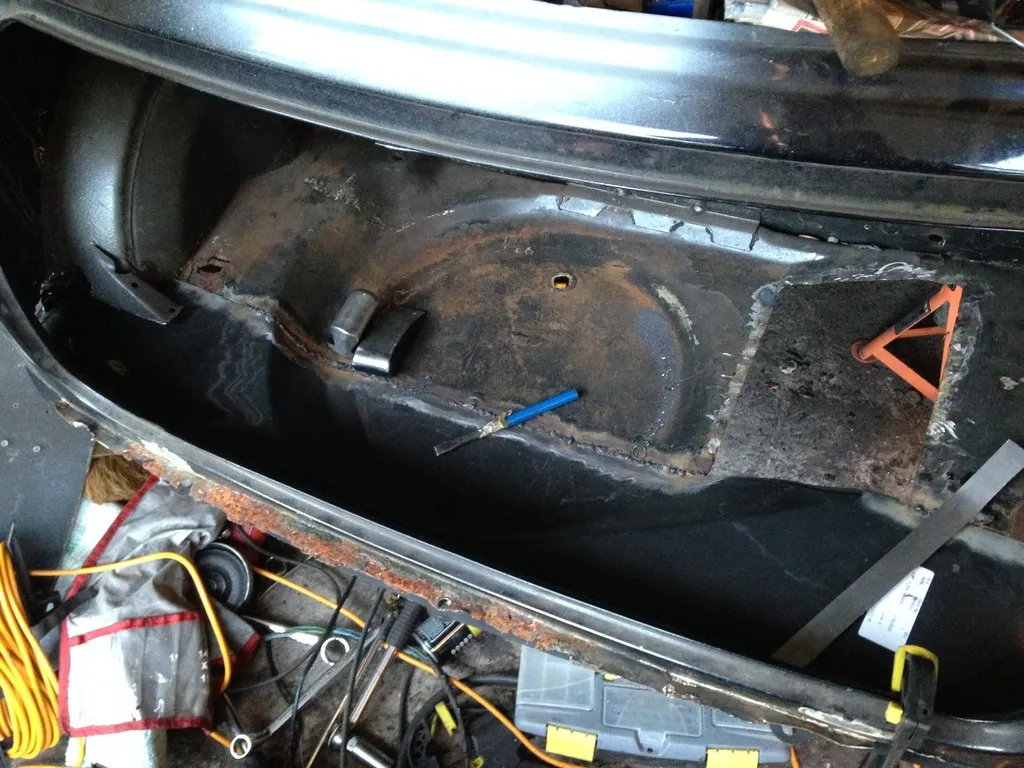
Now my list is shorter. I'm tackling the boot floor next

EC740D5A-FB8E-4A98-9695-2249F2A2E6B8_zps

Got this whole section to replace along with a couple of other small sections then I will move on to doing the rear arches and then when I get paid next month going to get the boot hinge panel repair section and the rear valance.

After that it's rear quarters, one waist rail, the closing panels, front scuttle, front wings and front panel and a couple of clean up and strengthening bits, then paint

#69 minipete

minipete

    Speeding Along Now

  • Members
  • PipPipPipPipPip
  • 458 posts
  • Local Club: East Yorkshire MOC.

Posted 25 July 2015 - 05:41 PM

Great stuff,if i was you i would consider doing the boot floor as you are doing both arches the floor is normally really thin around the arches and those repair panels are poo.

#70 MINIMADrt

MINIMADrt

    Speeding Along Now

  • Members
  • PipPipPipPipPip
  • 465 posts
  • Location: oxford
  • Local Club: none at mo

Posted 25 July 2015 - 08:55 PM

I second that I done one of them repair panels in mine and have regretted it ever since they are so poor. If you can buy the full panel and fit as one.

#71 evansisgreat

evansisgreat

    One Carb Or Two?

  • TMF+ Member
  • PipPipPipPipPipPipPip
  • 1,097 posts
  • Local Club: Not yet

Posted 28 July 2015 - 09:21 AM

I'll third that. I lined up the repair panel and decided it would be less effort to just replace the whole thing.

#72 James_eaton_thewholething

James_eaton_thewholething

    One Carb Or Two?

  • Members
  • PipPipPipPipPipPipPip
  • 1,063 posts
  • Location: Manchester

Posted 30 July 2015 - 08:27 AM

Great stuff,if i was you i would consider doing the boot floor as you are doing both arches the floor is normally really thin around the arches and those repair panels are poo.


I second that I done one of them repair panels in mine and have regretted it ever since they are so poor. If you can buy the full panel and fit as one.


I'll third that. I lined up the repair panel and decided it would be less effort to just replace the whole thing.


i did consider doing this but considering the boot floor is pretty solid and i didn't want to buy a new boot floor just to cut the front of the seat pan off. now it would also be harder for me to replace the whole panel as it is plug and seam welded to the heel board and i don't fancy the possibility of ruining the heel board. plus for some reason i like to make my life hard and accept challenges lol  :wacko:  :nuke:


Edited by James_eaton_thewholething, 30 July 2015 - 11:46 PM.


#73 James_eaton_thewholething

James_eaton_thewholething

    One Carb Or Two?

  • Members
  • PipPipPipPipPipPipPip
  • 1,063 posts
  • Location: Manchester

Posted 10 August 2015 - 09:15 PM

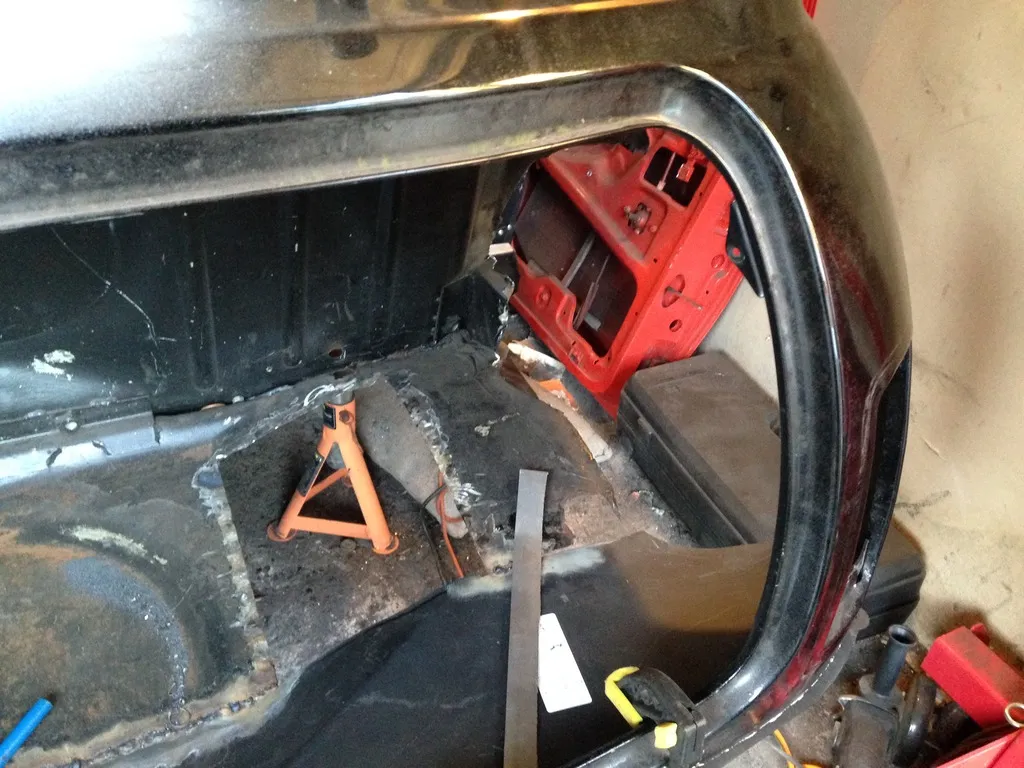
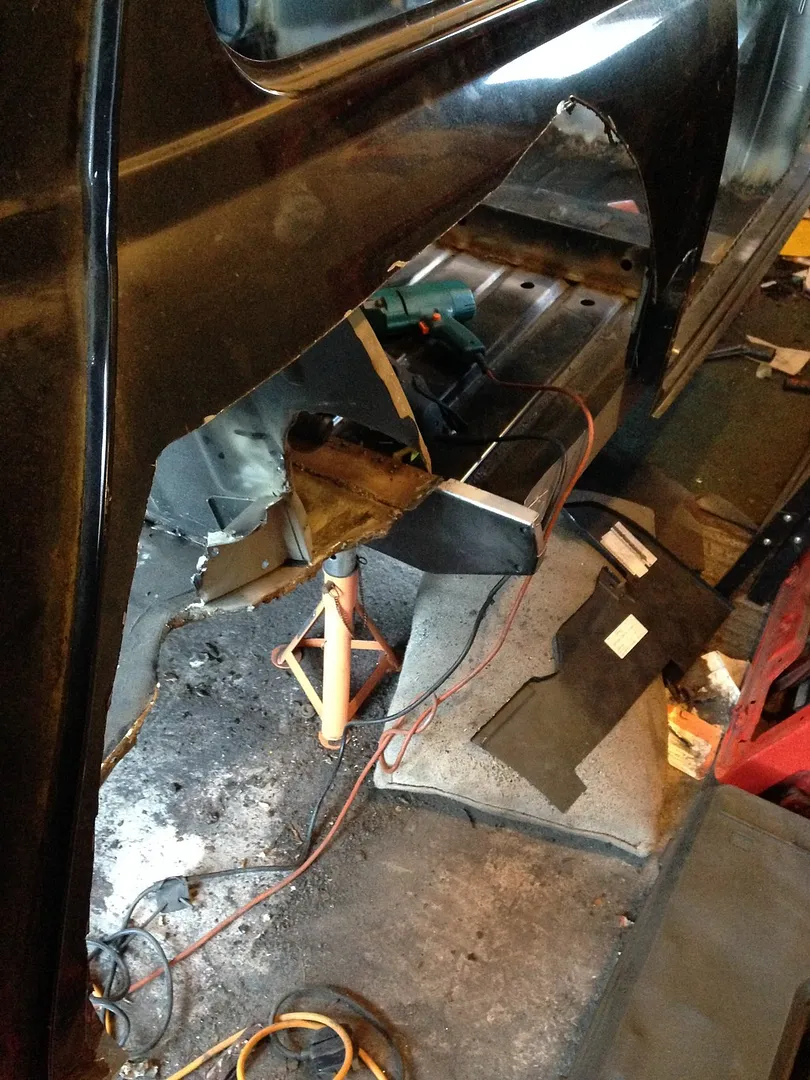
Not been able to get much done over the past couple of weeks due to work but getting back to a regular shift pattern so will be back on it.

4291F827-ED9E-447F-83F8-FE29E02D18F3_zps

Managed to get this panel lined up and partly welded in

1347021D-FFFB-409A-9705-6FE990D2BE94_zps

71FEDE55-2097-42DF-9F7C-5A73C75D43CA_zps

87FB2BDA-0A78-431B-8C57-07C84032B347_zps

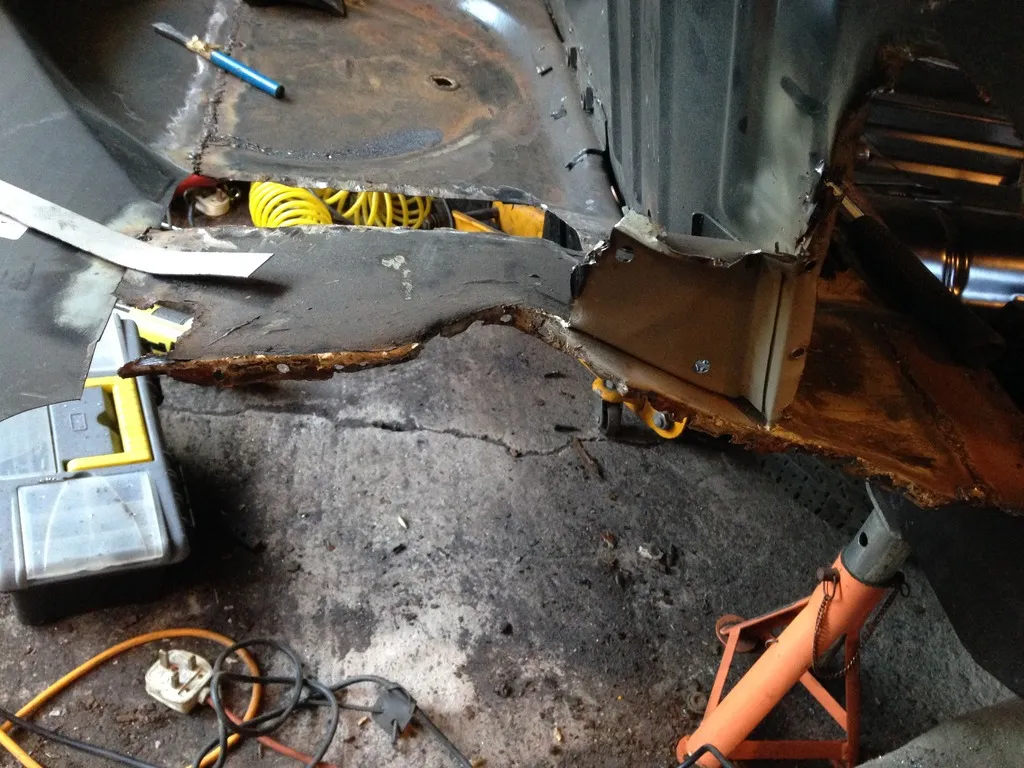
Got the drivers side rear arch out which wasn't to hard. Most of the flange is intact but I'm going to replace it anyway as I don't like how thin it is and want to make it all wider. Going to get all this side sorted including rear quarter before starting on the other side. got boot hinge repair panel and outer silks to pick up after payday on Friday and get everything else I need to finish it ordered for the month after when I get my over time pay. So I'm hoping end of September - mid October the shell will be ready for painting

#74 James_eaton_thewholething

James_eaton_thewholething

    One Carb Or Two?

  • Members
  • PipPipPipPipPipPipPip
  • 1,063 posts
  • Location: Manchester

Posted 12 August 2015 - 04:38 PM
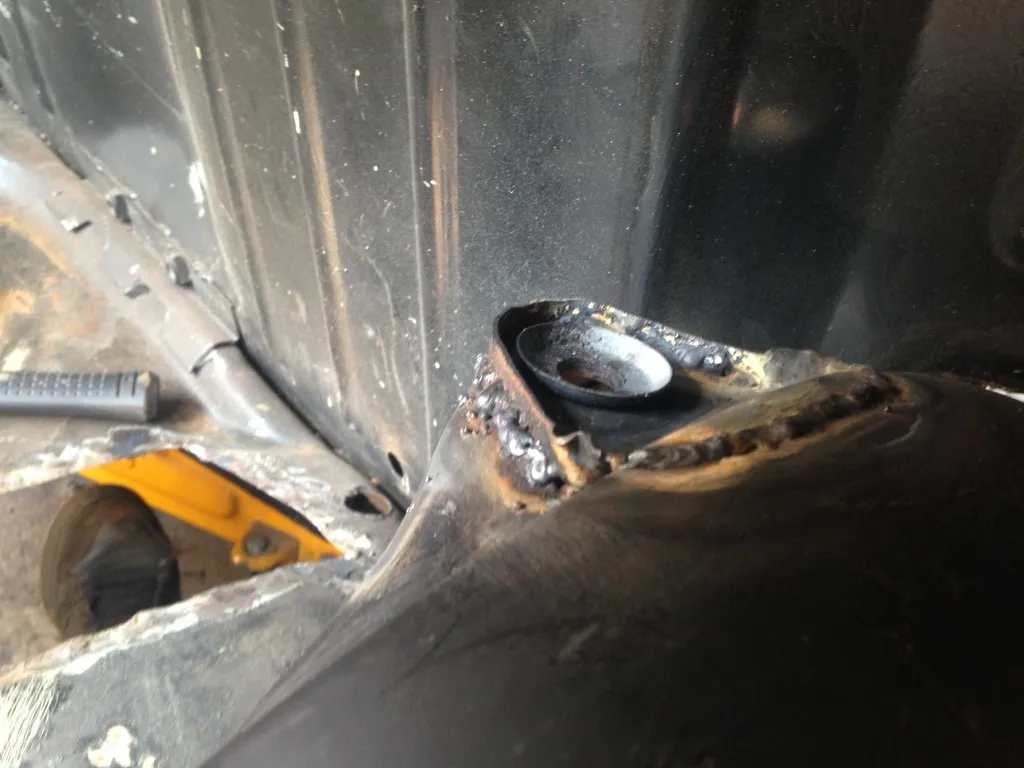
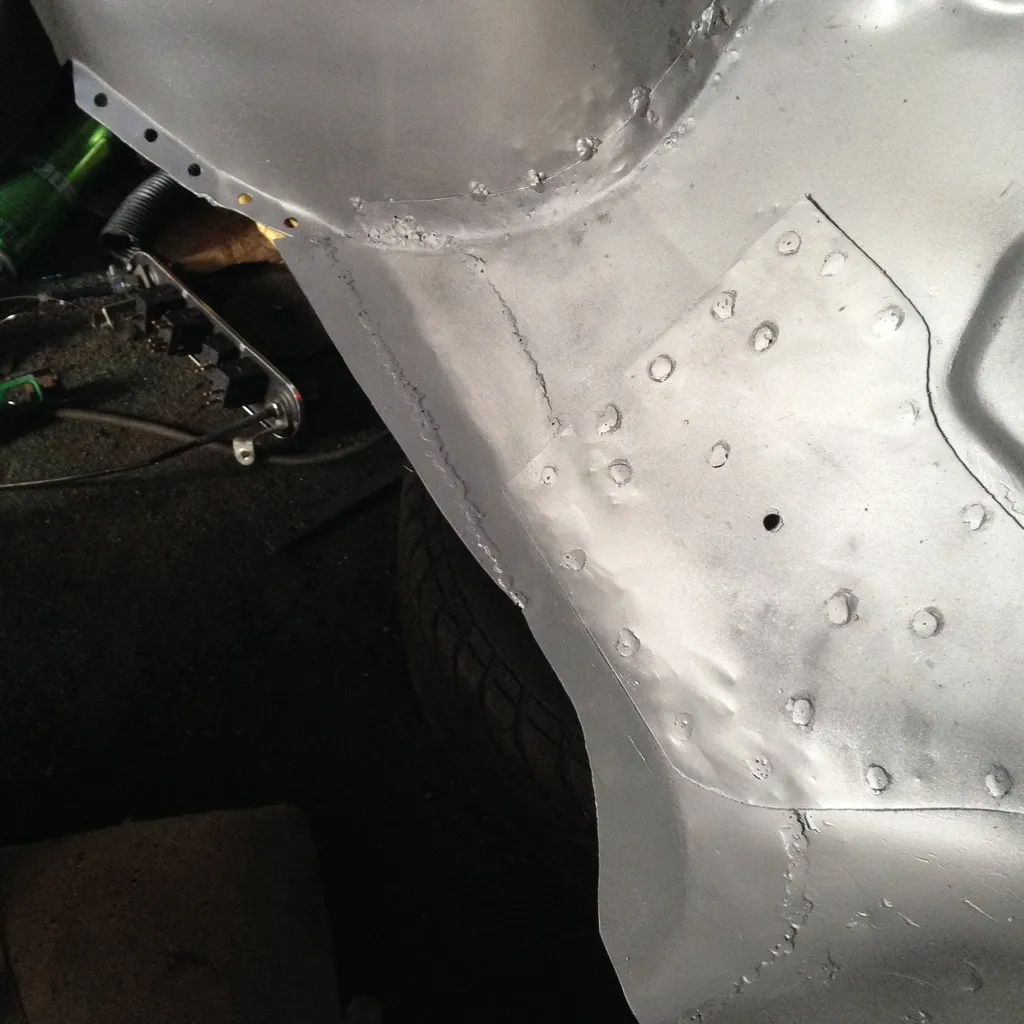
Got the lips cut off and re welded on today although only took a pic of the turret one before it was welded.

529A3795-E04D-4CD7-ABB9-8FBEF0A56DC8_zps

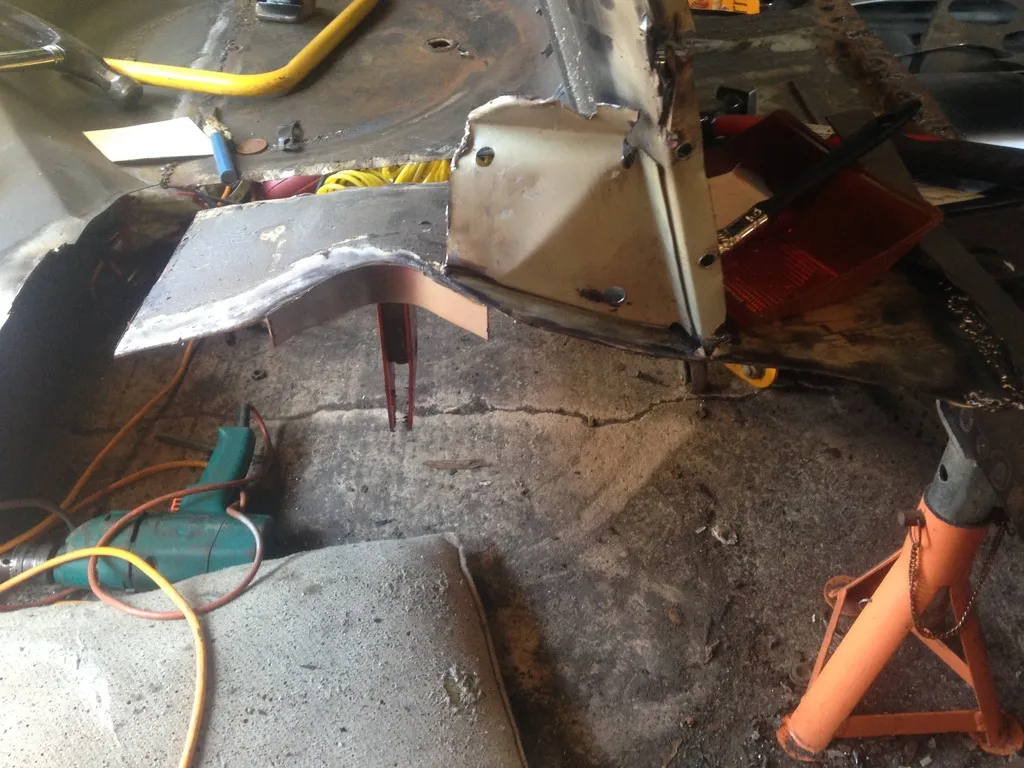
Also welded up the wings inside the arch to give them extra strength. Along with this I put extra welds on the part on top where the shock goes through so hopefully when using coilovers it won't pop off.

A451D65F-0E20-4E44-8183-9DE93E61012A_zps

C7C17EA2-9F07-4877-B421-B2FB4DC5AFDA_zps

Didn't get the arch welded in cause still got one lip to make and also need to shape the floor repair to make it follow the curve of the arch so that I can make the lip and then weld it to the arch. Also have to cut out another small section but nothing major the drivers side was worse than the passenger side plus I will know what I'm doing for the other side.

27850D17-D173-4B89-8F2F-2C696AA024D6_zps

Pic of the floor panel and arch as you can see quite a bit to cut to make fit but ah well it's all fun

#75 Ben_O

Ben_O

    Mill Road Garage

  • Paint Doctor
  • PipPipPipPipPipPipPipPipPipPip
  • 9,793 posts
  • Location: Isle of Wight

Posted 13 August 2015 - 10:16 PM

Good work James.


I am just about to tackle the same job on mine. I have already done one side so hopefully the other should be a doddle


1 user(s) are reading this topic

0 members, 1 guests, 0 anonymous users