Another Cg13 Conversion
#46

Posted 08 July 2015 - 07:42 PM
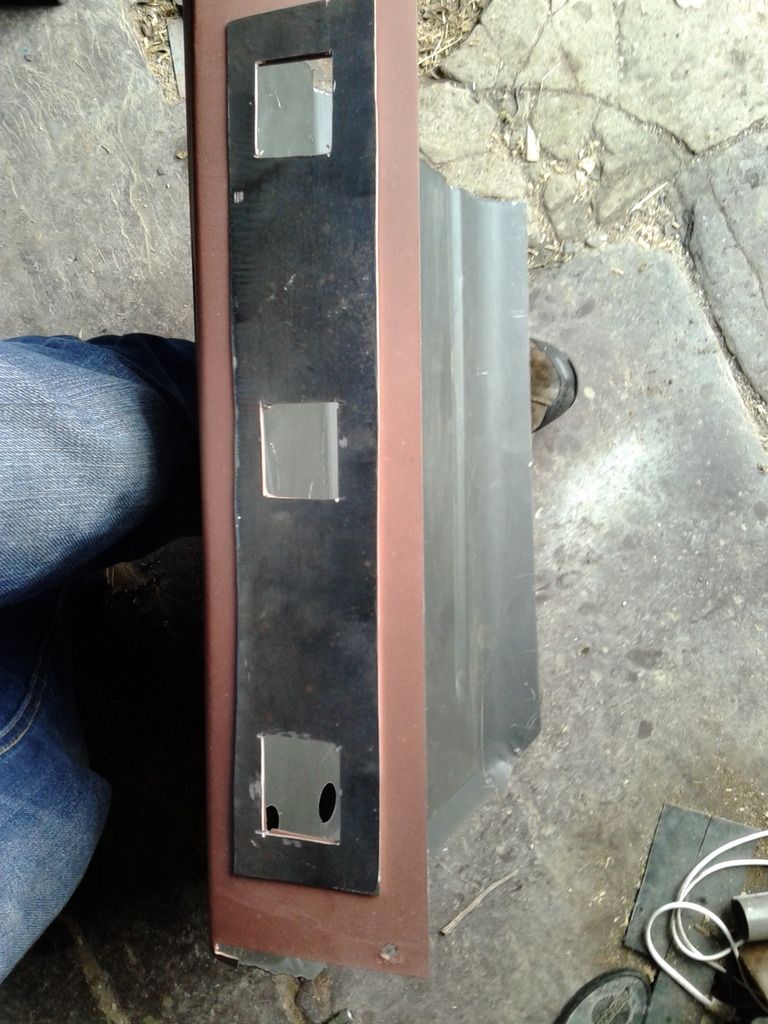
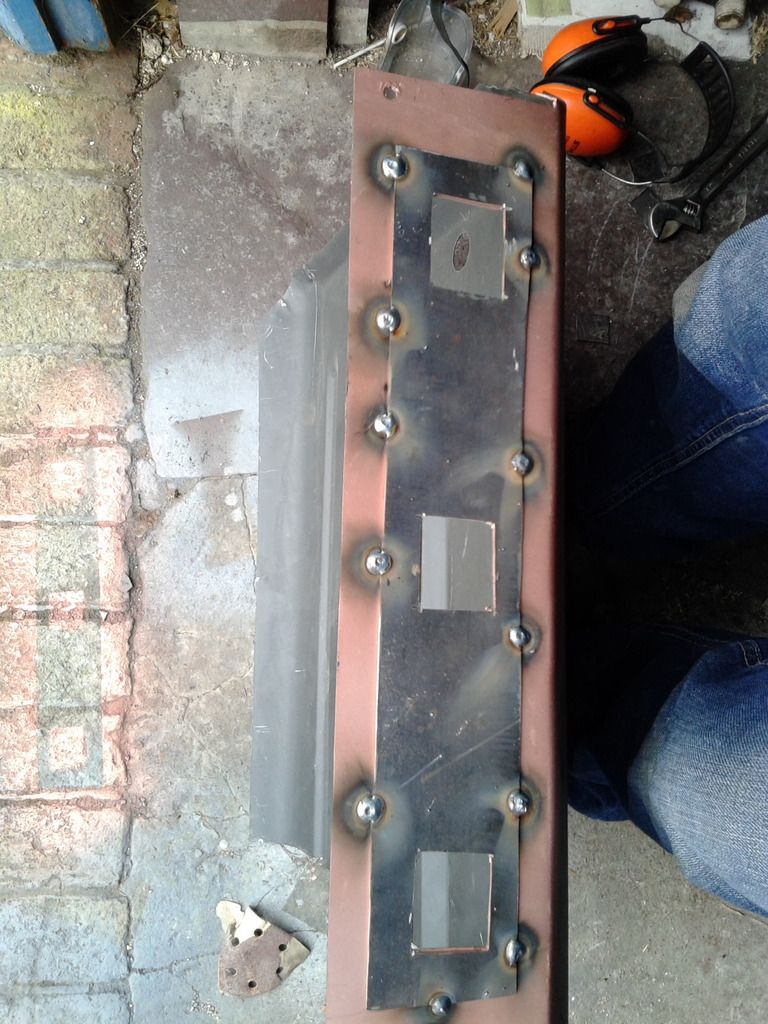
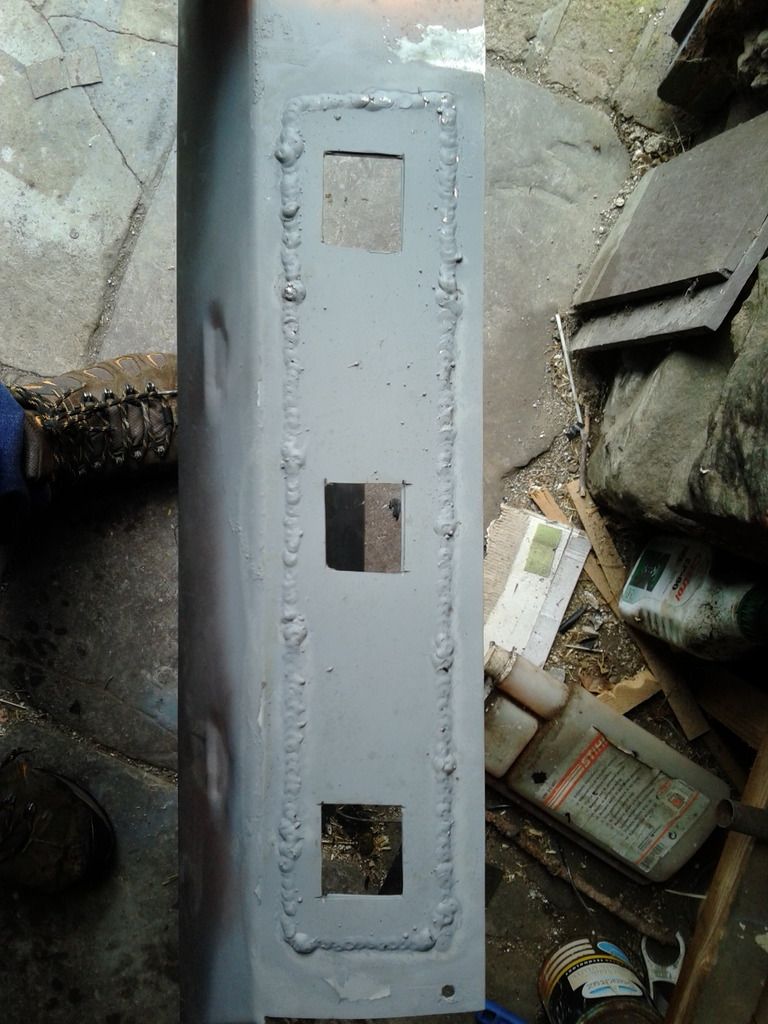
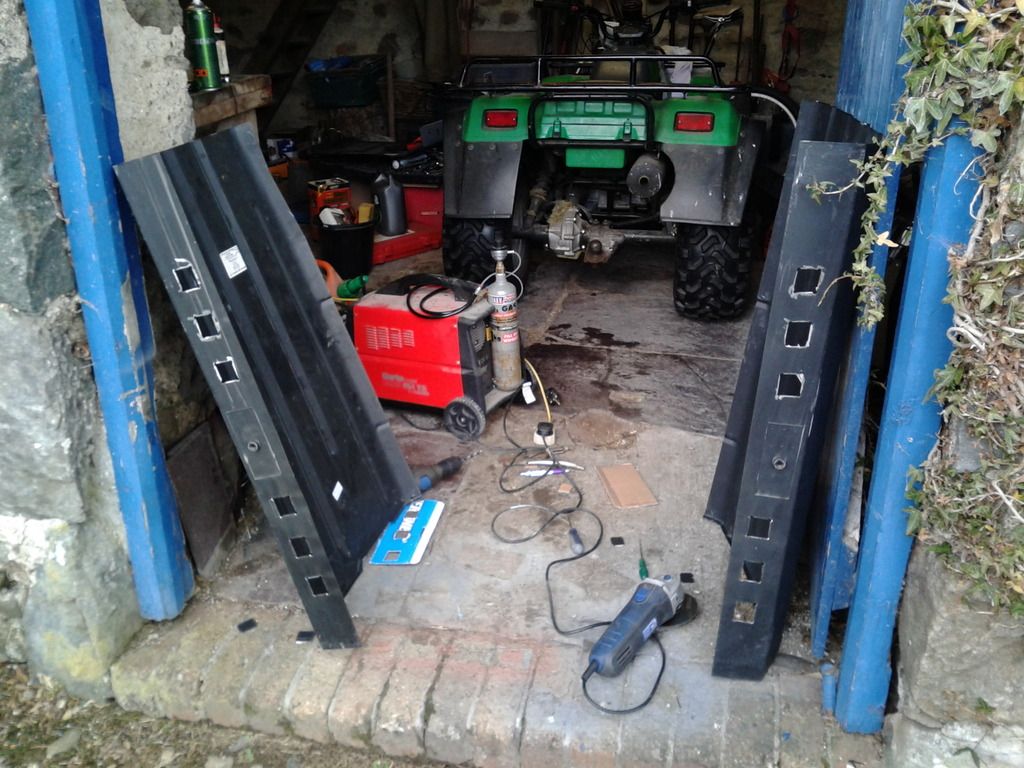
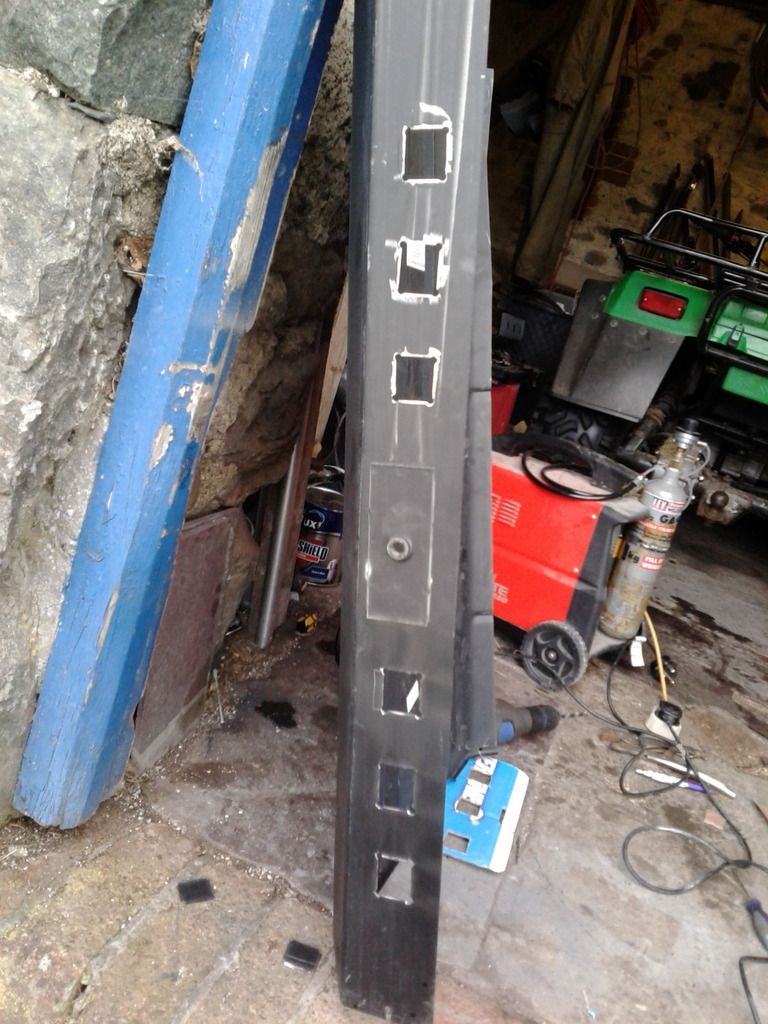
Please don't cut holes in your inner sills - the metal there (when it's not all rusty ;) ) is very important to structural integrity. If you wanted to you could drill a few 1/8" or so holes to stick a squirty tube through to treat the area, just make sure to dimple the holes to prevent them becoming a stress point and fracturing. And if you're going to weld in nuts for your cage make sure to reinforce the area around the nut with some 2"x2"x1/8" plate seam welded in :)
Keep up the good work mate :)
#47

Posted 13 July 2015 - 02:34 PM
Appreciate the advice miniobsessed. I spoke to one of the other panel beaters and a mechanic at work and they seem to think it would be perfectly ok to make some holes so long as they weren't to big and I compensated for them by strengthening around the hole. I am not trying to disregard anyone's advice here, hence my asking around for peoples opinions and finding a compromise between them.
My idea of a perfect mini is something that is designed from the start to be easy to prevent rusting and easy to work on so an awful lot of what I do will be bolt on, have lots of access holes, and be made of stainless or titanium.
I ordered a whole load of panels this weekend, mainly sill and floor stuff but I got the scuttle panel as well. I will need to remove the companion bins at some point as well because for the floor but also because of some dodgy looking patches on the box section that runs through them. I hope I don't have to cut apart the rear quarter panels to deal with this.
Pics will follow at some point
#48

Posted 15 July 2015 - 04:57 AM
And if you're using stainless I would suggest increasing the thickness by at least 50% of whatever you're replacing as the shear strength is typically not as good as steel and it will work harden if placed under stress and may fracture.
Keep it up!
#50

Posted 28 July 2015 - 07:40 PM
I hope I don't come off like a broken record and feel free to take it or leave it :) The strengthening is definitely a good idea but there are a couple of easy things you could do to make it work better and be safer as the sills are under a lot of stress.
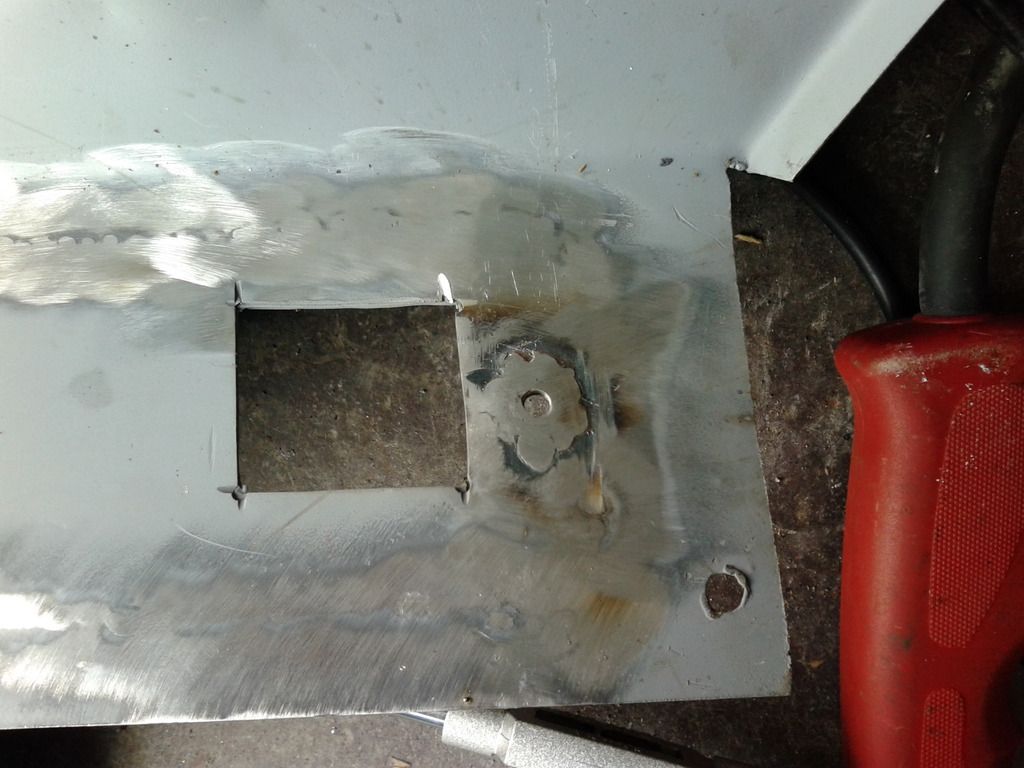
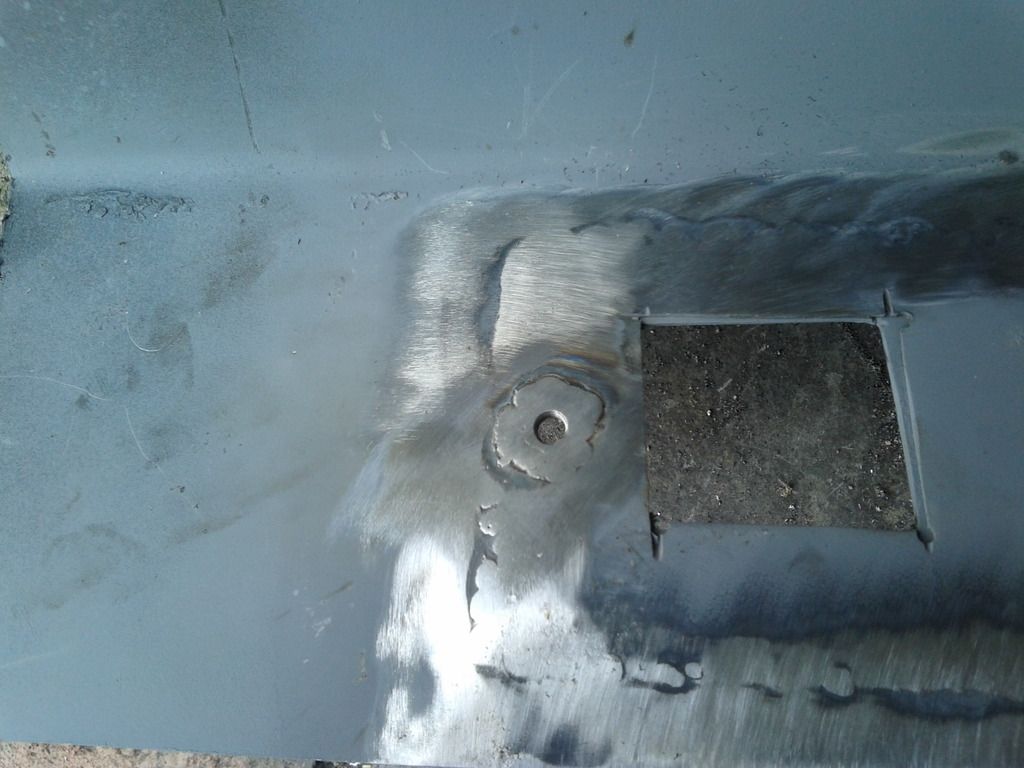
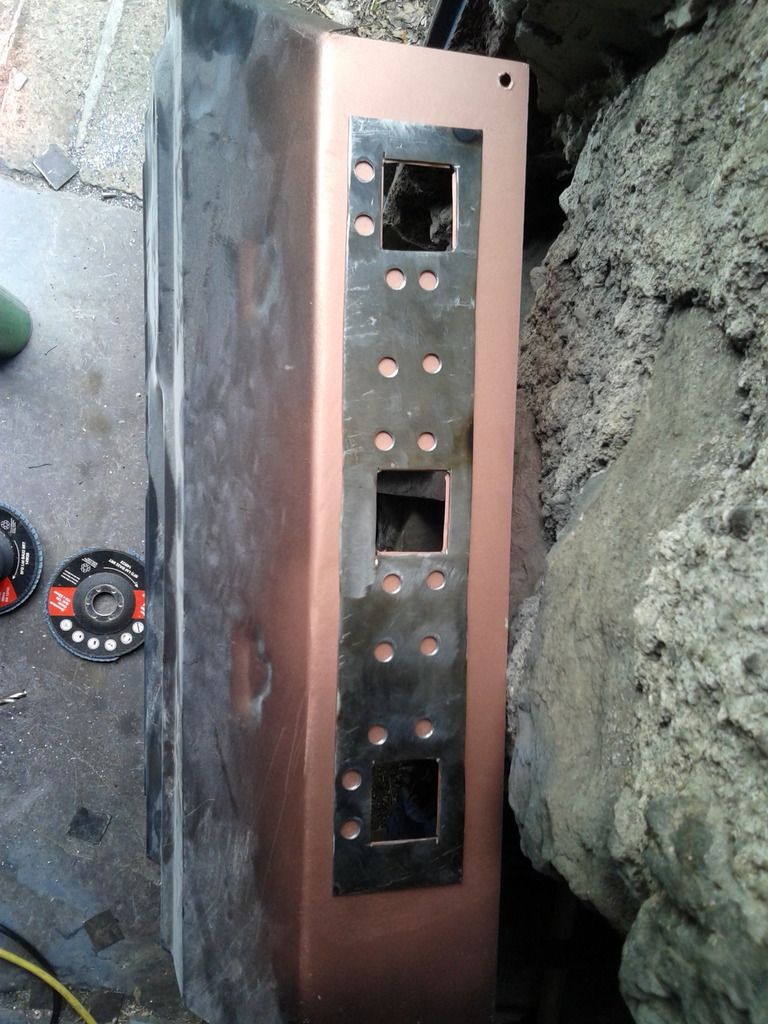
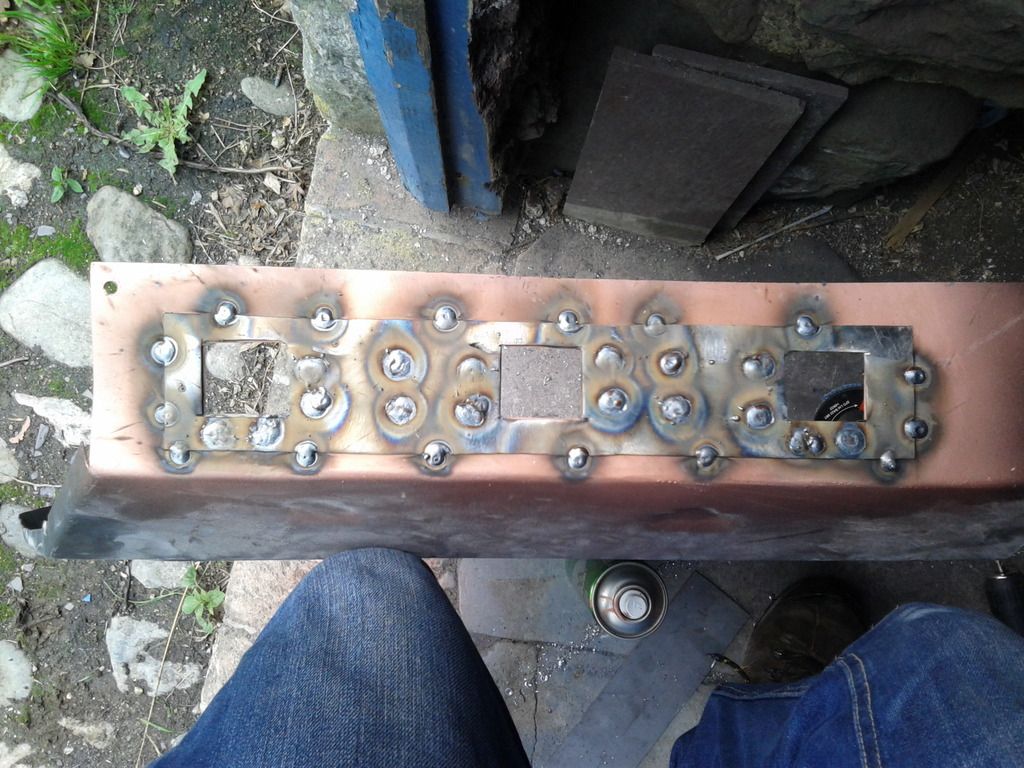
I would drill some holes in your strengthening panels around the access holes and in the large solid areas so you can plug weld them to the sill as well as seam welding to make it more of a uniform structure. You could do this retroactively on any existing panels by drilling through both panels and then backing the weld with a decent bit of aluminium.
And to prevent any nasty fractures in the future you really need to get a generous radius in the corners of your access holes. Easiest way to do this, and stop the blow out with the grinder which is introducing a major flaw in the structure, is to drill out the corners first with a 3/8 drill and then join the dots with the grinder so you just kiss the top of each of the holes. A jigsaw with a metal cutting blade is a good alternative to a grinder too. And then a light sanding to knock off any sharp edges.
Looking forward to your next update :)
#51

Posted 28 July 2015 - 09:33 PM
#52

Posted 29 July 2015 - 03:44 AM
Just found this thread and loving it so far. best of luck with the project cant wait to see your progress
#54

Posted 30 July 2015 - 04:16 PM
#55

Posted 10 August 2015 - 12:16 PM
#56

Posted 18 August 2015 - 07:55 PM
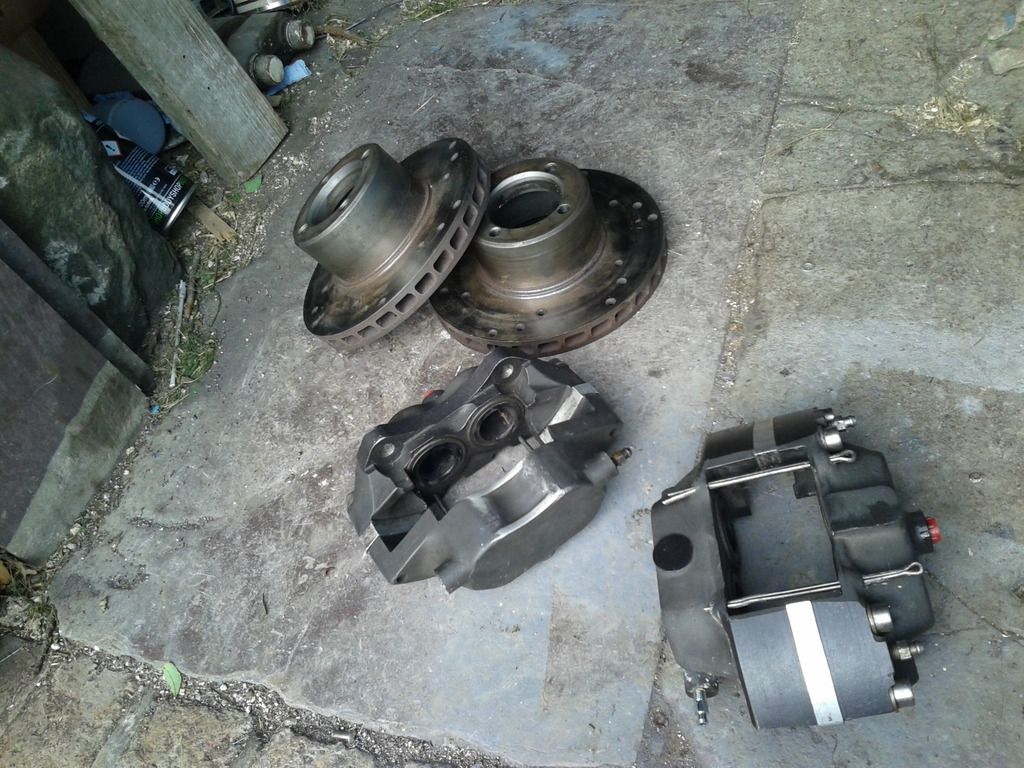
Hi all, have made very little progress since the last update, been working weekends and not really felt like doing anything after work. I have however got some kad 4 pot front brakes and the subframe should (touch wood) be arriving this Friday, at least I hope it does because I had to take the day off work to sign for it. At any rate I will be doing more sparky hot stuff on Friday I will also upload some pics :)
#58

Posted 21 August 2015 - 03:27 PM
So got a little bit done, the front floors are now finished, just need to give them a quick blast with the sand blaster where I primered (sure that should be a word) and re paint them because I unwisely used a grinder next to the drying paint ![]() . Tomorrow I have pretty much the whole day off so I WILL start on the rear floors then unless life stuff happens.
. Tomorrow I have pretty much the whole day off so I WILL start on the rear floors then unless life stuff happens.
Figure I will get them all done at once so I can fit them all one after the other rather than fitting one, then modifying the next ect
#60

Posted 15 September 2015 - 01:08 AM
Good to see you're still at it - Hopefully you get some more time for it soon.
1 user(s) are reading this topic
0 members, 1 guests, 0 anonymous users


