Carryign on with the sills, I've started to mock it up: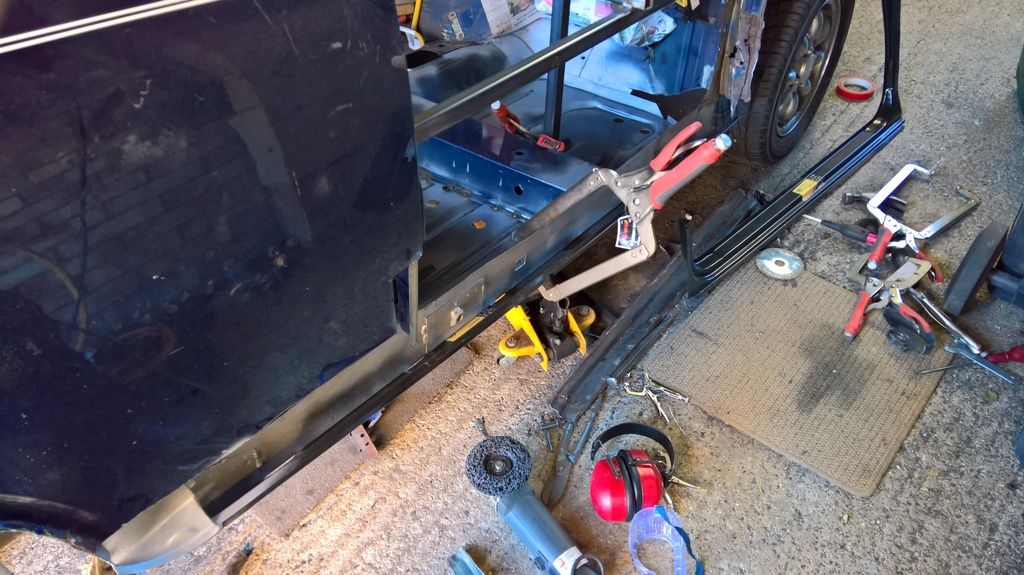
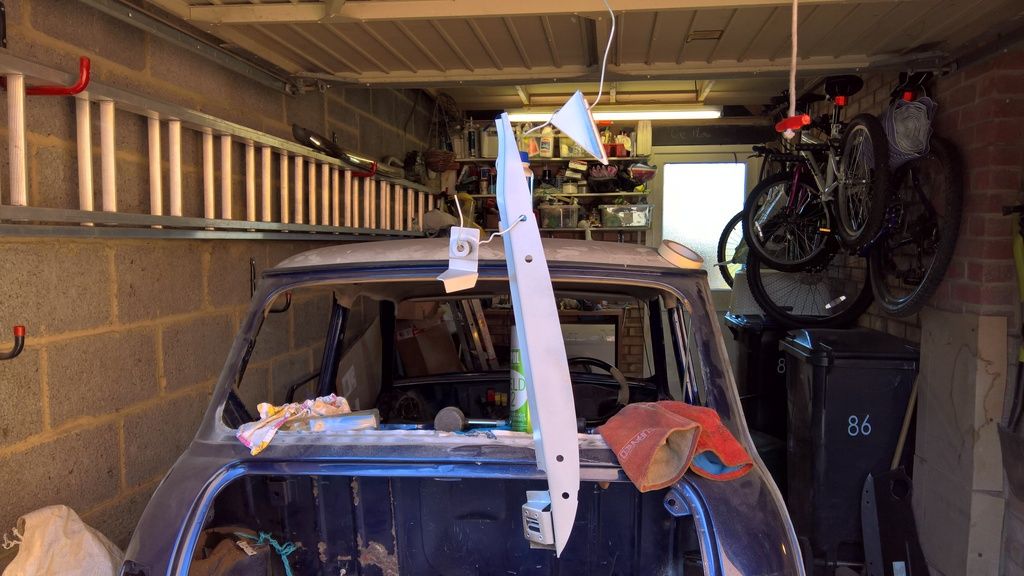
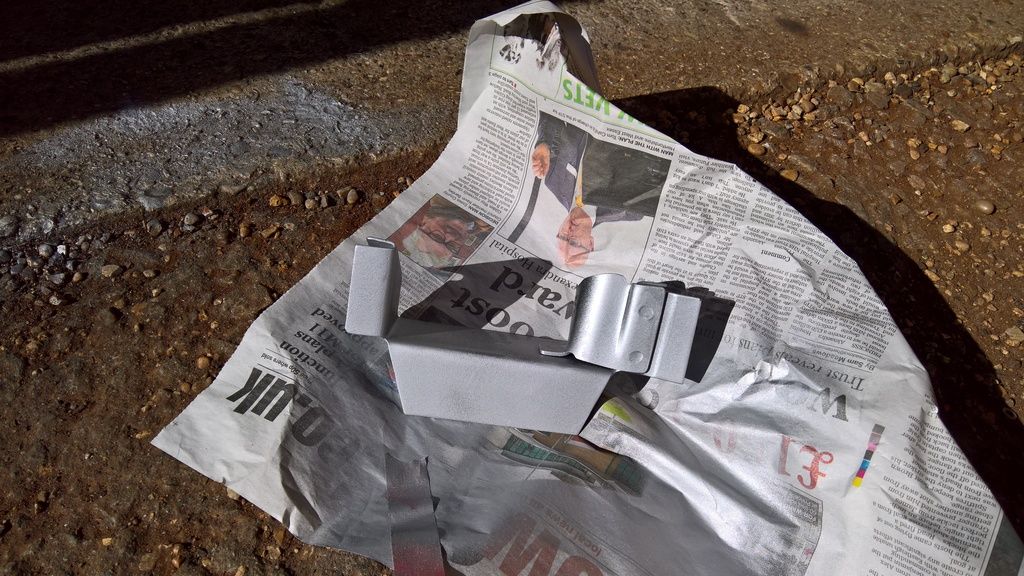
and started to prep some of the panels:
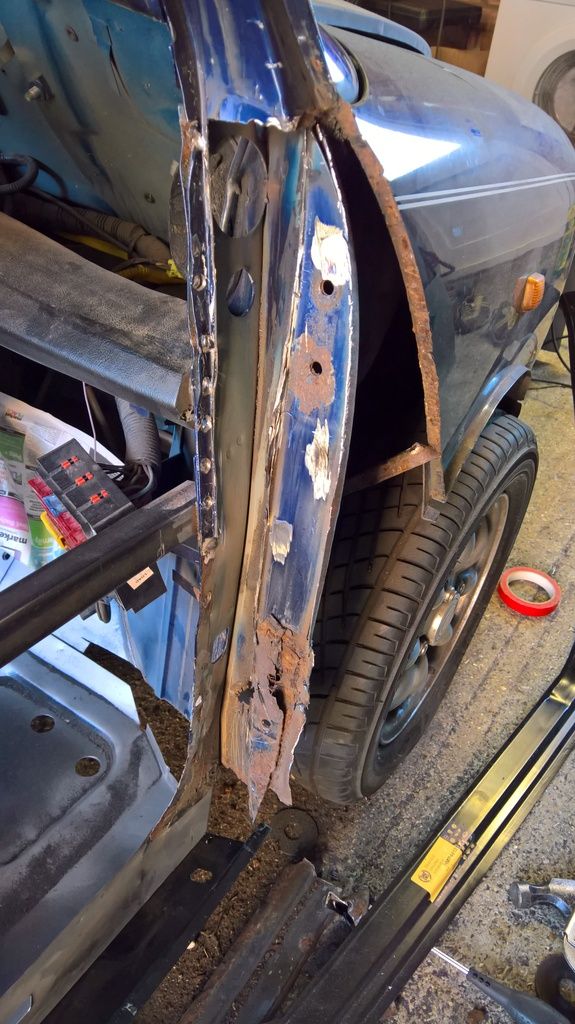
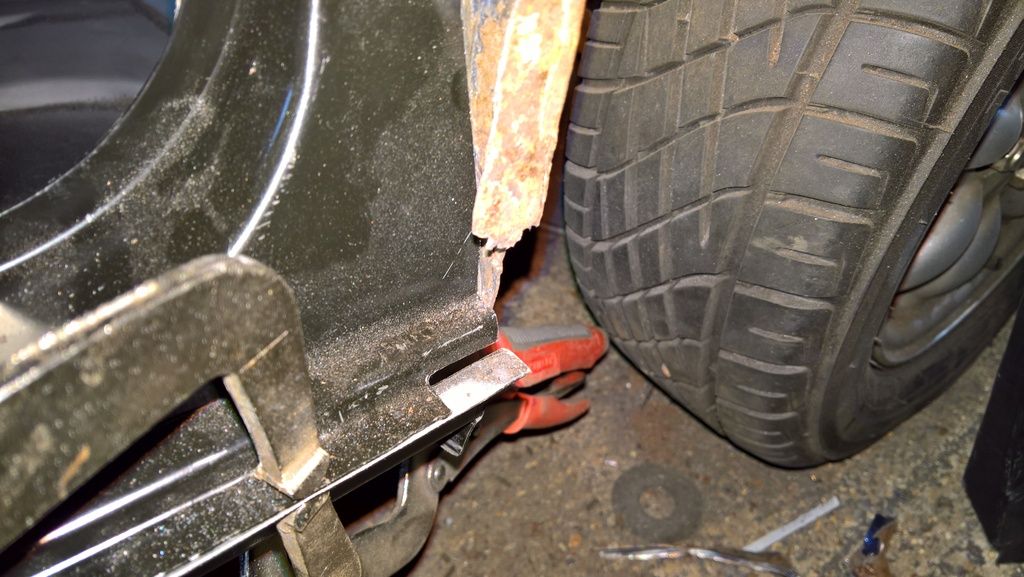
Not too sure how this corner is going to turn out...

Posted 13 March 2017 - 06:45 PM
Carryign on with the sills, I've started to mock it up:
and started to prep some of the panels:


Not too sure how this corner is going to turn out...
Posted 19 March 2017 - 10:37 AM
Doesn't look like I've done much, but after a trip to Minispares I've nabed myself a new companion bin and rear 1/4. So on with the prep!
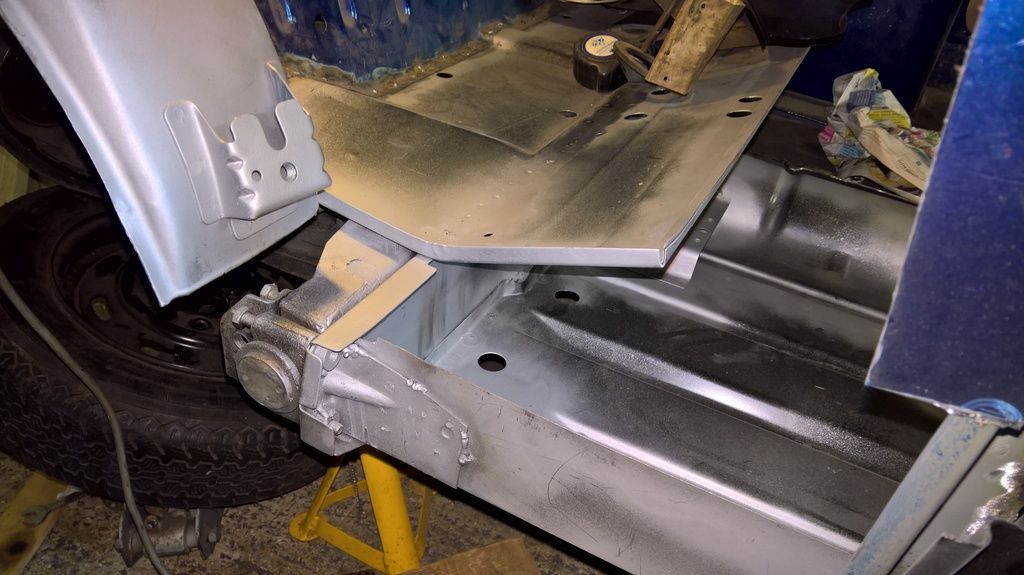
Got everything ready for the bin (after lots of paint stripping and zine spraying)
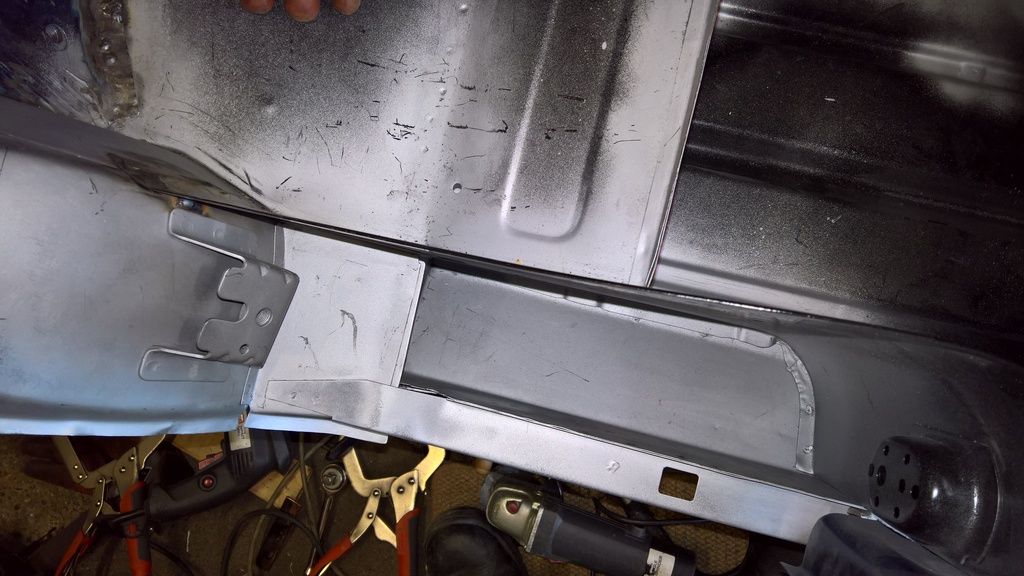
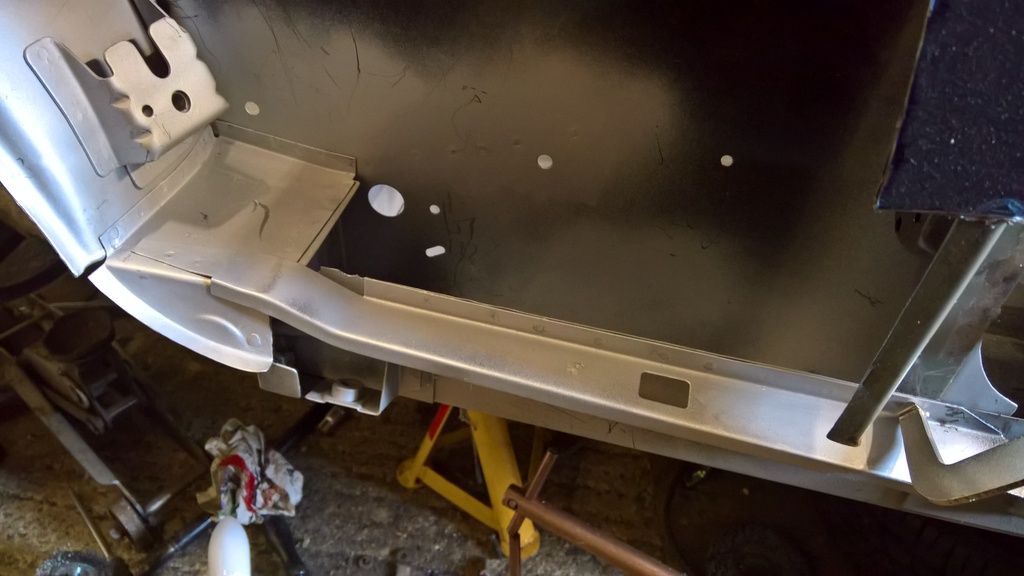
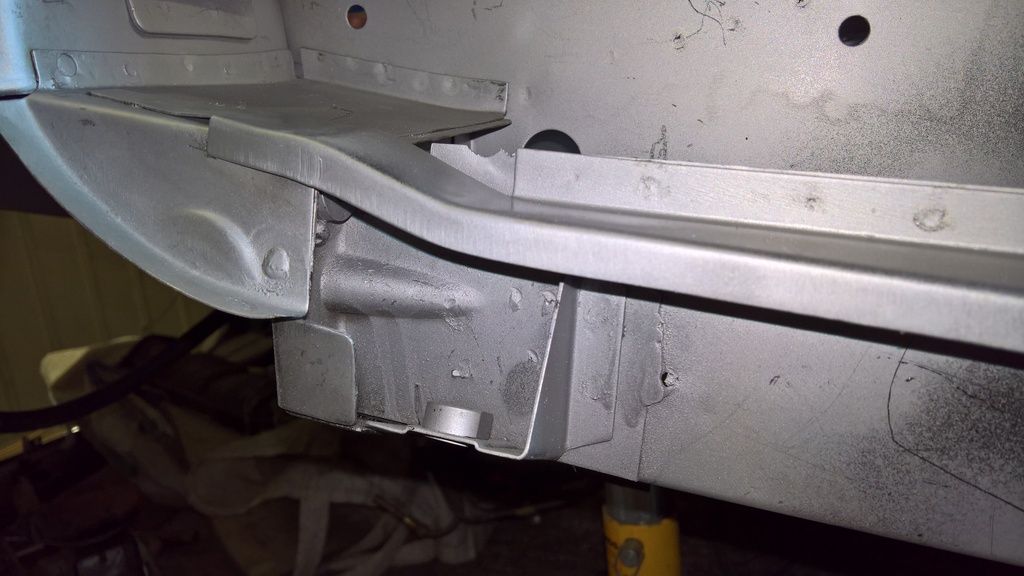
Also got the sling bracket thing in too. Next job, door step!
Posted 19 March 2017 - 02:05 PM
Coming along nicely, looks like some good quality workmanship there, keep it up.
Posted 22 March 2017 - 08:13 AM
Lots more done! Took ages fettling the doorstep, but finally got it in. The door was on and off more times than the Scottish referendum, but it all lines up nicely!
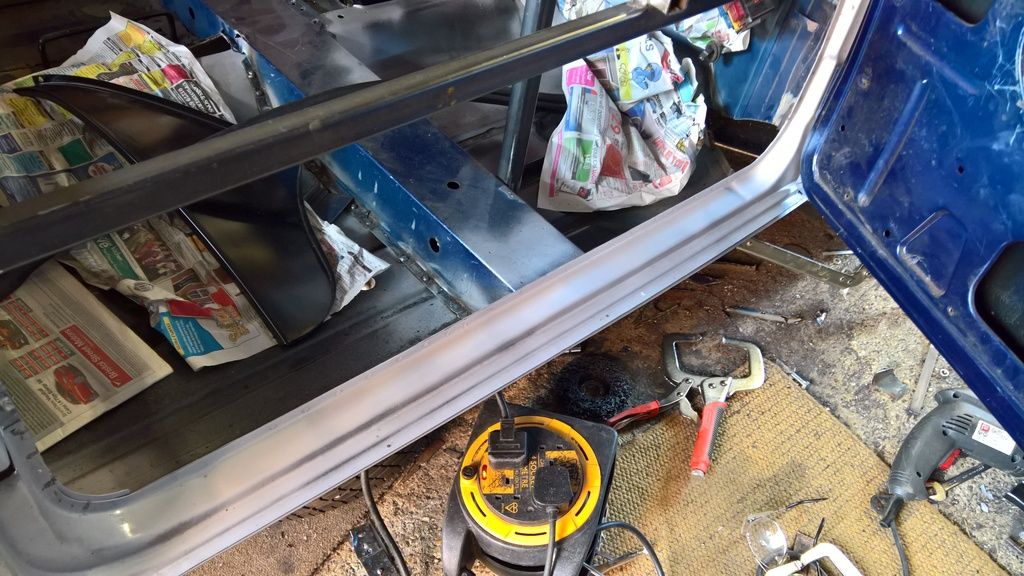
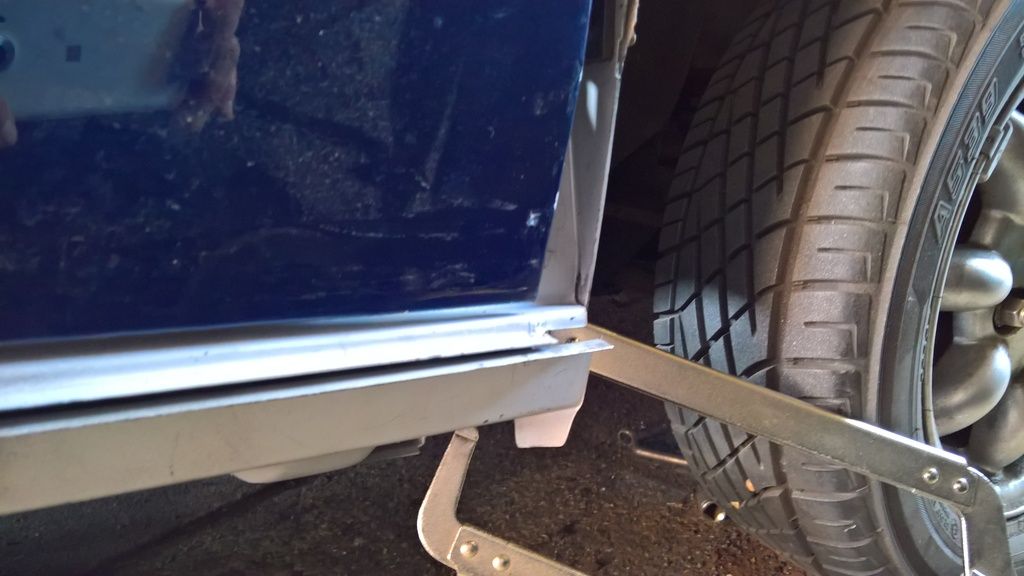
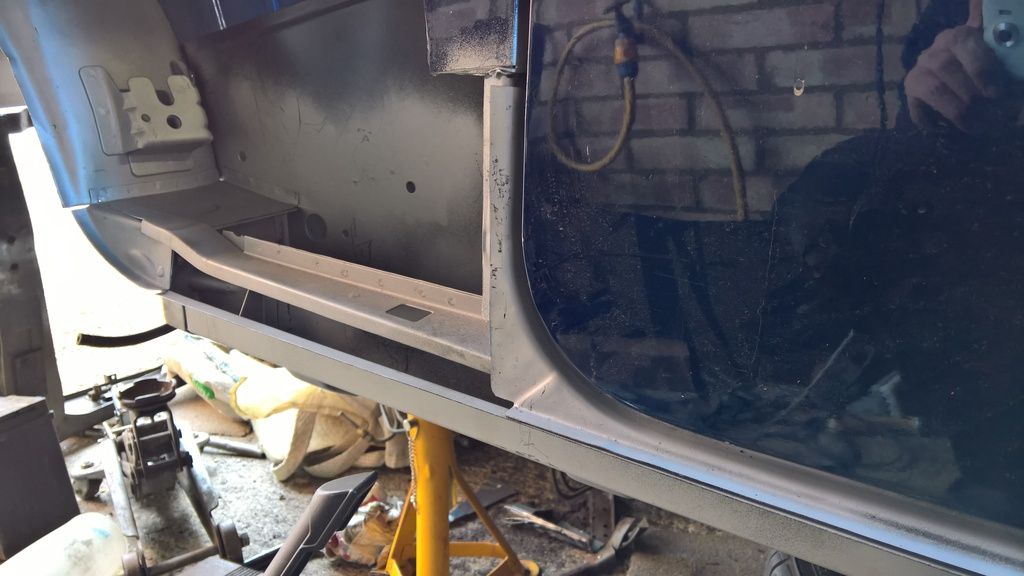
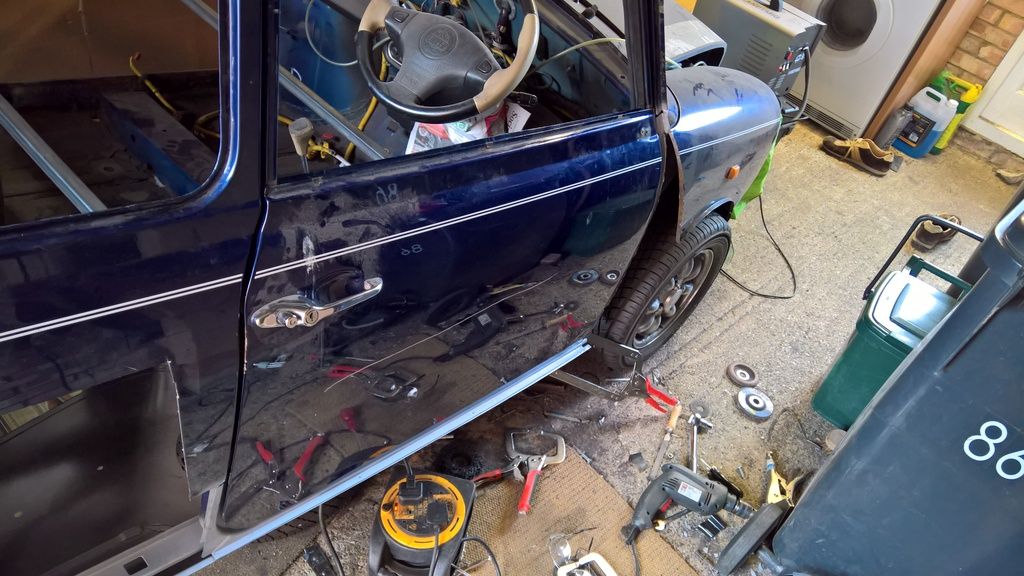
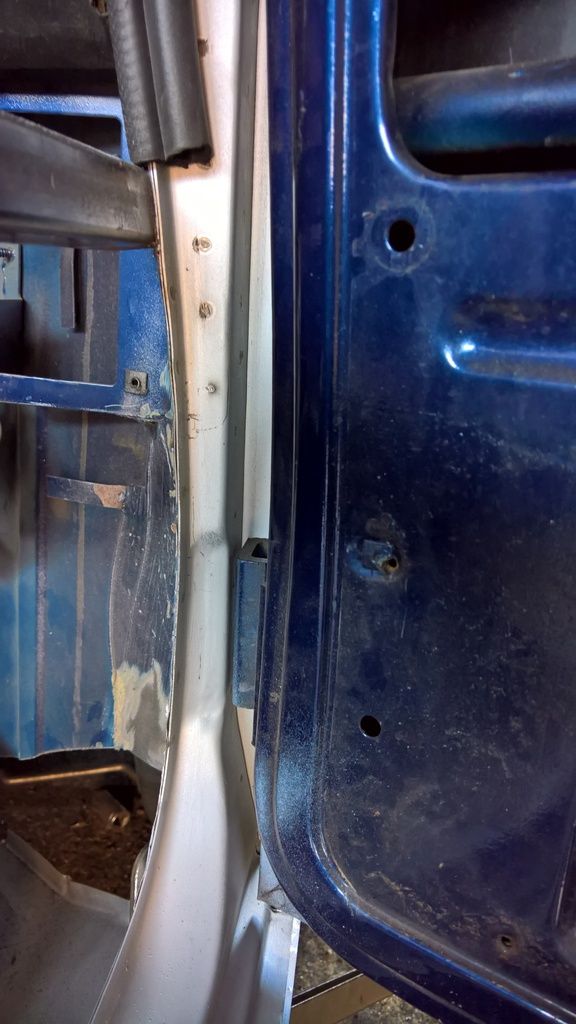
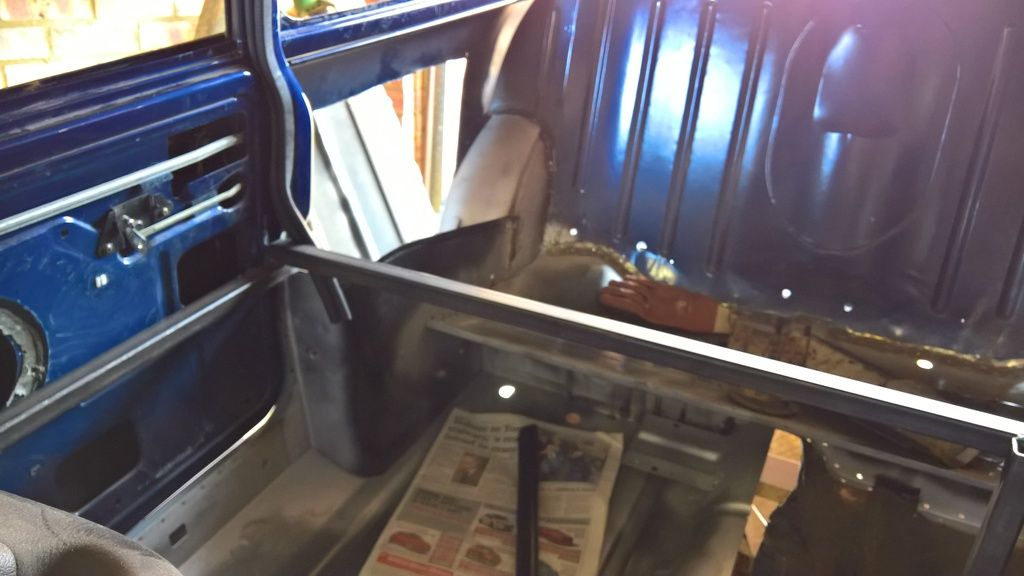
Starting to look more like a car again...
Door skins will be replaced, so not too worried about gaps at the moment, but it looks the same as before ![]()
Posted 22 March 2017 - 06:41 PM
Had a bit of a setback today... After being so proud of my efforts on the door step and hwo good the spot welds looked, It was time to offer up the rear quarter panel:
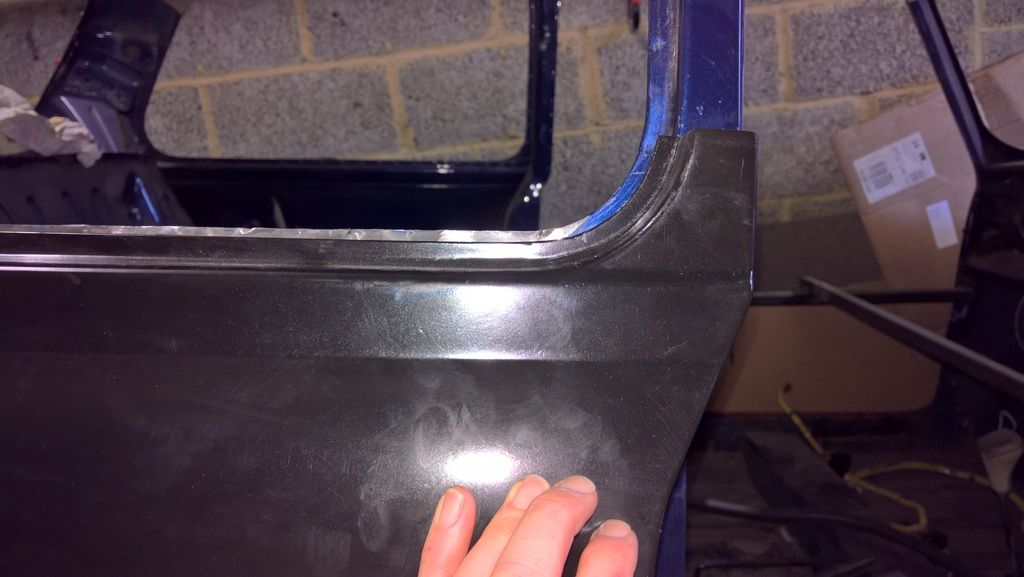
As you can see its sitting too low!! I had stupidly welded the door step 5mm lower than it should have been. Not sure how I made the mistake, I think I just assumed the slight gap between the bottom of the door and the step would be fixed with some welding rod when I do the door.
Anyway after deliberating what to do, I unpicked my lovely spots welds and now it fits!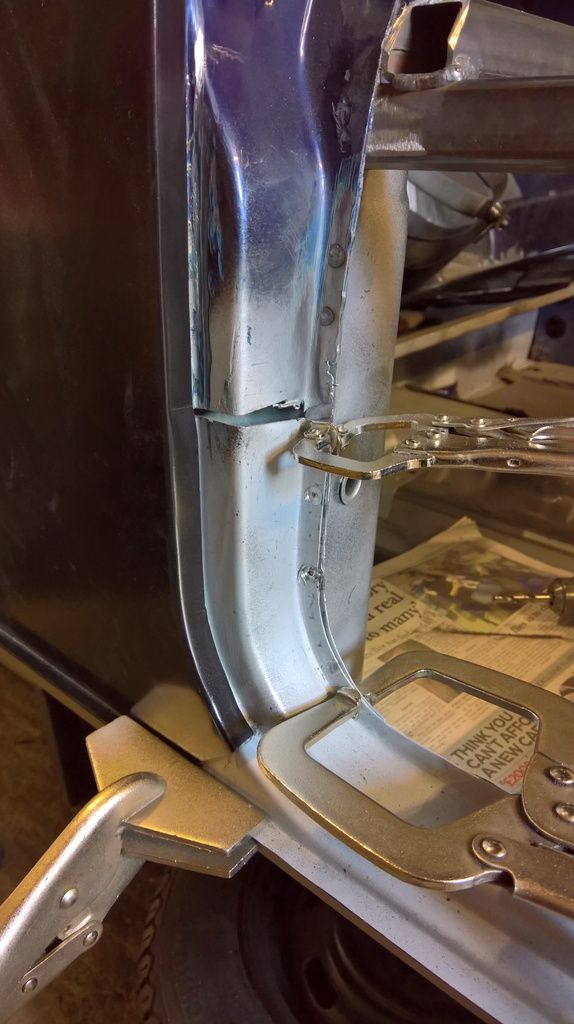
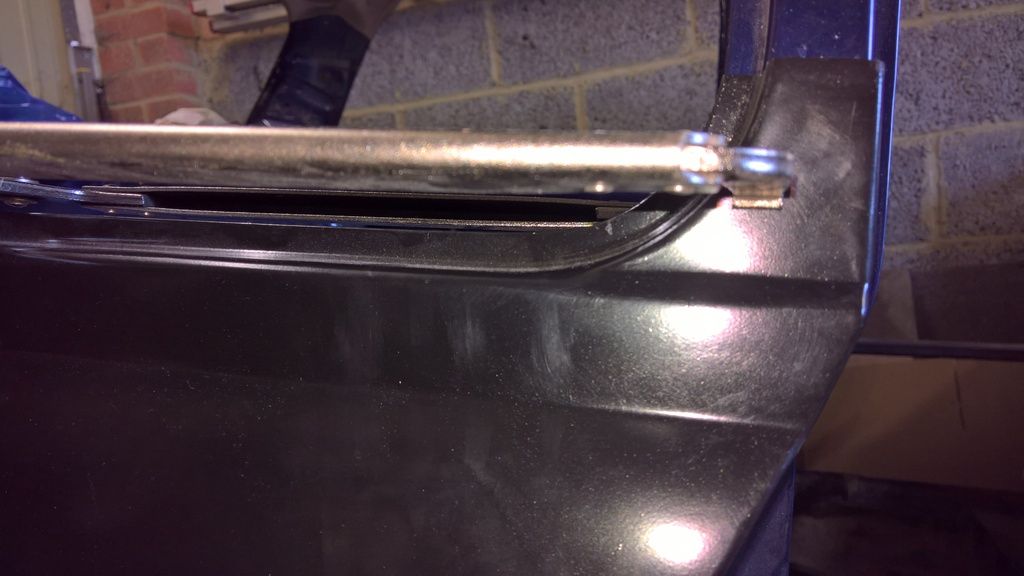
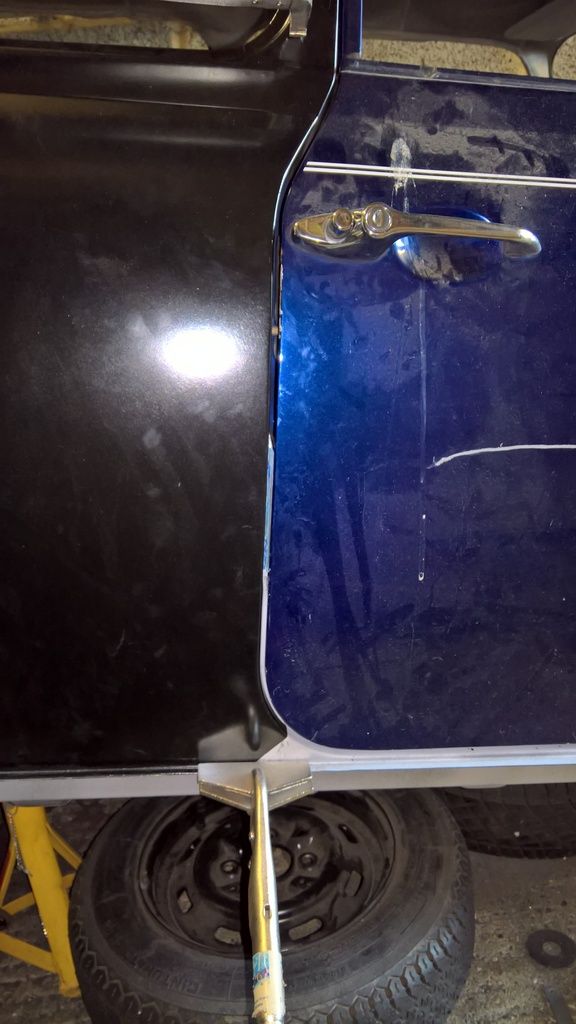
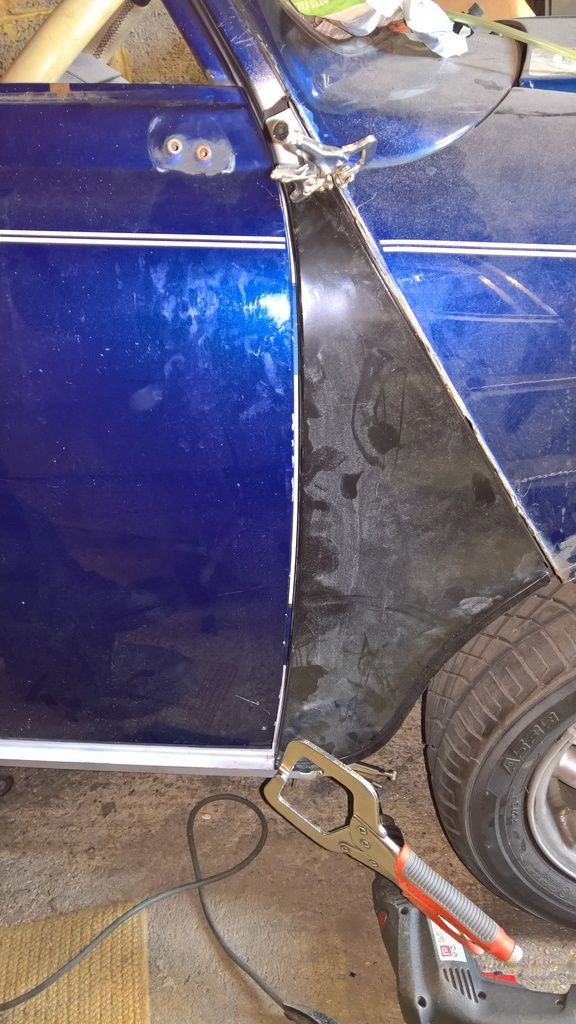
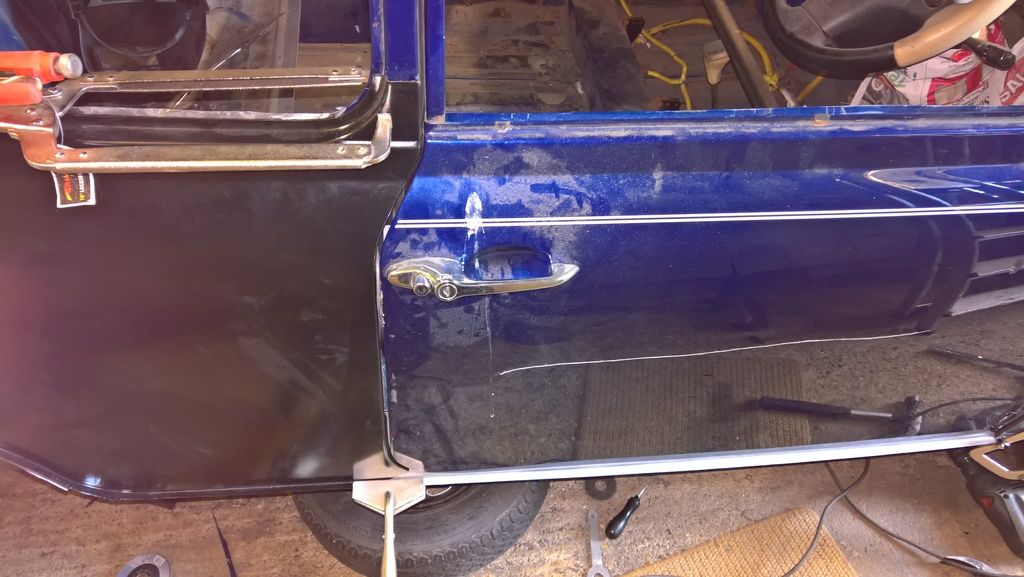
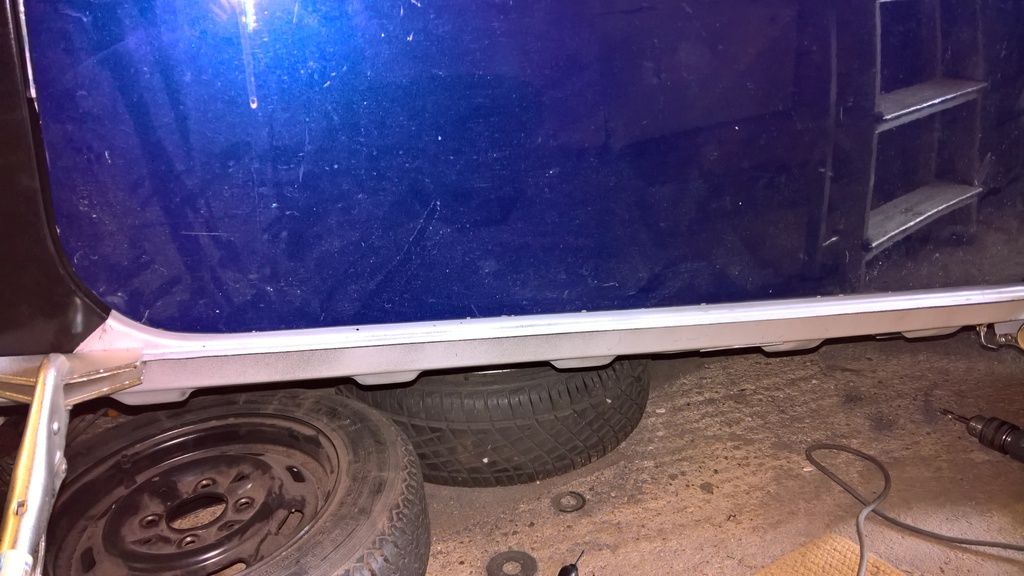
and much better door gaps!
Posted 29 March 2017 - 05:36 PM
So onto my first bit of detailed work now. I'm quite anxious about bodywork that is on show, as the joins in the door step will be, so I've been extra careful and taken my time with it. Hopefully it'll look perfect!
I started with the B post section:
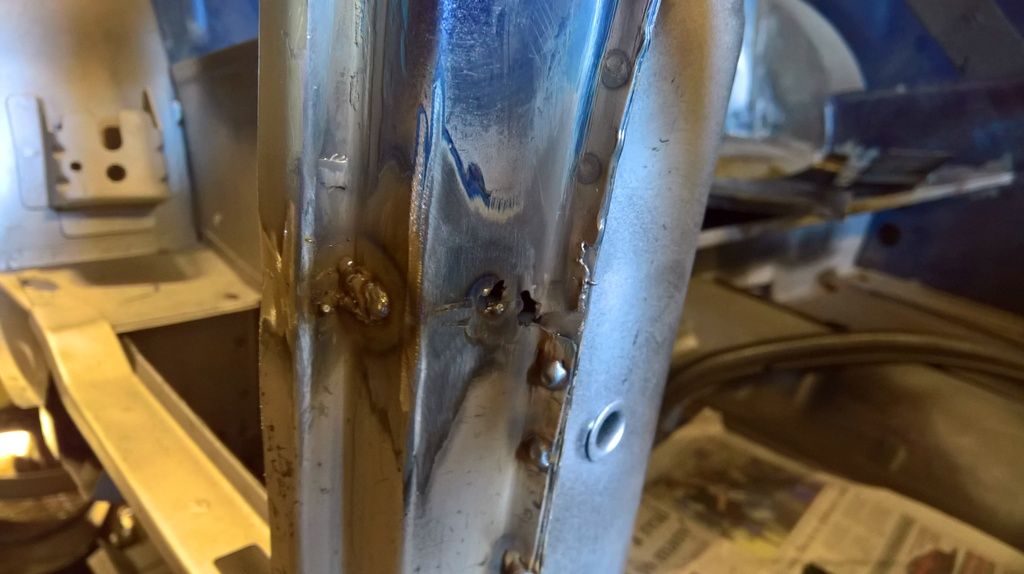
Bit messy, but eventually chased all the holes out!
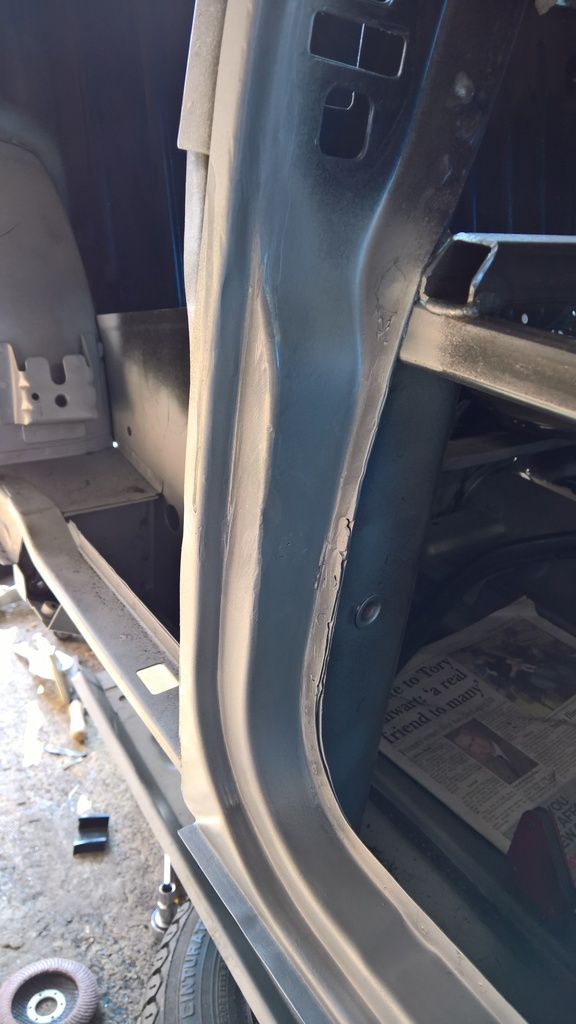
Needed a bit of filler:
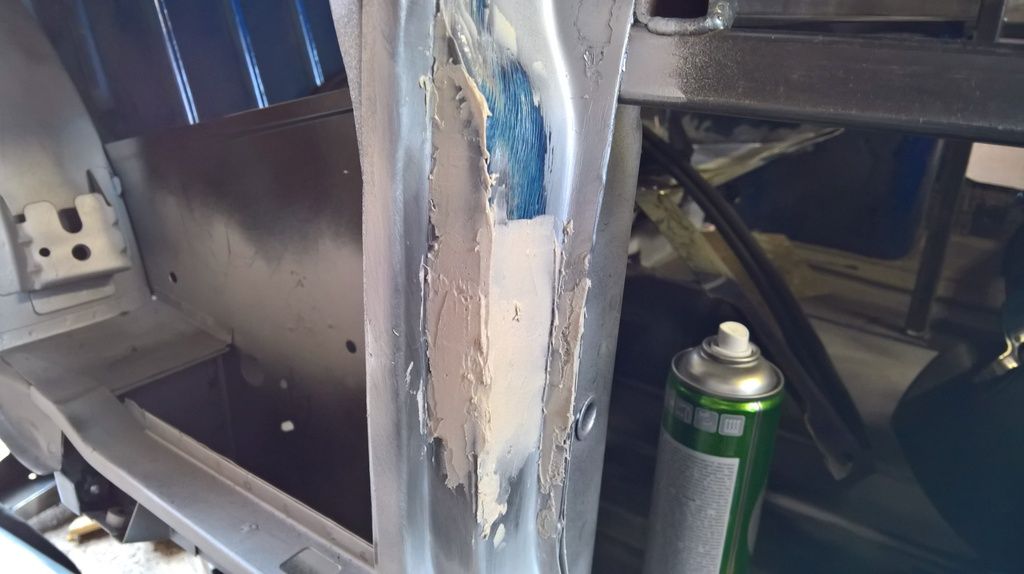
and after a lot of sanding, I'm here:
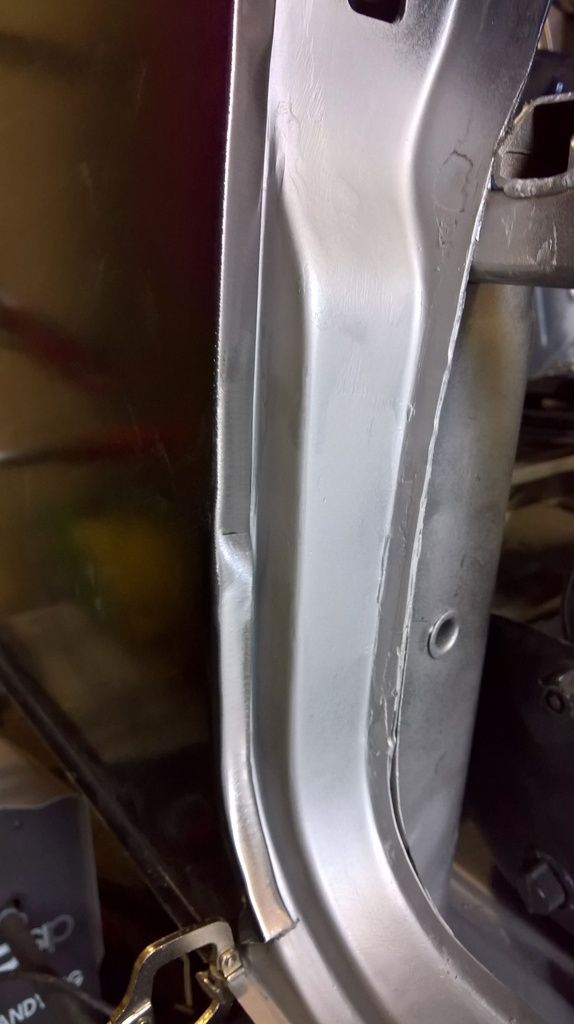
The front face is very good, but the side needs some work (you can see where I nicked the edge at the top with a grinding disc), so will re-fill that and sand back.
Carried on and started on the front:
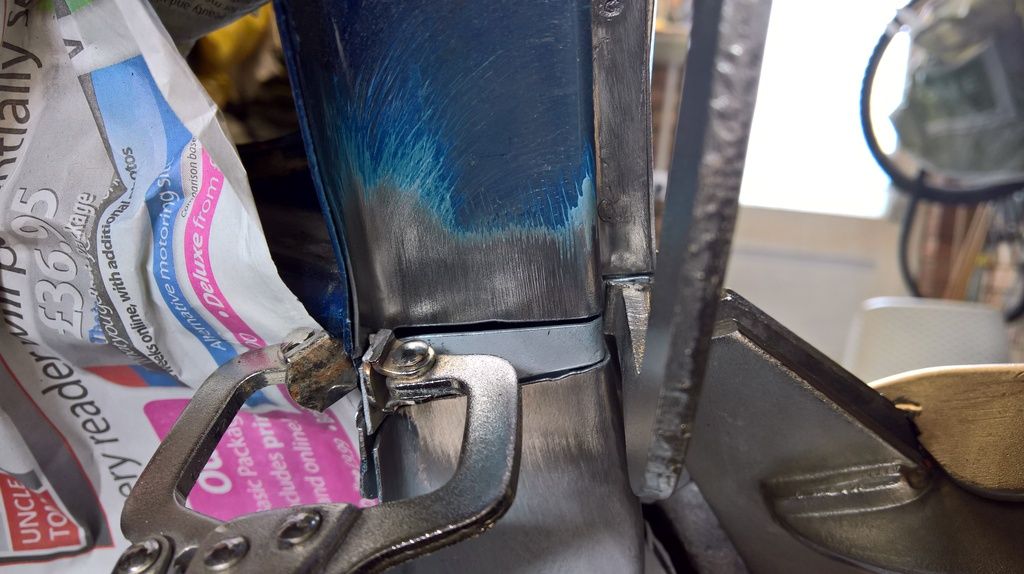
Went a lot slower with the welder (basically tack welded bit by bit) and gave much better results:
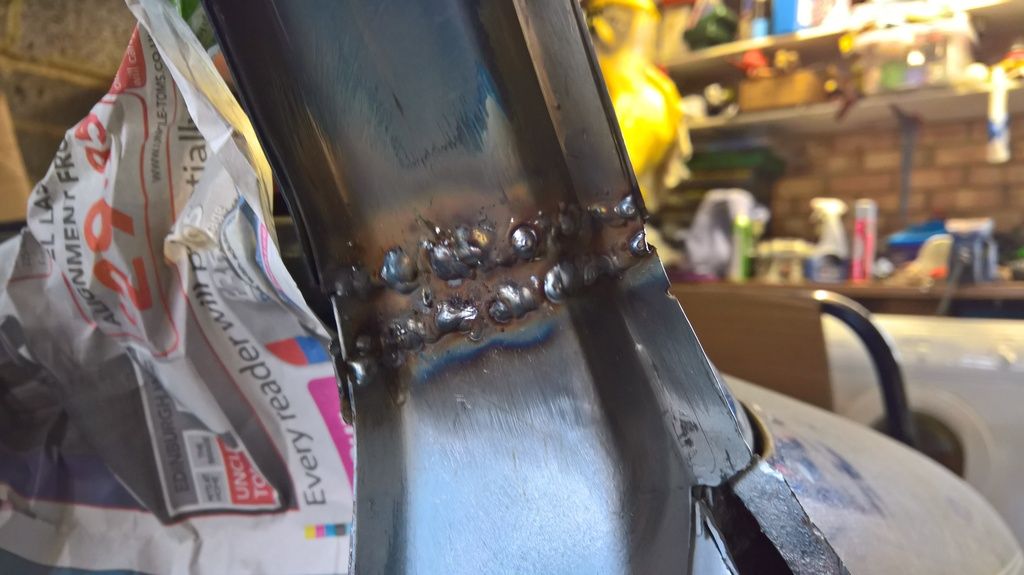
whacked some filler on:
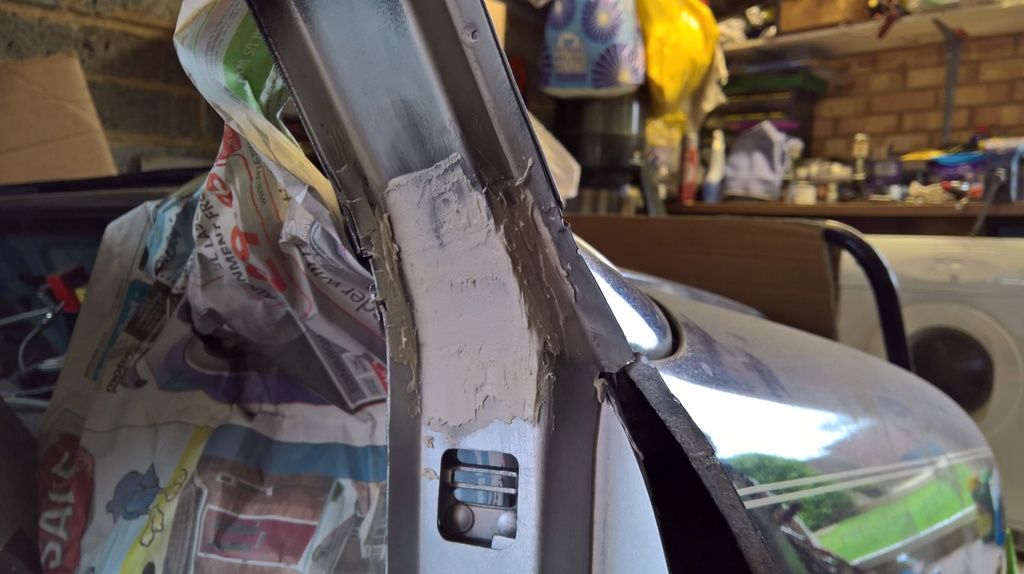
Will sand that down soon after I've redone the b post. Hopefully get the 1/4 panel and Sill on this week!
Posted 01 April 2017 - 12:22 PM
Carrying on with the drivers side, time to work ont he 1/4 panel
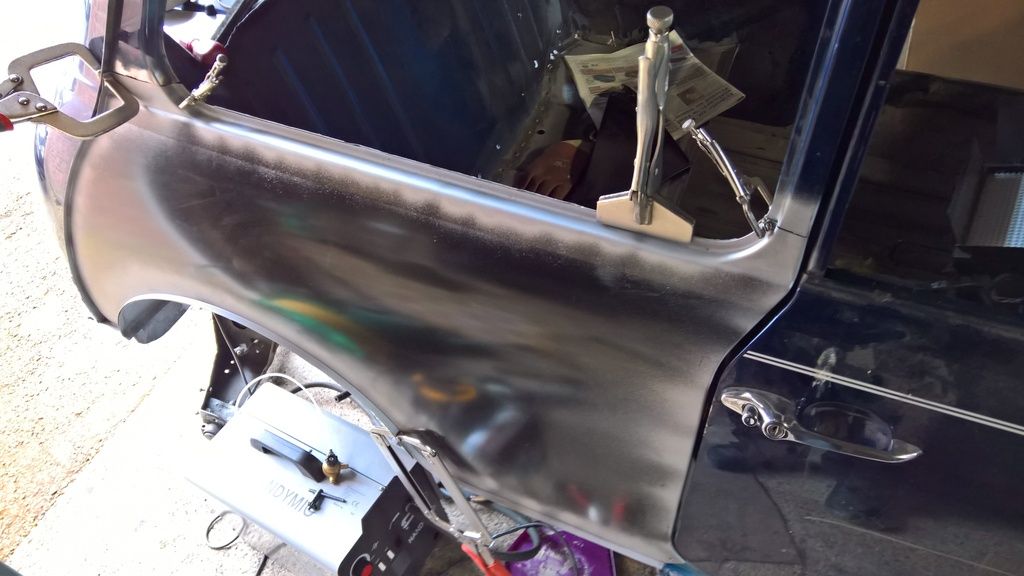
Got the panel in and prepped
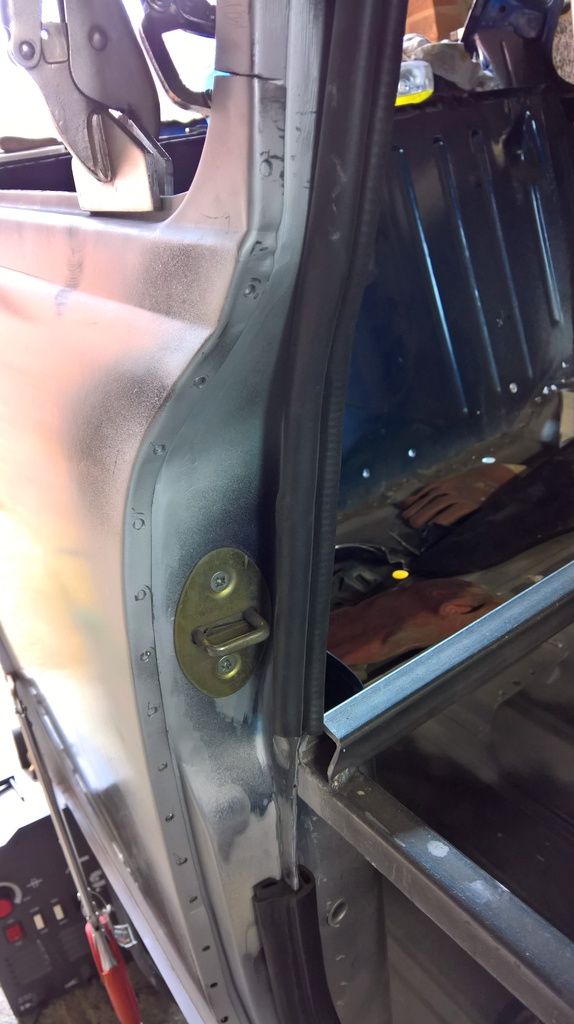
Gaps for welding seemed ok
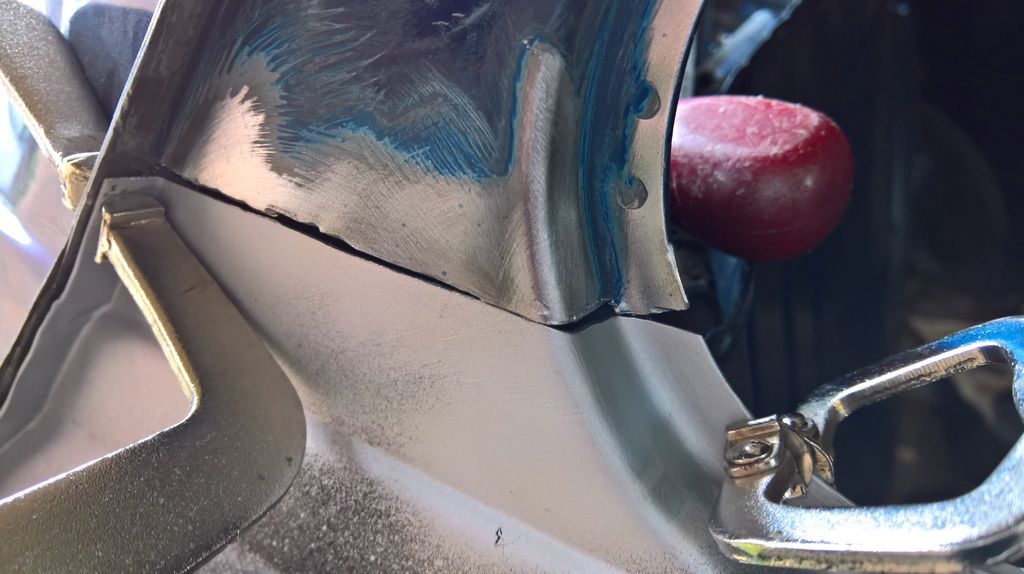
so welded them up!
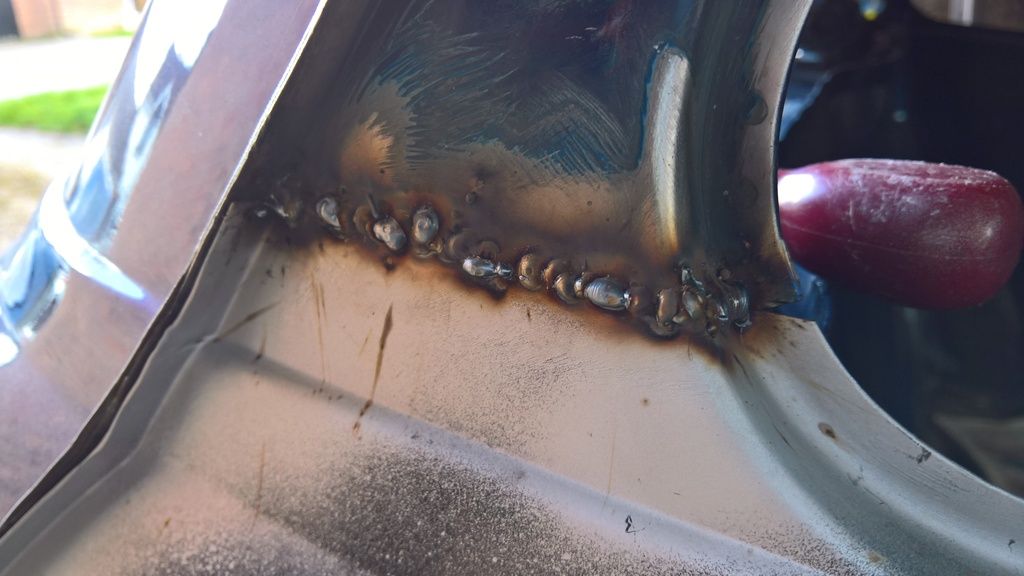
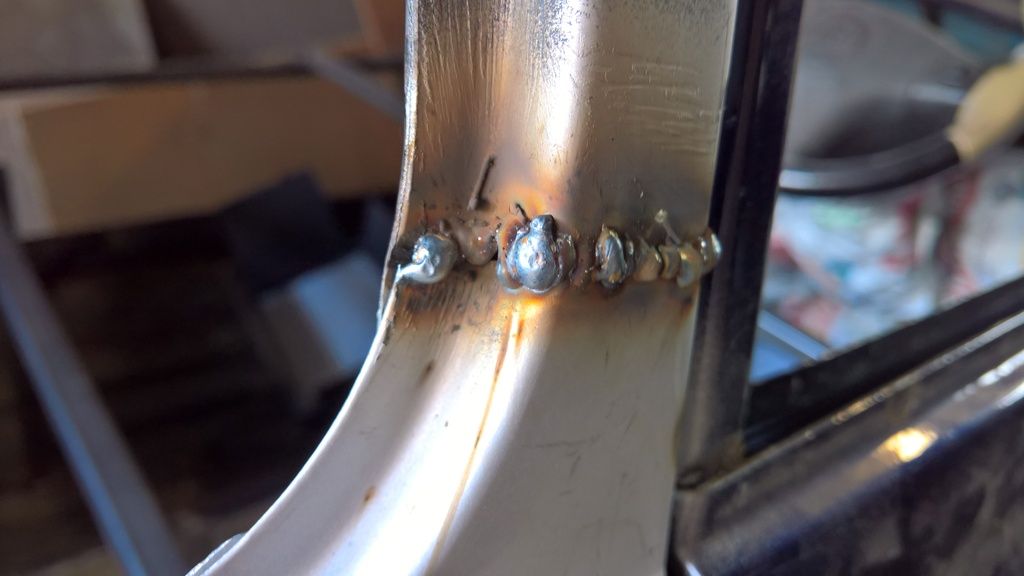
and plug welded the edge
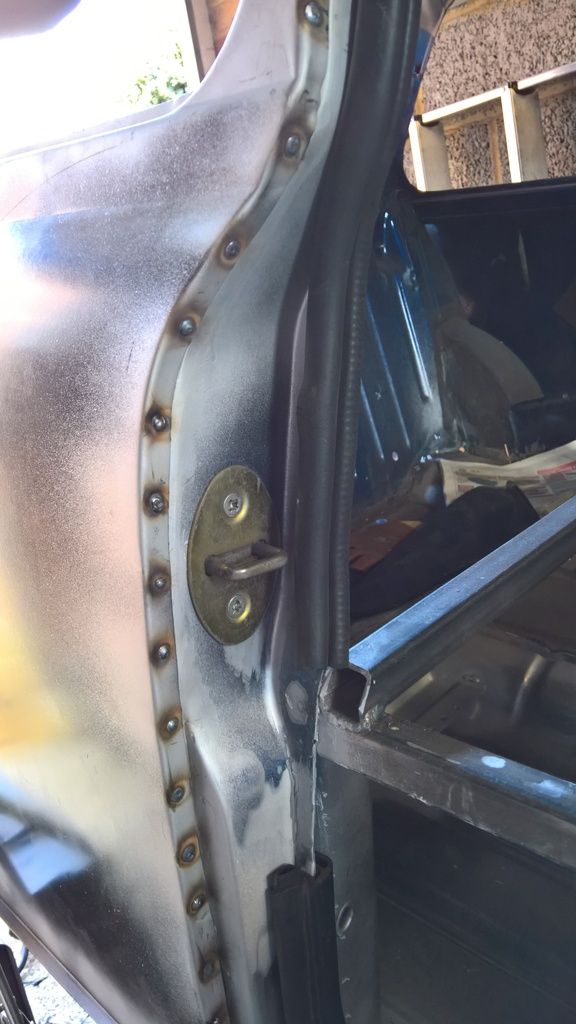
Then ground everything down and checked the door and window still fitted, which thankfully they do!
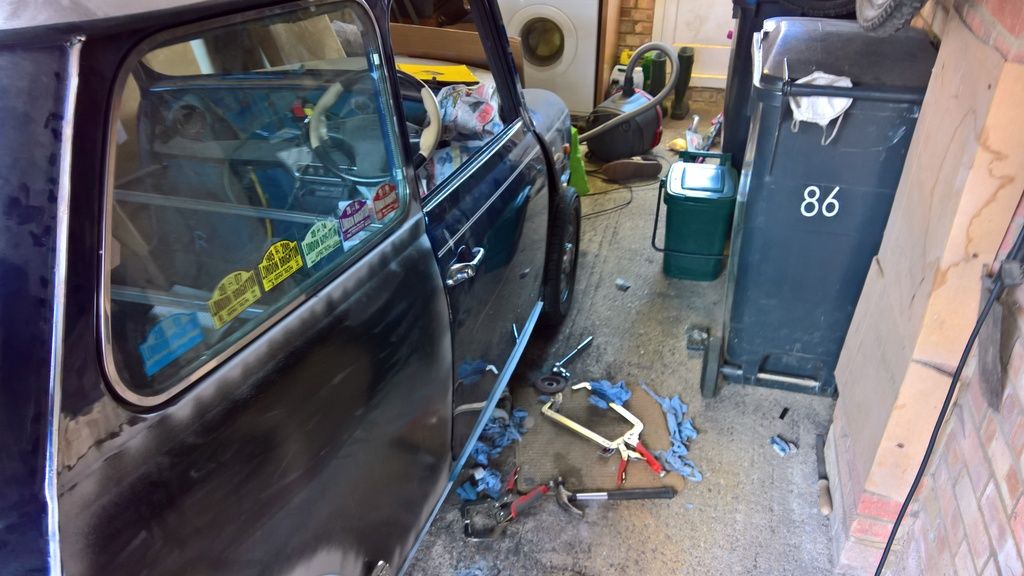
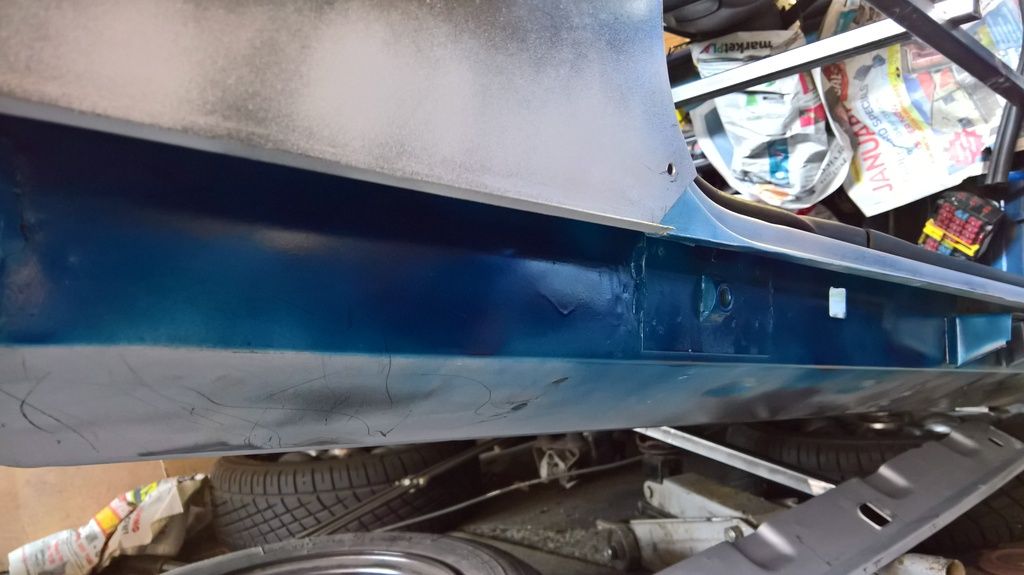
Decided to throw some colour on the underside
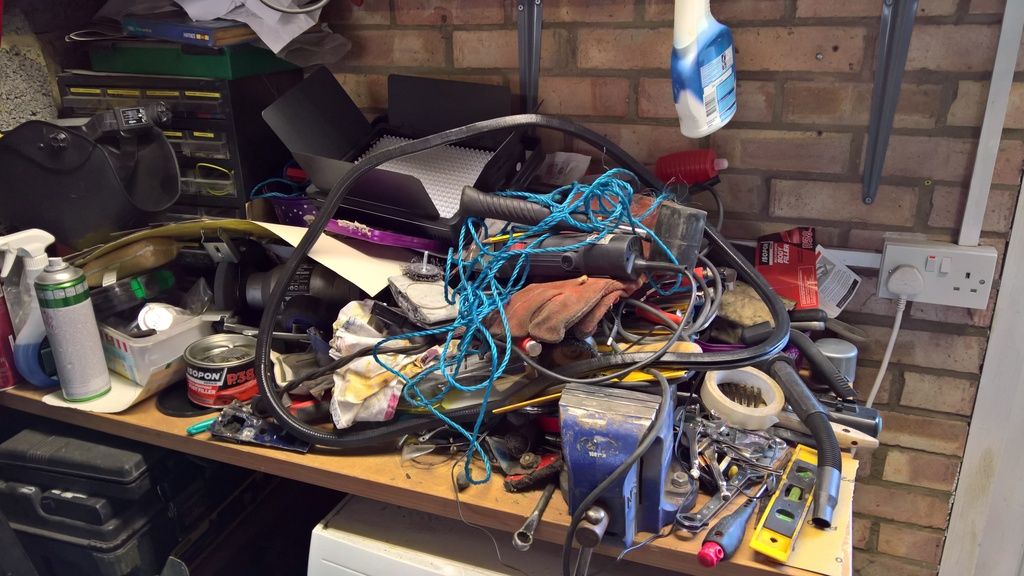
Then decided I need to tidy up. A familiar site to many of you I'm sure...
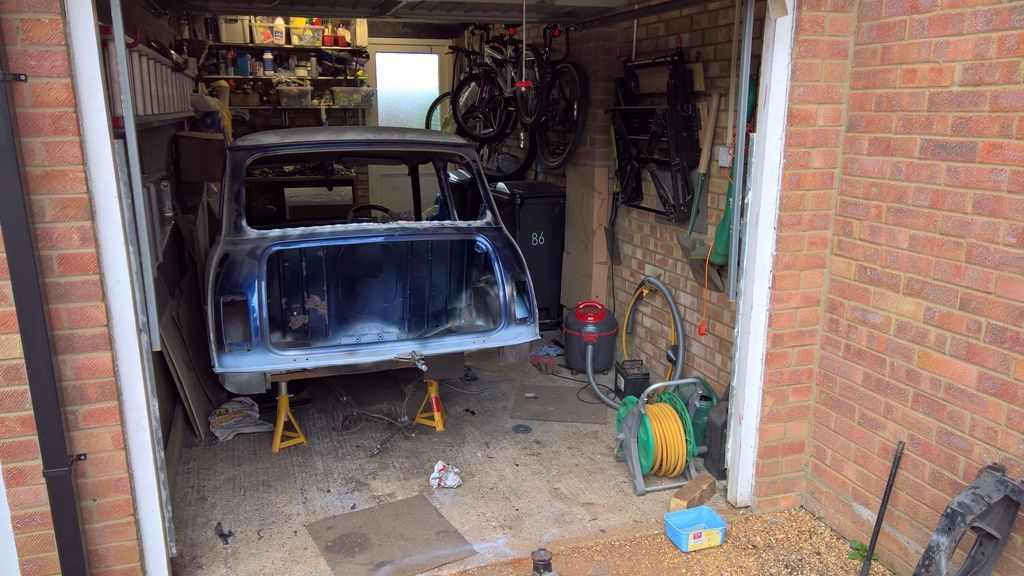
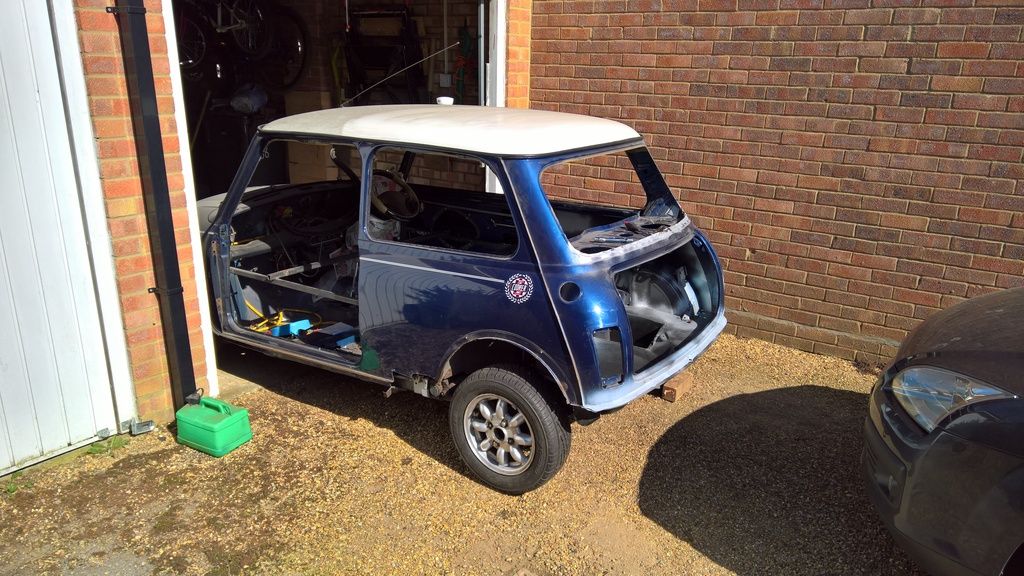
Then I put the sub frame back on and got the car spun around to start work on the other side...
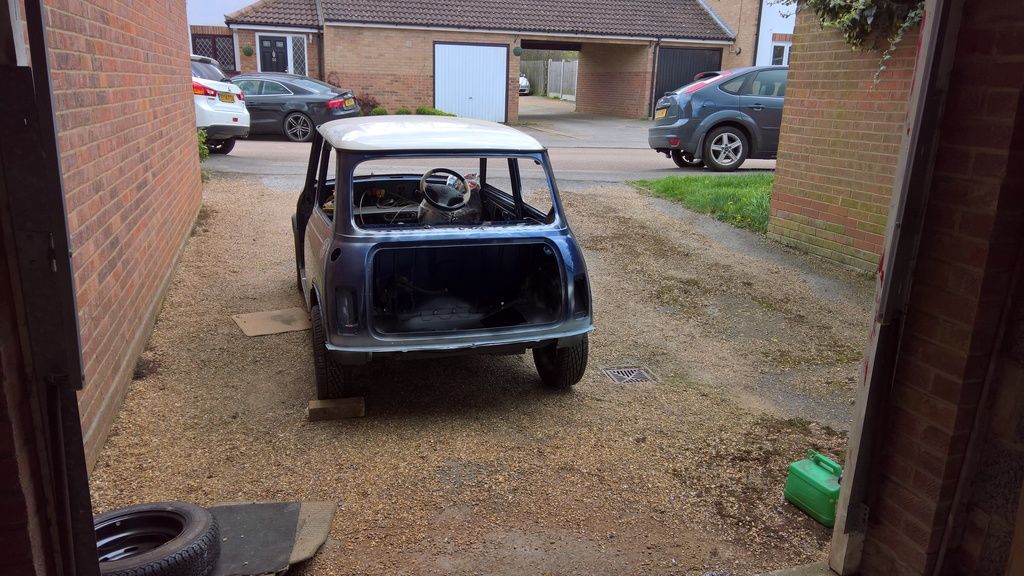
Posted 01 April 2017 - 01:30 PM
Posted 01 April 2017 - 02:43 PM
Great work there, James! Have you done bodywork before you gave the mini a go? Really want to have a go at mine but I'm dreading messing it up!
Nope. Well about 18 years ago spent a weekend dong a Sill (which is when I got the Mig welder), but had a lot of help on that one
Posted 05 April 2017 - 07:04 PM
Time to crack on with the other side. This is what I'm faced with. The sill was only replaced about 4 years ago, but as you can see, it was bodged. It looked good at the time!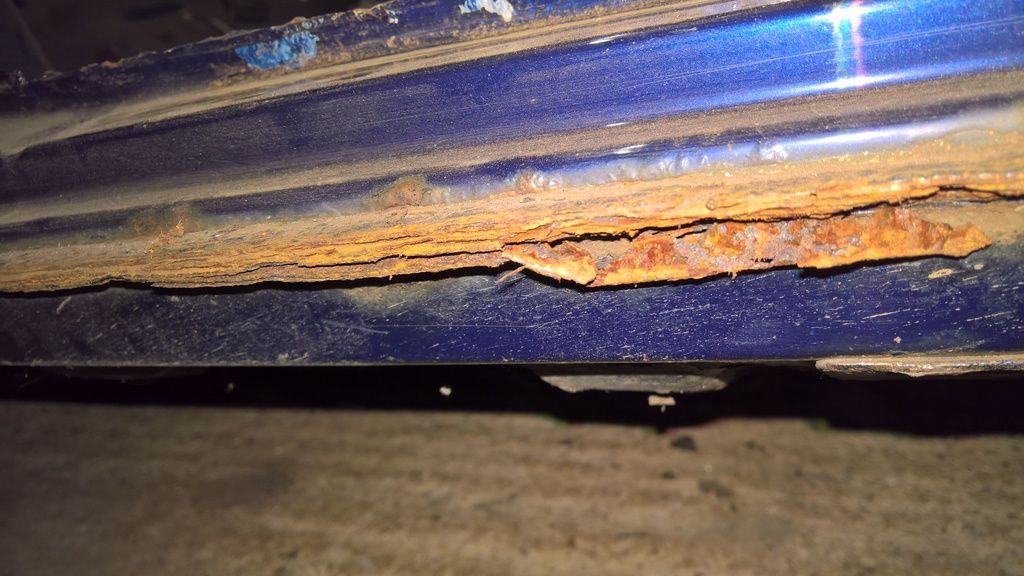
The eagle eyed among you will notice there are 3 layers of metal, not the normal 2. The guy couldn't even be bothered to grid it back properly...
Some more horrors at the front: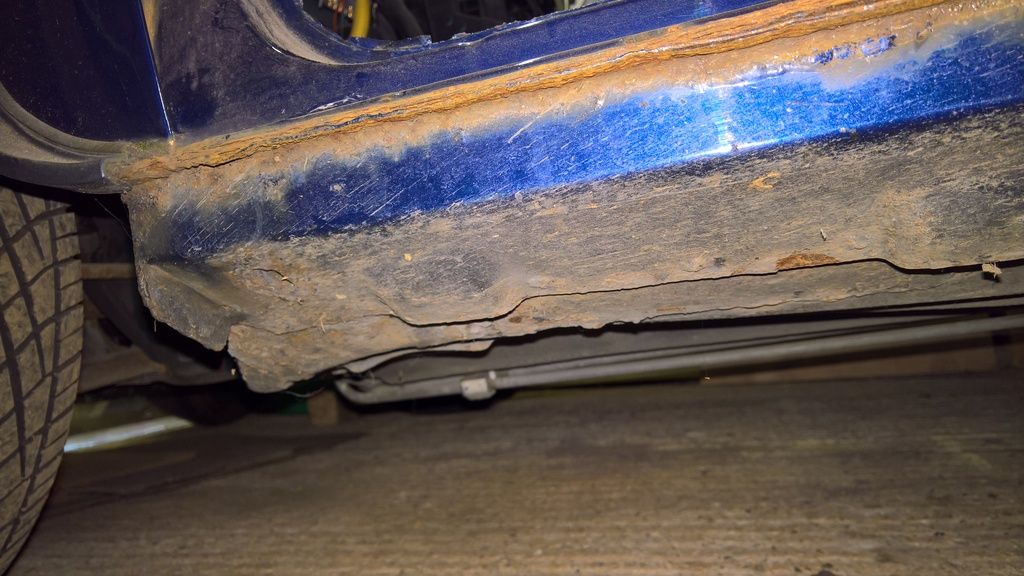
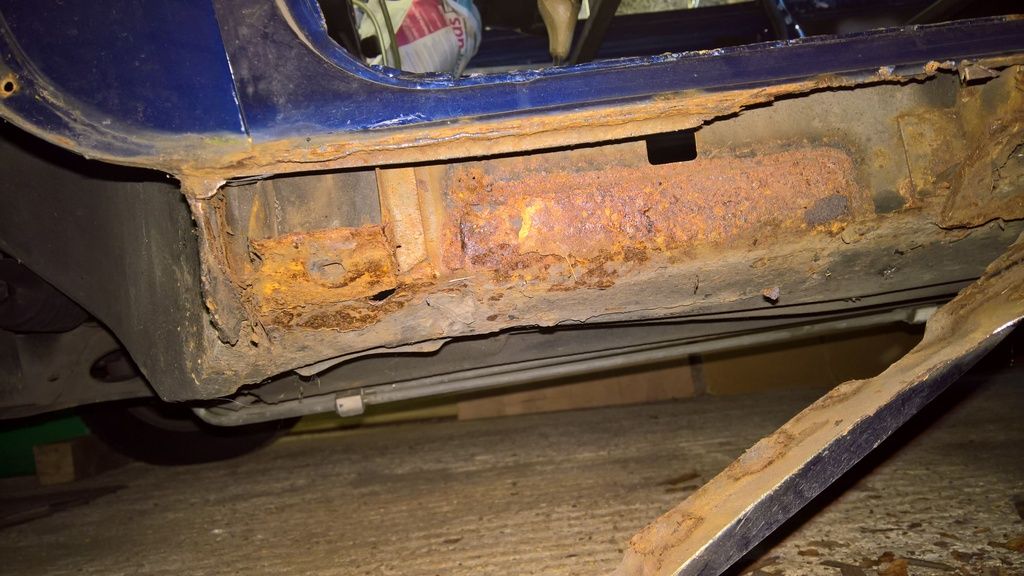
As you can see, a pretty p**s poor job! A really bad patch job. You can see part of the original sill still on the jacking point. Its all coming off.
Started drilling through the spot welds
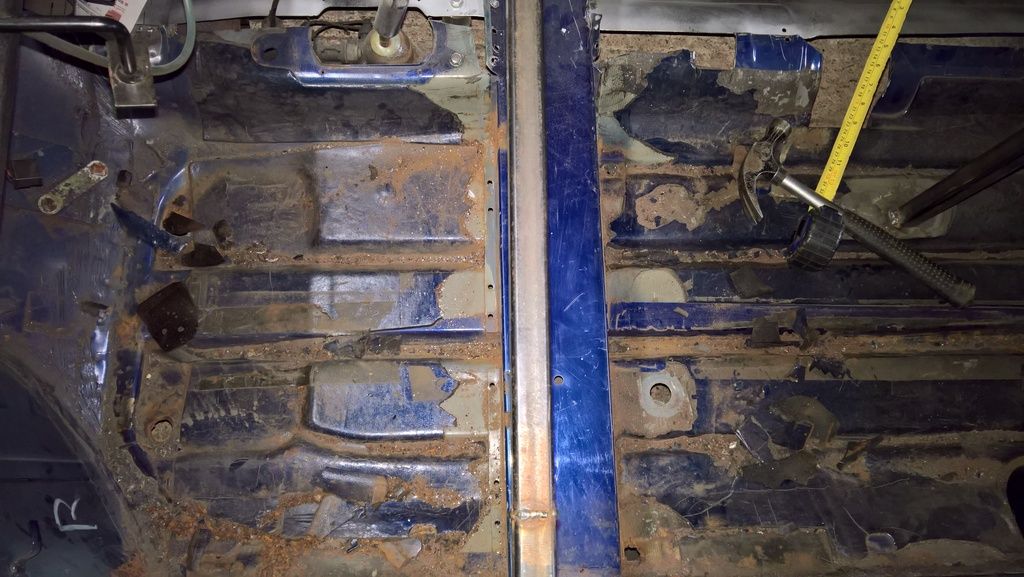
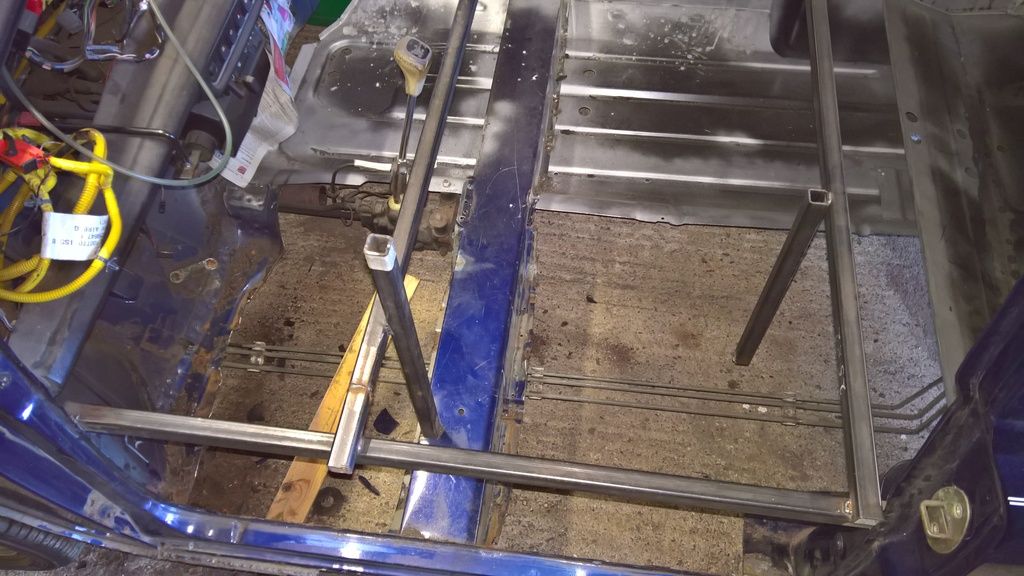
And got most of the floor out. Only managed to cut through one of the fuel lines D'OH!
Took the A-Panel off for good measure. This was replaced last year after someone reversed off of their drive into the side. Blooming rust under the seam!
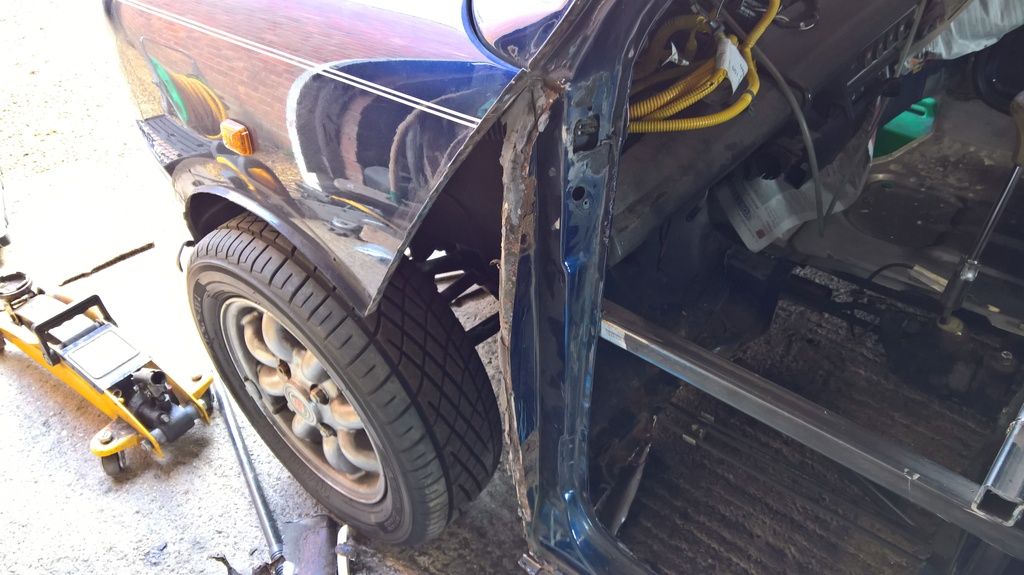
Ground most of the inner sill out
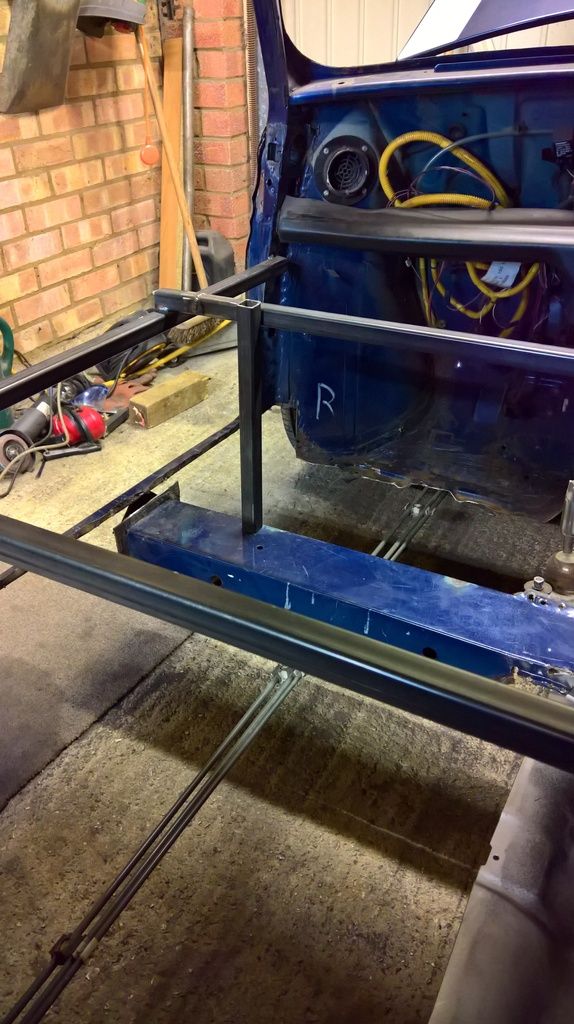
More grinding tomorrow...
Posted 07 April 2017 - 09:36 PM
I got tired of grinding, so started to prep the other floor. No idea why these tabs are on there, but I'm going for originality! (don't worry I will seal them up properly)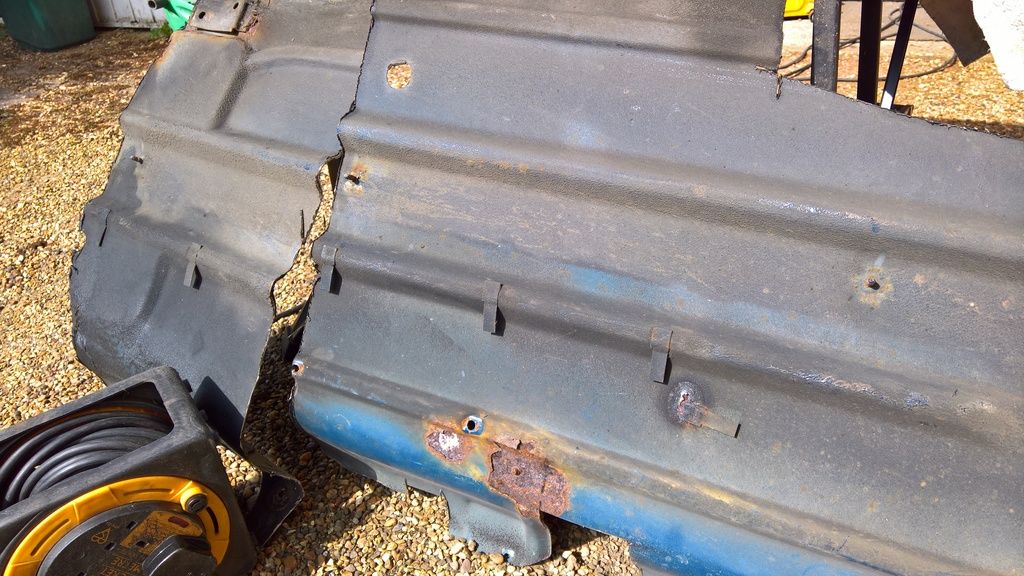
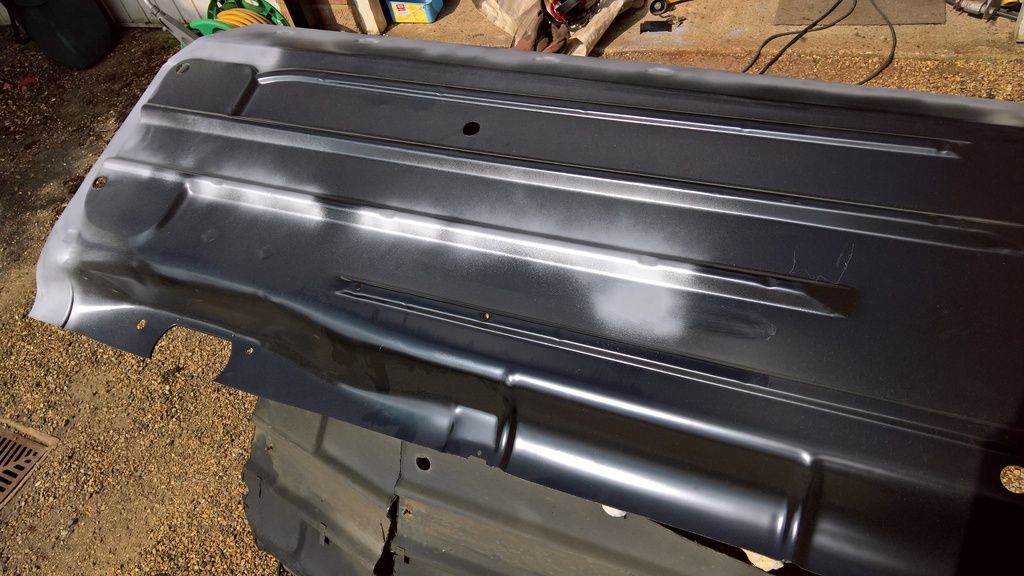
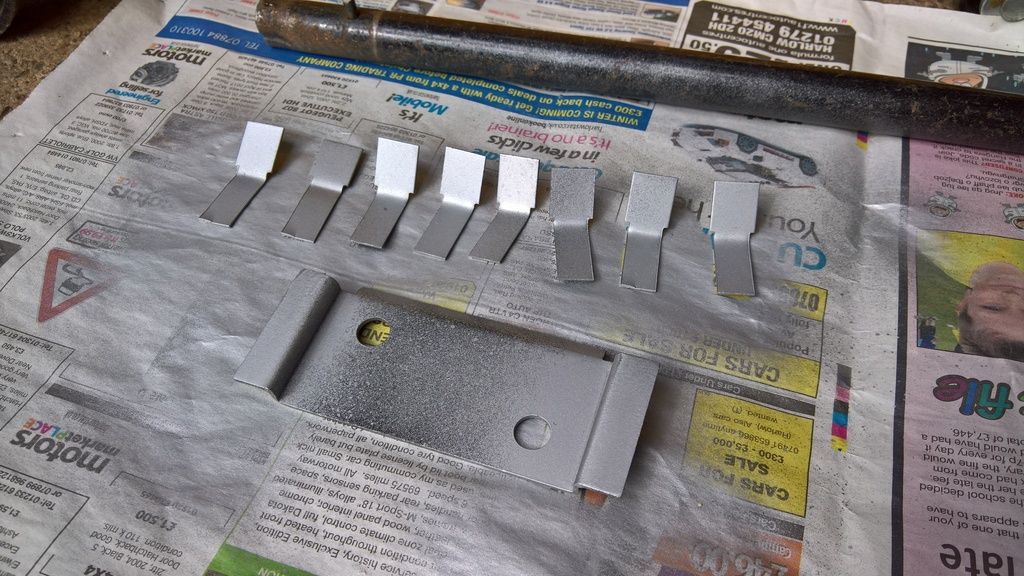
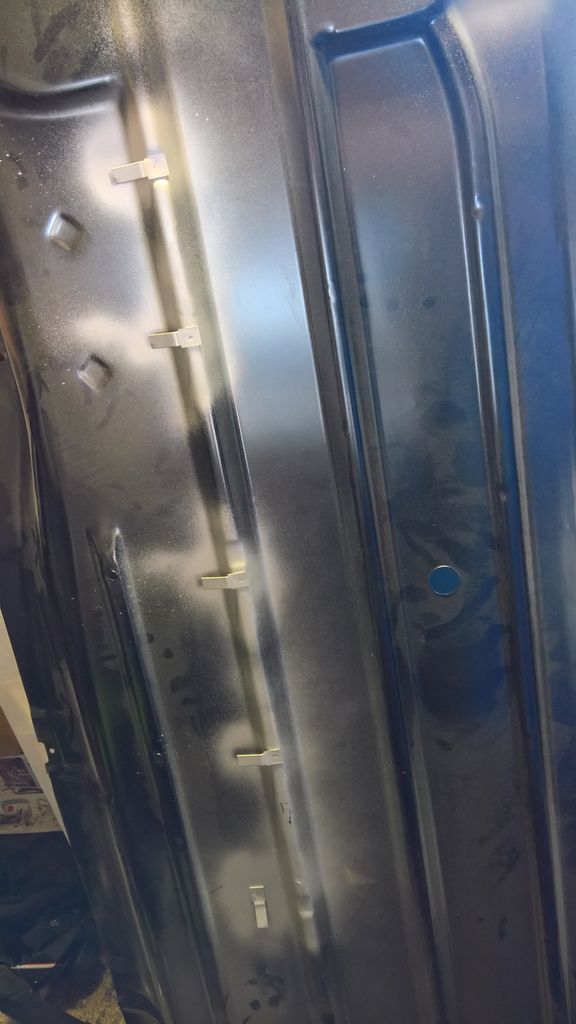
Back to the grindstone (literally) tomorrow
Posted 15 April 2017 - 02:29 PM
Been slow progress. Because the fuel lines are now in the way of the other boot floor, I'm going to have to take the front subframe out to get to the pipes. I'd have to do it anyway but i would have liked to have got it solid first.
So to avoid doing that I've done a few other bits and bobs, mostly saving the brackets from the original floor/tunnel:
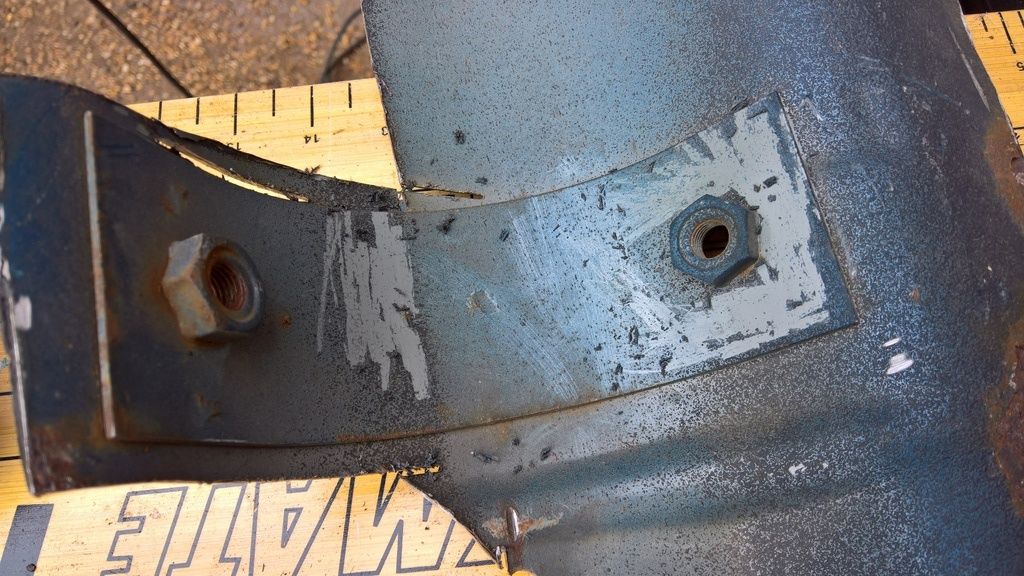
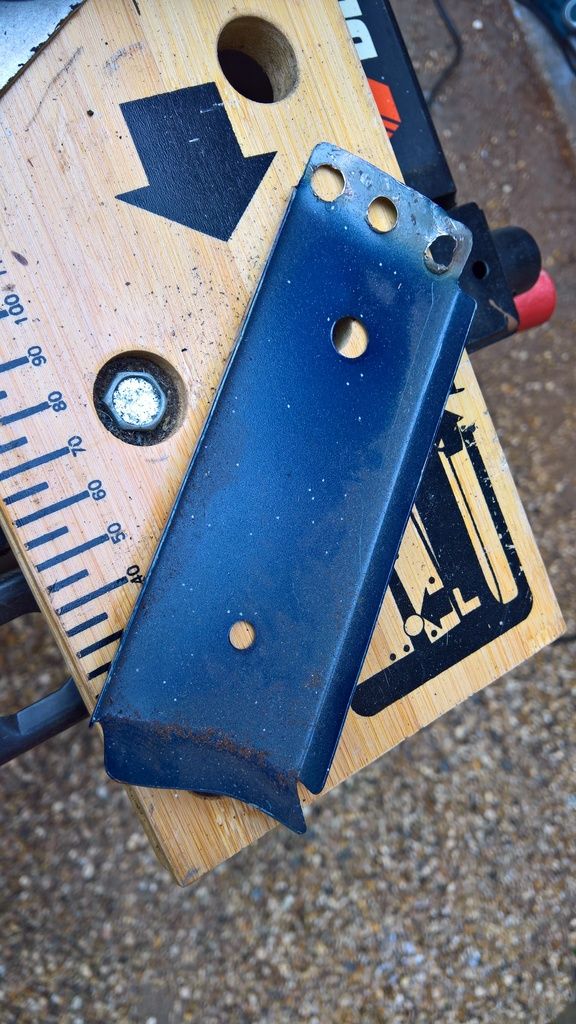
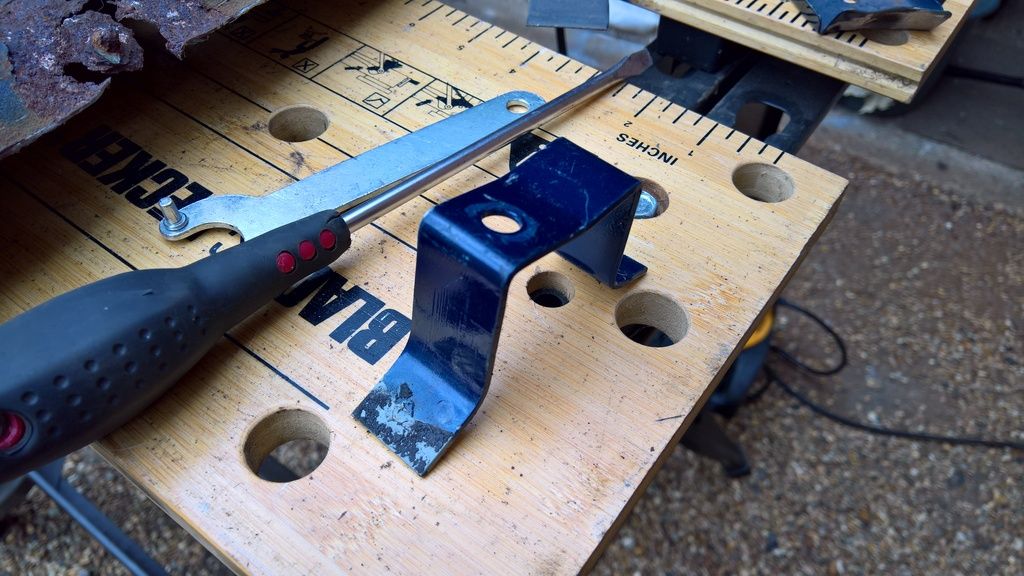
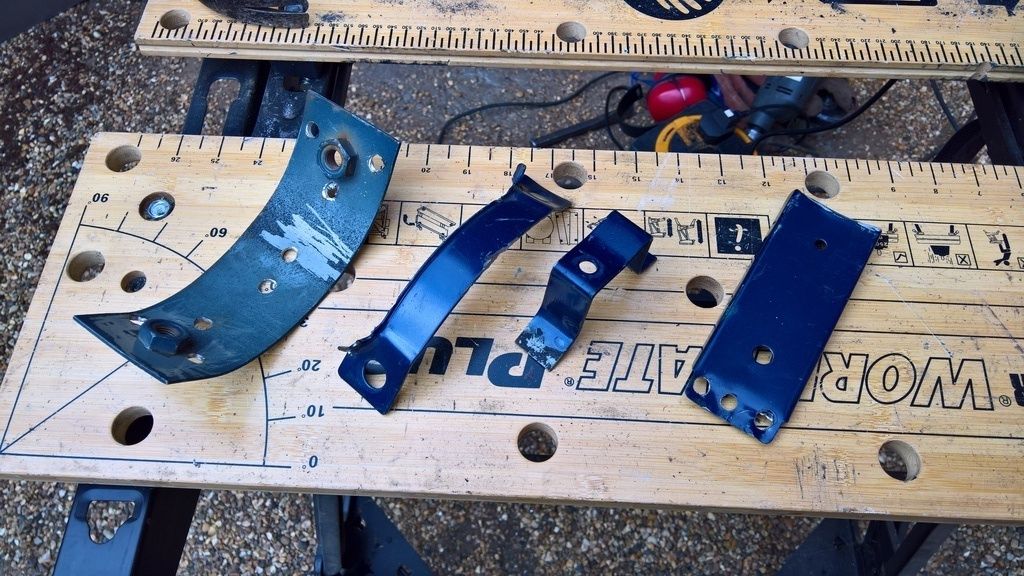
Posted 15 April 2017 - 04:05 PM
Fantastic work
Posted 25 April 2017 - 04:20 PM
Slow progress recently, just loads of grinding to do which doesn't show up in picture form ![]()
Anyway got most of the old floor out:
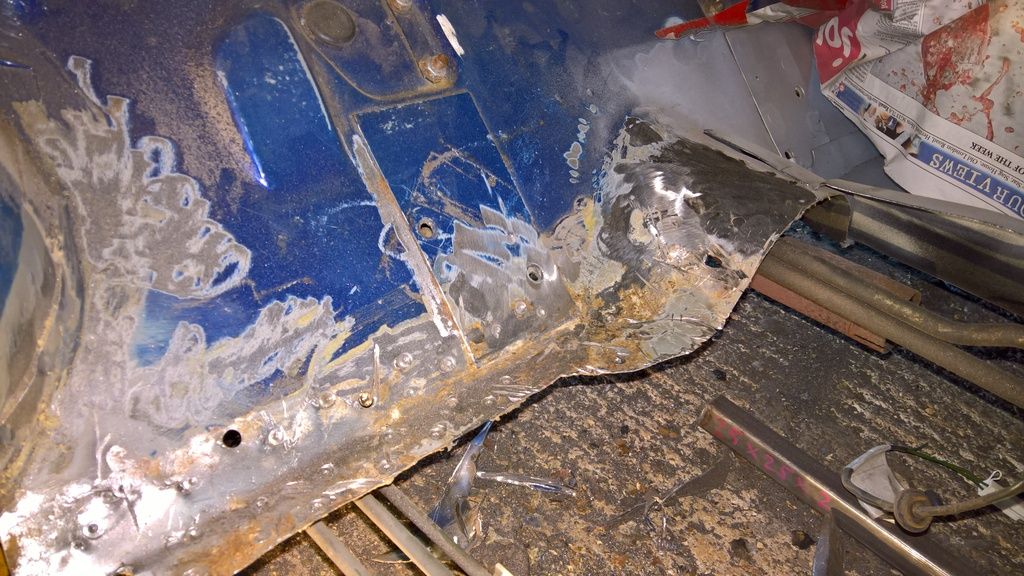
Then set about prepping all the small panels/brackets that needed to go back in:
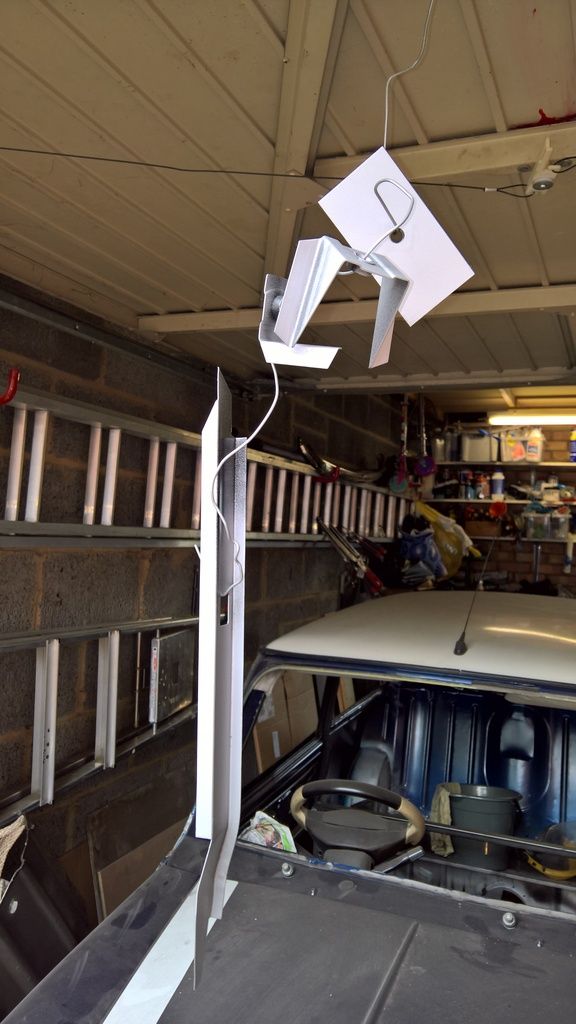
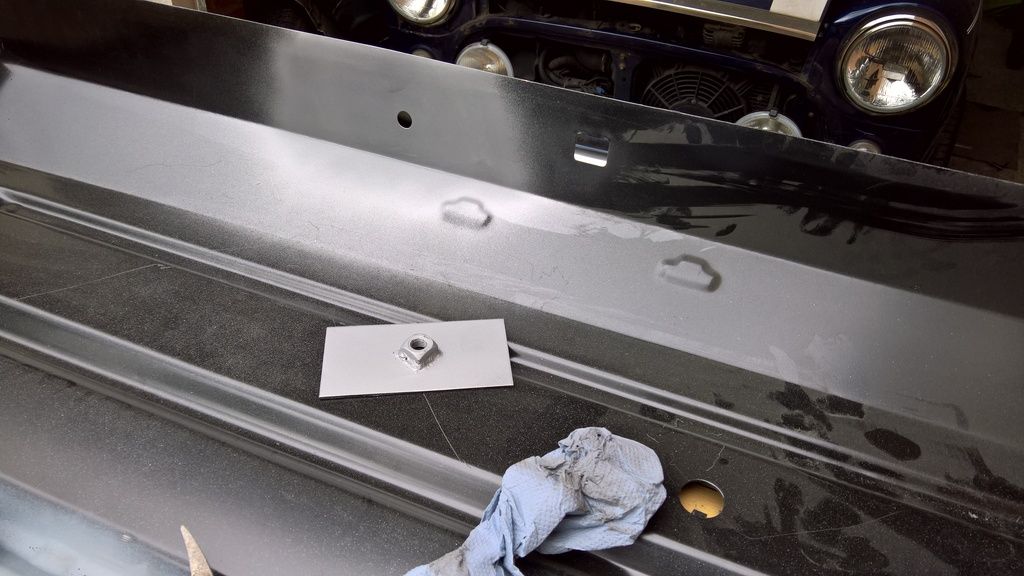
as well as more work on the new floor
Oh and if anyone needs to know where the studs for the fuel lines go...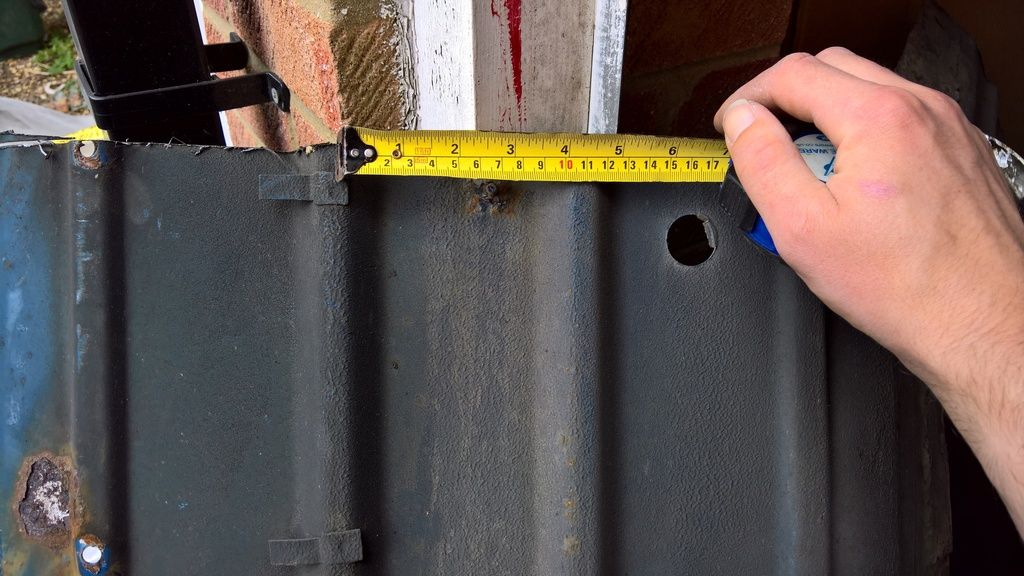
More tomorrow hopefully!
Posted 27 April 2017 - 05:16 PM
Hurrah! The floor is IN!
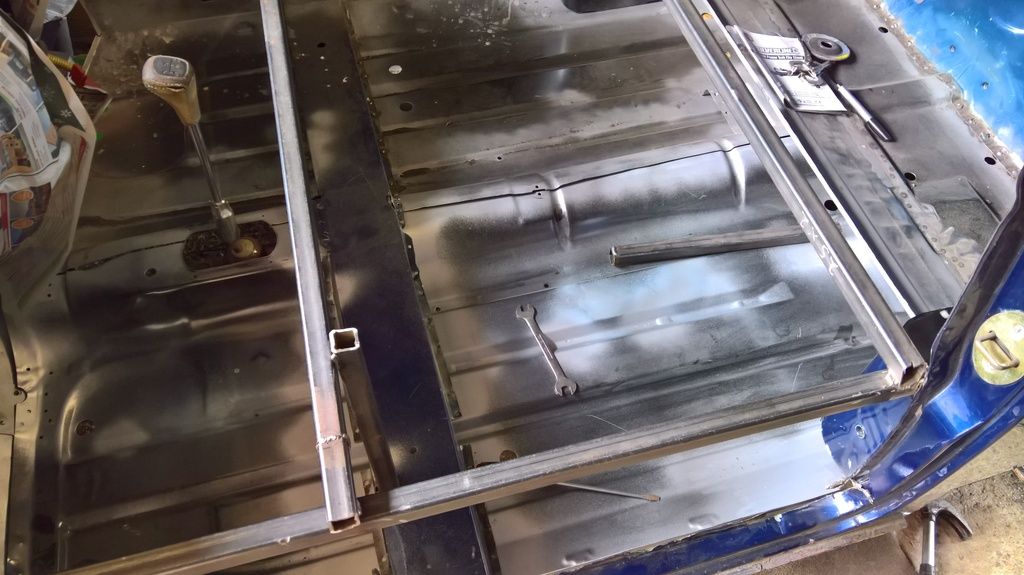
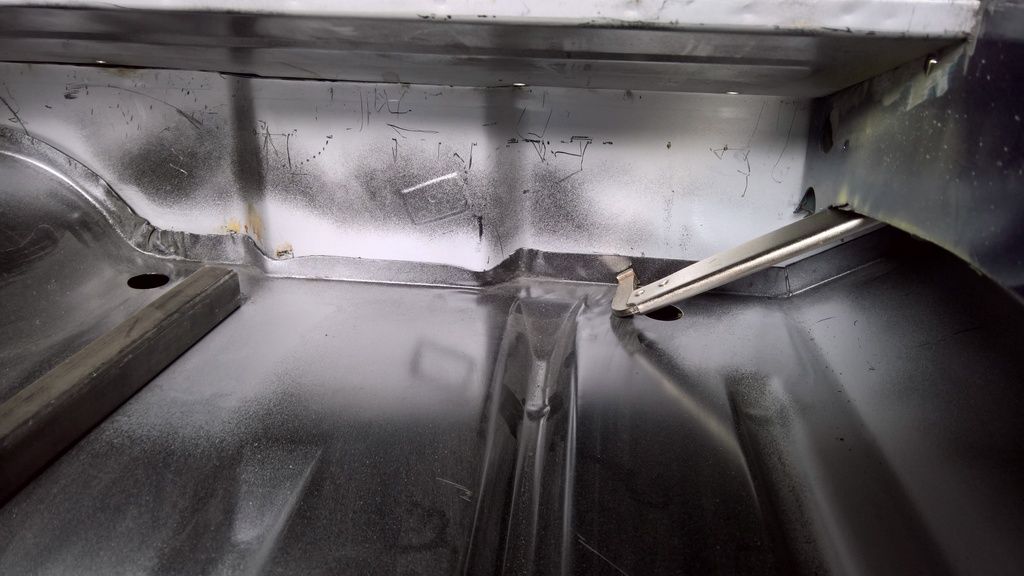
I replaced the toe board strengthening plate as there was the usual amount of rust underneath it... (no pics but same as other side)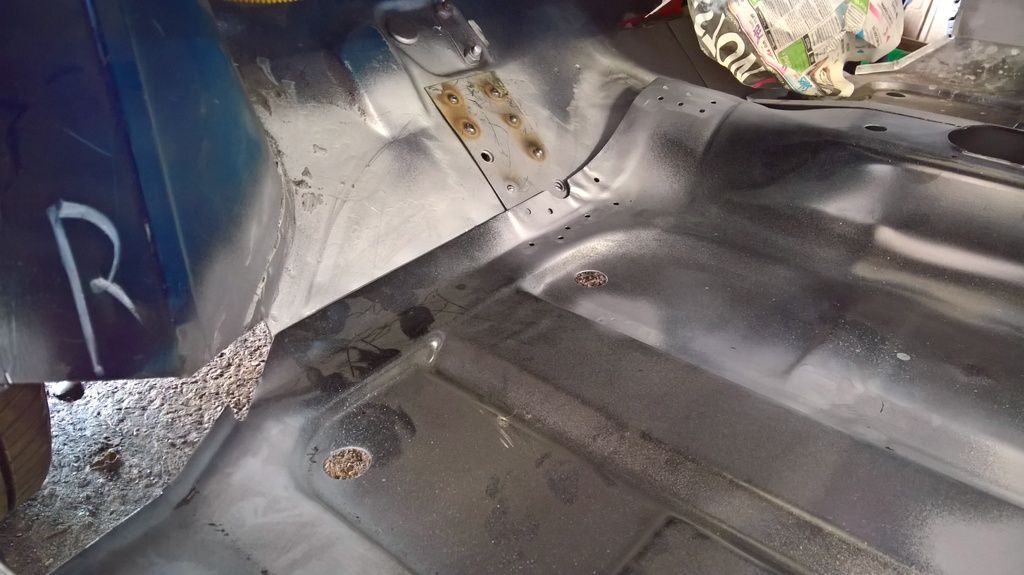
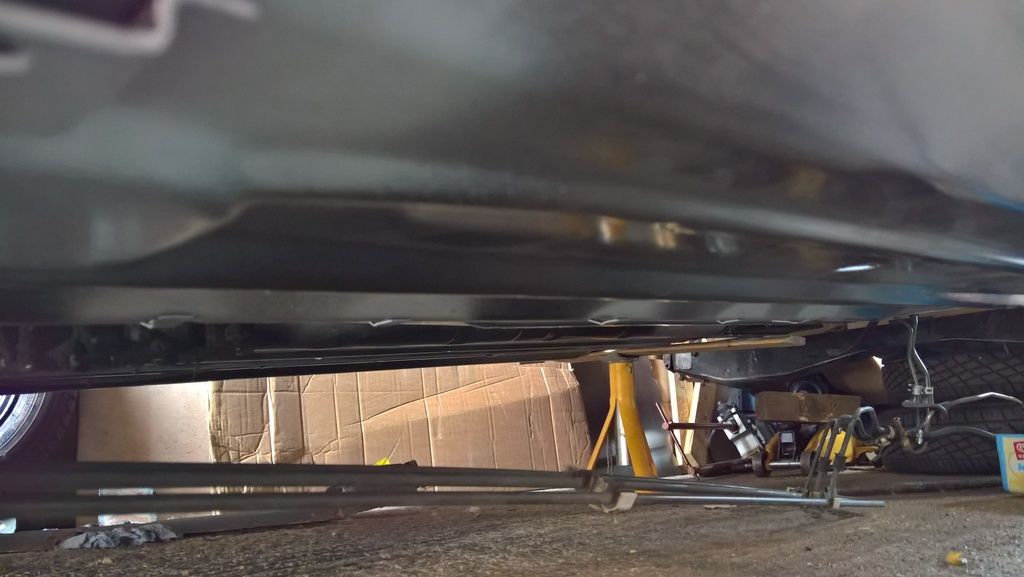
Then set about with some plug welding!
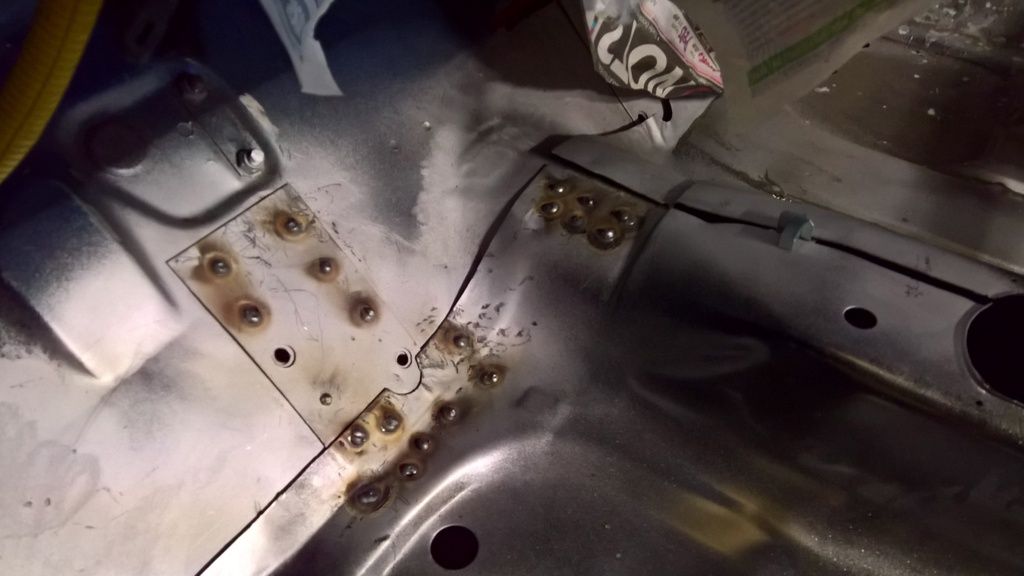
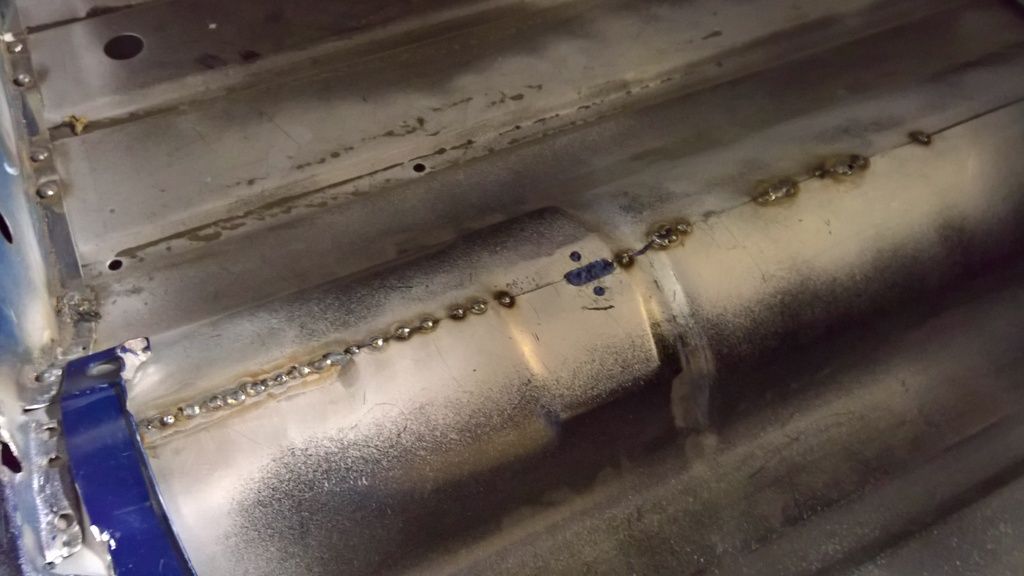
Just tacked the floor together for now, will get it properly welded up soon
0 members, 1 guests, 0 anonymous users