Jump to content


Photo

A Guide To: Fitting Chrome/stainless Hubcaps To 12" Steels


  • Please log in to reply
16 replies to this topic

#1 Yams

Yams

    Super Mini Mad

  • Members
  • PipPipPipPipPipPip
  • 644 posts

Posted 21 January 2015 - 01:40 PM

Although hubcaps for 12" steels are apparently available from Japan, and 12" steels from hilman imps with hubcaps have the same PCD as a mini, you will either need to trawl on-line auction sites, or spend a small fortune, and the daunting task of buying products from Japan.


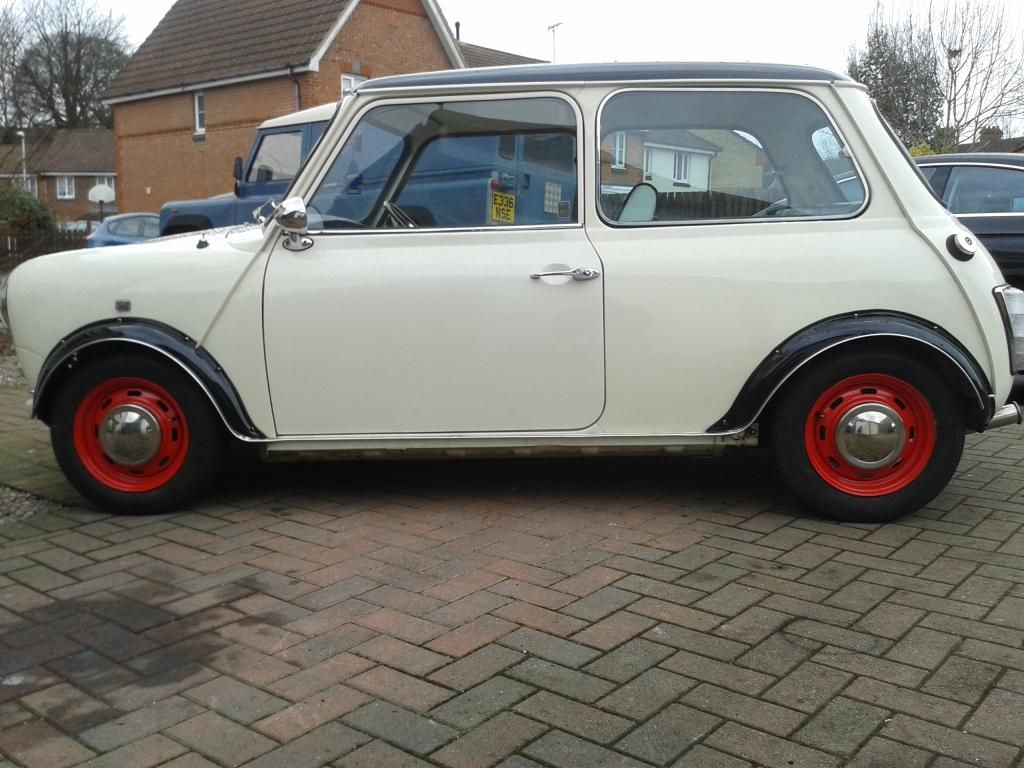
I have been prompted to make this guide, as when i searched about, no-one really had an answer for me, however i had seen it done before .So, as the title of this topic suggests, this will be a guide to retro-fitting 10" hub caps to 12" mini steel wheels.


You will need:

Steel wheels

Hub caps

16 nuts and bolts. I used M5 x 25mm, as they seemed to fit best

16 washers

2 sets of Pliers, i used a long nose pair and a chunkier pair

Wheel clips from a Volkswagen beetle/camper, I purchased mine from here: https://www.vwherita...-kit-per-wheel/

(You will need 16 clips, however i purchased 30 in total. This is because they can be brittle, will be explained later.)


You may also want to do the test fitting on an old/scabby wheel first, as i found out the clips will mark and gouge fresh paint (in my case hammerite that had been left for around 2 weeks to harden)


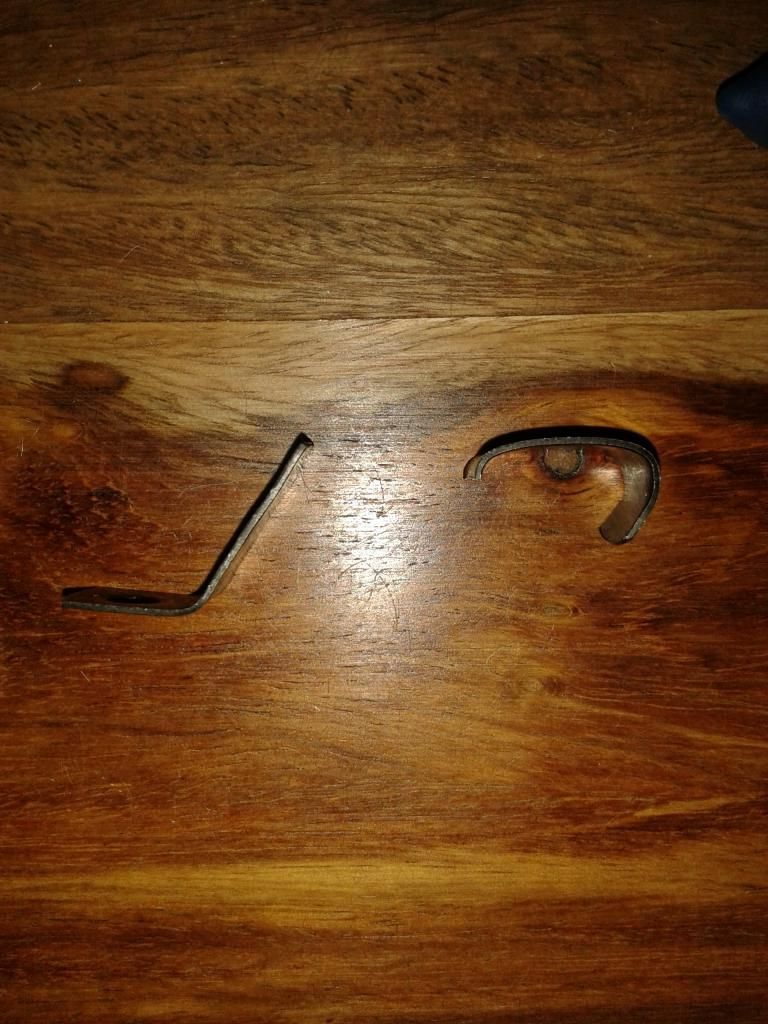
To start with you will need to bend your VW clips to a shape like this. The bottom one is how the clip will arrive. You will need to gently bend them with your pliers.


20150121_123719.jpg?t=1421760463


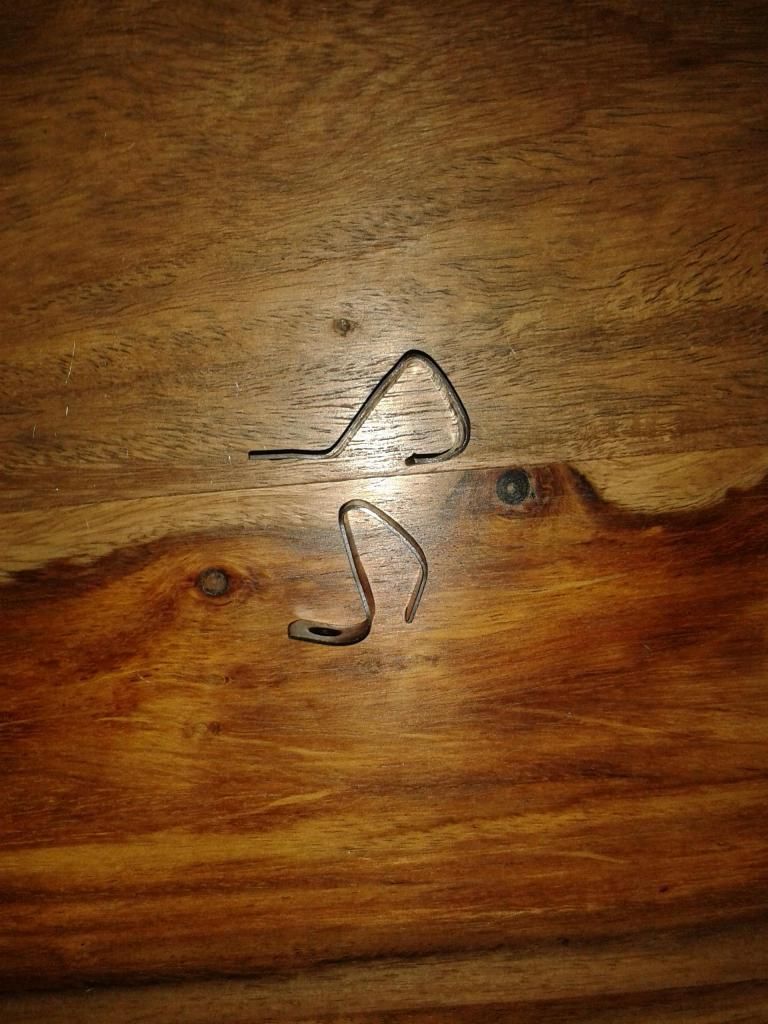
They can be right swines sometimes and break, like this. Around 30% of mine broke, as soon as you get the hang of it it gets easier. The weak points are the bends. It will also hurt your hands unless you're real tough.


20150121_124806.jpg


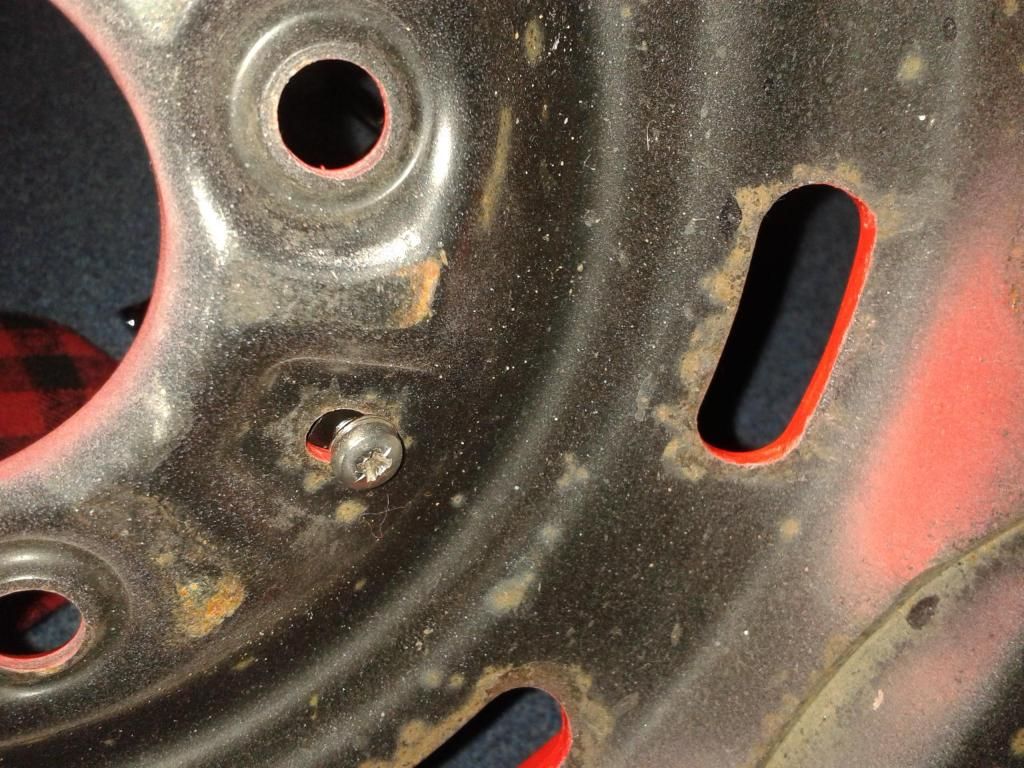
Now, using the little holes (not sure what they are for) that are between the Stud holes, fix them on with the nuts and bolts. I placed a washer on the inside. Tighten them up so they don't move at all.


20150121_124838.jpg


20150121_124825.jpg


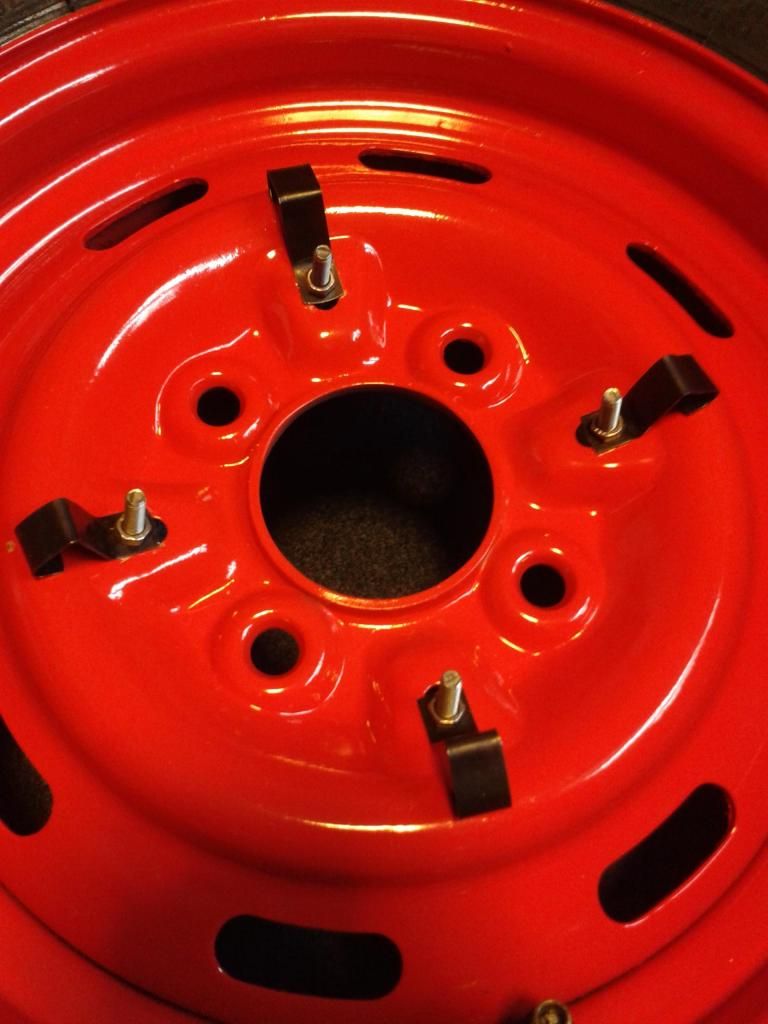
There is no exact measurement that i have taken for how long the clips must be, but they will need to poke out quite far. Your hubcap should be very firm to push on, stiff almost. They will be hard to get off, but should come off with a bit of persuading. You don't want to see them rolling off in your rear view mirror, they are quite expensive!


20150121_124937.jpg


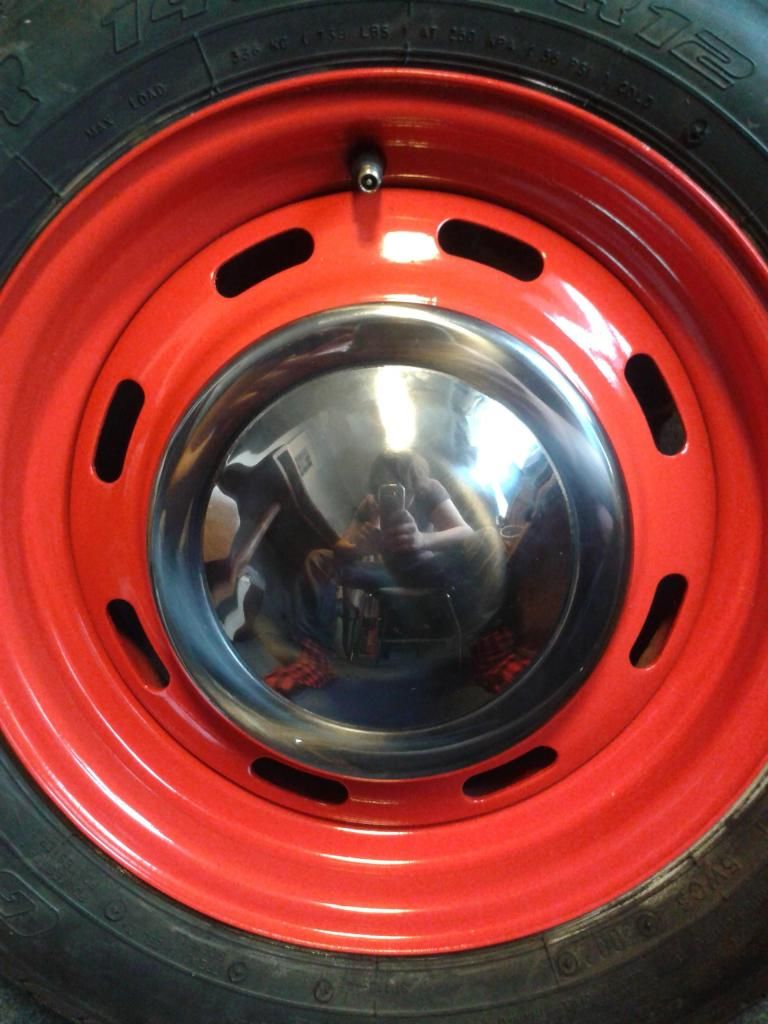
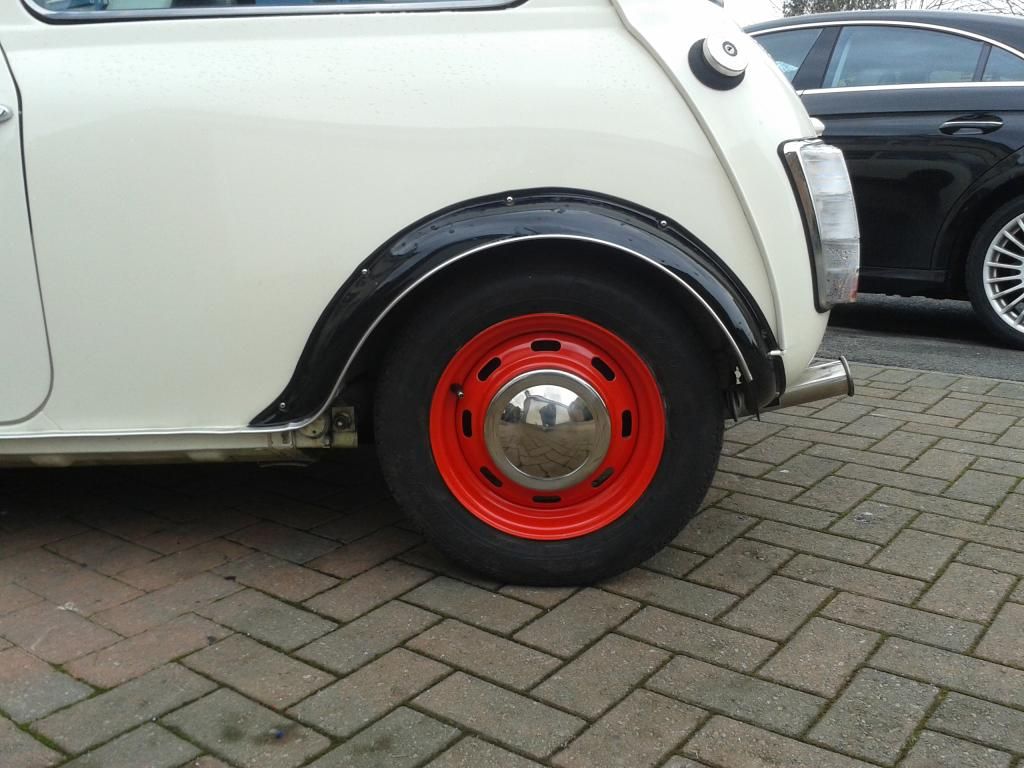
Finished look. They shouldn't wobble about, and should be firm.


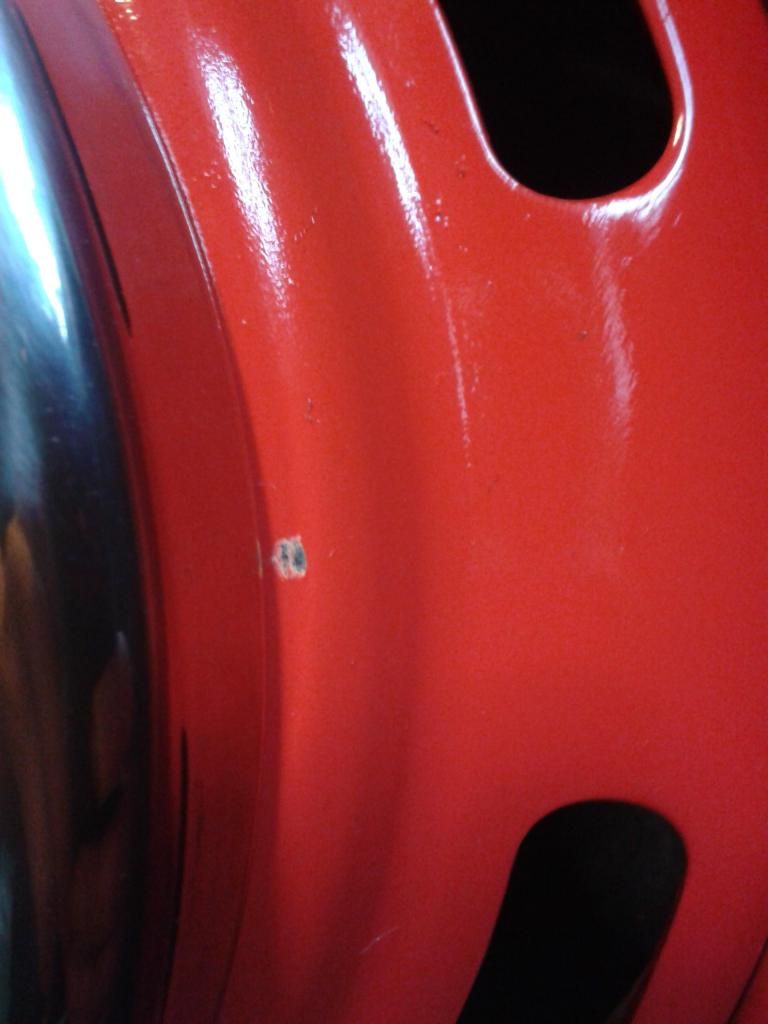
Here is why i have recommended you use an old wheel for the test fitting. Although they are winter wheels i still want them to look good, so they will all need a light sand and re-paint.


20150121_125011.jpg


Hope this helps! I'll have some pics updated when the rest of my hub caps arrive in a few days. I only purchased one, as i wasn't sure this was even going to work.


Yams


#2 Yams

Yams

    Super Mini Mad

  • Members
  • PipPipPipPipPipPip
  • 644 posts

Posted 21 January 2015 - 01:41 PM

20150126_134409.jpg


20150126_134416.jpg


Edited by Yams, 26 January 2015 - 02:49 PM.


#3 Chris1992

Chris1992

    Up Into Fourth

  • Members
  • PipPipPipPipPipPipPipPipPip
  • 2,022 posts
  • Location: Essex

Posted 22 January 2015 - 10:15 AM

pretty sweet work mate! looks awesome! need to see some pics of them on your car  ;D


#4 Yams

Yams

    Super Mini Mad

  • Members
  • PipPipPipPipPipPip
  • 644 posts

Posted 22 January 2015 - 11:25 AM

Cheers man, I'll get a pic of them on the car, just need to wait on the other caps (minispares, although they have most of the best stock, in my opinion are the slowest), and i just need to fit the bearings and studs to my rear hubs, and paint the thinner arches.


If the weather is good over the weekend and the hub caps arrive they should be on, and i'll get pics up :)


#5 Rocket.

Rocket.

    One Carb Or Two?

  • Members
  • PipPipPipPipPipPipPip
  • 1,441 posts
  • Location: UK

Posted 22 January 2015 - 12:40 PM

Adds a nice retro look to 12's nice !

#6 Yams

Yams

    Super Mini Mad

  • Members
  • PipPipPipPipPipPip
  • 644 posts

Posted 26 January 2015 - 02:50 PM

pics up


#7 Will16

Will16

    Wants a custom member title

  • Members
  • PipPipPipPipPipPipPip
  • 1,090 posts
  • Location: Abingdon, Oxfordshire

Posted 26 January 2015 - 03:00 PM

This is really handy, and surprisingly my easy to do. If I was sticking with 12's, if defiantly do it! Looks great on your car Yams.

Can I suggest having this pinned?

#8 Yams

Yams

    Super Mini Mad

  • Members
  • PipPipPipPipPipPip
  • 644 posts

Posted 26 January 2015 - 03:43 PM

This is really handy, and surprisingly my easy to do. If I was sticking with 12's, if defiantly do it! Looks great on your car Yams.

Can I suggest having this pinned?


Cheers, they are only on for the winter. Having them banded when the weather gets better


#9 minimaxie

minimaxie

    Camshaft & Stage Two Head

  • Members
  • PipPipPipPipPipPipPipPip
  • 1,687 posts
  • Location: Romford

Posted 26 January 2015 - 05:51 PM

20150126_134409.jpg
 
20150126_134416.jpg


looks great! Whitewalls would finish them off imo

#10 Yams

Yams

    Super Mini Mad

  • Members
  • PipPipPipPipPipPip
  • 644 posts

Posted 27 January 2015 - 12:00 PM


20150126_134409.jpg
 
20150126_134416.jpg


looks great! Whitewalls would finish them off imo


I was thinking the exact same thing. Have plans to band these after winter though which will mean ill need wider tyres, so i'll whitewall them after that.


#11 Chris1992

Chris1992

    Up Into Fourth

  • Members
  • PipPipPipPipPipPipPipPipPip
  • 2,022 posts
  • Location: Essex

Posted 27 January 2015 - 06:06 PM

this looks mint mate! after theyve been banded you have to spray them red again and put the caps back on  ;D


#12 Ben_O

Ben_O

    Mill Road Garage

  • Paint Doctor
  • PipPipPipPipPipPipPipPipPipPip
  • 9,794 posts
  • Location: Isle of Wight

Posted 27 January 2015 - 07:14 PM

Looks great!


I'm glad you managed to get it sorted out, your way seems to be very good.


Those holes between the stud holes are actually where the clips fit originally to hold on the City type small plastic hubcaps so perfect use for them in this application!


Cheers


Ben


Edited by Ben_O, 27 January 2015 - 07:14 PM.


#13 frankysissons

frankysissons

    Passed Test

  • Noobies
  • PipPip
  • 26 posts
  • Location: Newbury
  • Local Club: Thames Valley Mini Club (TVMC)

Posted 15 April 2015 - 09:07 PM

20150126_134409.jpg


20150126_134416.jpg


These look sick! Thanks for the tutorial, v helpful and interesting. Do you mind if I ask what arches you've got on there?


#14 Yams

Yams

    Super Mini Mad

  • Members
  • PipPipPipPipPipPip
  • 644 posts

Posted 20 April 2015 - 12:00 AM


20150126_134409.jpg


20150126_134416.jpg


These look sick! Thanks for the tutorial, v helpful and interesting. Do you mind if I ask what arches you've got on there?


Group 2 Style


#15 minimissions

minimissions

    Up Into Fourth

  • Members
  • PipPipPipPipPipPipPipPipPip
  • 3,427 posts
  • Location: North West
  • Local Club: M.M.O.C

Posted 20 April 2015 - 11:59 AM

Really like these actually defo a means to that retor look without have to spend money going down on 10's in order to have that set up..


Really cool :)


1 user(s) are reading this topic

0 members, 1 guests, 0 anonymous users