2000 Cooper Sportspack Turbo
#121

Posted 16 June 2016 - 08:35 PM
#122

Posted 16 June 2016 - 08:44 PM
If you are using the full width repair panel for the boot floor as opposed to the full floor panel, i would suggest using as little of the wheel well as possible as they are not a good fit. Especially where it goes into the base of the well.
You can see what I used on the cooper thread I did in December if it helps.
Reason is, that panel is designed to just fit over the top instead of replacing that section so it is quite a bit narrower.
Ben
#123

Posted 16 June 2016 - 08:55 PM
#124

Posted 17 June 2016 - 04:18 PM
I lines it up with the old rear panel lip before welding it in. I'm sure you will sort it though
#125

Posted 17 June 2016 - 05:22 PM
#126

Posted 17 June 2016 - 08:21 PM
So another day of madness with the mini. Got going with the sill and heel board.
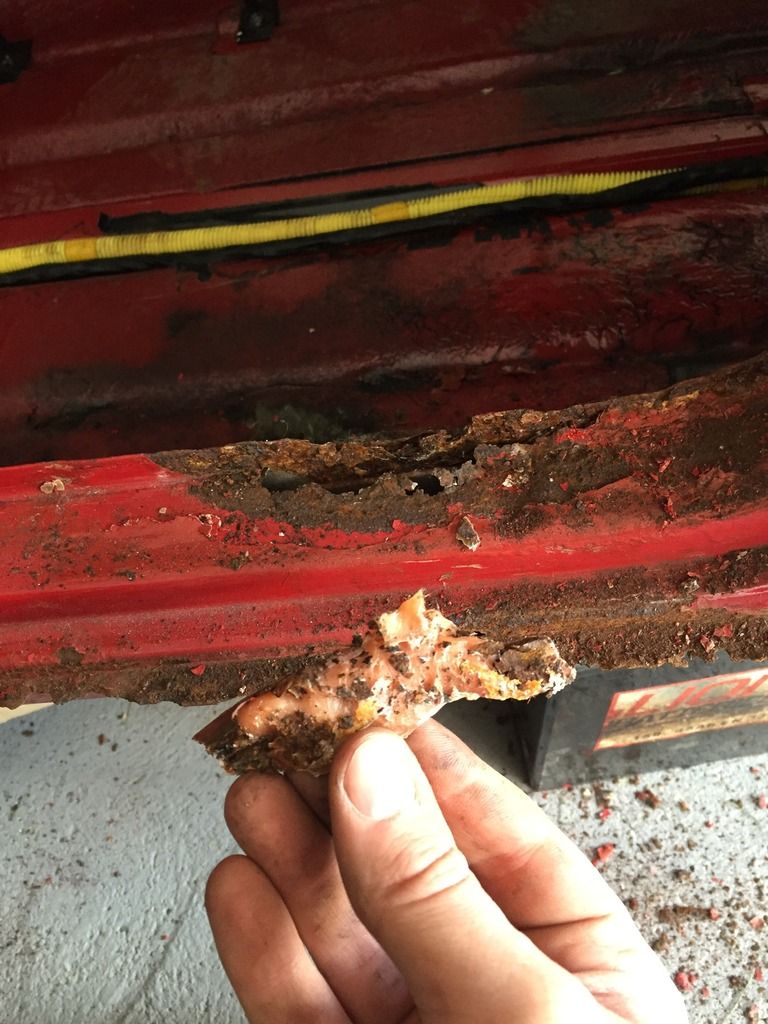
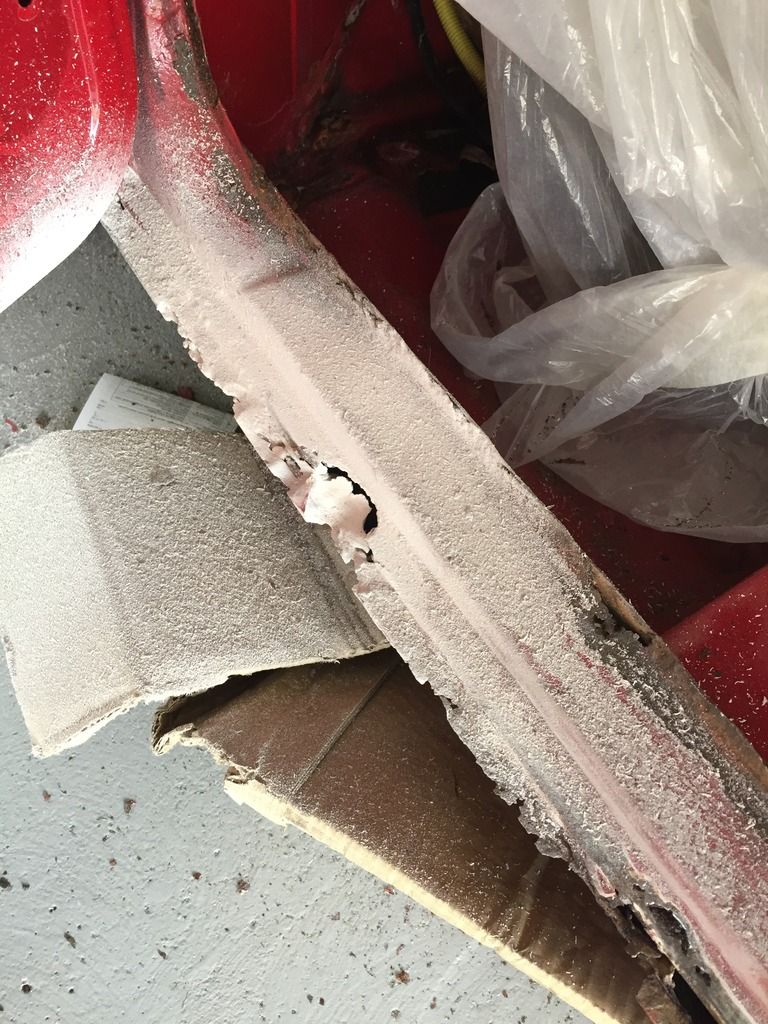
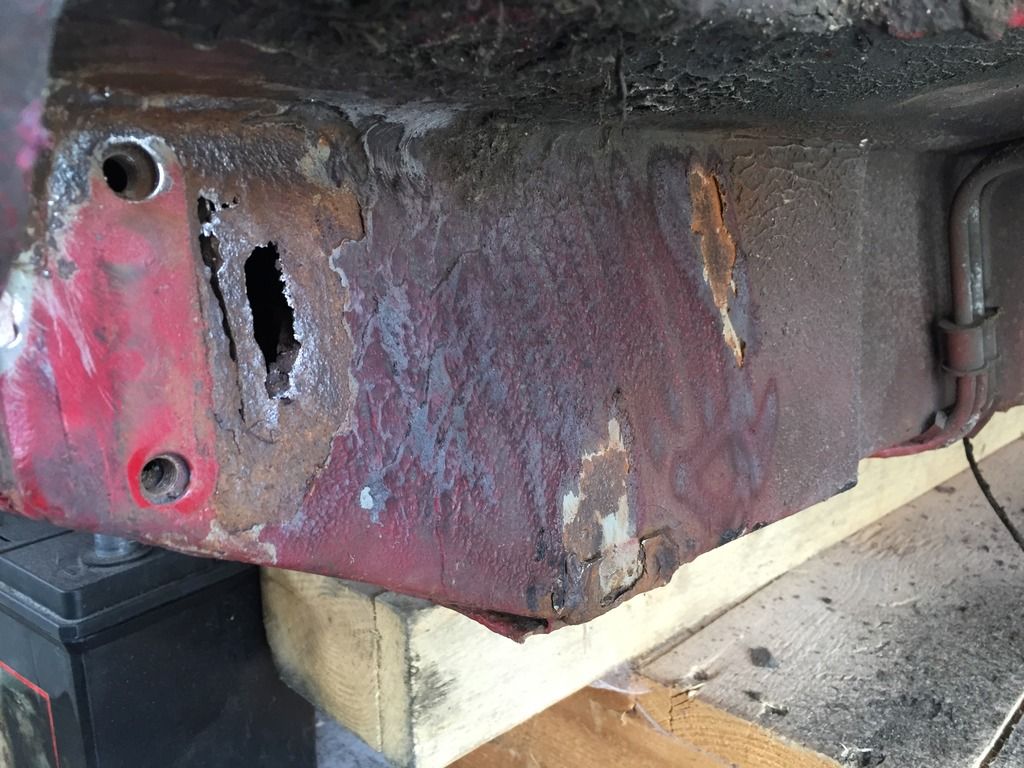
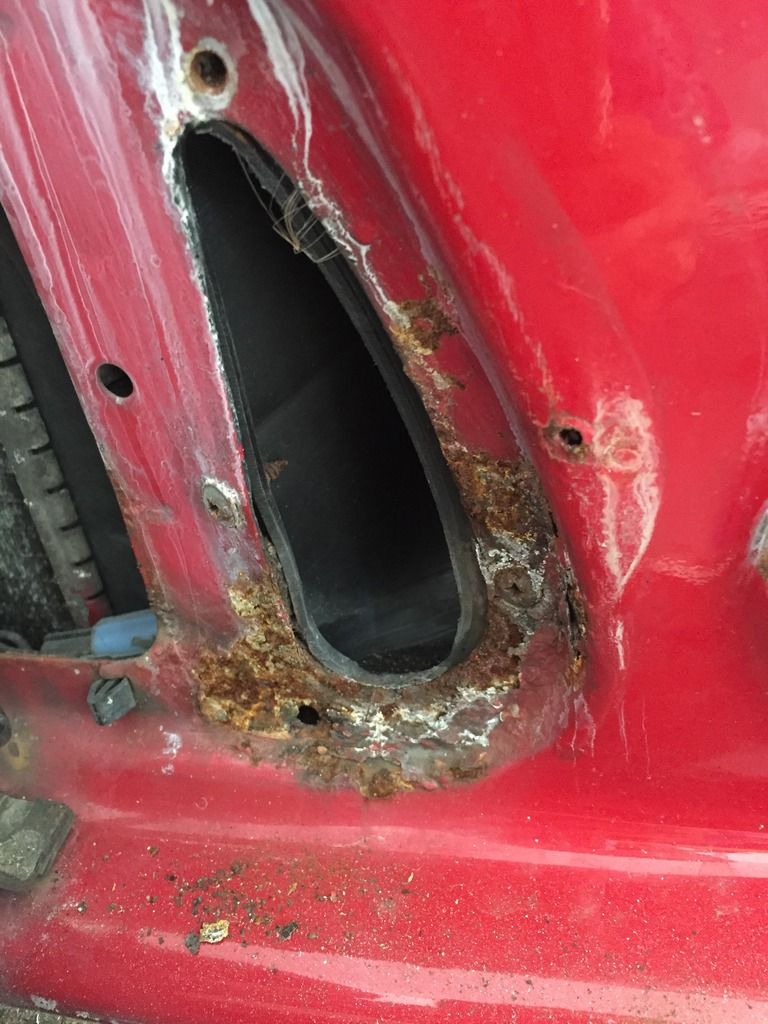
Now started taking the rest of the car apart and checking the condition of some of the panels.
Inside of N/S door
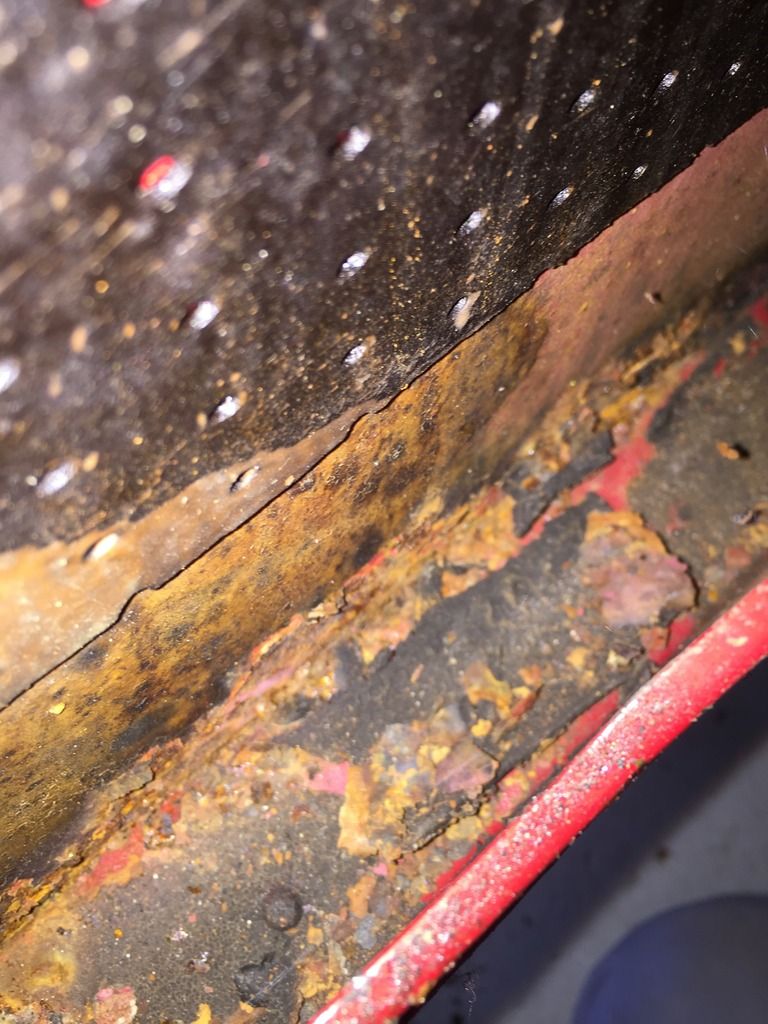
Back of the rear arch
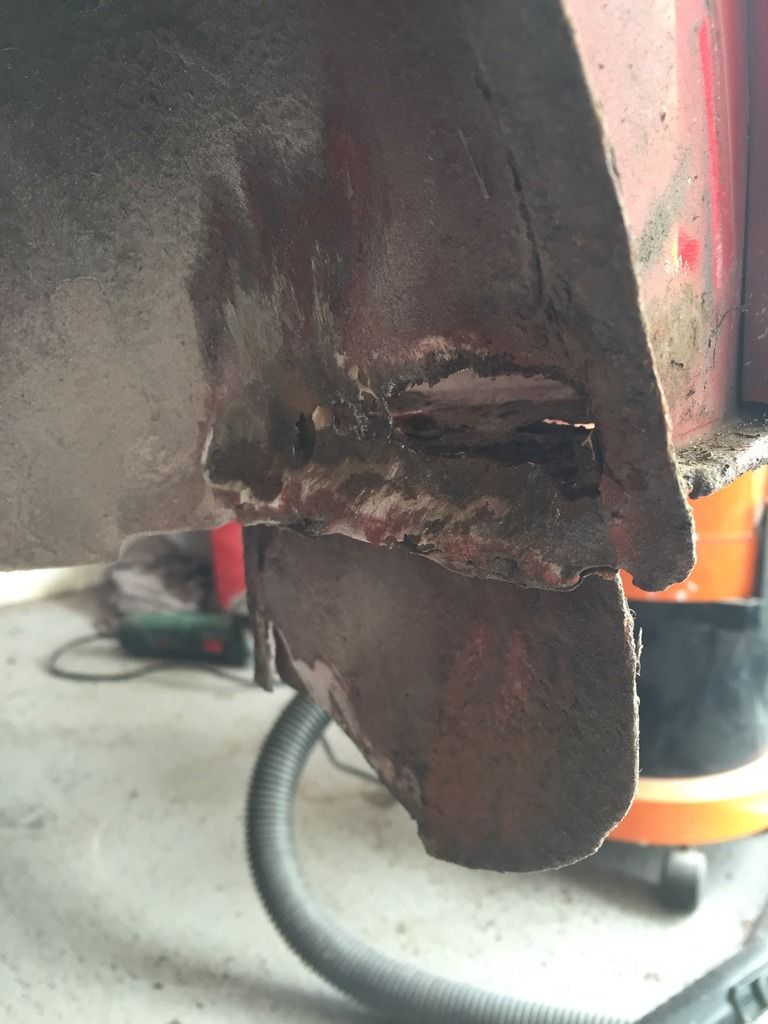
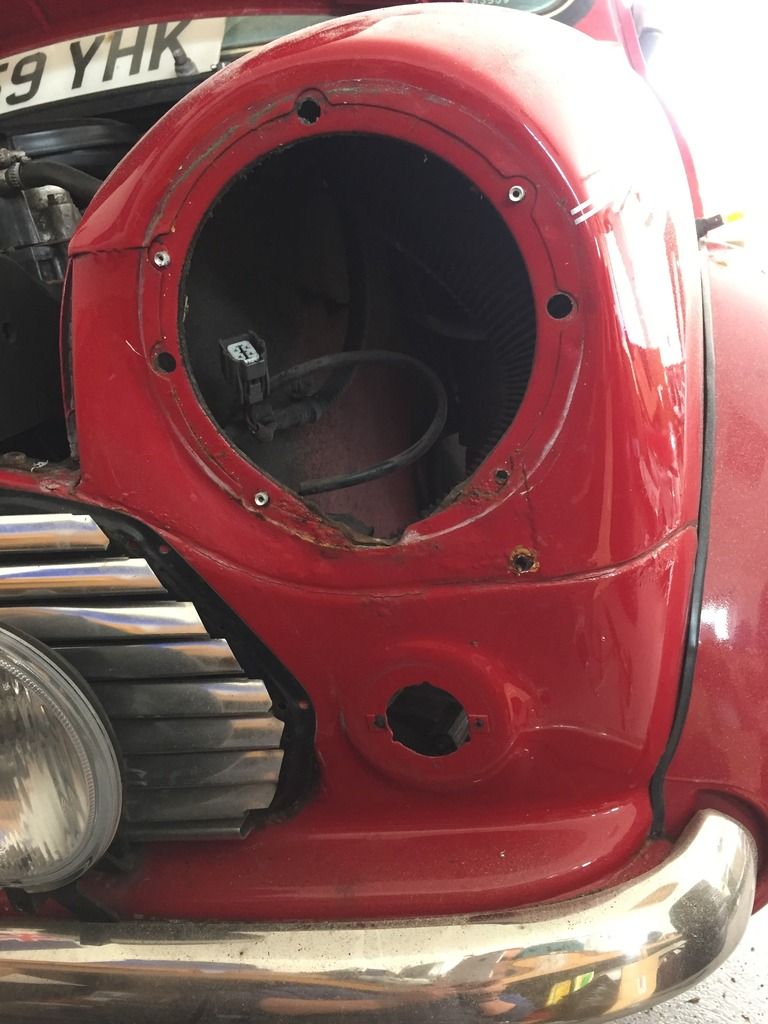
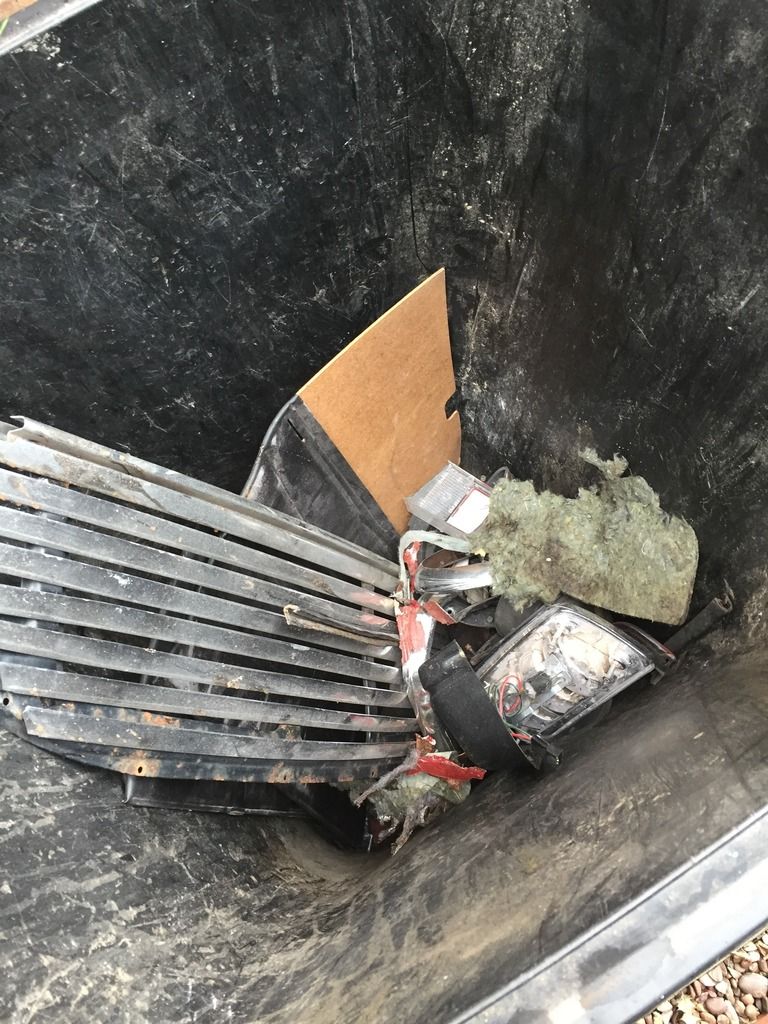
Loads of parts in the bin!
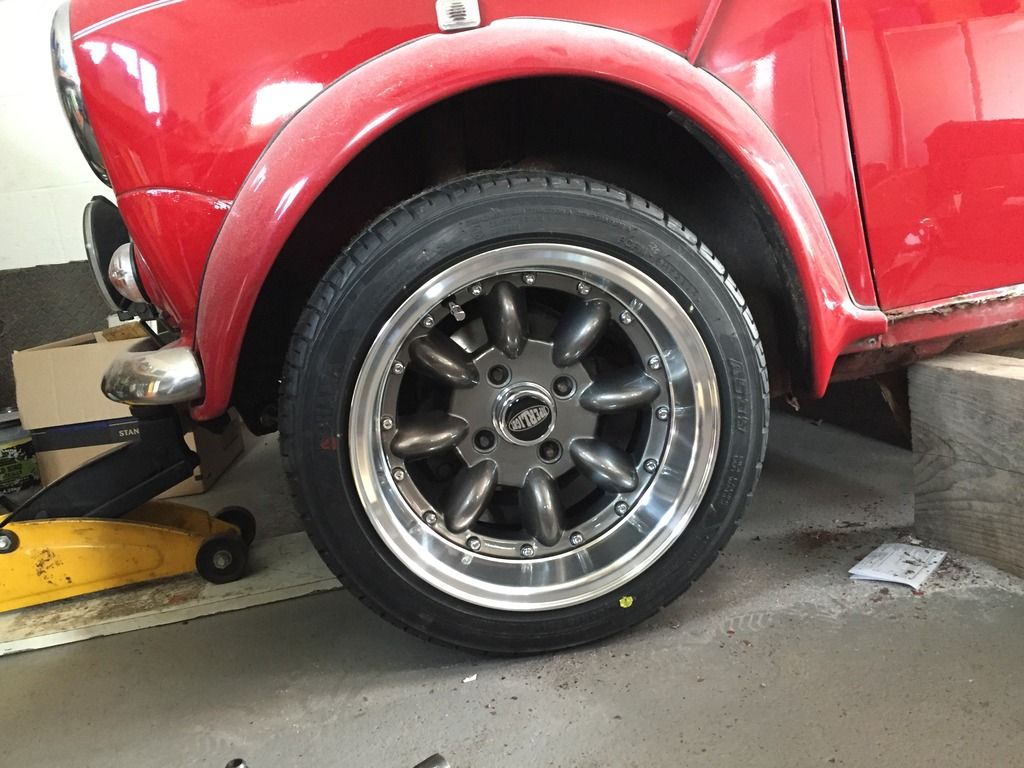
Trial fit of the new wheels ![]()
After pulling the interior apart (will get pics) I decided to leave it and crack on with my daily as the MOT is tomorrow.
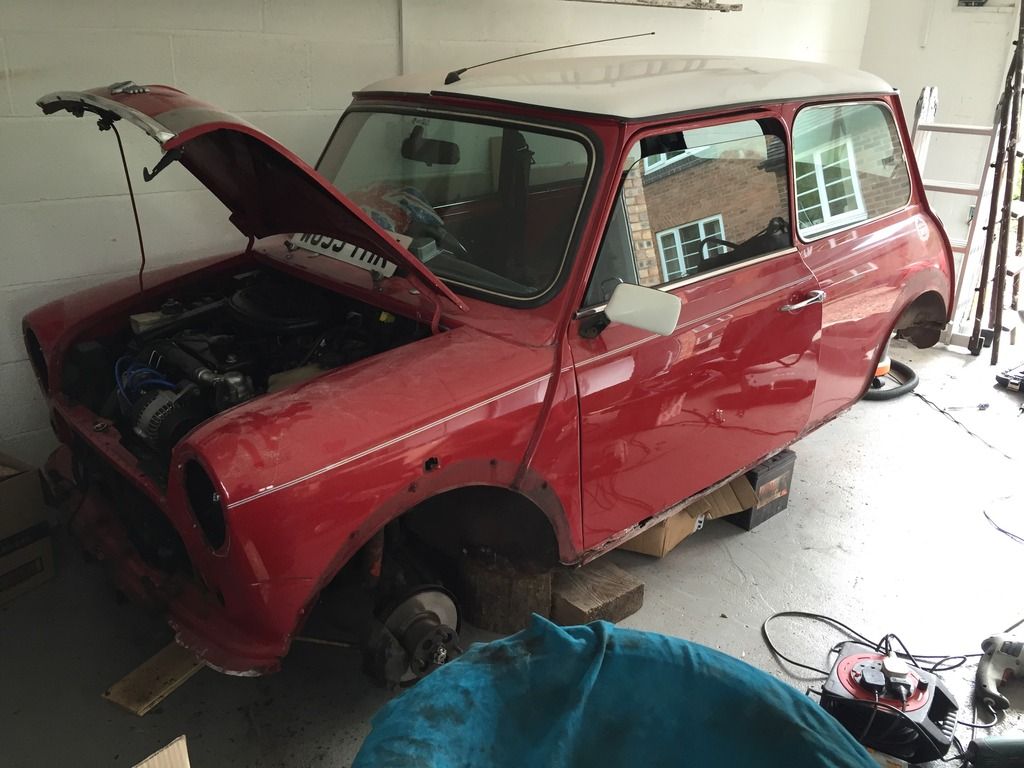
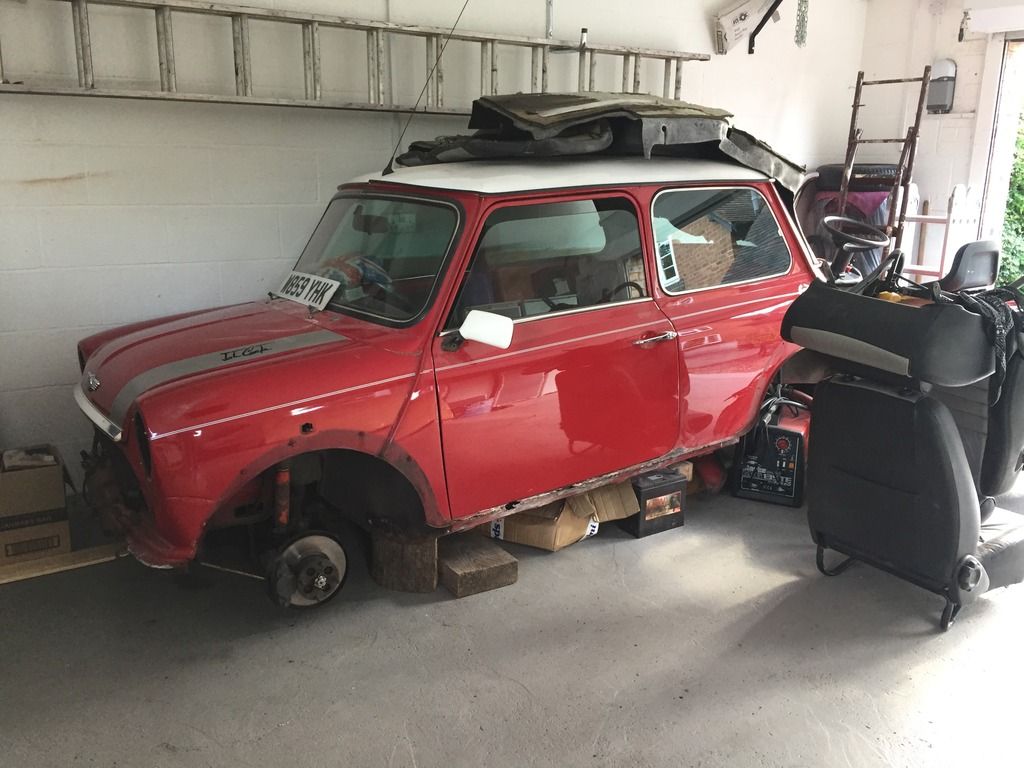
More to come next week!
#127

Posted 17 June 2016 - 08:38 PM
How do you spell that noise you make where you suck air through your teeth? ![]()
#128

Posted 17 June 2016 - 08:45 PM
Fffffffffff
I think lol.
Lots of new panels to be ordered! Although the current stockpile is getting larger.
#129

Posted 17 June 2016 - 09:50 PM
#130

Posted 19 June 2016 - 03:32 PM
Not a massive update, my current state of progress is removing the wiring looms, wrapping them up and labeling. I've also got too much stuff in numerous cardboard boxes so tomorrow's job is to go and get some plastic storage boxes and tidy things up properly.
So removed the dash to access all the wiring looms, 5AS and assess the scuttle join
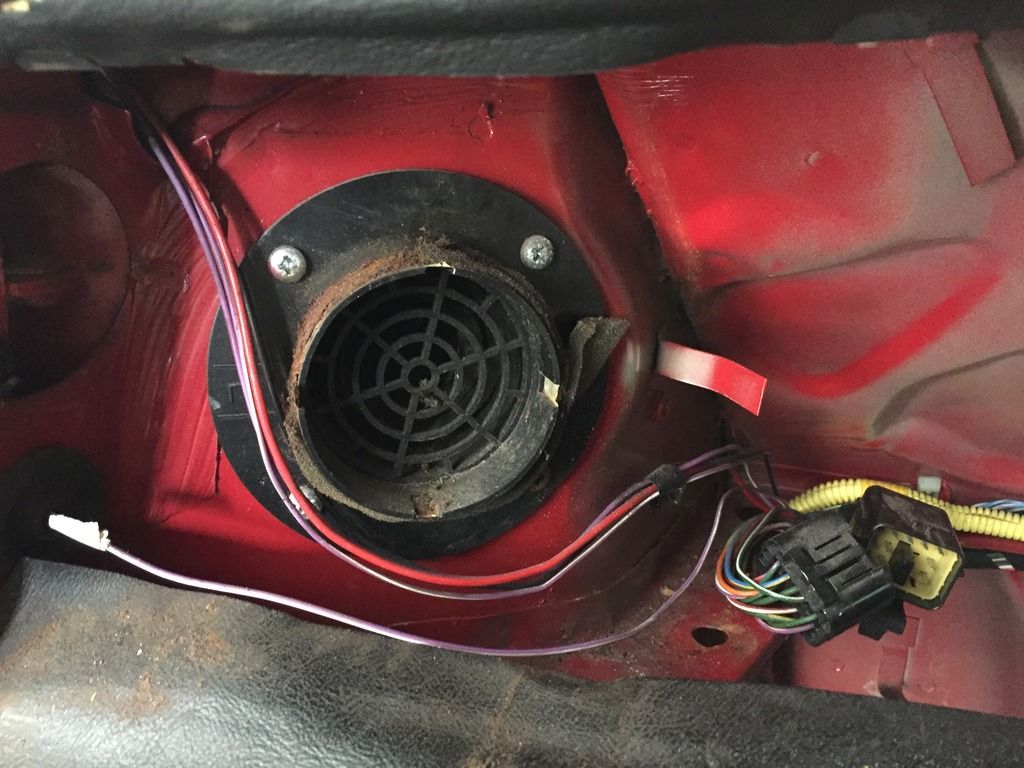
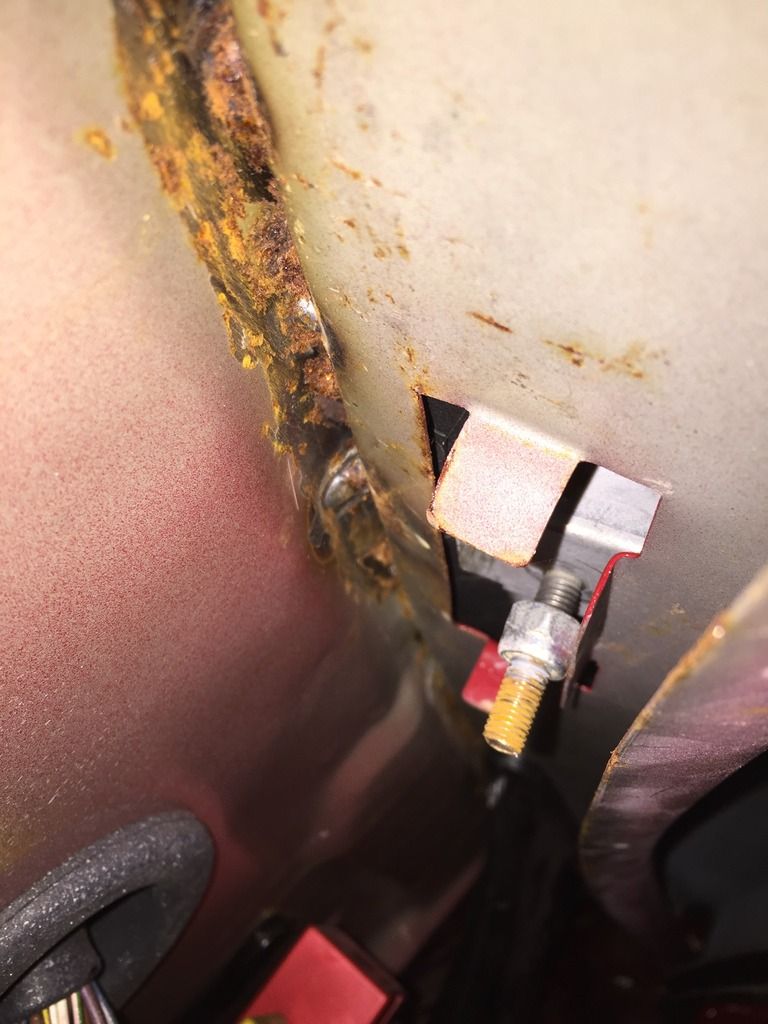
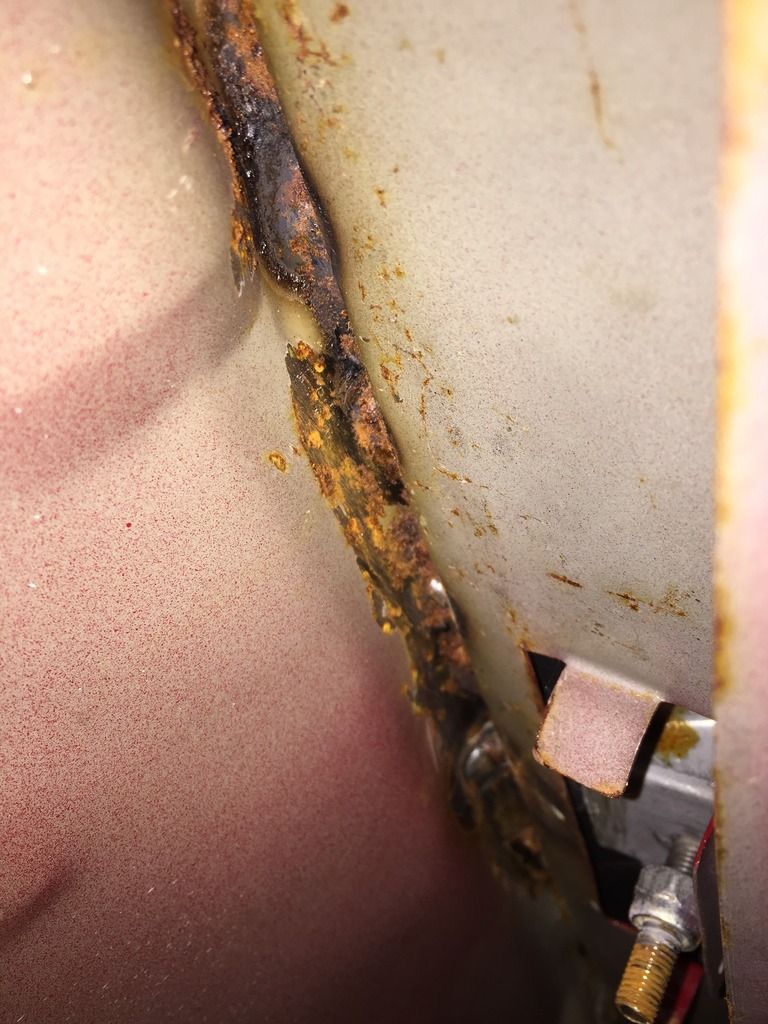
As you can see, its never good news.
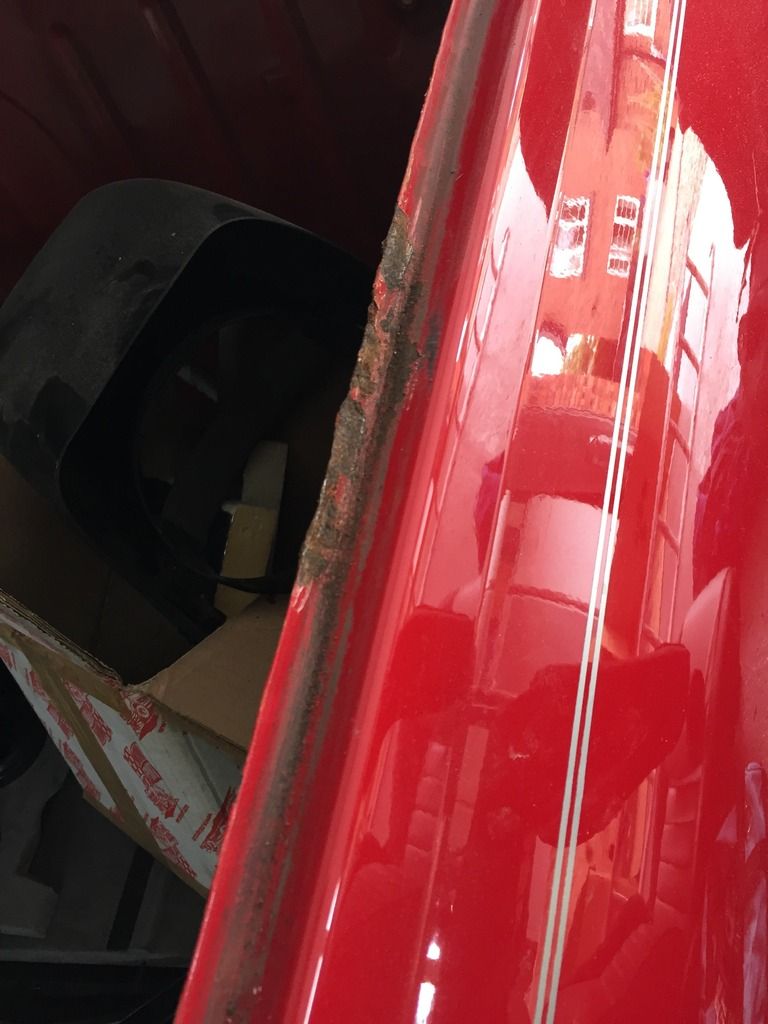
Next was remove the rear side windows, rust in the usual spot where the rubbish rubbers join
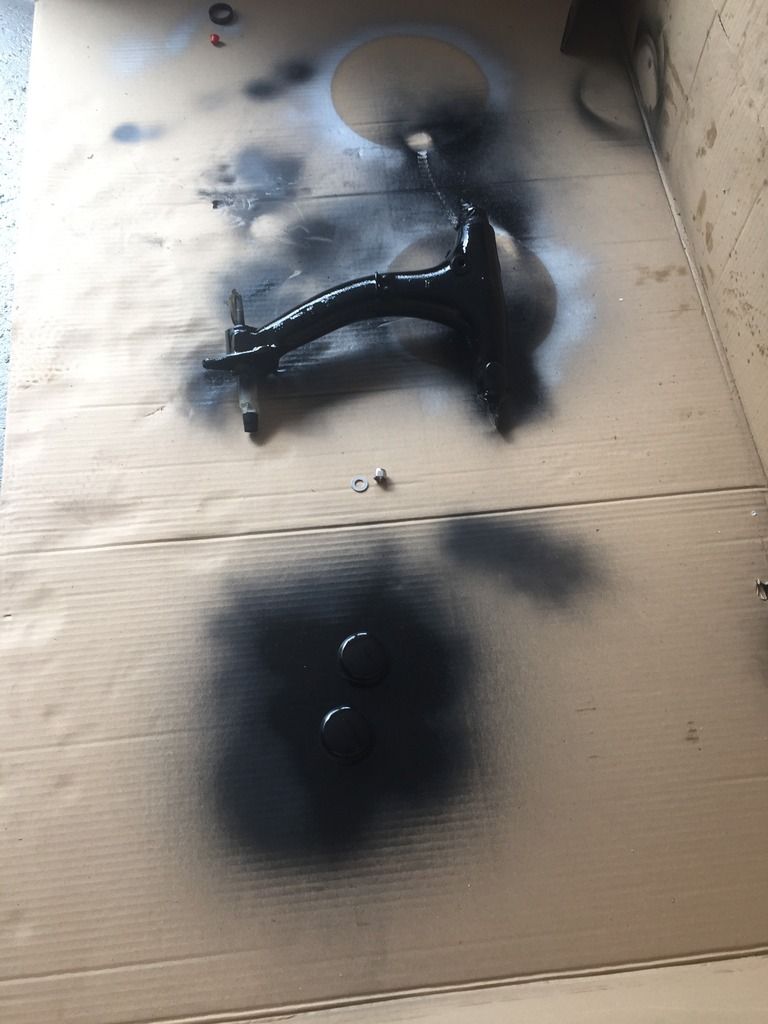
Rather than keep taking steps backwards, I got on with spraying up one of the radius arms and the hub nut covers. As I flat some of the paint back on the radius arm i noticed some surface rust underneath coming through. This was taken back to bare metal with a lap wheel, zinc primed and sprayed in satin black.
#131

Posted 19 June 2016 - 07:48 PM
Good luck with the rebuild, don't get too disheartened just think every hour you put into the work required is an hour it is nearer to returning to the road.
#132

Posted 20 June 2016 - 12:41 AM
Nice build
I am always AMAZED at how lovley the minis in the UK are on the outside but how rusty they get inside and under. The Japanese minis for some reason don't seem to rust so fast
does the government add salt to the rain ?
#133

Posted 20 June 2016 - 12:17 PM
#134

Posted 20 June 2016 - 02:54 PM
It shows you how water can get everywhere on these! All the places I've found rust so far haven't surprised me. I'd already half prepared myself for something to be out the blue. My interior is off to JCS custom today to be retrimmed, looking forward to it coming back! However it won't be for some time and I'm in no rush with the whole project.
I had my interior re-trimmed by JCS, he does an excellent job, you won't be disappointed !
#135

Posted 20 June 2016 - 04:57 PM
2 user(s) are reading this topic
0 members, 1 guests, 0 anonymous users
-
Bing (1)


