They look really good, do you fancy lending them to me while you finish your car ![]()

2000 Cooper Sportspack Turbo
#166

Posted 08 August 2016 - 08:27 PM
#167

Posted 08 September 2016 - 08:58 PM
Hi all,
Well overdue for an update, however there's not much i'm doing to the shell as i'm getting to the point of my expertise and knowledge of bodywork lol. So here's some photos as frankly no one reads long descriptions in these things!
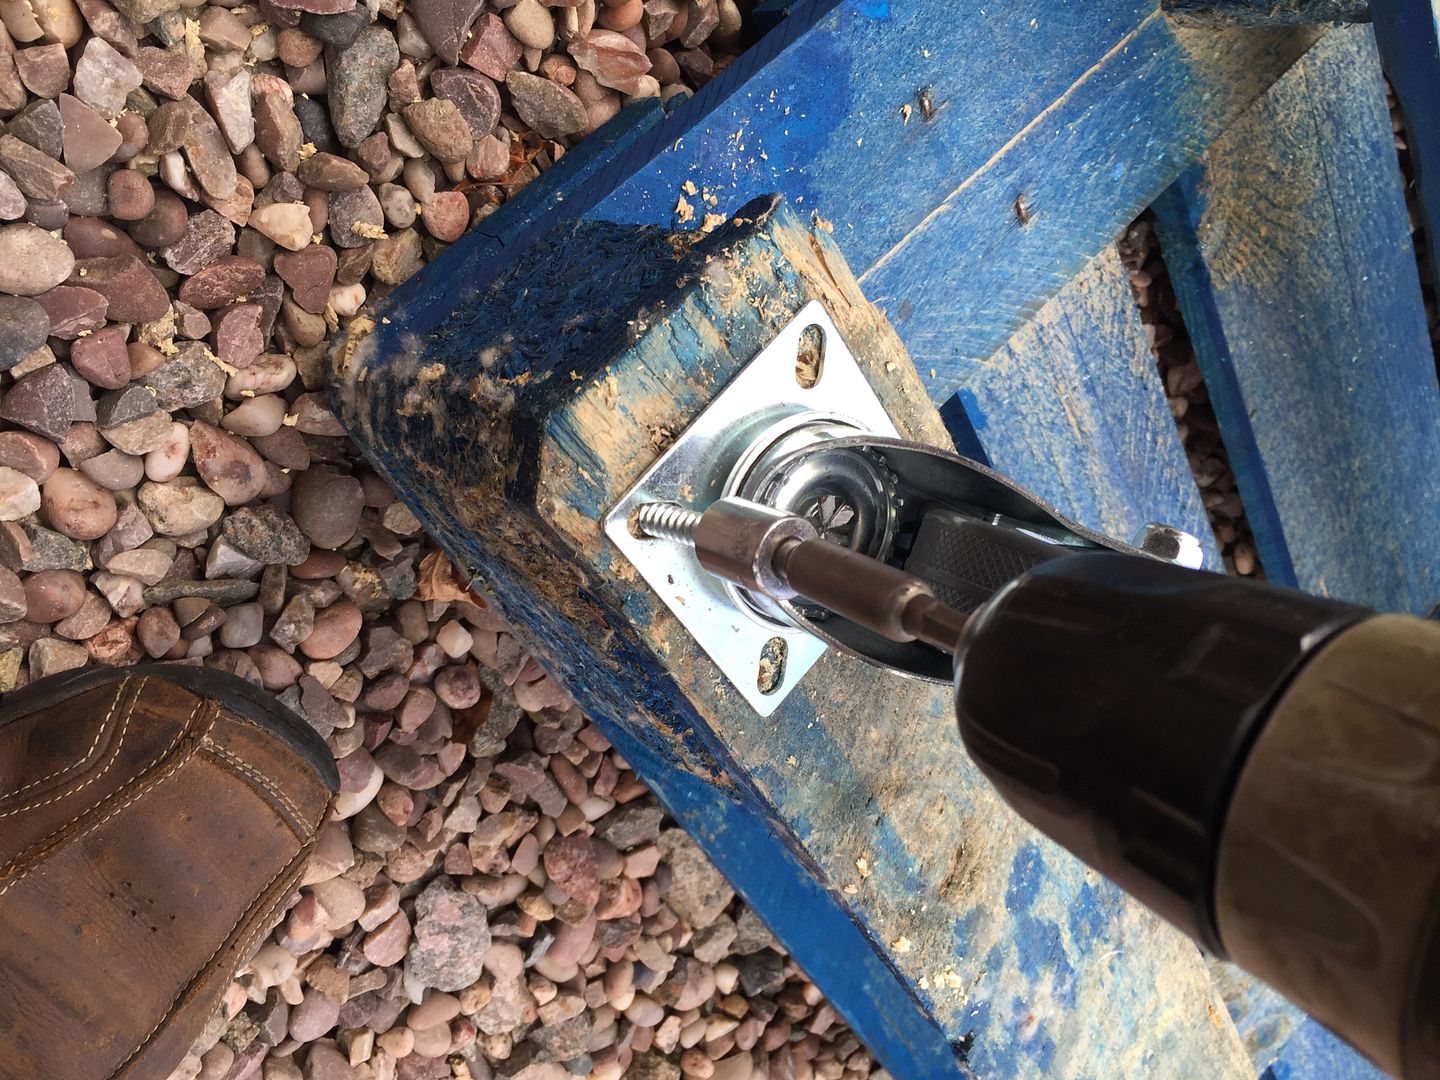
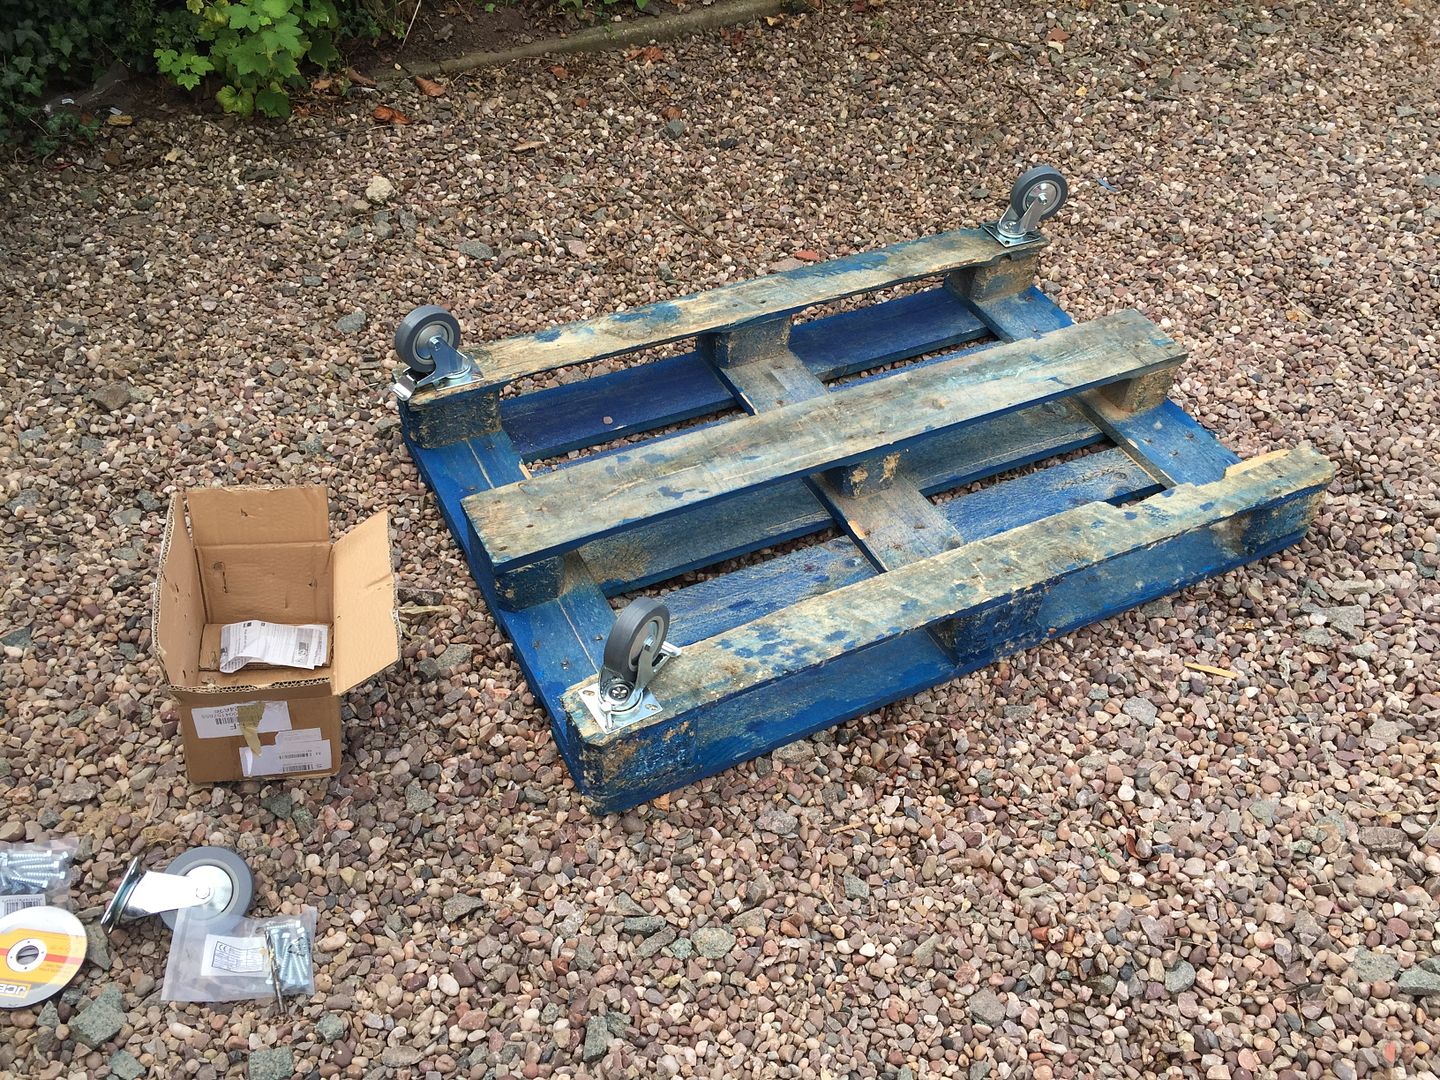
First of all, made a pallet truck! Some cheap ebay wheels and some coach screws sorted it!
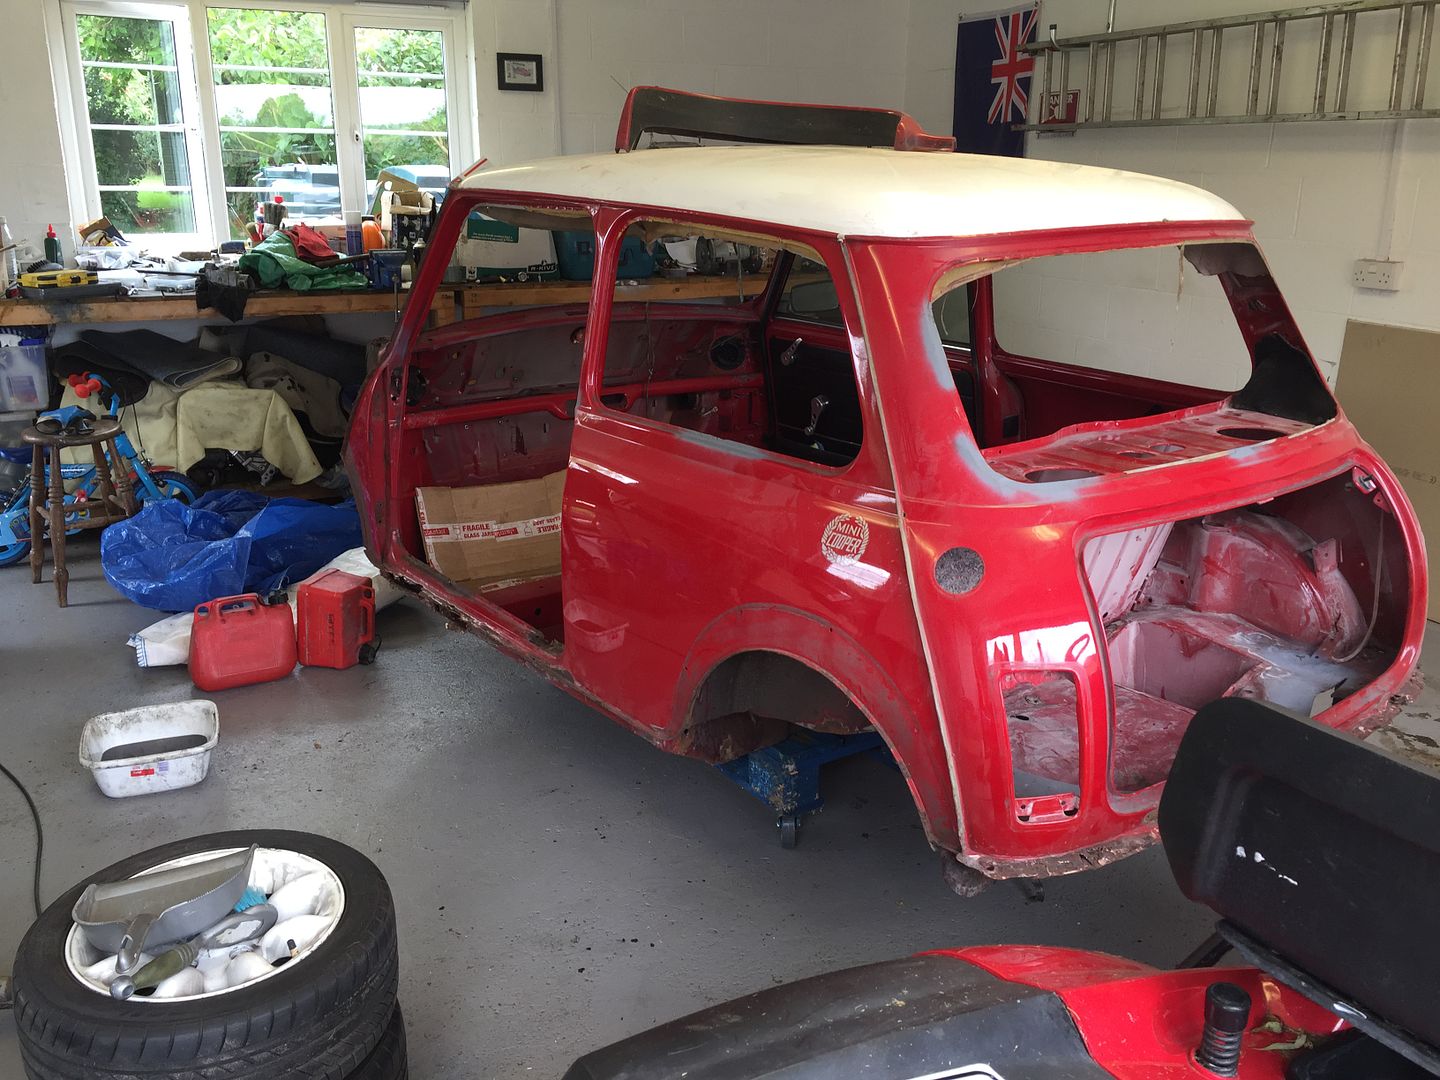
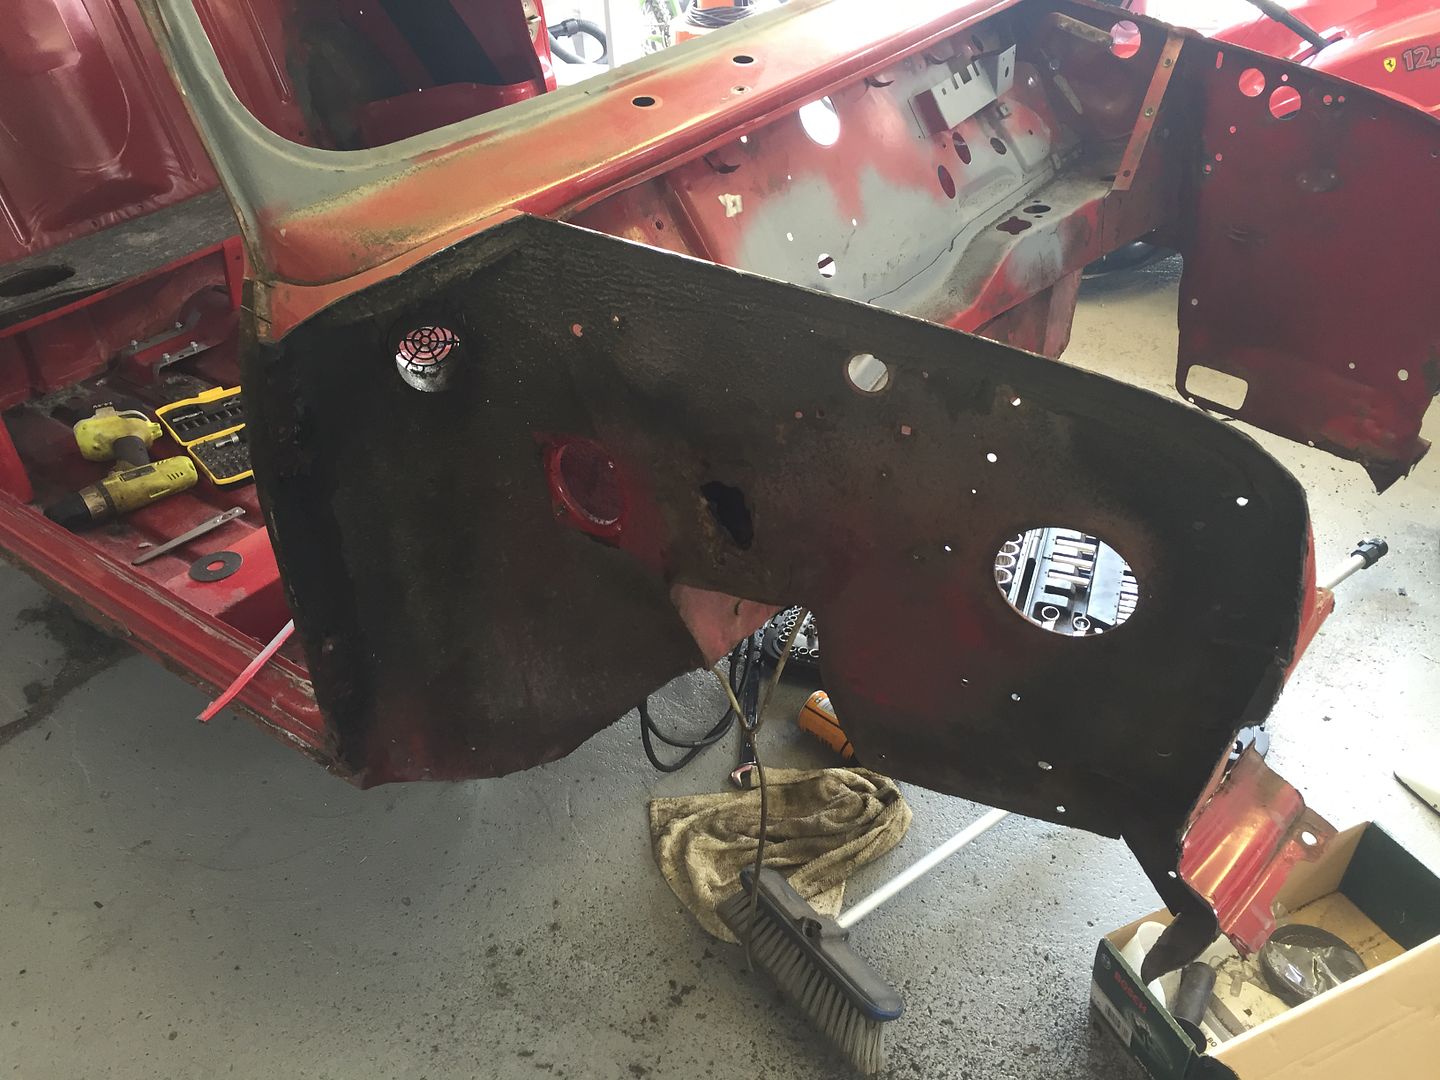
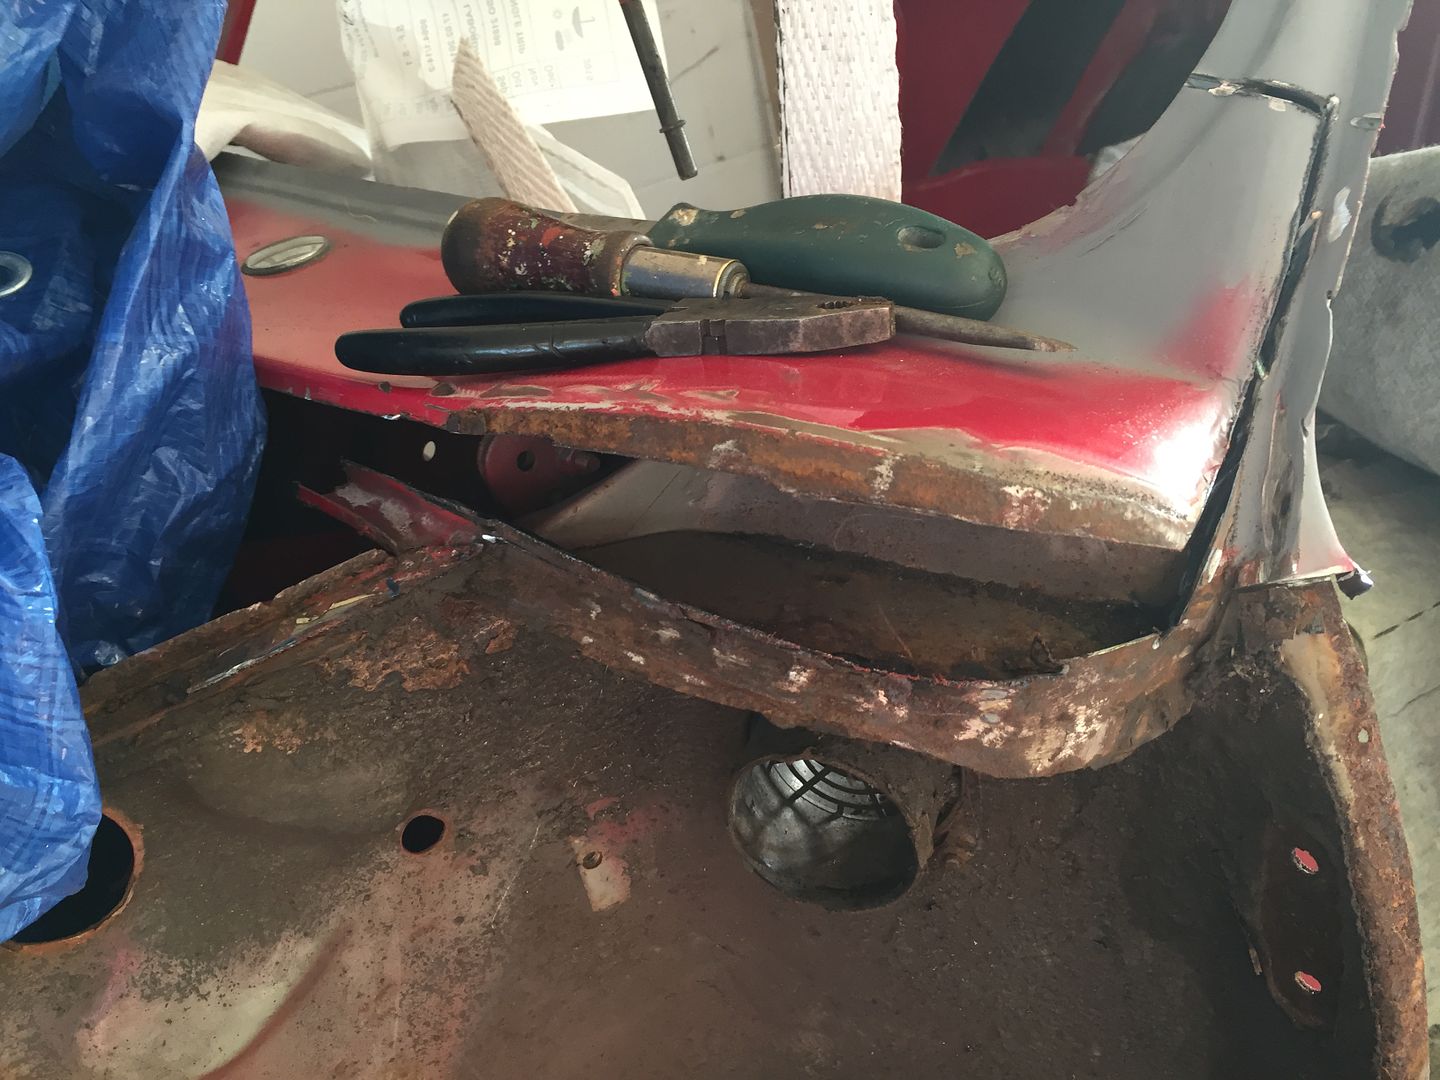
Started more cutting of the shell to get the O/S wing off and start removing the scuttle. Also gave the sills a go, but then wussed out.
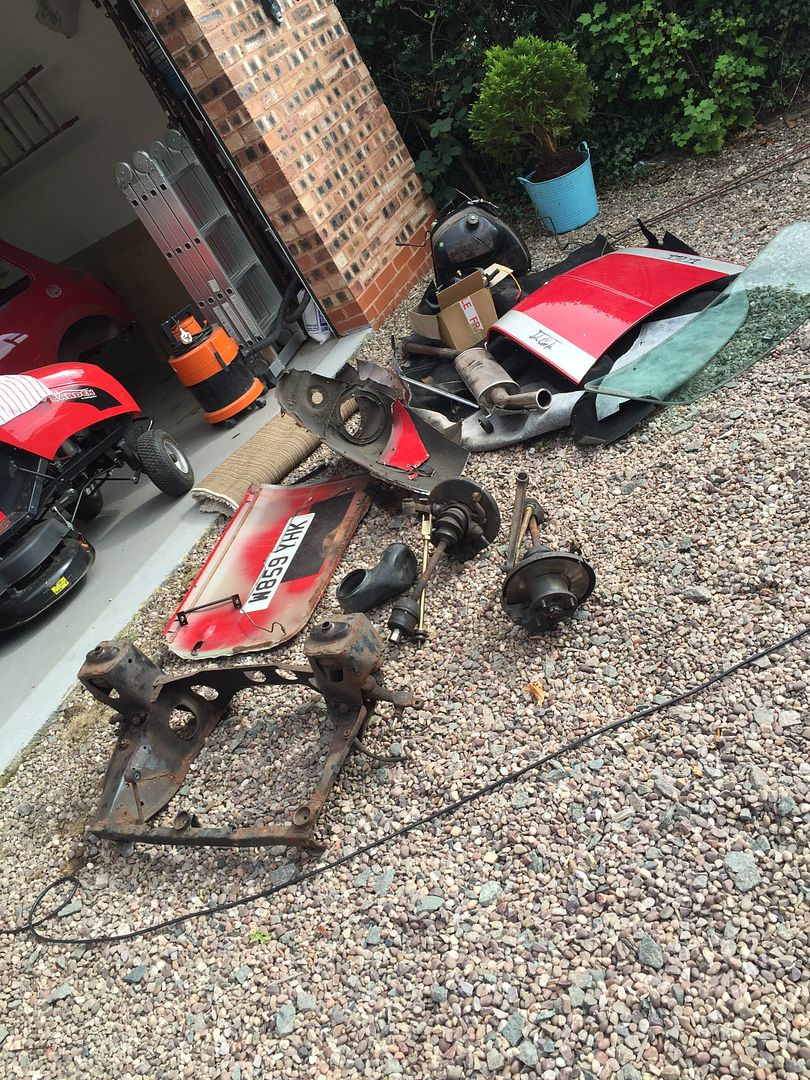
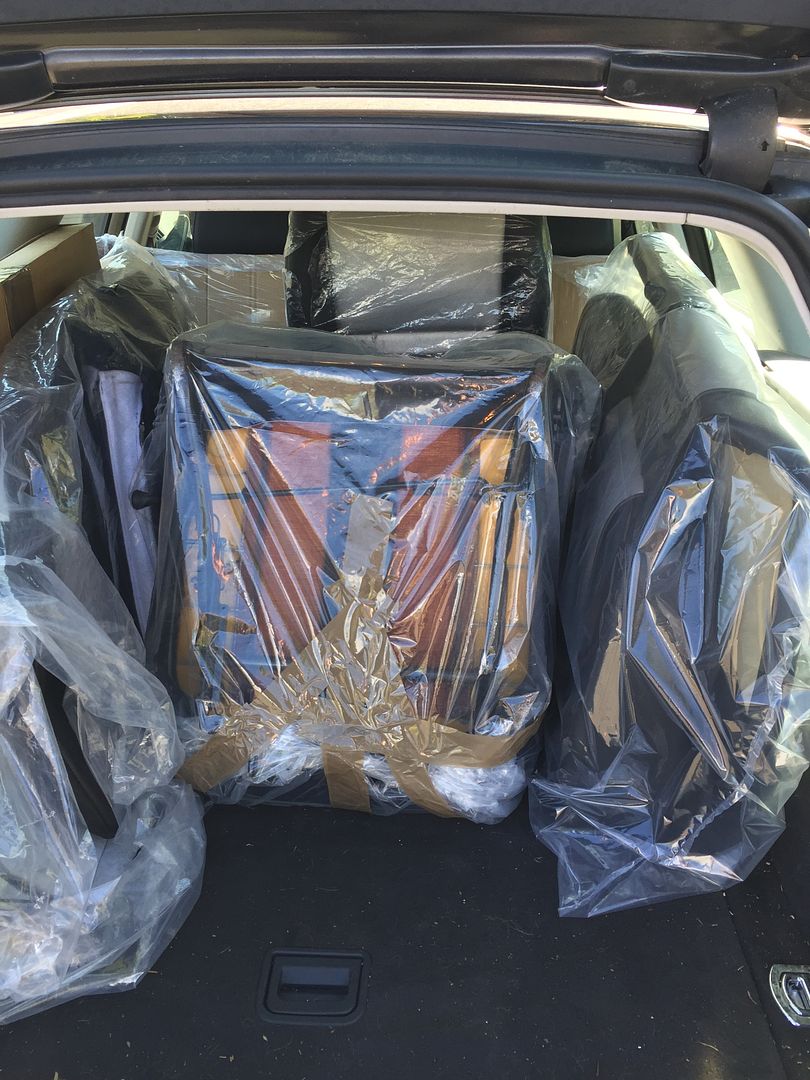
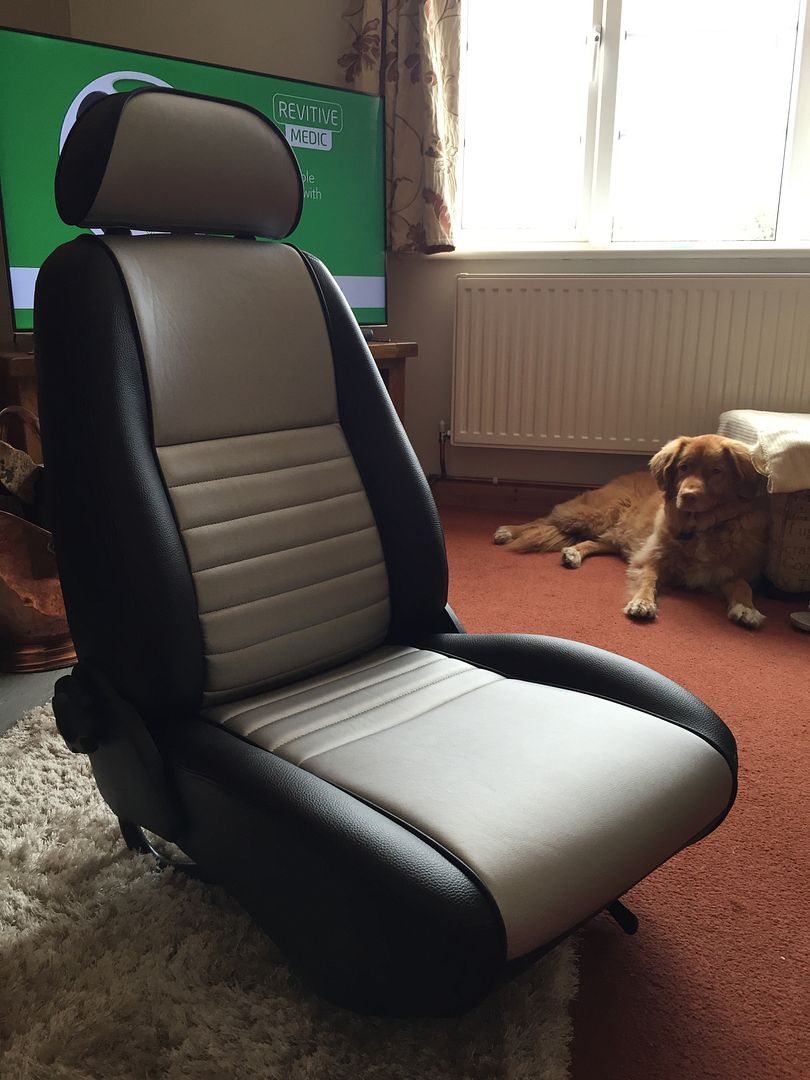
Went to pick up my new interior! Massively impressed with these.
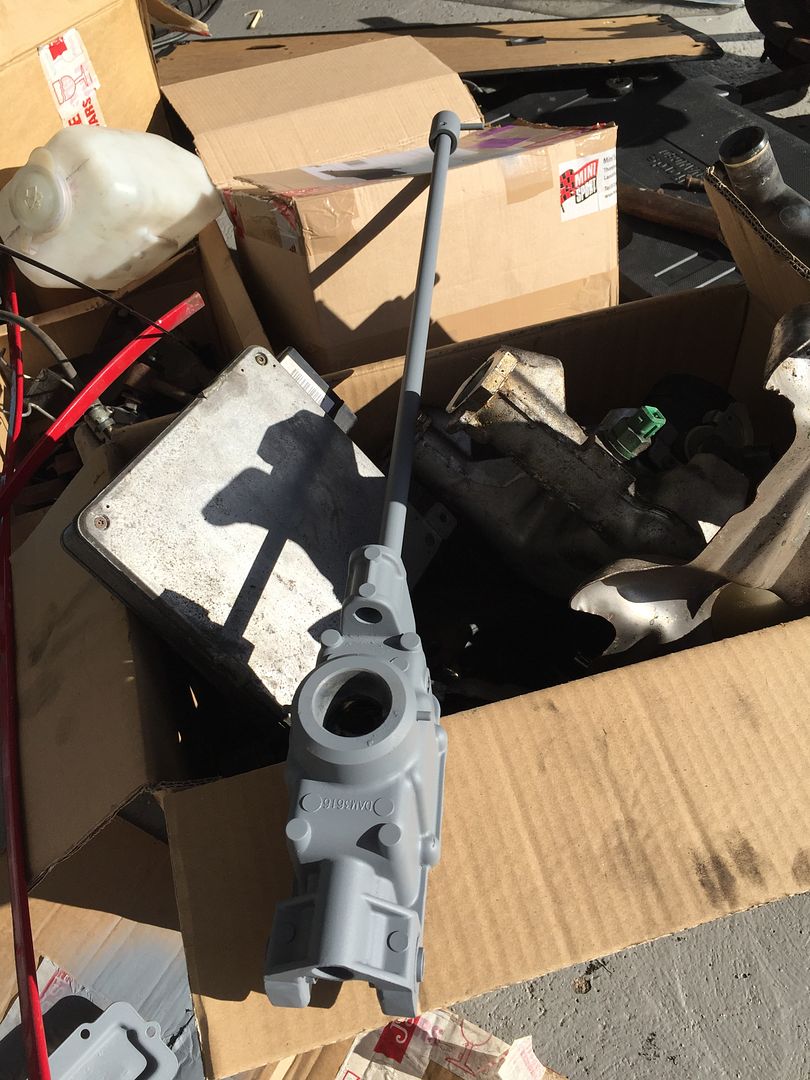
Whilst I can't sort the bodywork out fully, decided to strip parts of the car and refurb. First of all was the gear shifter.
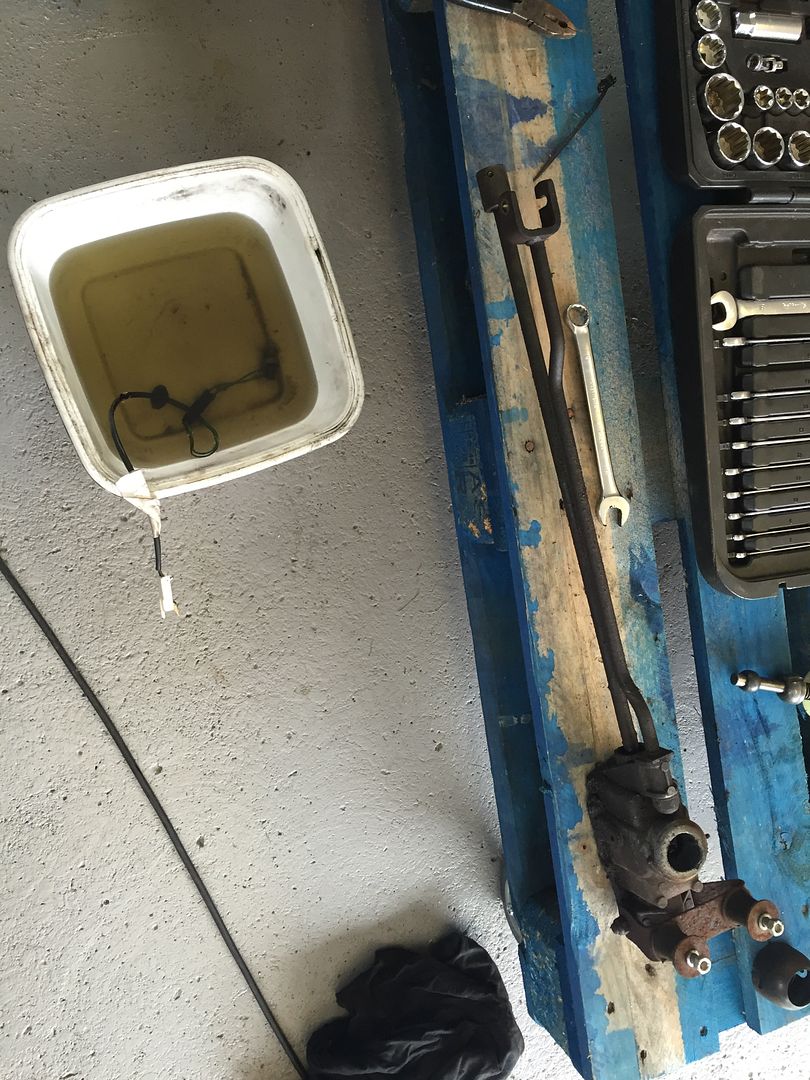
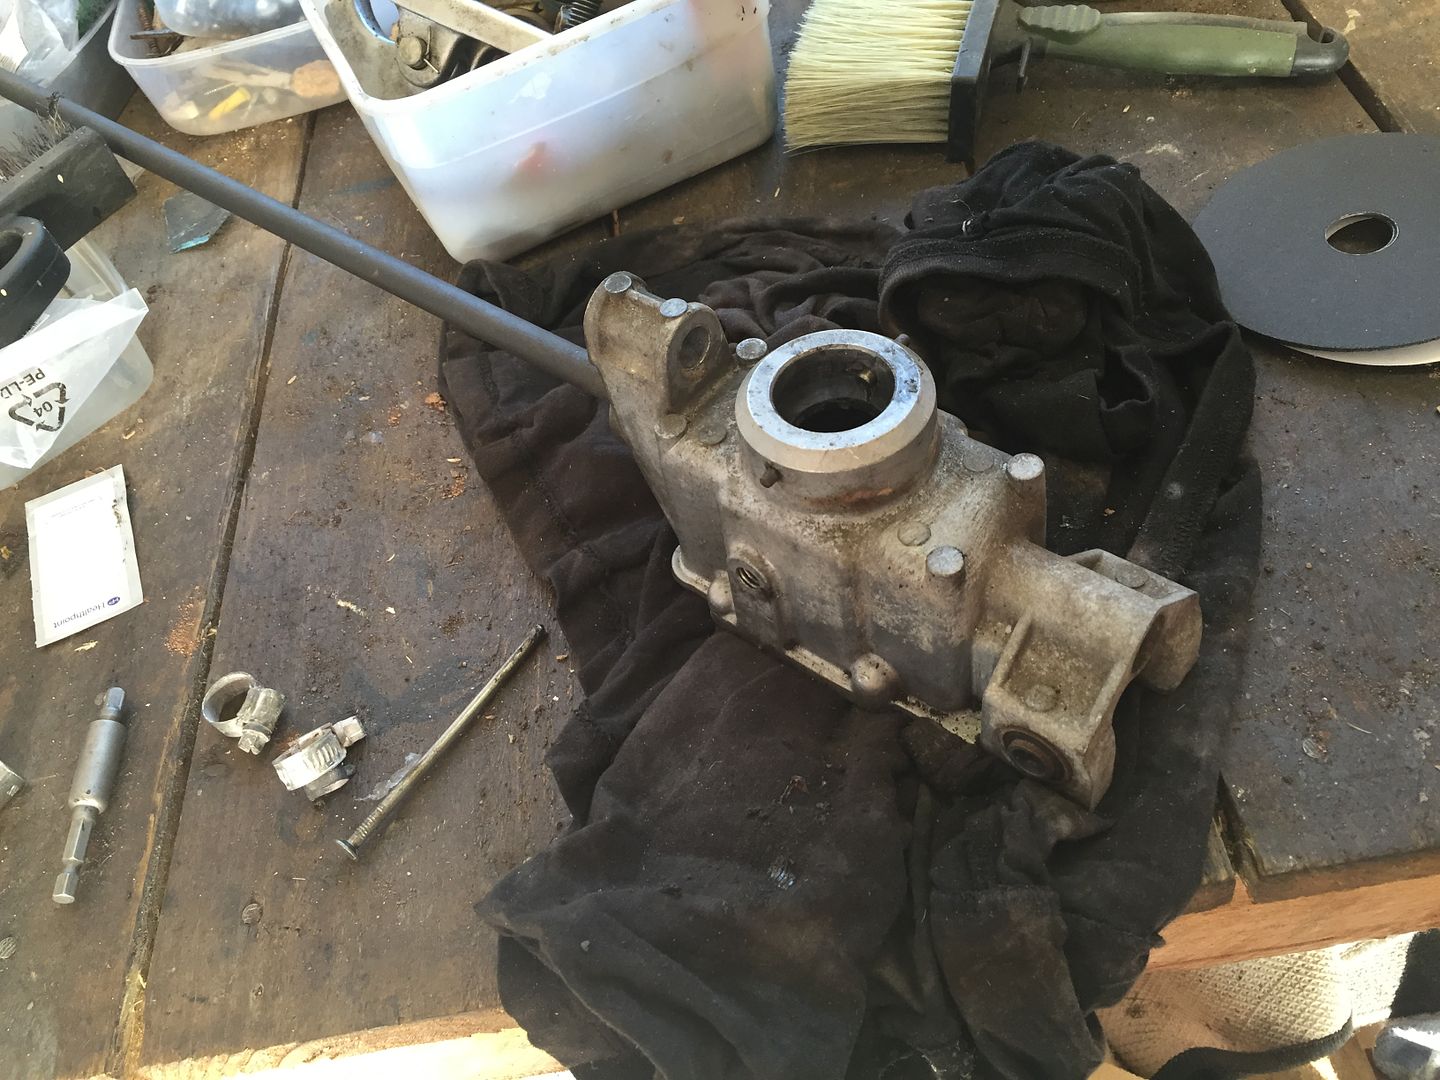
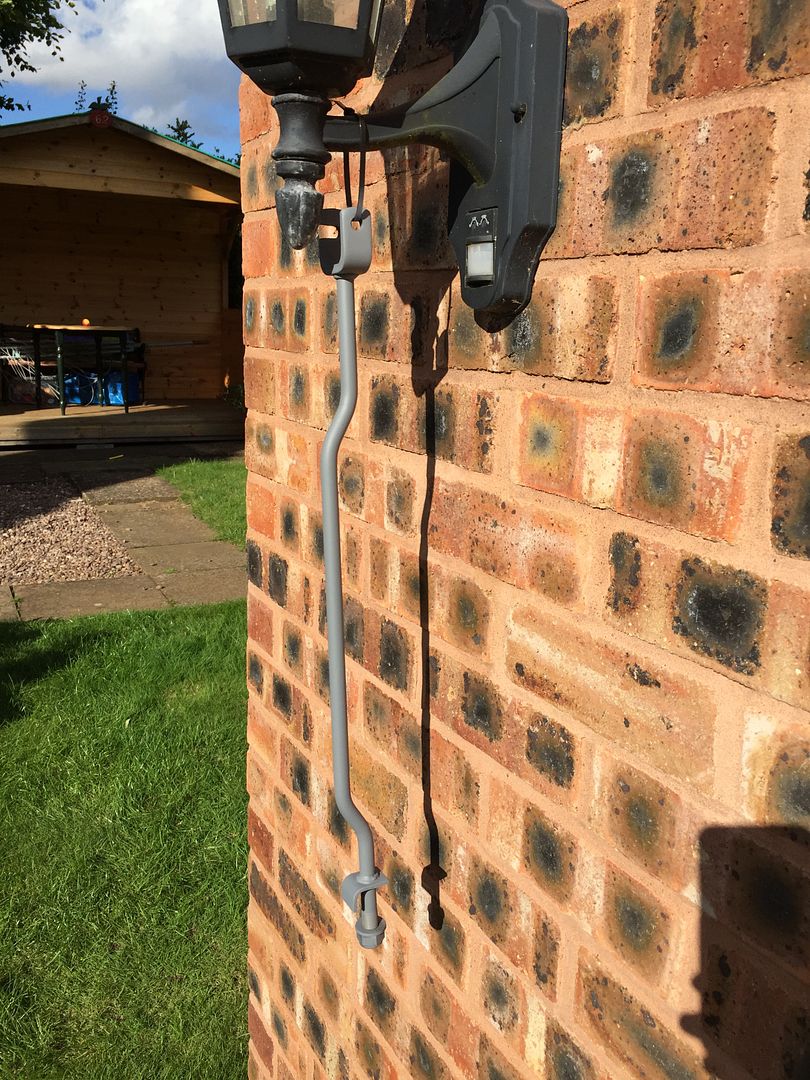
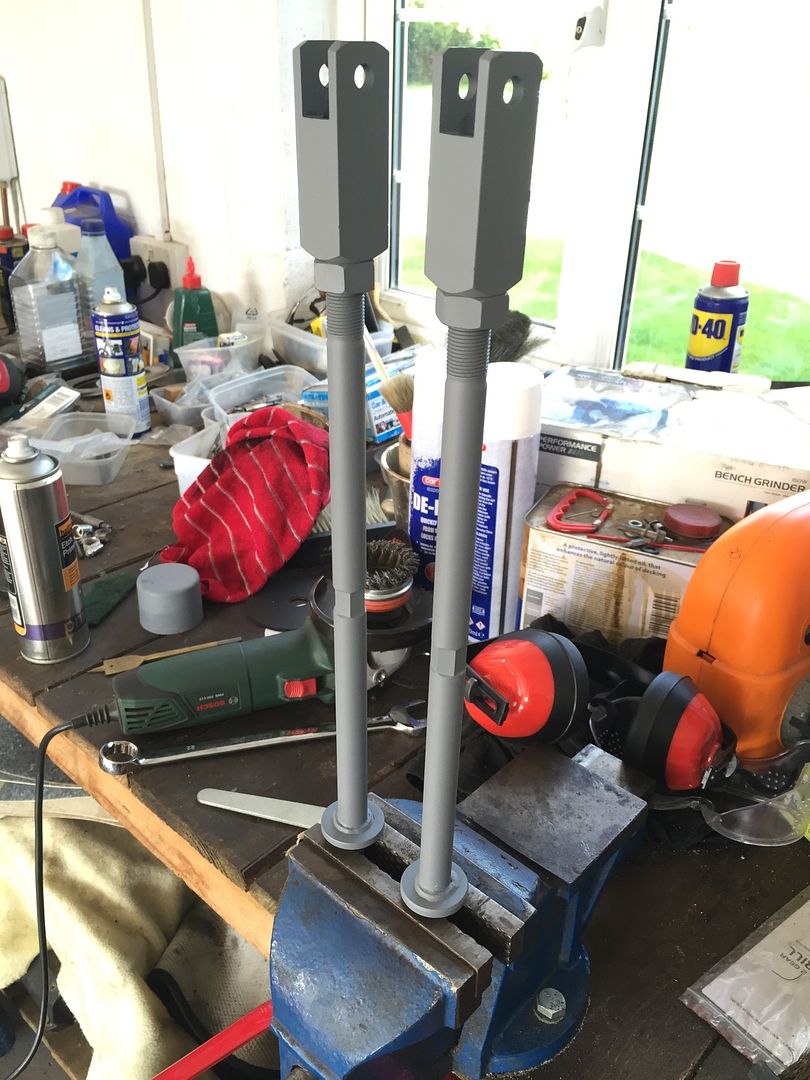
Rear subframe was returned as well as the trunnions and handbrake cable brackets.
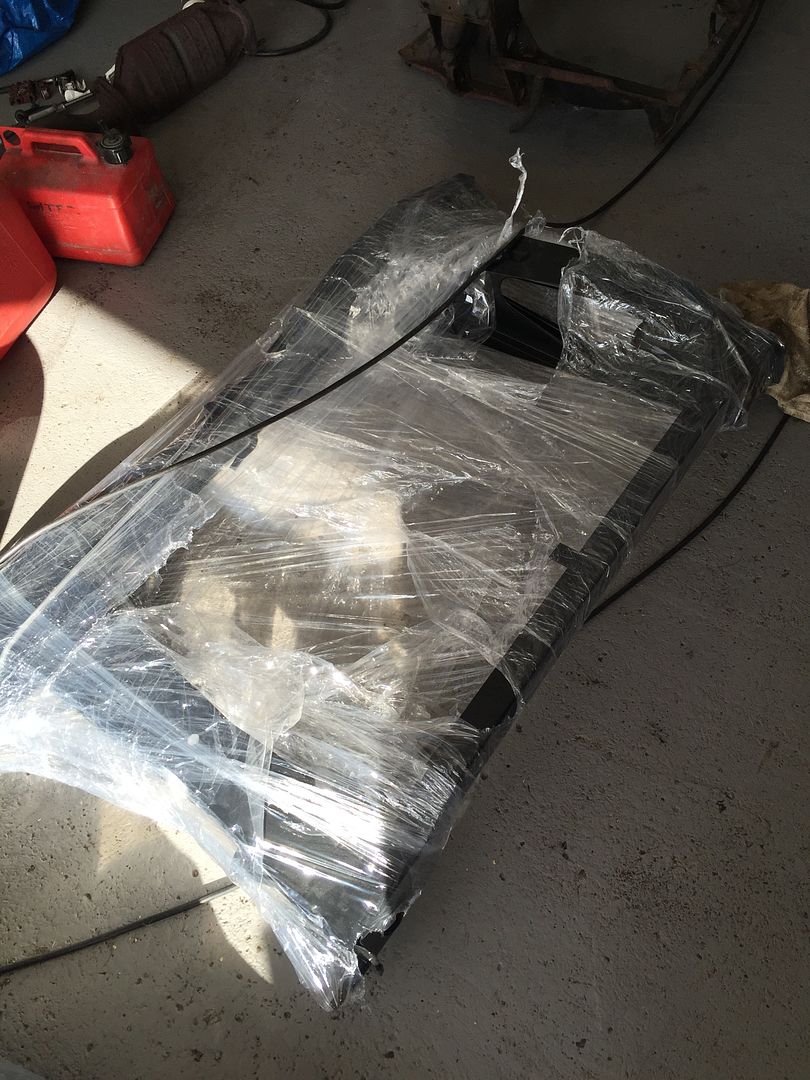
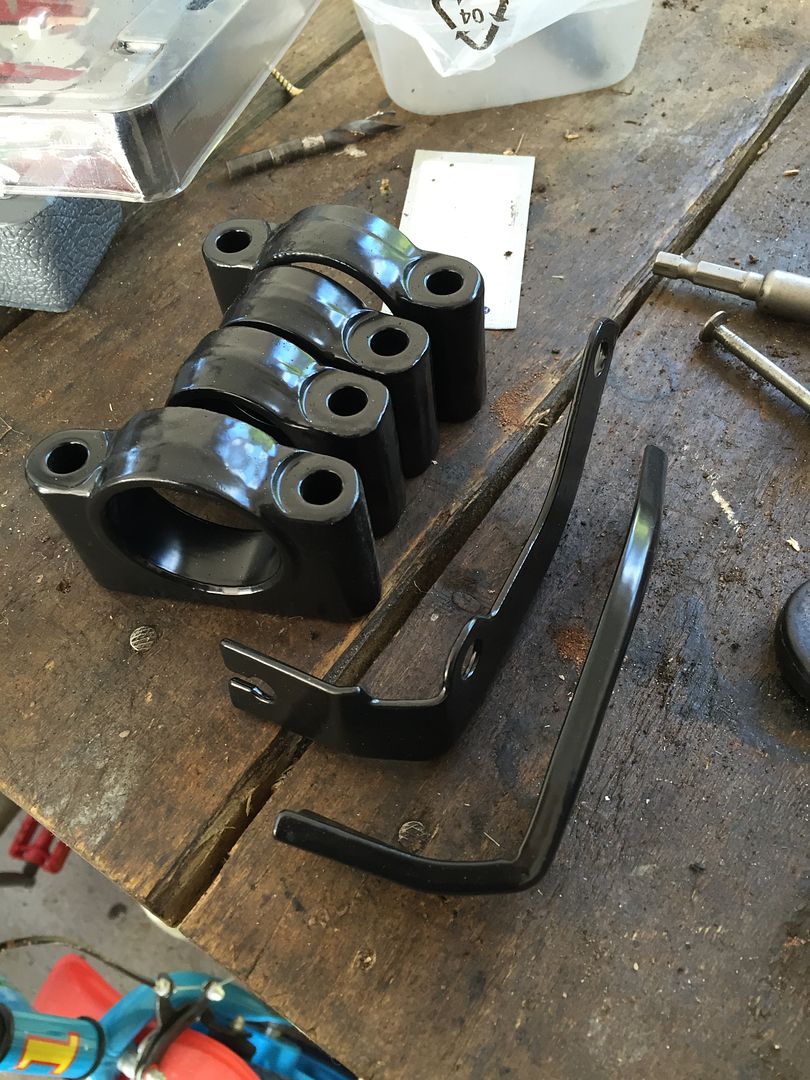
#168

Posted 09 September 2016 - 04:11 PM
Did you get out Quote Steve?
#169

Posted 09 September 2016 - 07:15 PM
#170

Posted 10 September 2016 - 03:40 PM
I did, thank you! I'm waiting for a few other companies to get back me before deciding what to do. It might just be economical to buy a new shell.
I don't want to influence your decision but the new BMH shells are not very good and will need a fair amount of work to get them good enough to paint.
But then on the other hand, the work required would be mainly be refitting work and tidying so could well be easier than dealing with rust
There is a member on here with project Ruby who bought a new shell and had lots of problems. Might be worth having a look.
Cheers
Ben
#171

Posted 10 September 2016 - 05:09 PM
Oh god yea.
Plus the fact they have gone up in price again.
If you do end up going for a new shell and you want a heads up, just let me know.
#172

Posted 10 September 2016 - 07:38 PM
Well it's all up in there air at the moment, so will just see how I get on. To try and save myself a bit of dosh, i've started cutting up the shell more.
Scuttle off!
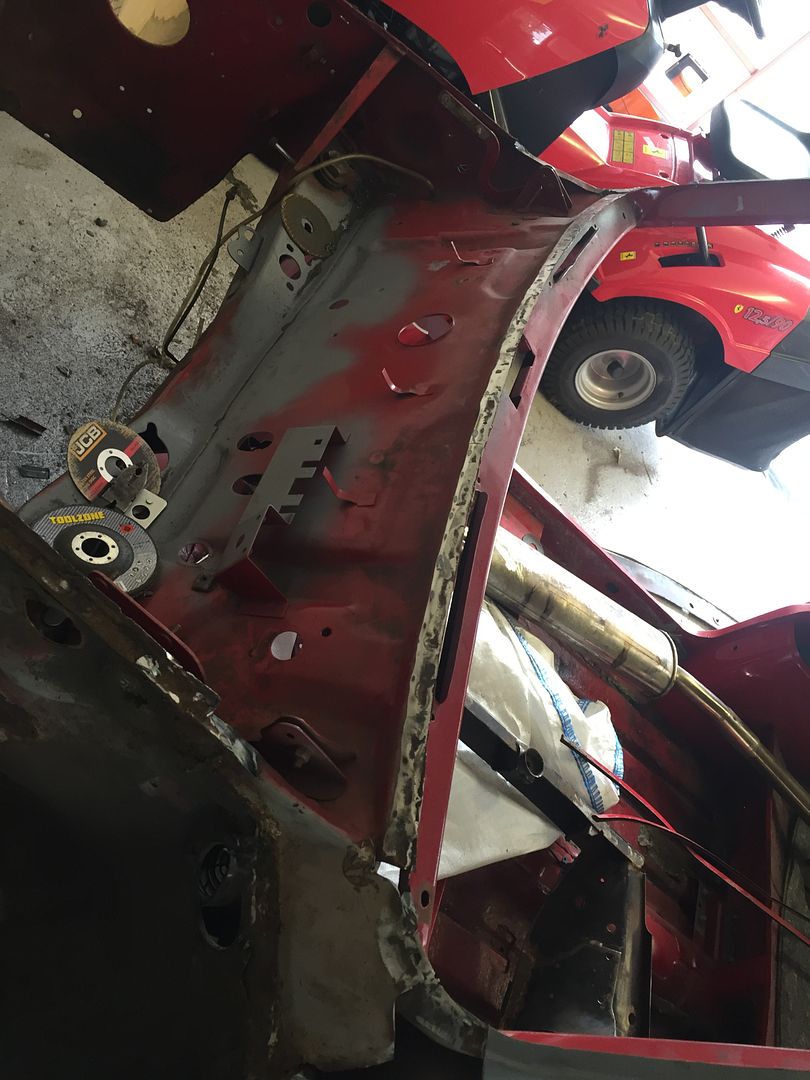
Closing panel off!
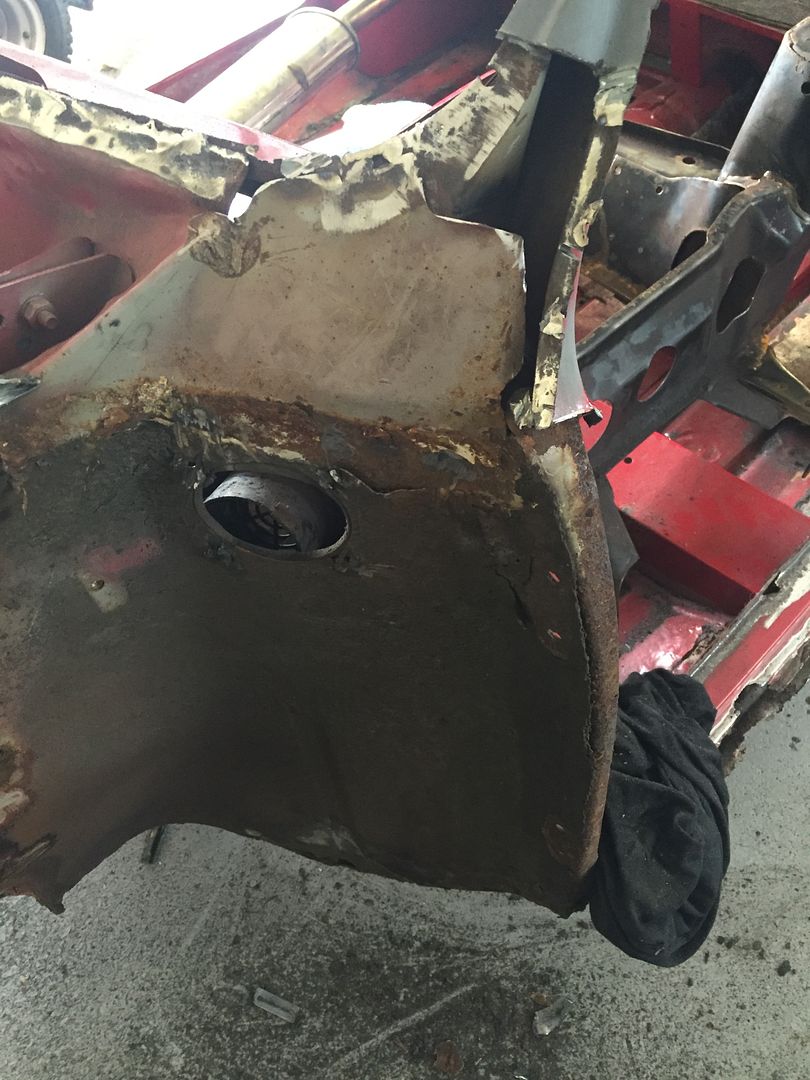
Then got bored, so start cutting the inner wings off
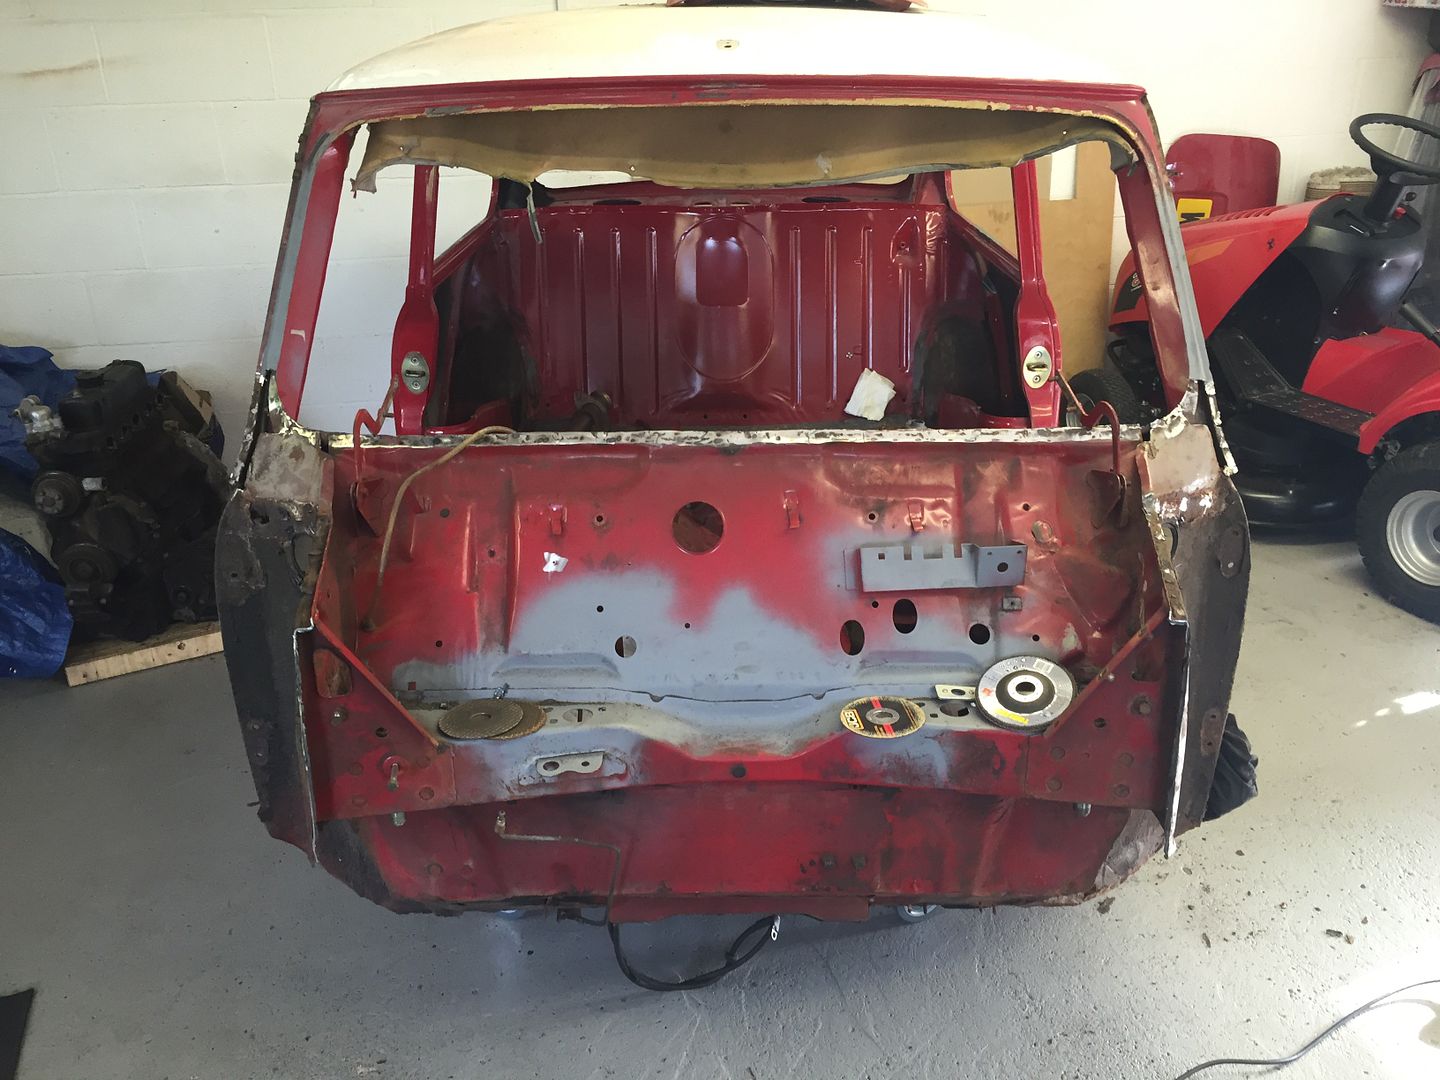
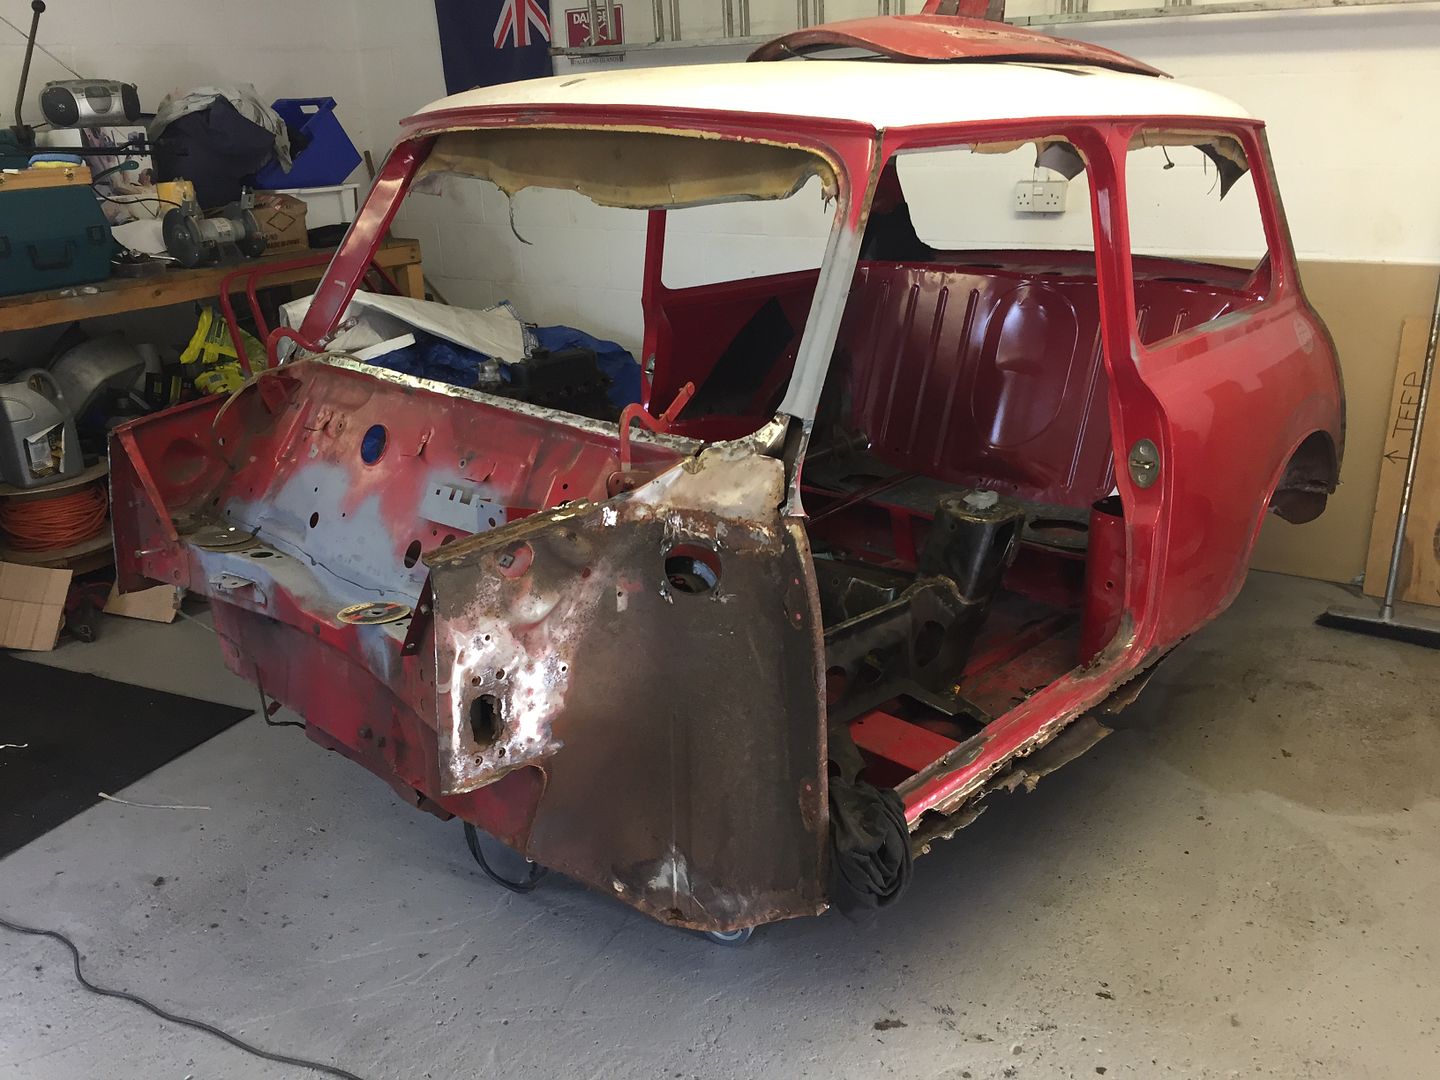
Then we play 'how much filler is on Steve's car' game.. our Saturday answer? MORE
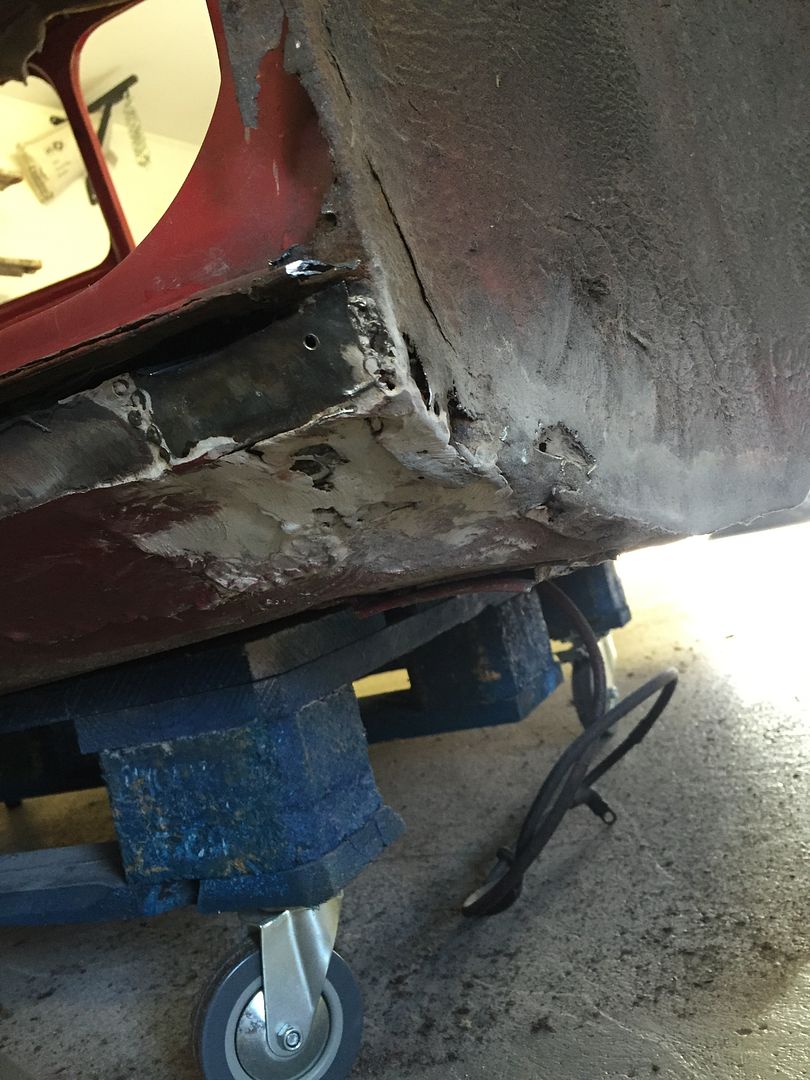
Outer sill off!
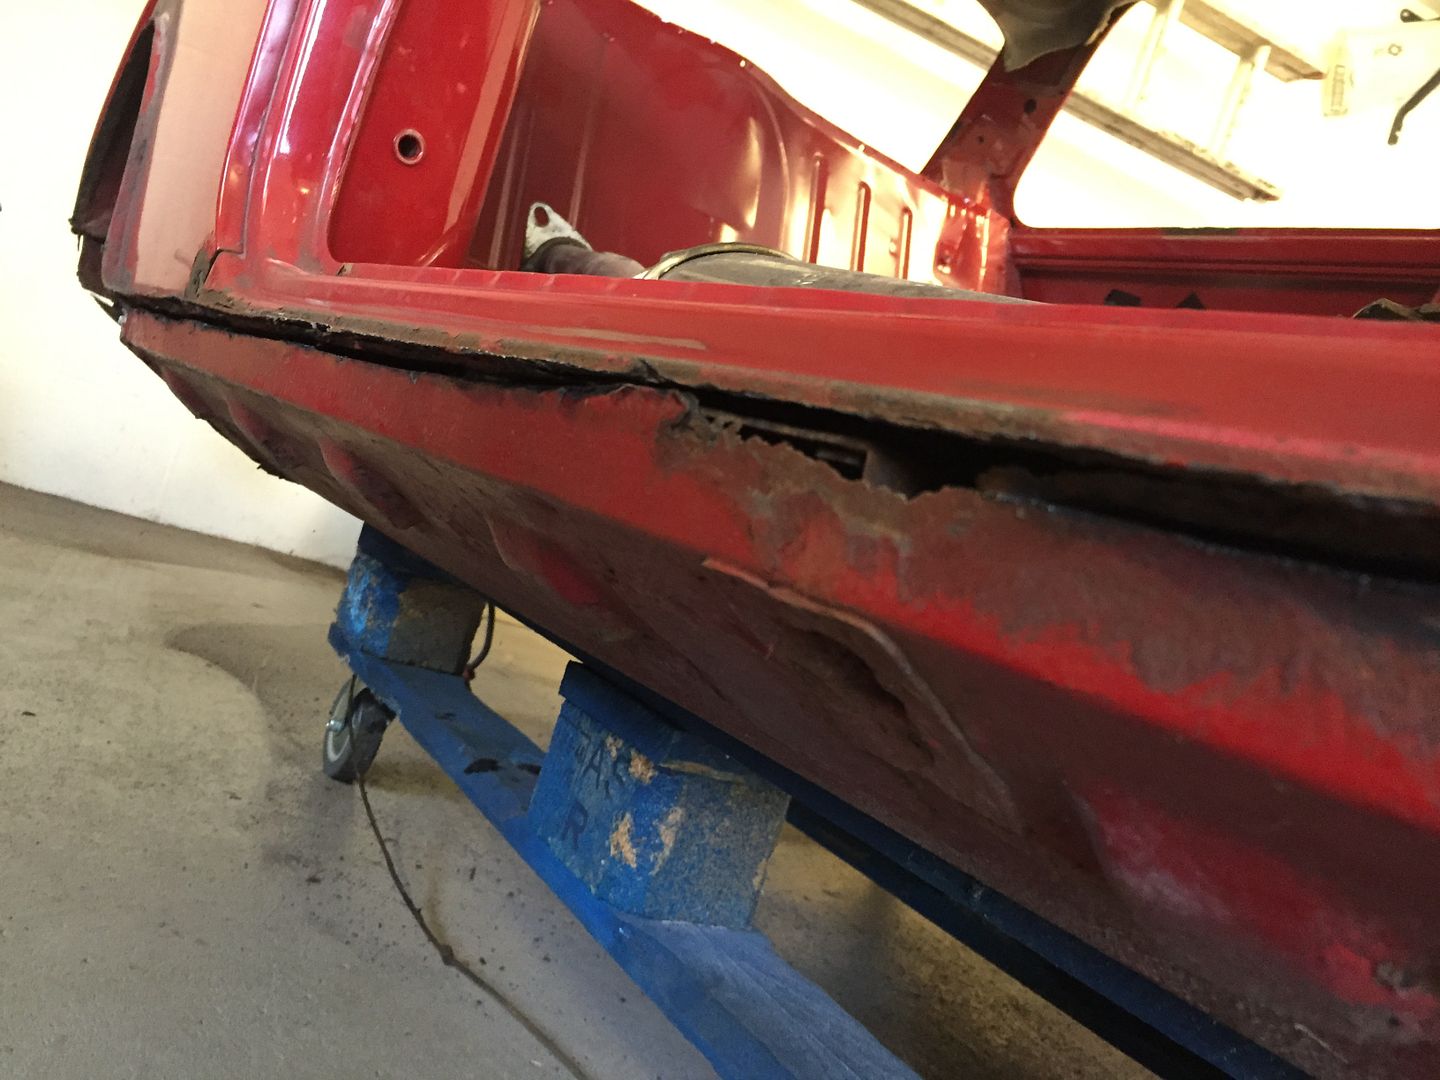
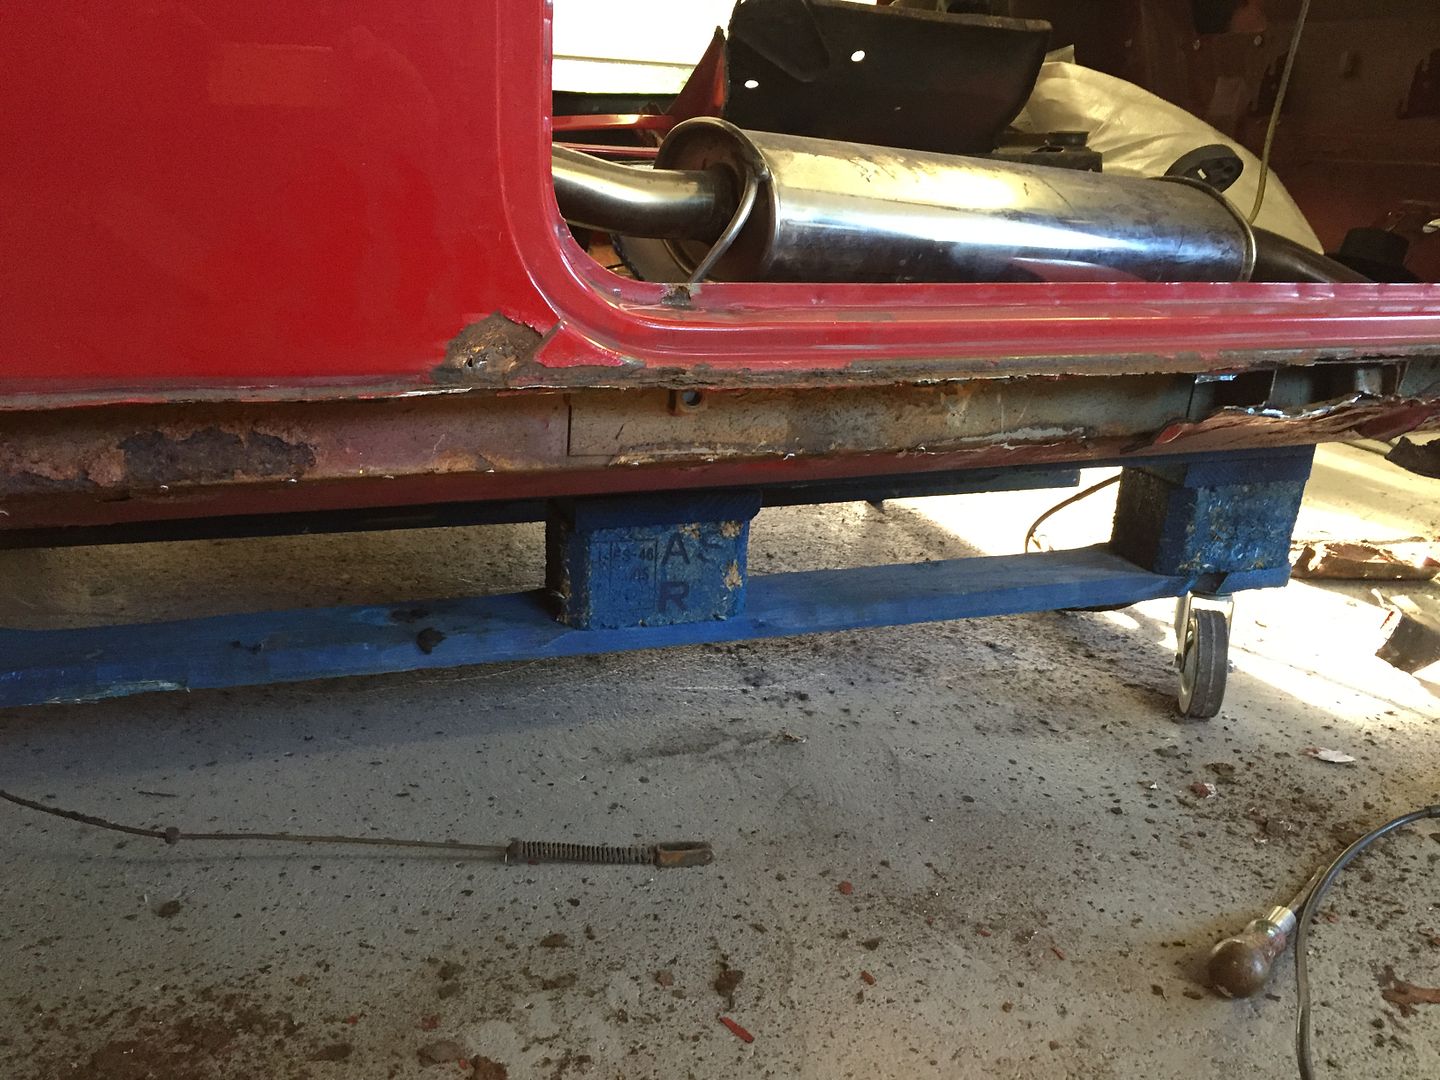
Cut out the crappy fix from one of the previous owners
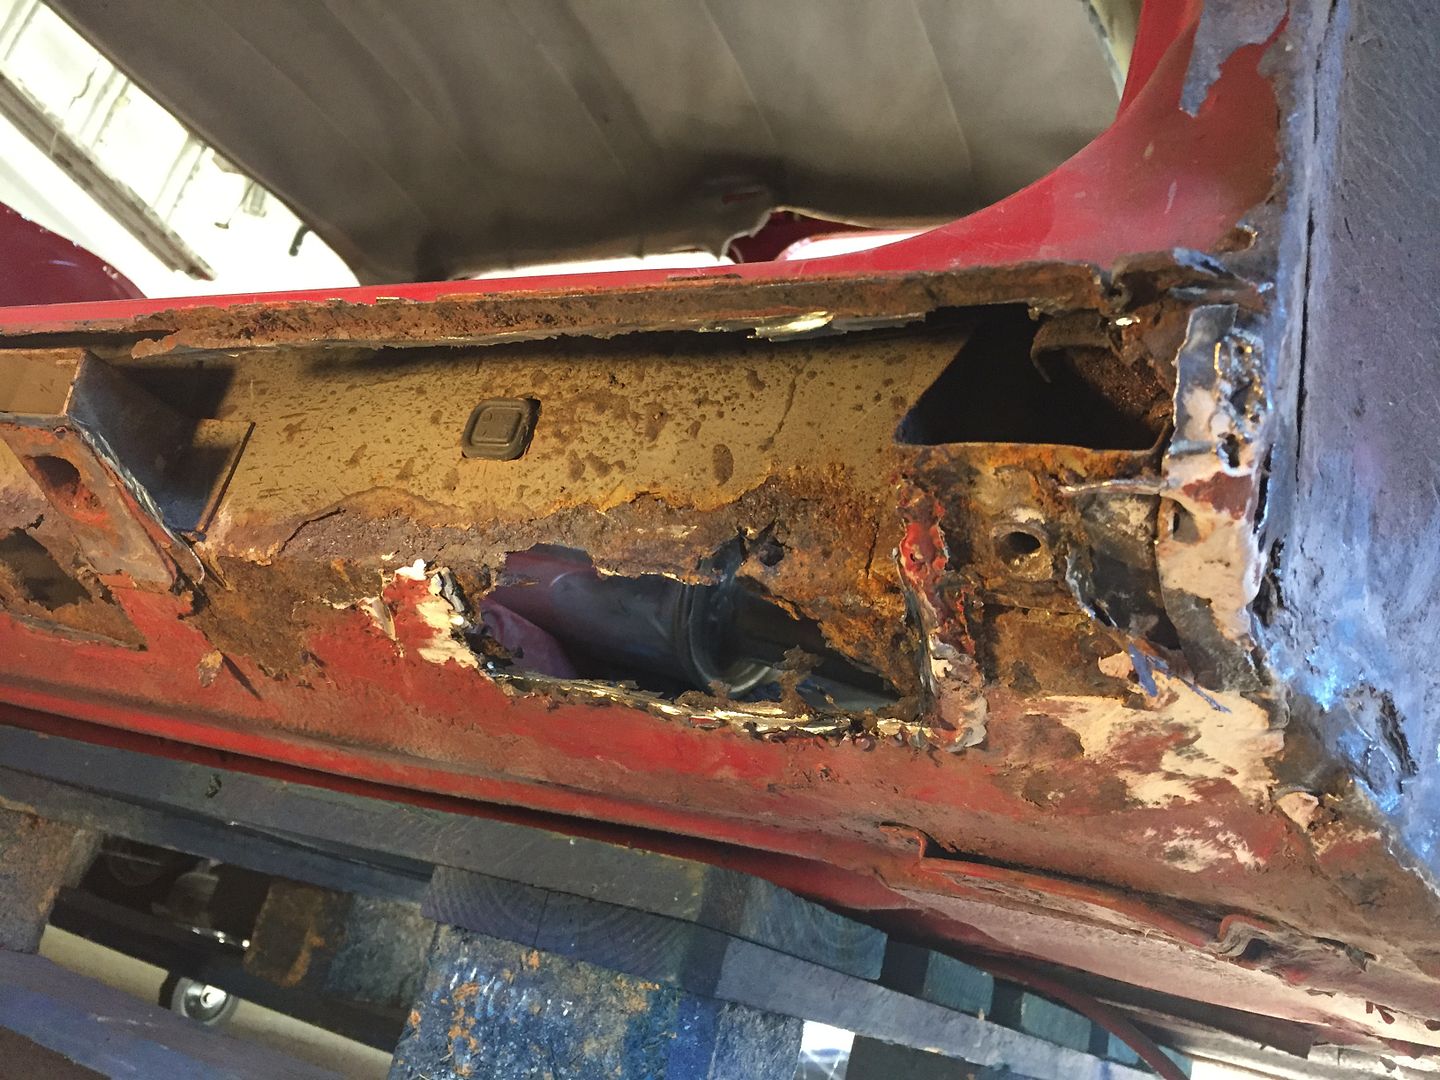
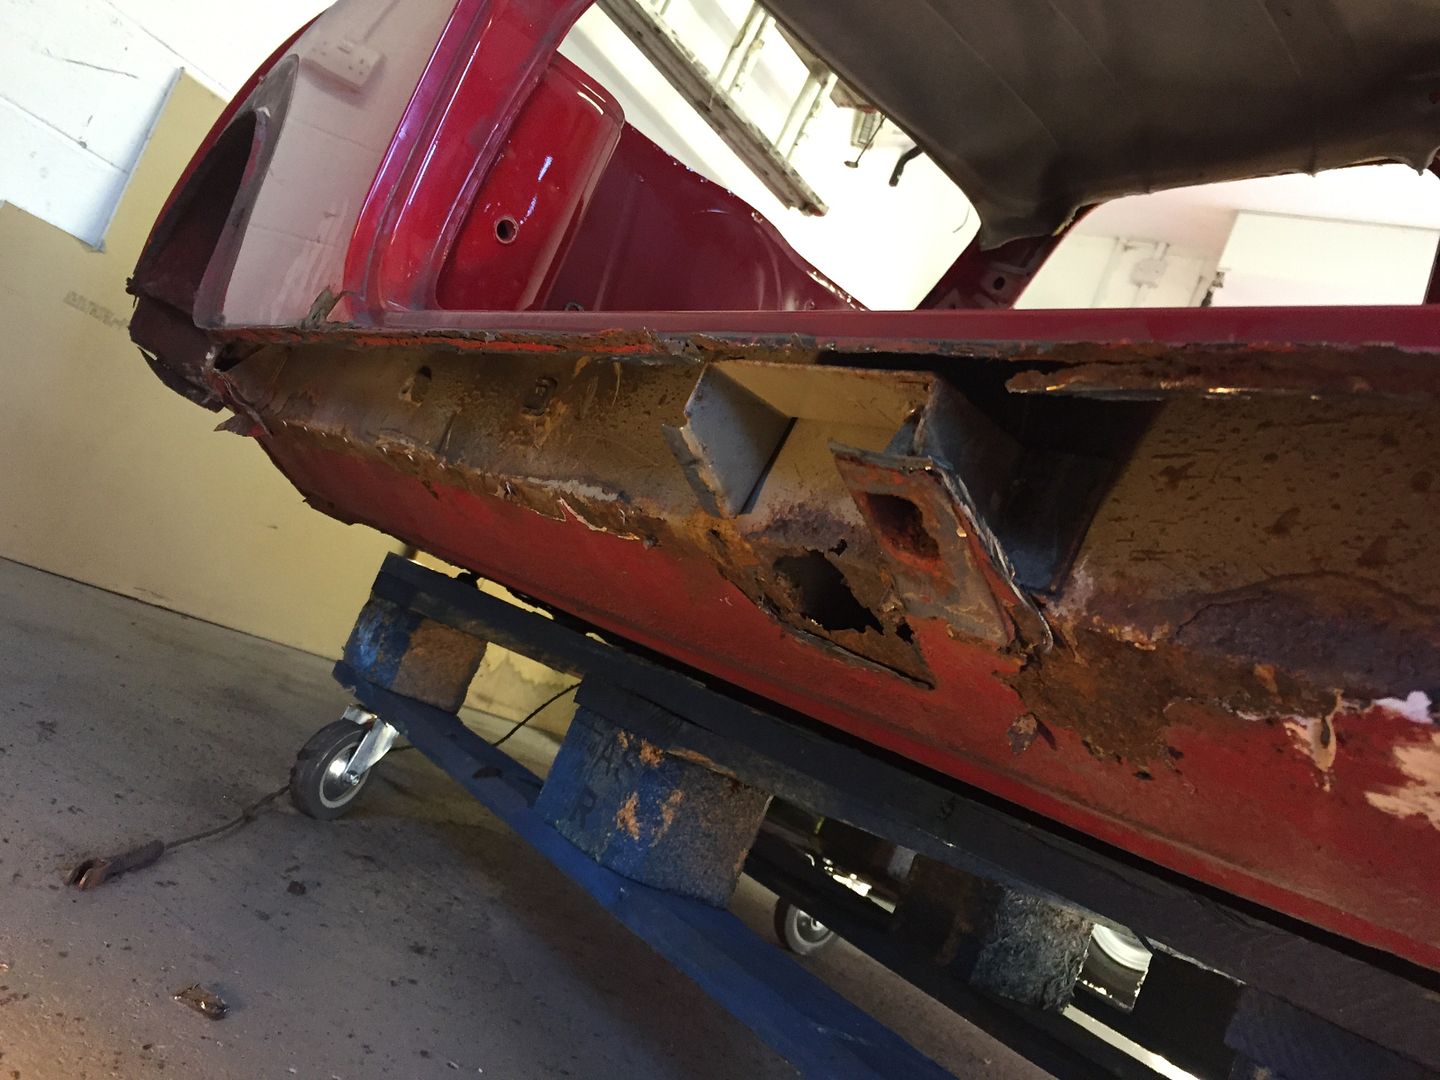
I'll be honest, there are no surprises at the condition of the shell. But learning a lot about how these things are put together! So onto more reconditioning. Will let the pics do the talking ![]()
Old vs 'new' brake serve cage
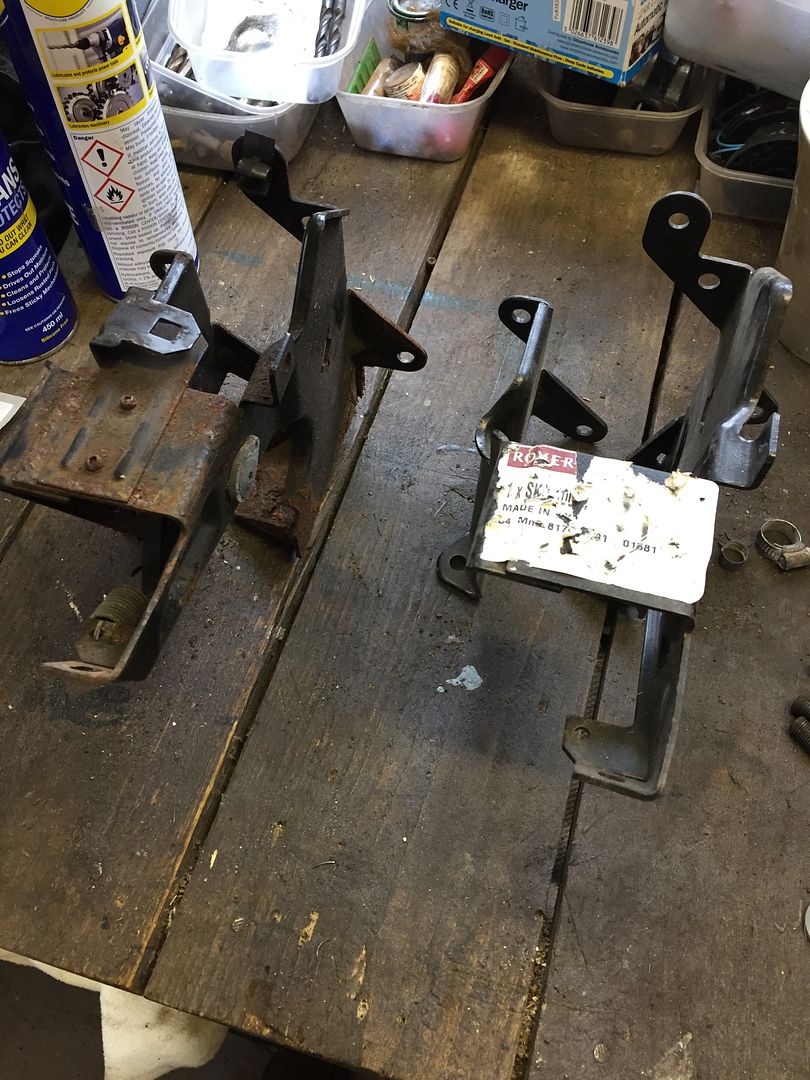
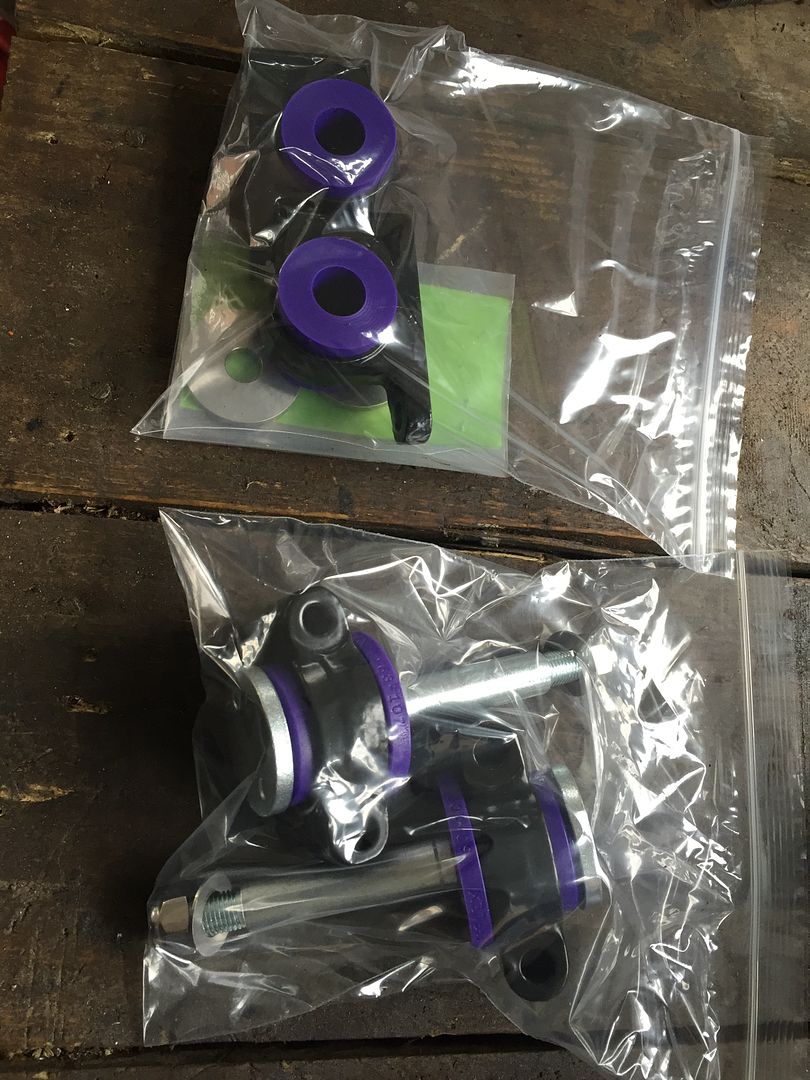
All rear subframe parts bagged and tagged ready for the rebuild
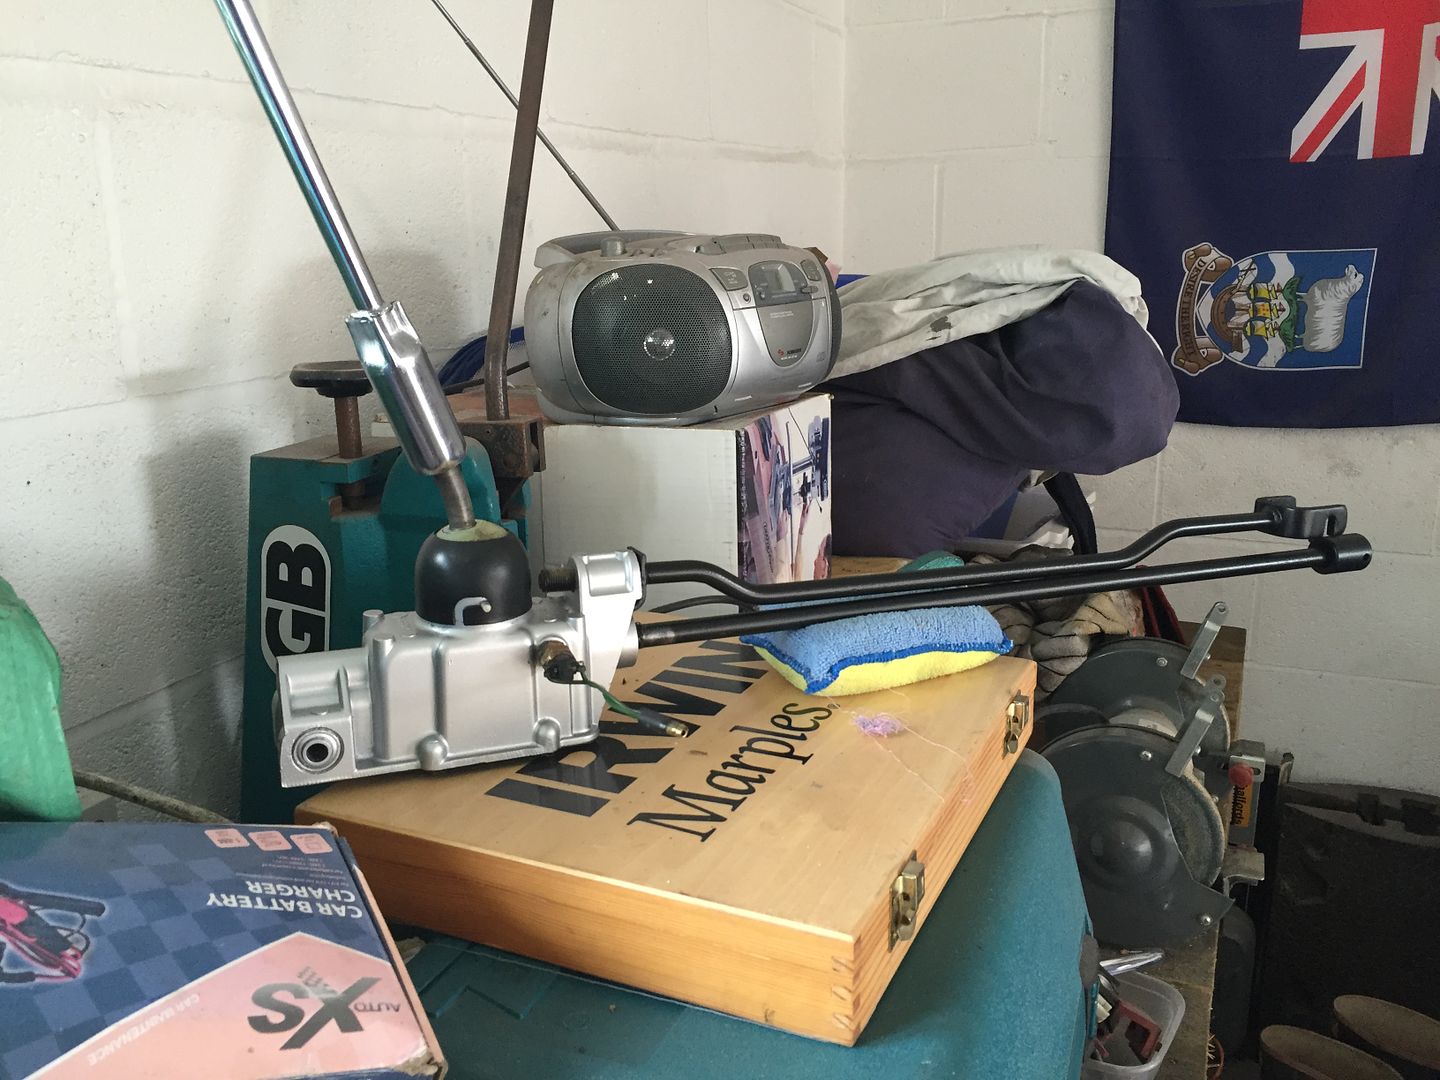
The gear selector nearly complete. Just need a stainless bolt and the bracket blasting.
Brake lever stripped, acid etched and sprayed black satin. Surprisingly a lot of rust under the standard paint!
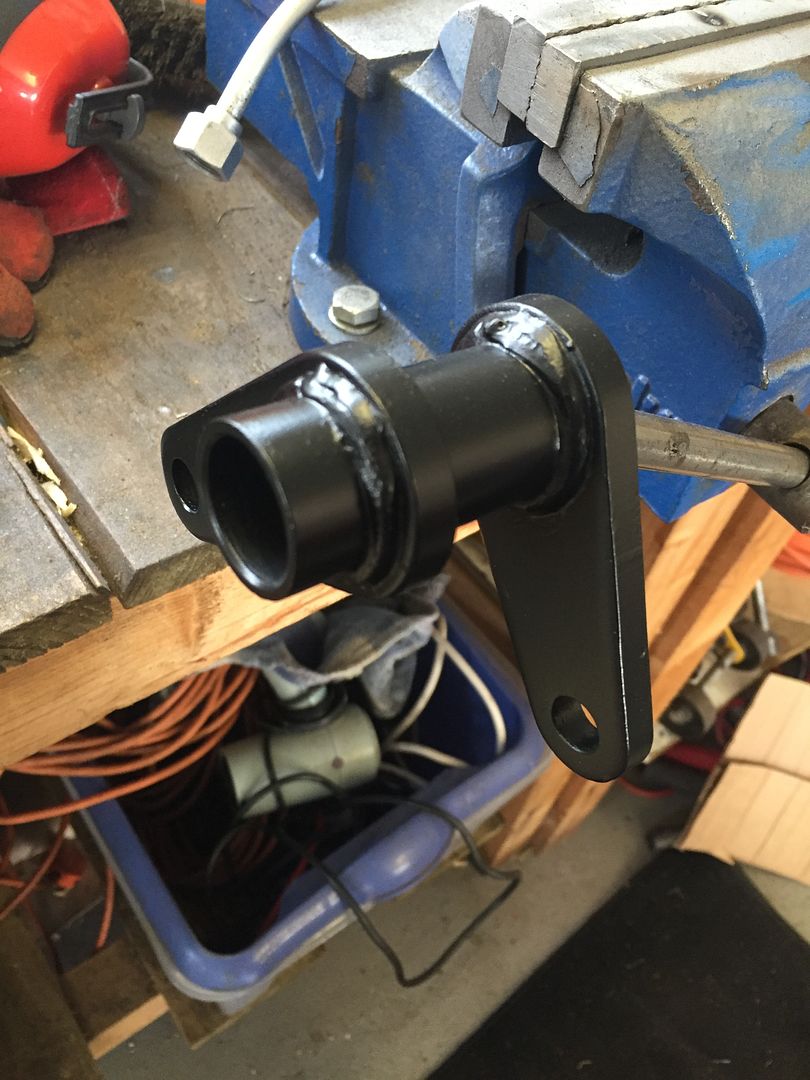
Wiper mech stripped, cleaned and painted
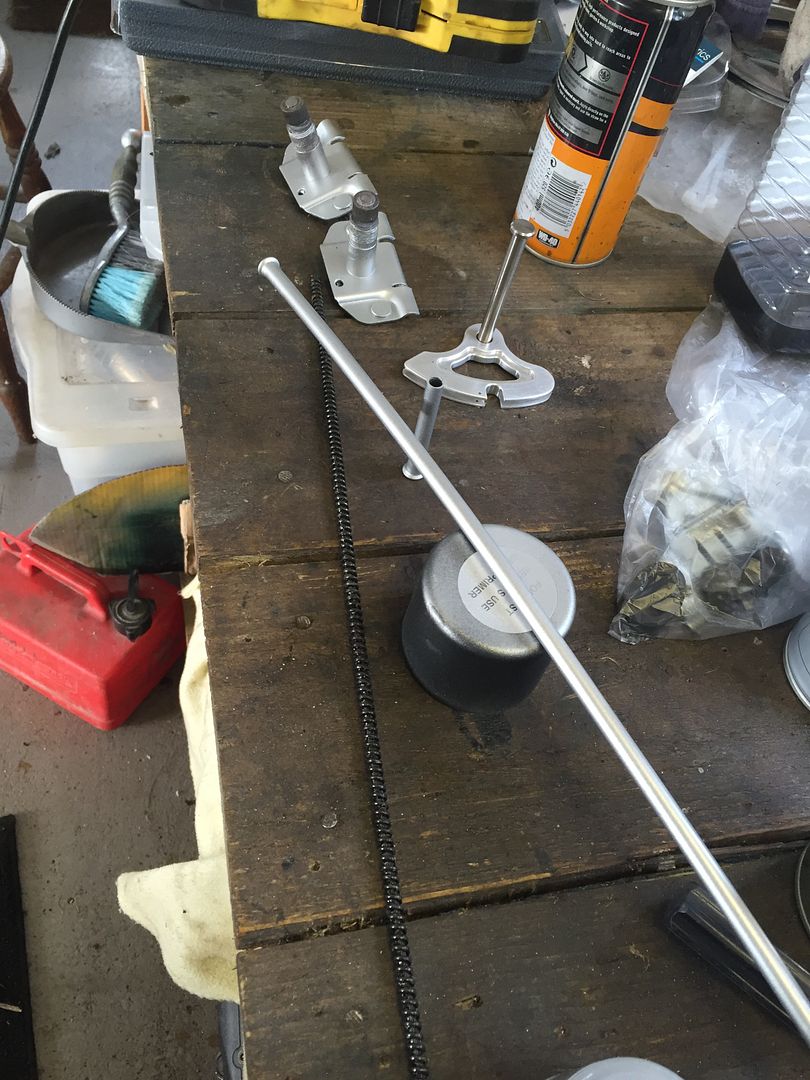
So that's it for today. Lots of paint drying and re-assembly in the morning. May manage to get the other sill off tomorrow as well as one of the inner wings. REALLY could do with a spot well drill!
#173

Posted 11 September 2016 - 08:33 PM
Carried on today, yet surprisingly for me I didn't take many photos! Cleaned up the shell ready for where ever it goes to be repaired.
Rebuilt the wiper mech ![]()
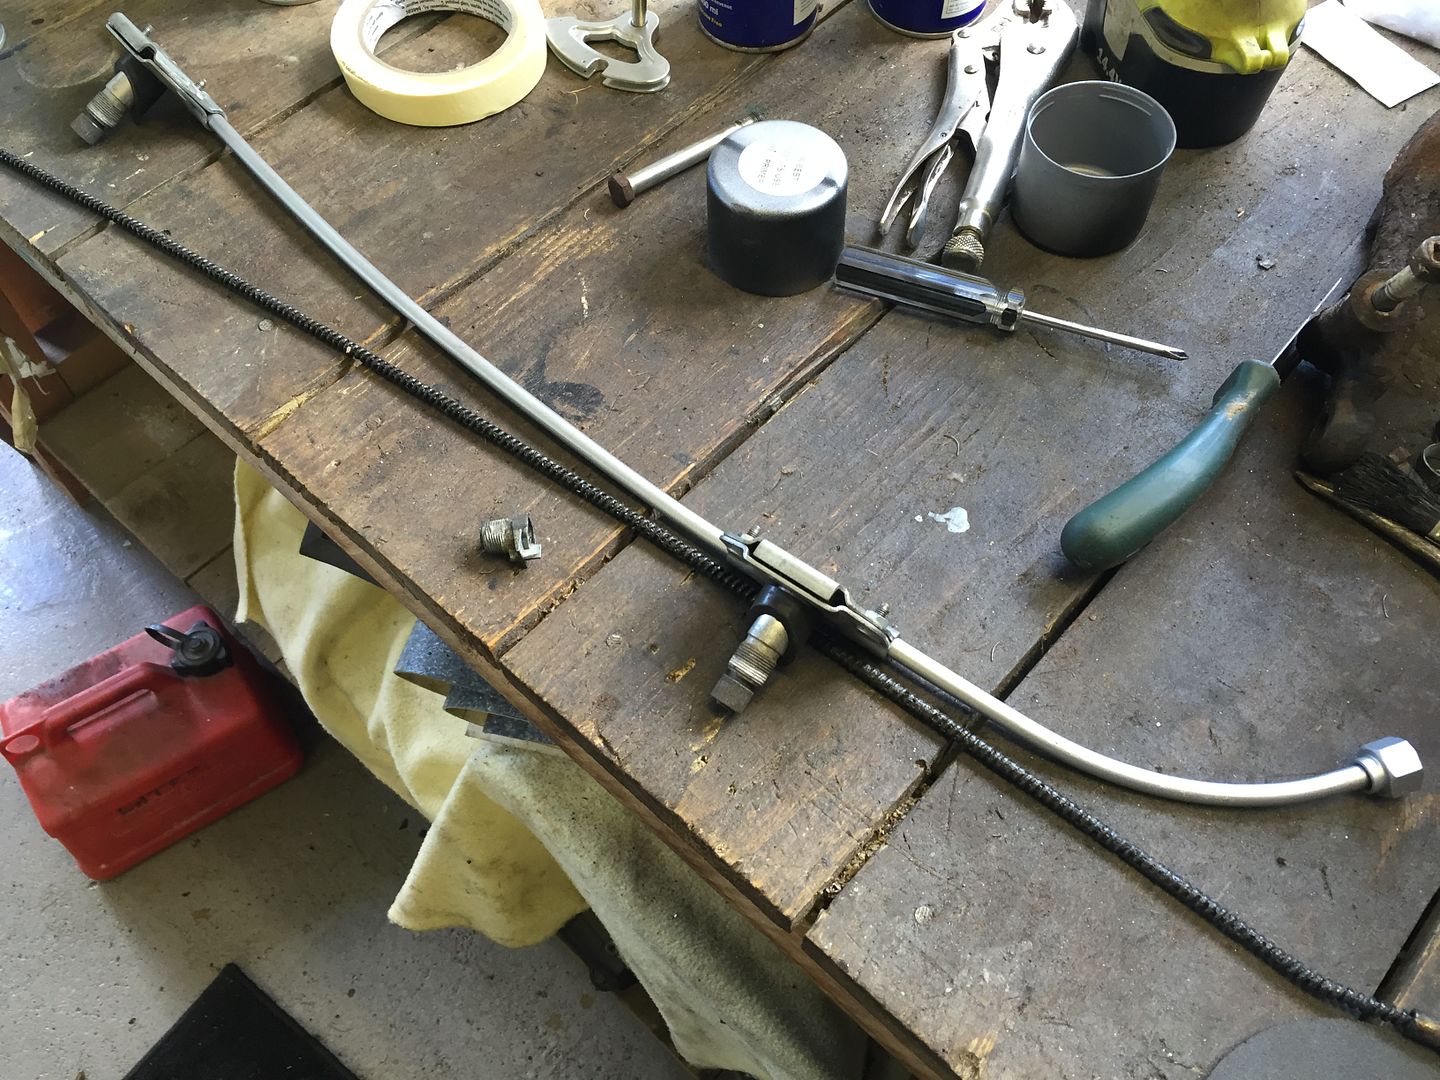
Then stripped both hubs, removing the CVs, flanges and chucking the old bearings.
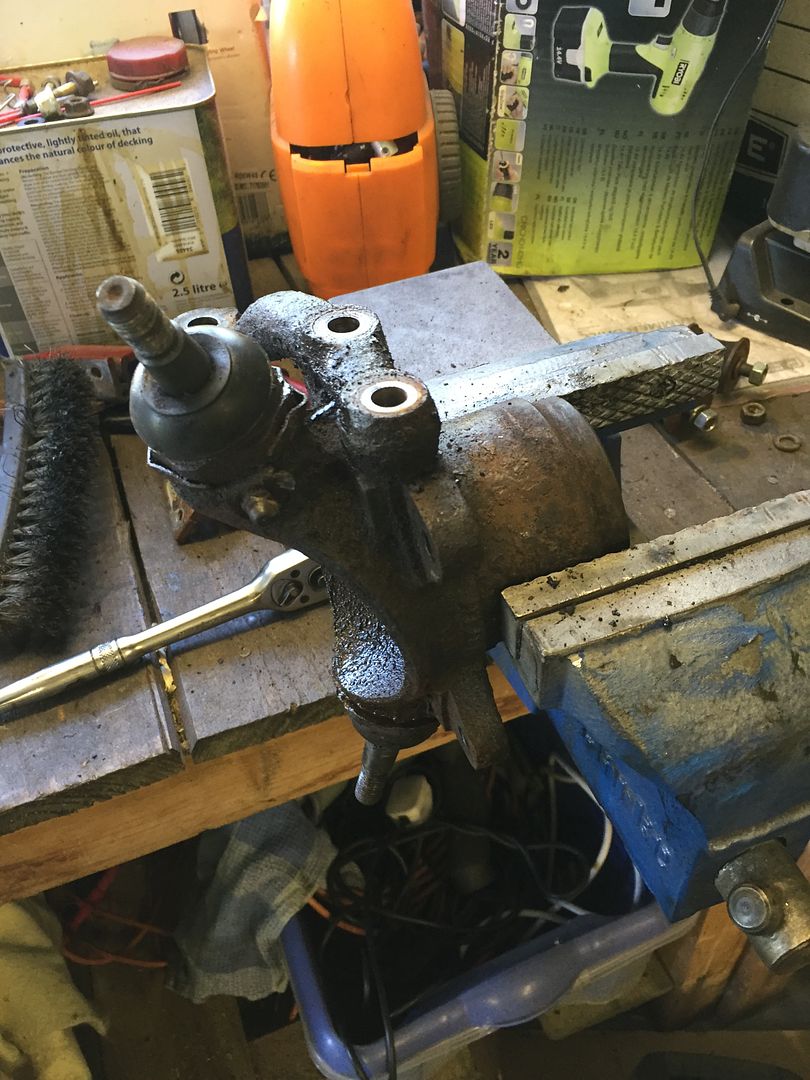
I've now got a large box of bits to be blasted and coated! As it's coming to the end of my leave, i've had to pack up my toys and give my dad back his garage. Really enjoyed these past few days of car tatting! Shame I can't get more evenings on her ![]()
#174

Posted 19 April 2017 - 06:25 PM
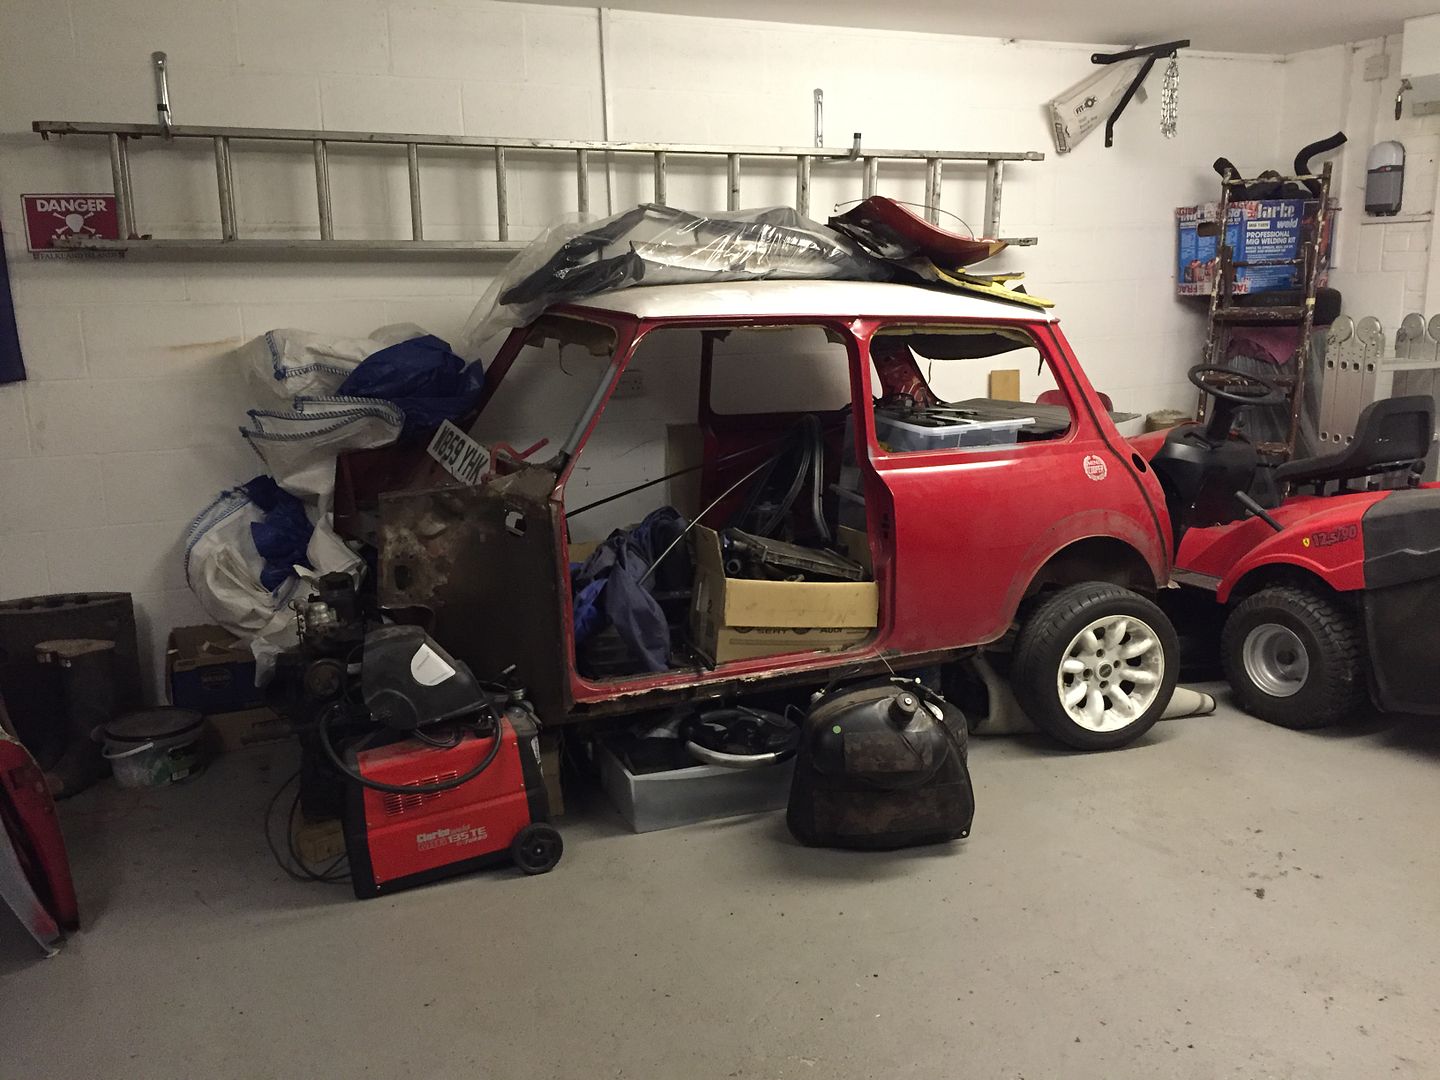
Back in the UK after having a bit of fun in the Emirates, so time to get back on with the mini! Borrowed a rotisserie to get the shell into the air, but having a clear out of my dad's garage to allow it.
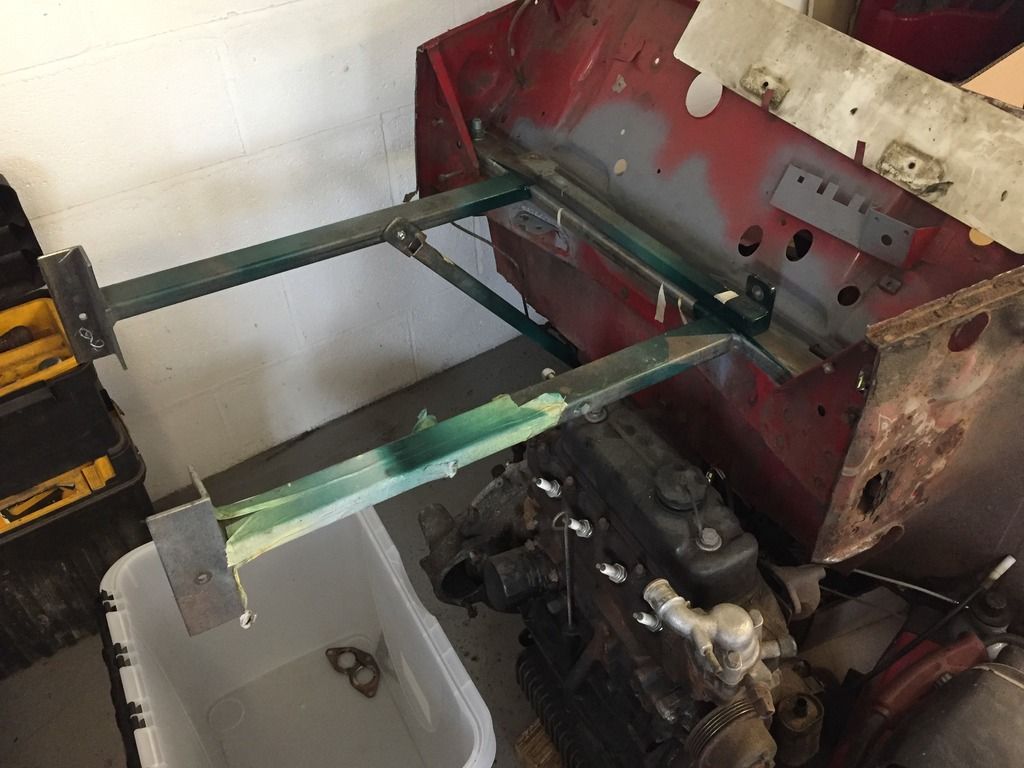
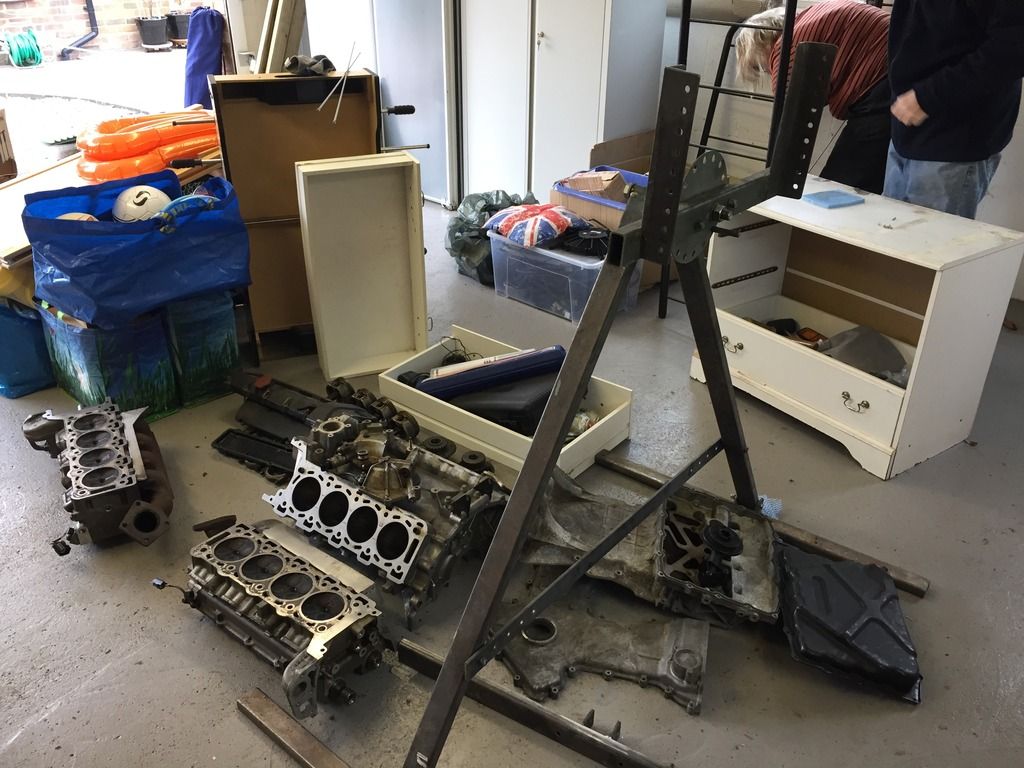
Slowly building the jig, trying to sell an old Jaguar V8 in kit form, and throw away a load of accumulated crap!
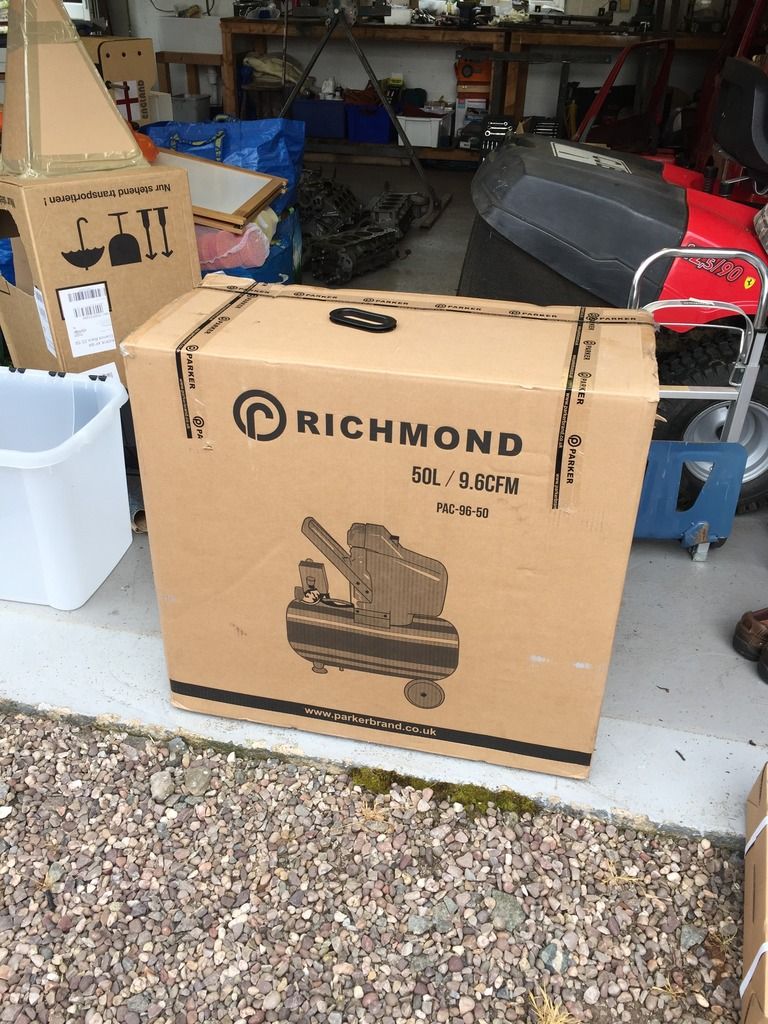
My early birthday present to myself. Really happy with it and i've also got a sand blasting kit and glass media to go with it.
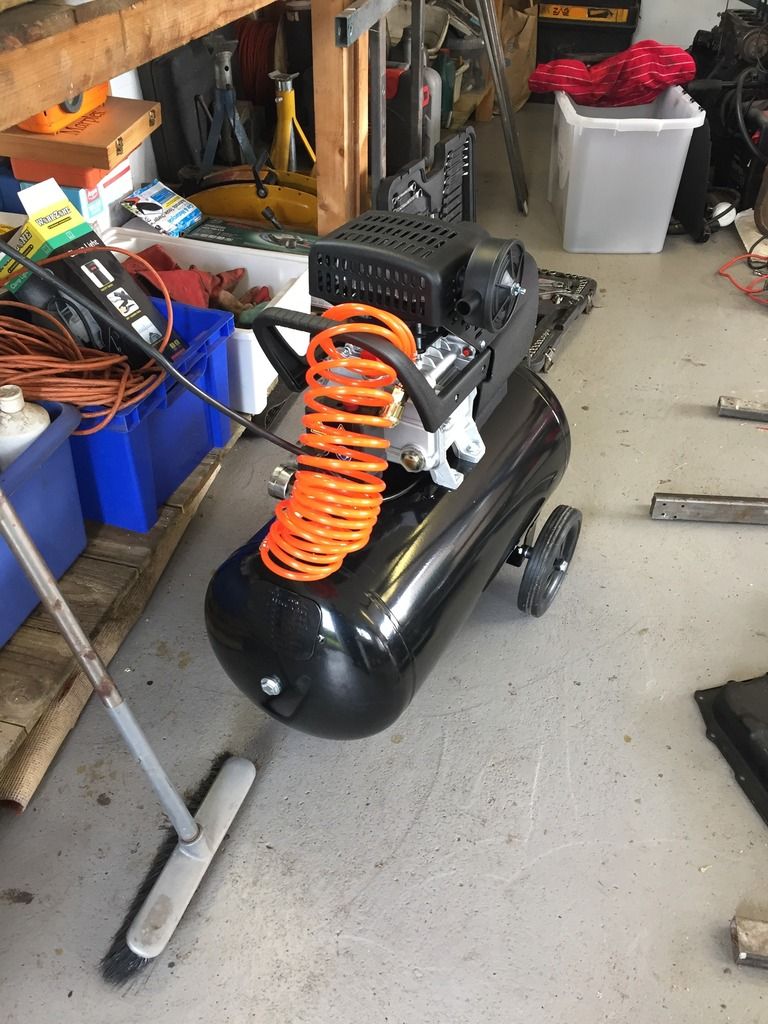
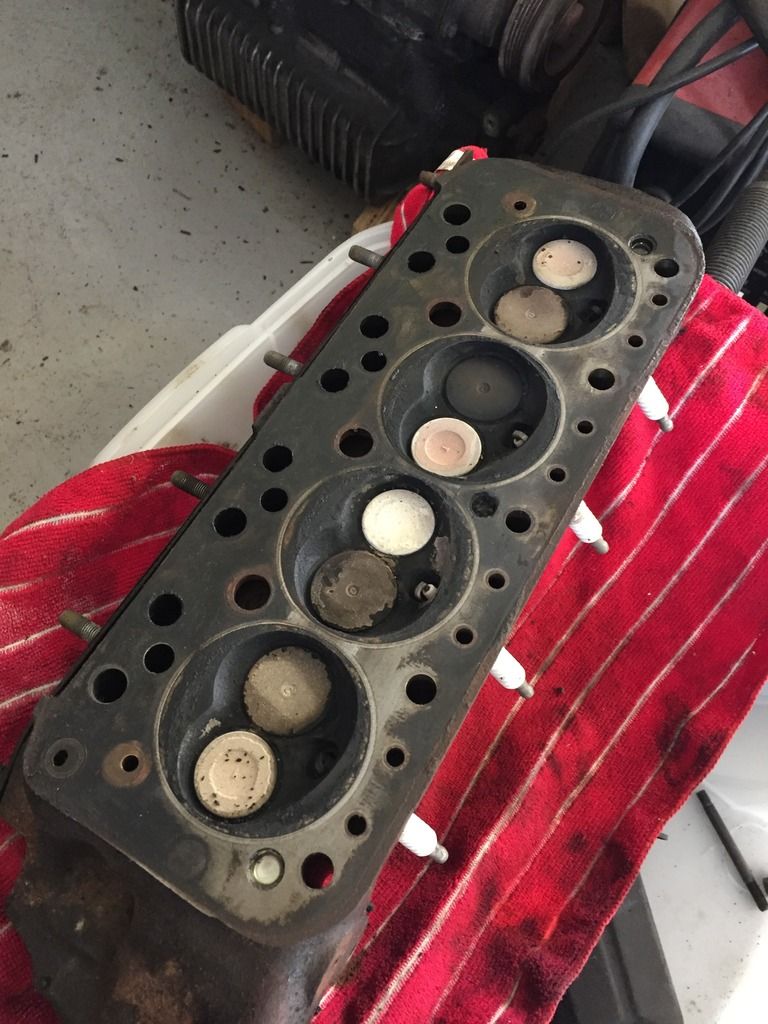
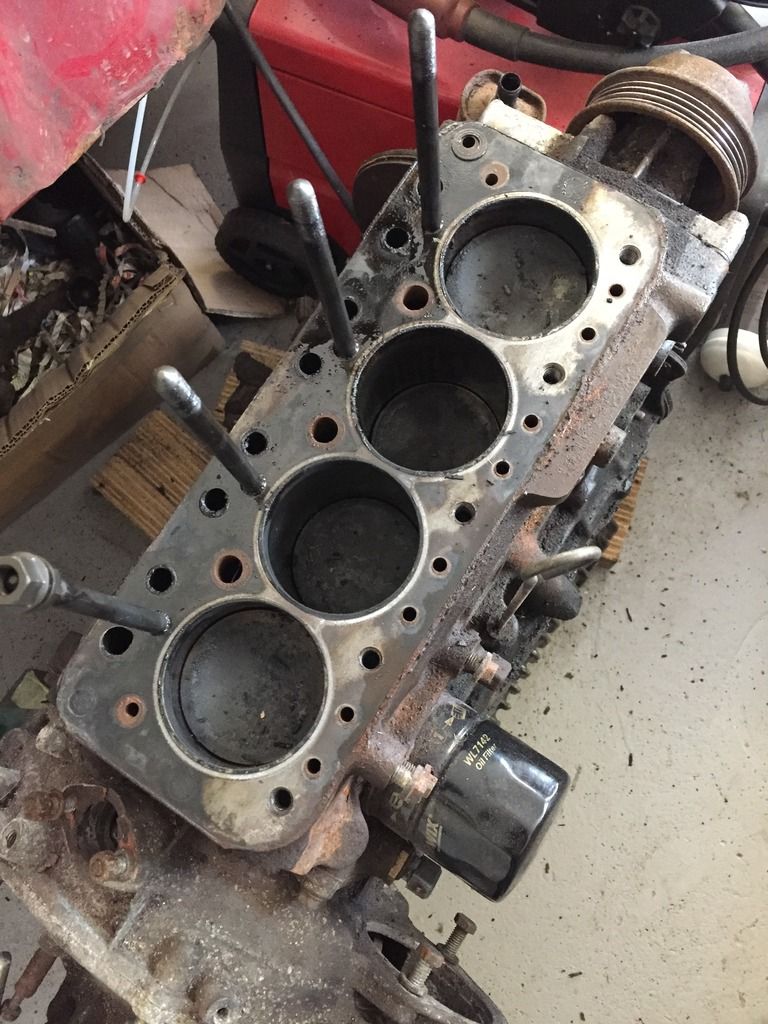
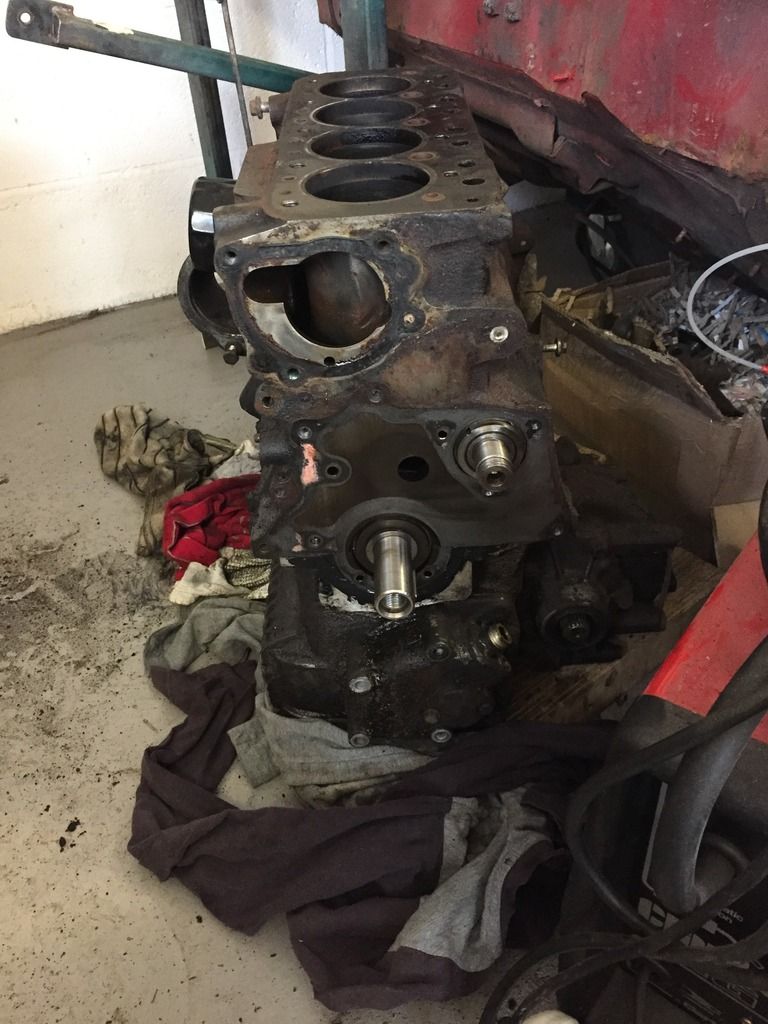
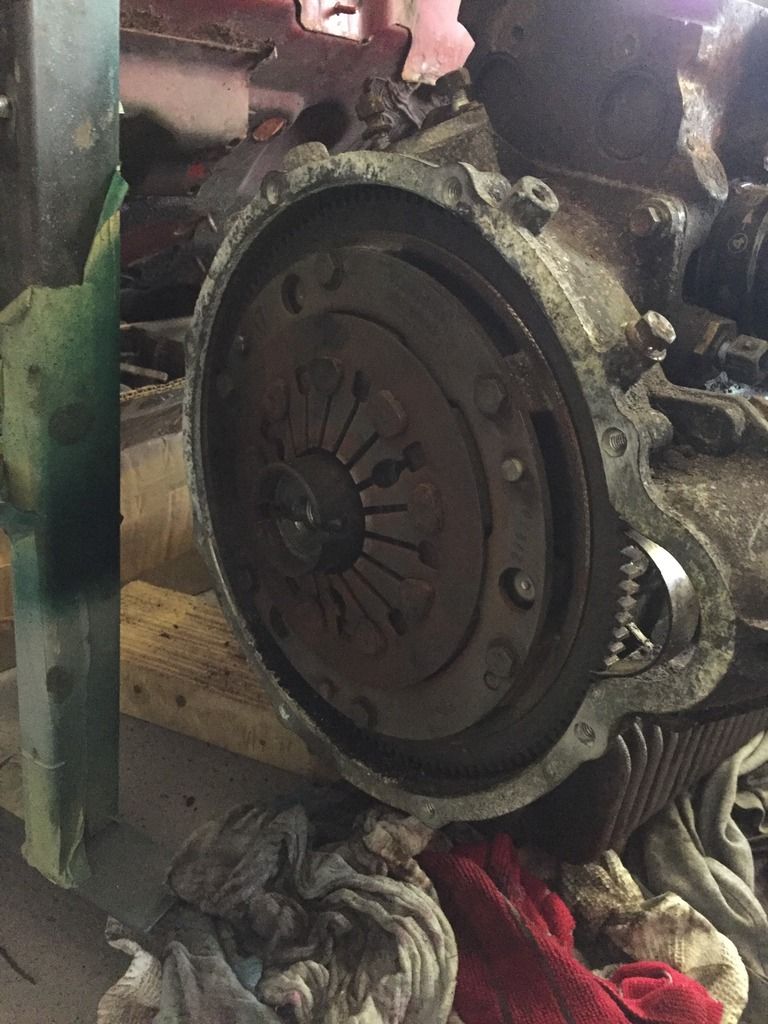
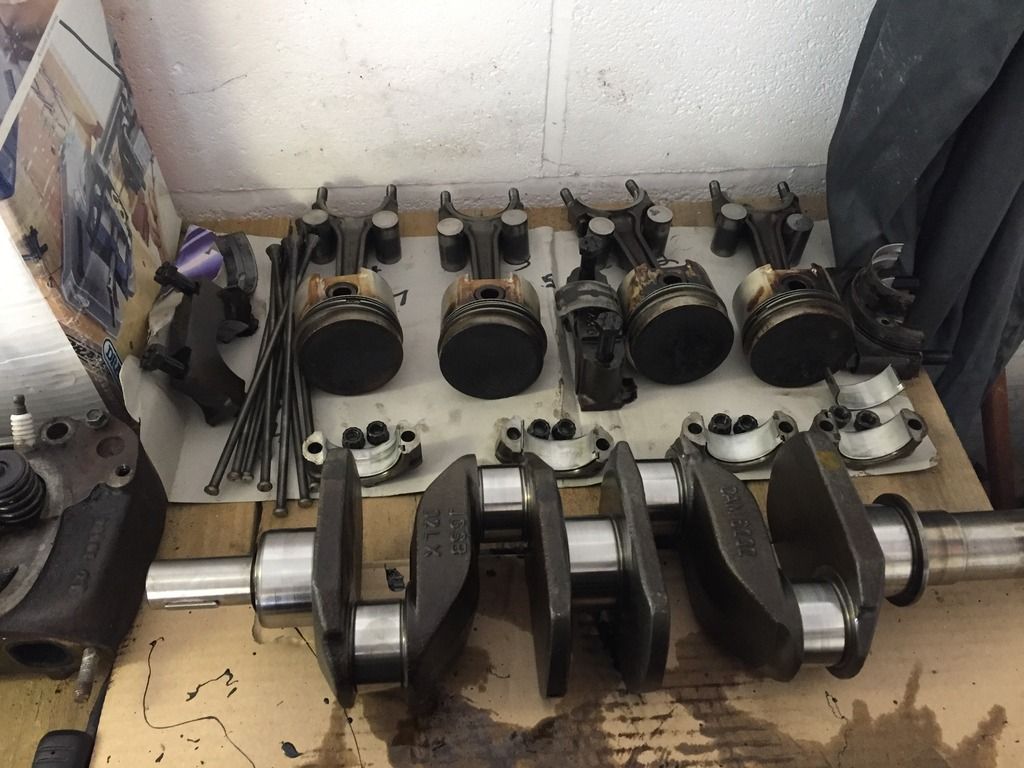
As i can't get on with the shell, i've cracked on with the engine as far as I can before I get one of Guesswork's puller (hired). Impressed with the condition of the engine considering its done 71k miles, although it maybe a little coked on the cylinder head.
#175

Posted 19 April 2017 - 07:34 PM
#176

Posted 20 April 2017 - 06:02 PM
So more progress today, had a delivery from Guessworks - An amazing service John offers, I ordered it yesterday and it arrived first thing this morning! Worked first time with the flywheel coming off in one.
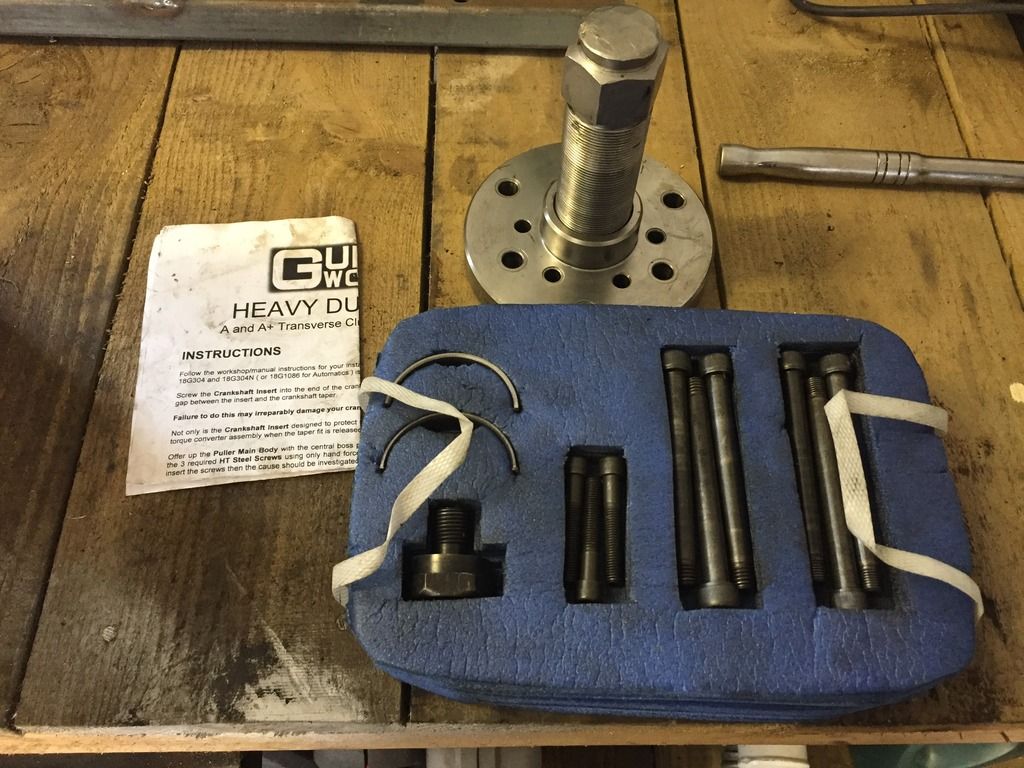
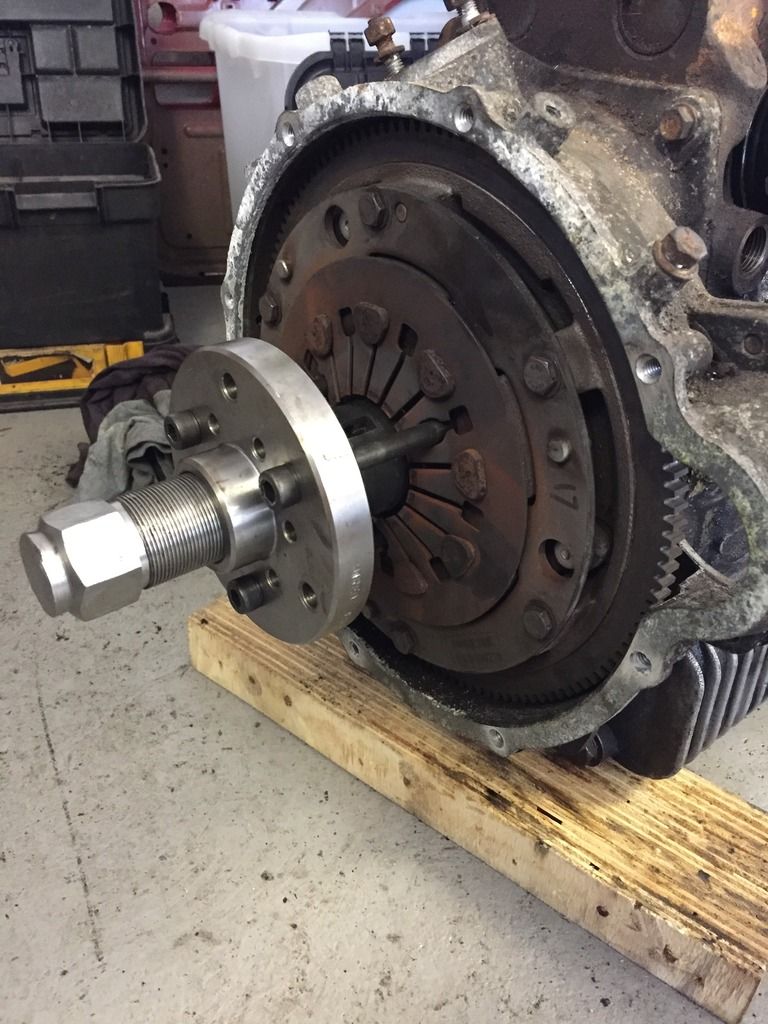
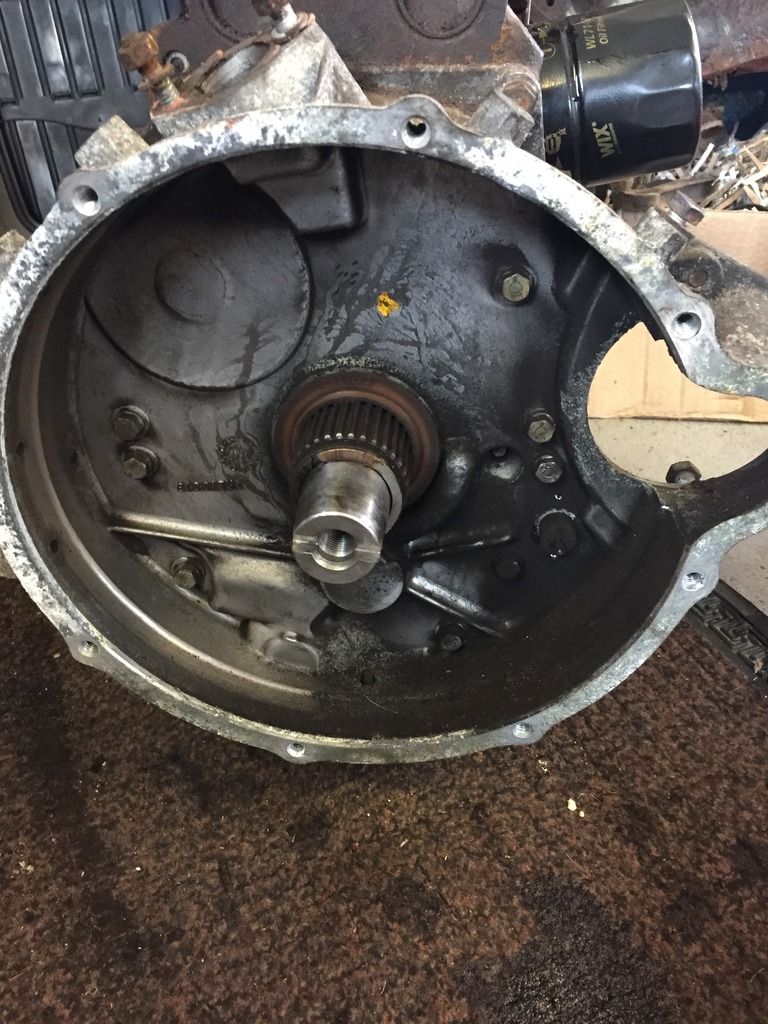
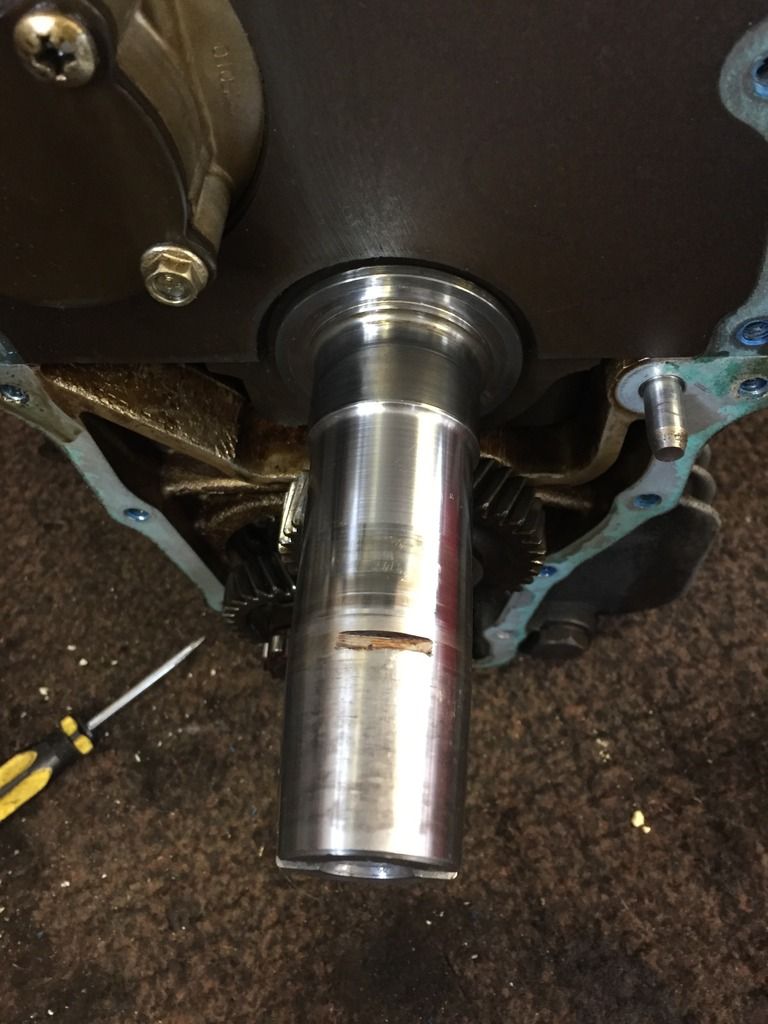
No comes the big strip down. Can someone tell me whether or not the primary gear looks ok? It seems to have zig-zag score marks from something that's clearly caught it either on disassemble. Are these serviceable items? Or can you replace the bushes?
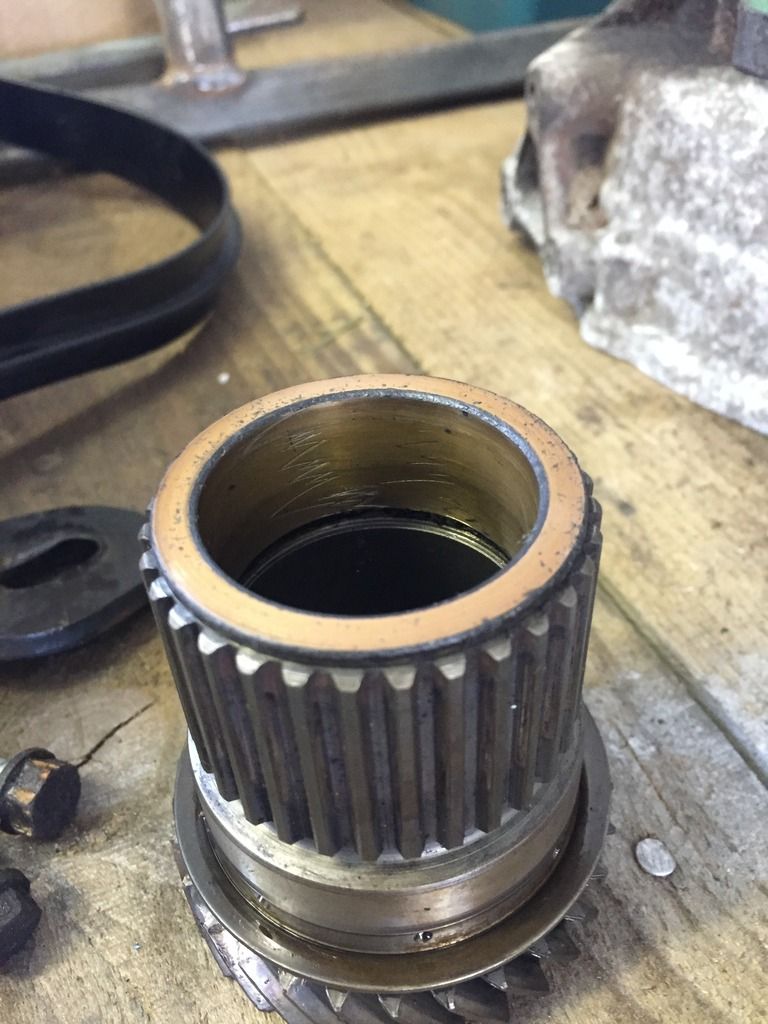
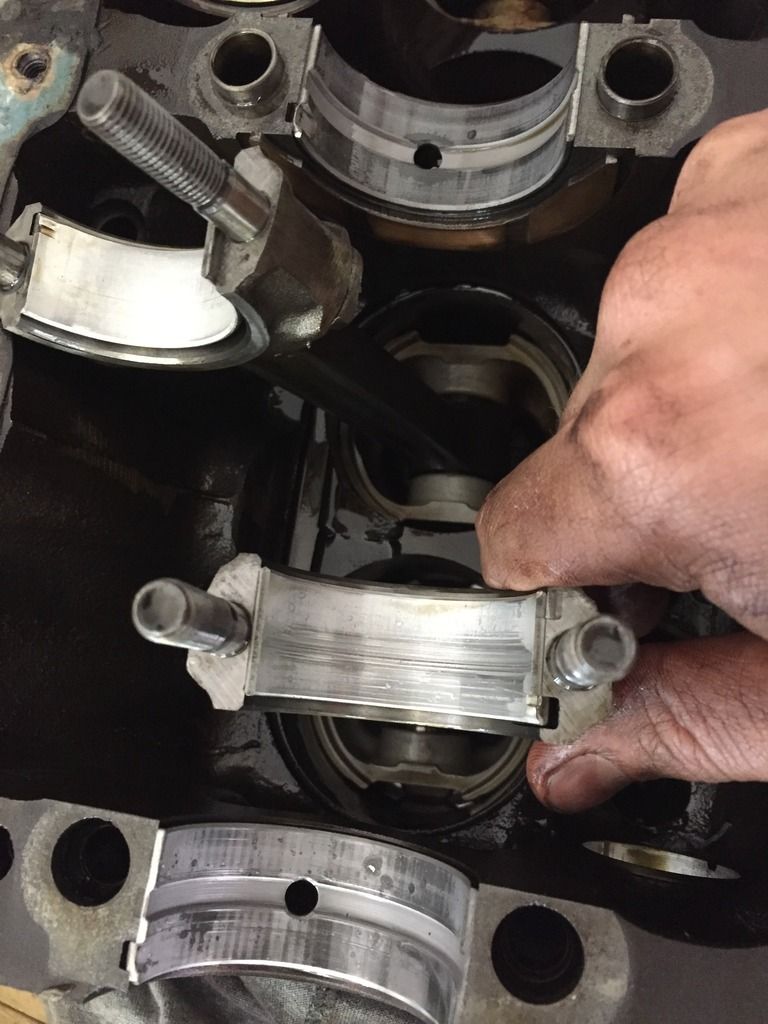
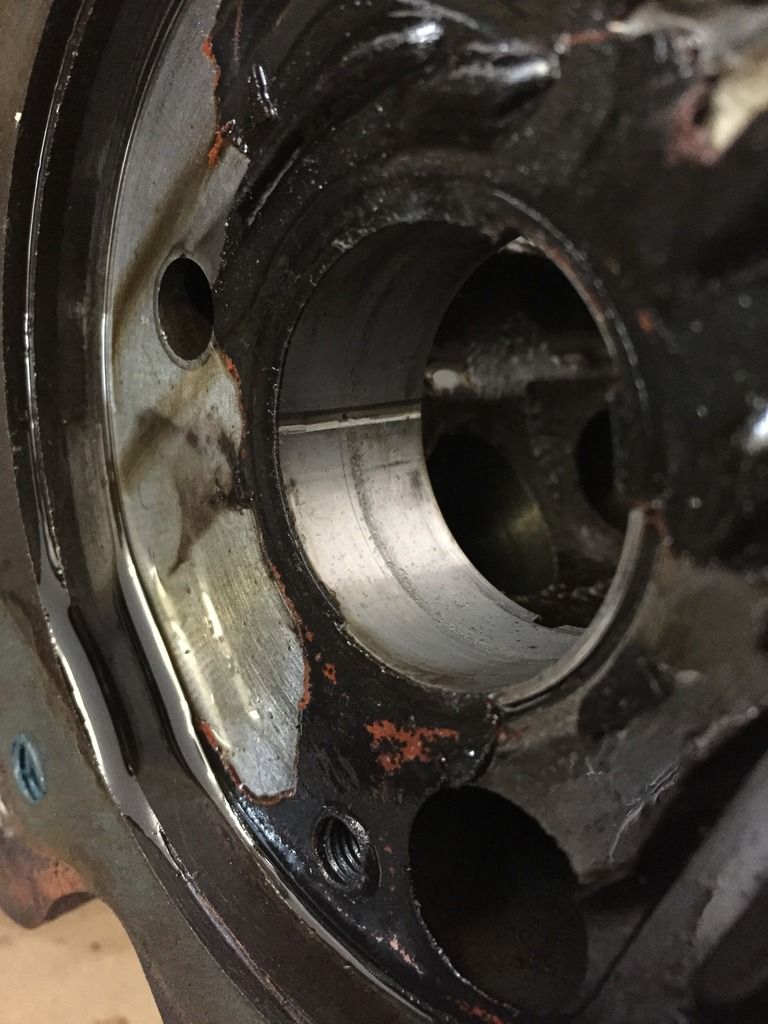
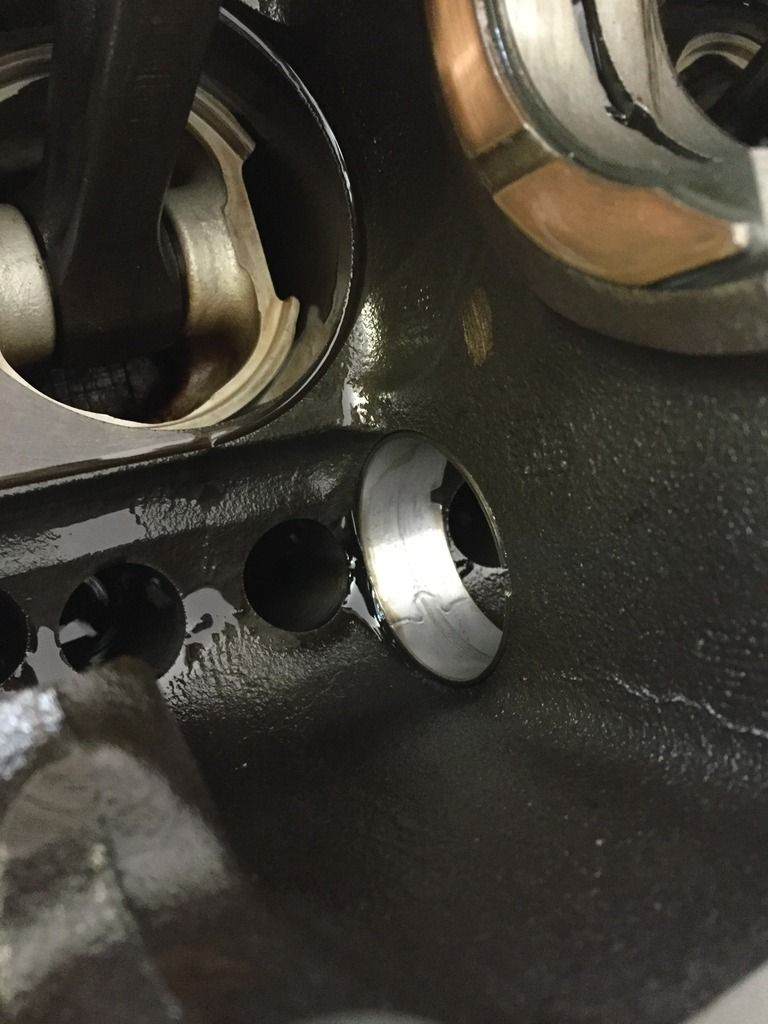
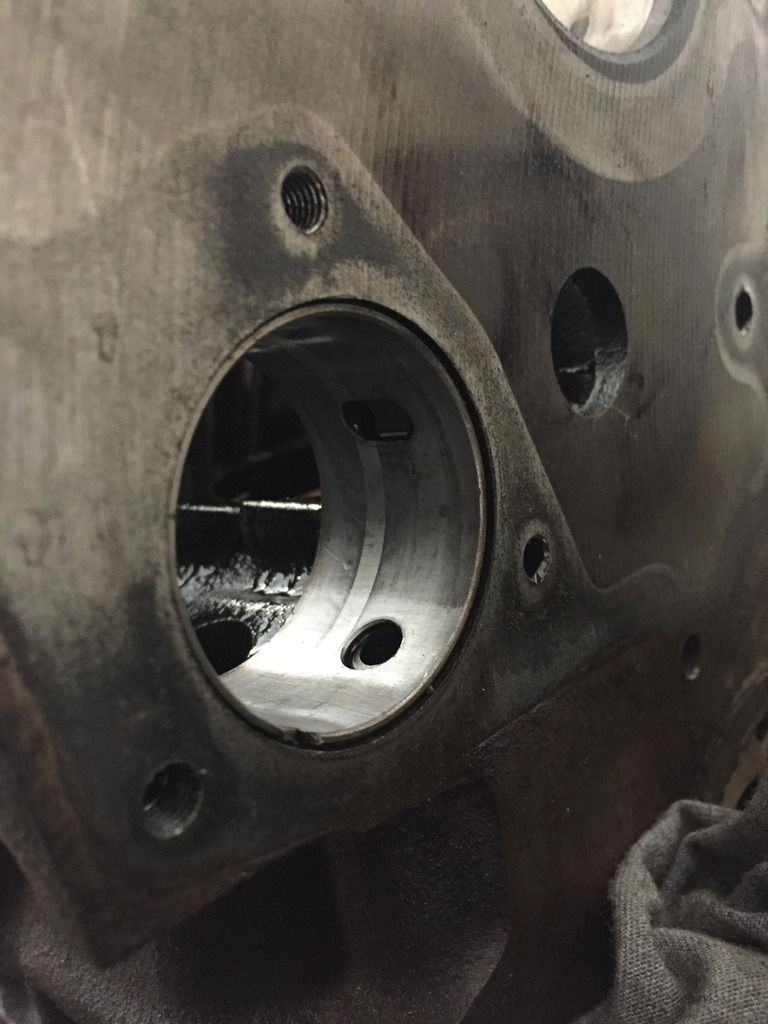
Now the rest of the engine. Take a look at some of the bearings on these, i've also taken a picture of the crank journals that have prominent scoring on them. I'm hoping a regrind will sort this out. Overall, no big surprises for an engine that's done 71k on questionable servicing.
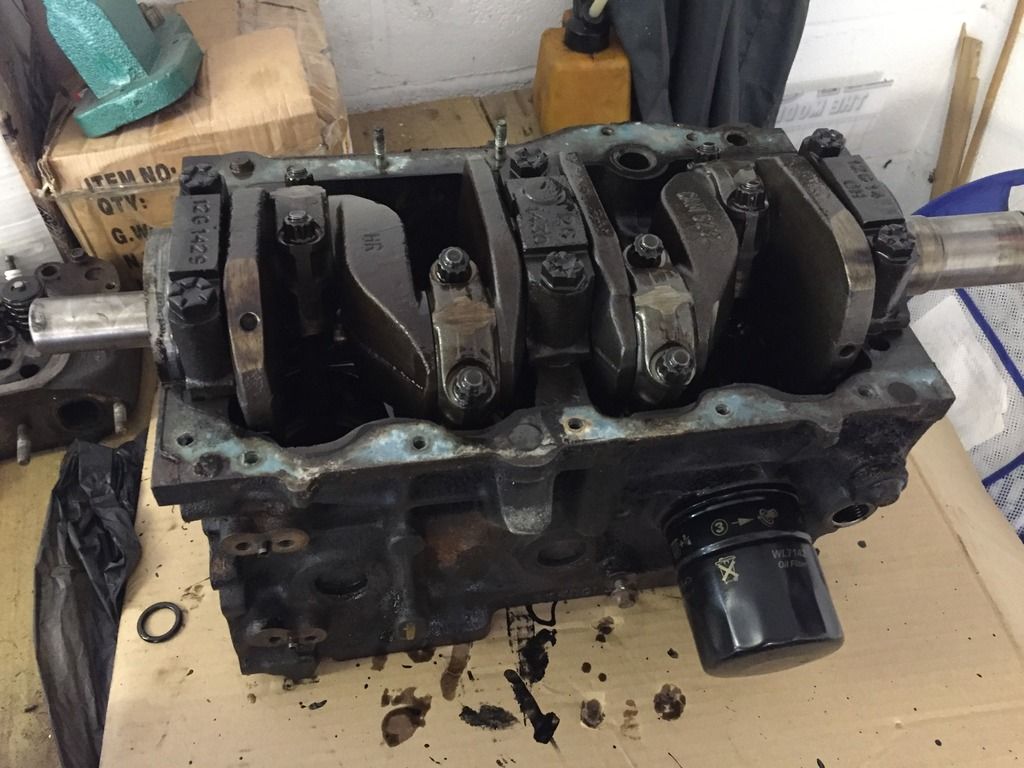
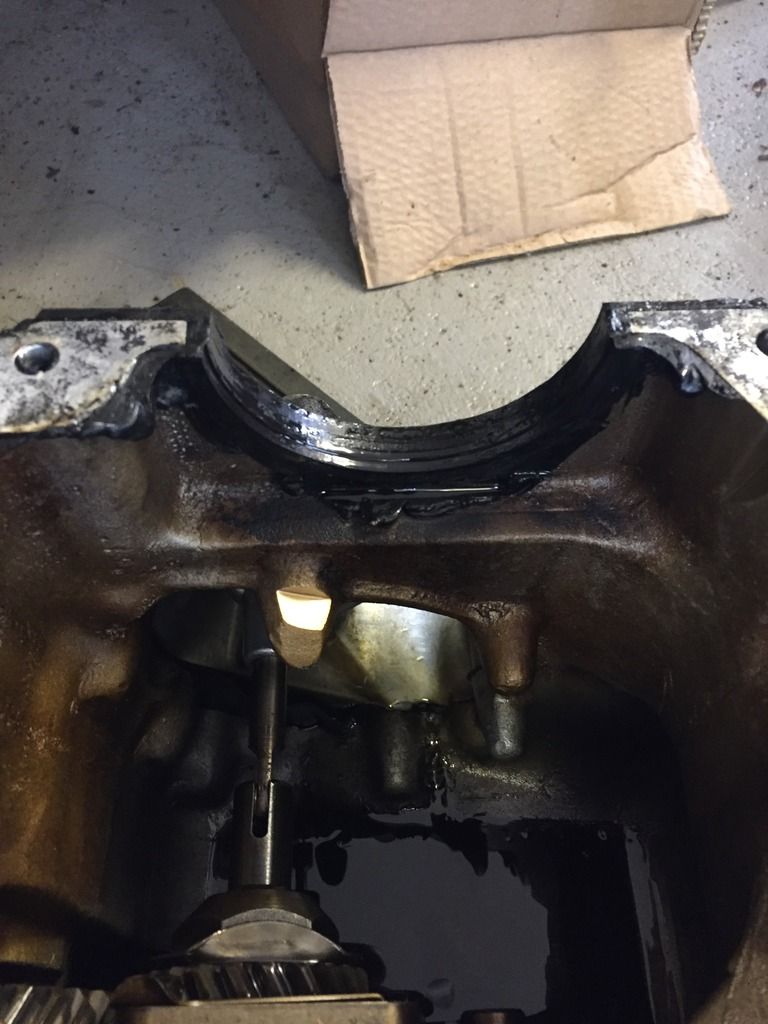
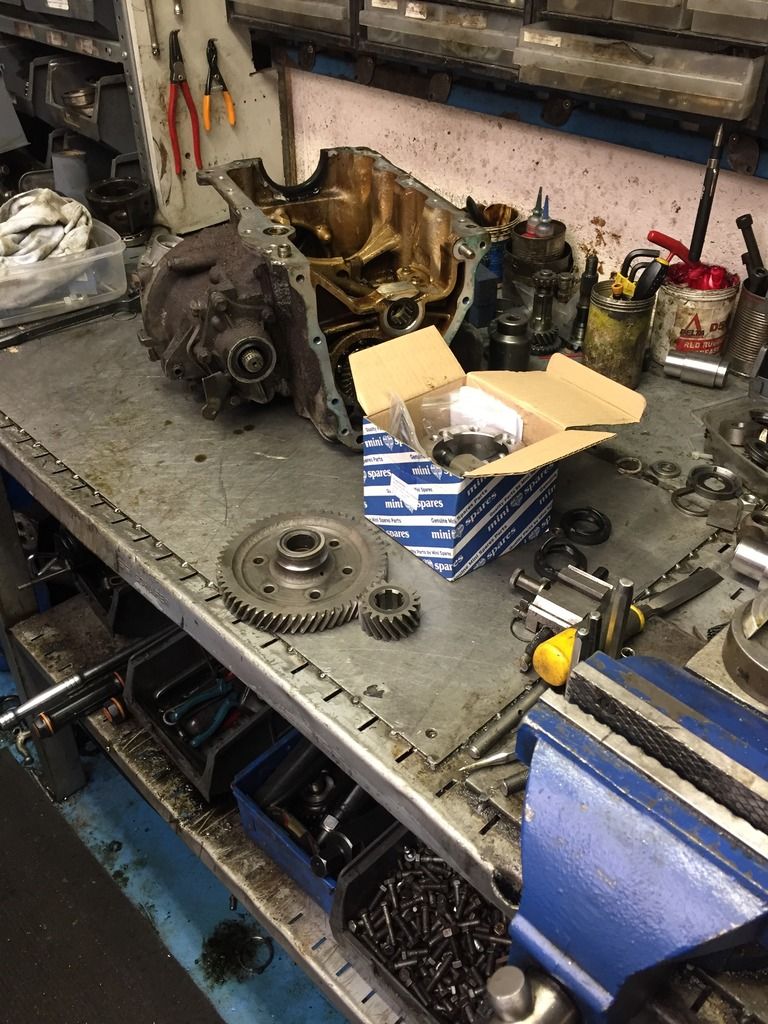
Gearbox all ready for Guessworks!
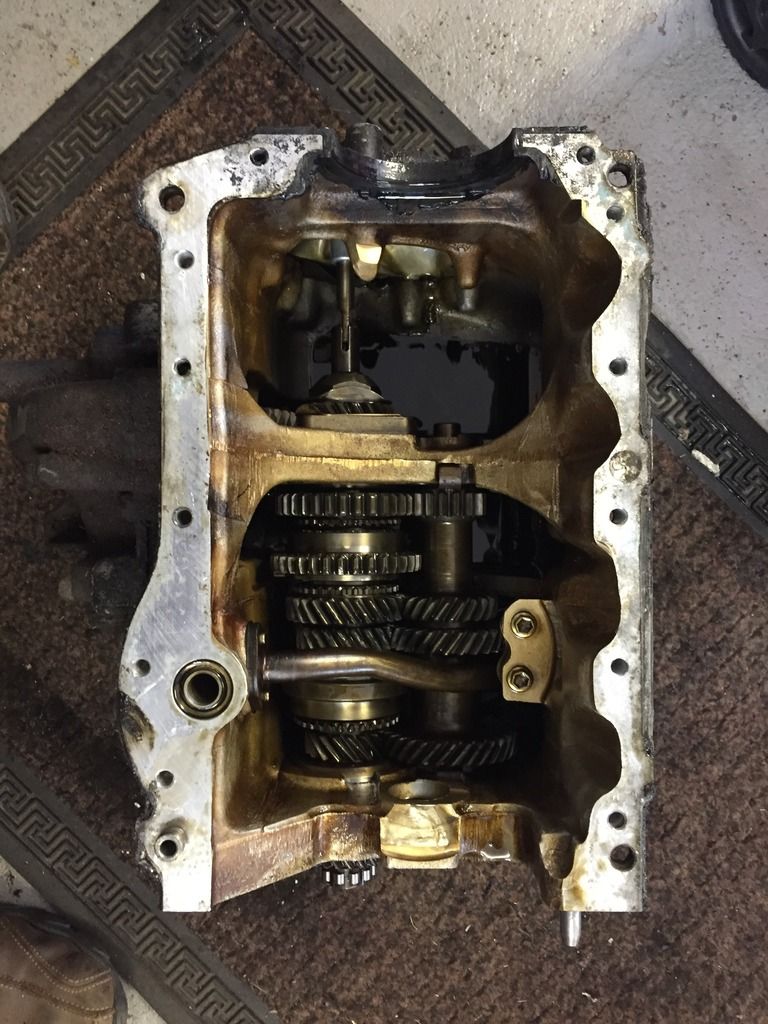
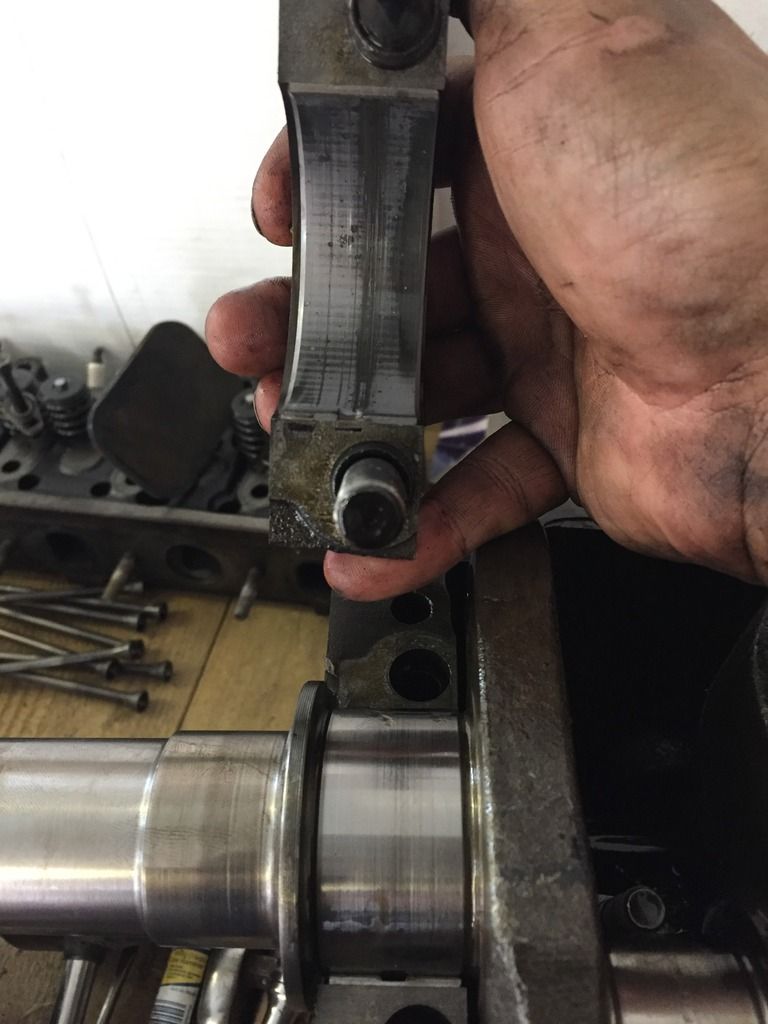
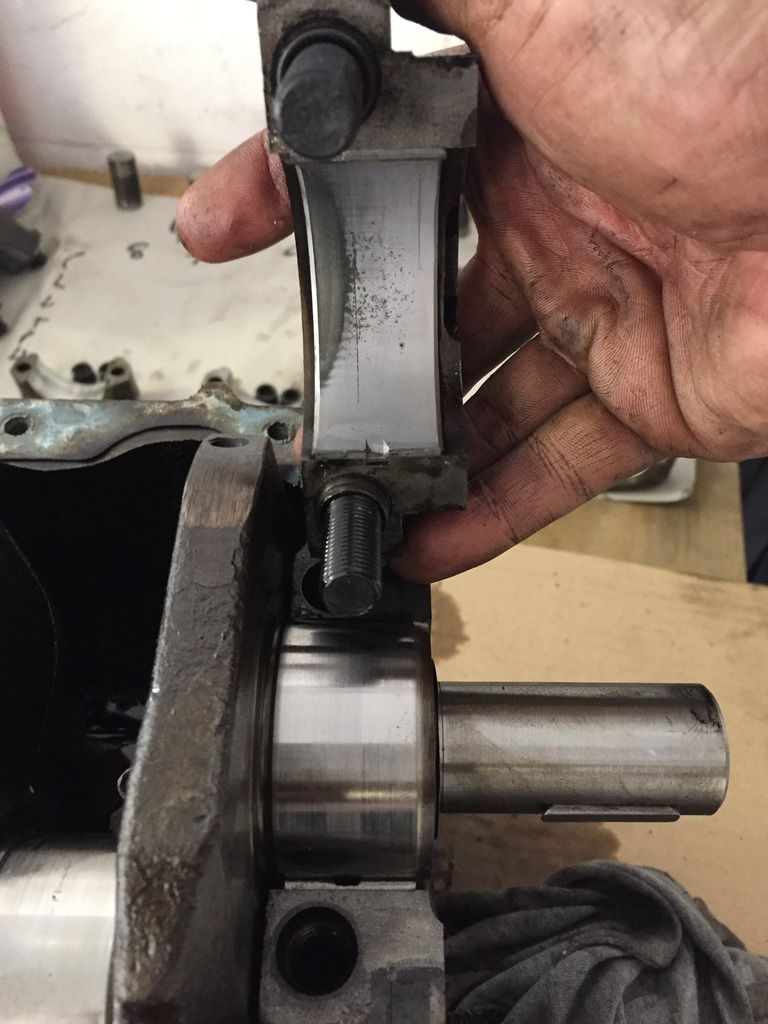
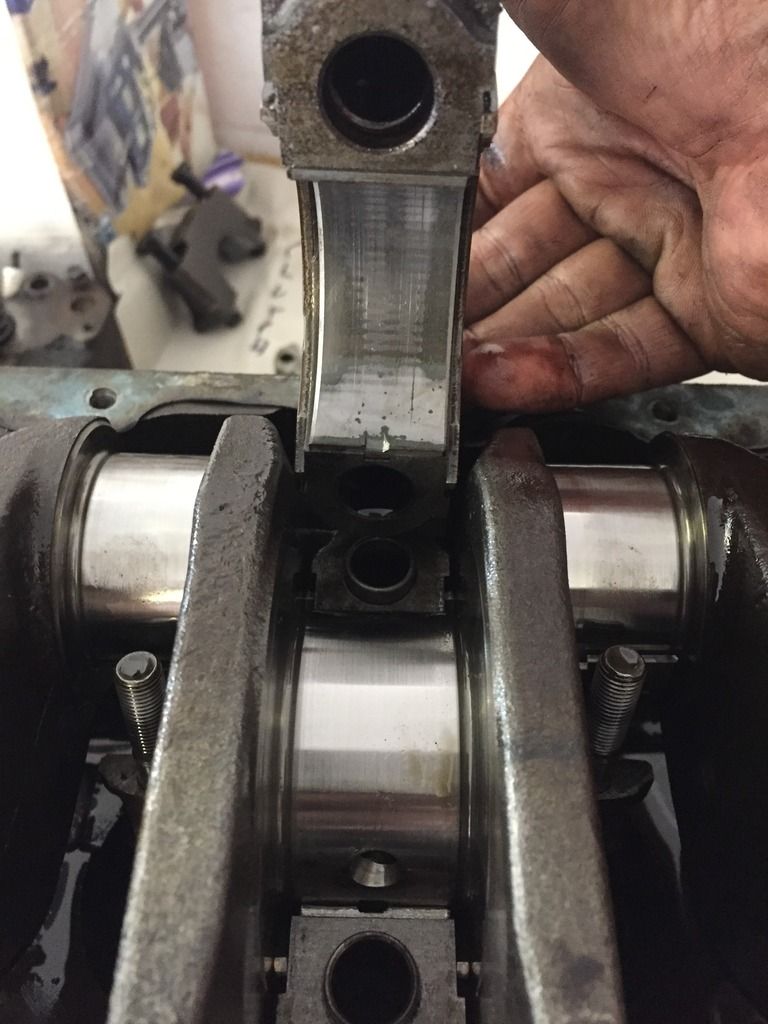
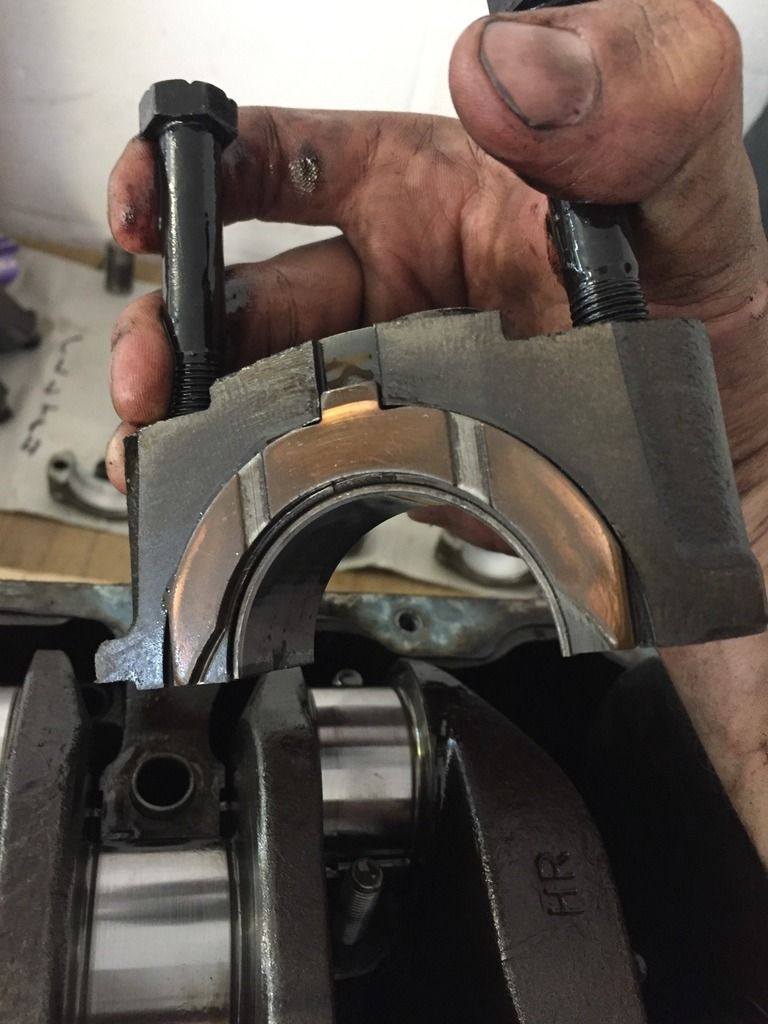
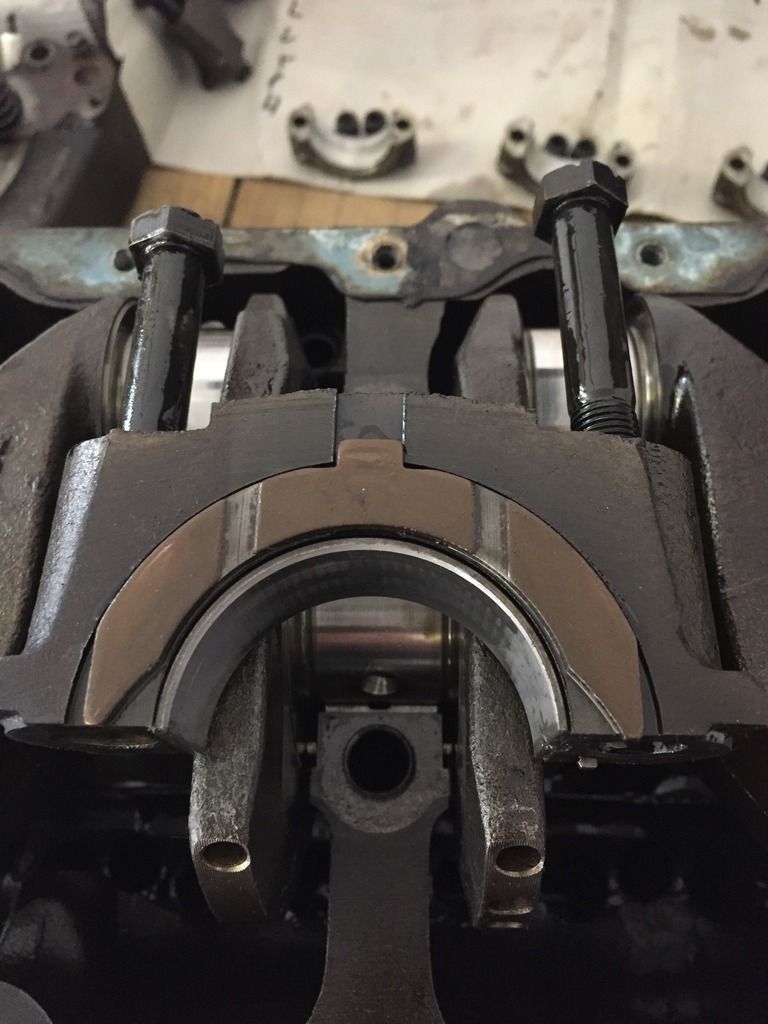
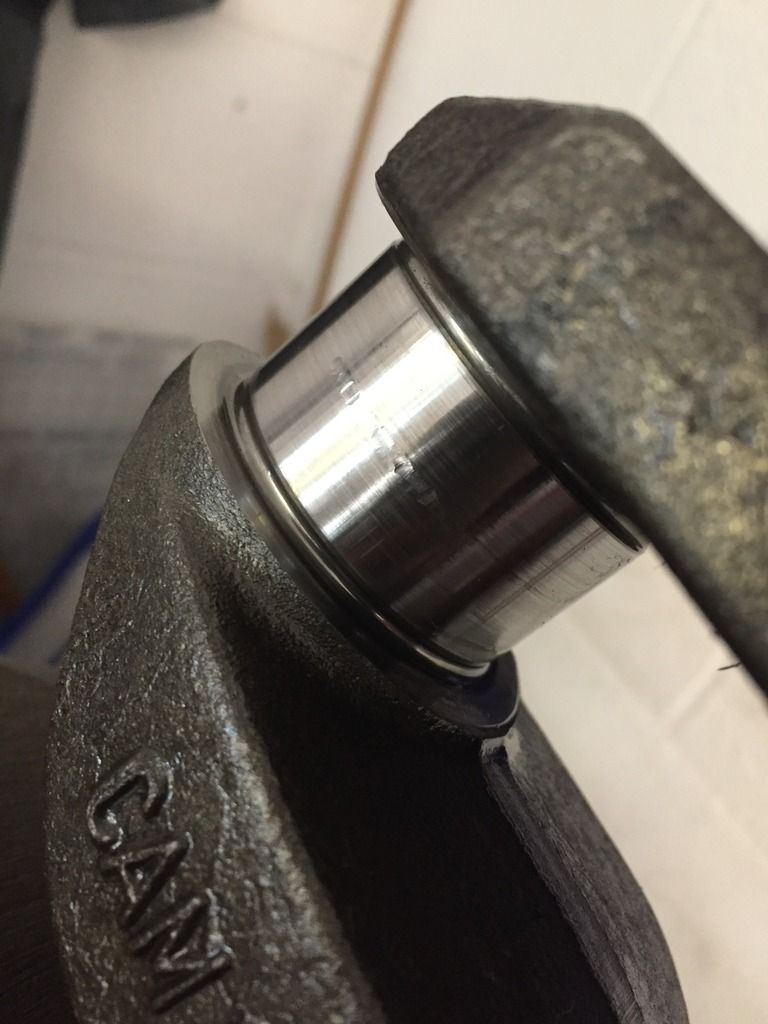
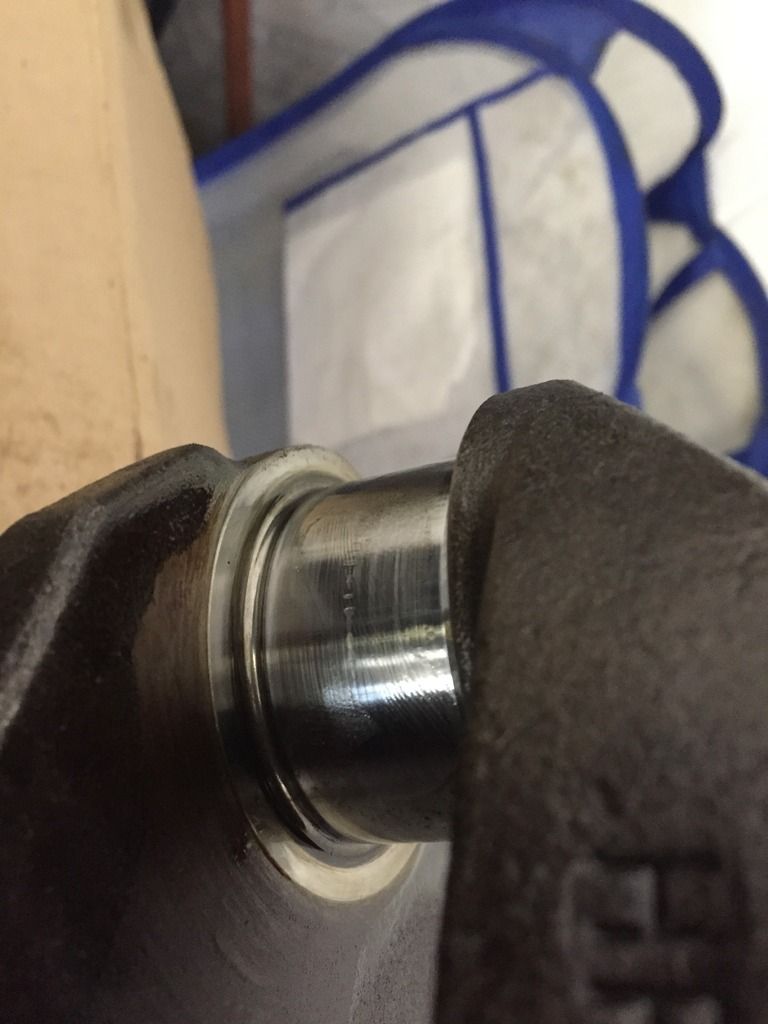
#177

Posted 21 April 2017 - 07:34 PM
First off was a trip to Guessworks to give John the good news
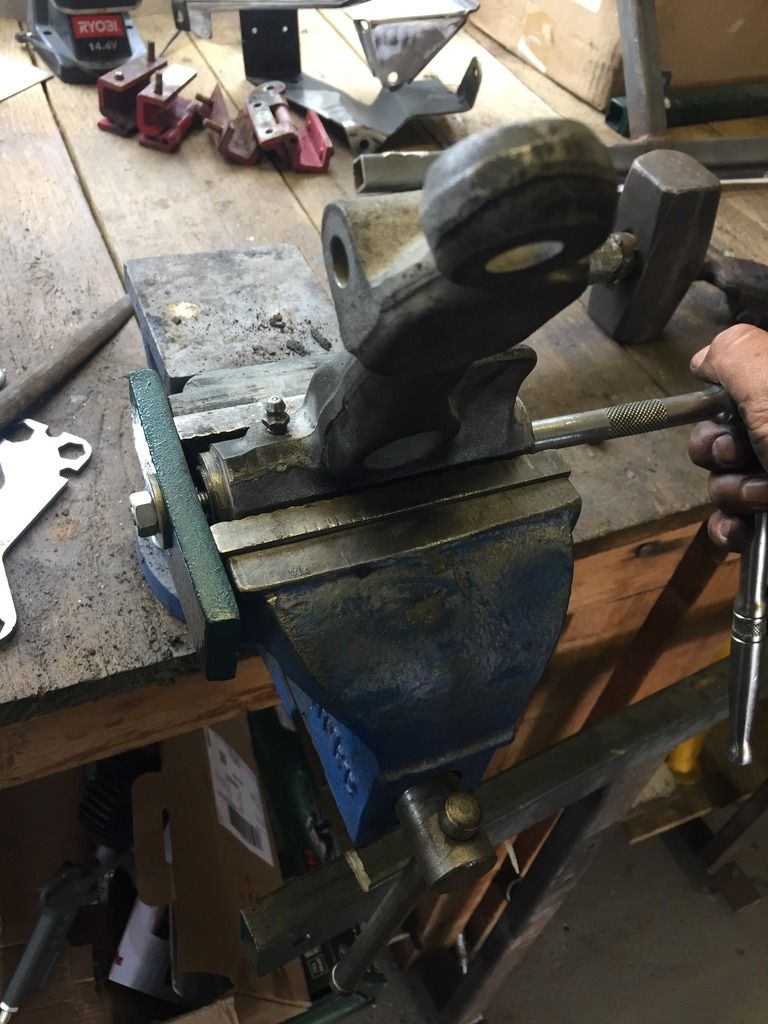
Once home again I stripped the upper arms and removed the bearings ready for blasting. Typically the shock pin on one was ceased in, so left it to soak in penetrating fluid over night.
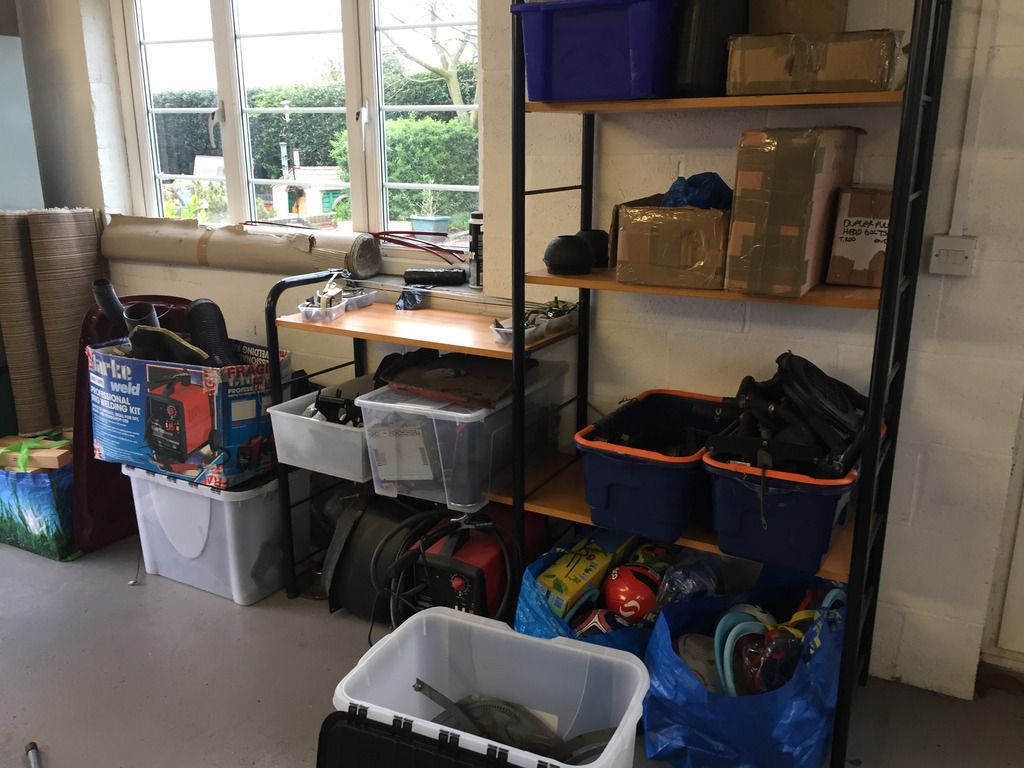
Then was the clean up and sort out. Lots of old parts binned and made way for new/reconditioned pets. Awaiting some emails back from the engine builder and then I'm off to deliver them some bits too!!
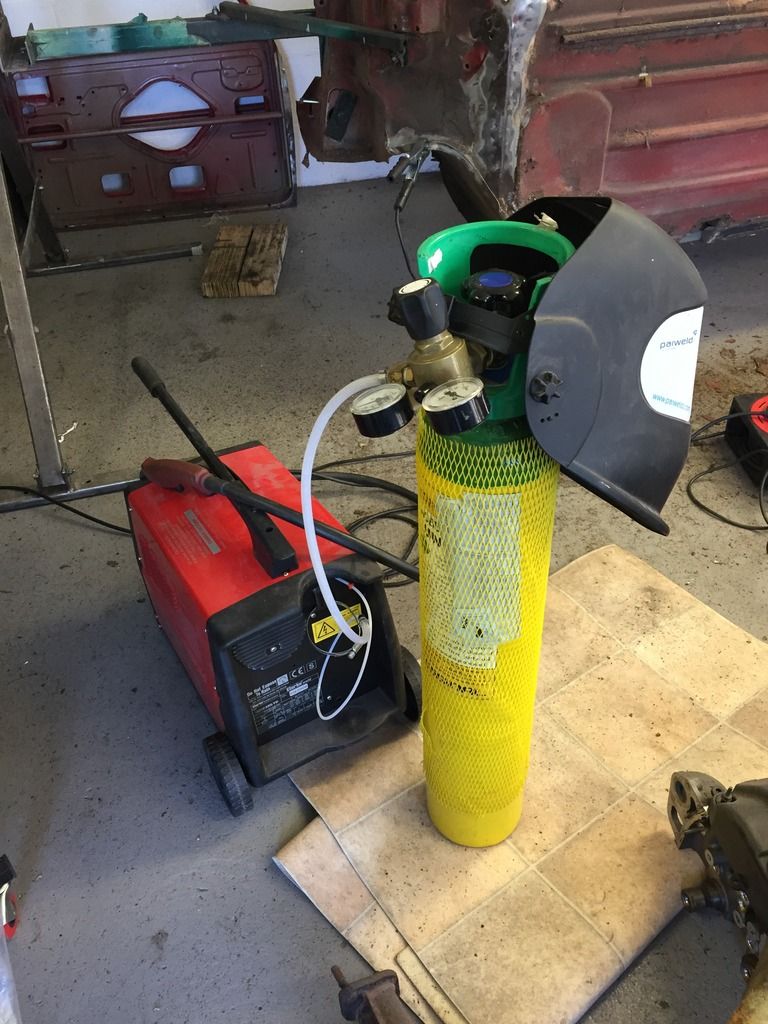
Tomorrow is getting the mini on the spit then strip off the under seal! Also need some gas for the welder. If anyone knows anywhere in the shropshire/Telford area, it would be greatly appreciated.
#178

Posted 21 April 2017 - 07:38 PM
Saw your post on turbo minis about the cam sensor, but couldn't reply as I couldn't remember my password on there, the sc kit doesn't use the cam sensor, so grinding for clearance there will be fine. :)
I'm fitting (tomorrow) an A+ 1312 into my MPi using their 5 port kit, utilising the injection flywheel housing, but earlier block, using the standard front mounted rad, and older positioned alternator, with the single v groove fan belt :)
Liking the updates ![]()
Edited by Midas Mk1, 21 April 2017 - 07:40 PM.
#179

Posted 21 April 2017 - 08:05 PM
Saw your post on turbo minis about the cam sensor, but couldn't reply as I couldn't remember my password on there, the sc kit doesn't use the cam sensor, so grinding for clearance there will be fine. :)
I'm fitting (tomorrow) an A+ 1312 into my MPi using their 5 port kit, utilising the injection flywheel housing, but earlier block, using the standard front mounted rad, and older positioned alternator, with the single v groove fan belt :)
Liking the updates
There's no way i'm grinding the block away. It seems a quick rudimentary solution to the problem. I've decided to move the flange on the exhaust manifold to allow the turbo to swing further back. That way the block stays in one piece.
#180

Posted 22 April 2017 - 05:39 PM
Some great progress today, but need some help from the panel beaters and experts on the forum as to what route to take!
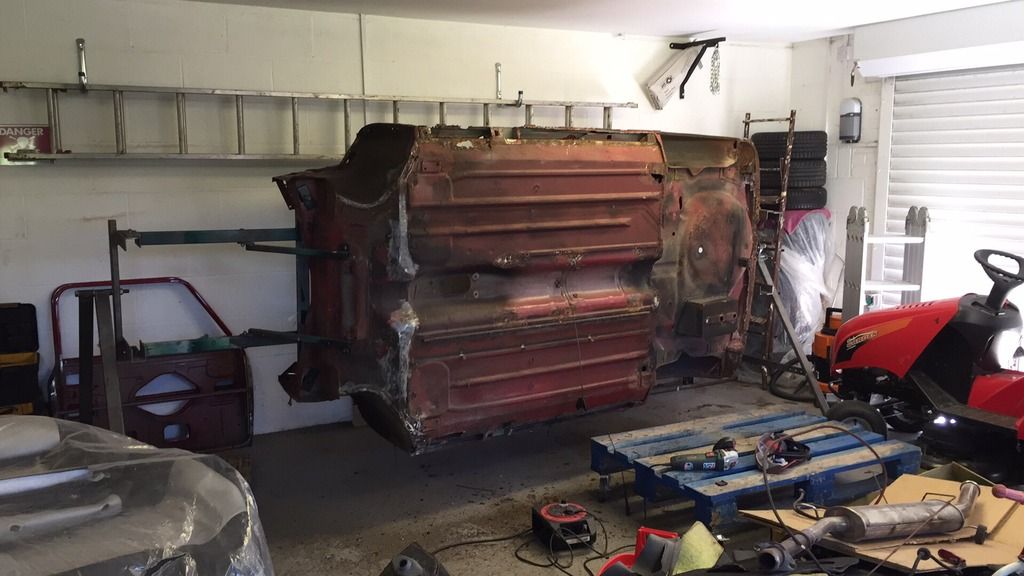
Got the car on the rotisserie this morning!
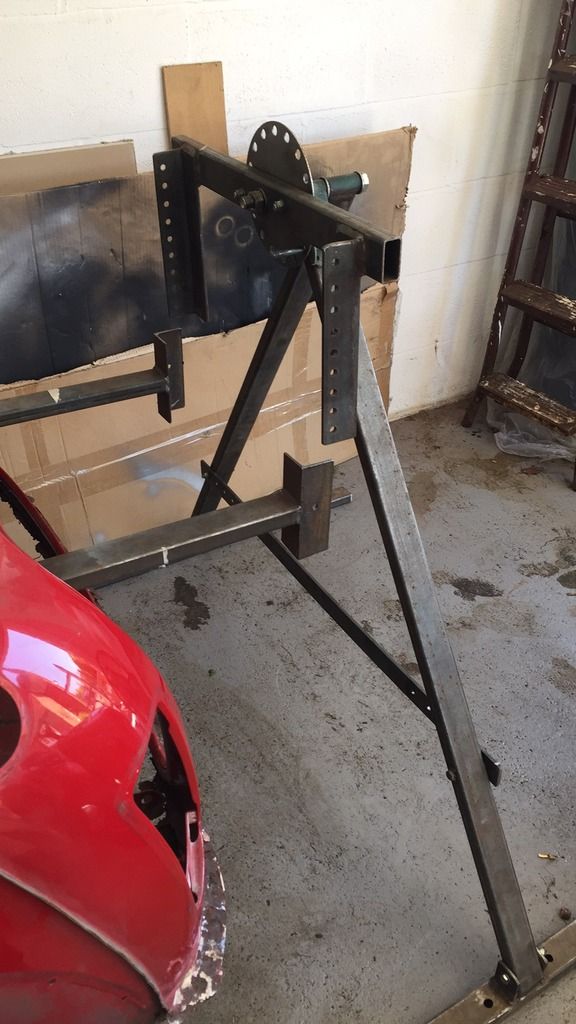
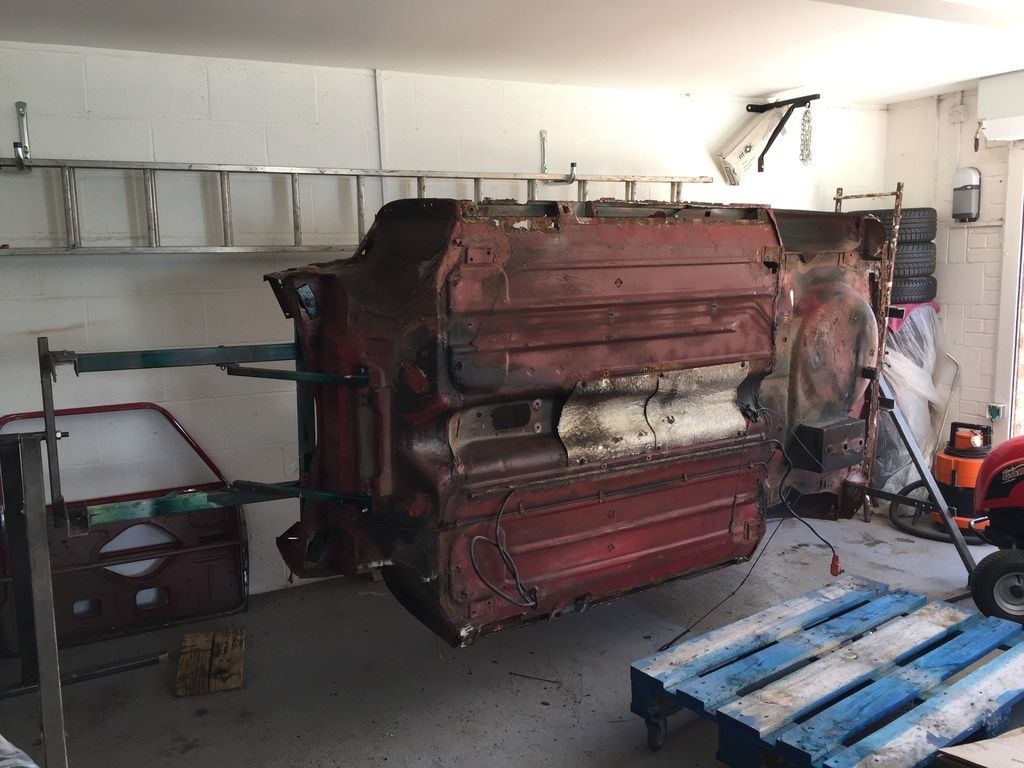
Time for the money shots!
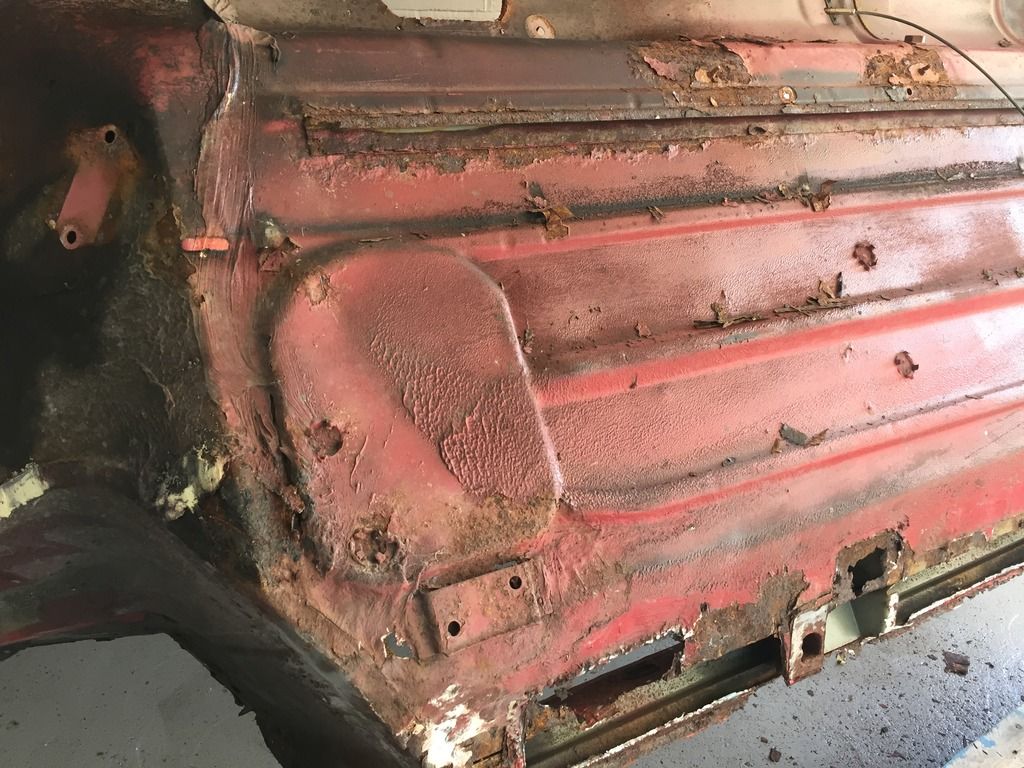
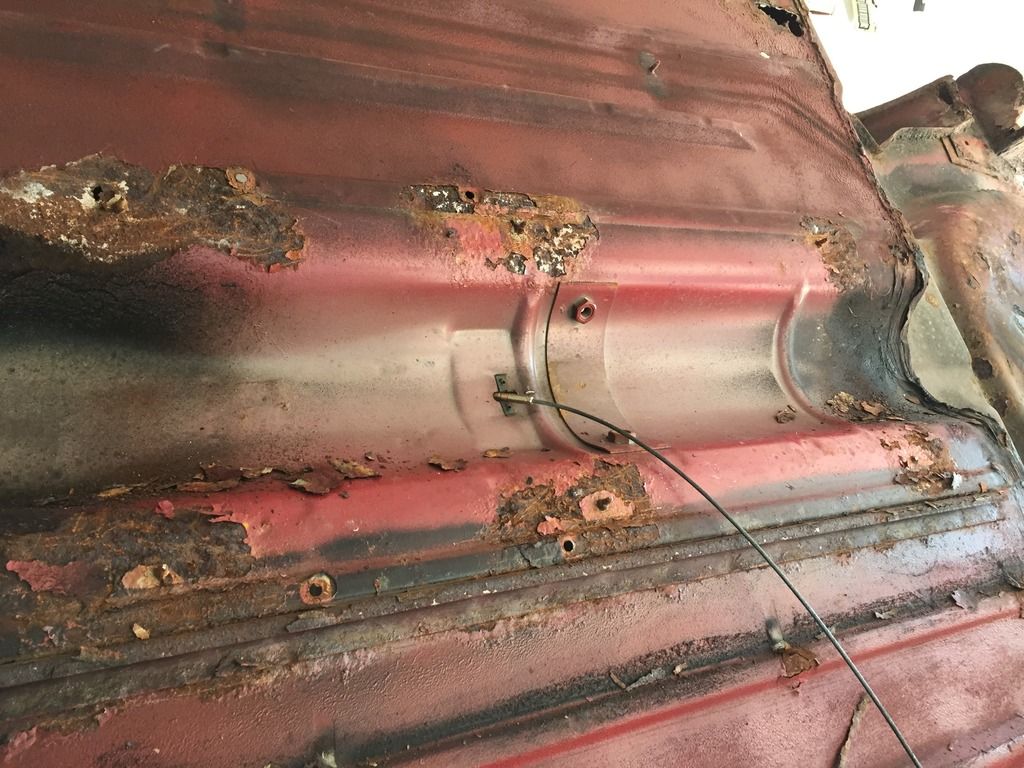
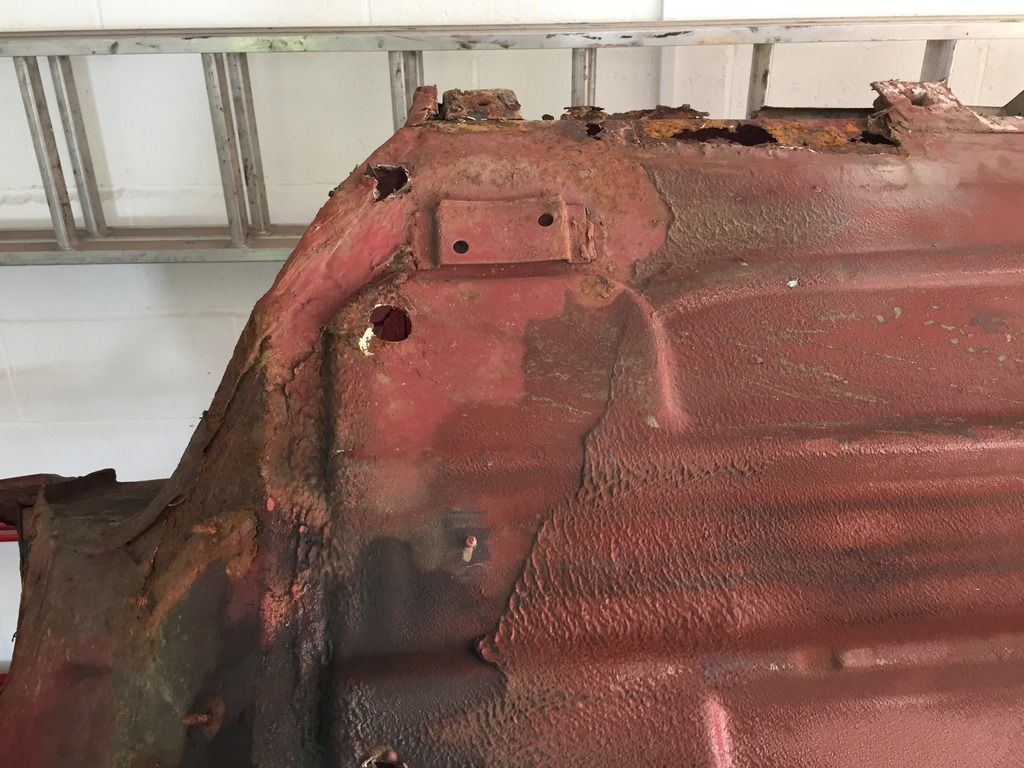
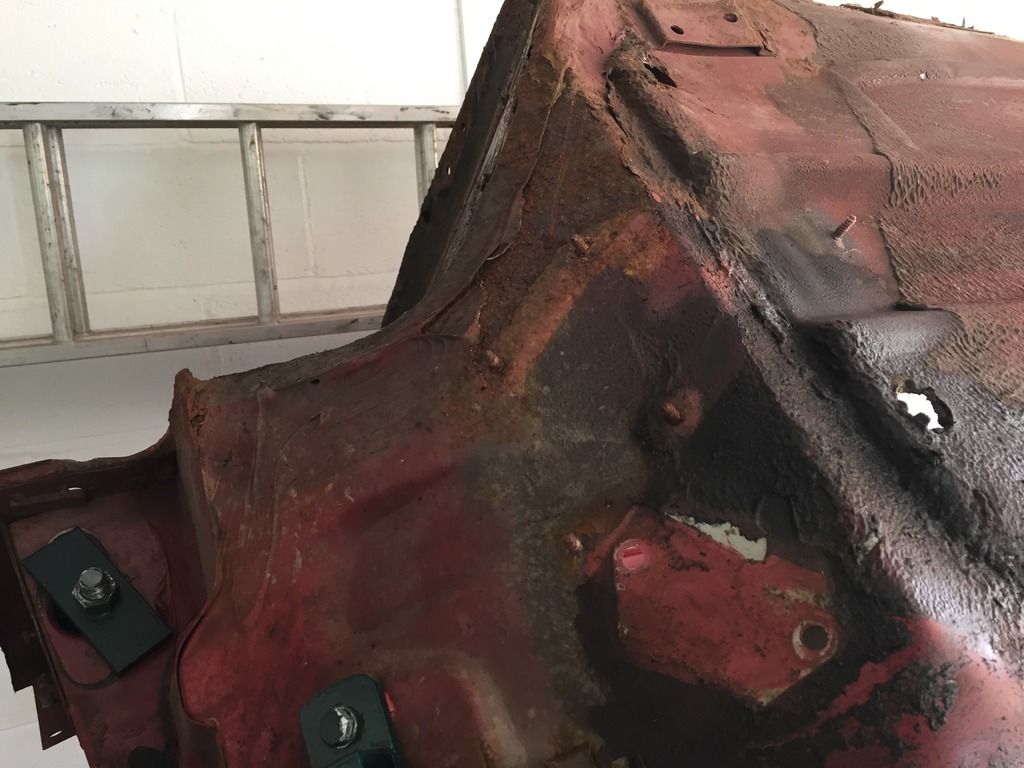
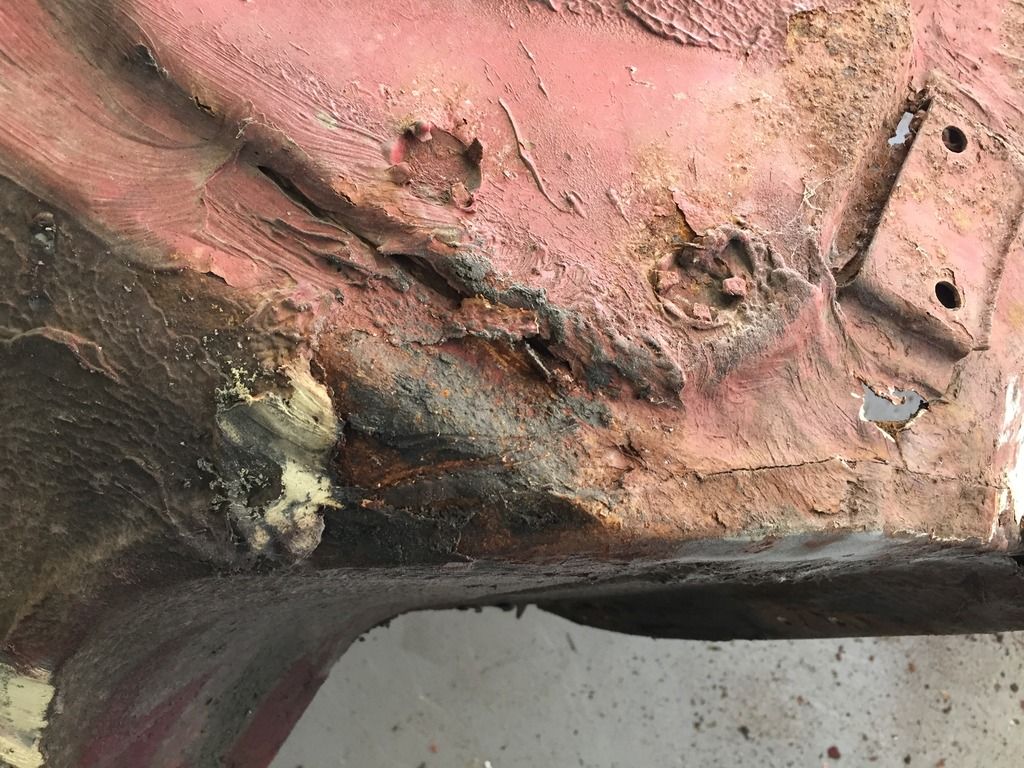
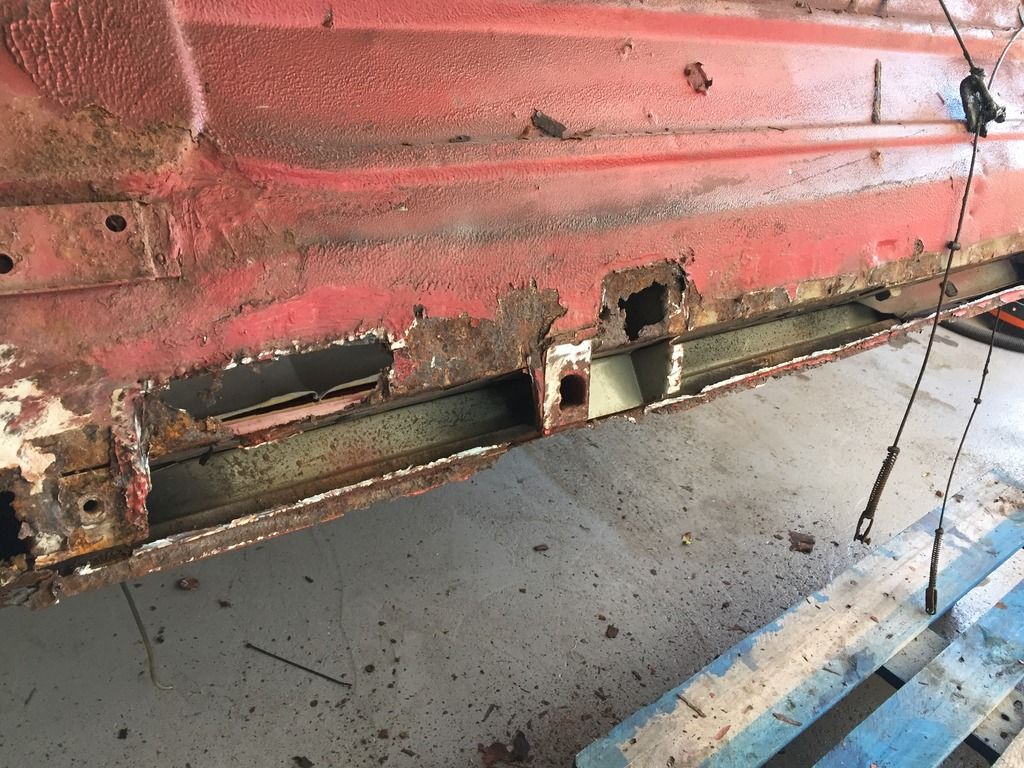
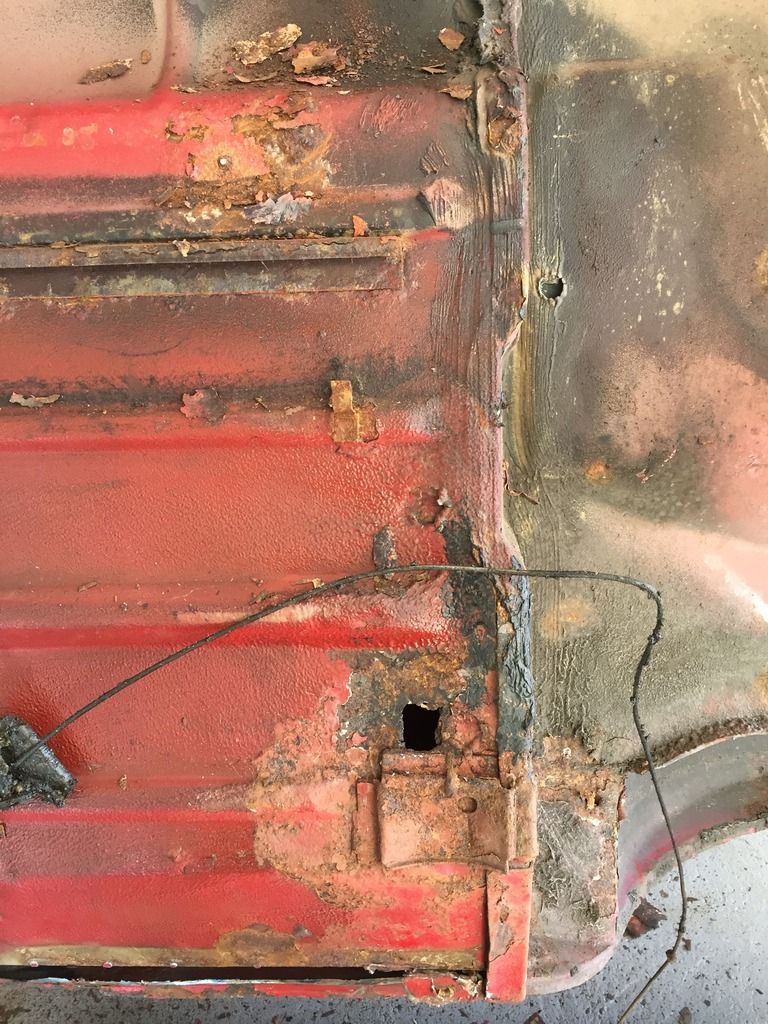
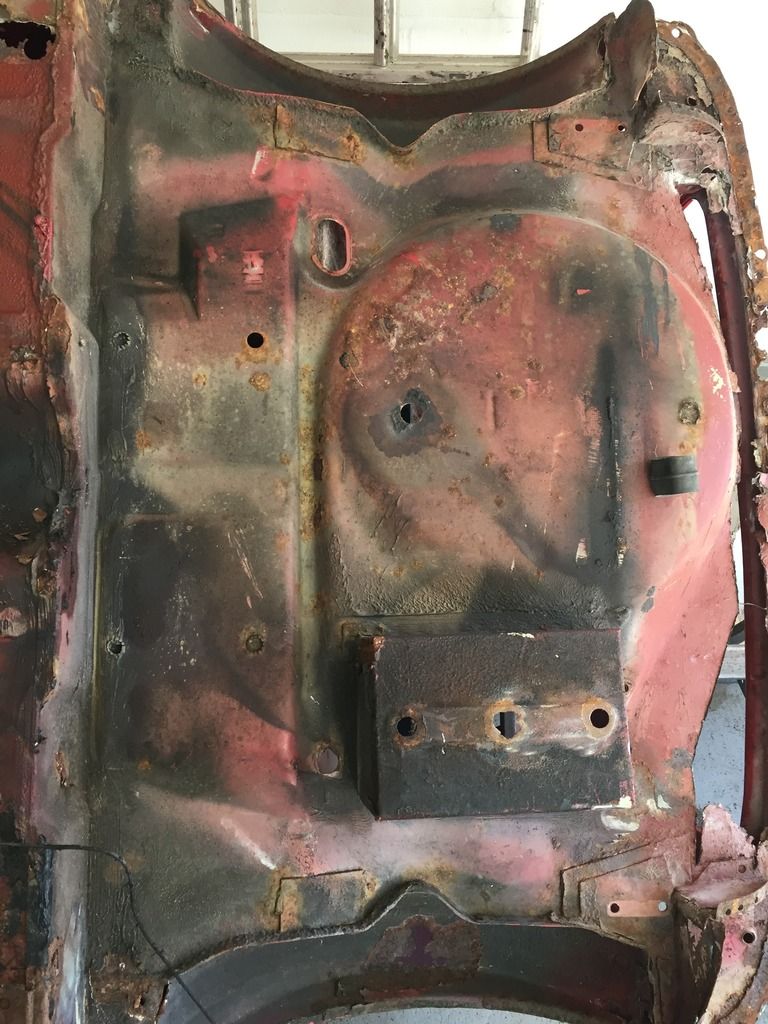
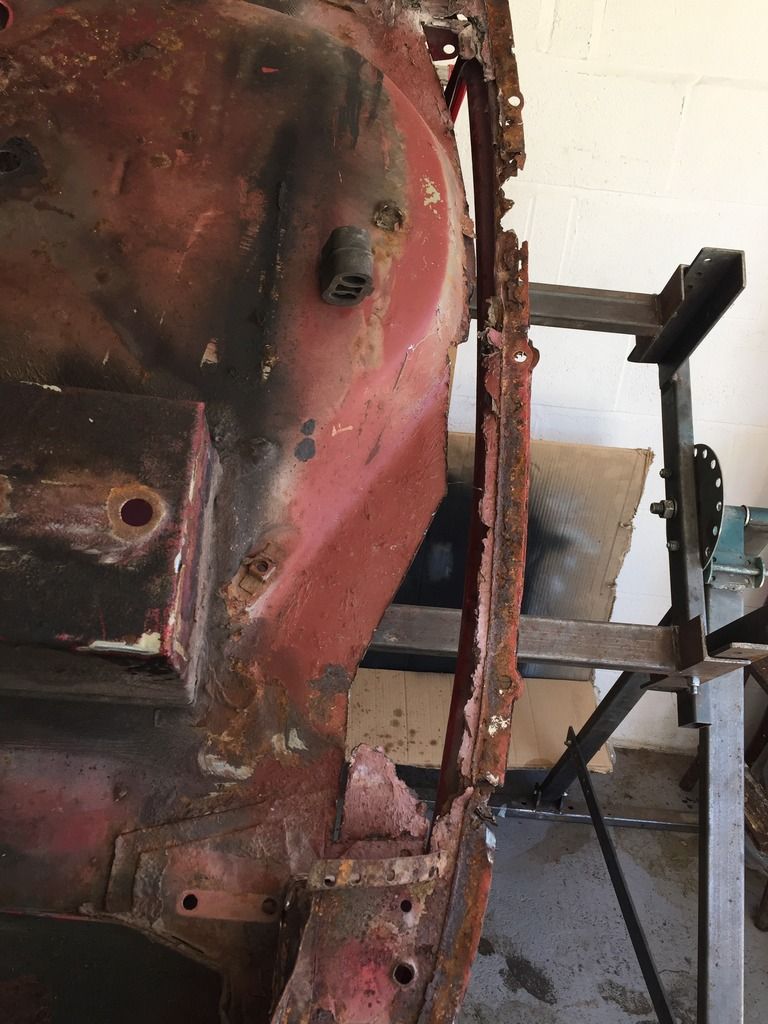
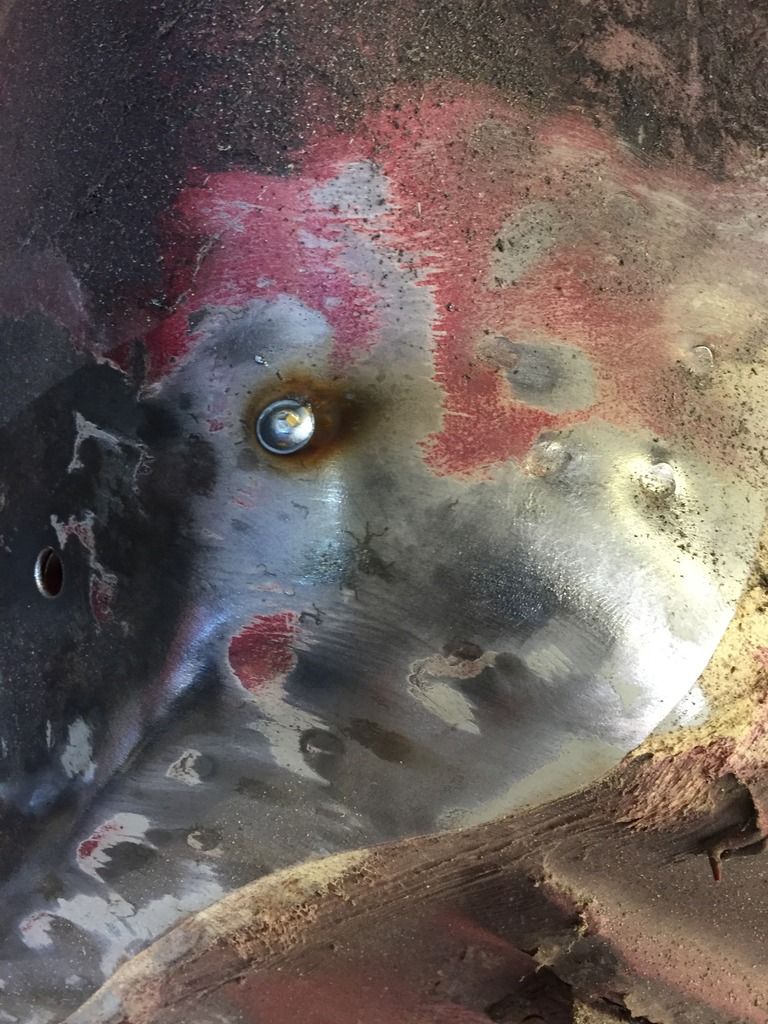
Started taking back the paint to reveal the rust and spot welds
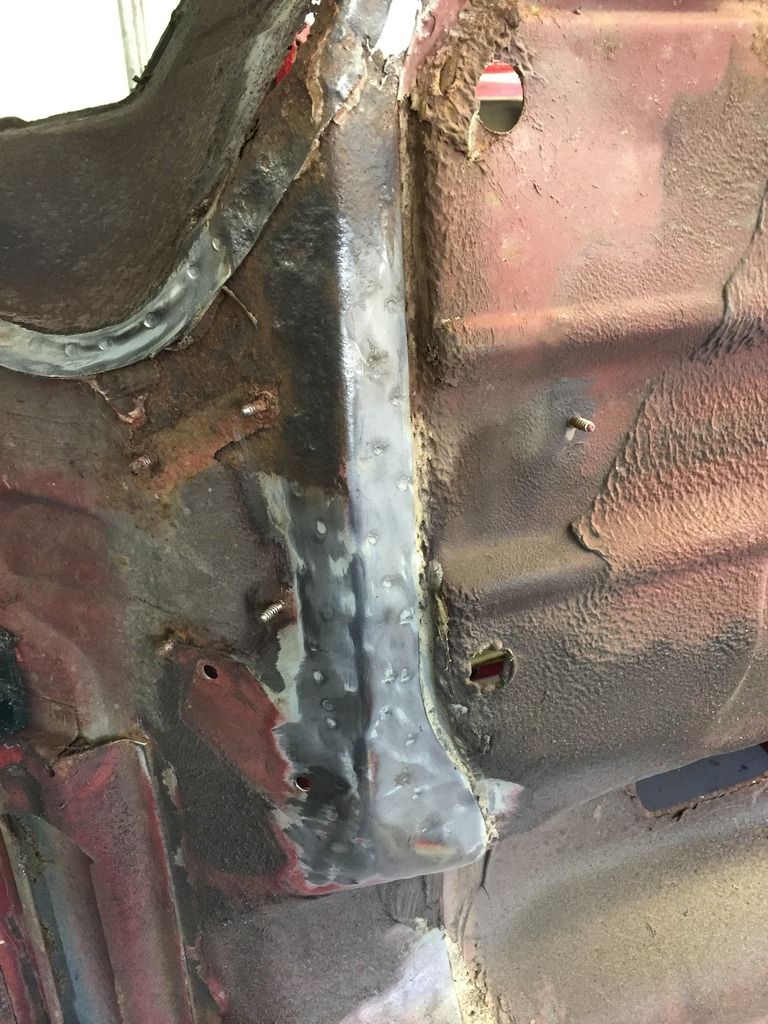
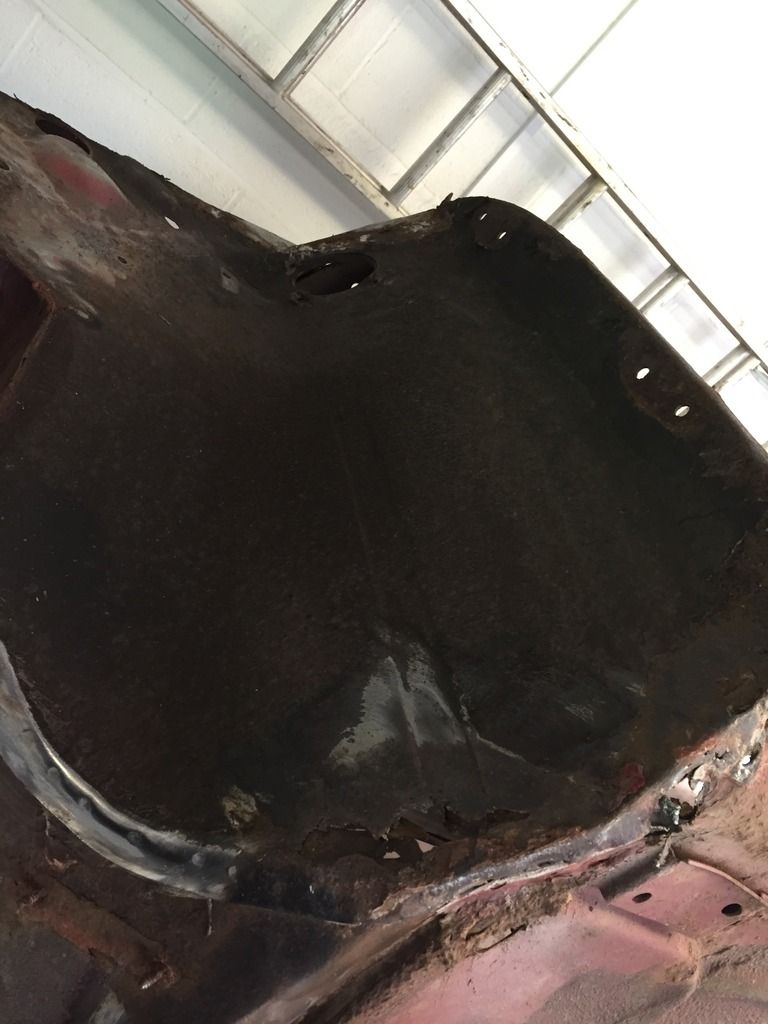
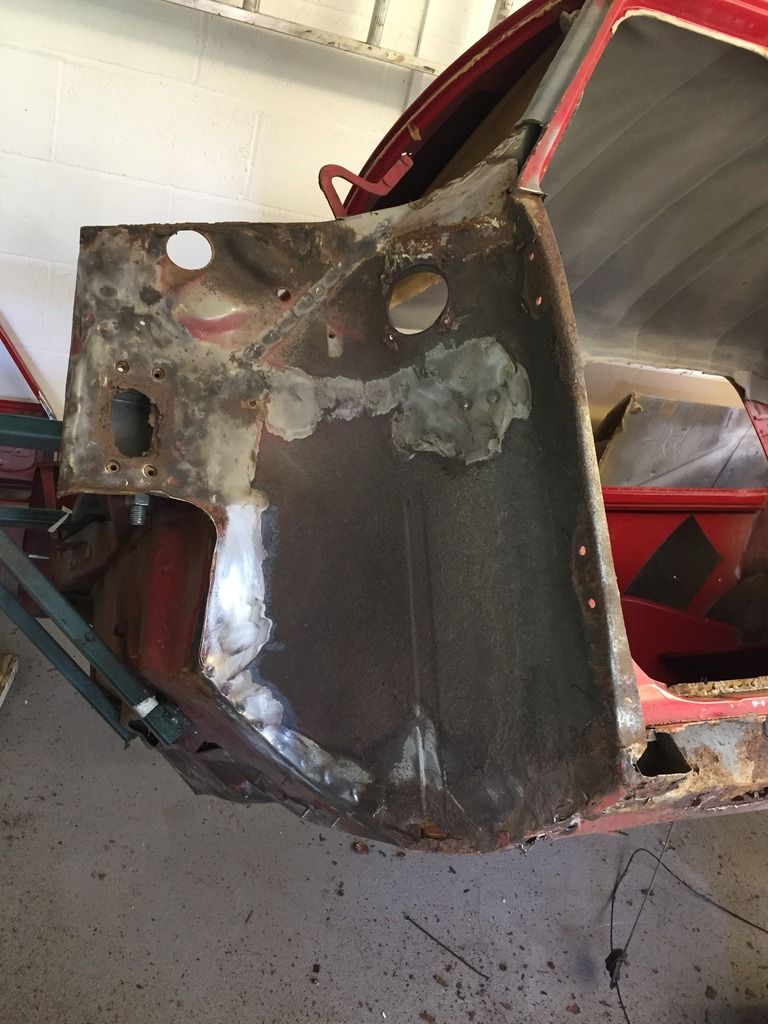
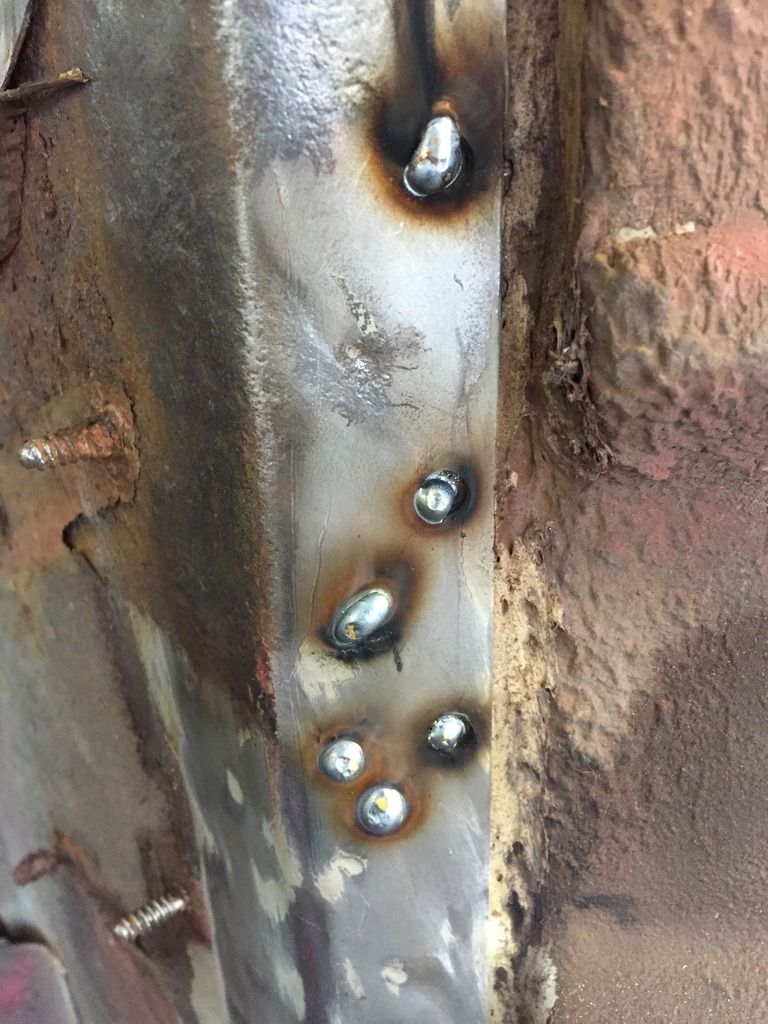
Finally got some hobby weld gas and had a go at plug welds!
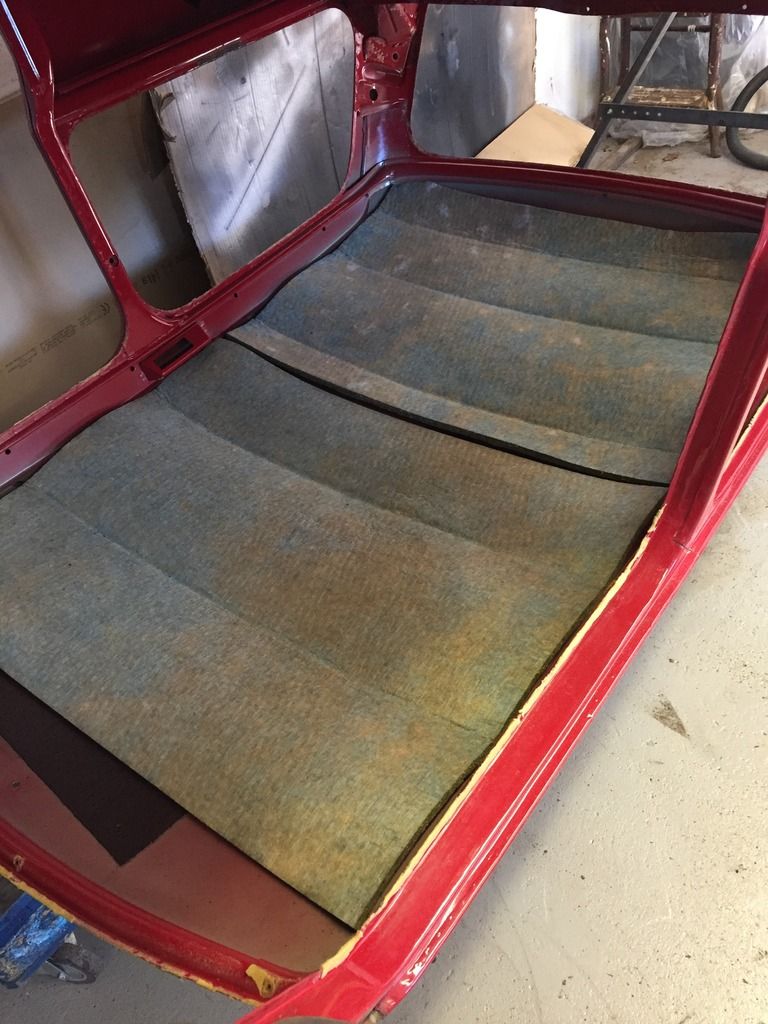
Took the headlining off and found loads of sound proofing! Is this normal on the MPi?
Tools away for tonight
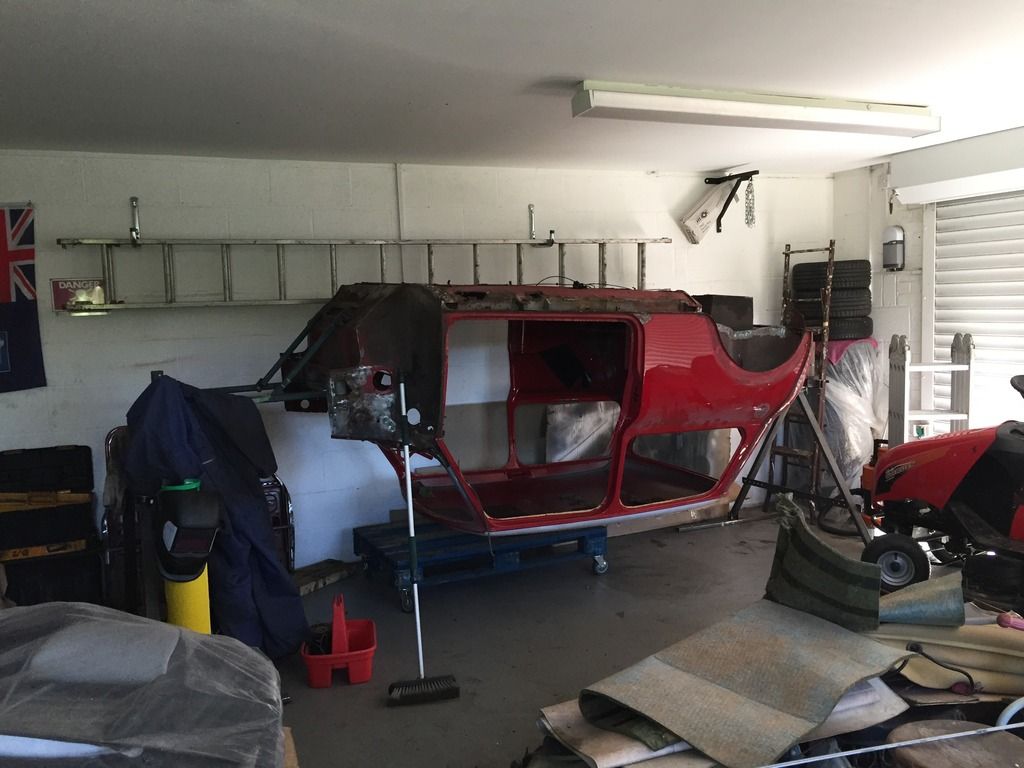
Now - My question to the forum. In the state the current floor pan and heel board is in, would it be easier to replace the floor as a whole, or go for individual pans and a separate heel board panel? I'm going to ease overall.
2 user(s) are reading this topic
0 members, 1 guests, 0 anonymous users
-
Bing (1)


