Cracking work there, not bad for first attempt. Unforunately its the same story with every mini, what you can see is the tip of the rusty brown iceburg.
You'll have it all finished for summer at this rate ![]()
Posted 17 February 2015 - 11:35 AM
Cracking work there, not bad for first attempt. Unforunately its the same story with every mini, what you can see is the tip of the rusty brown iceburg.
You'll have it all finished for summer at this rate ![]()
Posted 17 February 2015 - 02:17 PM
Cracking work there, not bad for first attempt. Unforunately its the same story with every mini, what you can see is the tip of the rusty brown iceburg.
You'll have it all finished for summer at this rate
cheers, as with other people on here, i am learning so much about welding, bodywork and the mini's construction. As much as its a PITA, it is nice to see it all coming together!
Originally it was xmas ('14) for my finish date, now not even thinking of a deadline, it will be ready when its ready!
Posted 21 February 2015 - 09:27 PM
had a good day of working on the mini, first of all, i had to modify the valance one last time then seal sealed all the gaps, little bit of paint inside the closing section, and a good layer of waxoyl. lined it all up and started welding
after a good while, i was finally done!
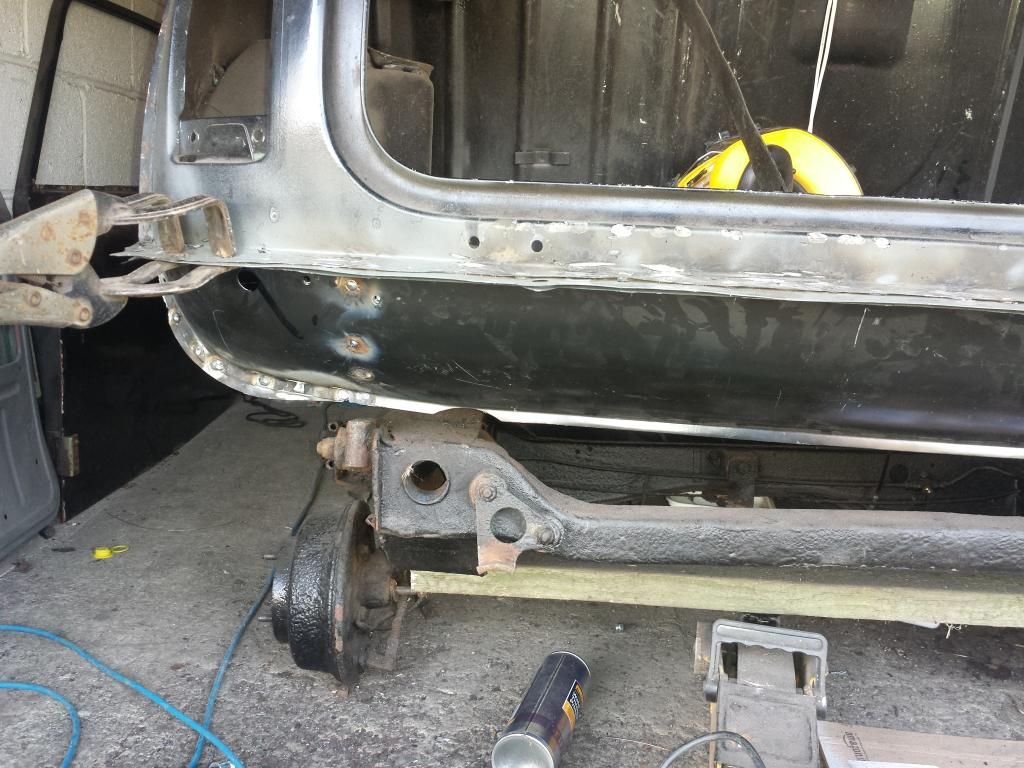
I have cleaned up the welds, cut off the excess metal on the boot repair section and seam sealed the whole valance. I have just finished applying some stone chip to the underside of the boot, inner valance and the outer valance! not bad for an afternoons work!
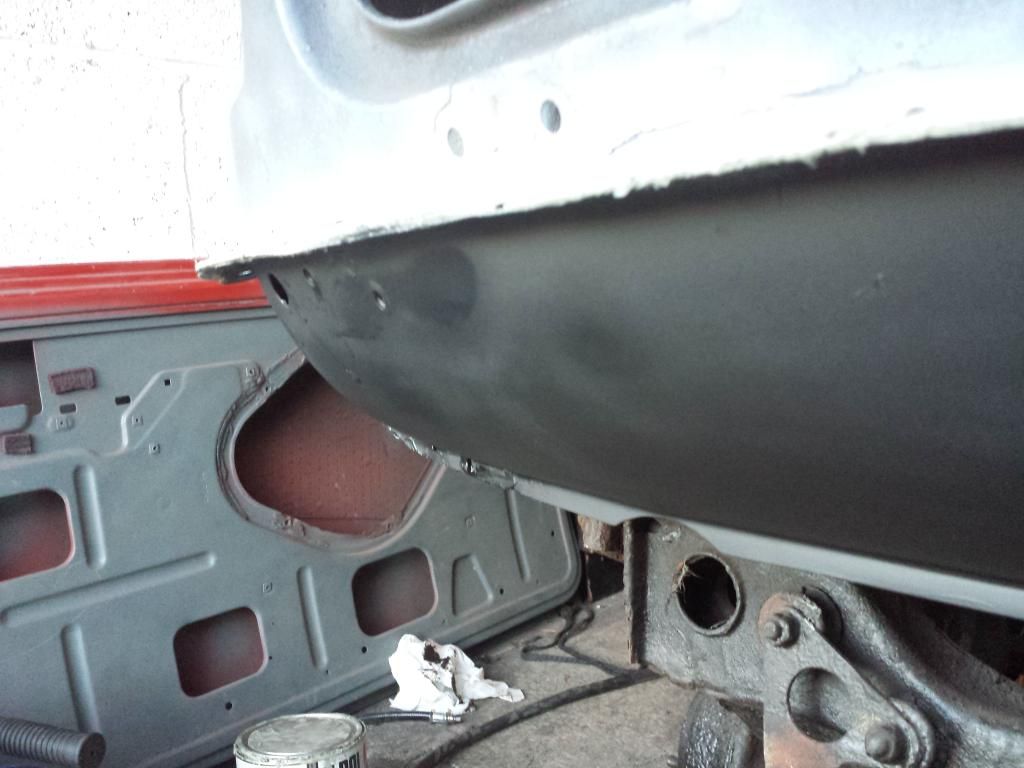
hopefully tomorrow i will get the underside painted and undersealed, as well as undersealing the subframe!
Posted 27 February 2015 - 01:39 PM
I have started to get things clamped into place, to make sure everything is looking ok - spent a good while removing the last of the old 1/4 panel (hate grinding out spot welds)
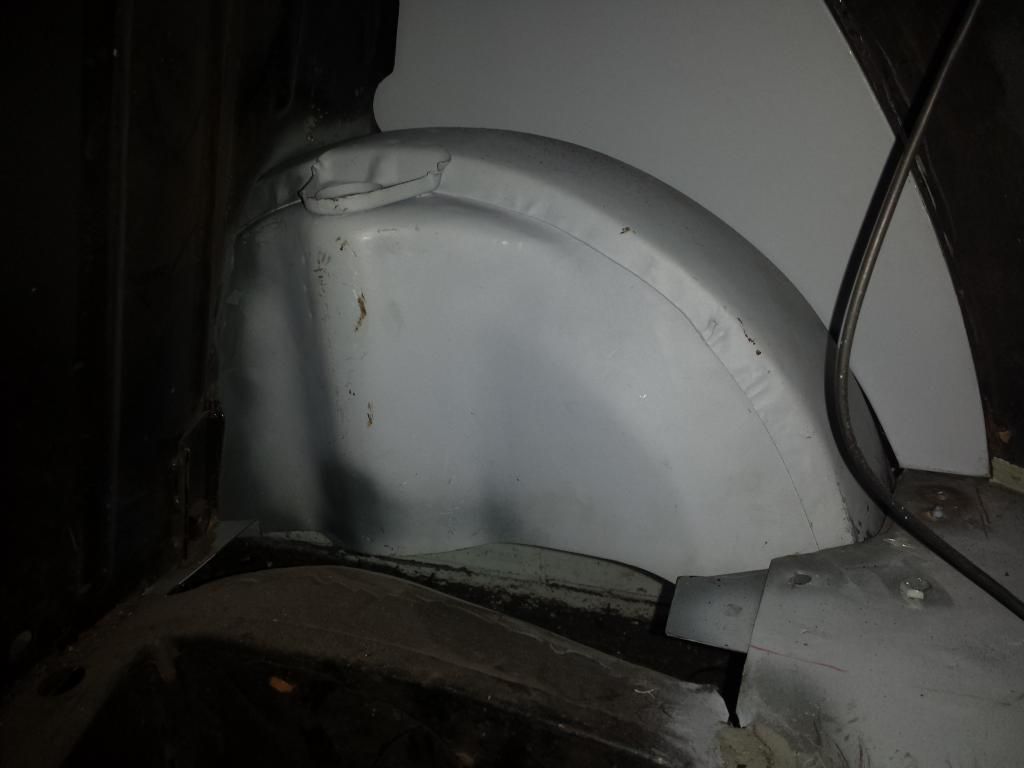
So from the insdei of the boot - still need to make up the boot repair section (hopefully will make up a template tonight)

Quick test fit of the rear 1/4, i am actually impressed by the fit, considering it was a magnum panel. i still need to remove a litte more of the old panel
I have started to cleco the panels in place whilst i make up the other repair panelss, i love cleco pins!
Posted 05 March 2015 - 10:07 AM
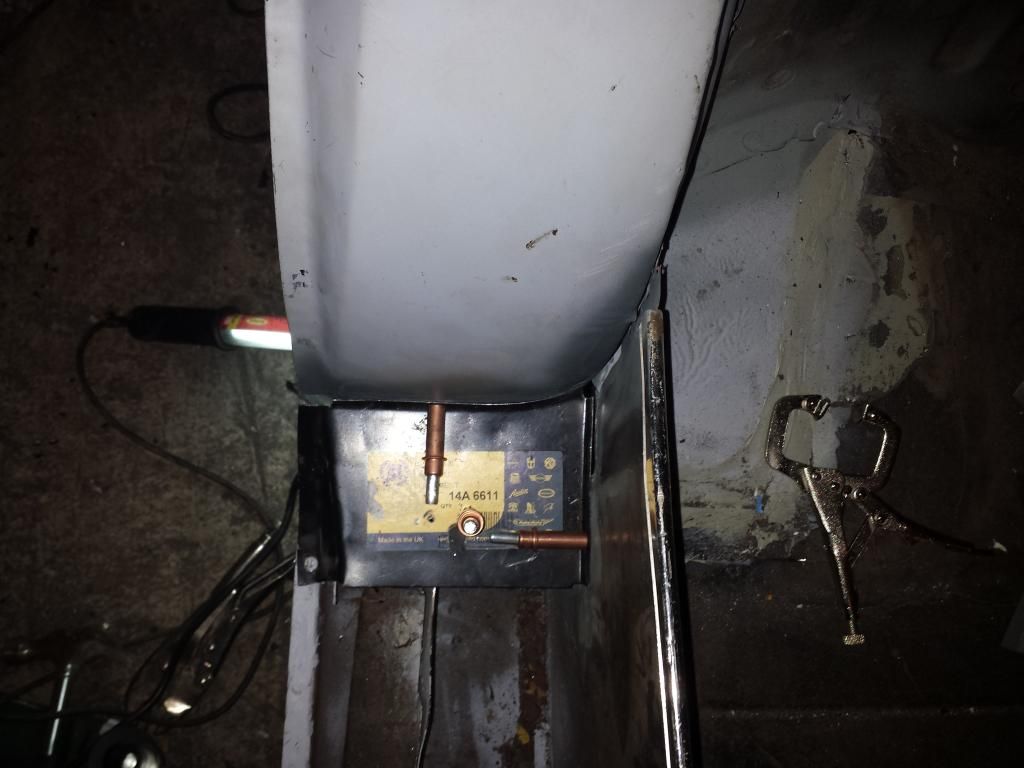
worked a fair amount on the car over the last few nights, making some progress. I have been focusing on getting the boot repair section made, after finding the magnum one didnt seem to match the shape of the arch;
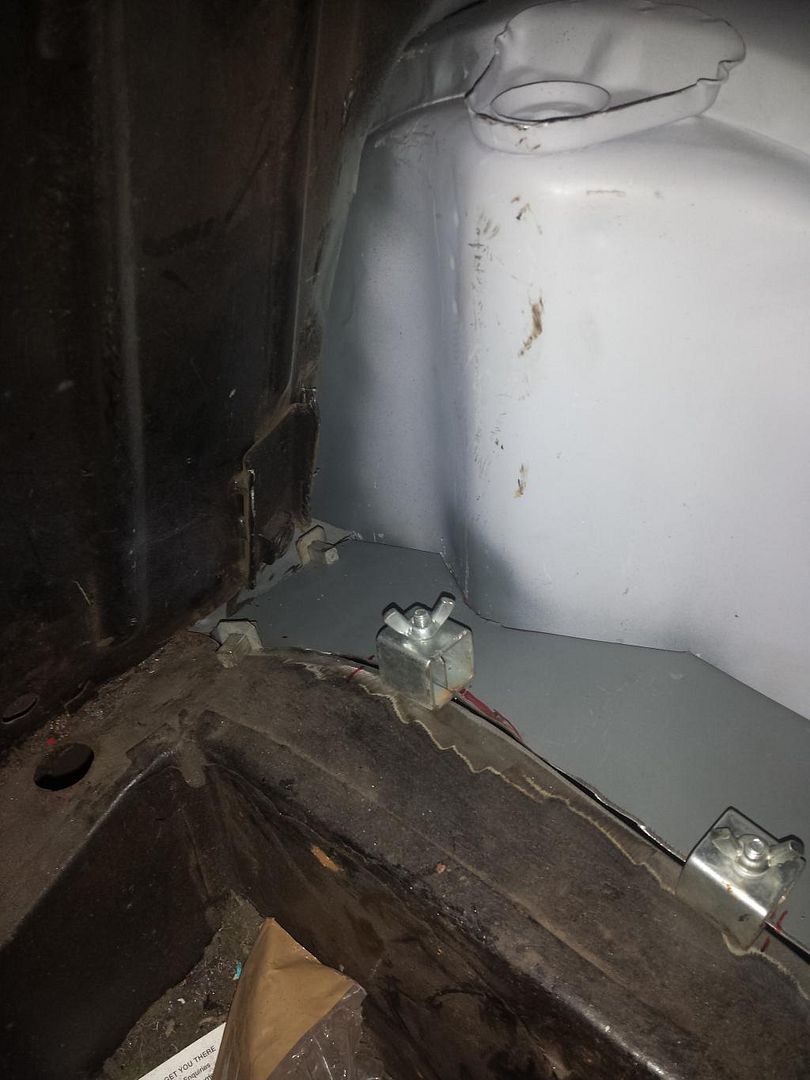
bought some sheet steel, marked out a rough template then created a 2cm border to bend into a lip. it actually worked pretty well, with the usual minor adjustments.
I double checked that the wheel arch lines up ok and welded it into place :)
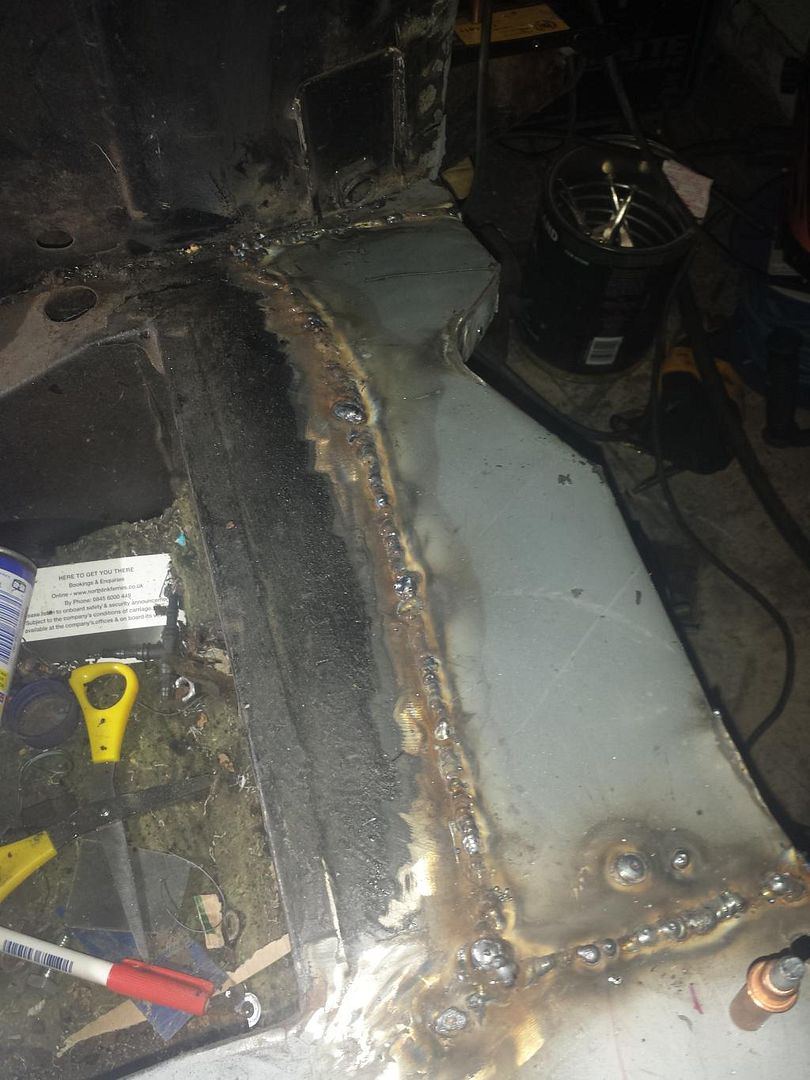
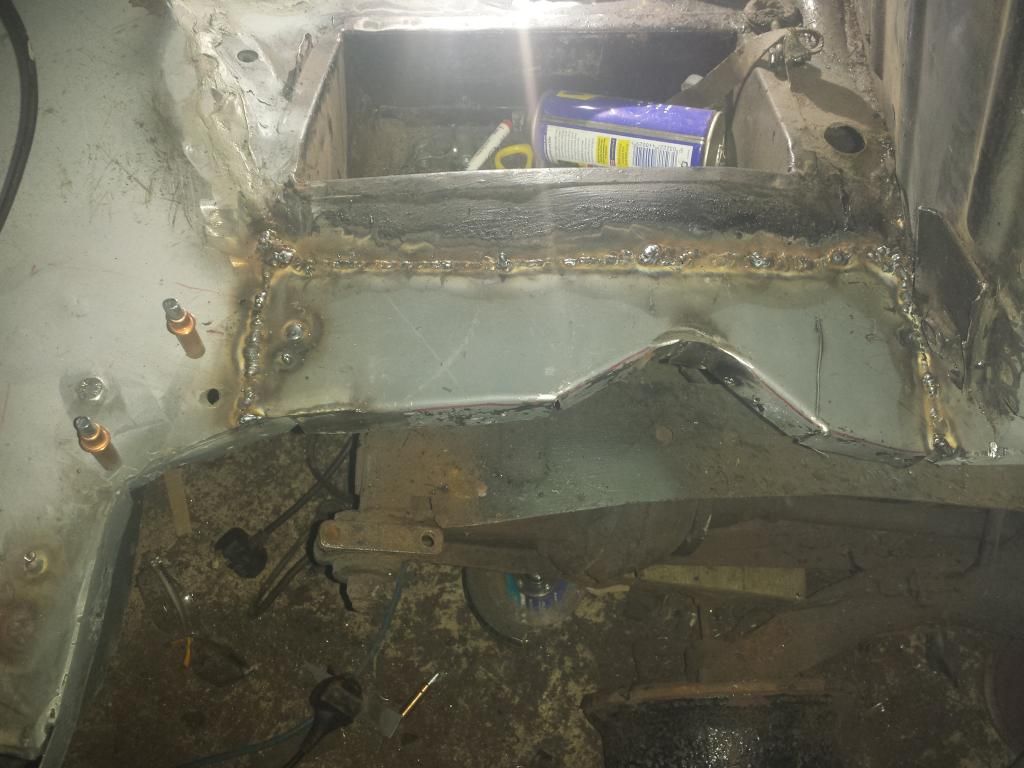
I also welded a small stip of metal to create a lip on the rear part of the boot (above)
Tonight i will brind back the welds and spray a bit of zinc primer
Posted 09 March 2015 - 01:14 PM
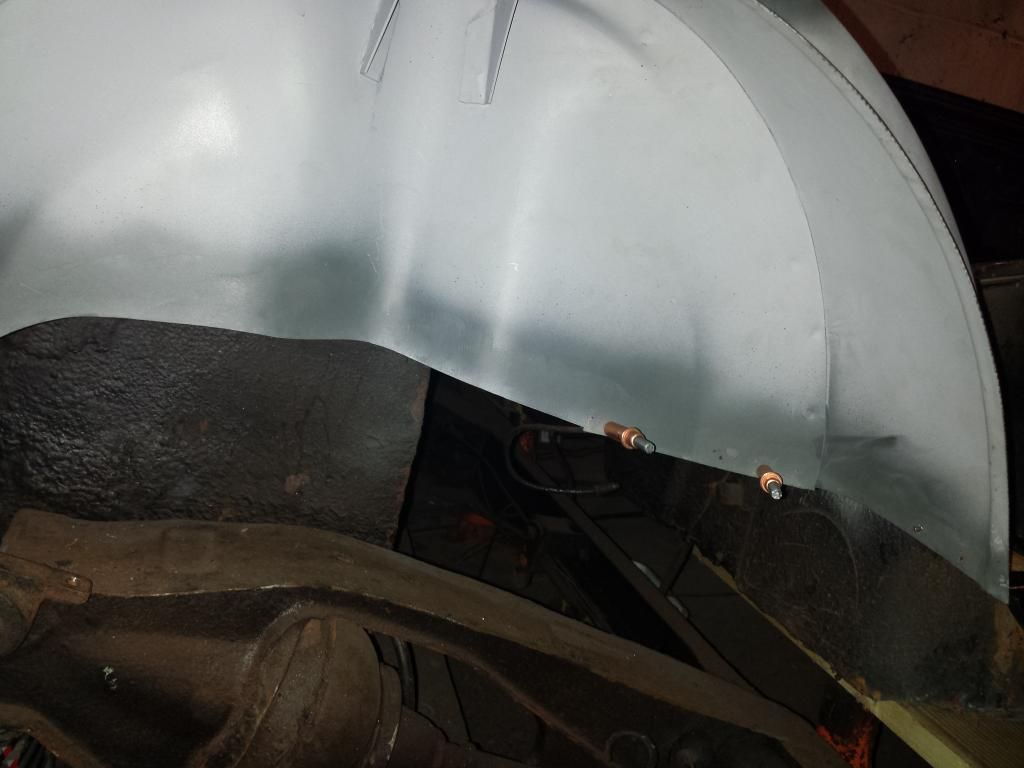
next stage is now finished, managed to get my wheel arch in. took a while to get everything lined up (love cleco pins!) and just before i started to weld, i checked the wheel arch with the outer panl and found it was out by about 2cm! just as well i checked! Loads of plug welds later -
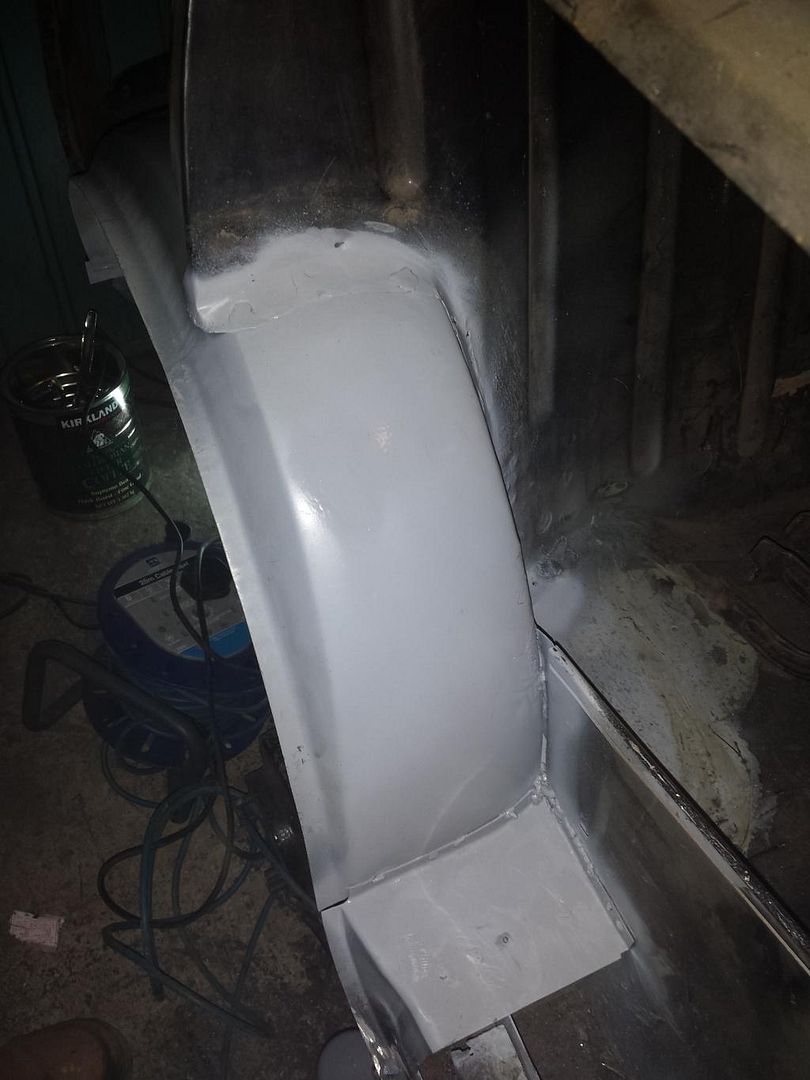
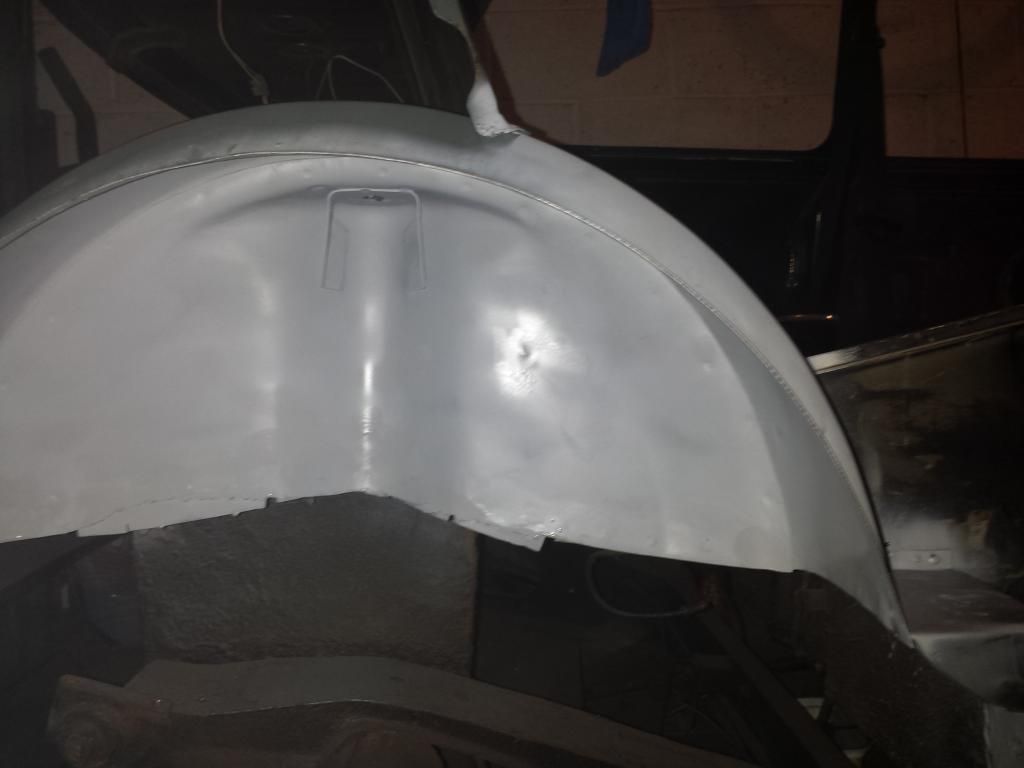
I still had a bit of overlapping metal from my homemade panel to cut off. I also pulse welded the overlaps for a bit a strength.
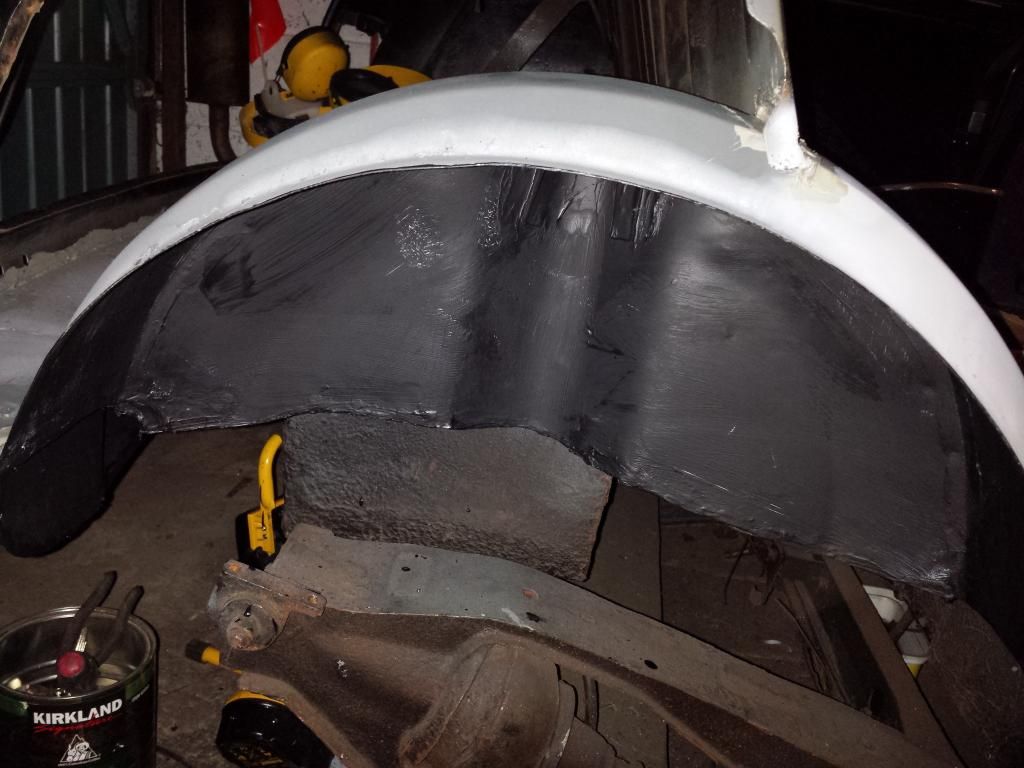
all stone chipped, just need a few coats of paint and some underseal!
Posted 30 March 2015 - 11:48 AM
Tell me about it look at my build and ur see the magnum boot floor panel I fitted yesterday took 2 of them and still not happy.
Will be good to see how the rear quarter goes as that's the next panels I have to buy and same as you would like heritage but aftermarket are cheaper.
Can't wait too see how they fit.
Will be keeping an eye on keep it up.
Fitted my rear quarter, it fitted pretty well. needed a bit of trimming especially around the window bits. all in all, its not a bad job :)
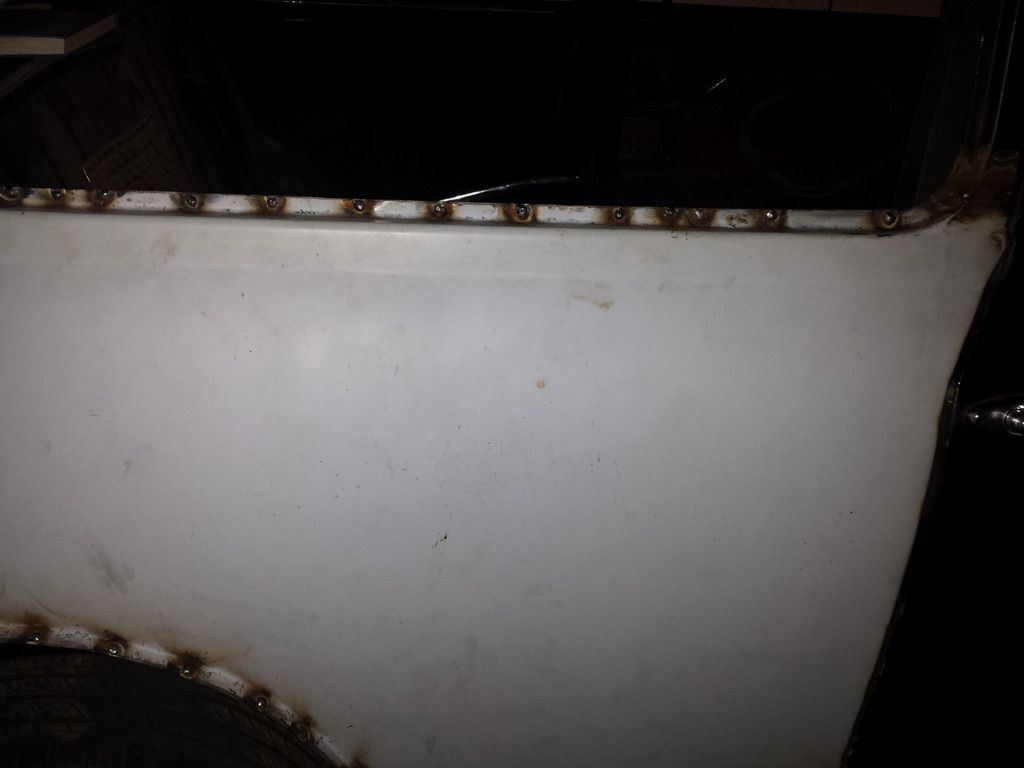
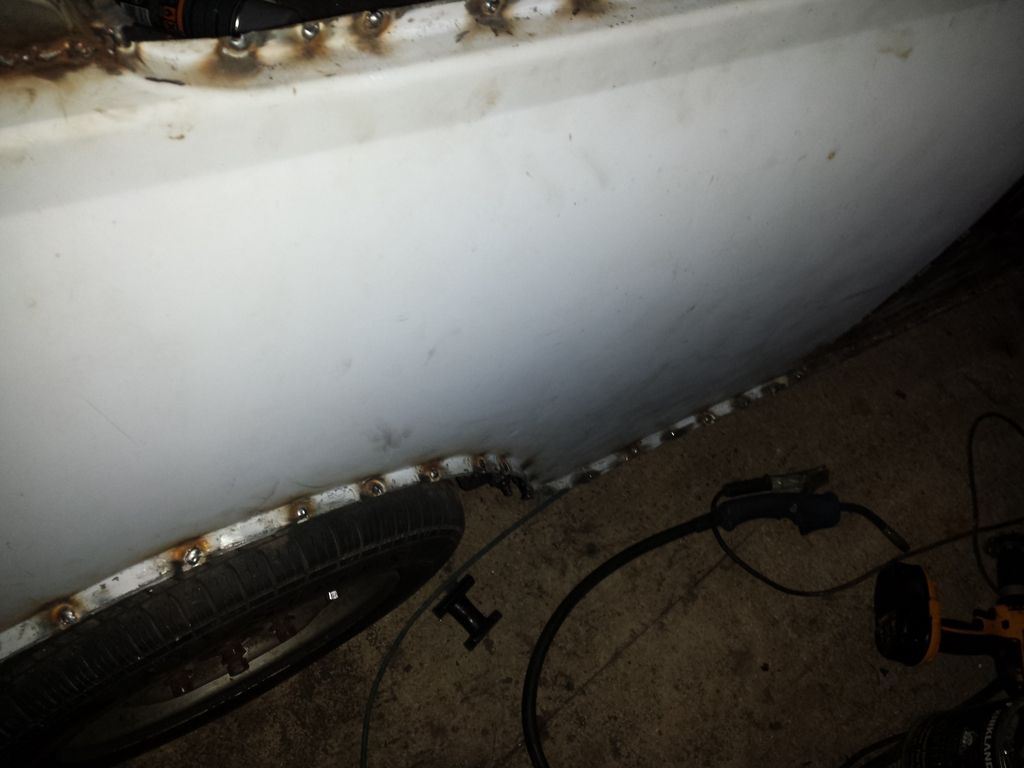
dont know why but the welds look awful in the photo. i have ground everything down and it looks fine, even the joins between the pillers and panel.
Posted 31 March 2015 - 10:06 AM
Posted 31 March 2015 - 12:20 PM
Looks really good. Brill job. Coming along nicely.
you fitted your rear quarter?
Posted 31 March 2015 - 02:34 PM
Posted 01 April 2015 - 10:22 AM
its amazing how much more rot you find! I thought i would be done as soon as i fixed this
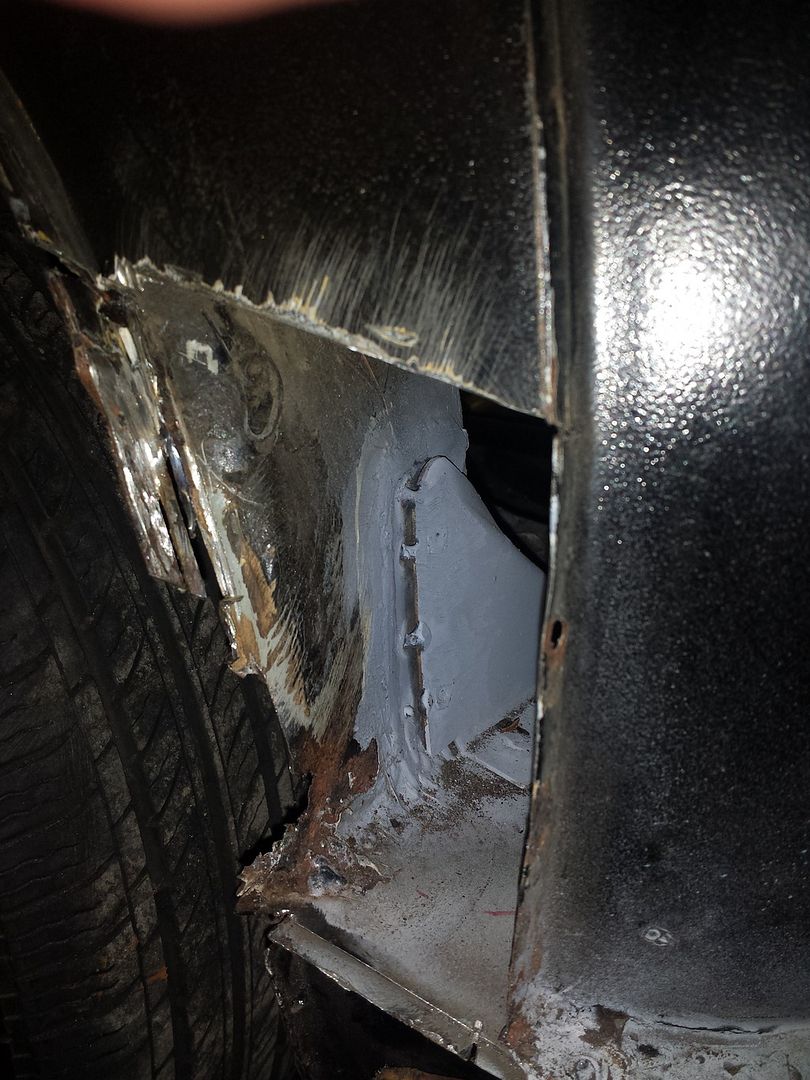
But looks like that part of the arch is rotten (plus another bit of the arch), then i had a look at the rear seat where the arch joins.... its rotten as well!
Posted 01 April 2015 - 02:44 PM
Posted 02 April 2015 - 07:01 AM
i dont have bottomless pockets, the cost of this is mountng up. I am glad i am doing the work myself, dread to think what the welding bill would be!
i had a look at the wee hole i found yesterday, its not too bad, but i will have to replace a lot i think

Posted 02 April 2015 - 03:56 PM
Posted 03 April 2015 - 10:18 AM
Yea the welding bill would bealot but same as you I do it myself keep cost down.
That hole looks nasty. Rear seat arch seat back could all be affected.
But keep at it fantastic work is showing.
Cheers. i though about keeping part of the arch and weld in bits of a new arch, but might as well weld a whole new arch in. at least i then know its all solid. about 80% of the current arch is in good condition as well, makes it harder for me to cut out
0 members, 1 guests, 0 anonymous users