Nice work this is coming along nicely :)

71 Clubman Estate
Started by
country clubman
, Nov 02 2014 06:31 PM
242 replies to this topic
#76

minimissions
-

- Members
-

- 3,427 posts
Up Into Fourth
- Location: North West
- Local Club: M.M.O.C
Posted 09 December 2015 - 06:35 AM
#77
Langers#56
-

- Noobies
-
- 39 posts
On The Road
- Location: Rainham, Kent
- Local Club: London and Surrey
Posted 10 December 2015 - 08:13 AM
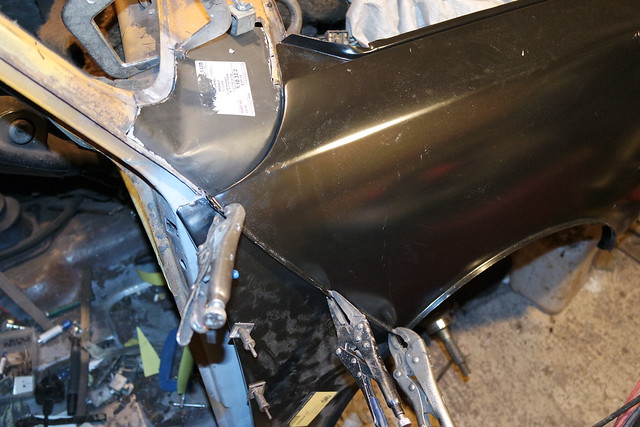
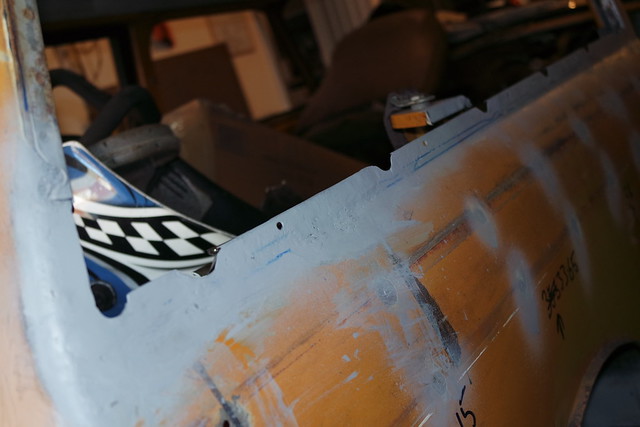
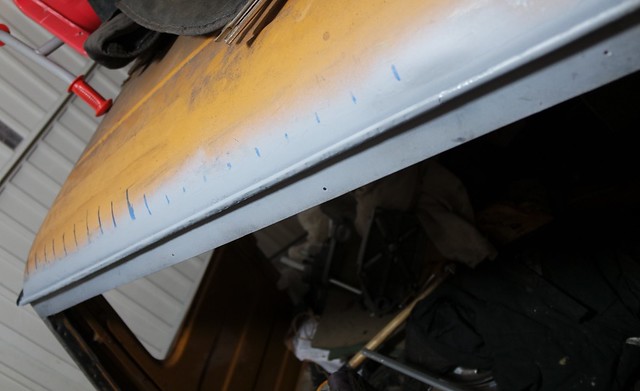
After a bit of deliberation, finally decided to go for a new wing, not the cheapest out there but hopefully will save time sorting the old one out, as the old one was badly fitted this meant it came of in one piece and rather easily. Managed to cut the scuttle panel corner down and get it to fit nicely, offered the panels up nice gap on the scuttle panel to wing, just got to get the front part to fit well now and be ready to weld up.
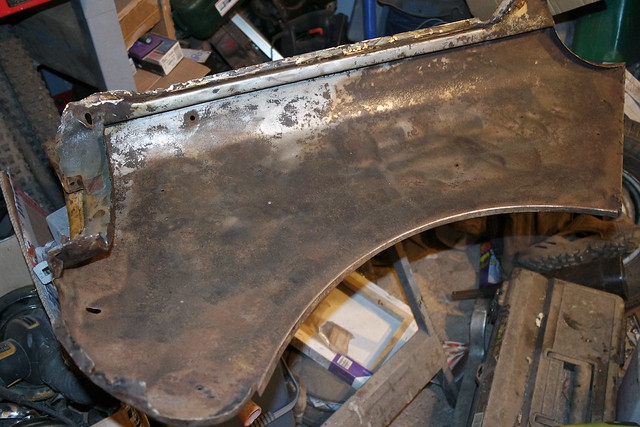
The old wing as can be seen came off in one piece but rather solid, just needs a bit of work doing to it, so pop on ebay at some point someone might want a wing but not mind a bit of work to get it sorted.
Haven't started my Restoration yet but how easy is it to put a new front end on never done it before If it's something that's going to be a royal pain in the arse I'll get a body shop to do it :) and I had my Estate Tuned by Kev Palmer and it was running like a bag of ****, turned out that the compression was down in cylinders 1 & 2 so changed the plugs and colour tuned out and adjusted the Valve Clearances it has 1.5 Inverted rollers and rockers what does this actually mean? Any help is appreciated
#78
country clubman
-
- Members
-
- 206 posts
Mini Mad
- Location: Paignton
Posted 12 December 2015 - 12:18 AM
Haven't started my Restoration yet but how easy is it to put a new front end on never done it before If it's something that's going to be a royal pain in the arse I'll get a body shop to do it :) and I had my Estate Tuned by Kev Palmer and it was running like a bag of ****, turned out that the compression was down in cylinders 1 & 2 so changed the plugs and colour tuned out and adjusted the Valve Clearances it has 1.5 Inverted rollers and rockers what does this actually mean? Any help is appreciated
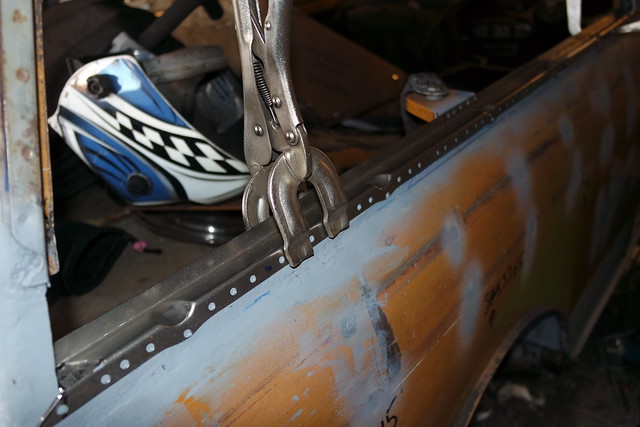
I've never put a front end on before either, putting a wing and A panel on isn't that bad, as long as you've got the time, patience and the tools then fitting front end shouldn't be too bad just make sure everything is aligned before welding, (the amount of times my wing has been clamped on and off!). But to be honest if there's a body shop you know that's good and you've got the money then I'd do that as it does take a lot of time doing these things. But might be worth putting this question on another post get more opinions on this matter, from people who have done this before(maybe on technical and help). The 1.5 Inverted Rollers, not sure what the inverted means but the 1.5 relates to the amount the open the valves, if you go to minisport you'll see they do 1.3, 1.5 and 1.7, think 1.3's are the same as normal rockers, 1.5's open valves more than standard rockers and 1.7 open them the most. Again if you post this on seperate post then sure someone will be able to help you more on this.
#79
country clubman
-
- Members
-
- 206 posts
Mini Mad
- Location: Paignton
Posted 17 December 2015 - 11:10 PM
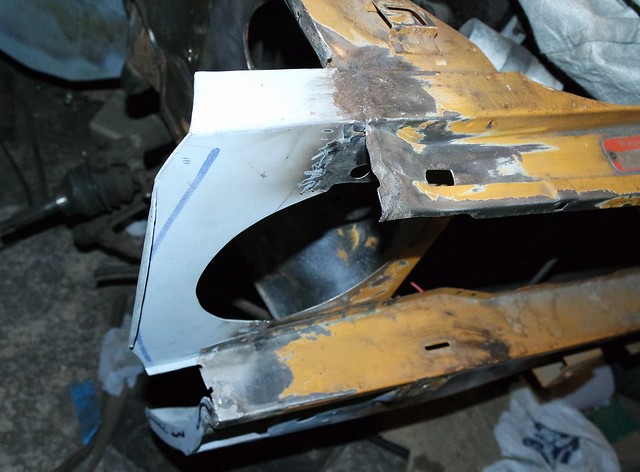
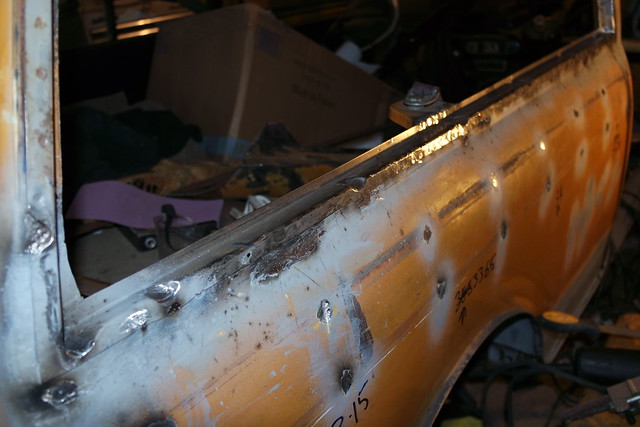
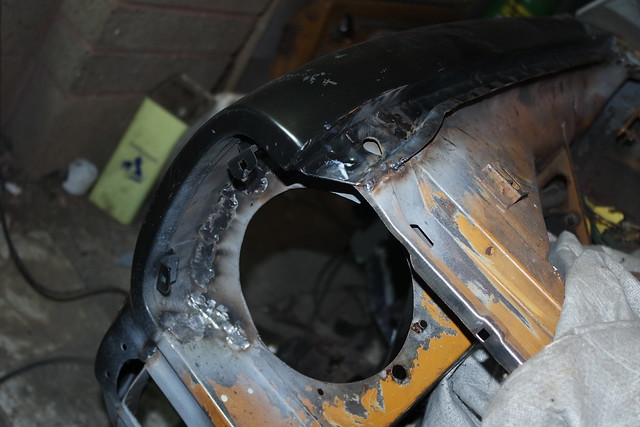
The wing is now ready to go on, just got to paint it up and drill the holes for plug welding, managed to repair the headlight bracket, needs the hole taking down a little and holes drilling for the bowl.
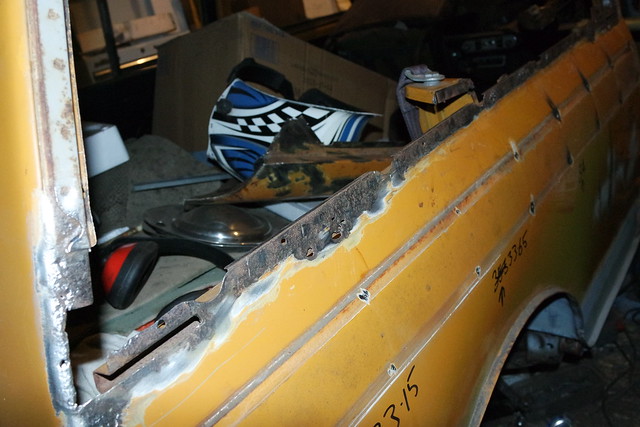
As Christmas is here and will hardly get any time on it over the next couple of weeks started the next bit which is the rear window frame, rotten in the usual places.
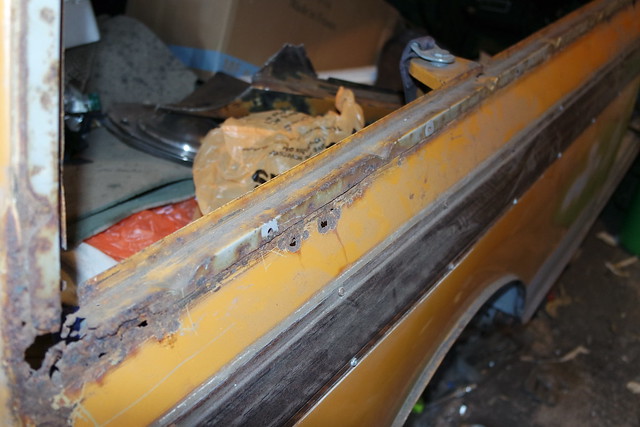
Carfully chopped away the lower side window channel to reveal the rust.
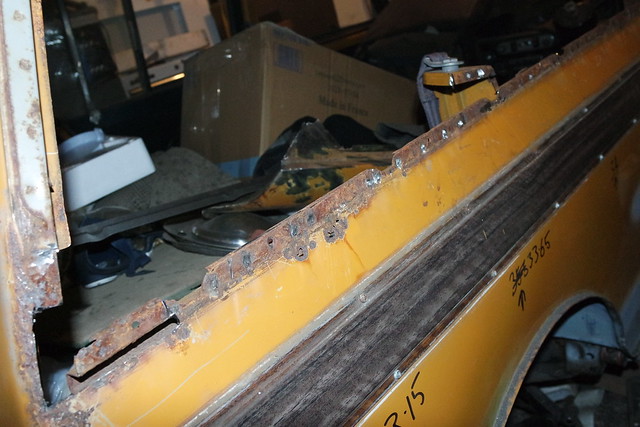
Not too bad after cleaning up with wire wheel.
[
Just got to de rust it properly now, hopefully get some time over Christmas period to prep it for repair.
#80
Mr Frosty
-

- Noobies
-
- 140 posts
Mini Mad
- Location: Maidstone, Kent
Posted 20 December 2015 - 10:49 PM
The wing is now ready to go on, just got to paint it up and drill the holes for plug welding, managed to repair the headlight bracket, needs the hole taking down a little and holes drilling for the bowl.
As Christmas is here and will hardly get any time on it over the next couple of weeks started the next bit which is the rear window frame, rotten in the usual places.
Carfully chopped away the lower side window channel to reveal the rust.
Not too bad after cleaning up with wire wheel.
[
Just got to de rust it properly now, hopefully get some time over Christmas period to prep it for repair.
Nice work as usual. Not been to mine for a month due to a little spinal surgery but will spend a day on it tomorrow (Monday) I am working on the rear window rails. Fortunately mine only need attention in the bottom corners. I see that there is a seat belt fixed in the rear seat support at the top where are the other fixing been fitted and is there any additional strengthen plates?
#81
country clubman
-
- Members
-
- 206 posts
Mini Mad
- Location: Paignton
Posted 22 December 2015 - 11:36 PM
Nice work as usual. Not been to mine for a month due to a little spinal surgery but will spend a day on it tomorrow (Monday) I am working on the rear window rails. Fortunately mine only need attention in the bottom corners. I see that there is a seat belt fixed in the rear seat support at the top where are the other fixing been fitted and is there any additional strengthen plates?
Cheers for comments, the seat belt fixings are on the wheel arch, top of rear seat support(as you've seen) and the tunnel, all points have the strengthening plates, even the one at top of the rear seat support, don't know if these are the best places to put them as not really looked at that bit yet.
#82
country clubman
-
- Members
-
- 206 posts
Mini Mad
- Location: Paignton
Posted 26 December 2015 - 11:44 AM
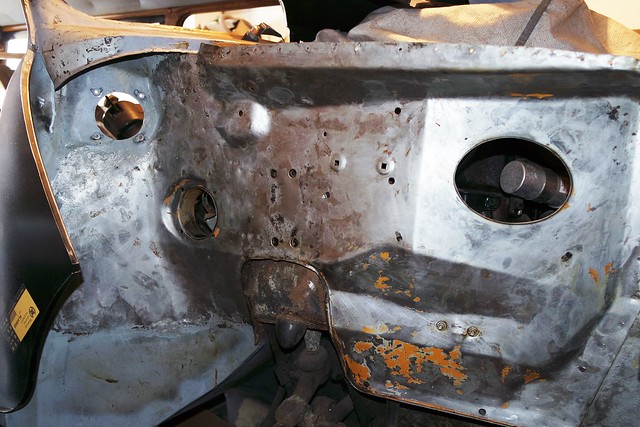
Managed to squeeze a little time in to do a bit cleaning, nice to see shinny steel.
#83
morley
-

- Members
-
- 903 posts
One Carb Or Two?
- Location: Devon
Posted 26 December 2015 - 02:37 PM
Nice work Dave!
#84
country clubman
-
- Members
-
- 206 posts
Mini Mad
- Location: Paignton
Posted 15 January 2016 - 12:05 AM
First bit of work done since Christmas then had bad flu to start new year as well!
The lower window is just about ready
Just need the lower part welding on and some lower sides making up, did make a strip up today but cocked up, was 4mm short in the center I'm sure I measured correctly!
#85
country clubman
-
- Members
-
- 206 posts
Mini Mad
- Location: Paignton
Posted 22 January 2016 - 12:03 AM
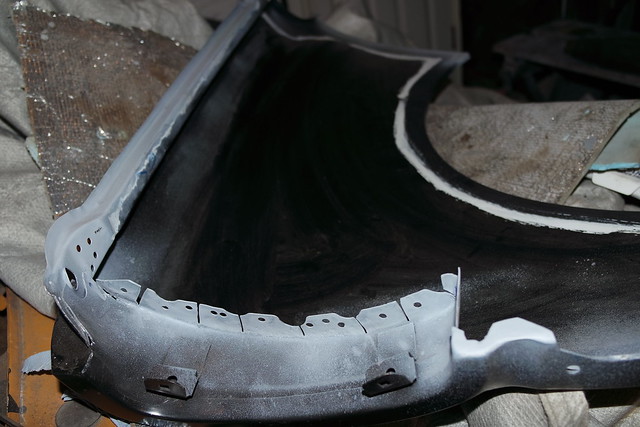
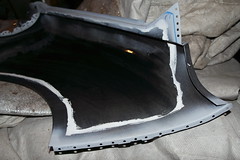
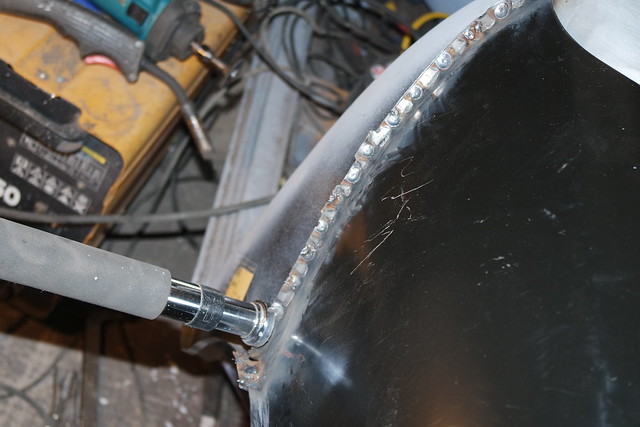
Finally managed to make a strip of window channel repair the correct size! 
After that could cut pieces of needed for the rear and front lower and cut them into shape, below the front lower corner.
The corners seemed to rot the most, so decided to put in a little drainage part in each corner so the water doesn't just sit in the coner with no where to go.

Did manage to weld on the lower channel as well and clean up all the welds.
The lower channel is from M-machine, does seem good but the dranage parts have a ridge across.
To help drainage I knocked this back so it would be lower at the rear part as well to help drainage.
Edited by country clubman, 22 January 2016 - 12:11 AM.
#86
country clubman
-
- Members
-
- 206 posts
Mini Mad
- Location: Paignton
Posted 31 January 2016 - 12:29 AM
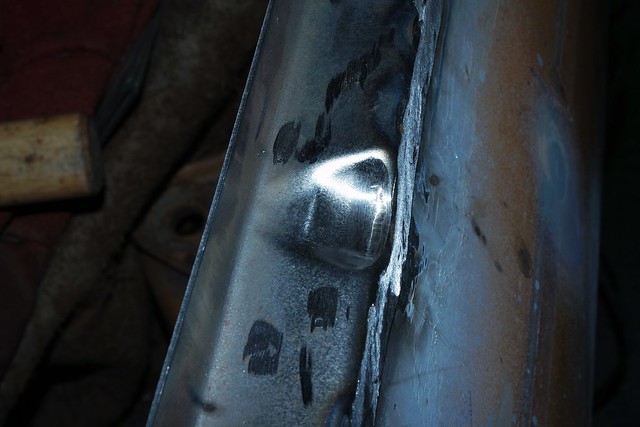
Not done anything that interesting to post apart from adjust the rear window frame as it wasn't straight at the rear so had to be lowered a little, also been working on the rest of the frame small holes at top and usual rust to remove and some prep work for the wing, knocking scuttle panel in shape for the fitting of wing.
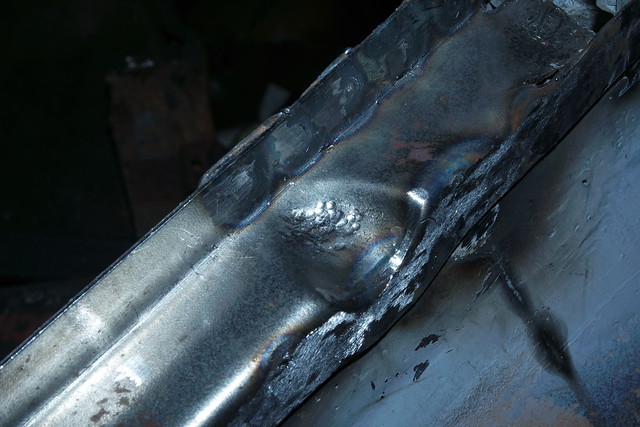
But to lower the rear frame, I just cut it which allowed me to push it down a little and used a screw to hold it down.
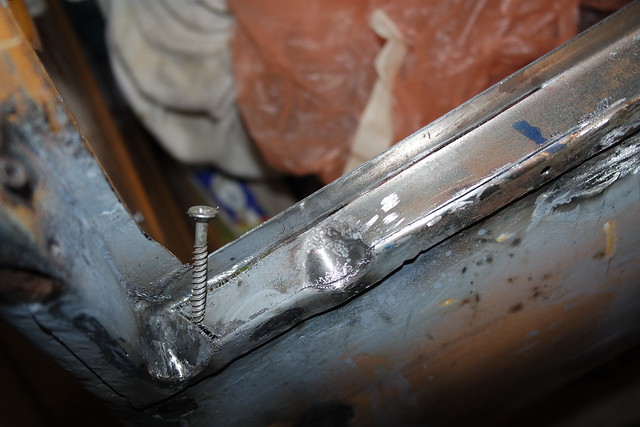
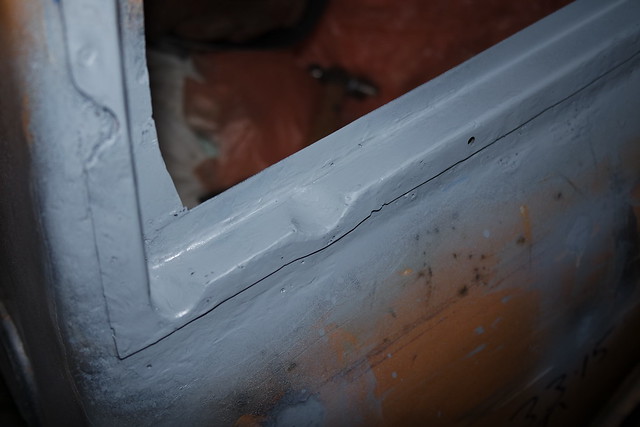
Then simply welded it up, cleaned it up and a bit of paint on.
#87
country clubman
-
- Members
-
- 206 posts
Mini Mad
- Location: Paignton
Posted 05 February 2016 - 12:27 AM
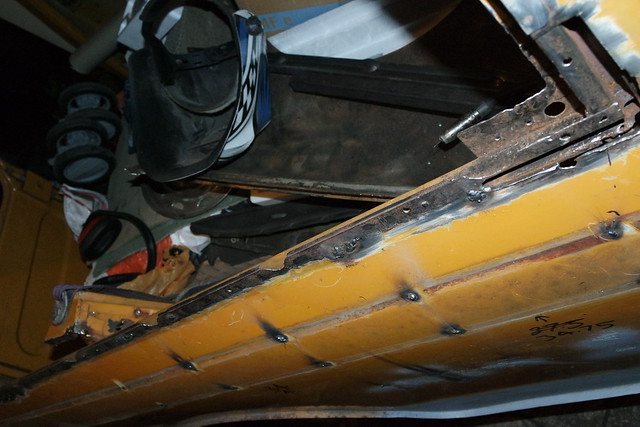
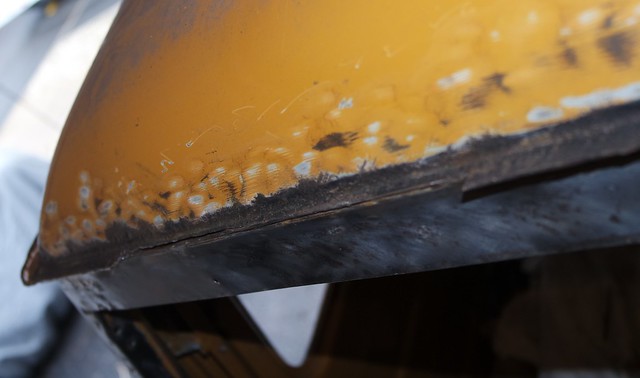
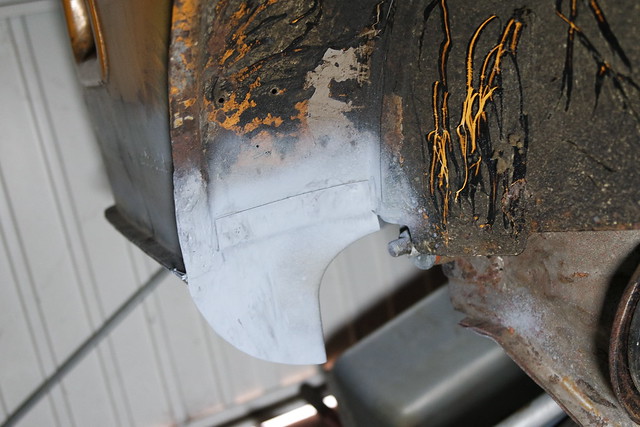
Here's pictures of more rust, the guttering this time, it is rather rotten on one side. I'm trying to finish around the window frame whilst there.
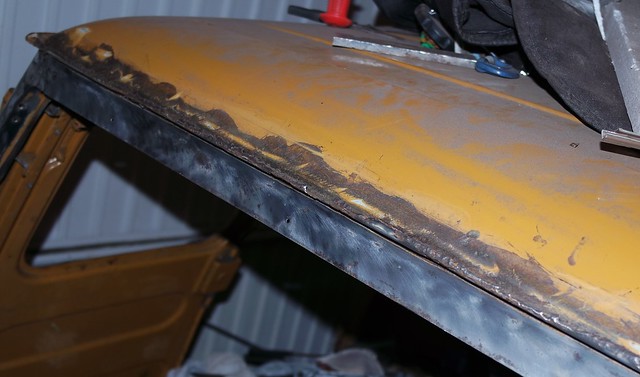
Then to get rid of the rust, got rid of gutter edge and a big chunk out of the rail, not the easiest to take pics of.
But no probs fill in the gap ready for gutter edge, just got to remove rest of rust before welding on.
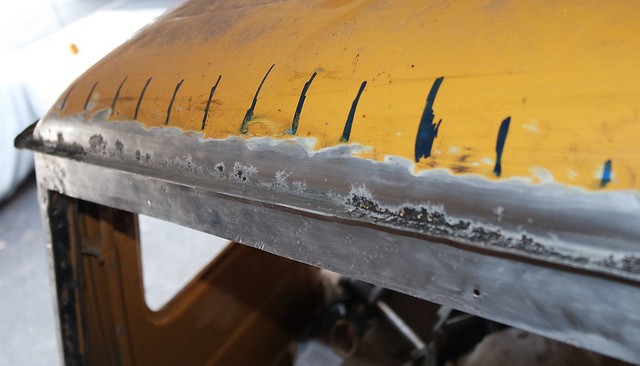
This is my gutter made up, not the best but bit of a tricky shape, bit of adjustment when fitted.
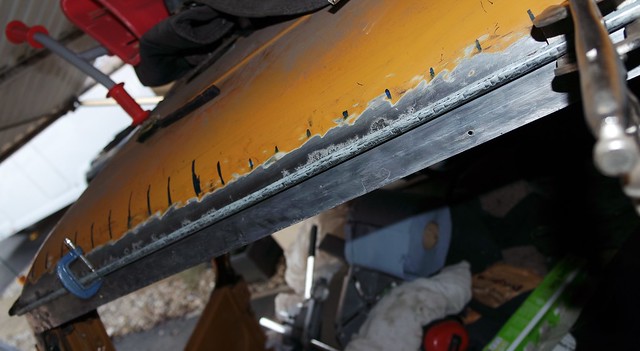
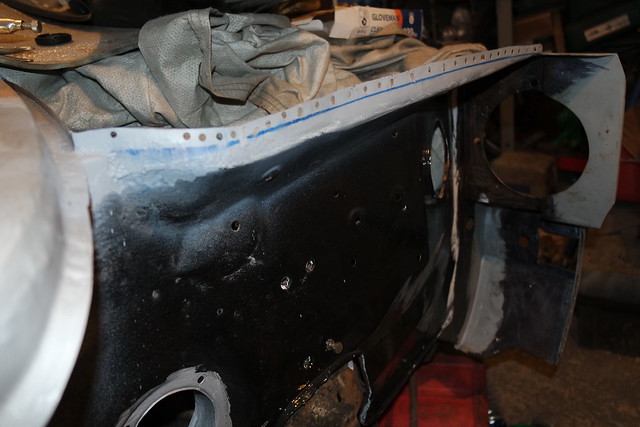
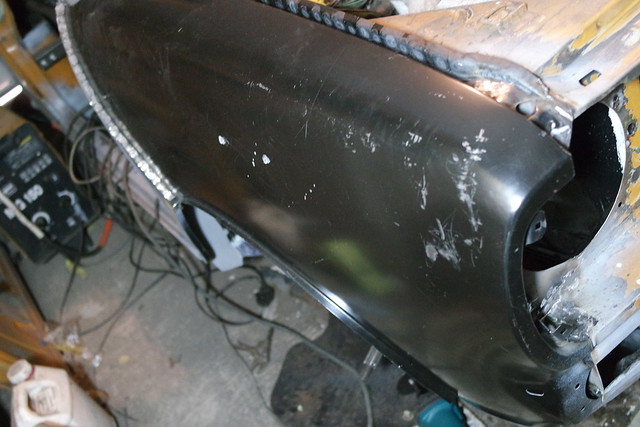
I also got the wing ready for fitting all holes drilled holes and bit of paint on ready for fitting but not where to be welded apart from weld through, I had to cut slits in the part of wing that fits to the headlamp plate as this seemed to be at an angle, cutting slits seemed to help to knock it into shape where needed and easy to weld up when on.
and on the inner wing, might have got carried away with the punching the holes.
#88
Vinay-RS
-

- Members
-
- 2,097 posts
Put's foolish ideas in peoples heads
- Location: Cape Town
Posted 05 February 2016 - 07:14 AM
Your fabrication work is really impressive :)
#89
country clubman
-
- Members
-
- 206 posts
Mini Mad
- Location: Paignton
Posted 05 February 2016 - 04:55 PM
Your fabrication work is really impressive :)
Cheers for comment, just try to do best with what I got.
#90
country clubman
-
- Members
-
- 206 posts
Mini Mad
- Location: Paignton
Posted 26 February 2016 - 12:01 AM
Not worked on it for a couple of weeks, so was good to get back to it this week. Managed to get the guttering back on, the wing on and the lower arch valance closing panel on.
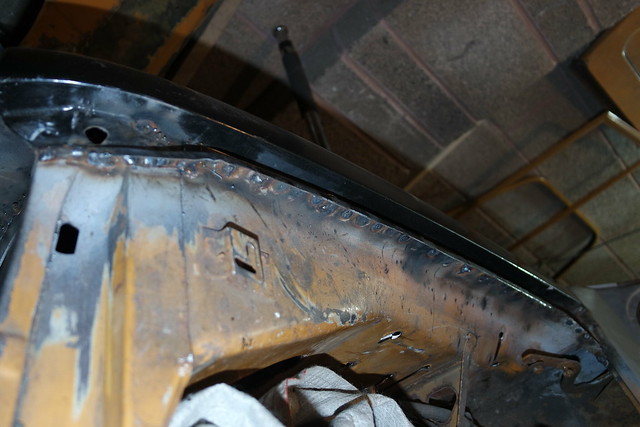
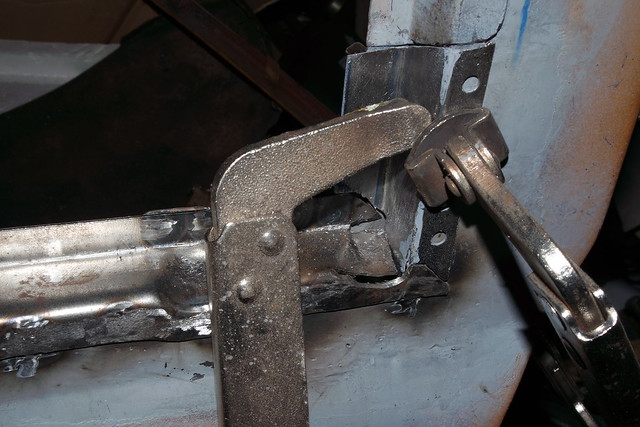
Below the wing fitting to the A panel, after fitting the wing noticed where joined bowed out a little, so fitted small L shaped metal at the bottom whilst pushing it into shape. One good thing about working in a small garage can use the wall as leverage, the bar used to push it out was a cheap pull up bar got from Lidl, never used it as an exercise bar as modern doors too weak, but has turned into very usefull tool in garage.
and finally eventually got around to the lower arch closing panel.


4 user(s) are reading this topic
0 members, 4 guests, 0 anonymous users


