Looking good.. Always nice to see another estate getting some love

71 Clubman Estate
Started by
country clubman
, Nov 02 2014 06:31 PM
242 replies to this topic
#31

minimissions
-

- Members
-

- 3,427 posts
Up Into Fourth
- Location: North West
- Local Club: M.M.O.C
Posted 26 April 2015 - 09:14 AM
#32
country clubman
-
- Members
-
- 206 posts
Mini Mad
- Location: Paignton
Posted 08 May 2015 - 06:41 PM
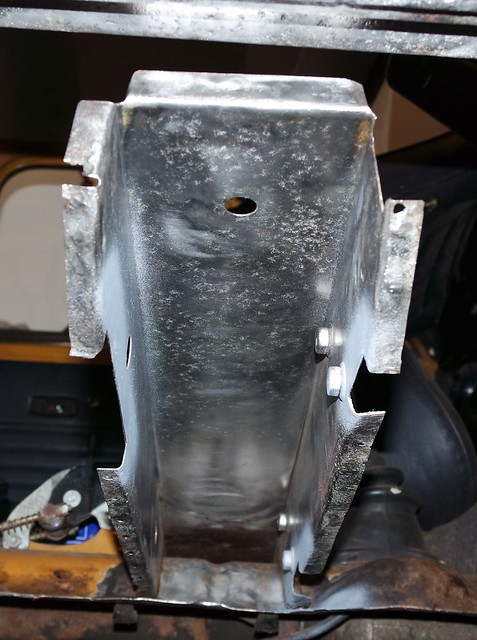
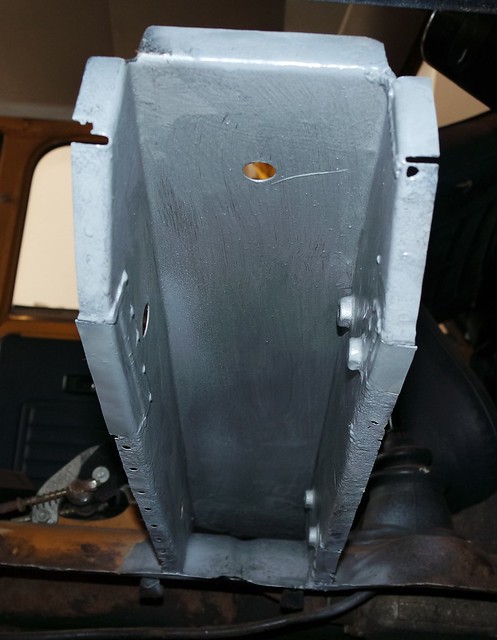
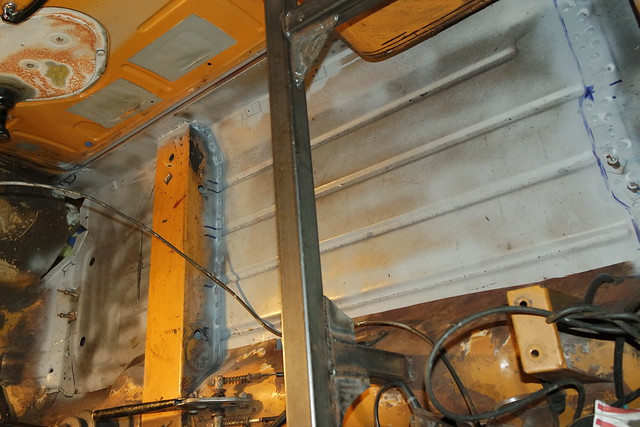
Not had chance to do much lately but did get chance to do more prep work for floor panel, but also sorted the cross member out, thought it is interesting to show the three stages, rust, treated rust to bare metal and finally welded and painted.

#33
country clubman
-
- Members
-
- 206 posts
Mini Mad
- Location: Paignton
Posted 07 July 2015 - 08:02 AM
Been a whiles since updated, but interenet been down past month thanks to the incompetence of talktalk!
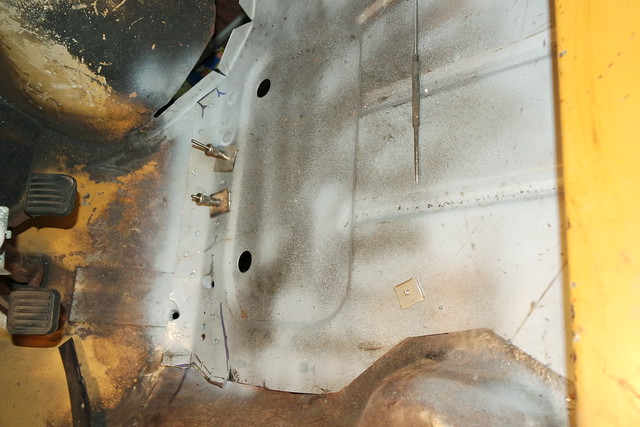
There are two ways of putting a new floor in a estate, one the cheaper way just buy one long floor peice that goes all way to back, or the more expensive way is using the original extension piece at the rear, that has a wide joggled edge and pressings in it more on the passenger side than drivers side. I decided to go for the original way, but didn't want the extra work of replacing the full length as the tunnel part is still good condition so got an extension piece and cut it down for a repair! can't buy repair sections just the full length genuine part.
Then managed to get rest of floor in.
Had to make sure it was aligned properly especially at the wheel arch front part.

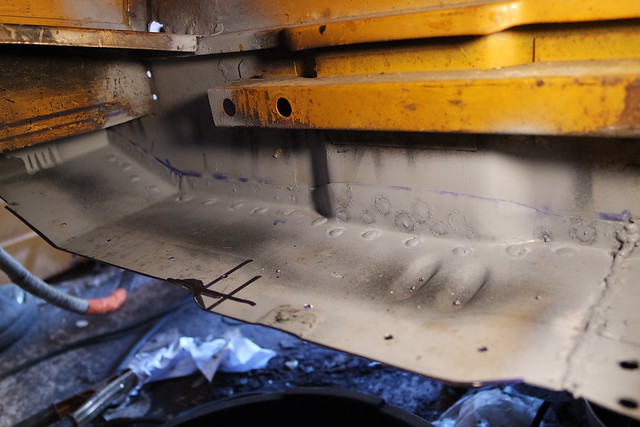
Got the floor in so it would sit under the tunnel and over lap the very front part, idea can cut it to the correct shape when other side welded up and butt weld it together, other way would be to cut it before hand joggle the edge and lap weld it up, this way don't see a join when tidied up, just got to make sure always level and a small gap.
Bellow before cutting.
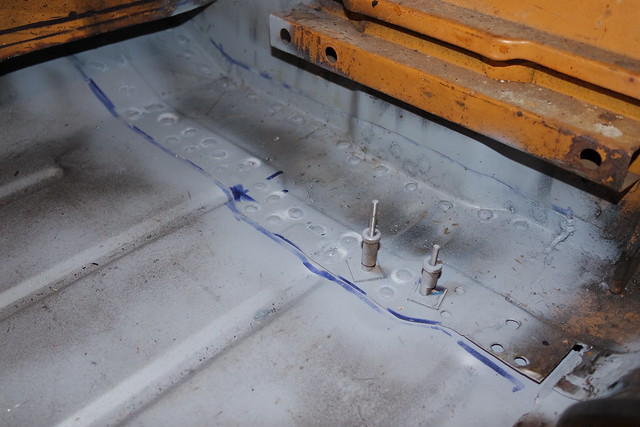
After cutting and welding.
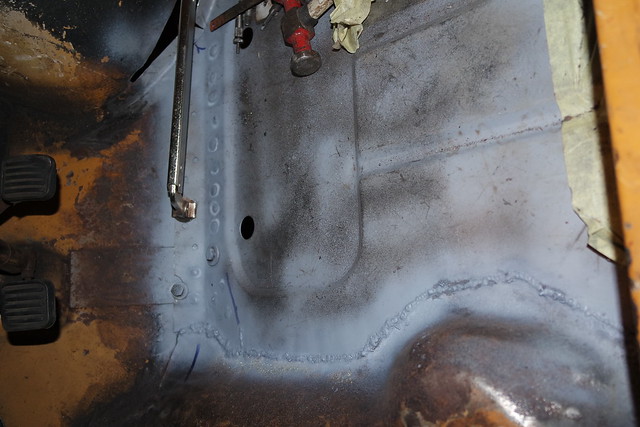
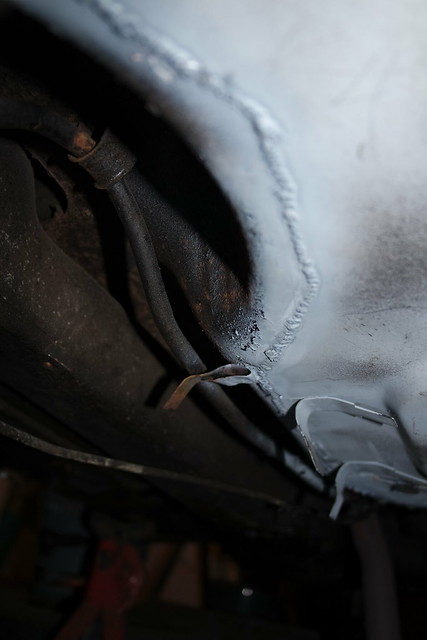
Picture of it from below, advantage of this way is easy to tidy up from oposite side as long as always kept level.
Edited by country clubman, 07 July 2015 - 08:21 AM.
#34
country clubman
-
- Members
-
- 206 posts
Mini Mad
- Location: Paignton
Posted 23 July 2015 - 10:58 PM
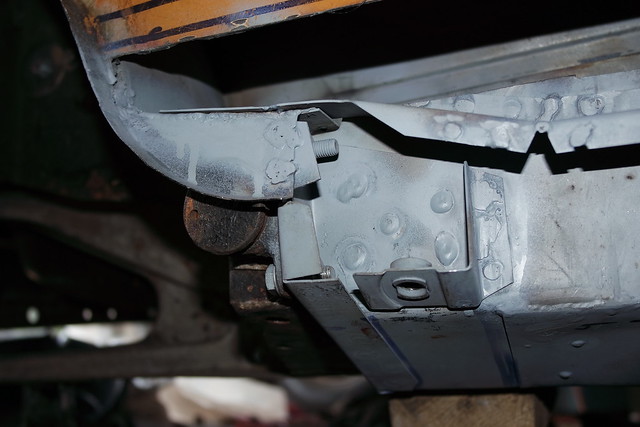
Slowly making progress, worked on arch filler piece today and companion box ashtray holder, want/need to get these things sorted before putting outer sill on.

#35
country clubman
-
- Members
-
- 206 posts
Mini Mad
- Location: Paignton
Posted 27 July 2015 - 11:00 PM
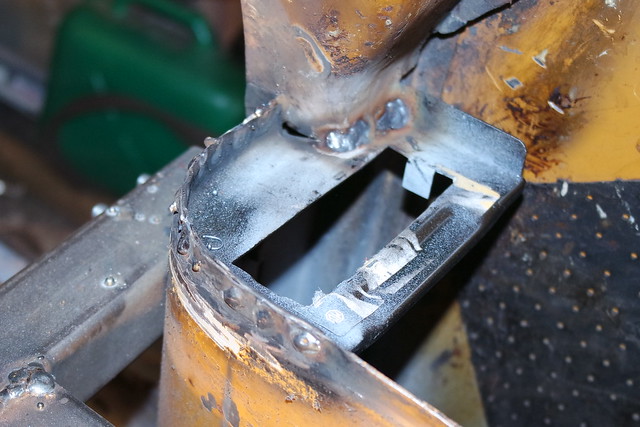
Didn't offer the subframe up when fitting the arch closing panel, bit of a mistake going by the shape of the panel and how well it fits, so had to adjust and refit, the gap between the subframe and the panel wasn't much the pin was close to the corner and the shape wasn't that good for the outer panel, all sorted now. That's the thing when trying to rush something usually end up creating work later!
Also managed to fit the Sill reinforcement bracket rear one(not to sill yet), front one all drilled and ready for welding in when sill goes on which should be next and fitted the companion box closing panel, ended up punching holes for welding on wrong edge(what an idiot!) hence the funny welds on one edge, but this will be covered thankfully, should have left it punched and said I was trying to save weight lol.
#36
minimissions
-
- Members
-
- 3,427 posts
Up Into Fourth
- Location: North West
- Local Club: M.M.O.C
Posted 28 July 2015 - 12:08 PM
Looking like its coming together nicely will have a solid clubby estate in no time :)
#37
country clubman
-
- Members
-
- 206 posts
Mini Mad
- Location: Paignton
Posted 28 July 2015 - 09:25 PM
Looking like its coming together nicely will have a solid clubby estate in no time :)
Some things just come together quicker than others, have same other side so maybe a while before it's finished but after doing this side will hopefully be able to do other side much quicker, knowing where to cut and what to watch out for!
#38
minimissions
-
- Members
-
- 3,427 posts
Up Into Fourth
- Location: North West
- Local Club: M.M.O.C
Posted 28 July 2015 - 09:45 PM
Yeh defo that's always the way some bits just take time :) keep plugging away...
#39
JewSkii
-

- Members
-
- 218 posts
Mini Mad
- Location: Melbourne
- Local Club: Looking For One
Posted 29 July 2015 - 03:58 AM
as strange as it sound i kinda like the fakewood strip adds character to the car and i guess you dont see everyone with it. Cracking progress on the car though and the cross member looks great what did you use to treat the rust?
#40
country clubman
-
- Members
-
- 206 posts
Mini Mad
- Location: Paignton
Posted 29 July 2015 - 07:07 PM
as strange as it sound i kinda like the fakewood strip adds character to the car and i guess you dont see everyone with it. Cracking progress on the car though and the cross member looks great what did you use to treat the rust?
I'll be keeping the fake wood and seeing how it looks when done, a while to go to make my mind up on that one. The rust treatment I used is deox-gel (http://www.bilthamber.com/deox-gel), slap it on and cling film up leave it for a while clean up and hey presto, well it might take a few times of slapping on deppending how bad the rust is, but really gets rid of the stuff and preps it up well for paint, they also do a few other different rust treatments which work well and also a really good waxoyl(nice free advertising for them!).
#41
country clubman
-
- Members
-
- 206 posts
Mini Mad
- Location: Paignton
Posted 11 August 2015 - 10:07 PM
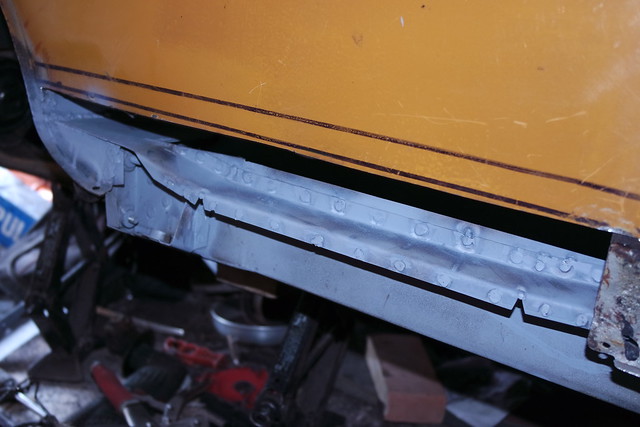
My bit of work today, amazing how time consuming it is just to get a simple panel to fit, the lower companion box repair, needed to cut it down and fold the end again in different position(the end nearest the door). Didn't get chance to finish the welding off but that'll have to be done another day.
#42
country clubman
-
- Members
-
- 206 posts
Mini Mad
- Location: Paignton
Posted 18 August 2015 - 10:37 PM
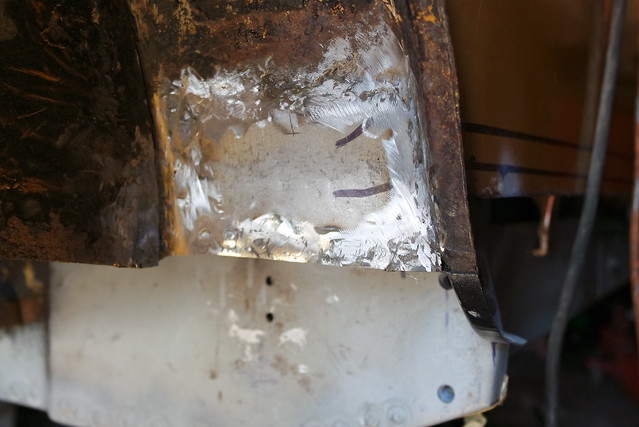
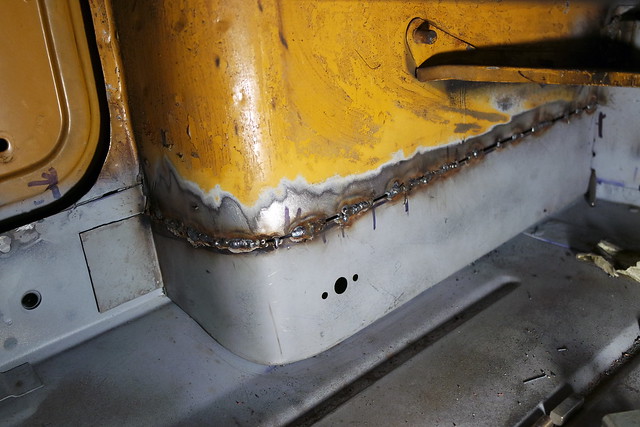
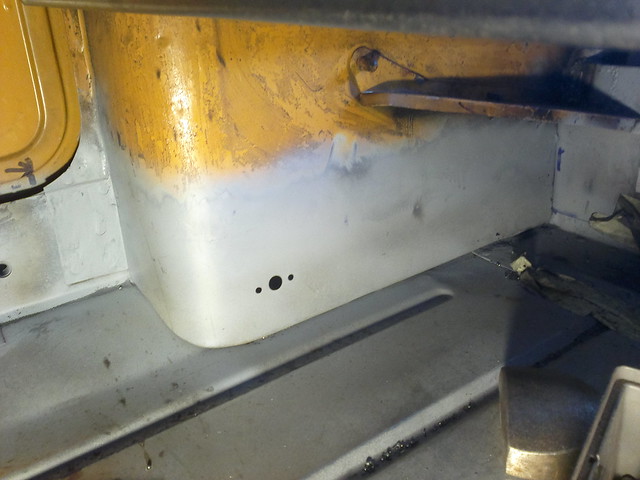
Always nice to see a repair where it is hard to see the weld, the end lip needs tidying up a bit more though.
#43
jagman.2003
-

- Members
-
- 1,307 posts
One Carb Or Two?
- Location: In the shed.
- Local Club: Owner of my own club of Minis
Posted 19 August 2015 - 08:52 AM
Great work with nicely detailed description, keep up the good work.
#44
country clubman
-
- Members
-
- 206 posts
Mini Mad
- Location: Paignton
Posted 19 August 2015 - 09:52 AM
Great work with nicely detailed description, keep up the good work.
Cheers for that, was bit worried that might be going into too much detail on these things, have refrained from even more detail as not to bore anyone reading, lol.
#45
w.murfitt
-

- Members
-
- 242 posts
Mini Mad
- Location: Flintshire, North Wales
- Local Club: Flintshire Mini Owners Club
Posted 19 August 2015 - 02:54 PM
Great job so far, I collected my '79 estate last weekend from my parents the resto is to start shortly :)


3 user(s) are reading this topic
0 members, 1 guests, 0 anonymous users
-
Bing (2)


