Glad your staying with that colour, that engine bay looks great i am looking forward to seeing the rest of it now...

71 Clubman Estate
Started by
country clubman
, Nov 02 2014 06:31 PM
242 replies to this topic
#136

minimissions
-

- Members
-

- 3,427 posts
Up Into Fourth
- Location: North West
- Local Club: M.M.O.C
Posted 27 October 2016 - 05:46 AM
#137
Vinay-RS
-

- Members
-
- 2,115 posts
Put's foolish ideas in peoples heads
- Location: Cape Town
Posted 27 October 2016 - 11:34 AM
Great to see that the estate is going to be staying the same colour. by the way, that colour looks great!
#138
morley
-

- Members
-
- 903 posts
One Carb Or Two?
- Location: Devon
Posted 30 October 2016 - 09:47 PM
Shiney!
#139
country clubman
-
- Members
-
- 206 posts
Mini Mad
- Location: Paignton
Posted 04 November 2016 - 11:31 PM
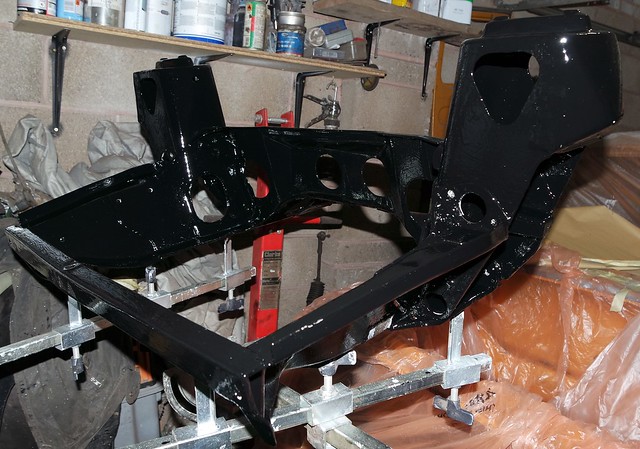
Not that exciting work this week but needed, cleaned up and painted subframe.
#140
country clubman
-
- Members
-
- 206 posts
Mini Mad
- Location: Paignton
Posted 03 December 2016 - 12:25 AM
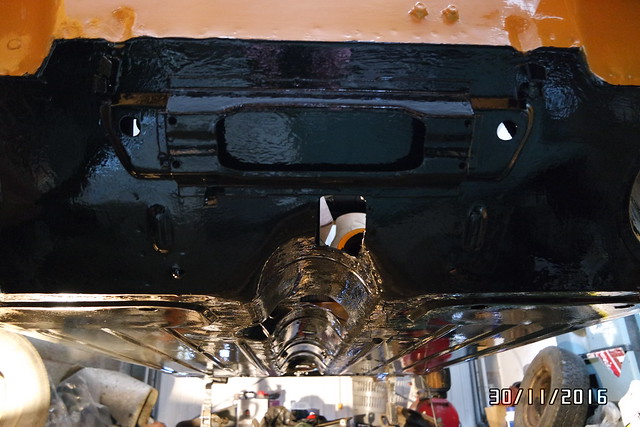
Managed to clean and paint the underside tunnel, that is where a spit would come in handy, it wasn't the most pleasant job working under the car but needed doing.
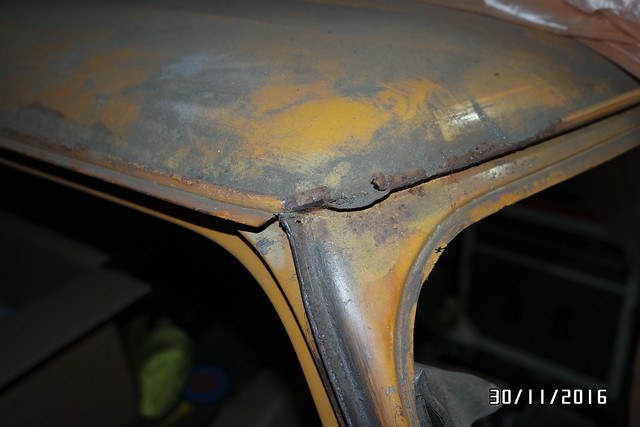
Then I started on front corner guttering, as can be seen rather rotten.
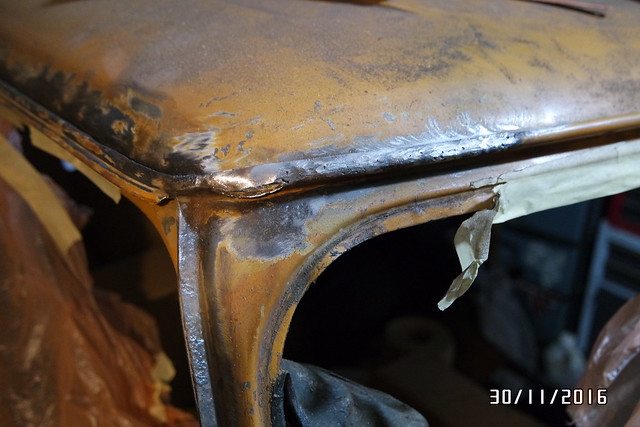
Welded up but ran out of gas but just about finished it.
#141
country clubman
-
- Members
-
- 206 posts
Mini Mad
- Location: Paignton
Posted 16 December 2016 - 11:39 AM
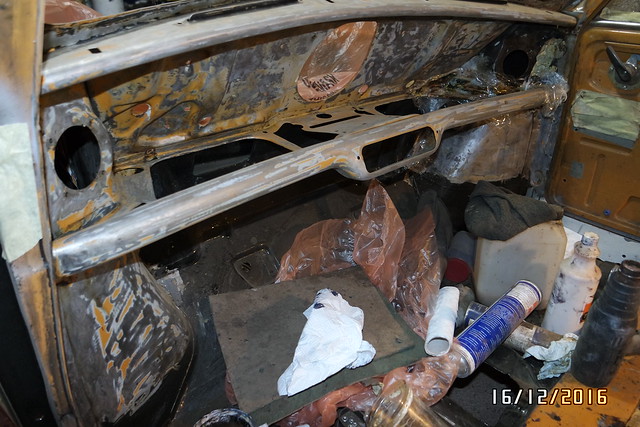
Wow another year nearly over, as usual been bit busy to keep up with the demanding mini work, bit more cleaning again ready for painting, this is where splashing out on sandblasting would have paid off, but wasn't expecting to be doing full strip down but some how it's happened! But cleaning up inside now removing any rust and ready for paint.
The rear part is nice and solid though that's one good thing, just little bit of rust at bottom of spare wheel well, but easy enough to treat.

Front area just needed any surface rust removing.
#142
country clubman
-
- Members
-
- 206 posts
Mini Mad
- Location: Paignton
Posted 13 January 2017 - 12:30 AM
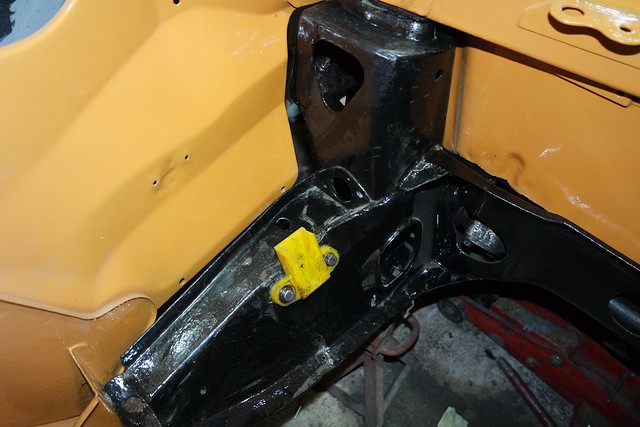
Been a while sinse last post, but Chrstmas hols got in the way! Managed to paint up rear and front inner bulk head, just done it in black as you don't see these parts anyway.
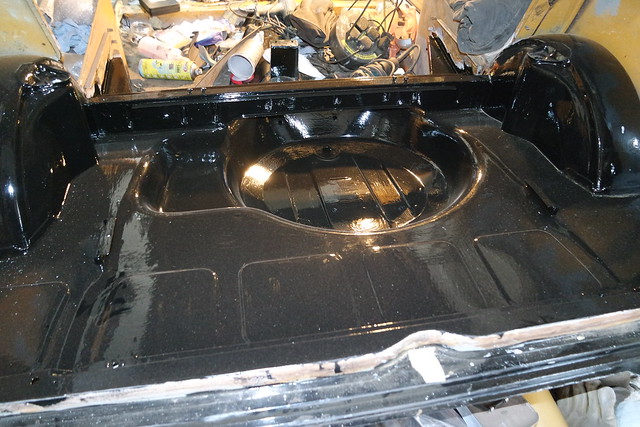
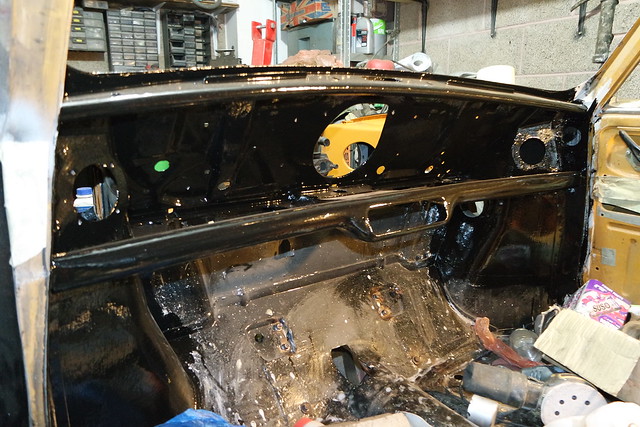
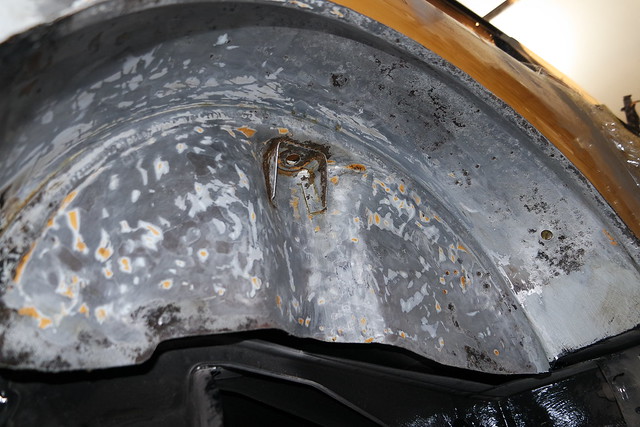
Just the one rear wheel arch to finish cleaning up and paint and this should be all the large rusted areas finished(on the body of the car, still the bonnet and doors to do!).
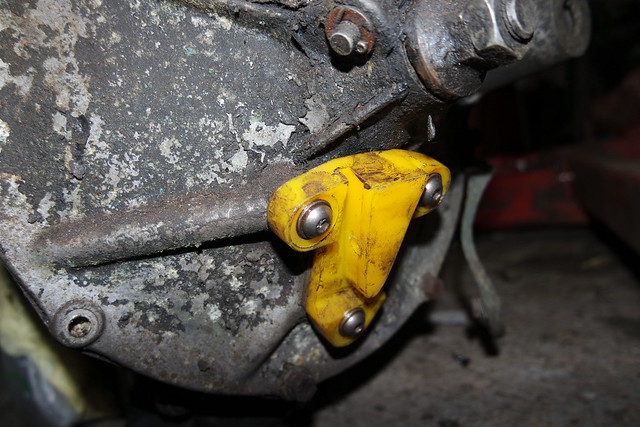
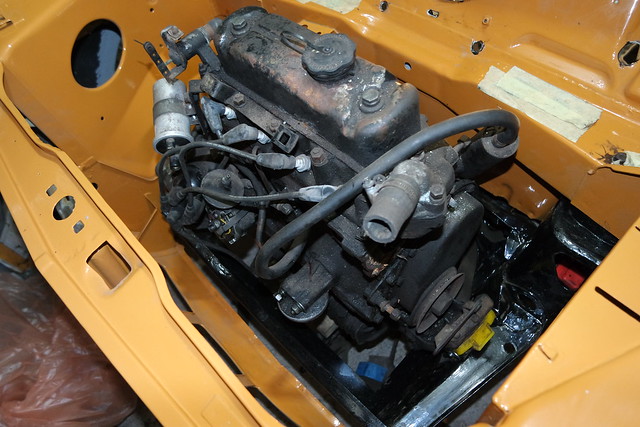
Just to make a bit more space in my garage decided to put the engine back in, nice to see something back on it, I'm using quick release poly engine mounts so makes it easier to remove, they come in two halfs one fits on engine the other on subframe then when together have a pin that drives through it to secure it.
The problem is with these mounts if you use standard hex bolts then they catch on the lower half of the mount and make it hard to fit, but if you use a domed/button headed bolt then it simply pops in. You only need it one side and at the bottom bolt, as you can lower the other side in first then the side with the domed bolt. Minispares sell them but state they are hard to fit, but not if you use this simple solution!
And finally nice to the engine in even if it isn't in the cleanest state.
#143
morley
-
- Members
-
- 903 posts
One Carb Or Two?
- Location: Devon
Posted 13 January 2017 - 09:49 PM
Nice work Dave! Thought you'd been a bit quiet over Xmas, is the black bridge paint or 2 pack?
#144
country clubman
-
- Members
-
- 206 posts
Mini Mad
- Location: Paignton
Posted 14 January 2017 - 10:57 AM
Nice work Dave! Thought you'd been a bit quiet over Xmas, is the black bridge paint or 2 pack?
Cheers, yep black stuff is the Sherwin Williams paint, also had bit of man flu to contend with when got back to work on it!
#145
country clubman
-
- Members
-
- 206 posts
Mini Mad
- Location: Paignton
Posted 27 January 2017 - 12:00 AM
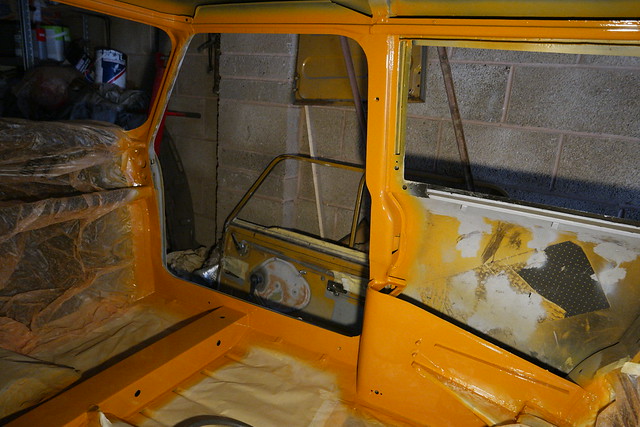
Managed to give the interior a bit of colour this week, just some areas that might be exposed. Might just be a small area to paint but it's still the prep isn't the most exciting and time consuming. Did wet on wet to save time, which is pretty much just prime it then paint it all in one go, have to make sure no runs on the primer though!
#146
country clubman
-
- Members
-
- 206 posts
Mini Mad
- Location: Paignton
Posted 01 February 2017 - 01:10 AM
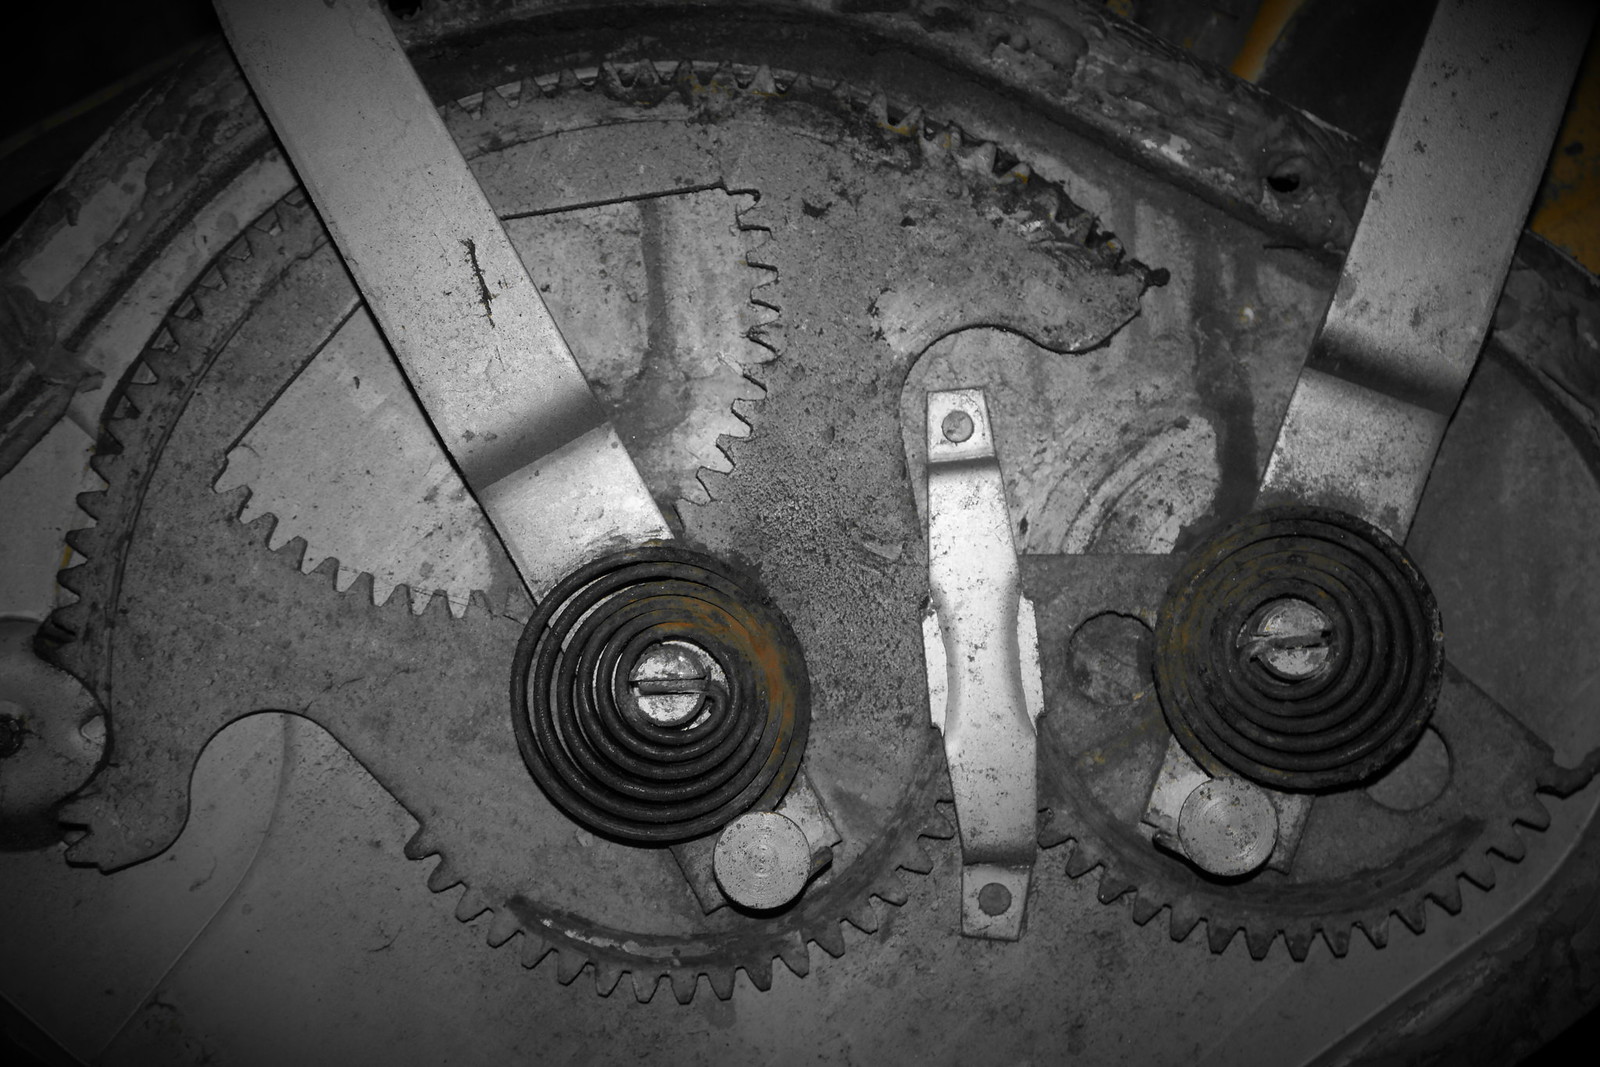
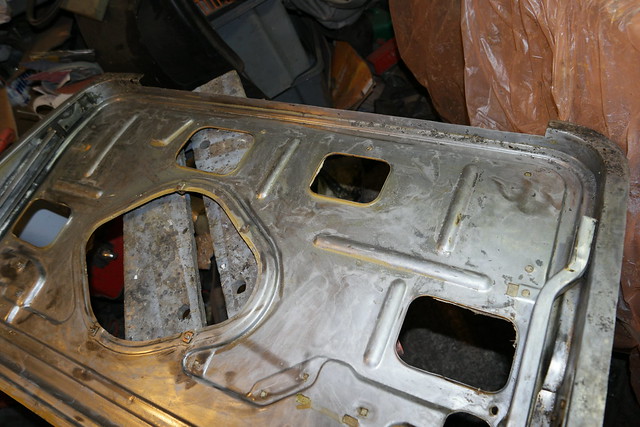
Starting with a picture of a window winder mechanism can only mean one thing that I have started to reskin my doors. Only managed to peal one skin off so far this is what it looks like, sure the other side will be simular.
#147
minimissions
-
- Members
-
- 3,427 posts
Up Into Fourth
- Location: North West
- Local Club: M.M.O.C
Posted 02 February 2017 - 06:45 AM
Some nice progress there. I bet its nice to see some paint going on there.
#148
country clubman
-
- Members
-
- 206 posts
Mini Mad
- Location: Paignton
Posted 03 February 2017 - 01:11 AM
Some nice progress there. I bet its nice to see some paint going on there.
Cheers, going to slow down again due to school holidays coming again! but yes it's nice to get the spray gun out and get some colour on it, all be it inside so far!
#149
minimissions
-
- Members
-
- 3,427 posts
Up Into Fourth
- Location: North West
- Local Club: M.M.O.C
Posted 05 February 2017 - 10:19 AM
Cool I look forward to seeing more on her soon then :)
#150
country clubman
-
- Members
-
- 206 posts
Mini Mad
- Location: Paignton
Posted 10 February 2017 - 01:05 AM
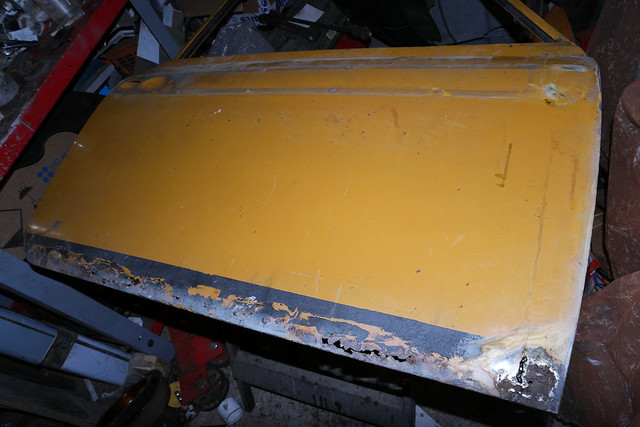
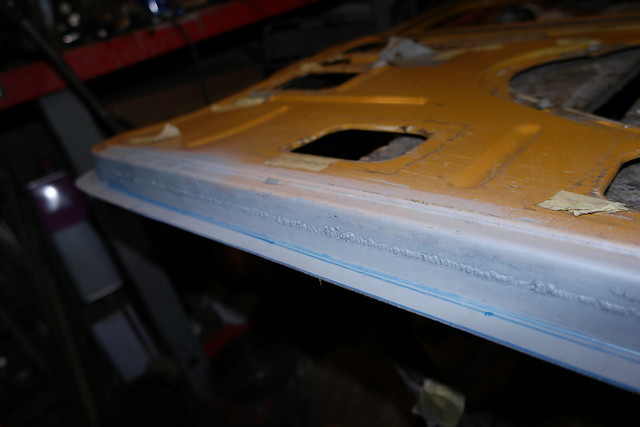
Well managed to clean up the doors, and repair one side and paint the door skins inside for protection(went for genuine of course, try to avoid any problems just double the cost!).
This is one door that with the bottom rot cut out and cleaned up.
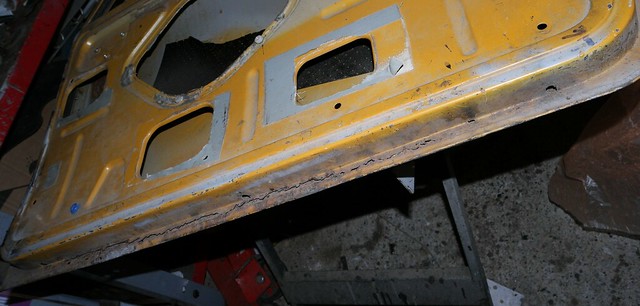
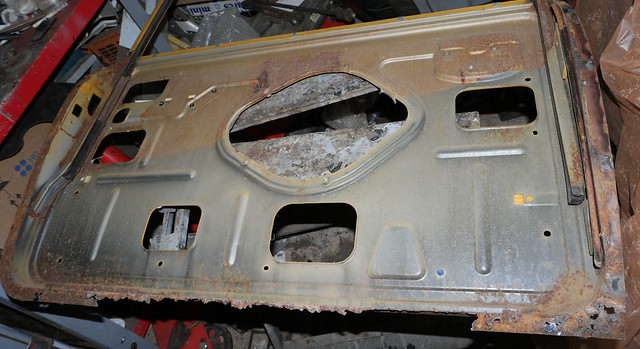
This is the other one which has been repaired, just needs welds cleanining up bit more.

and the bottom of the door again the weld need tidying up but as welded from inside bit easier.


1 user(s) are reading this topic
0 members, 1 guests, 0 anonymous users


