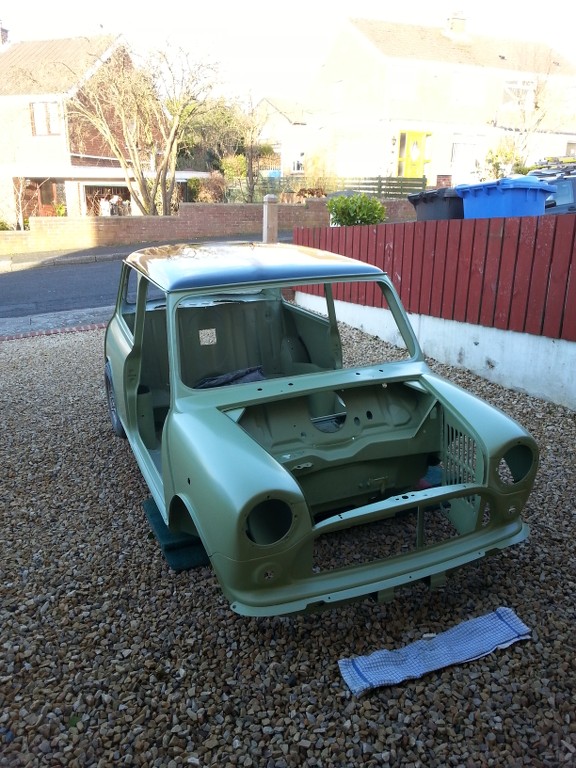
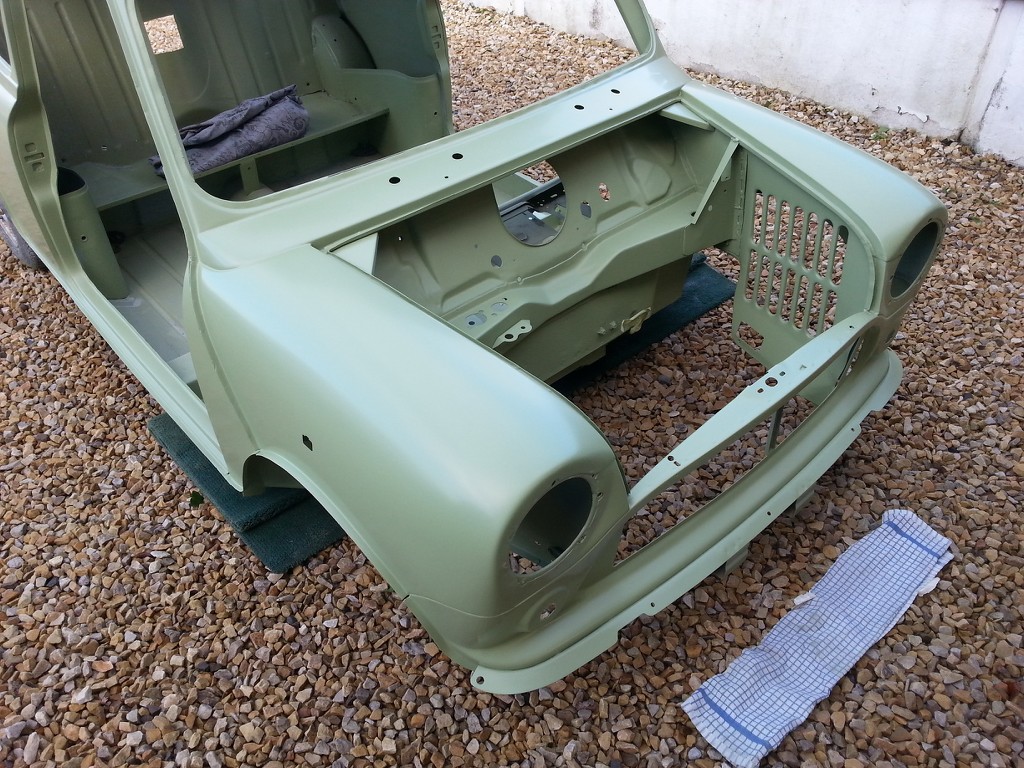
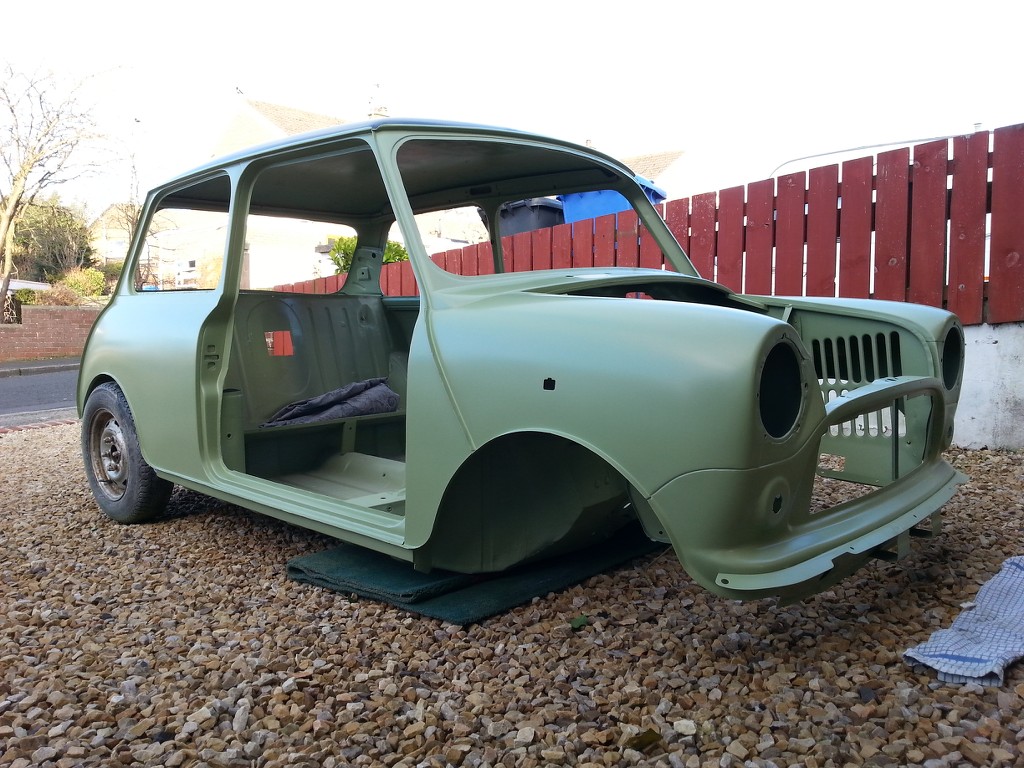
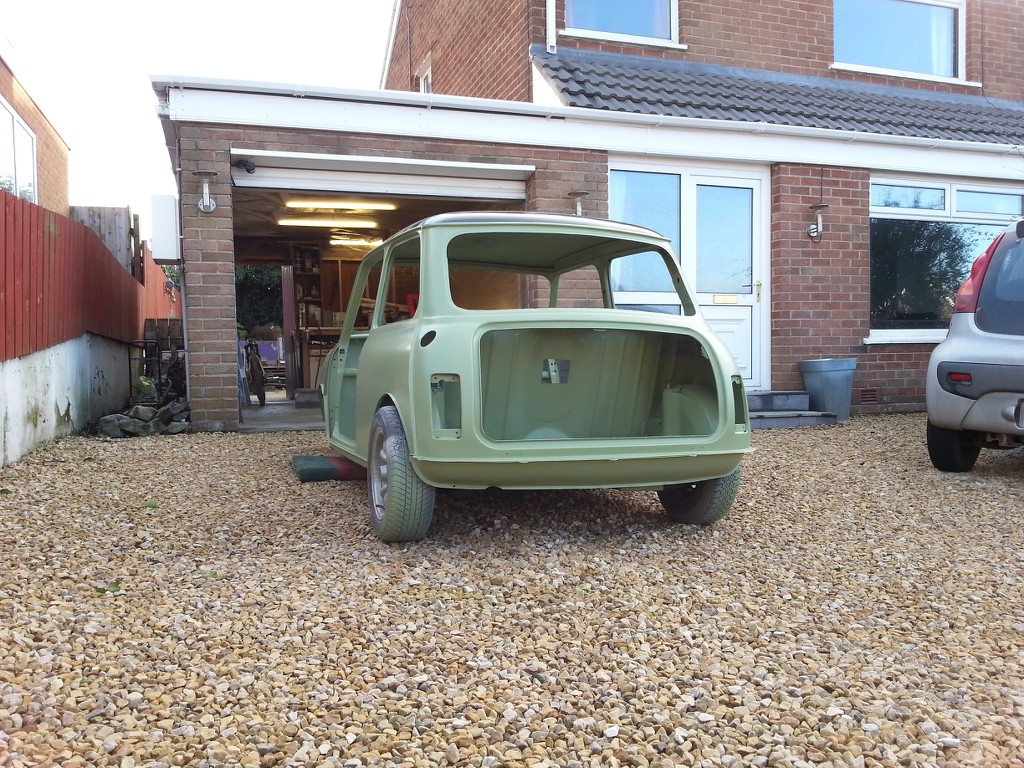
Now that's something!!
The Flinstone Mini - Loads Of Pics
#76

Posted 22 February 2015 - 09:05 PM
#77

Posted 22 February 2015 - 09:25 PM
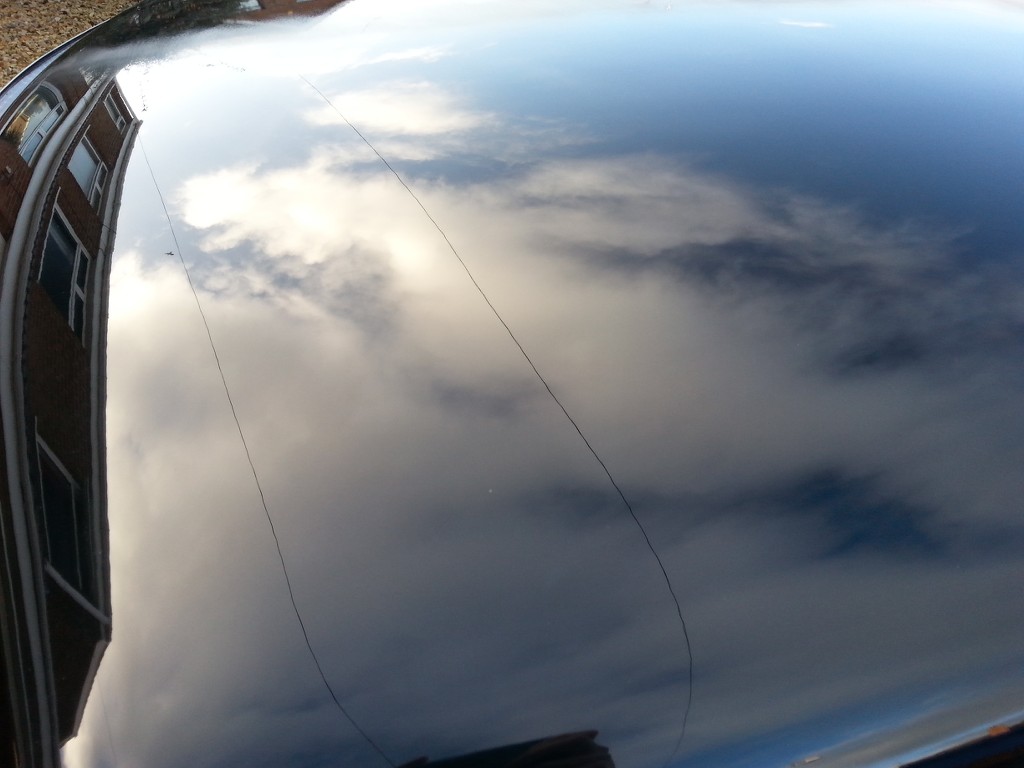
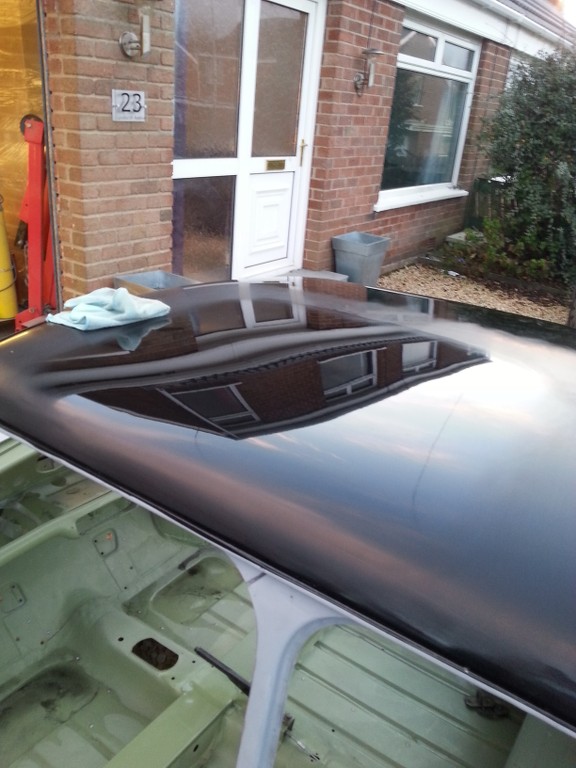
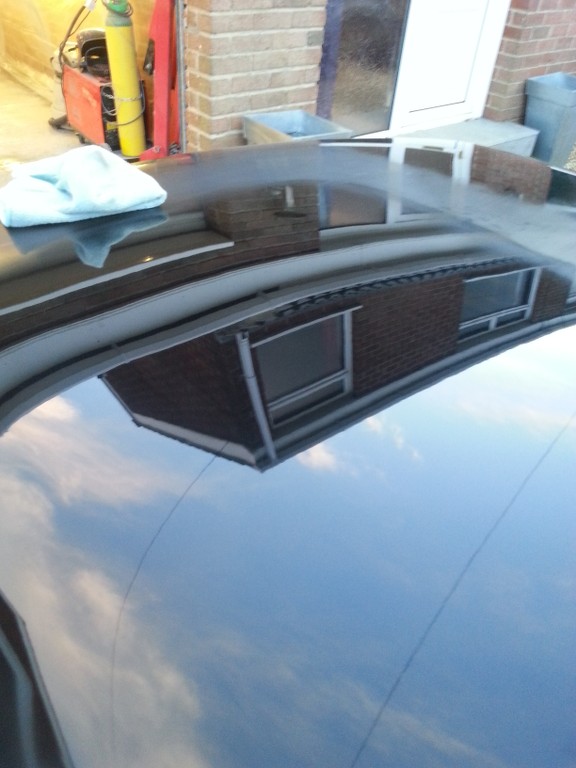
Great Work David! That it some shine,
can't wait to see it out at the shows. Do you plan to have it out this year?
Hey Adam, cheers, it took some effort to get it that clear. Yes, my aim is to make it to the first mini show of the year.... Lisburn, Wallace Park. But there is a lot to do still, build the engine, an entire custom wiring loom from scratch and also make an interior - custom head lining and door cards etc.
watch this space. Dave
#79

Posted 22 February 2015 - 10:33 PM
Now that's something!!
Thanks Jared, I updated my cellulose post in the bodywork section if you want to read the statistics etc click me
Had a read through that. It might be worth me doing my own spray work some day then, especially with regards to getting desired results. All in the prep and patience.
#80

Posted 23 February 2015 - 01:17 AM
That roof came out well.
Well done dave
#81

Posted 23 February 2015 - 11:01 PM
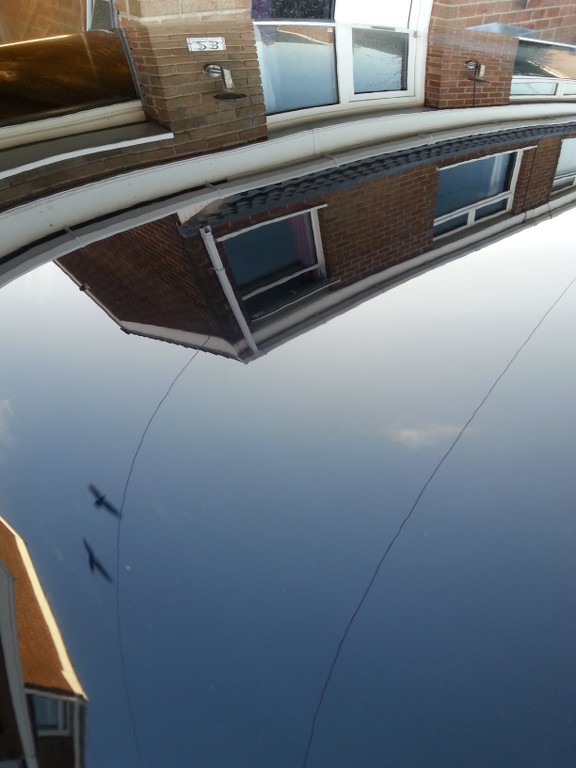
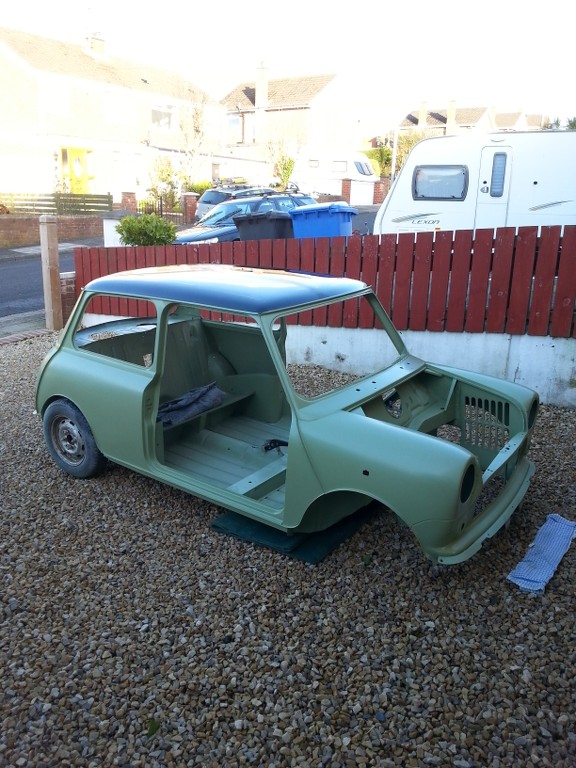
so the roof turned out well, im very chuffed with it considering my total lack of experience and knowledge. Heres how I got it...
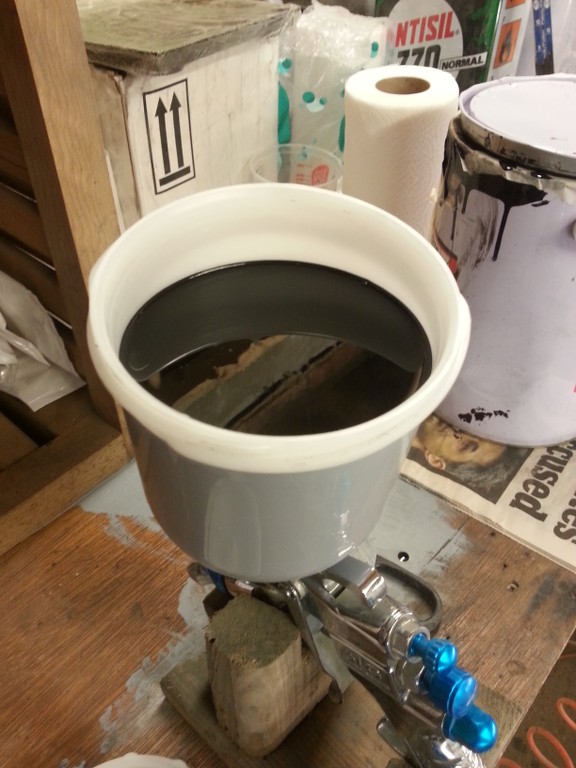
The paint...
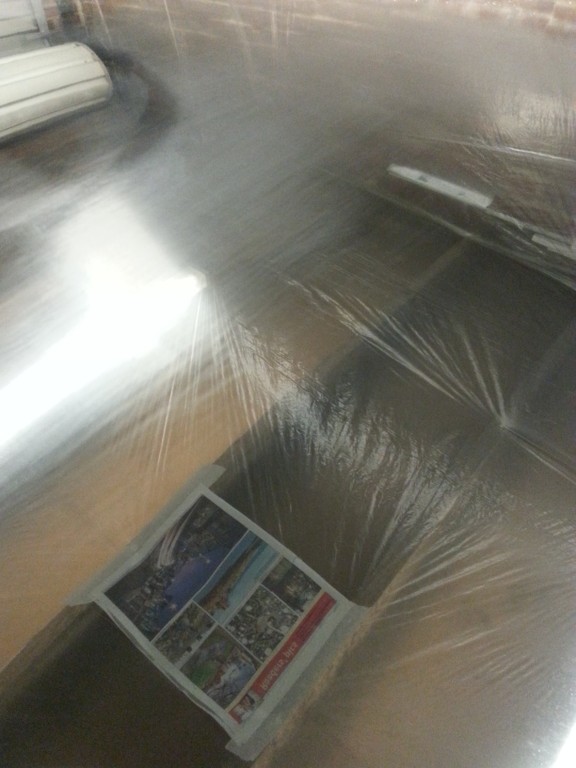
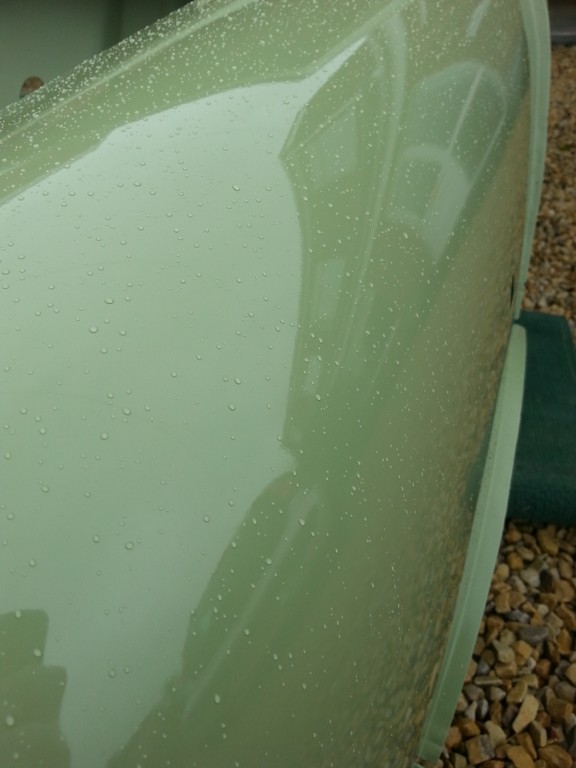
As sprayed finish, very flat and poor reflection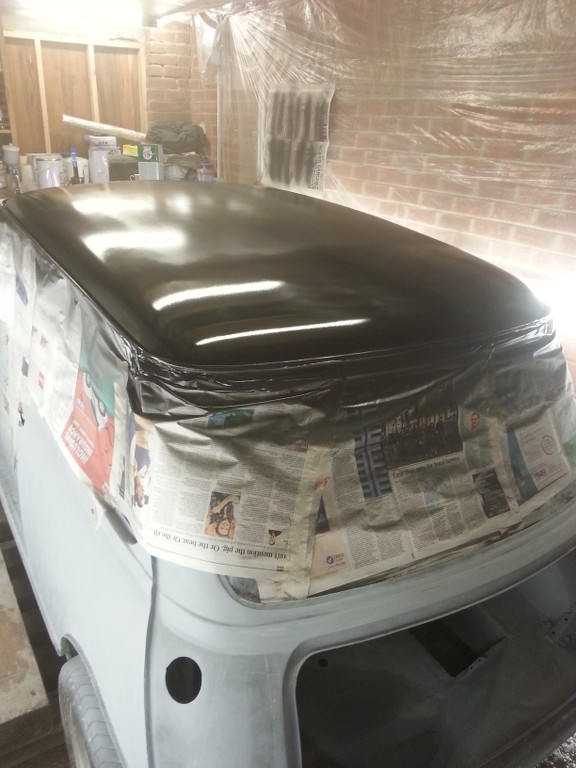
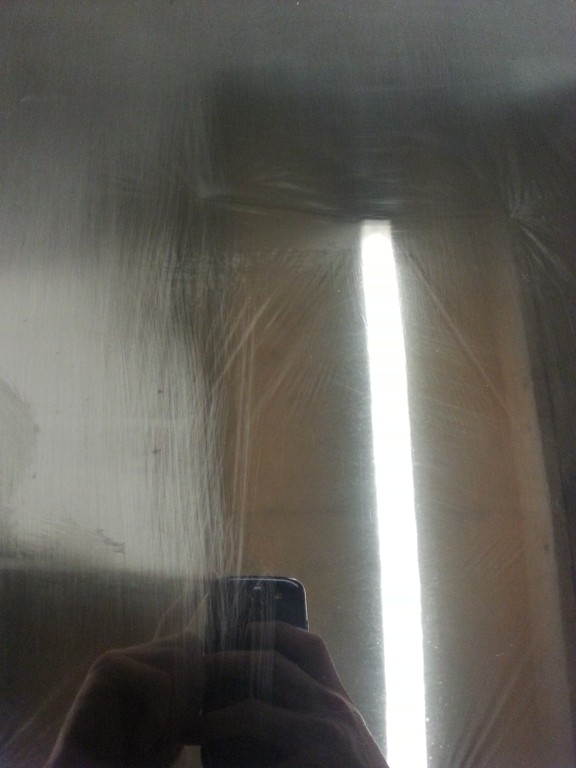
sanded with 1500 grit wet
Test cut with hard pad with meguiars 105 compound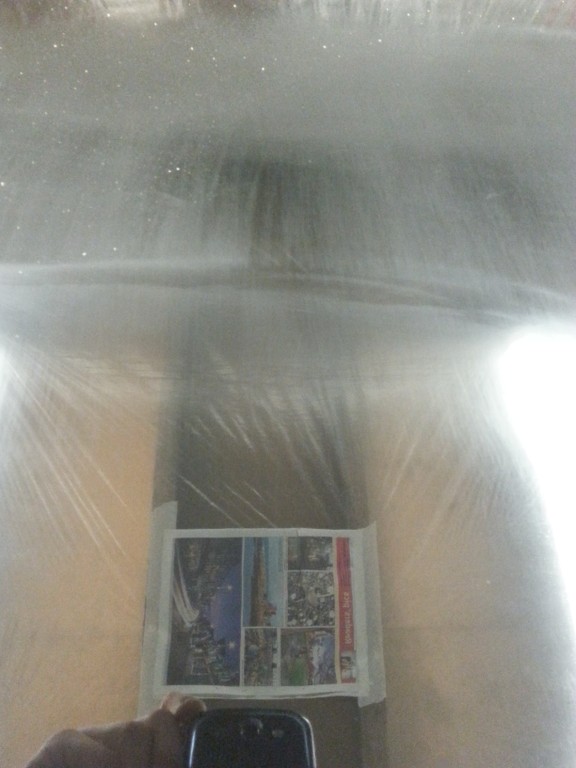
Fully compounded and buffed with meguairs 205
Onto the main body....
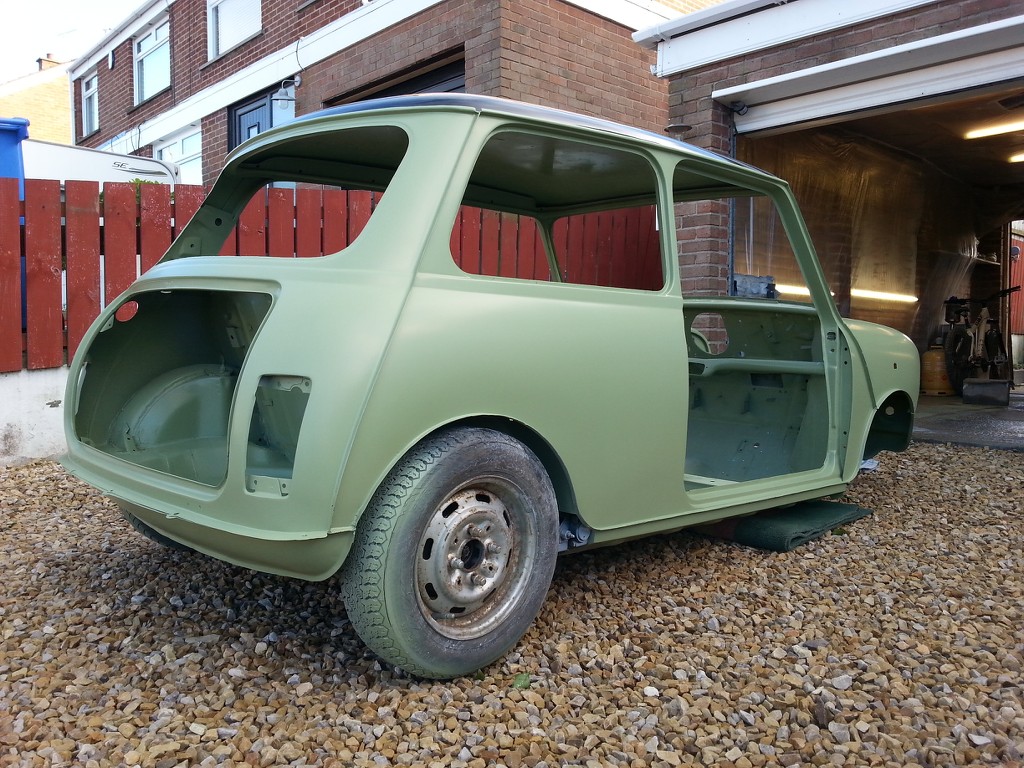
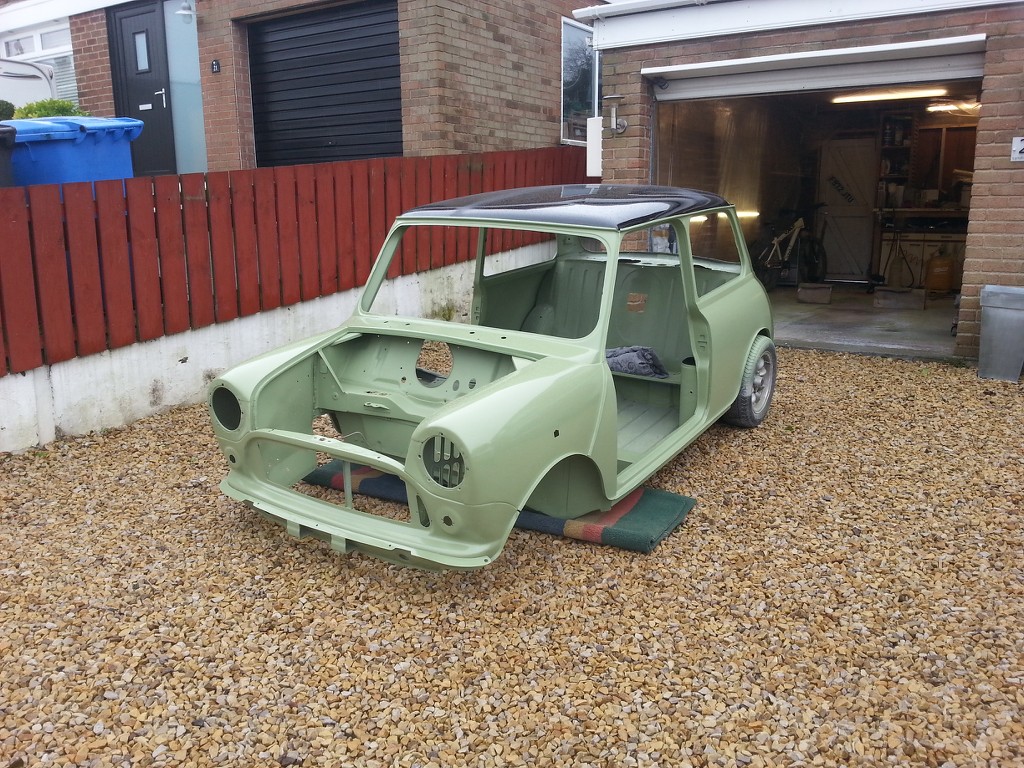
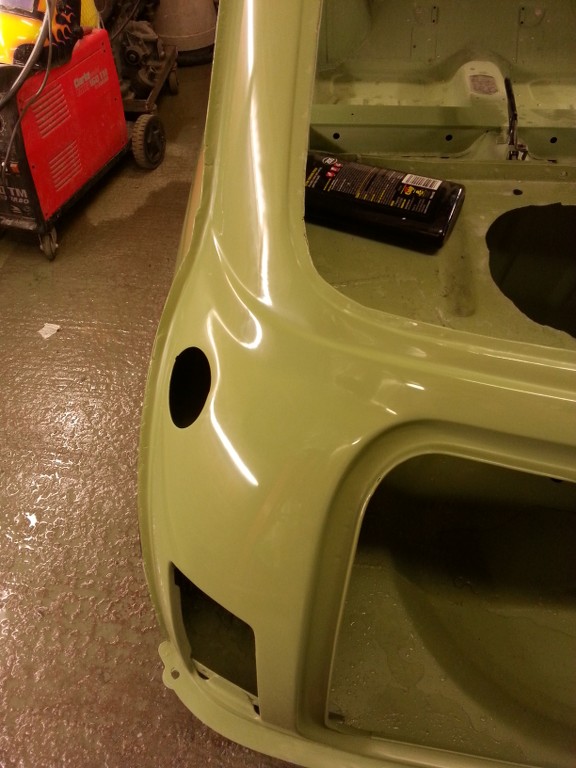
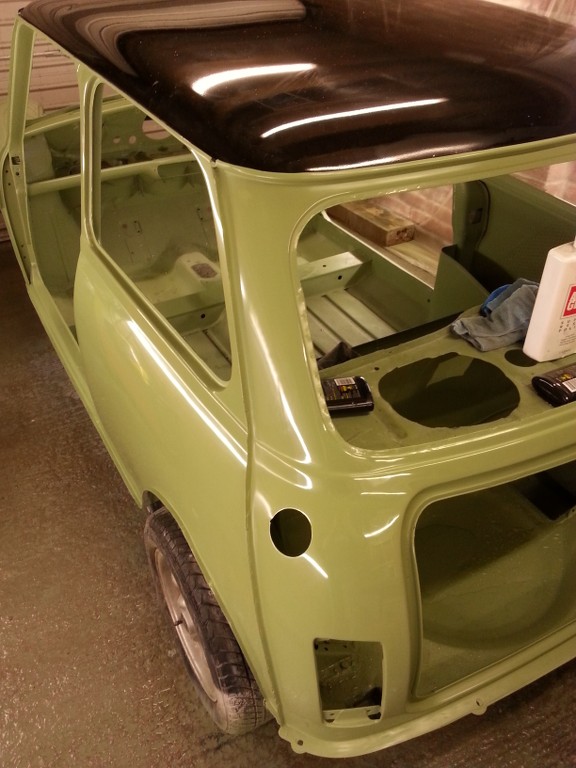
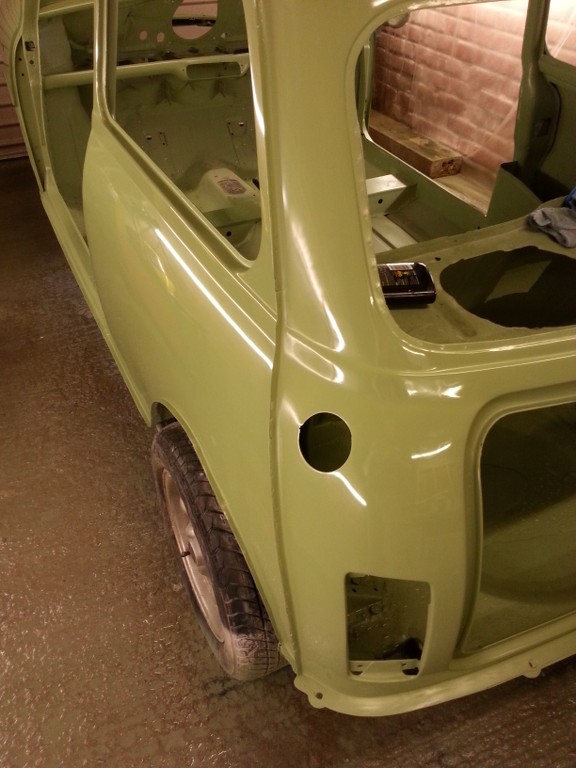
sprayed willow green, dried completely flat!
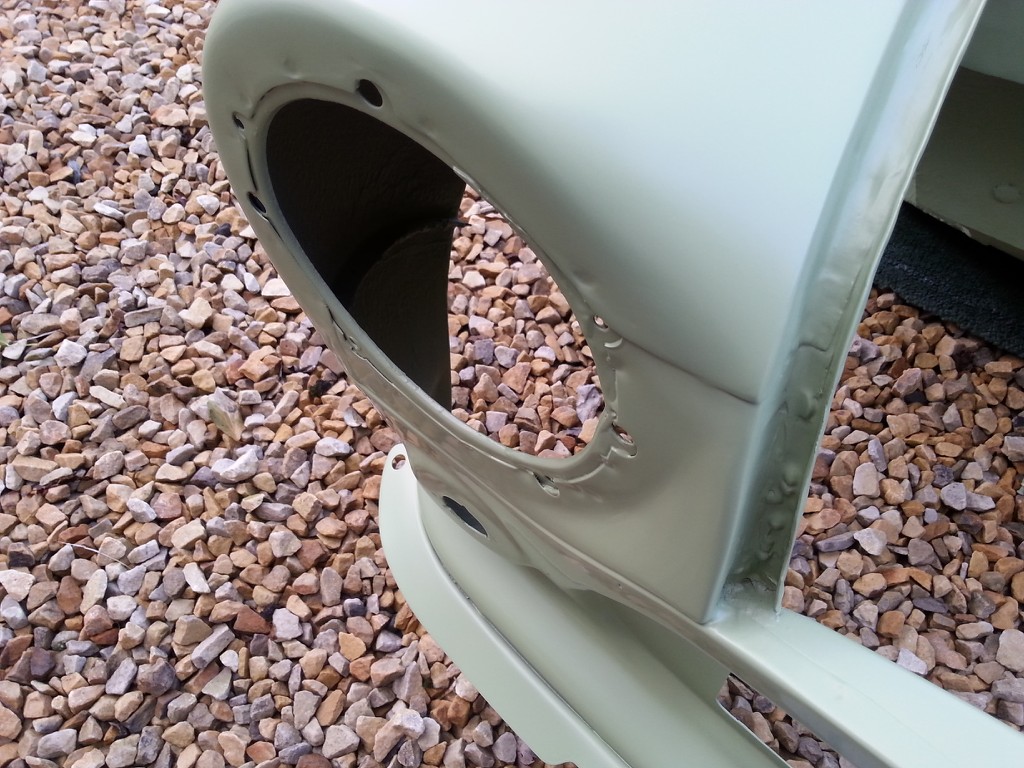
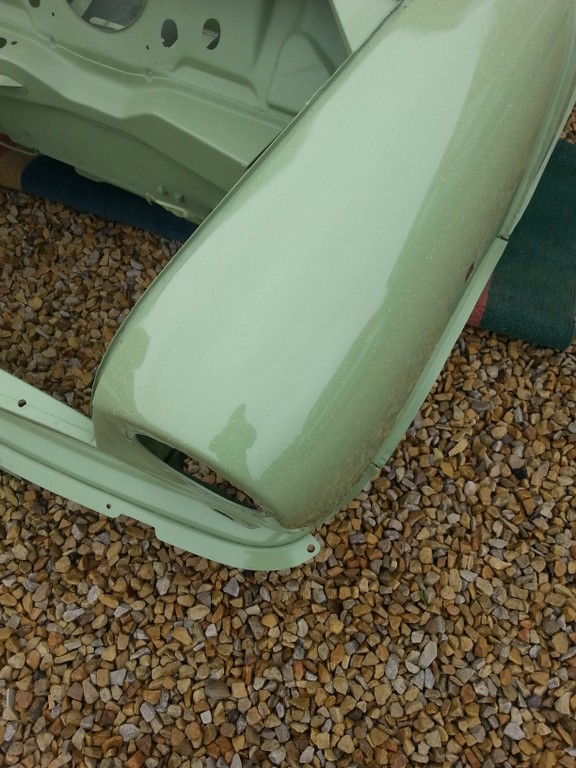
Gave the wing a quick cut and polish, no wet sanding
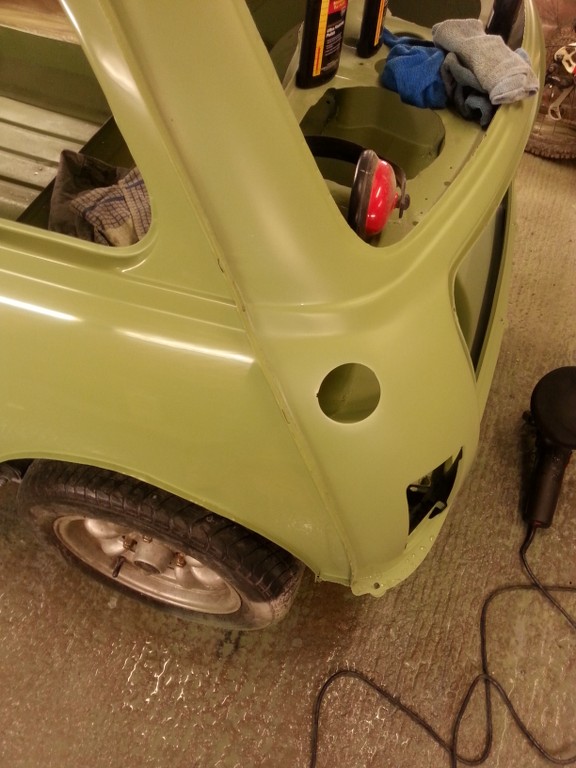
I then wet sanded the rear quarter and cut and buffed, much cleaner reflection but nowhere close to the roof, note the matt finish of the rear panel
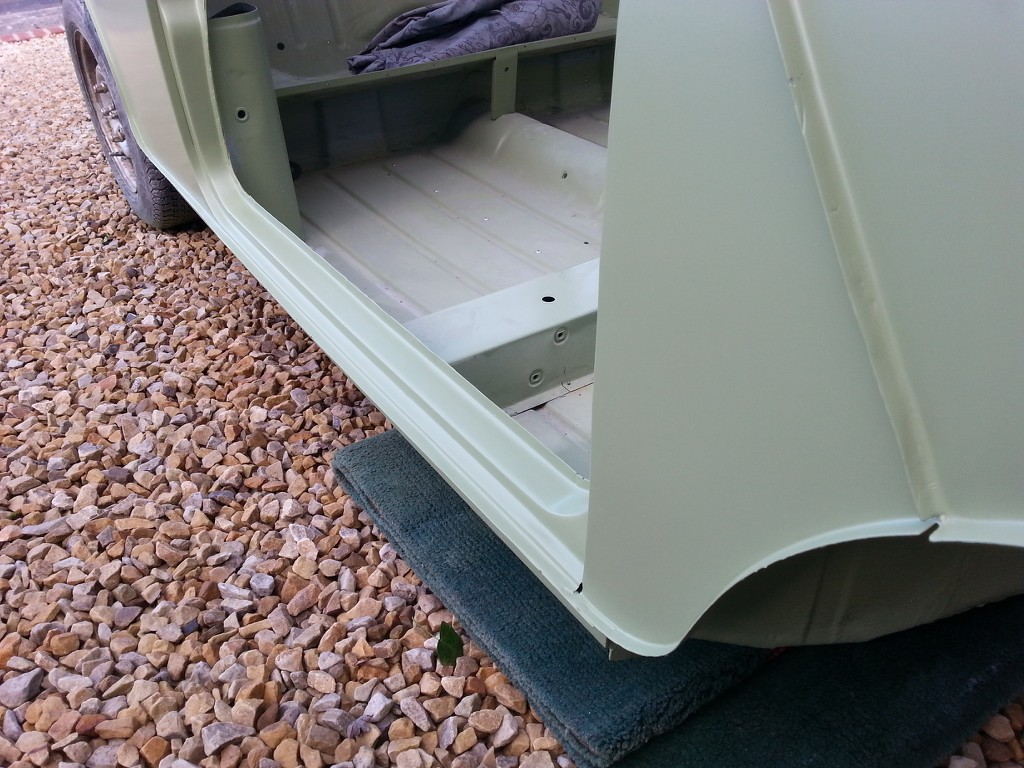
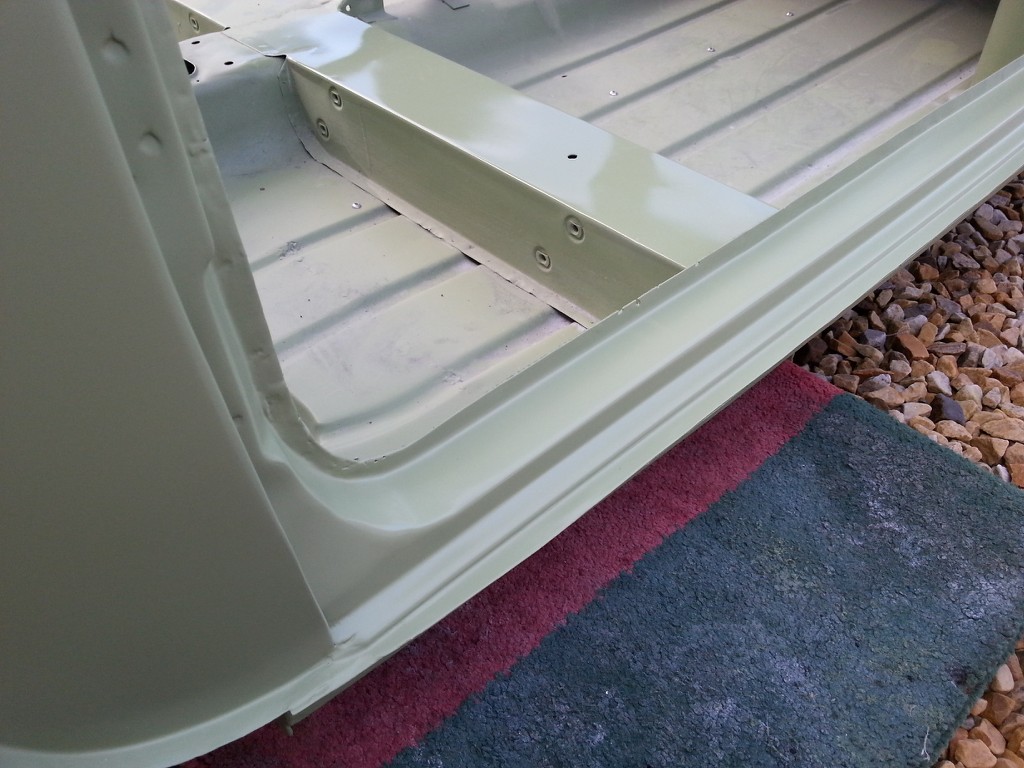
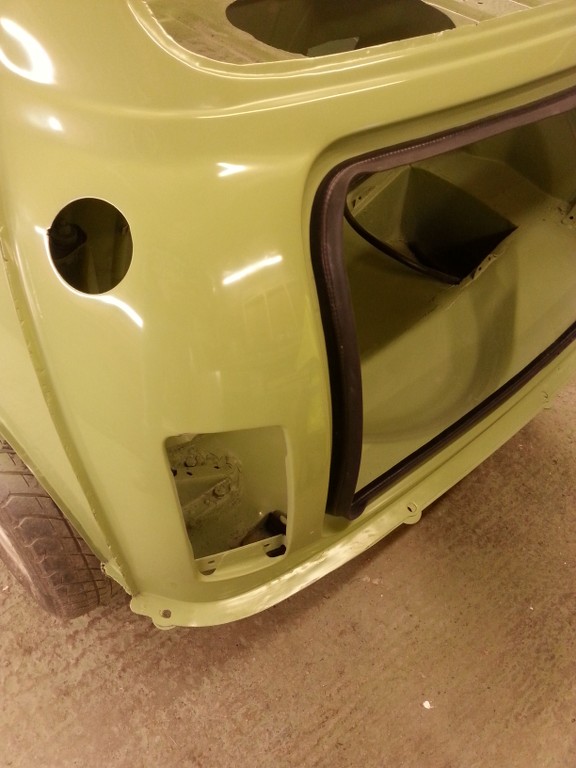
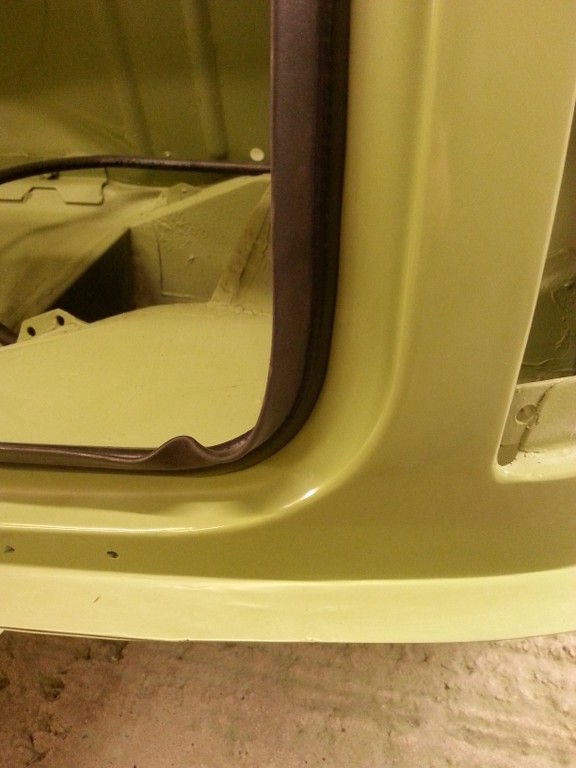
I then did the back end
Overall I am very pleased, going to do the doors, bonnet and boot this weekend coming
keep on plugging away mini mad people, Dave
#82

Posted 23 February 2015 - 11:13 PM
Now that the painting is mostly done I think its about time I let you all into my plans for the interior.
I am completely mad for arcade games, I own quite a few full size cabs and make the odd one to give for presents / sell.
My youtube page with my arcade vids...
https://www.youtube....uemini17/videos
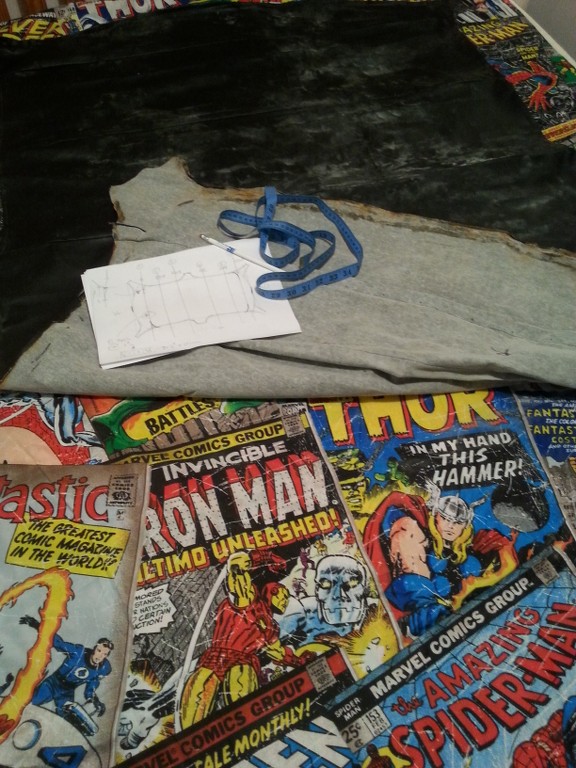
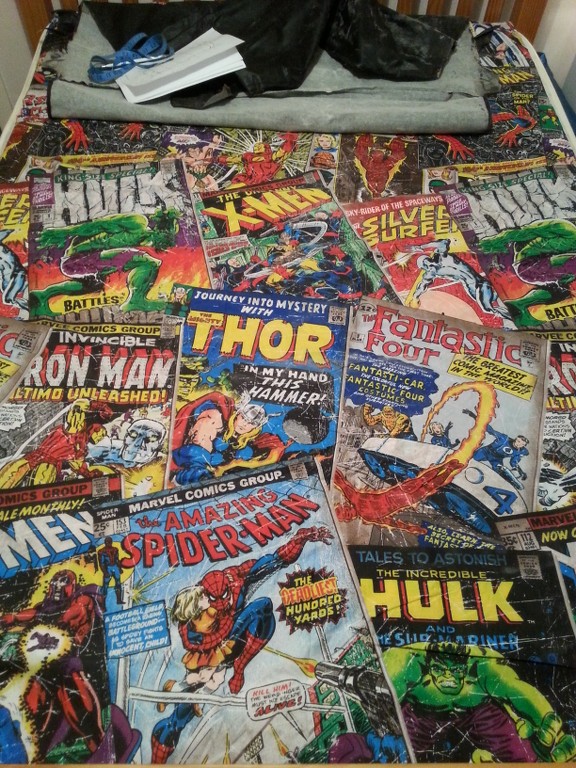
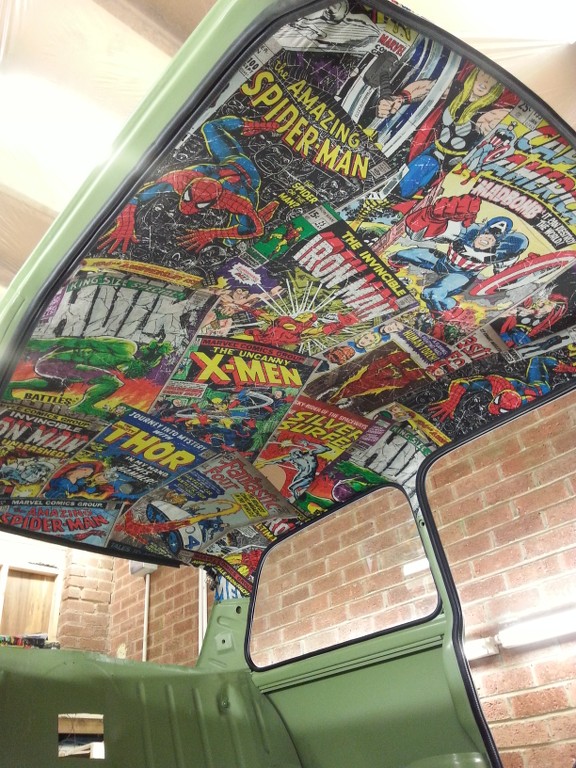
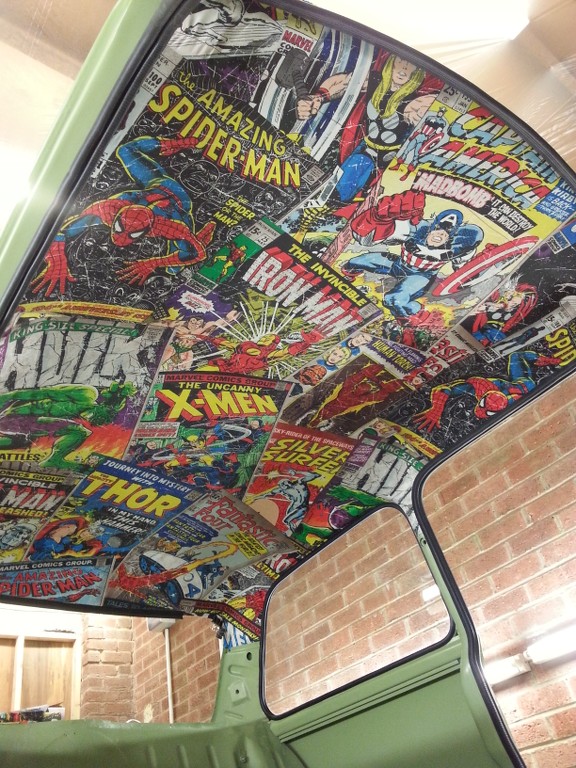
So with that in mind I am going to have a comic theme for the inside; starting off with the head lining.....
this is a single duvet cover £12 from argos
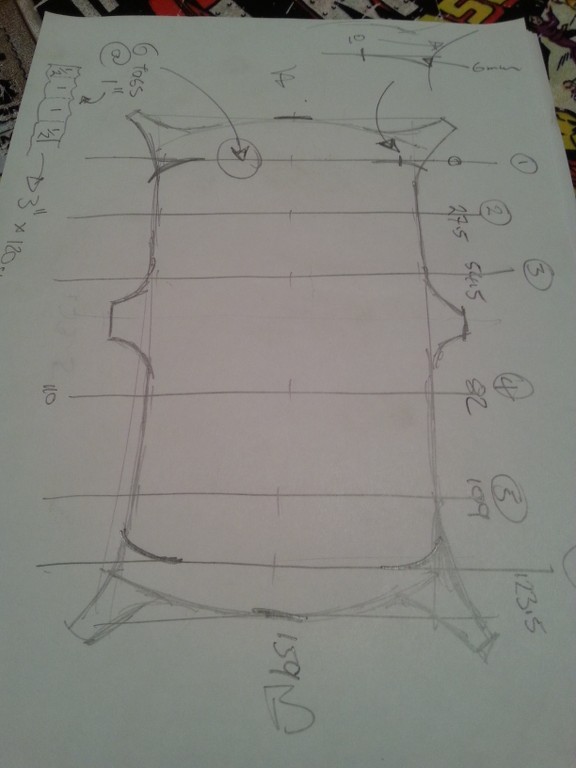
measurements, note the slight curved stitching in each corner for support rail 1 and 6 (6mm deflection)
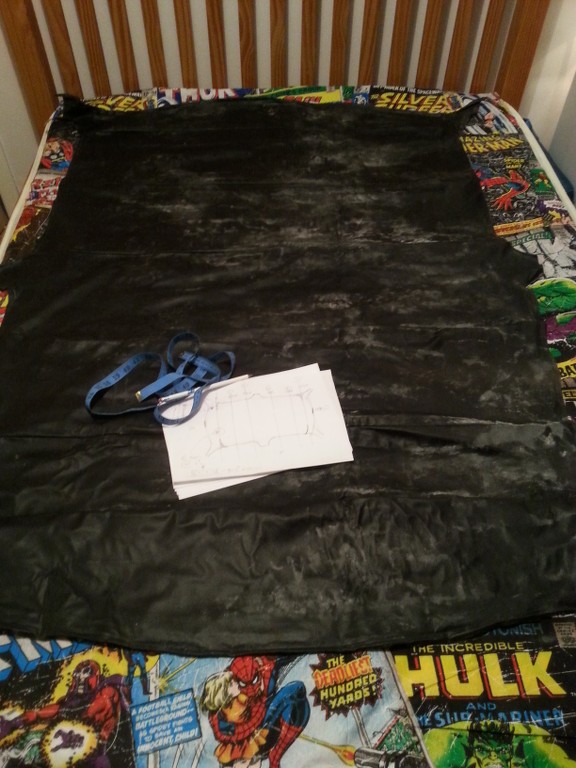
The original mildew soaked headlining
I was in the scouts for many a year when I was younger ( makes me sound old, im only 27) so sewing is second nature after stitching cut arms and mending my tents.
Going to make a start on the sewing this week.
Hopefully it doesn't turn out to cheesy.
keep on rolling folks, Dave
#83

Posted 24 February 2015 - 05:42 AM
That roof lining is going to be so cool!
#84

Posted 24 February 2015 - 04:37 PM
love the colour of this! and yes i agree with 'Jared Mk3' that roof lining will be awesome!!
#85

Posted 15 March 2015 - 10:25 PM
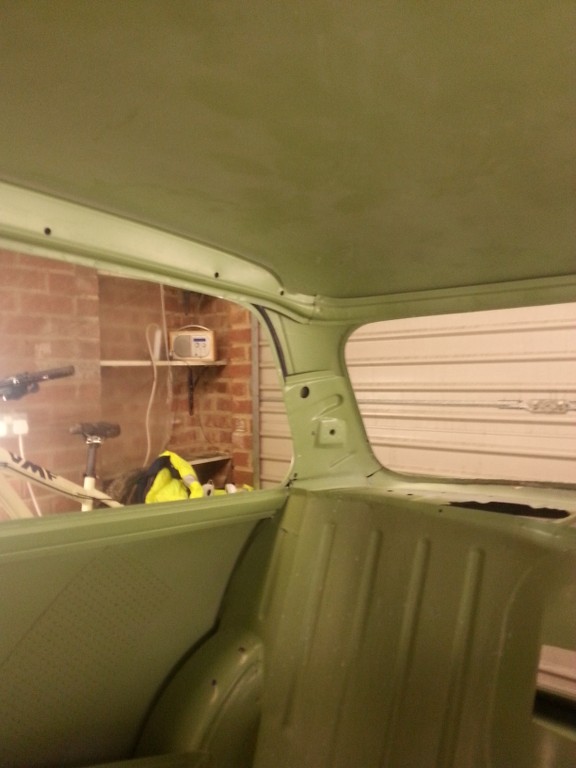
finished the head lining, no pics, you will have to wait.
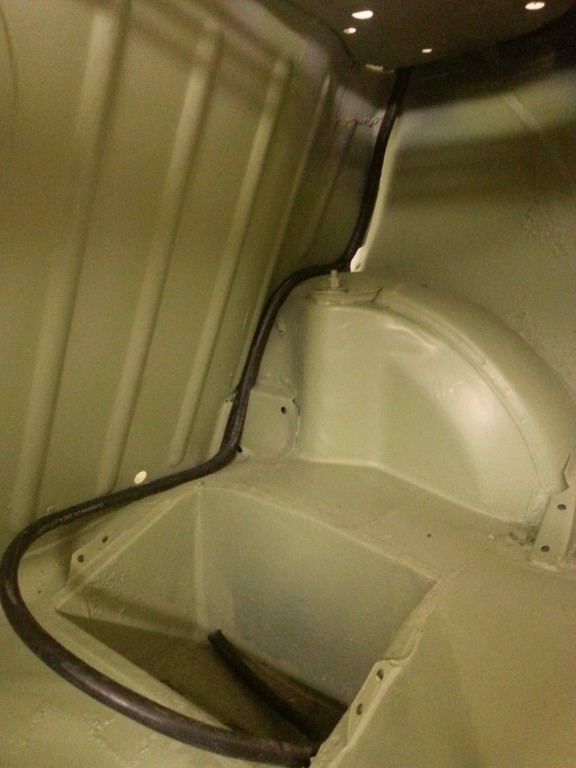
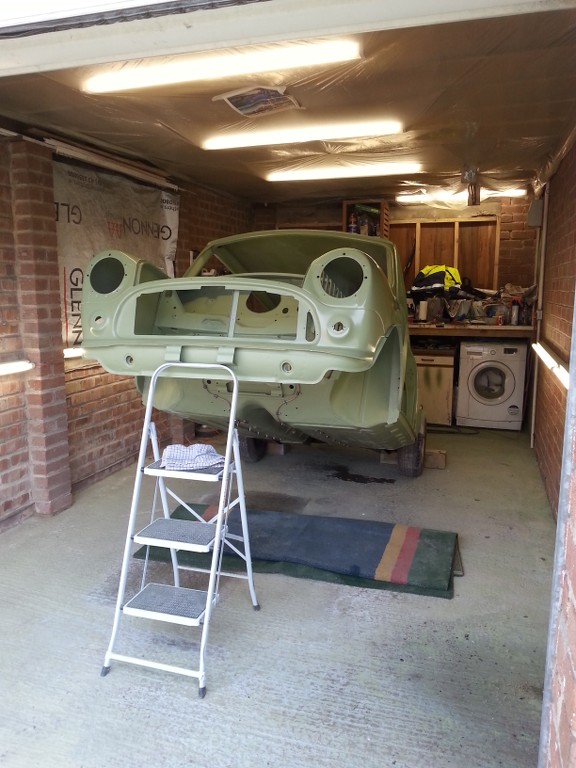
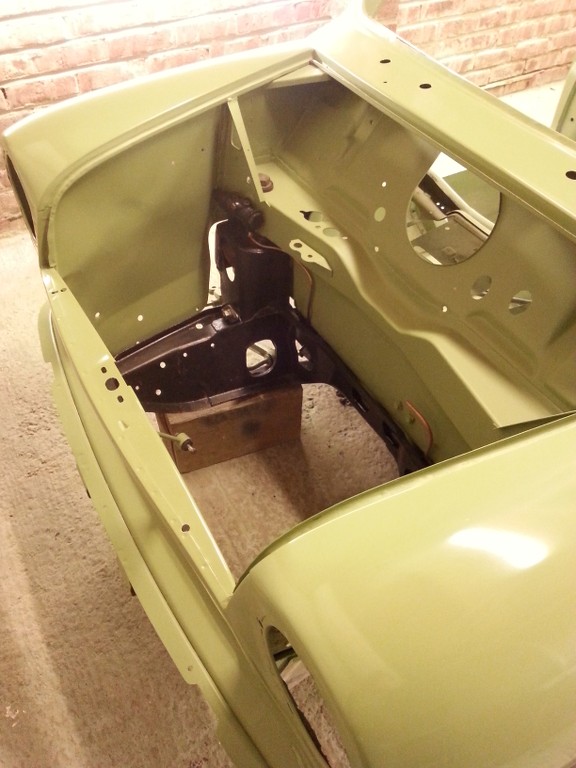
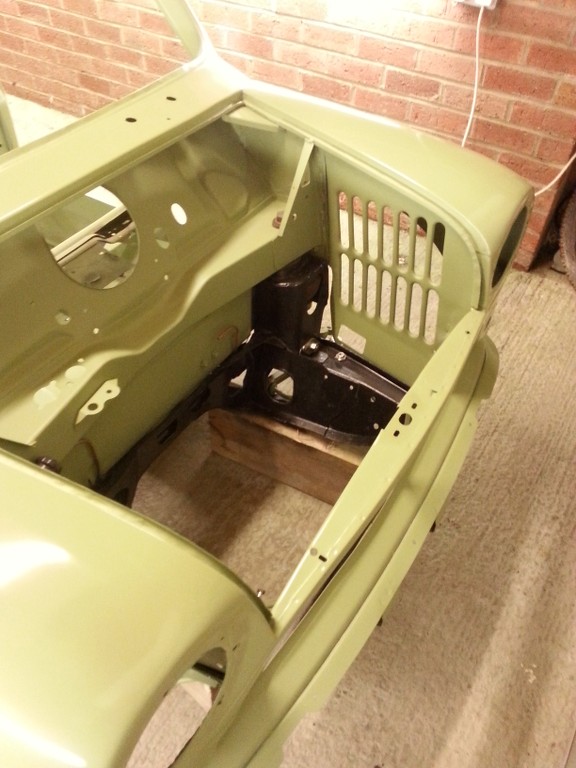
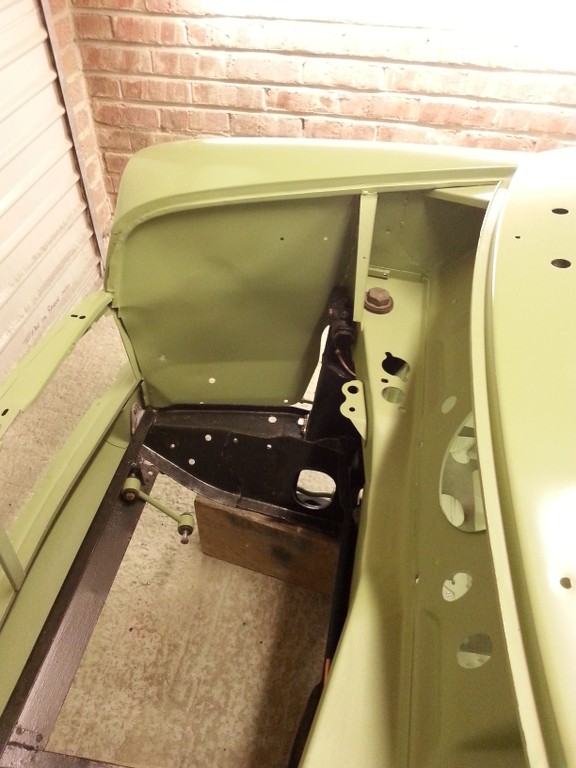
Also fitted the front subframe, the boot rubber and double checked the pipes under the car.
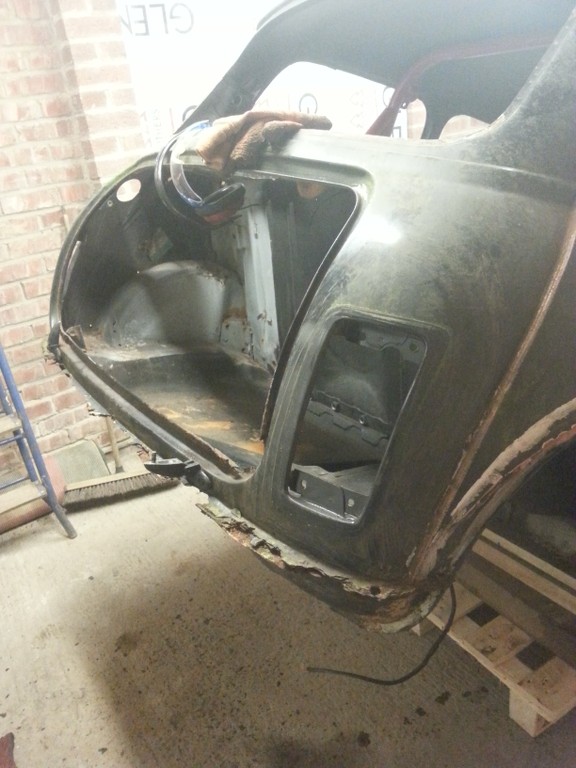
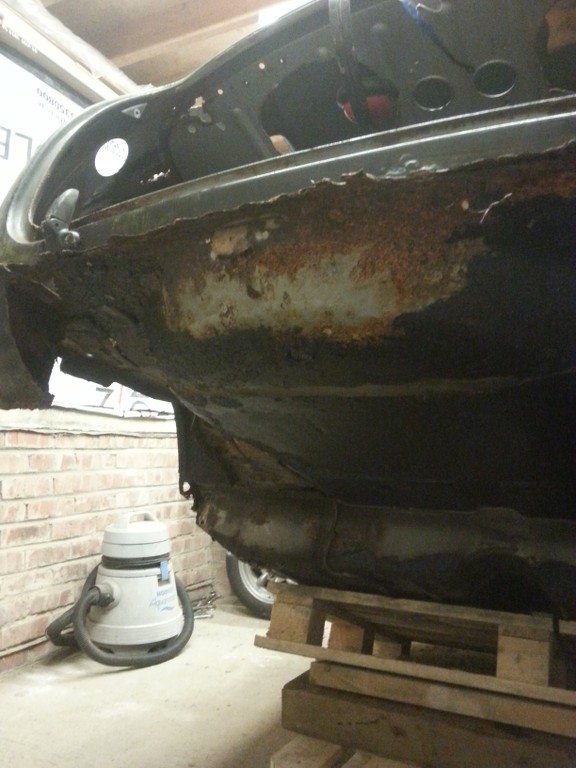
Before and after of the boot, what a difference!
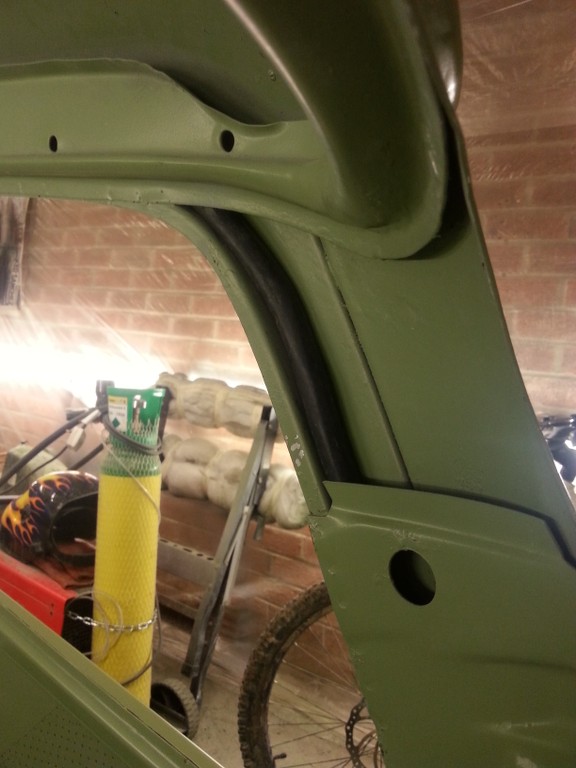
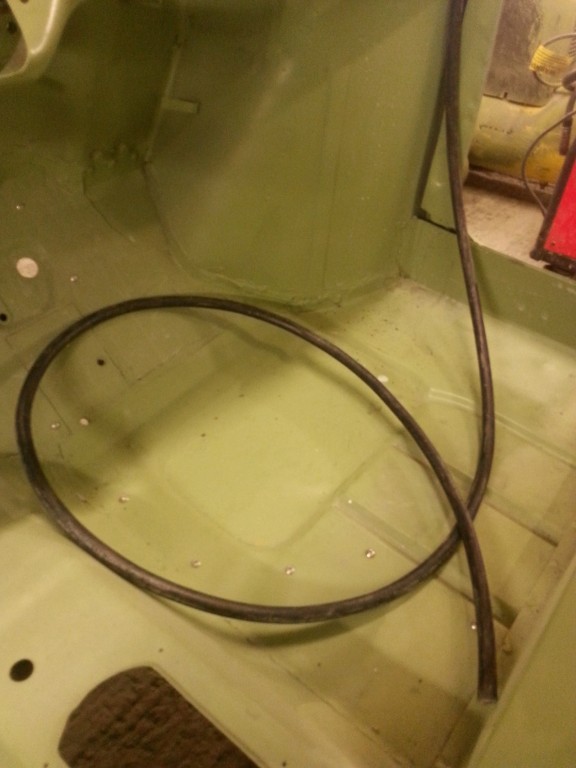
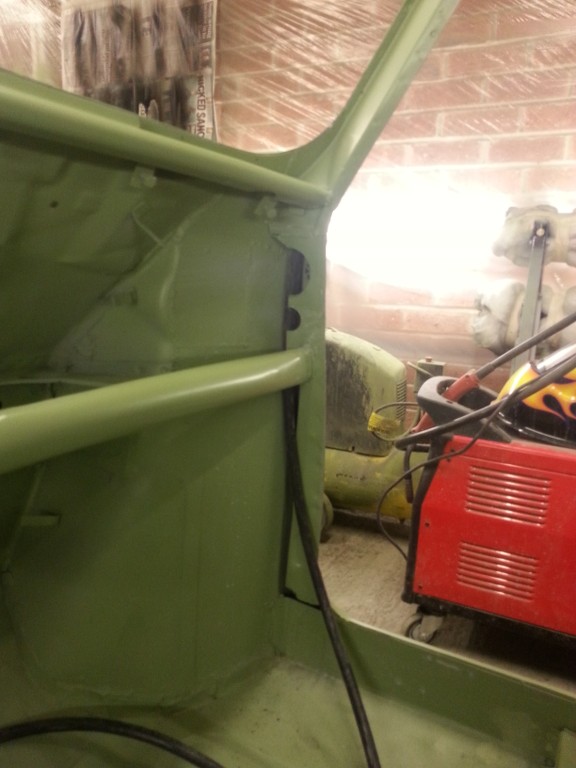
Also ran a new battery cable inside the roof frame, I used some 11,000 volt rated aluflex from work, dont think I will have any current issues here....
Subframe fitted and some components colour coded...
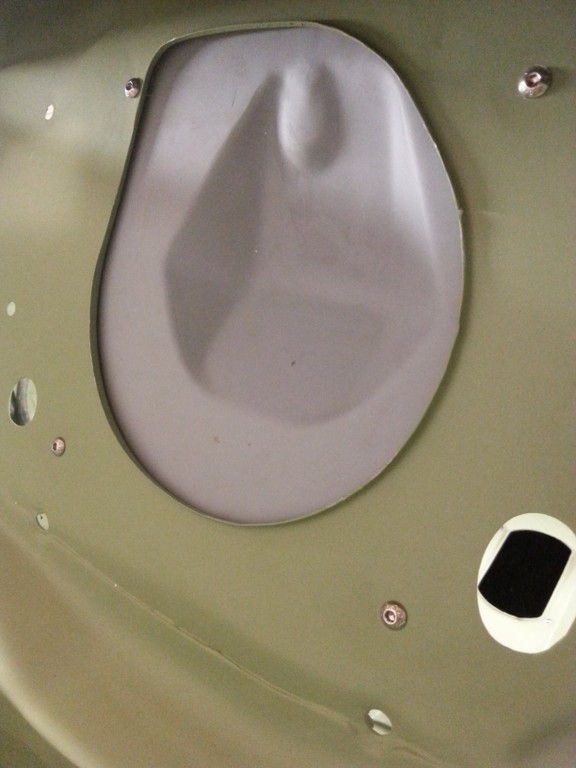
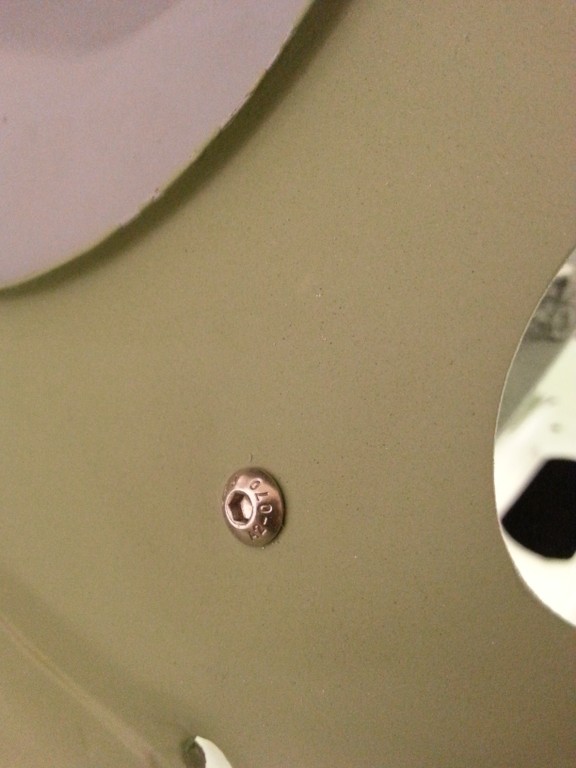
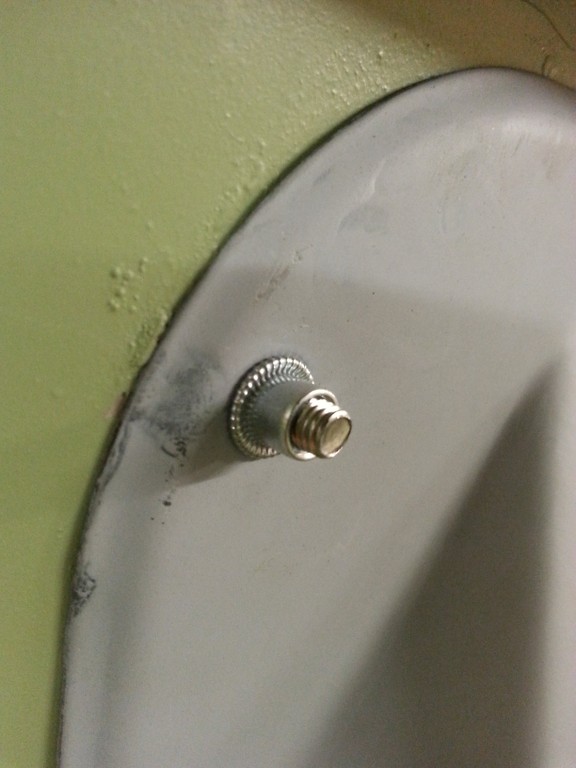
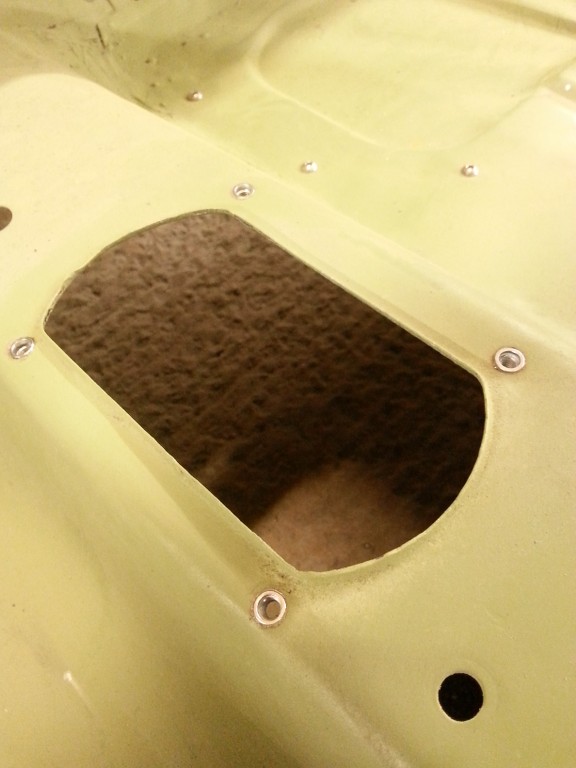
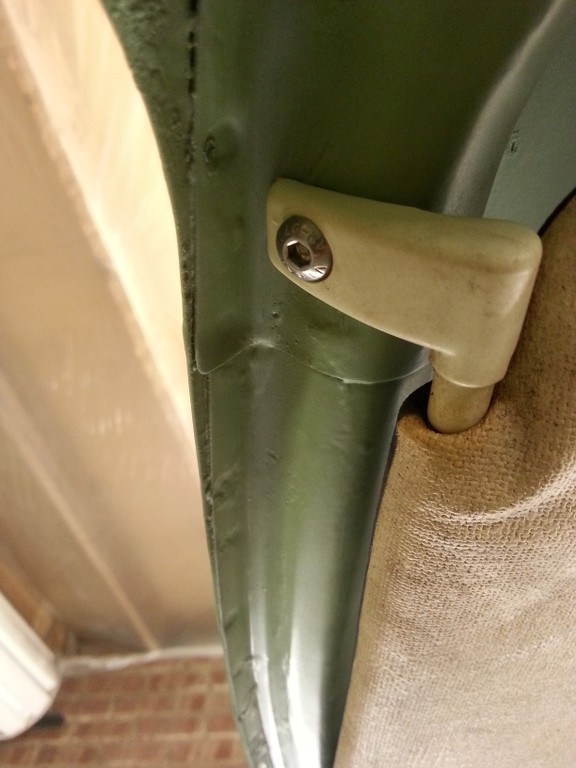
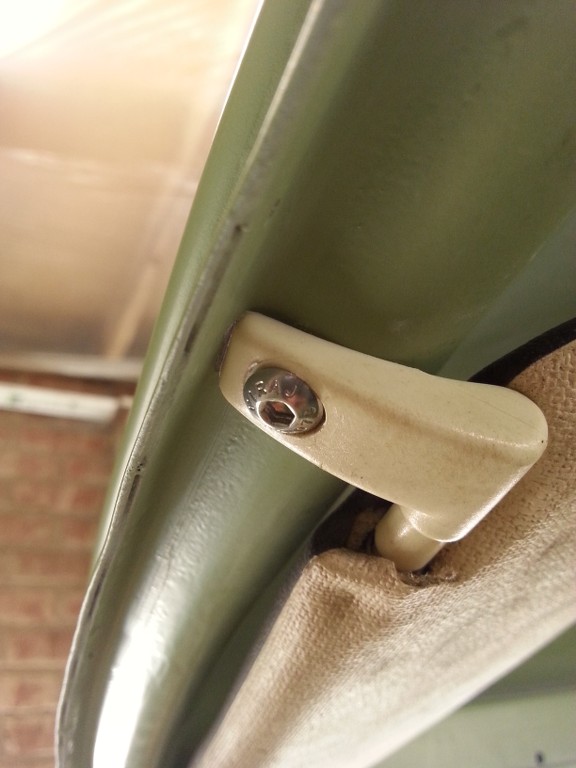
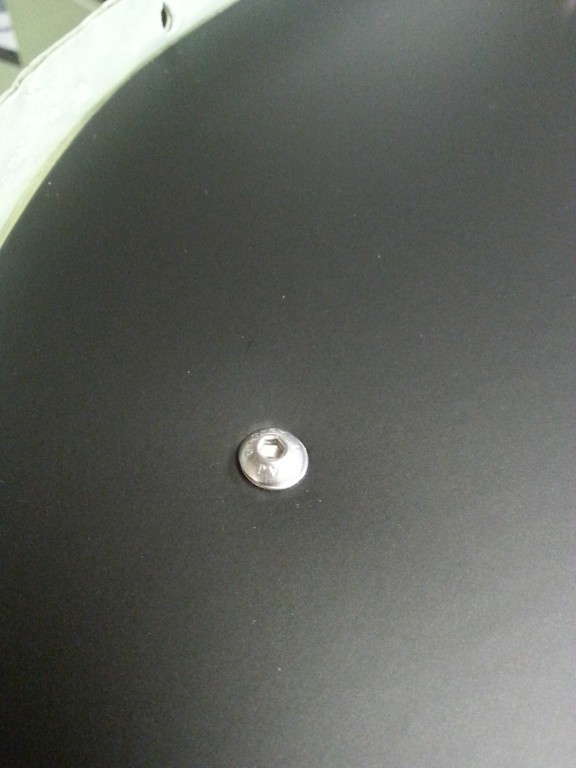
I also had a play with my new rivnut gun, amazing bit of kit, manged to rivnut the gear boot cover , sunvisors and the blanking plate behind the carb, I welded up the wiring loom hole in the plate and also ground off the welded nuts that were on the bulkhead, I was forward thinking from the start of the project, clean engine bay look
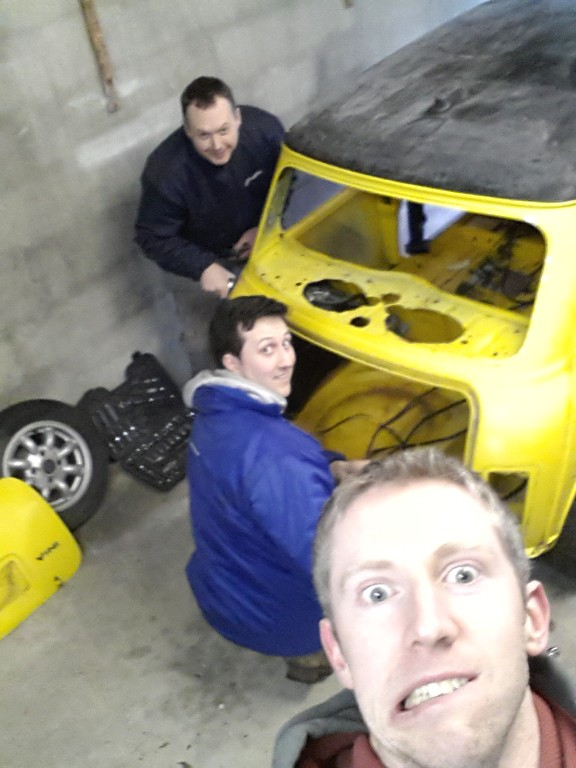
I also had the pleasure of helping a fellow club member with stripping his mini ready for a full re-furb like mine
#86

Posted 31 March 2015 - 06:21 PM
Hey all,
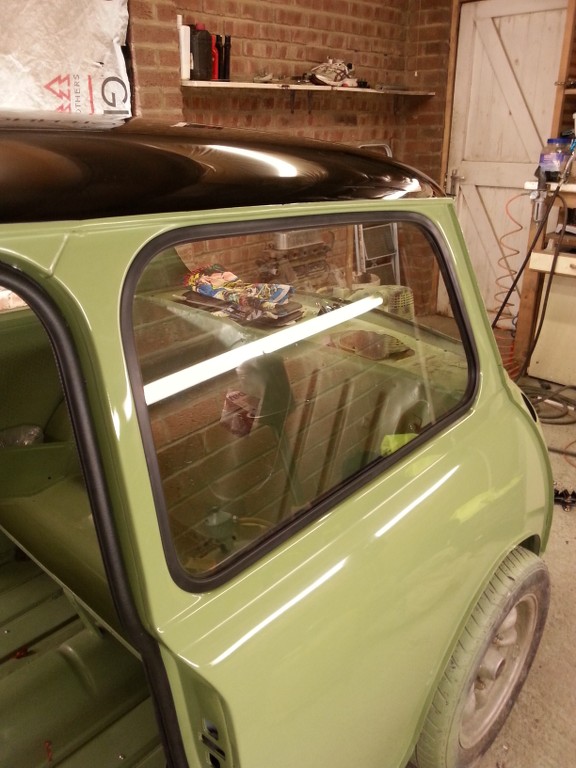
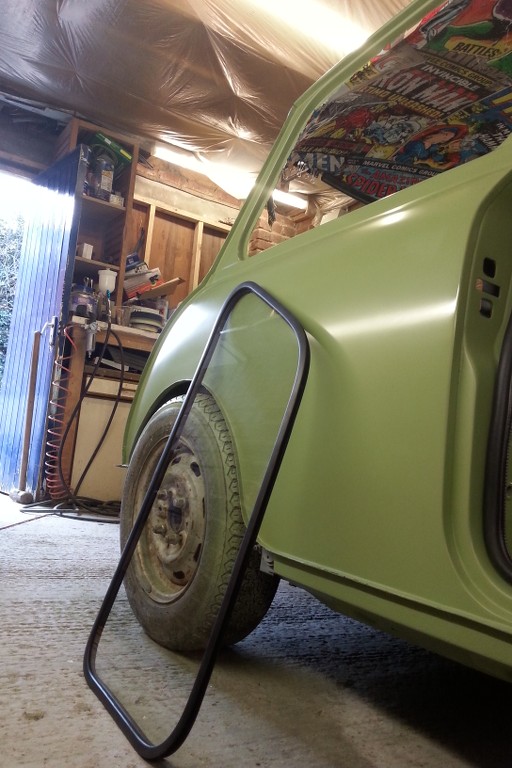
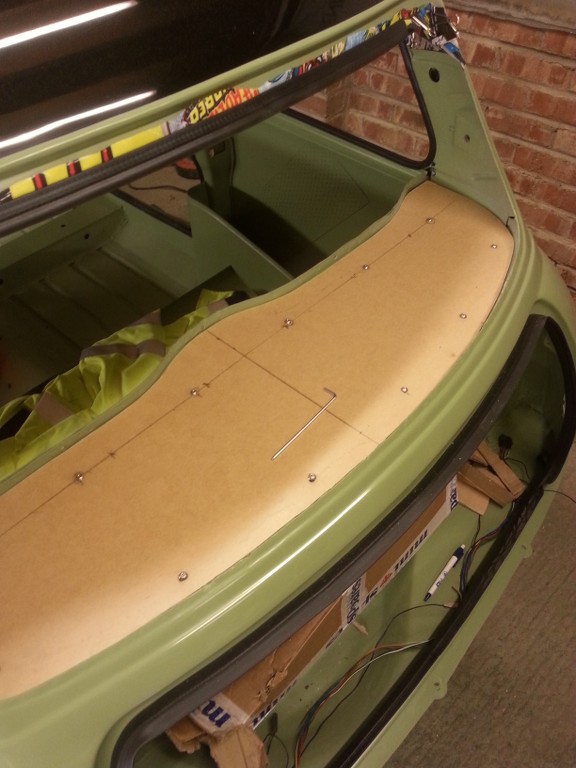
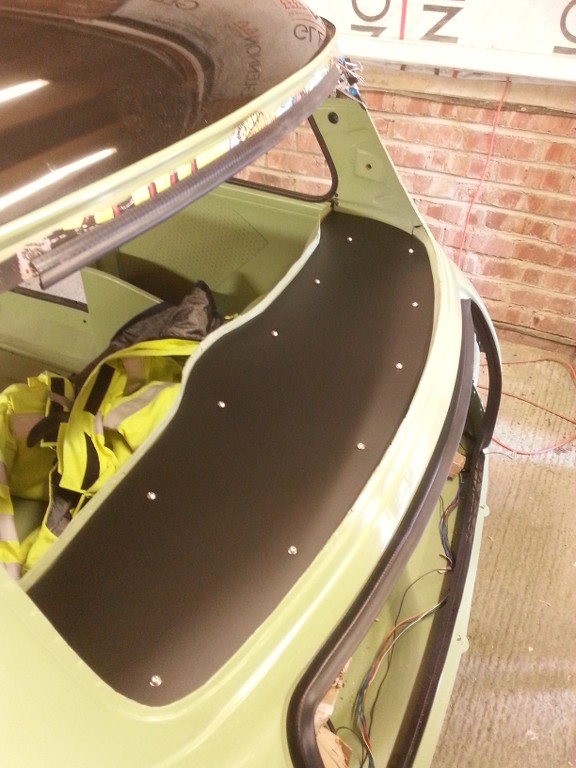
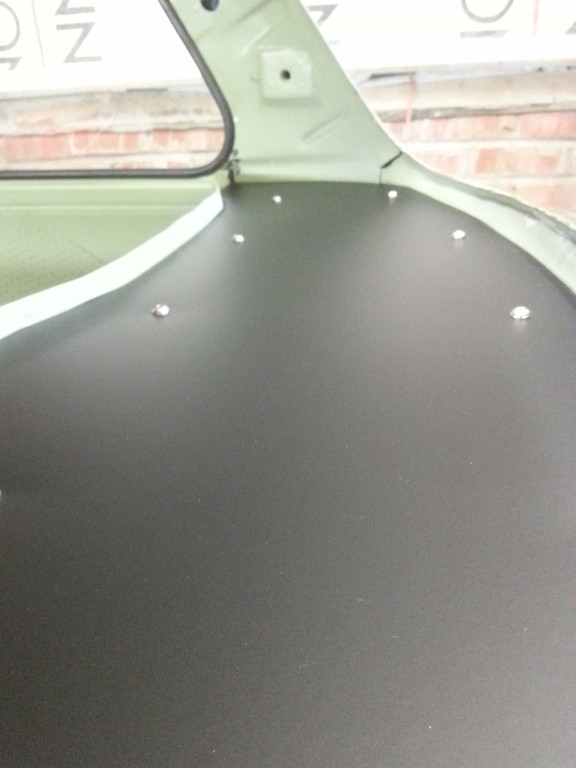
Not been terribly dedicated to the mini as of late. But i did get a bit done, headlining complete, windows in and rear parcel shelve made (granted its cheap and cheerfull but it will do until i make up my mind regarding the back seat area)
healining ...
im well chuffed with how it turned out.
Windows in...
still need to put the fillet in, the tool is at my dads house, will lift it nect week when im having my sunday dinner :)
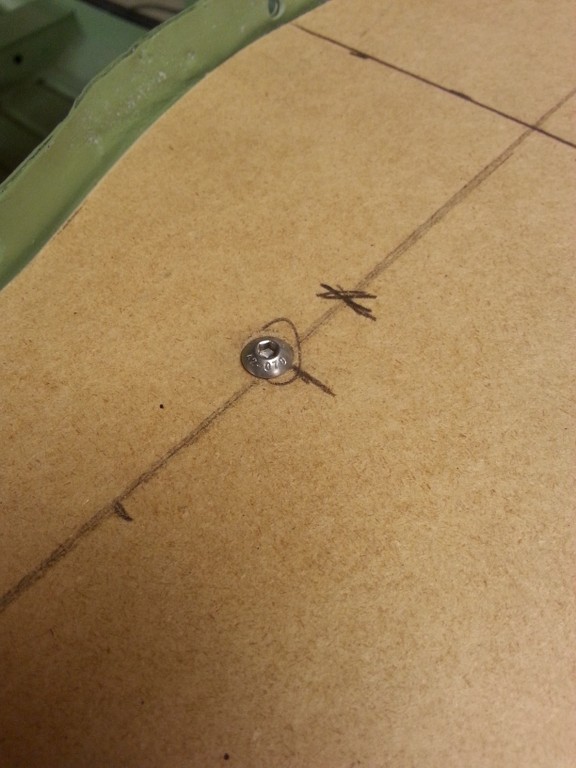
Parcel shelf...
Im dead pleased with how it turned out, so simple and effective
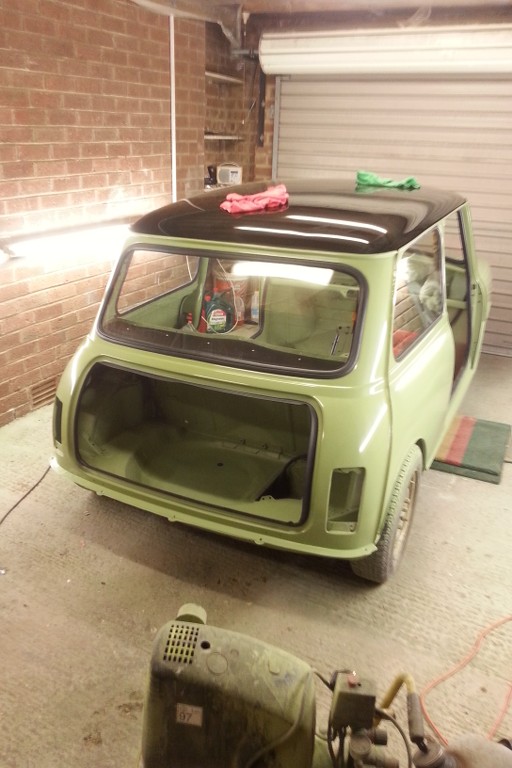
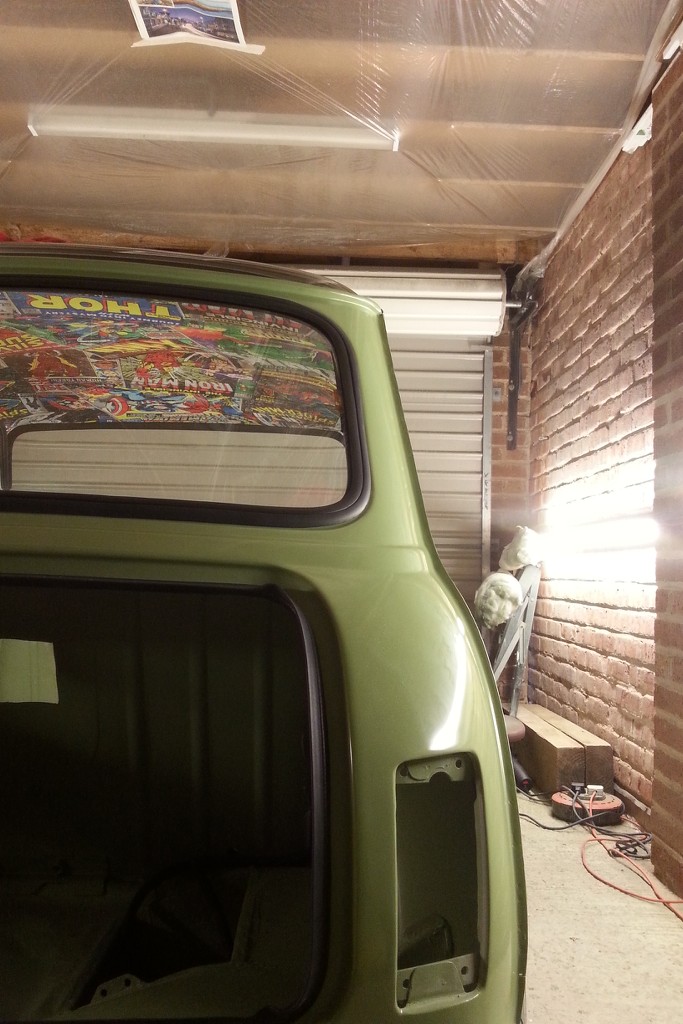
And to finish up, a wee artsy phartsy pic of the rear
stay tuned for more madness, Dave
#87

Posted 31 March 2015 - 06:53 PM
That headlining is so cool ![]()
#88

Posted 31 March 2015 - 07:00 PM
Wow just looked through the whole thread....its amazing.........all that hard work...well done so far....... ![]()
#89

Posted 13 April 2015 - 02:21 PM
Excellent thread - inspiring work, thanks for sharing.
[Edit] Found the answer in your paint thread :) [/Edit]
Good luck with the rest of the rebuild.
Stu
Edited by StuM, 13 April 2015 - 02:32 PM.
#90

Posted 19 April 2015 - 10:37 PM
1 user(s) are reading this topic
0 members, 1 guests, 0 anonymous users


