work looks great!
The Flinstone Mini - Loads Of Pics
#31

Posted 10 August 2014 - 06:57 AM
#32

Posted 16 August 2014 - 07:11 PM
Thanks for all the encouragement, it certainly helps! Time for another update,
Got both doors fixed and re-skinned, no pics as i forgot ![]()
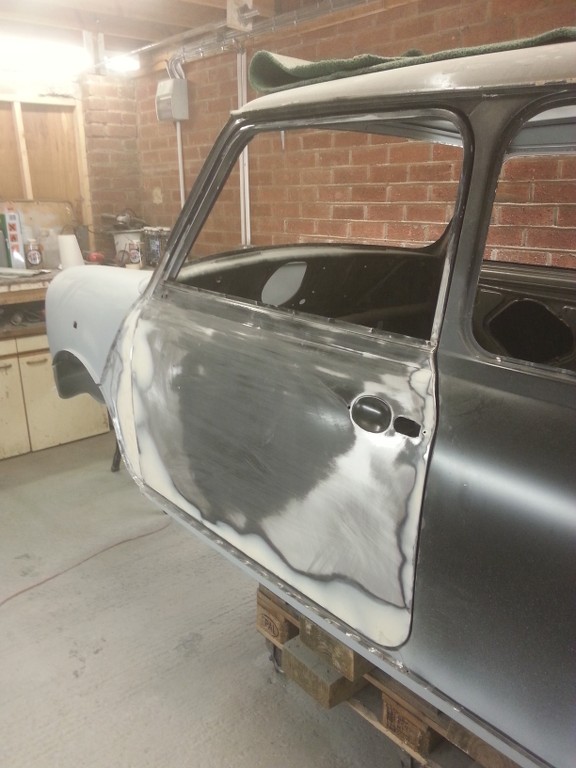
Moving on, I fitted the front end for the final time and welded it all up. The A-panels were hard work as I had replaced the inner flitch panel and thus the A-panels sat too far out from the door. I ended up cutting the inner flitch and welding it back on again.
with that all sorted I then got the spray gun out, HVLP for those interested.
I gave the belly of the mini a dusting of etch primer and then a shot of 1k primer at a 2:1 mix as i didn't want it building up too thick.
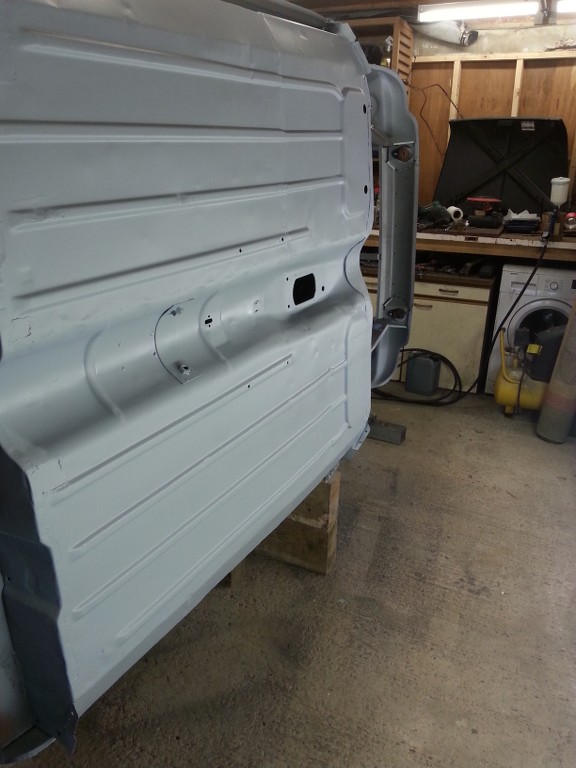
I then seam sealed the belly and got to work on fitting the outer sills.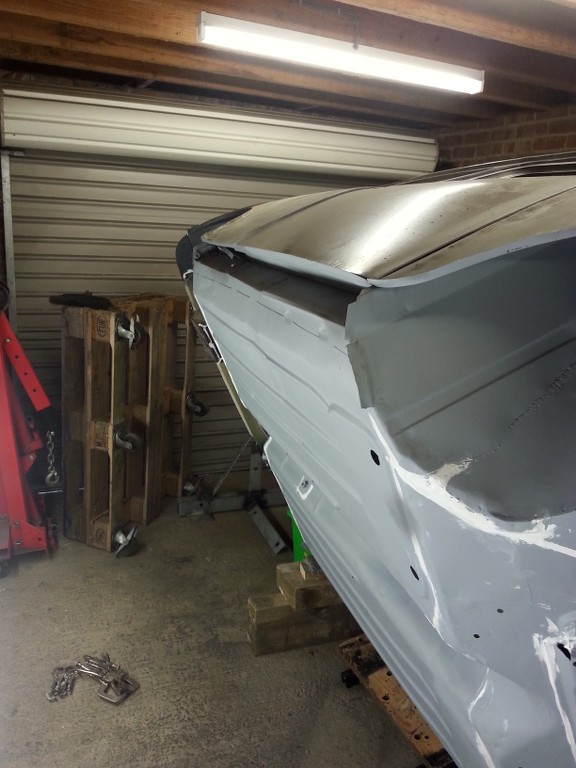
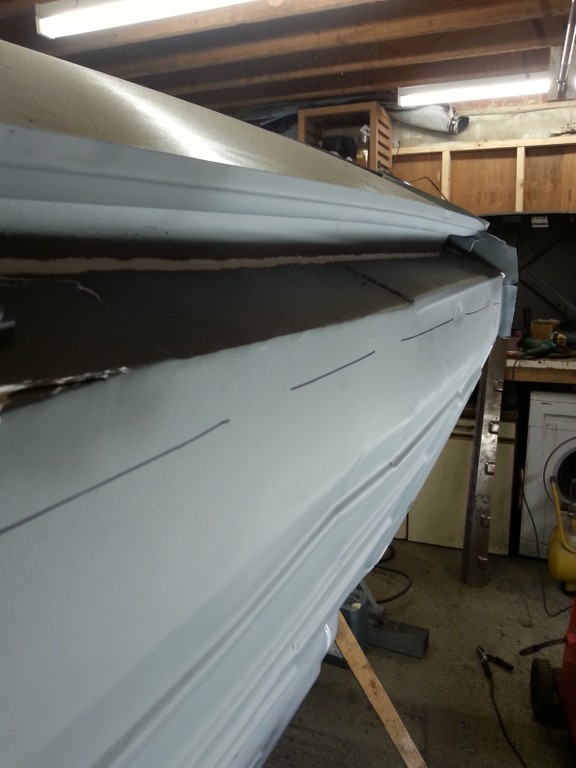
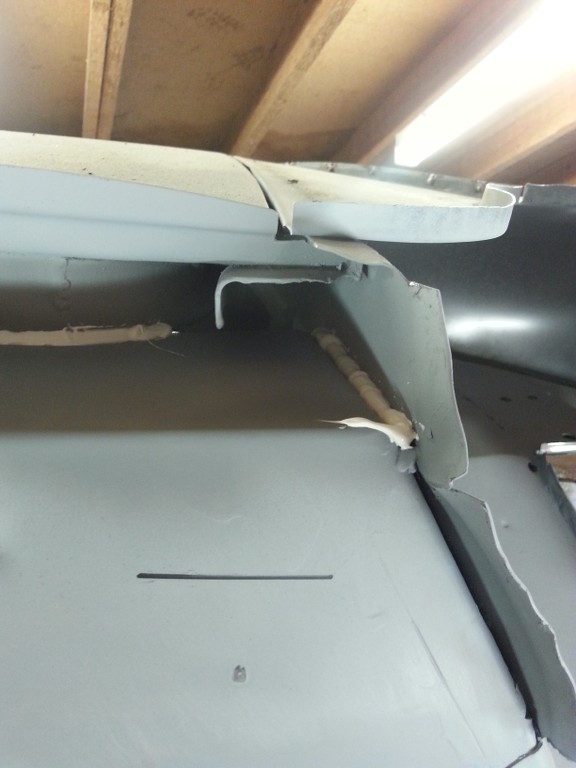
Before fitting the sill i welded up the jacking hole and the other random holes.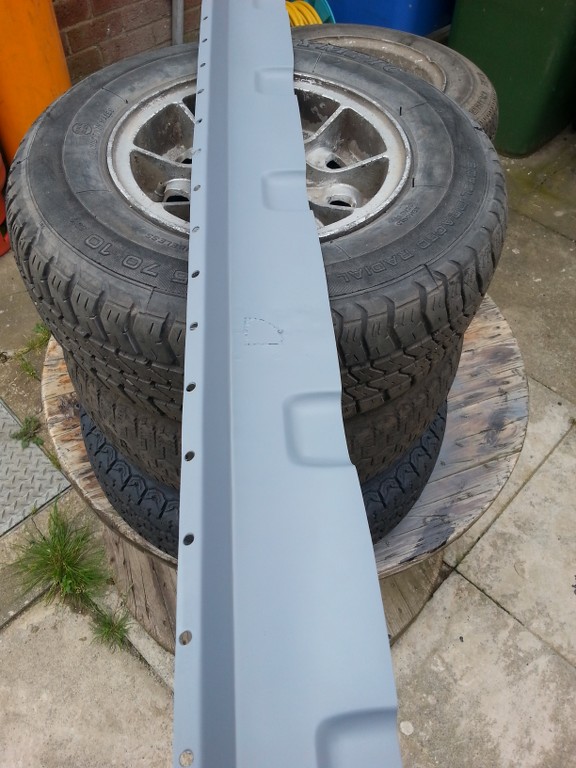
The sill was then clamped on and the plug welding began.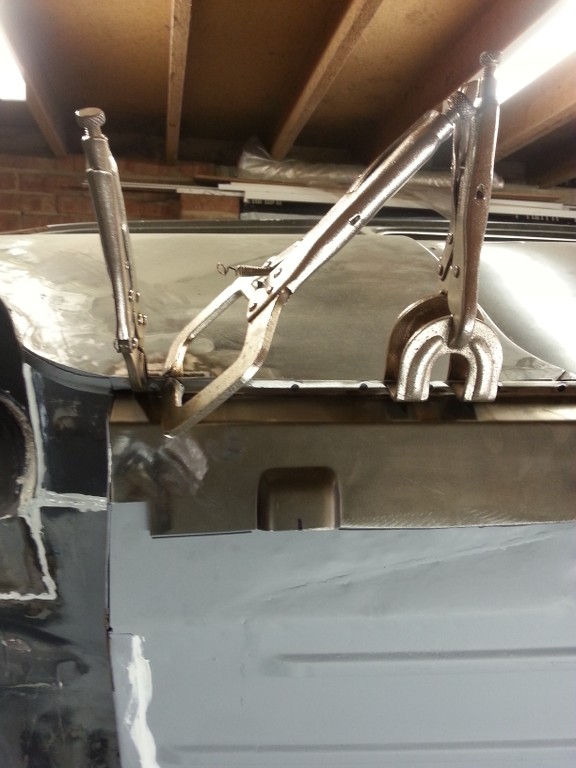
Once all the plug welds were done on the sill / door step edge i then tack welded the lower edge to the floor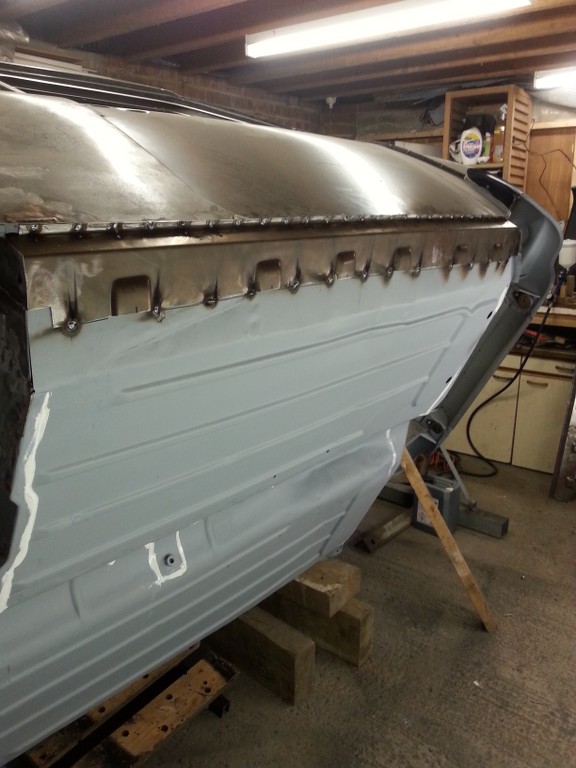
and then I seam welded between the vent holes. Nice and straight.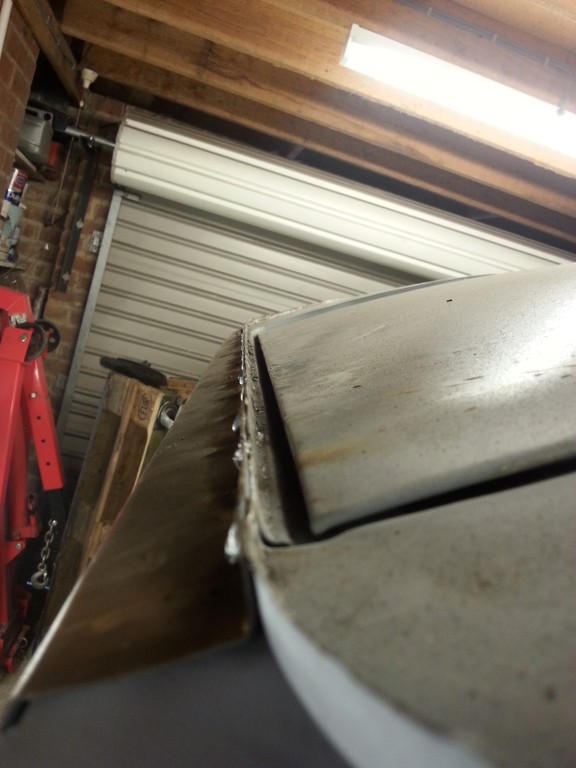
once finished i then seam sealed the welded areas.
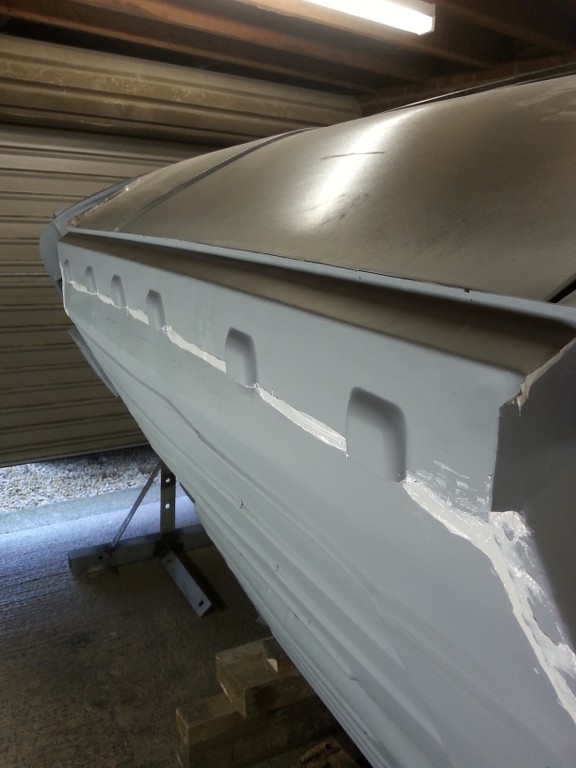
Tomorrow I will weld the passenger sill on.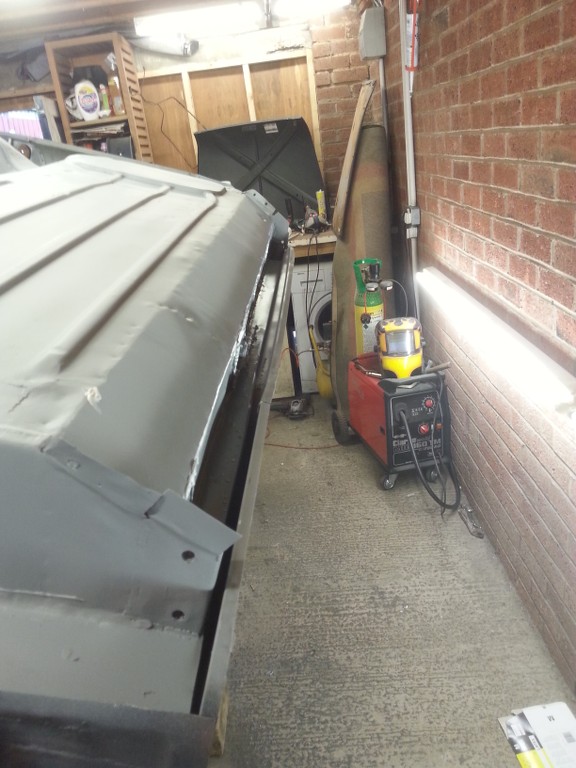

Keep on welding folks,
Cheers, David
#33

Posted 16 August 2014 - 07:56 PM
Outstanding work !!! Very impressed . What welder model welder are you using ,? it [ and you ] are doing some tidy welds !
#34

Posted 16 August 2014 - 09:11 PM
cheers bubble bobble,
Im using a clarke 160tm with argon & co2 mix, with 0.6mm wire. I only started welding in April of this year, practice makes perfect.
On the off chance do you like bubble bobble the game? I have an original bubble bobble arcade machine made by taito. great game to play along with galaga and track and field !
David
#35

Posted 18 August 2014 - 09:15 PM
Yes , it was the first thing that came into my mind for a name , think i played it on my friends Atari st 520 back in the day . I can always remember the music ! Although i might be getting a mixture of that and 'Rainbow islands ' mixed up !
Great games .
#36

Posted 15 September 2014 - 09:34 PM
Its been a few weeks so time for an update,
Been busy doing non-mini things, painting the house etc so progress has been a tad slow, not to mention next door having baby number 2, so being a great neighbor i'm making a conscious effort to keep the grinding noise down ![]()
I last left off with needing to do the other sill, here we go.....
all new and solid. I then got the belly of the beast ready for more etch primer and gave it a good going over with the spray gun
All seam sealed and no where to go ![]()
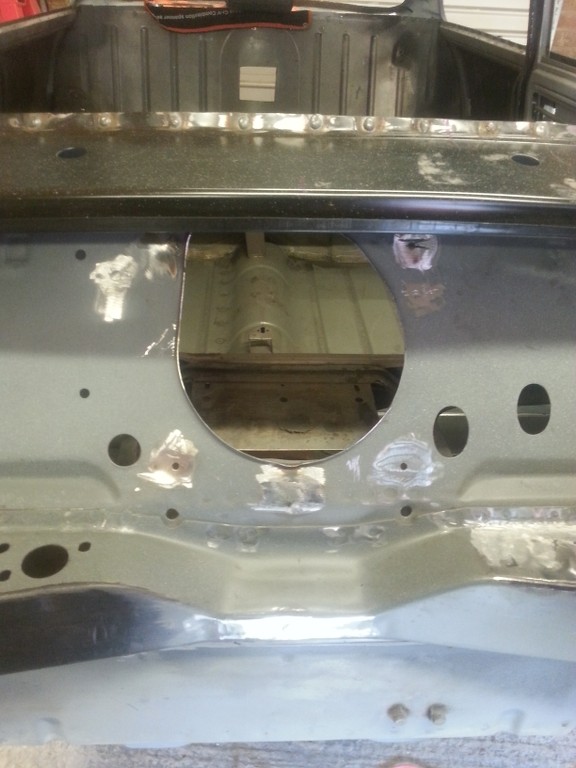
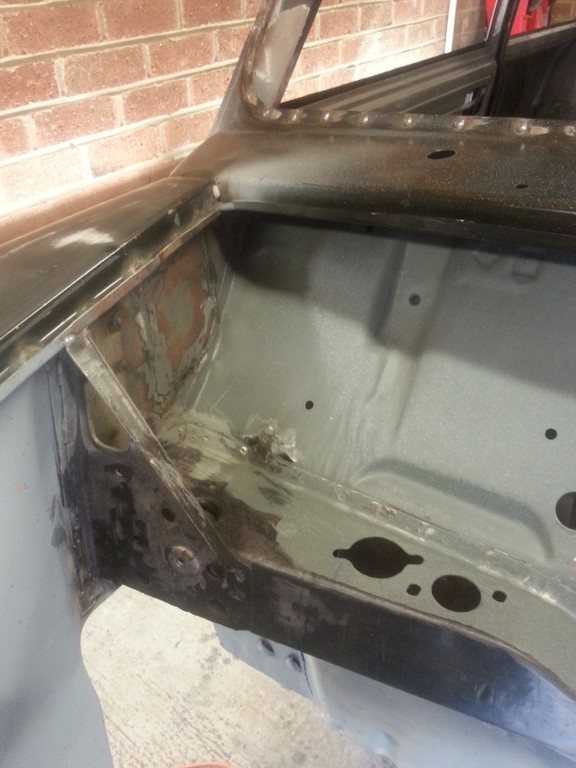
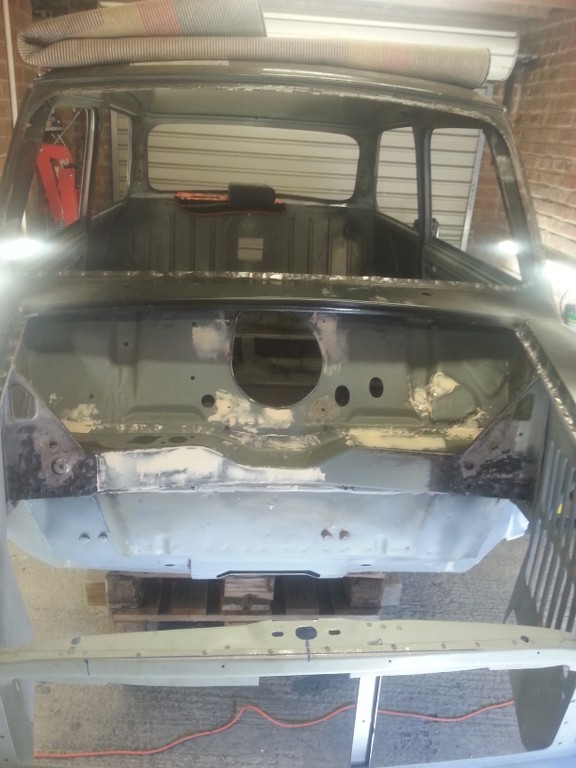
I then turned my attention to the engine bay, my plan is to have a removable bonnet so I would like everything to be just right when i'm at shows.
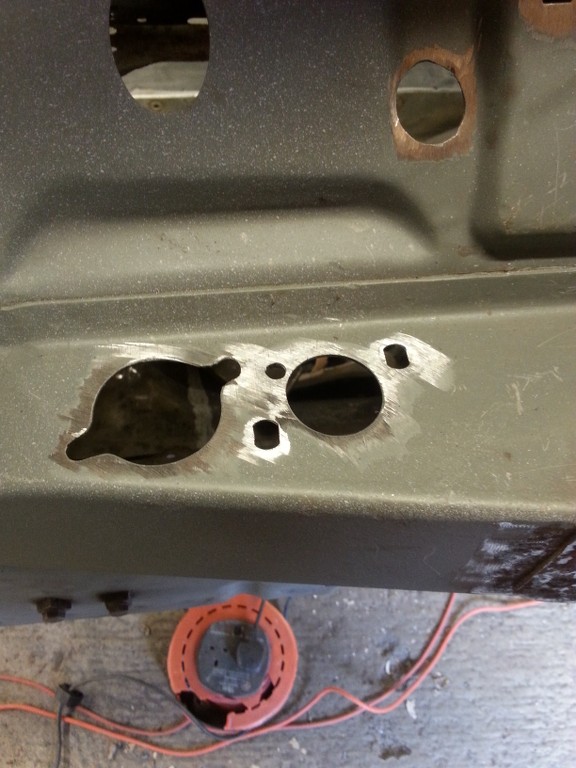
First up was the blanking plate on the cross-member. p.s. my heater hoses go through the bulk head.....
All welded up.
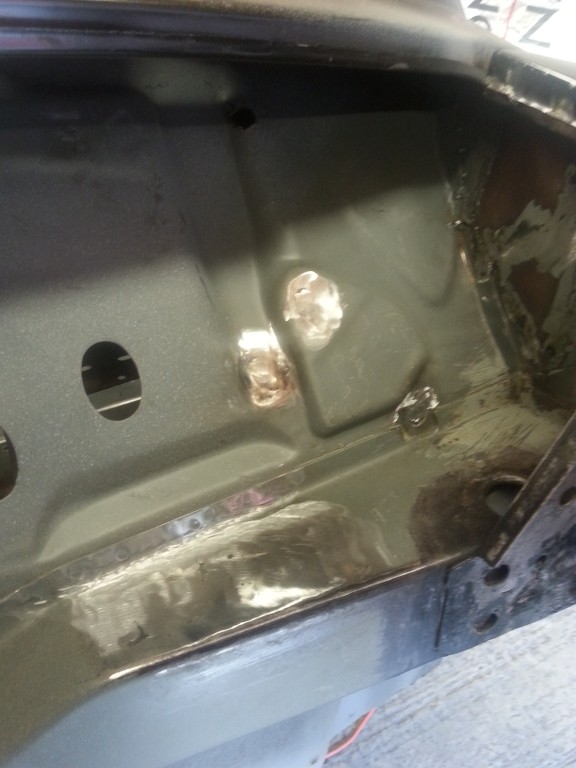
I also welded up the wiring loom holes and the wiper motor holes as I will be modifying my wiper motor to fit inside the dashboard along with the washer bottle and fuse box. Im going for the "how does the engine work, i cant see any wiring" type of look, i believe its called shaved or euro or something?
I even removed the random bulges in the inner flitch panel, I think these were to make room for the wiper motor
A skim of filler and the start of some major elbow grease in the way of sanding to come
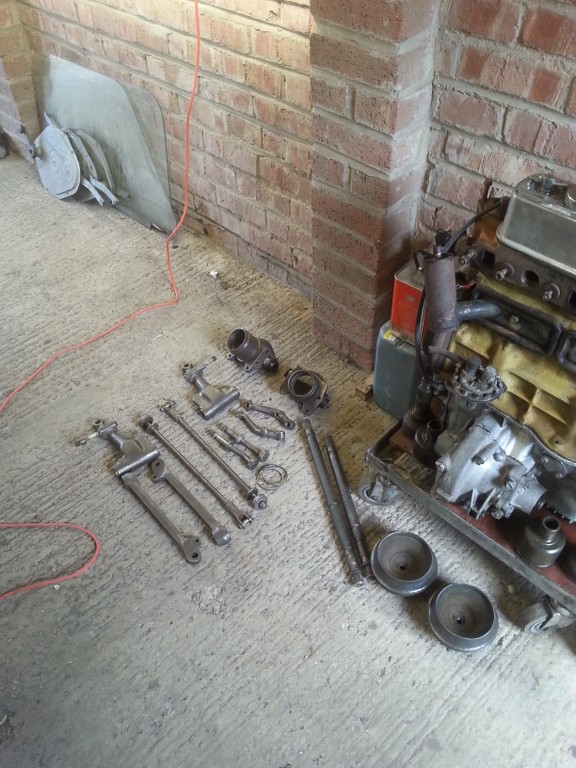
I then turned my attention to cleaning the suspension components. I also washed the engine ready for re-building.
I had to change the upper arm bearings as they were seized, I made a video ![]()
http://youtu.be/NKex...oVy08poXRbBaM6A
Im going to concentrate mostly on cleaning and refurbishing parts for the time being while next doors baby settles in.
Talk soon, David
#37

Posted 20 October 2014 - 08:13 PM
#38

Posted 20 October 2014 - 11:46 PM
I had to change the upper arm bearings as they were seized, I made a video
http://youtu.be/NKex...oVy08poXRbBaM6A
I watched your video at the weekend as I struggled to get my bearings out. Damn, you made it look easy. I didn't have a welder, so had to got the big F-in hammer route.
Awesome work so far, I don't think I would have the balls to go that deep into a resto. Keep it up, its looking good!
#39

Posted 22 October 2014 - 06:49 PM
Awesome work so far, I don't think I would have the balls to go that deep into a resto. Keep it up, its looking good!
Cheers Colin, I had no other option but to rip the car apart, or should I say rip what was left apart ![]()
I should really knock up an update, I am in full primer mode and currently block sanding the panels
talk soon, David
#40

Posted 22 October 2014 - 07:01 PM
I fell like a fraud seems like am botching my mini back together stunning work can't wait to c it at shows next year obviously I won't be parking to close to u lol
Cheers Steve, I'm painting it myself so maybe she wont be to bad to park beside after all ![]()
Maybe see you at the next club meet or get a race over to the garge
#41

Posted 22 October 2014 - 07:32 PM
Lol painting is the easy bit the preps the killer finding the sweet spot with filler took me awhile to get.When's the next meet pm me your garge details lolI fell like a fraud seems like am botching my mini back together stunning work can't wait to c it at shows next year obviously I won't be parking to close to u lol
Cheers Steve, I'm painting it myself so maybe she wont be to bad to park beside after all
Maybe see you at the next club meet or get a race over to the garge
Edited by mini stephen, 23 October 2014 - 08:58 PM.
#42

Posted 24 October 2014 - 12:40 PM
Loving your work! Gets me motivated to move my arse into gear with mine ![]()
Just quickly though don't the heater hose holes you blanked off also serve as a mount for the engine steady?
#43

Posted 01 November 2014 - 09:14 PM
Loving your work! Gets me motivated to move my arse into gear with mine

Just quickly though don't the heater hose holes you blanked off also serve as a mount for the engine steady?
Hey Jono, my engine steady is below the brake master cylinder (left hand side as you look at the car from the front) all tho I haven't welded it on yet, keep forgetting. You can buy bolt on engine steady's that use the holes I welded up, I wont be pulling that mush torque in my 998 so wont need the bolt on one ![]()
talk soon, David
#44

Posted 01 November 2014 - 09:20 PM
#45

Posted 01 November 2014 - 09:25 PM
Time for a much needed injection of new pictures, I no how we all love them.
The welder has been put away for the time being, I only have three things left to weld, the petrol tank mount on the boot floor, the bonnet pin triangles at the scuttle panel corners and the internal wiper motor mount, more to come on that later this month ![]()
Most panel prep and the like this past month, any who, enough of me rabbiting on, time for the pics....
We left off with this,
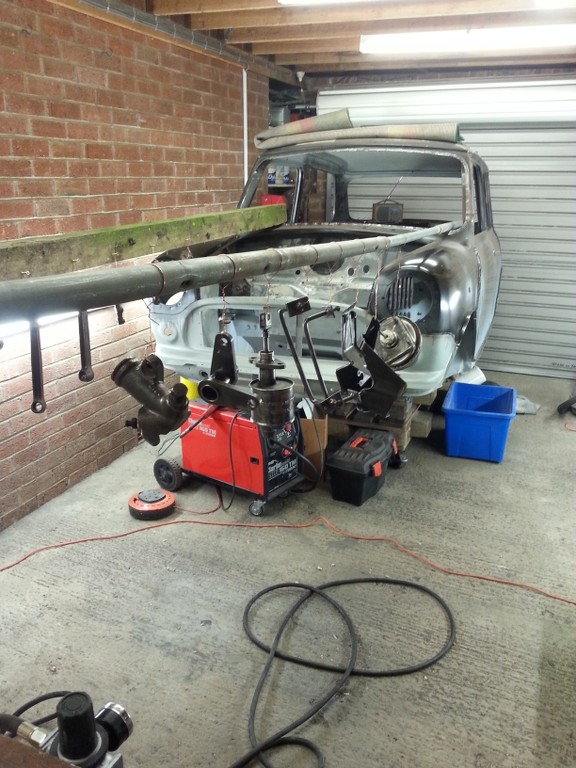
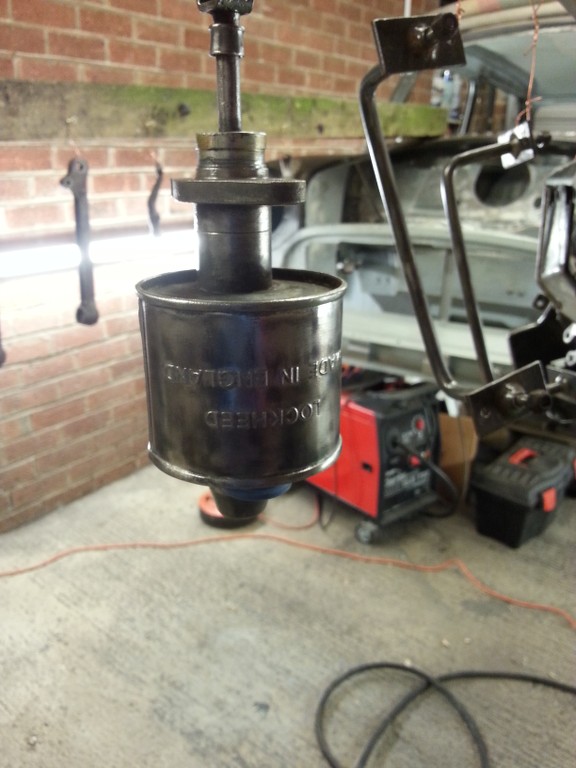
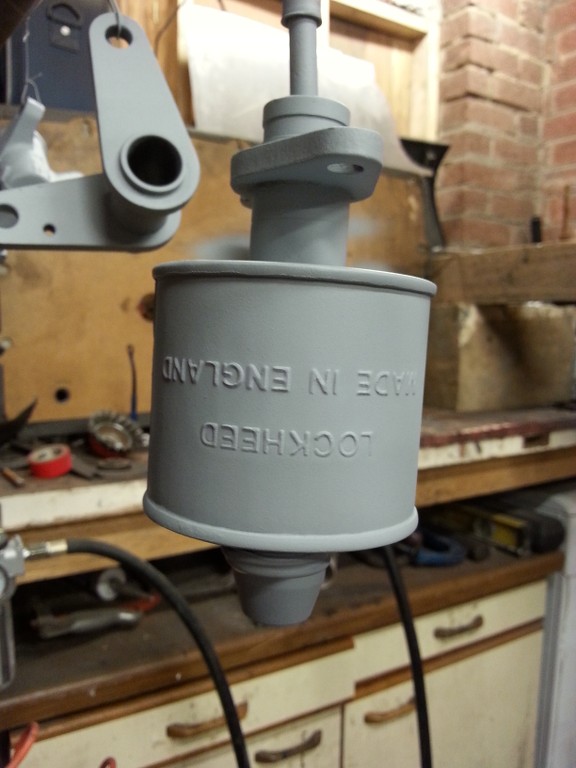
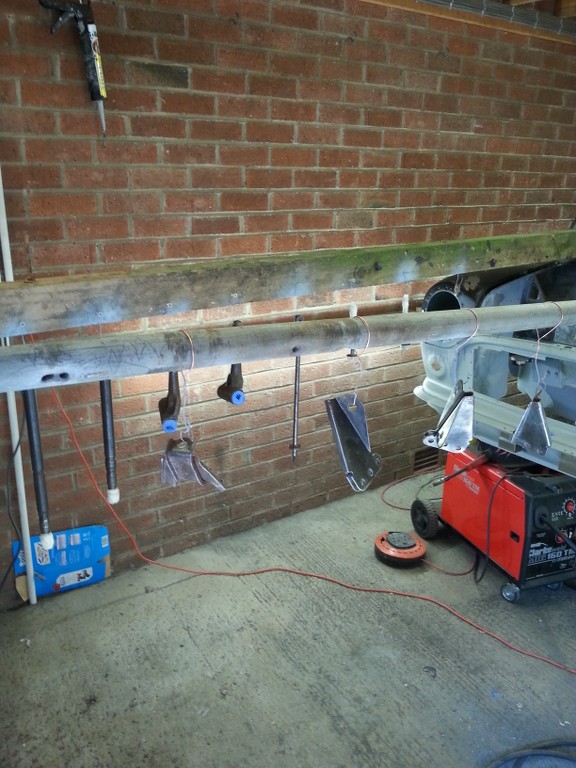
and then hung the things out to dry and hit them with some etc primer
the parts are now in a box waiting on final colour, black or body colour, decisions decisions
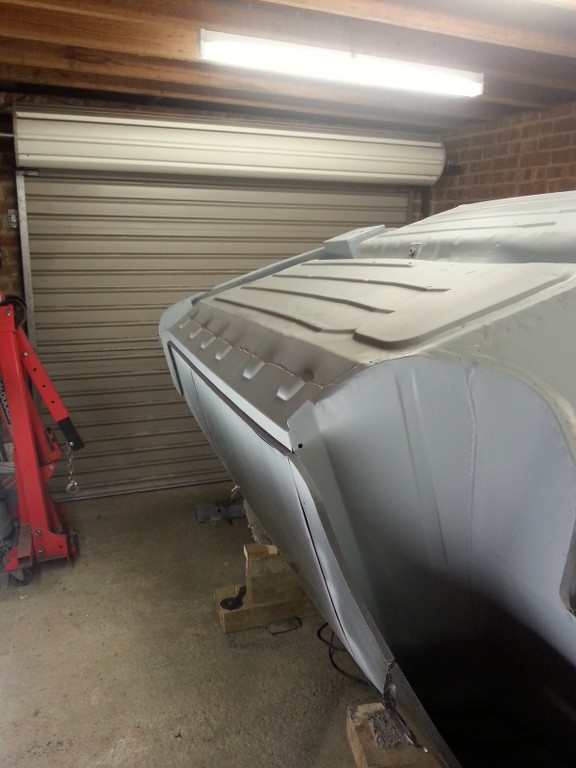
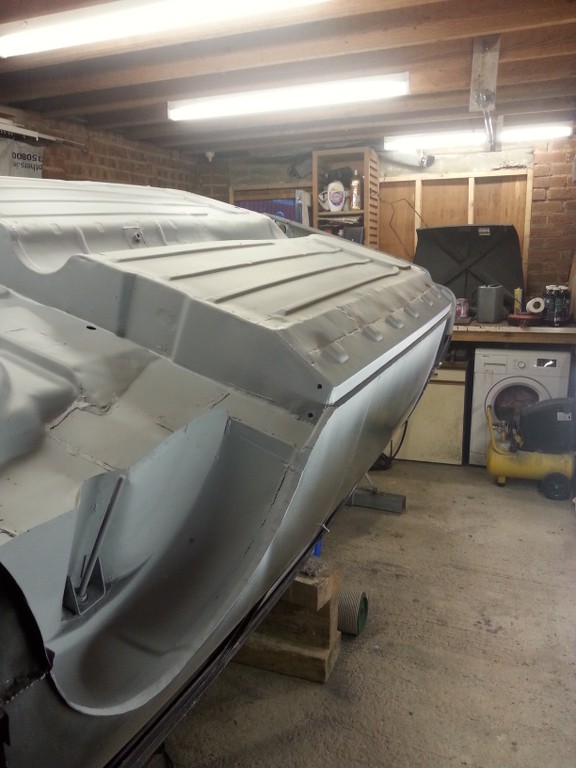
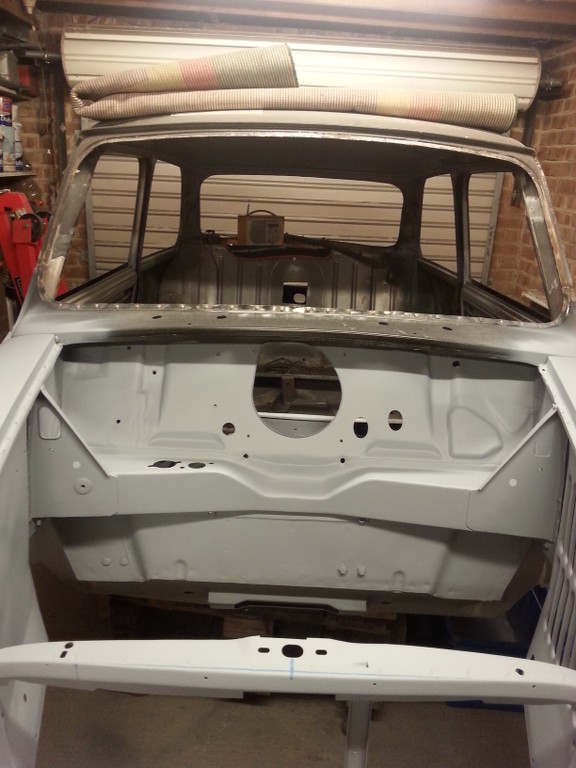
I then moved to finishing off the engine bay smoothing,
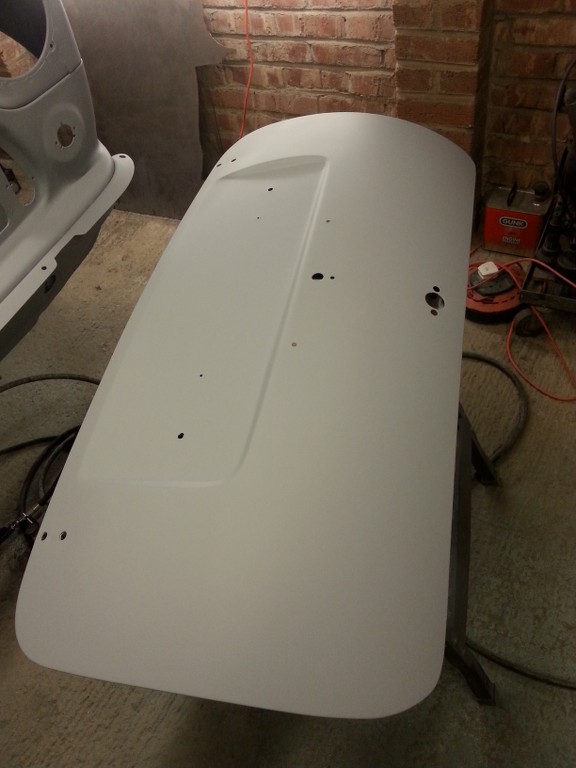
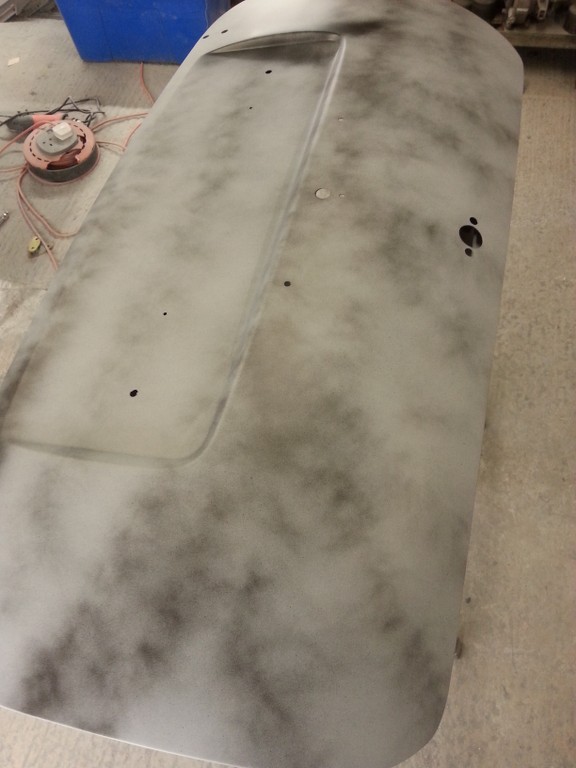
and then gave the boot lid a coats few coats of high build primer
followed by some block sanding with the aid of a guide coat
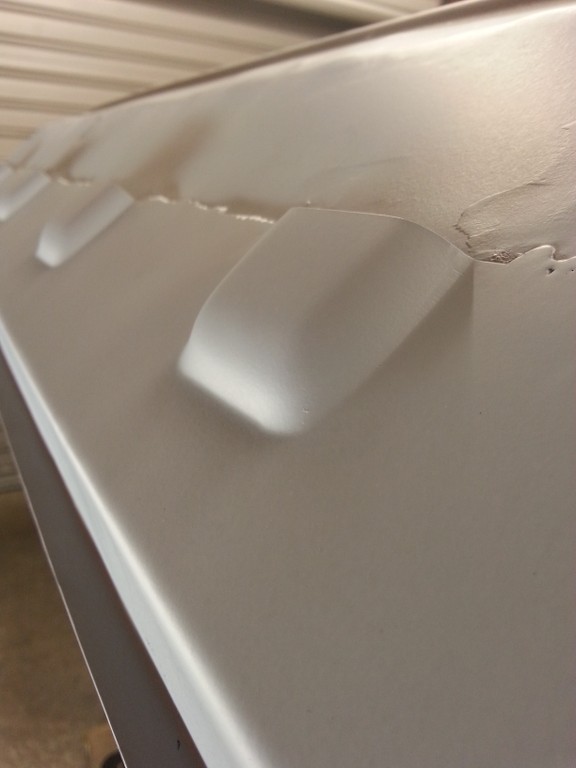
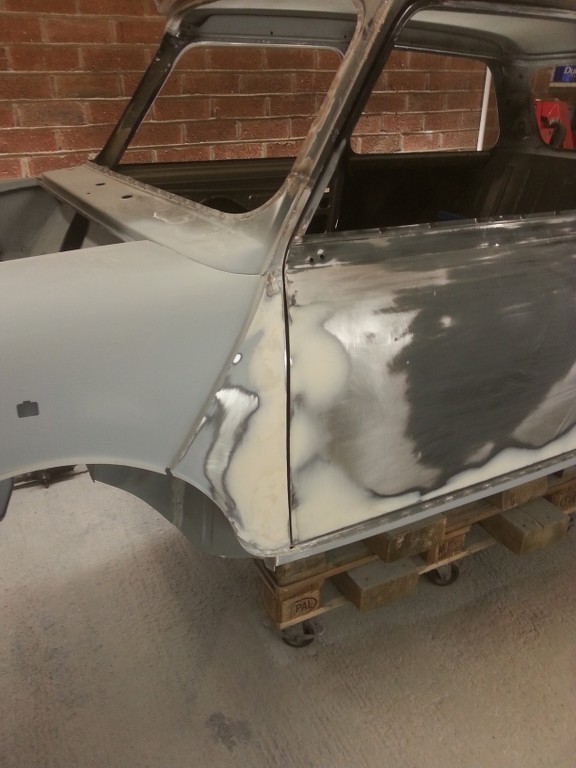
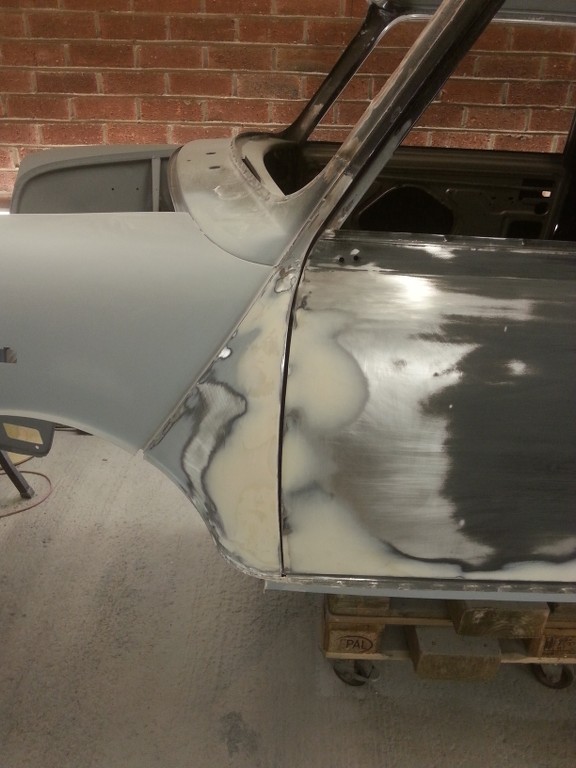
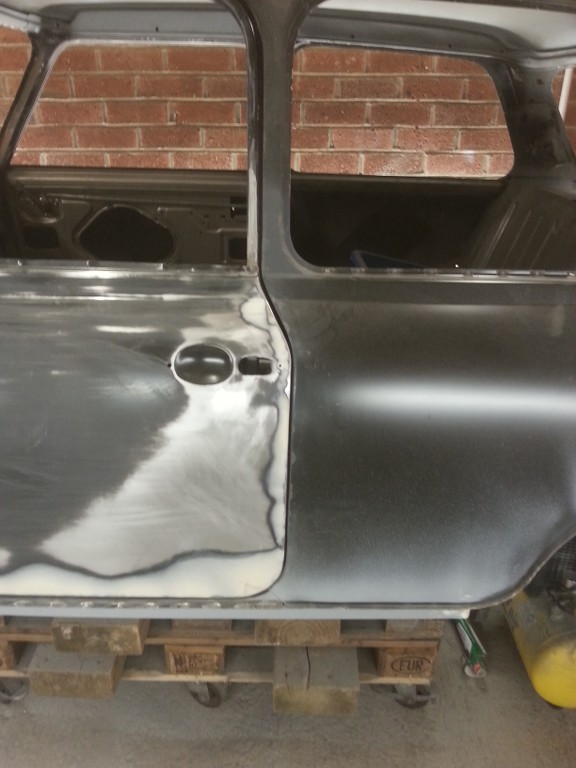
After this I then sorted out my not so perfect A panels and doors. If you remember, I had to replace the inner wings and door posts, this left me with a not so perfect width on the A panel. after alot of swearing and dolly work I got them moved in
3 user(s) are reading this topic
0 members, 3 guests, 0 anonymous users


