The Flinstone Mini - Loads Of Pics
#16

Posted 19 July 2014 - 06:21 PM
Looking at your progress made me get into the garage and cut out my floor pan
Cheers
Keep it up
#17

Posted 21 July 2014 - 04:21 PM
cheers guys, im very pleased with how the welding is going. I will stick up another update soon.
#18

Posted 30 July 2014 - 10:03 PM
Here comes the pics,
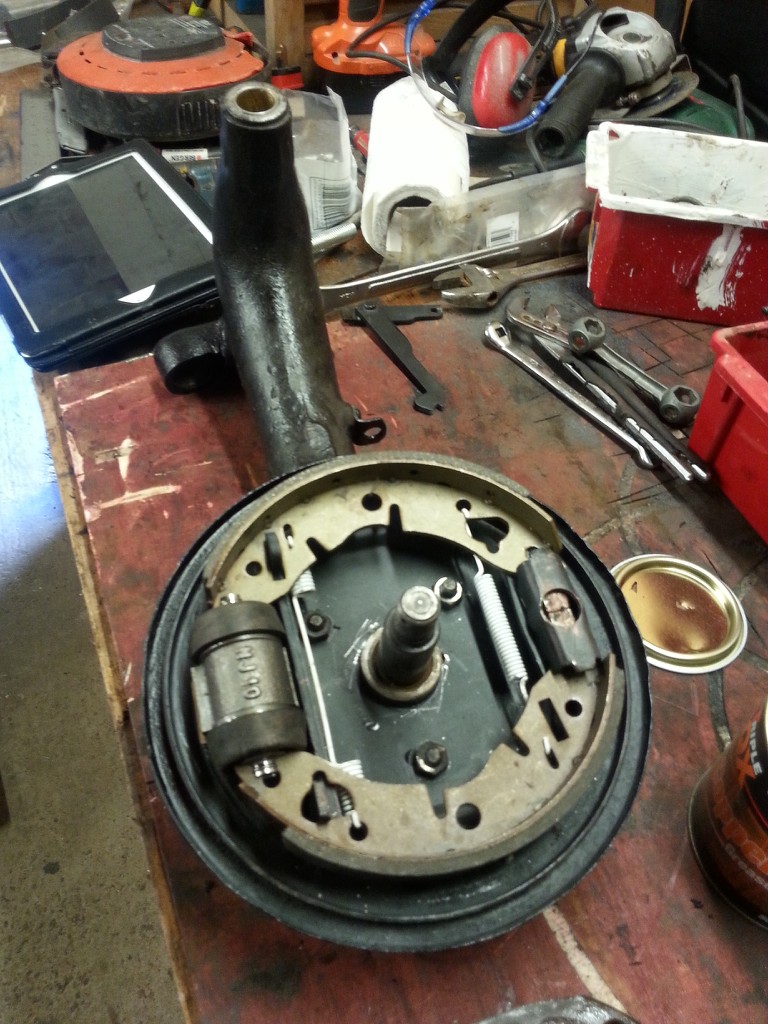
The rear arms of the mini......... crusty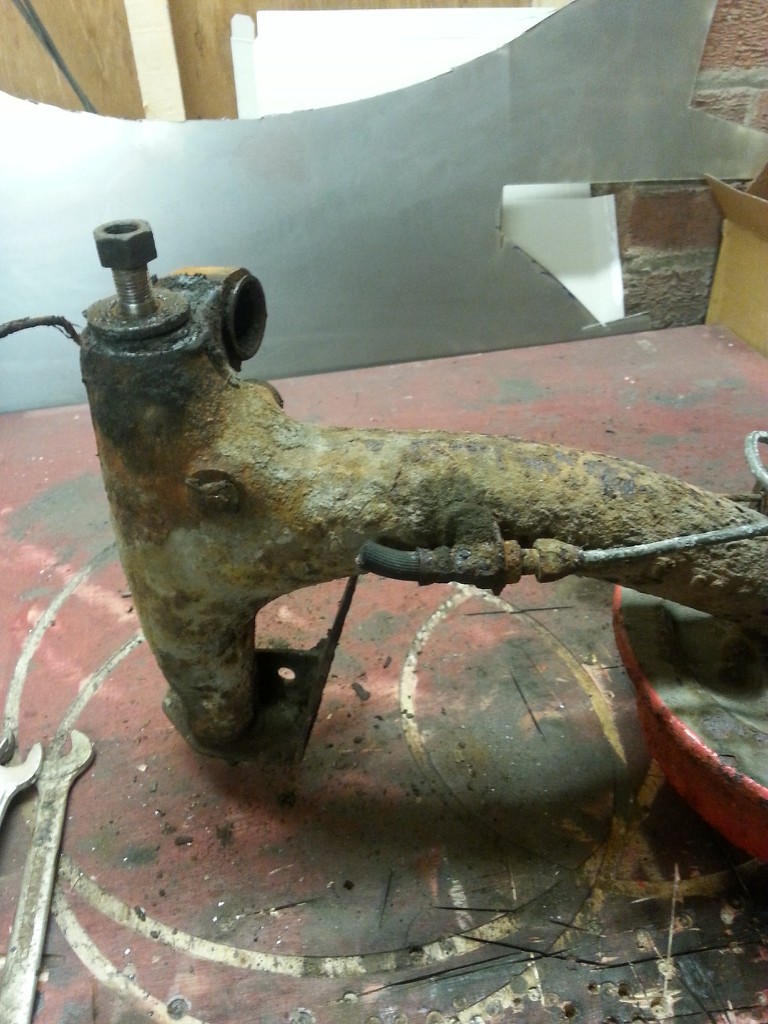
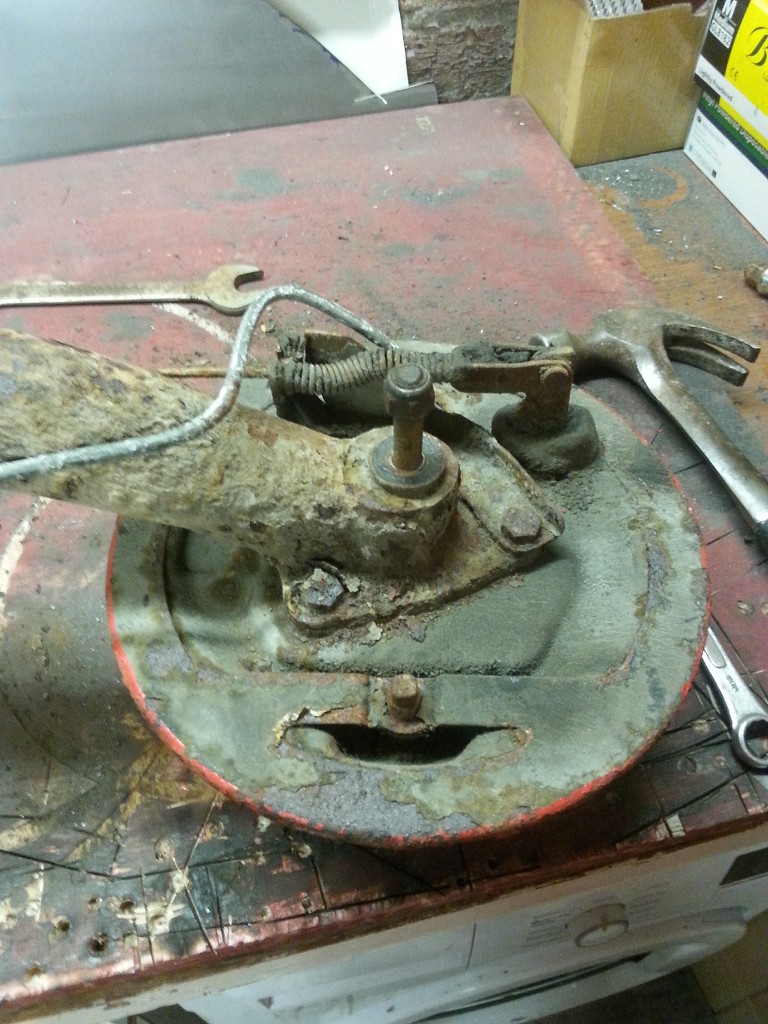
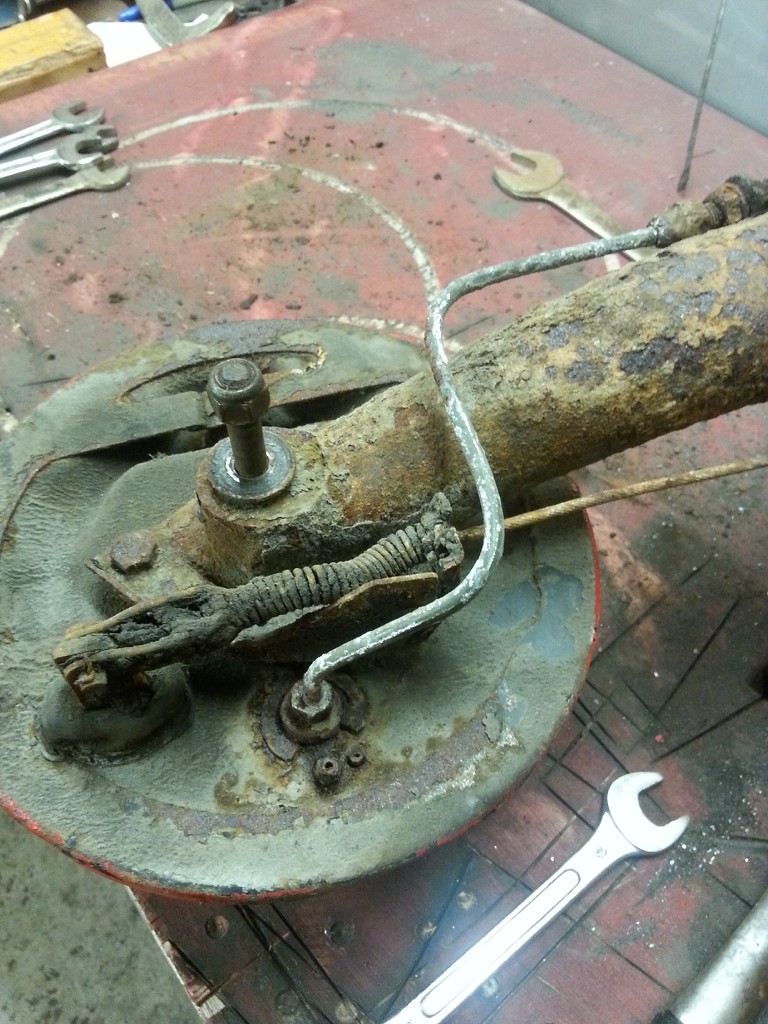
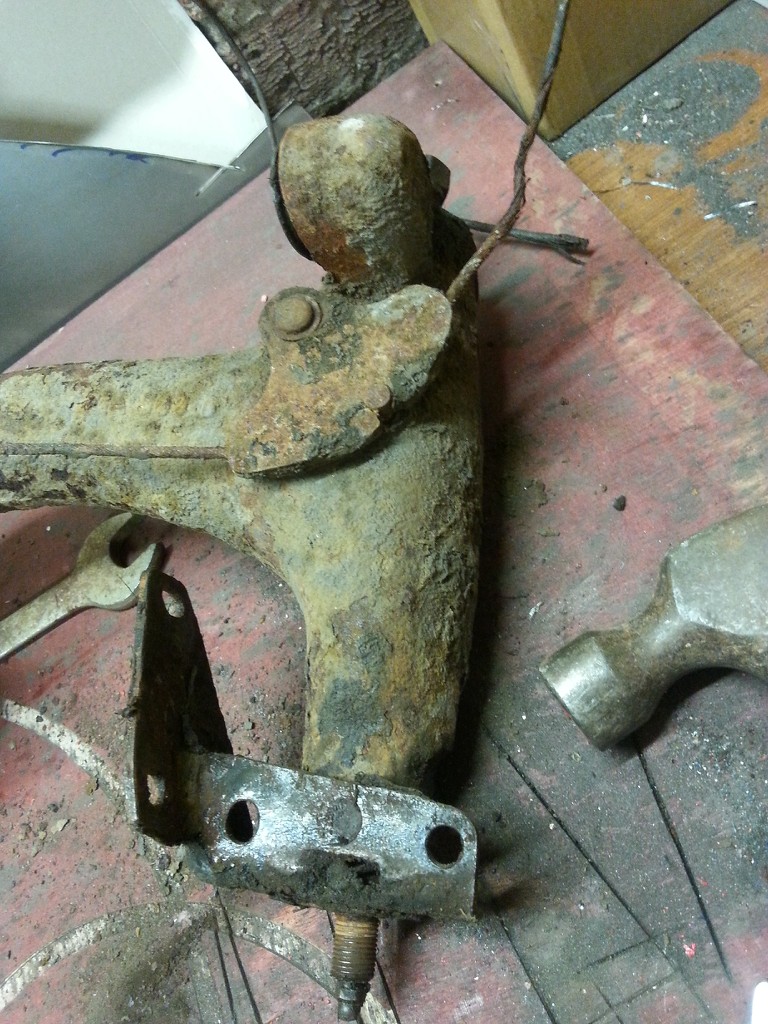
Time to get these bad boys out....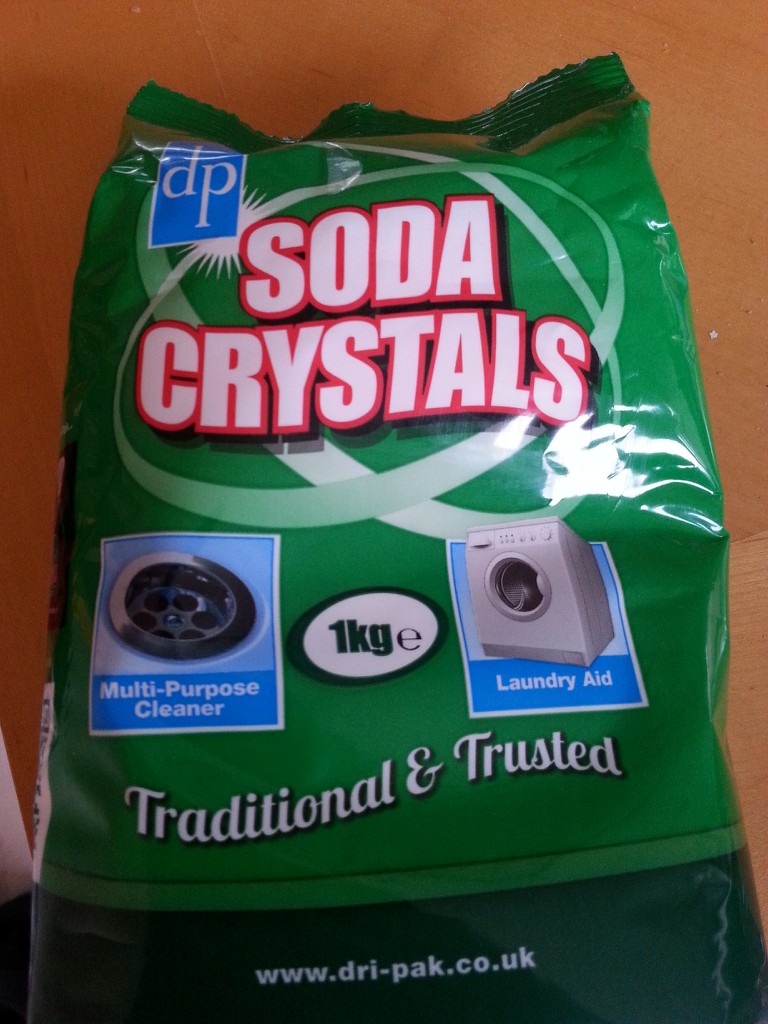
and a bit of this...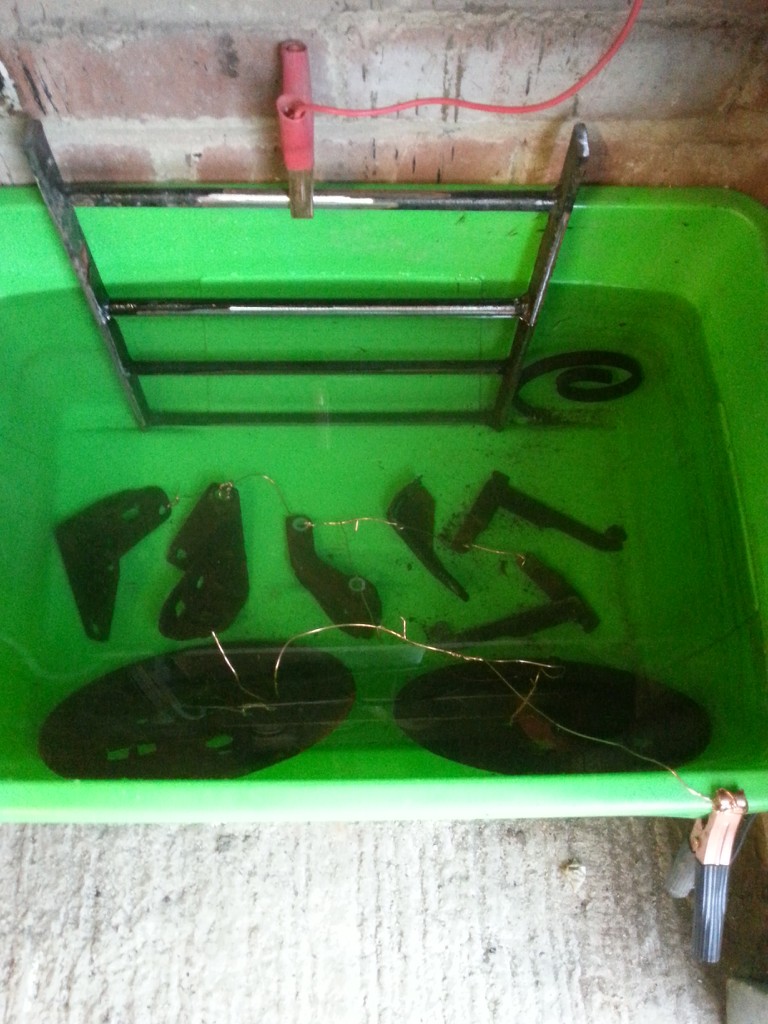
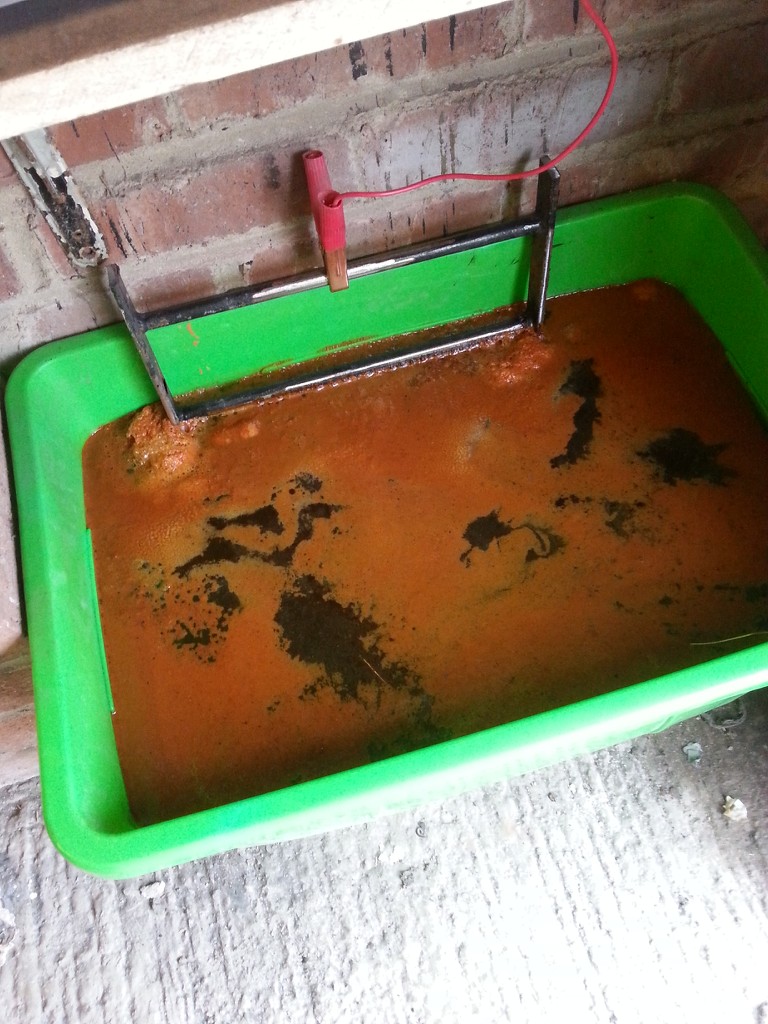
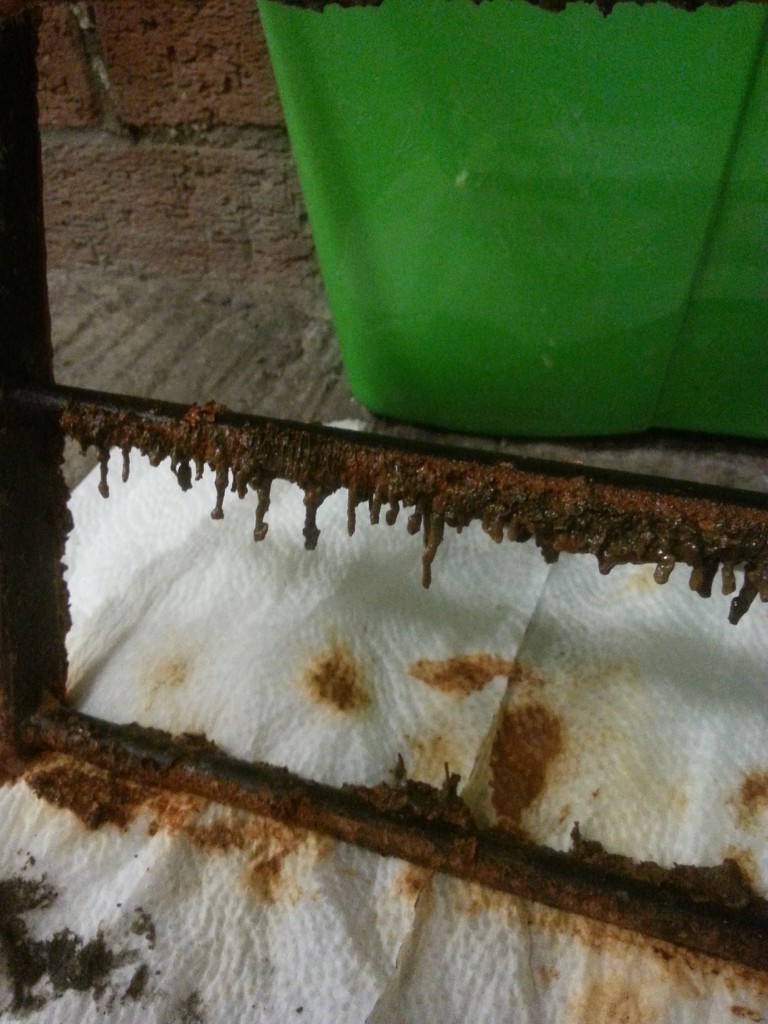
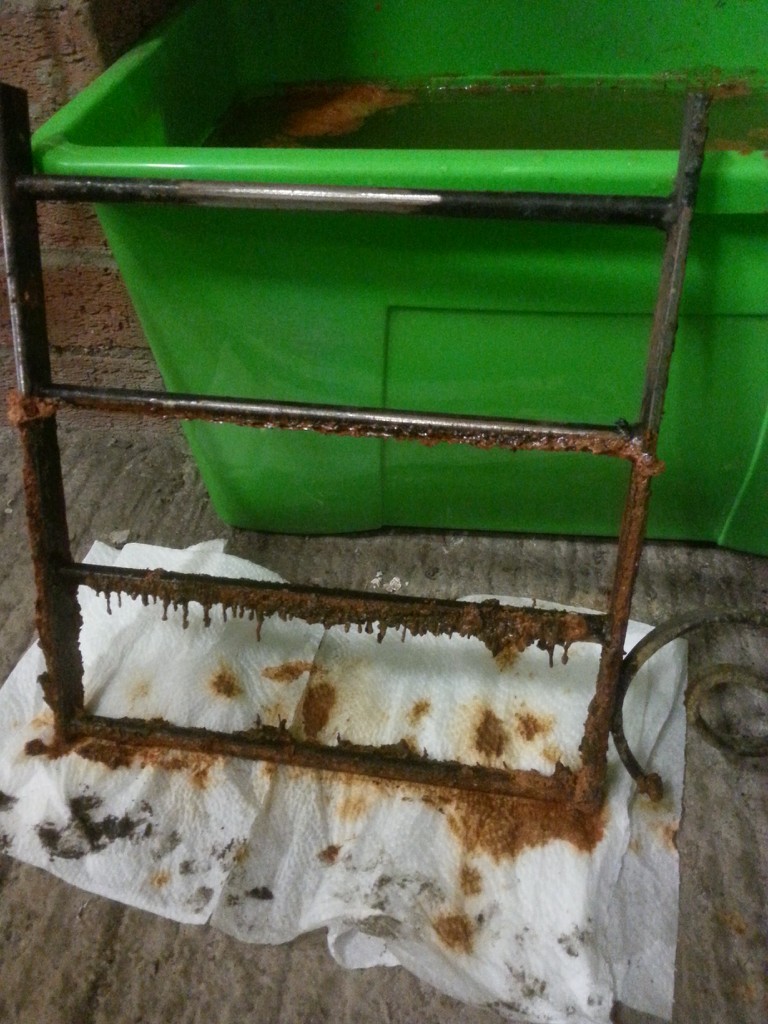
and the end result after a good wire brushing....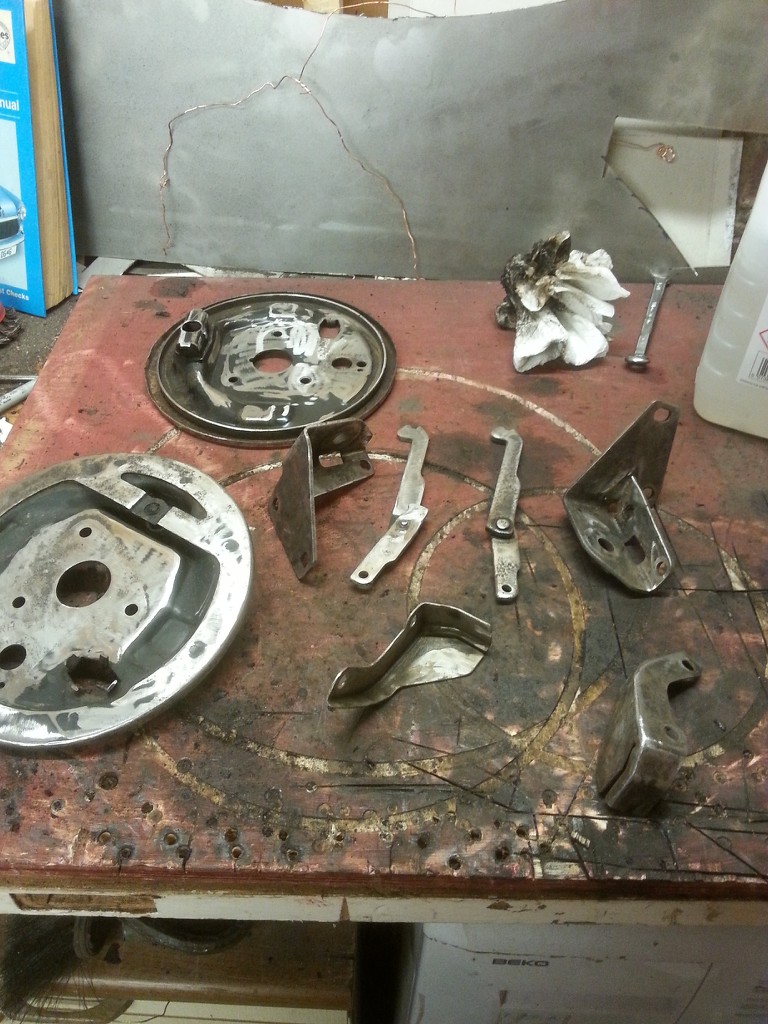
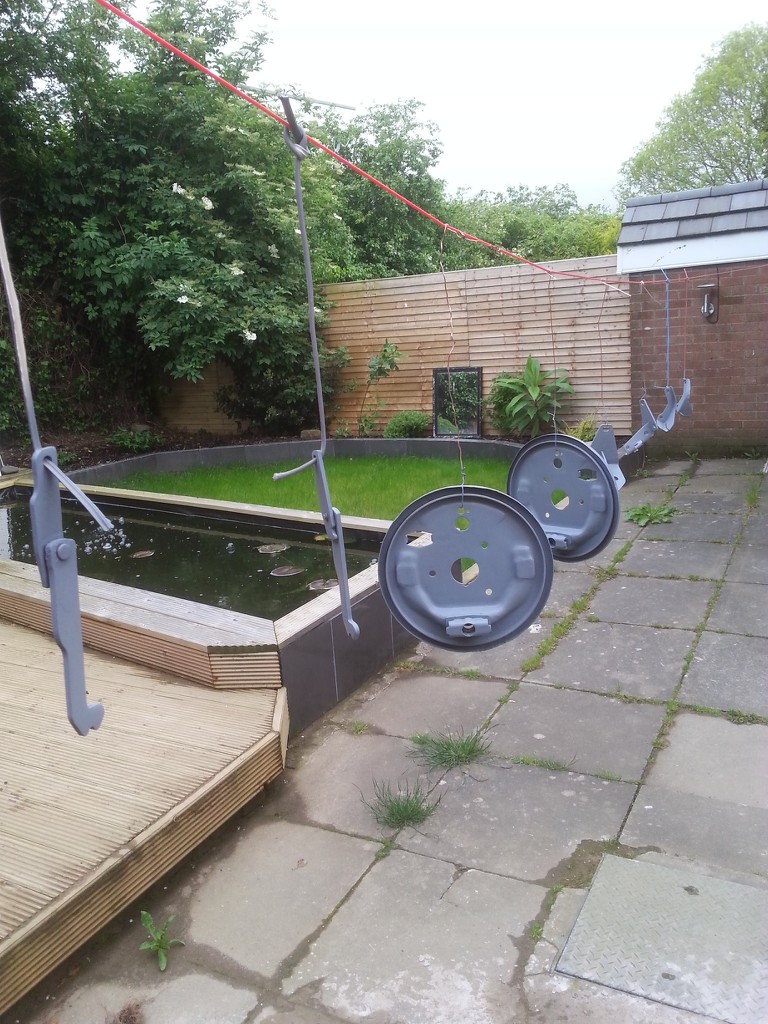
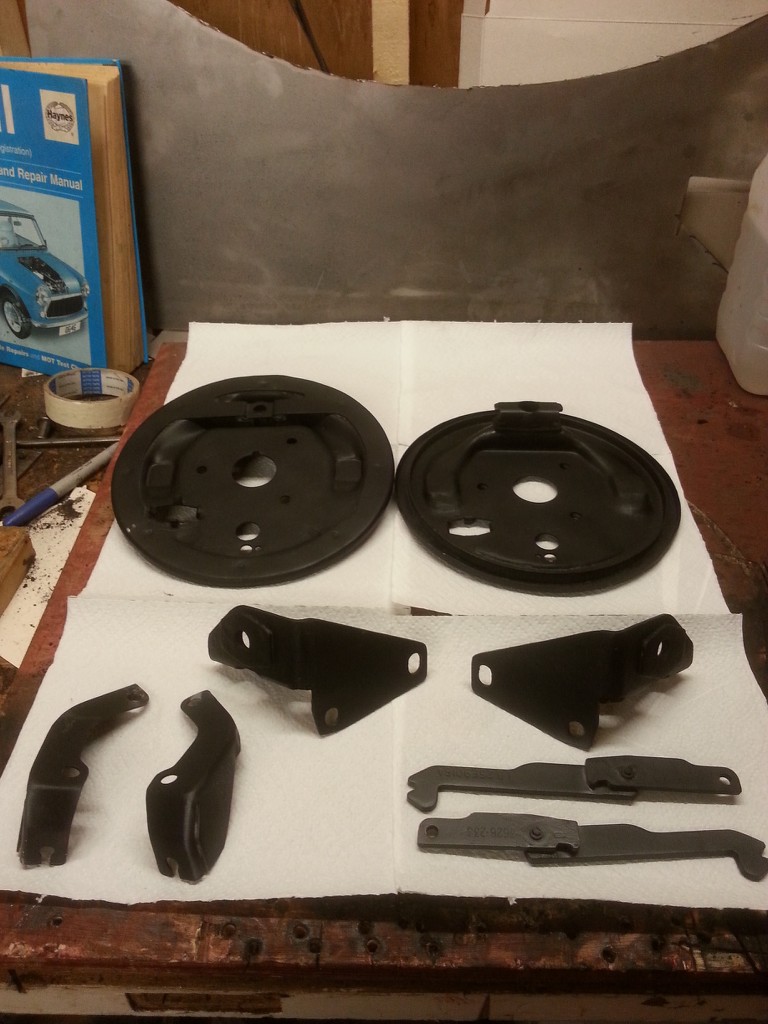
not bad for 99p of soada crystals
upon inspection of the rear arms i noticed one of them is shot due to dodgy worm bearings, aw well, it will make for a nice ornament :roll: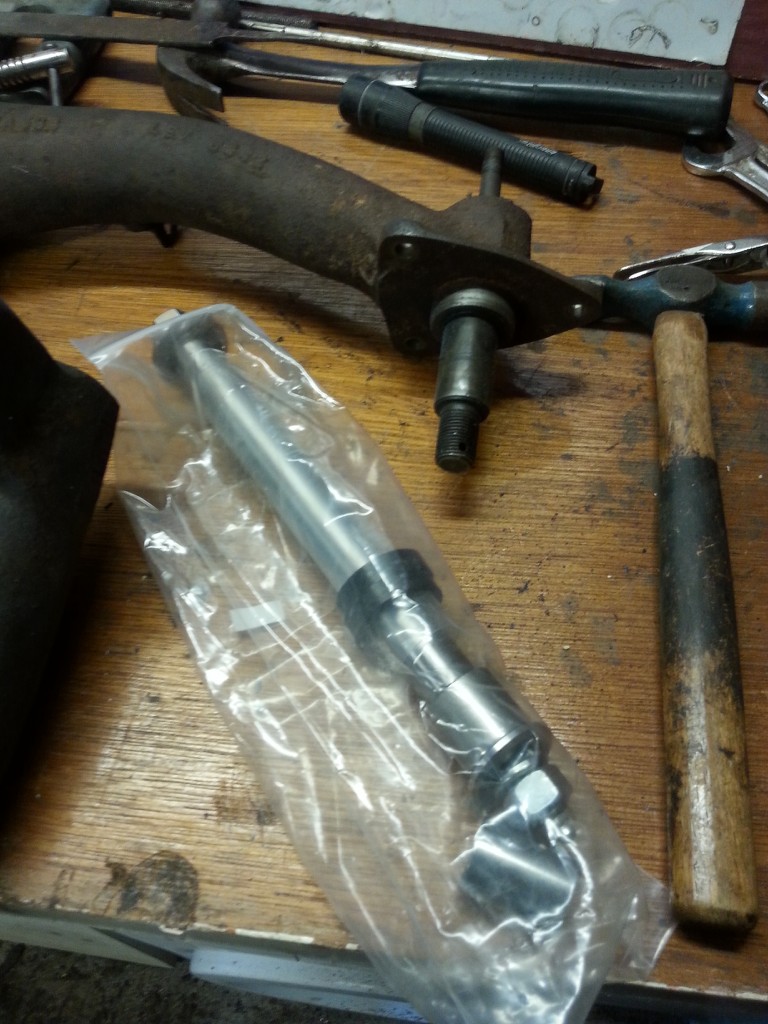
I had the honor of having Colin over to the garage and he very kindly reamed my good swing arm, one out of two isnt bad. I will buy a reconed unit for the other side. No pics sadly as we were busy working!
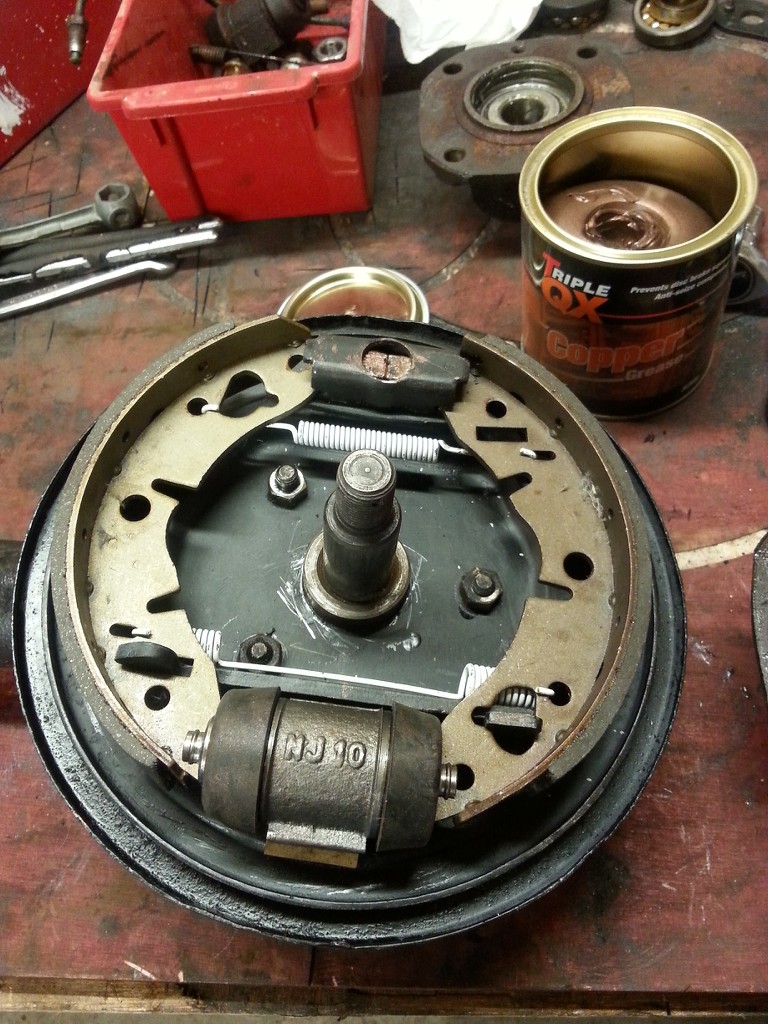
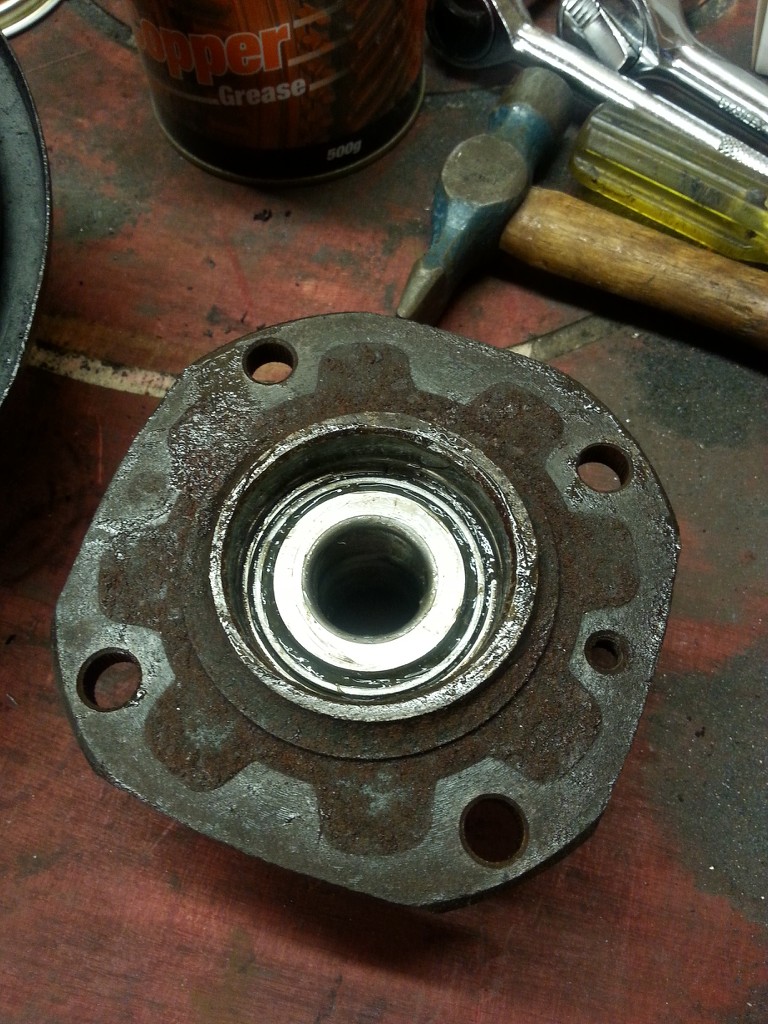
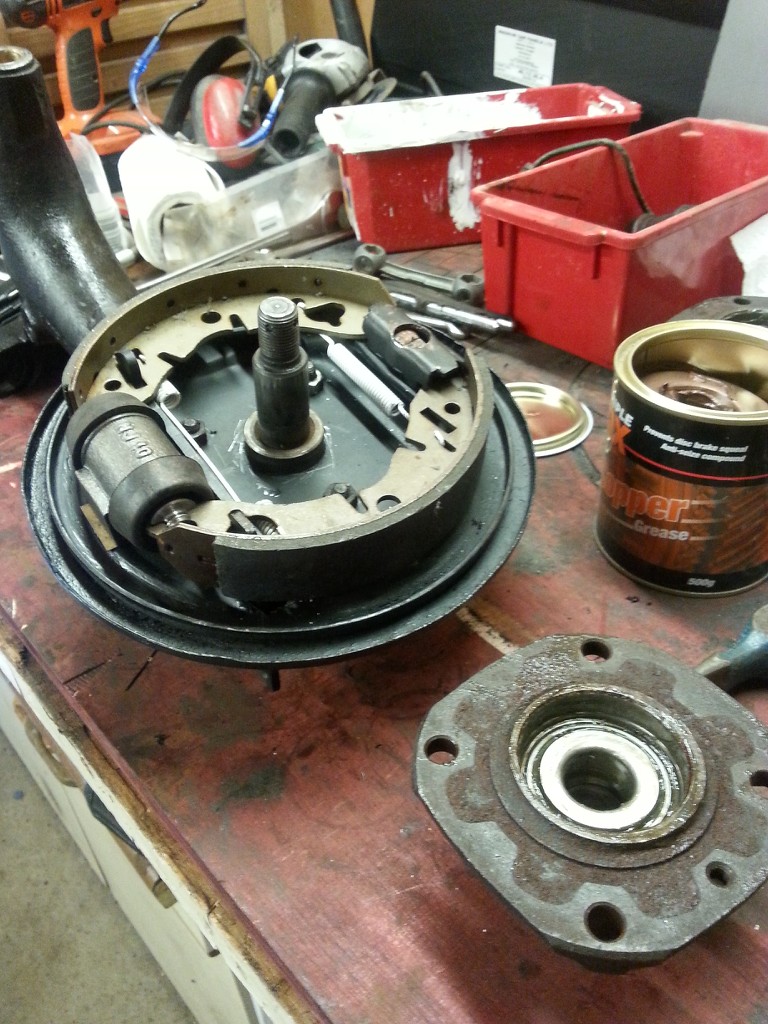
Time for some shiny building stuff.....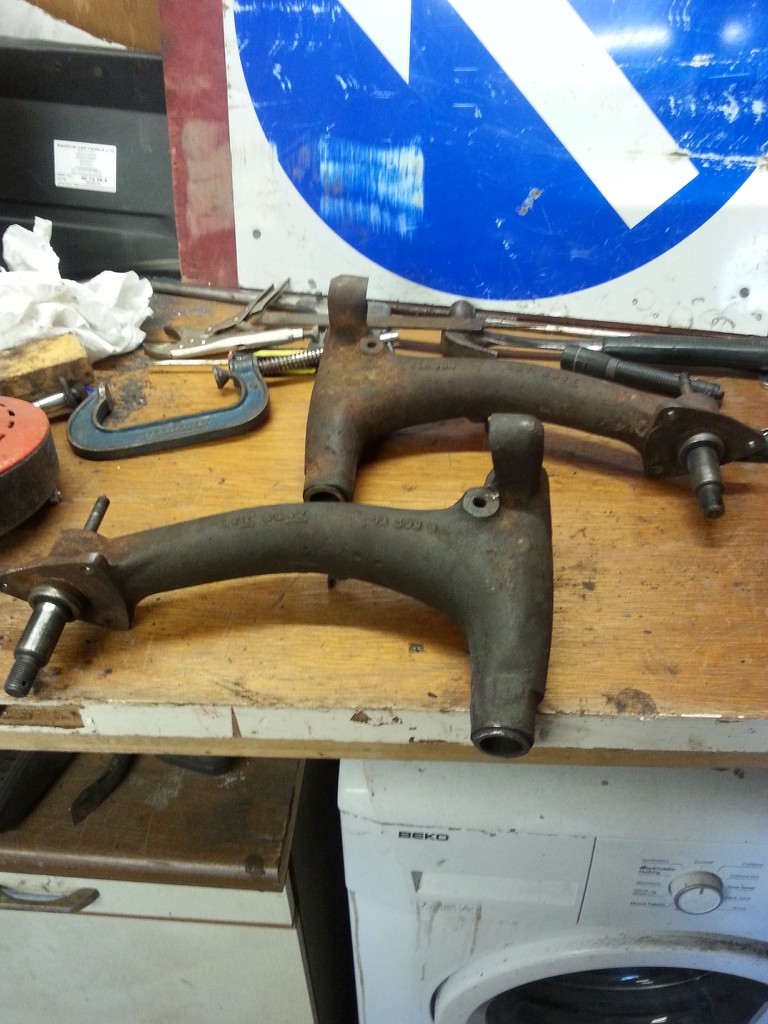
#19

Posted 30 July 2014 - 10:05 PM
following on from the swing arm fiasco my panel order arrived!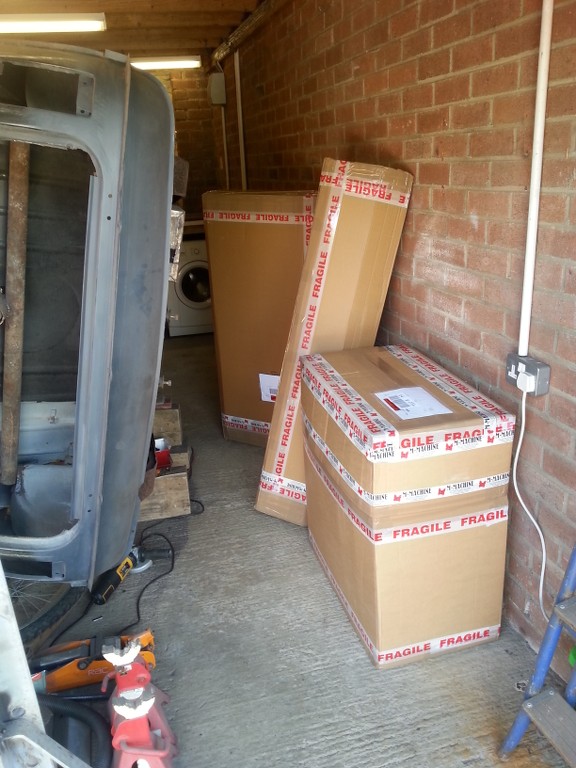
lots of boxes
I took no time in getting to grips with the new panels..... bye bye inner flitch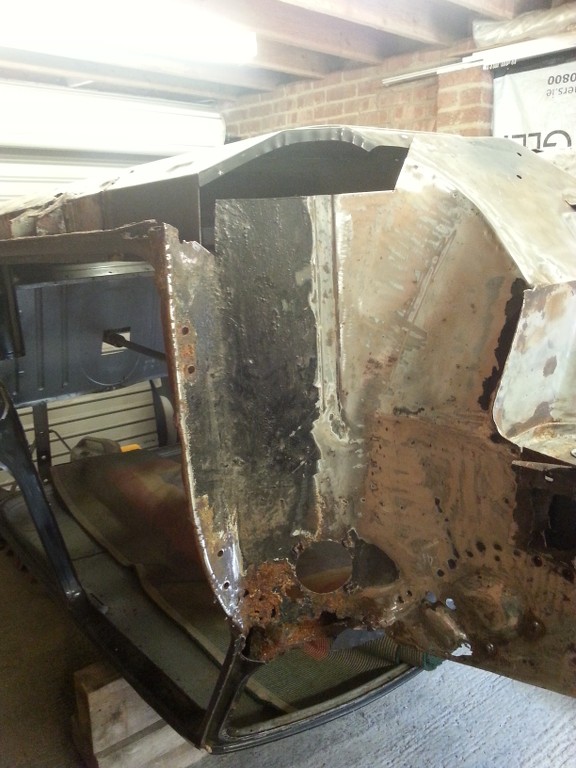
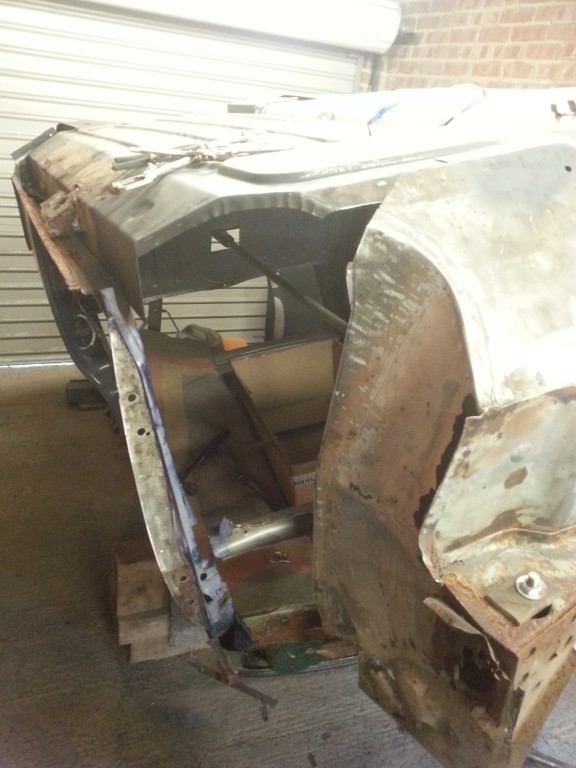
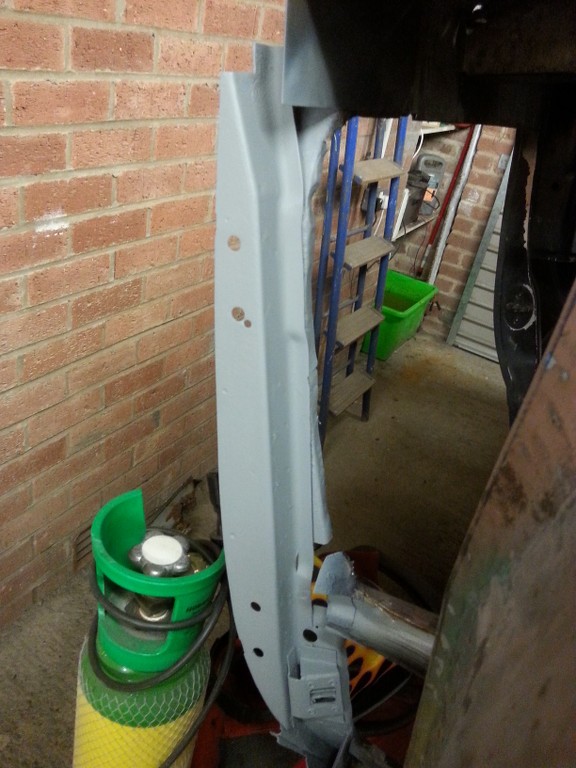
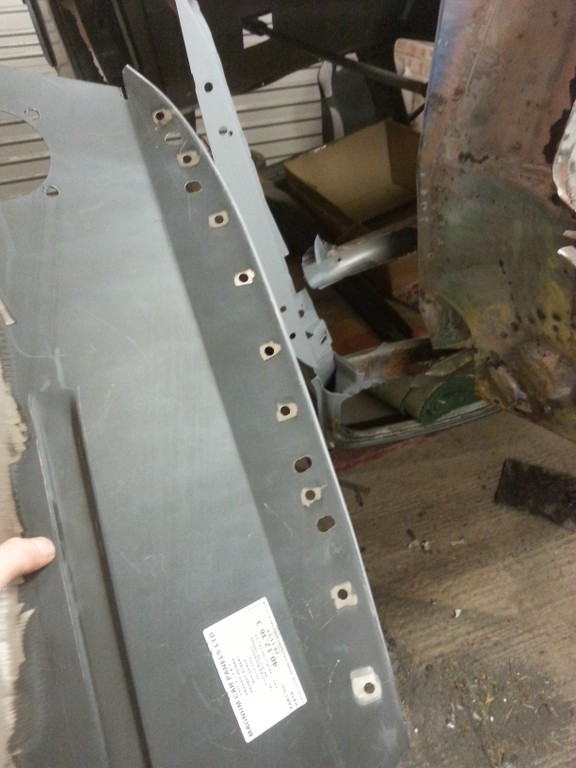
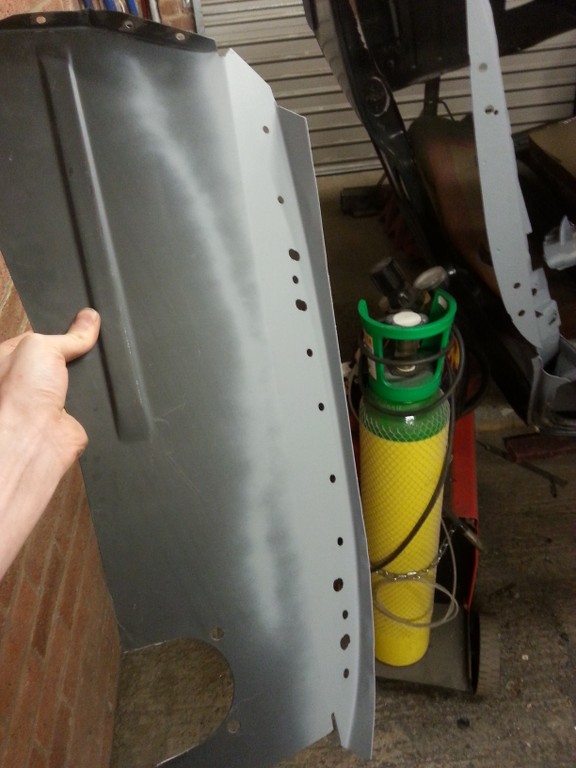
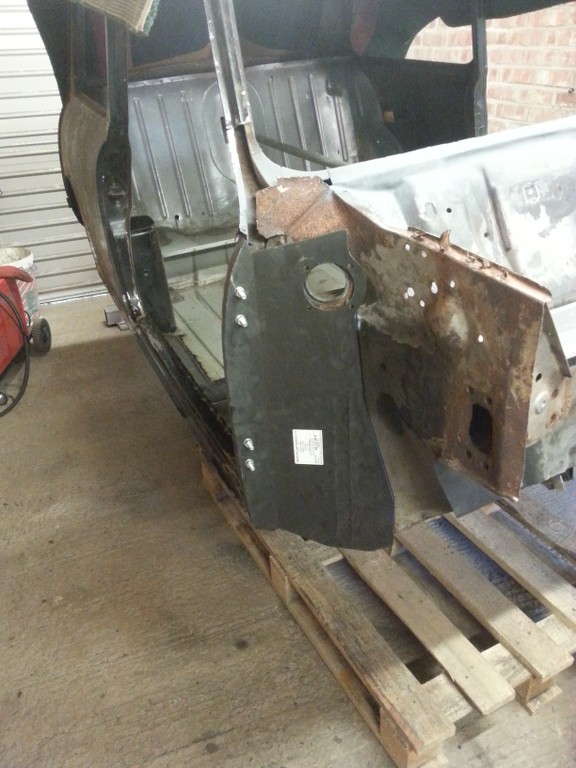
This is where i get fed up taking pics and start working ![]()
I welded in the front floor pans, and also the door steps on both sides, i wish i took pics as they were a royal pain to fit!
I also repaired the inner sills....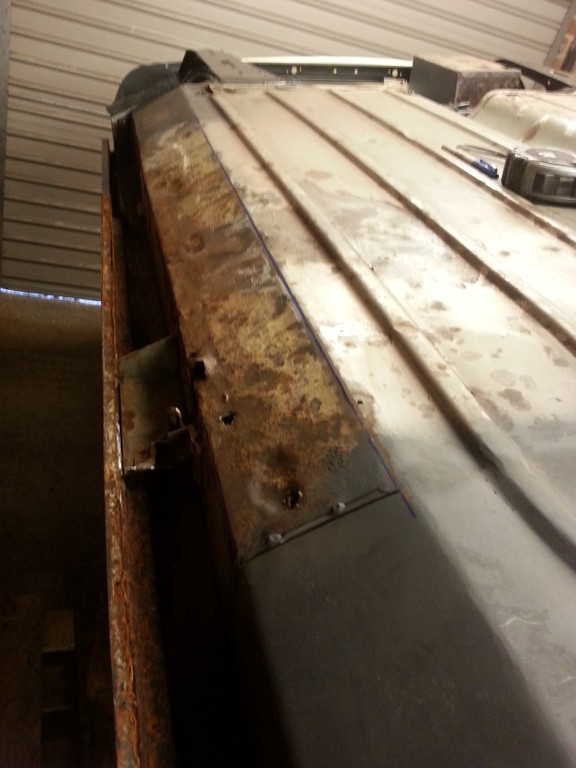
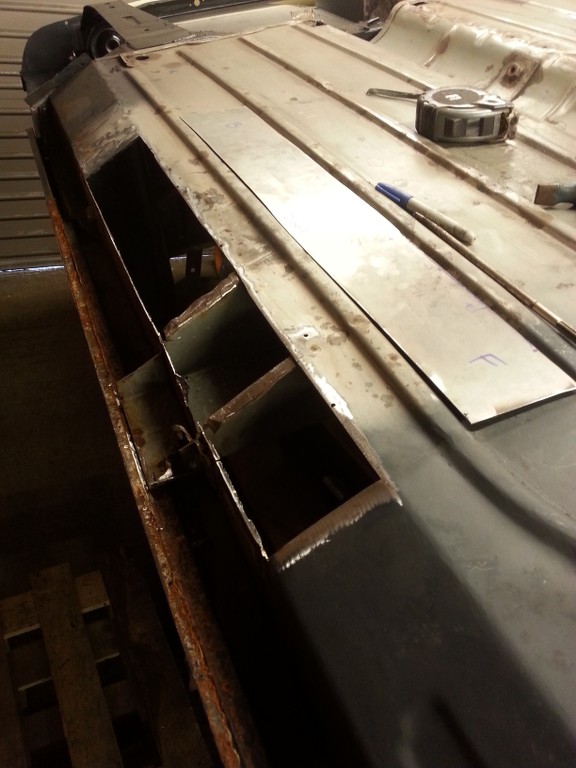
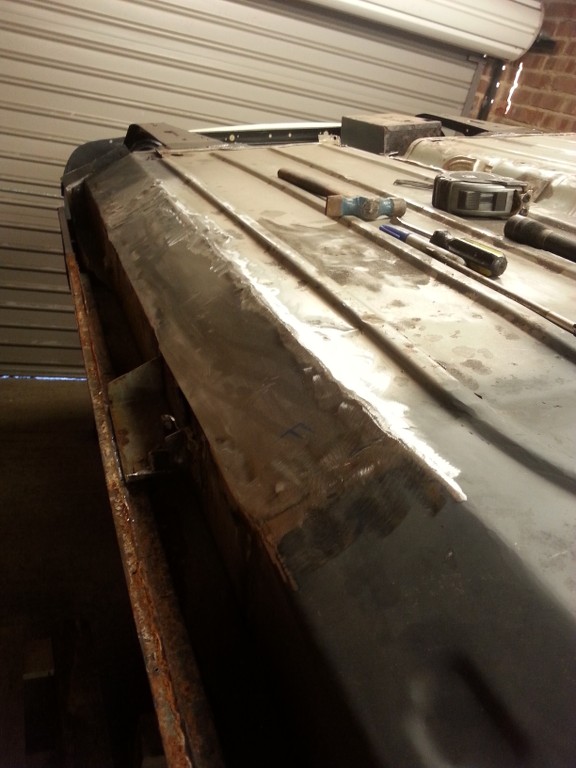
Welding the inner flitch was hard work as the door holes were off by 5mm on the pattern panels. If the panel too far in then the door would stick out on the bottom corner etc, a total pain!
I then had to remove the dash rail and scuttle.....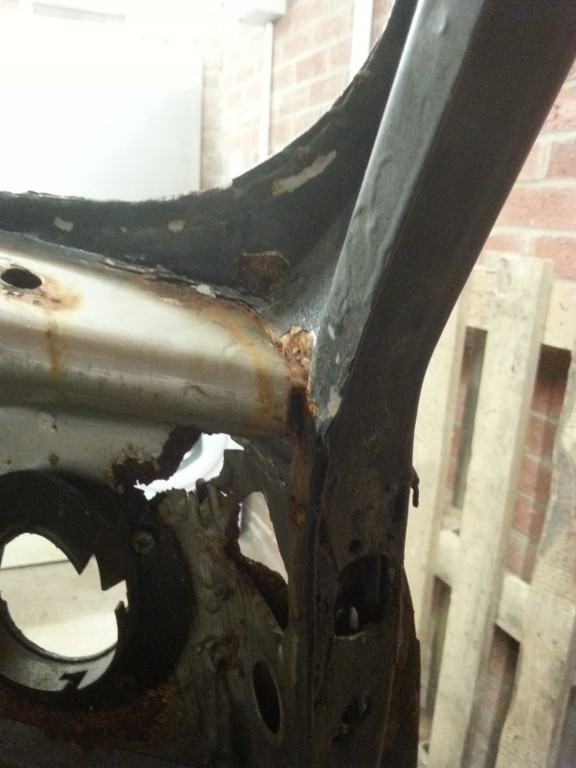
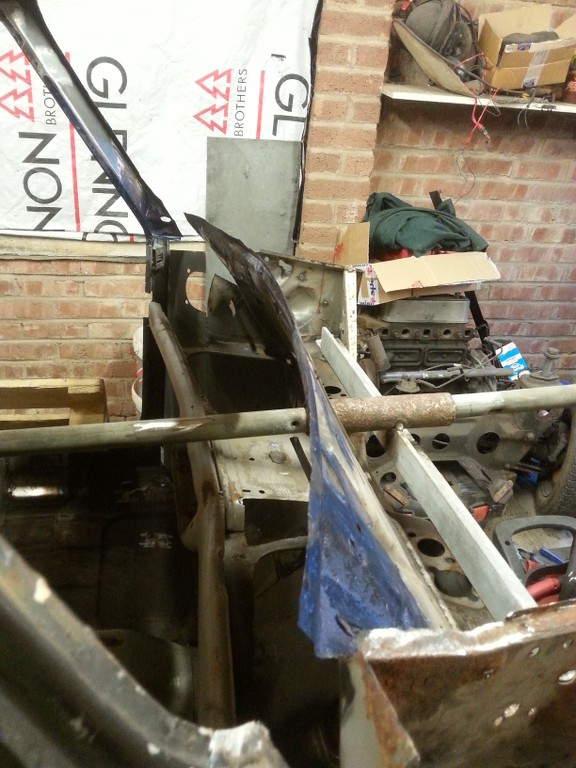
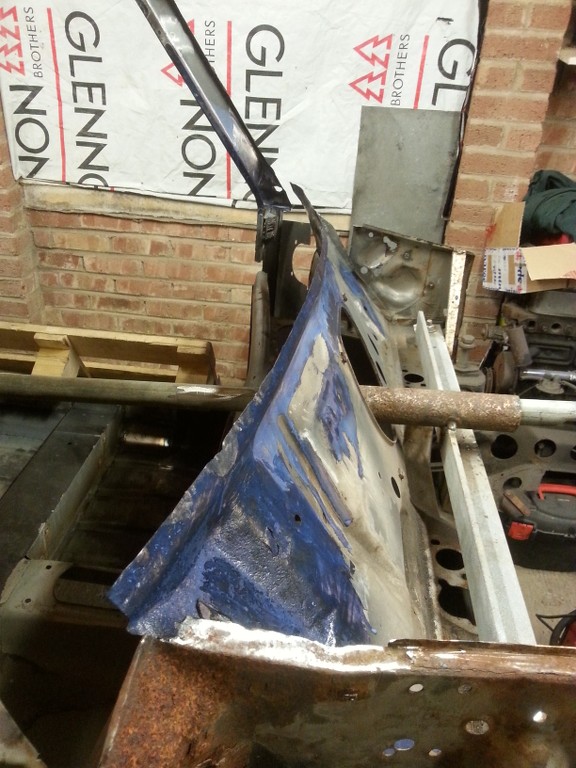
Random pic of the air vent blocking.....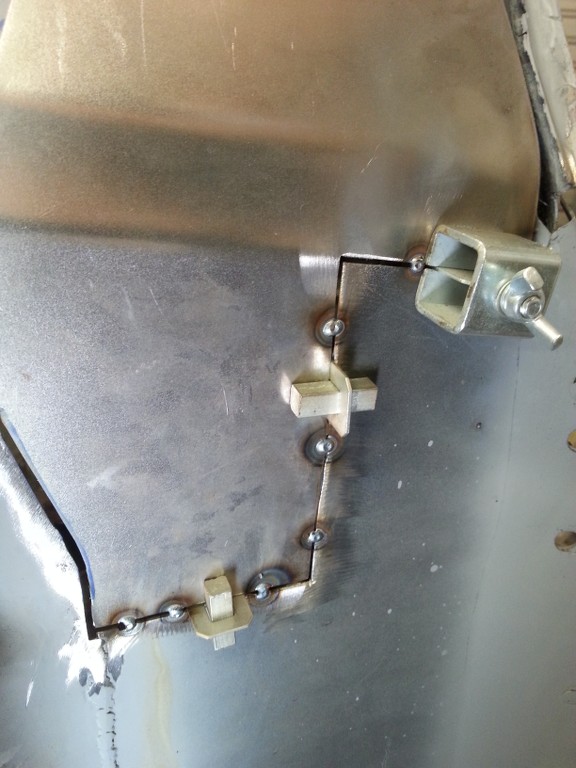
and the door step before repair.....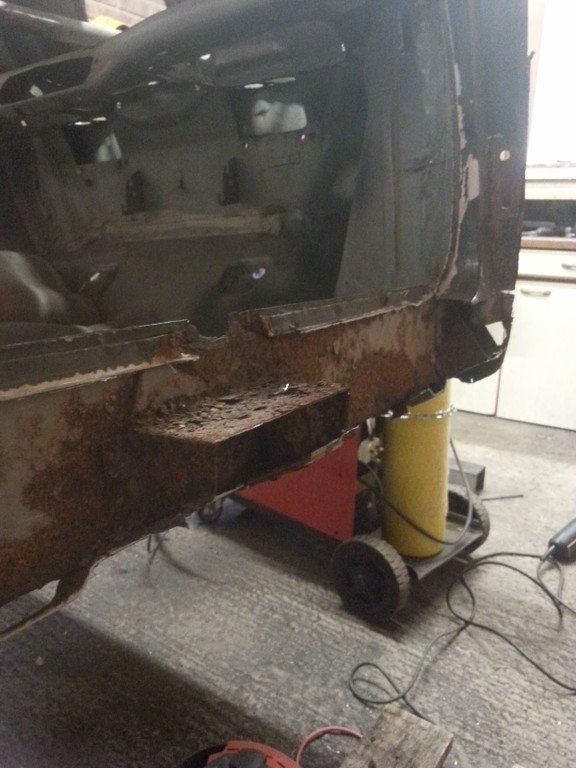
random hole in front shock mount
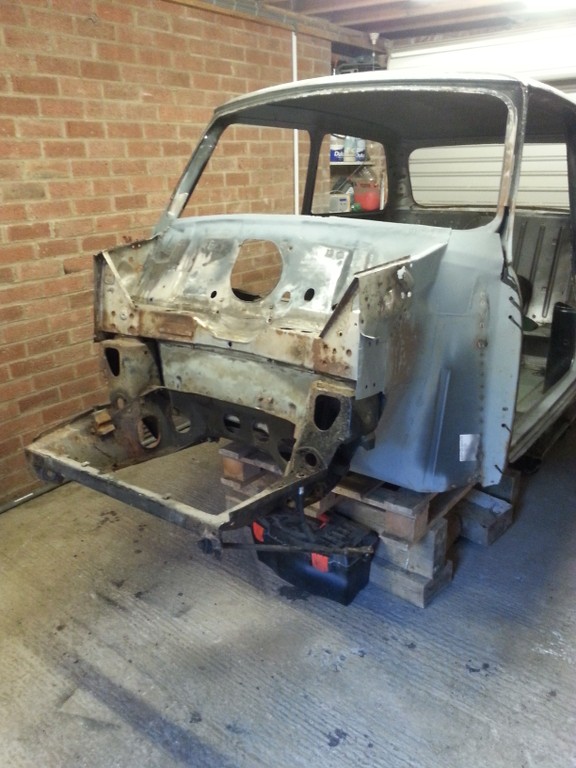
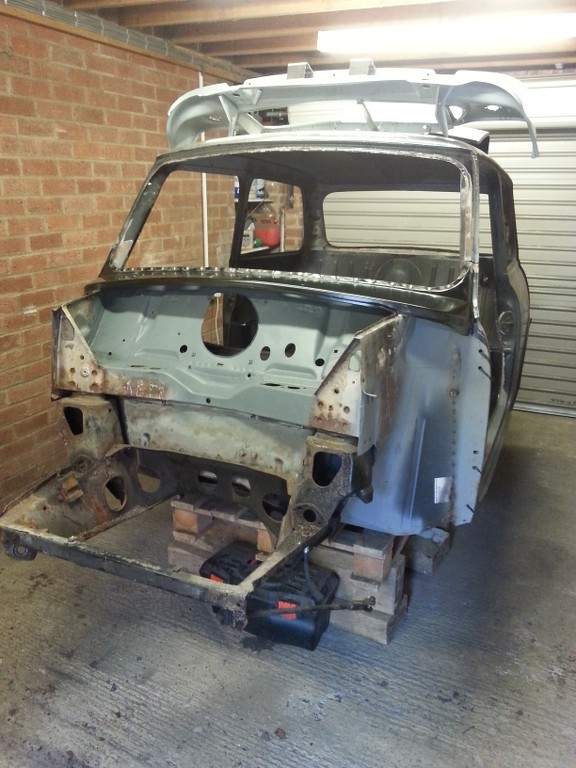
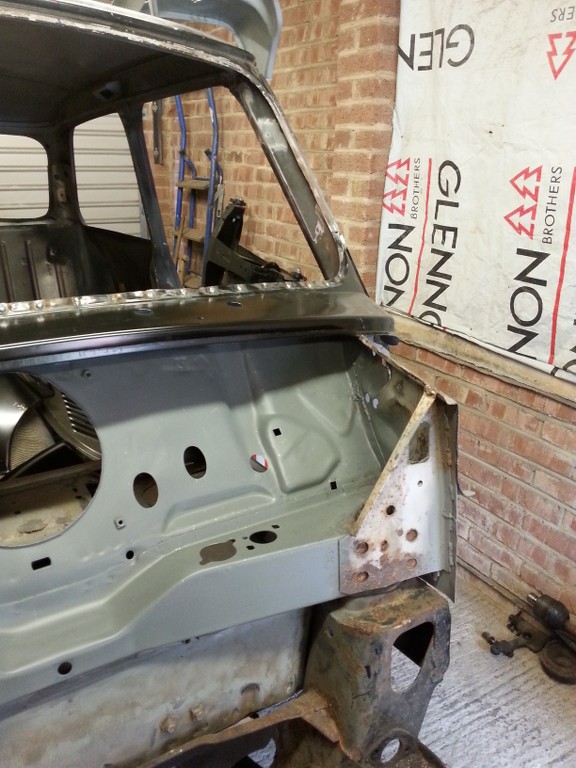
After all that lovely welding i was left with this.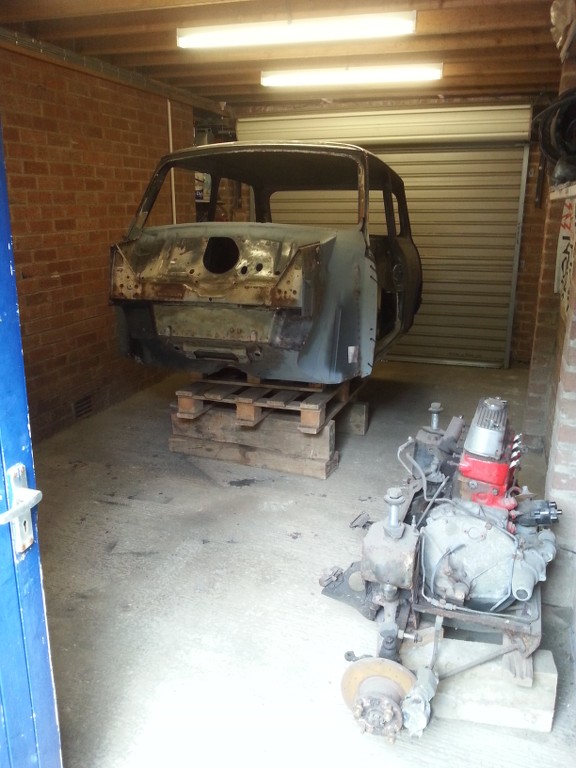
A solid shell with just the front end needing sorted.
Out come the engine, cheers pete for the crane...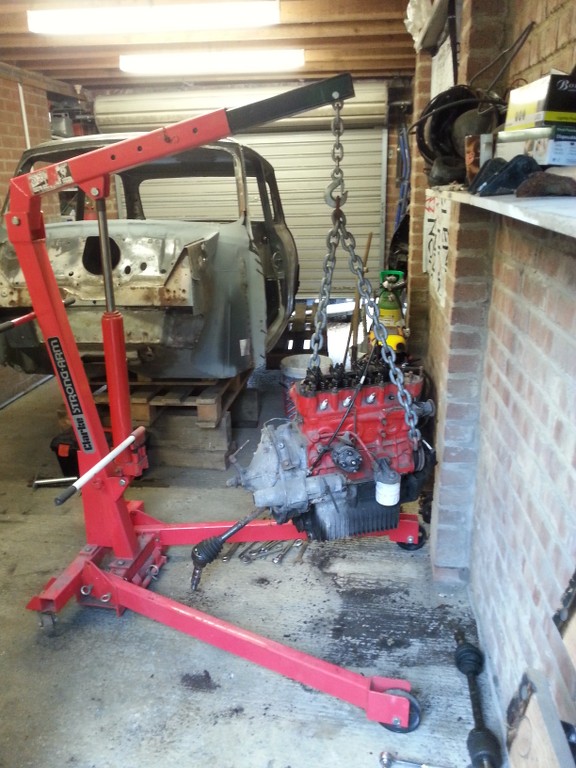
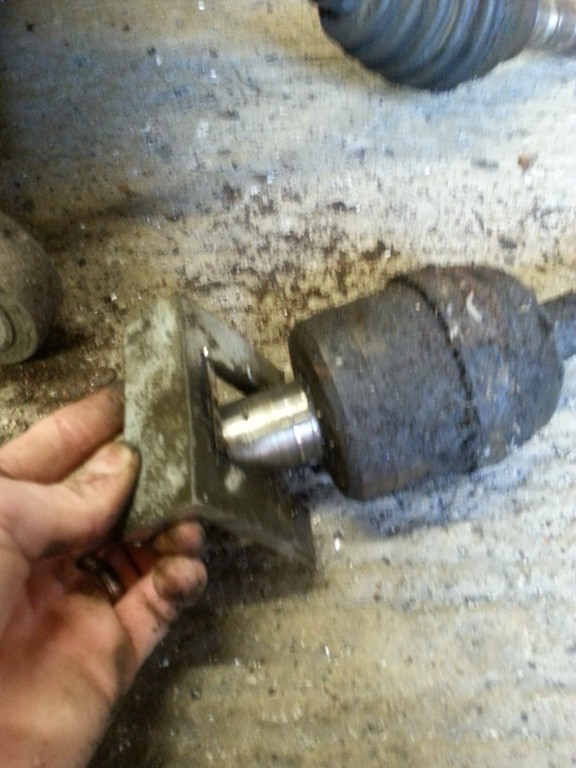
You will notice I had the O/S drive shaft attached, she wouldnt budge! so I made a nifty tool...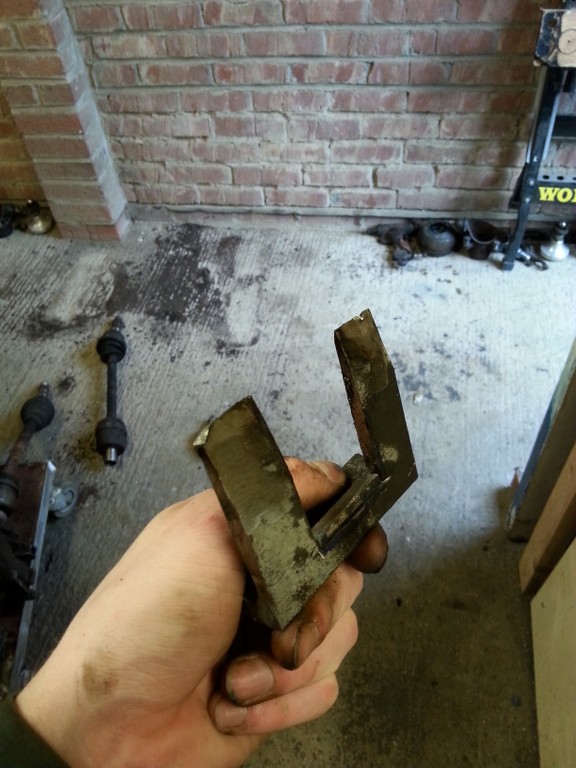
pop into the gap at the diff housing and literally beat the sh*t out of it until the pot joint breaks free.....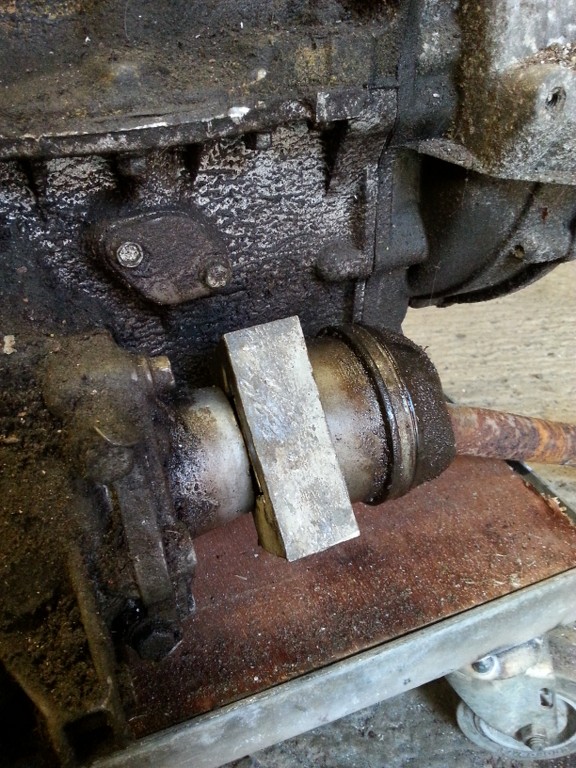
subby fitted to front end to get panel gaps etc...note the sexy new inner wing repairs and lack of air vent holes ![]()
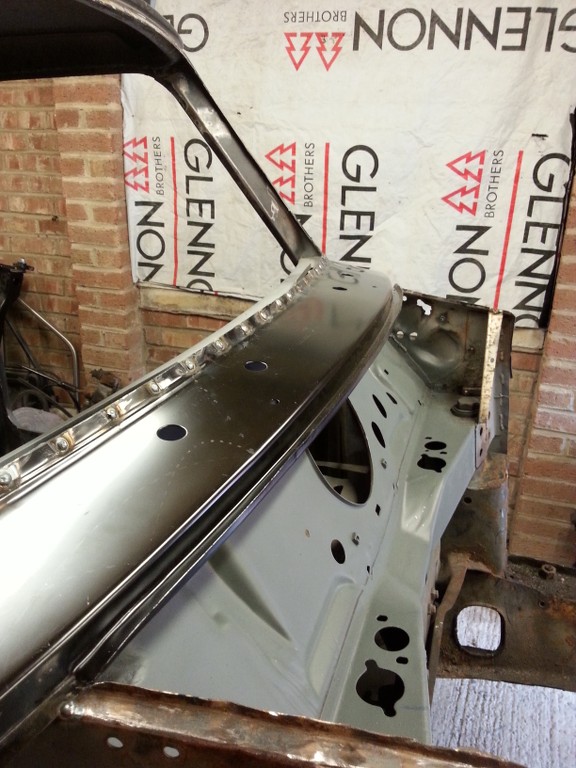
Edited by bluemini17, 30 July 2014 - 10:16 PM.
#20

Posted 30 July 2014 - 10:07 PM
Its alive...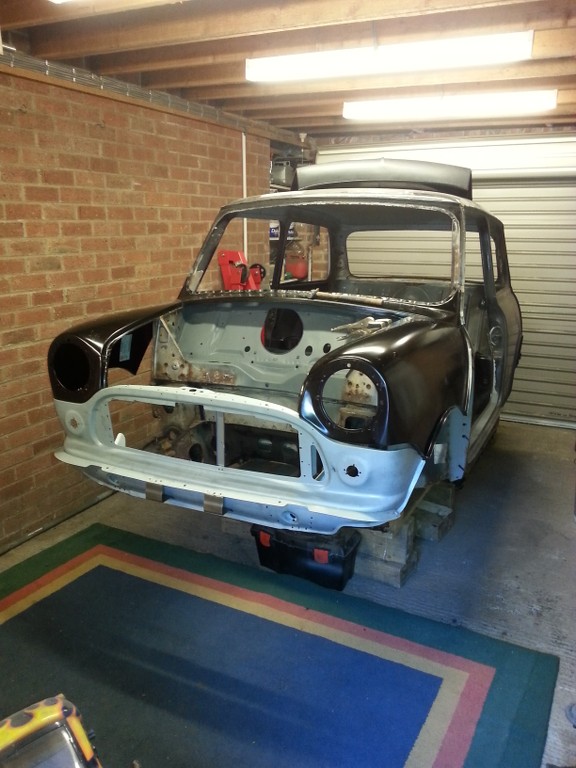
well not just yet... I still need to work on the cross member front brackets etc.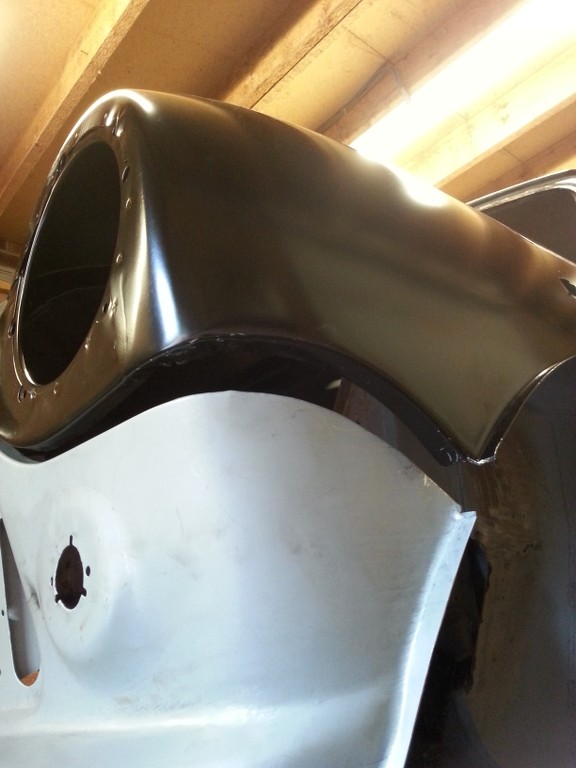
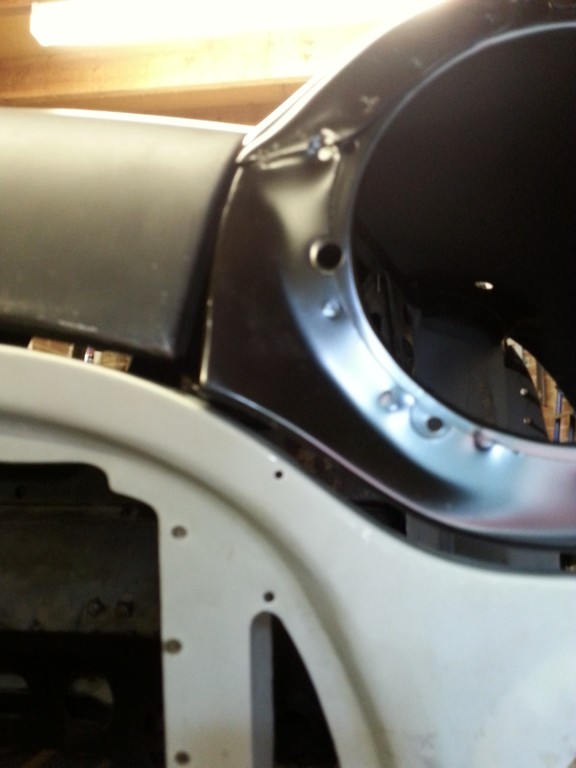
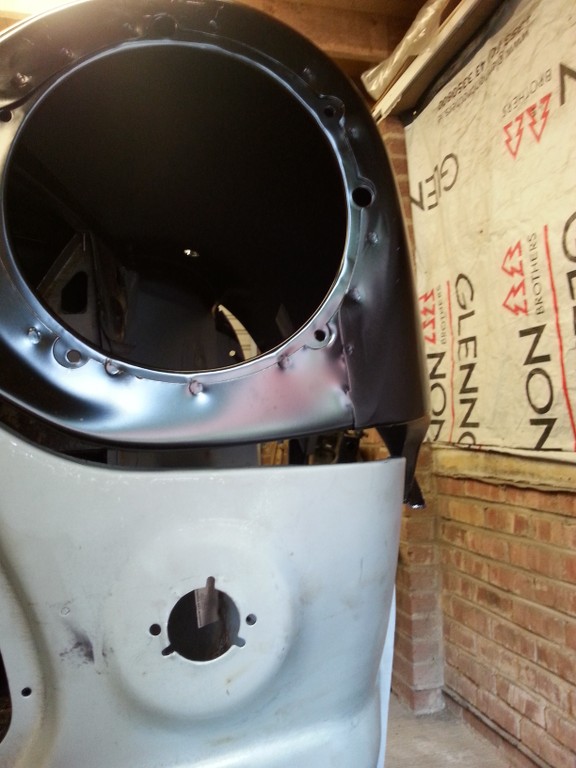
Time for some major panel persuading :twisted:
I made a nifty jig to pull the scuttle panel down , you can just about make out the lever system in the below pic..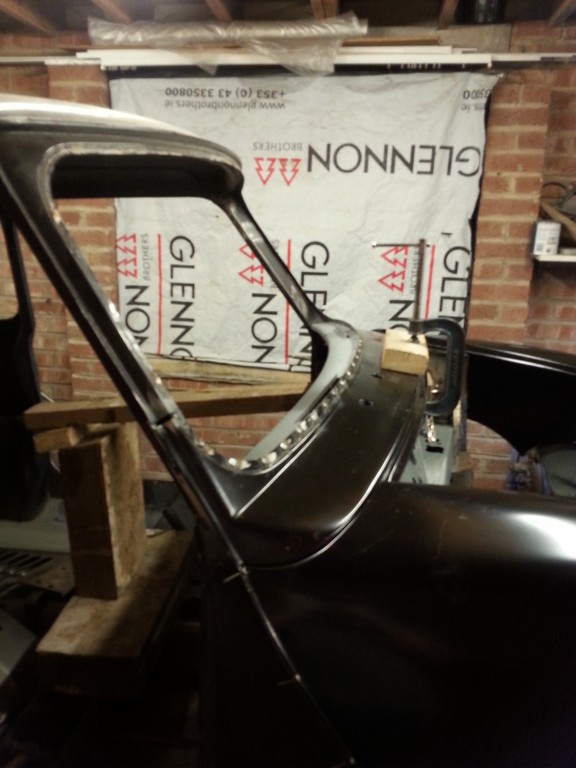
New bonnet, lovely job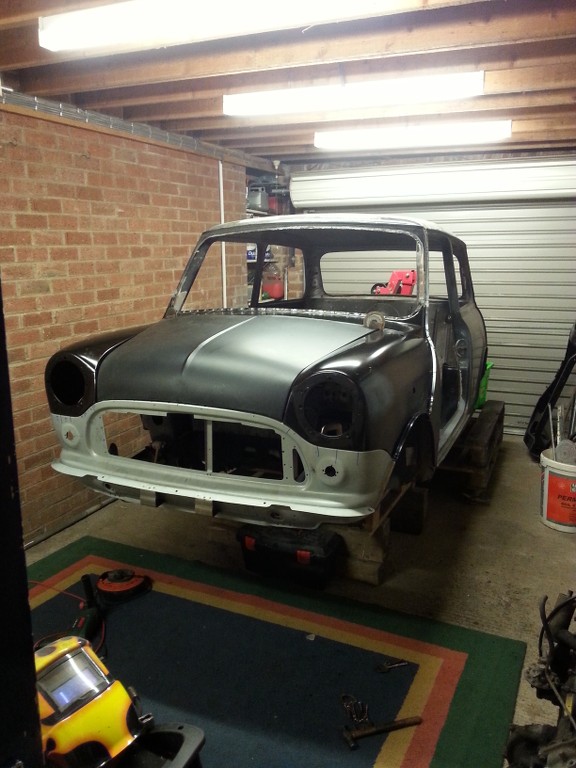
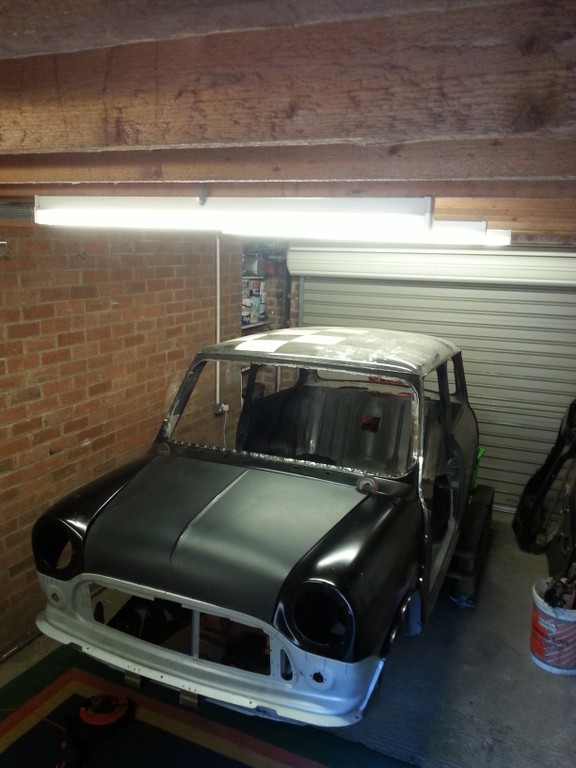
Time to weld up those pesky holes in the new inner wings...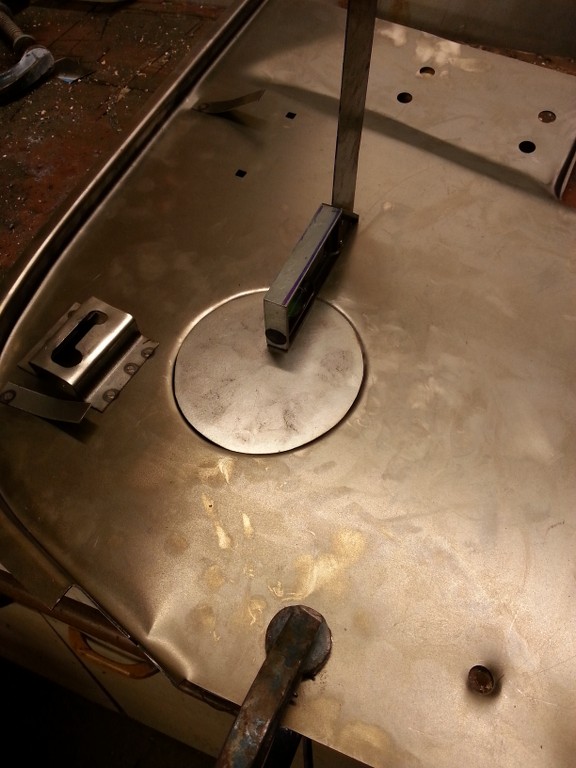
With that complete I made a start to the doors, I cant weld the wings and A panels until I get the doors fixed and roughly line everything up for acceptable door gaps etc.
Without further ado I would like to introduce you to my enemy........Mr Fu%&ing rust.. :twisted: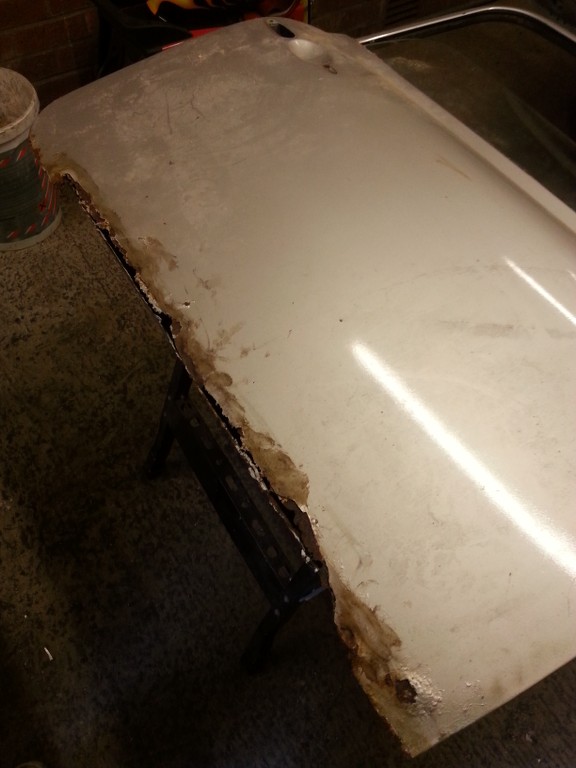
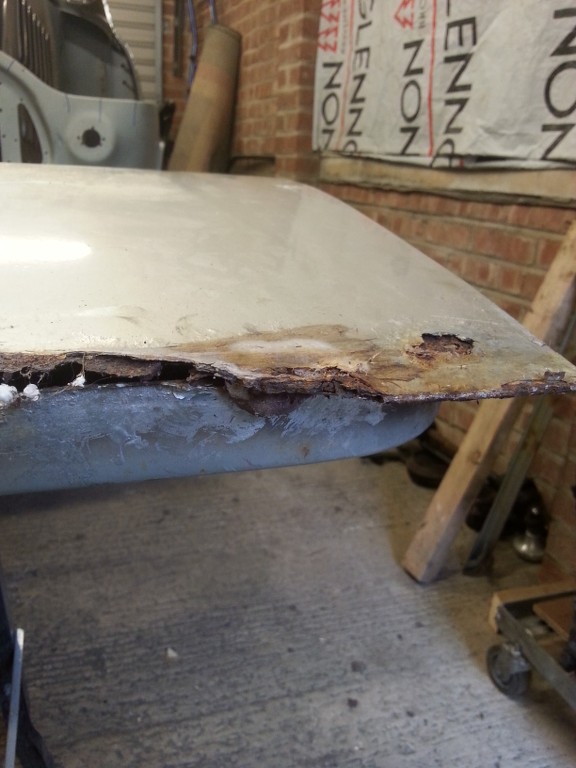
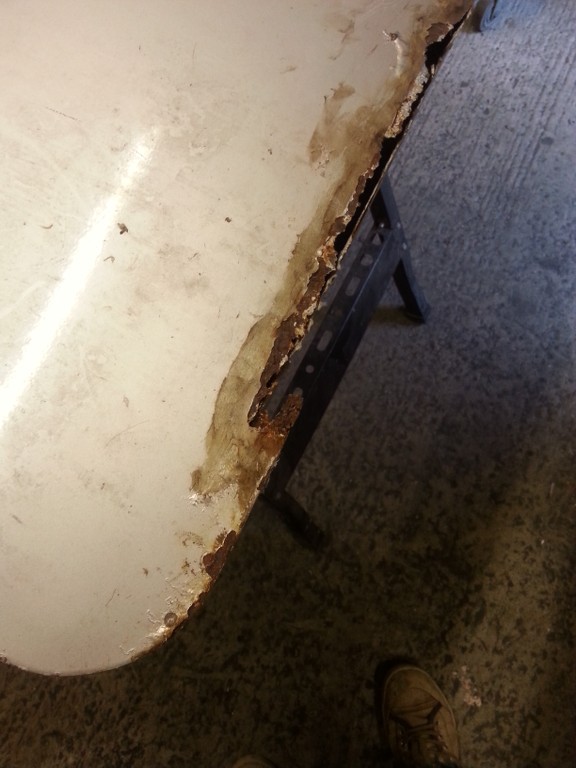
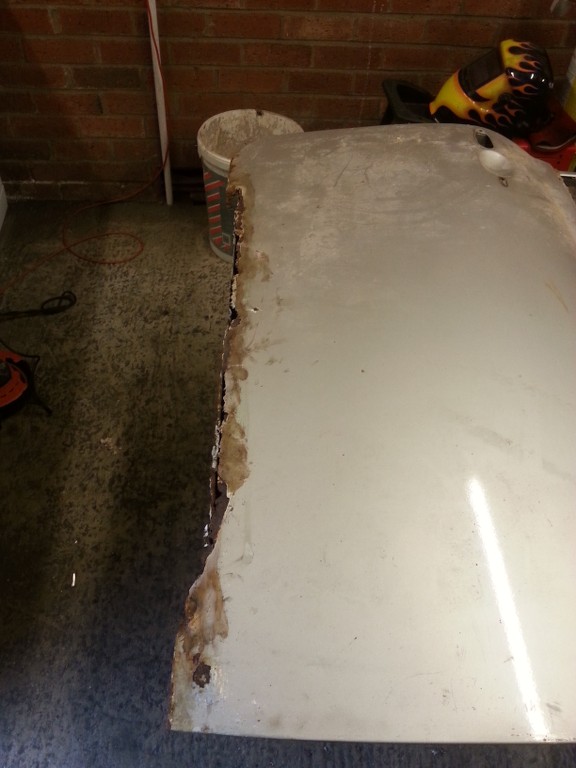
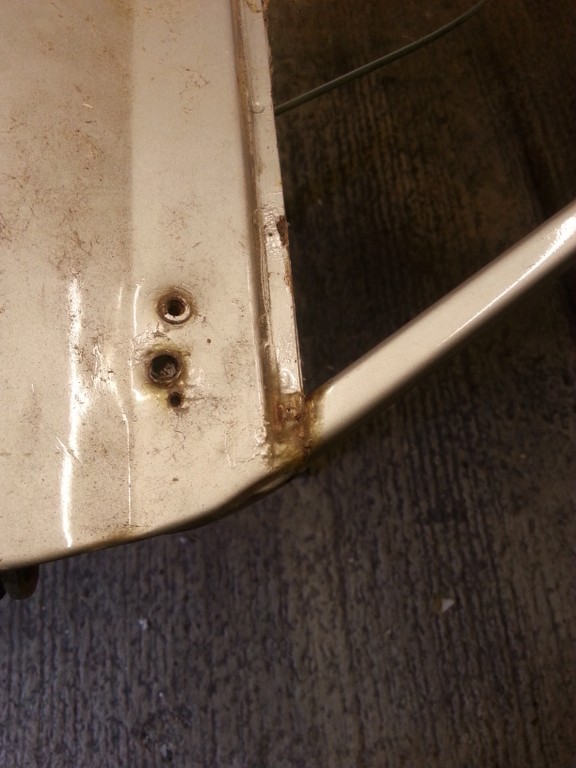
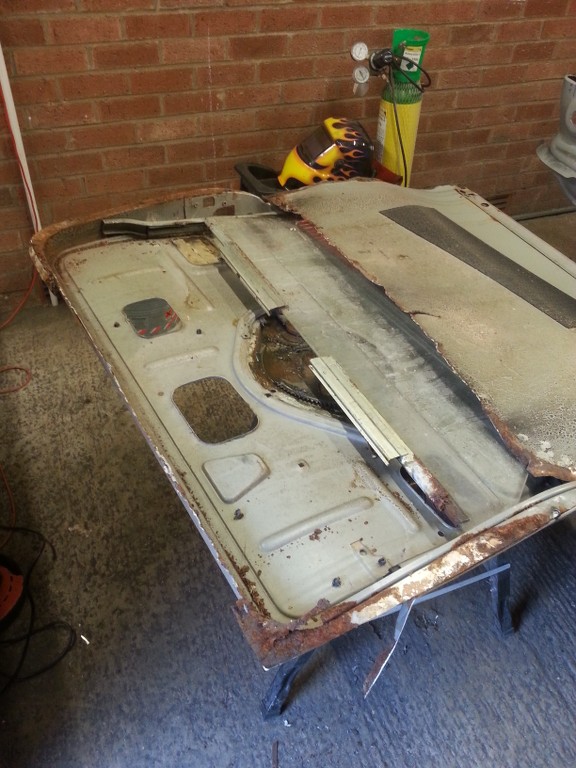
No big deal, only a cut here and a weld there....
#21

Posted 30 July 2014 - 10:08 PM
I welded in the repair bottom but it doesnt include the corners! so i made some up ![]()
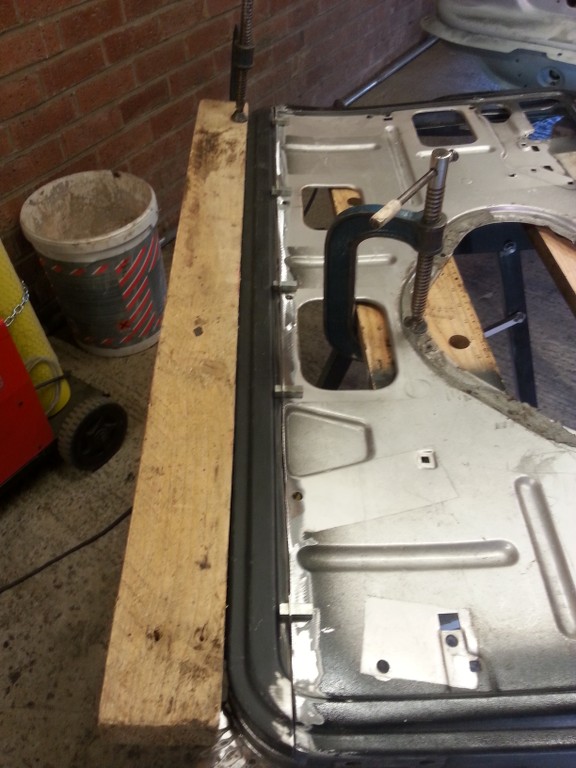
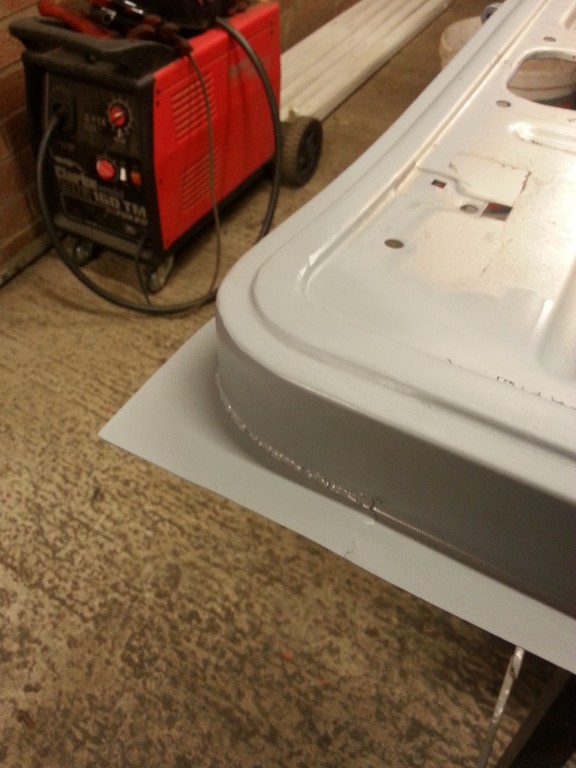
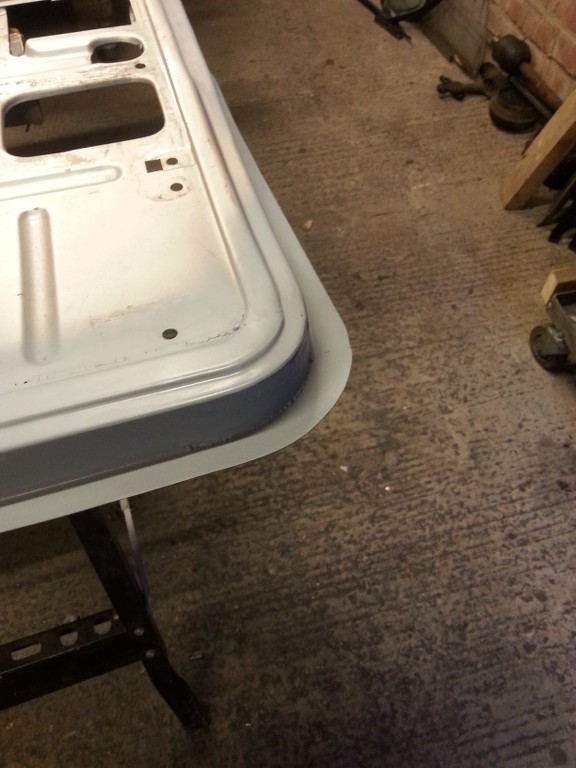
not too shabby. And time for the money shot....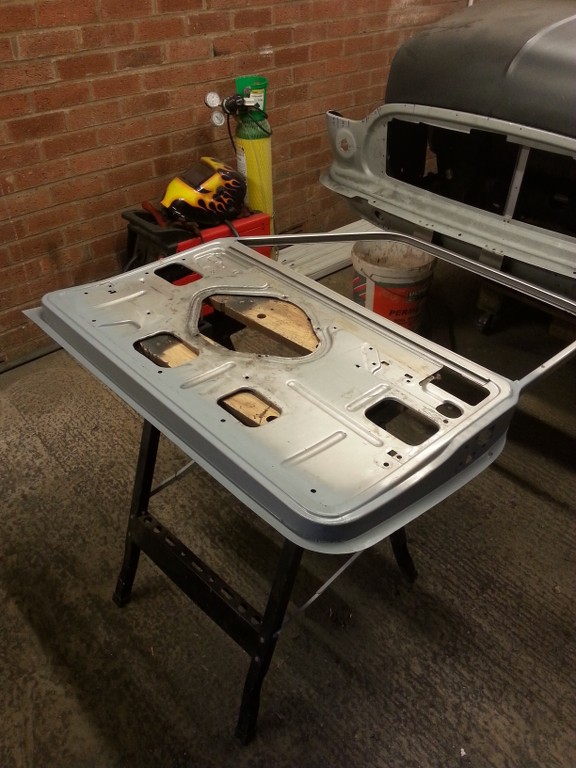

Quick offer up to the car, once my new hinges arrive I will be able to roughly line in the panel gaps and the door skin, I went for heritage skins and the quality of fit is spot on ![]()
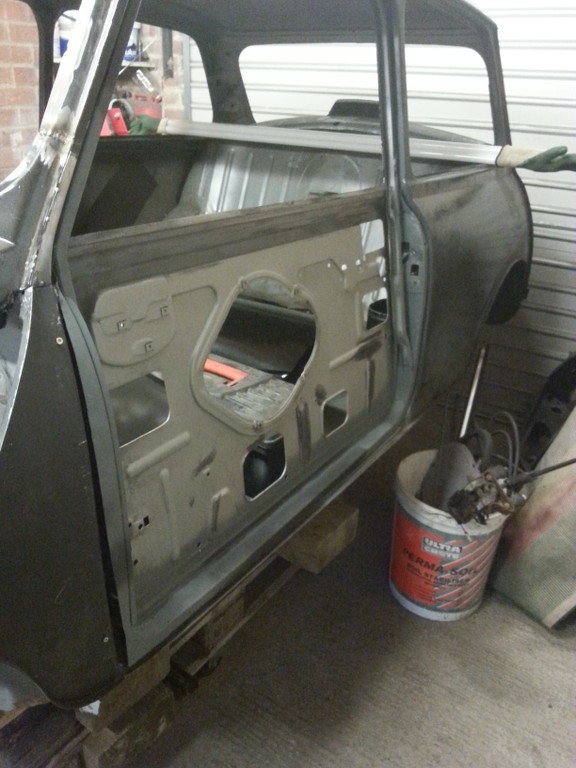
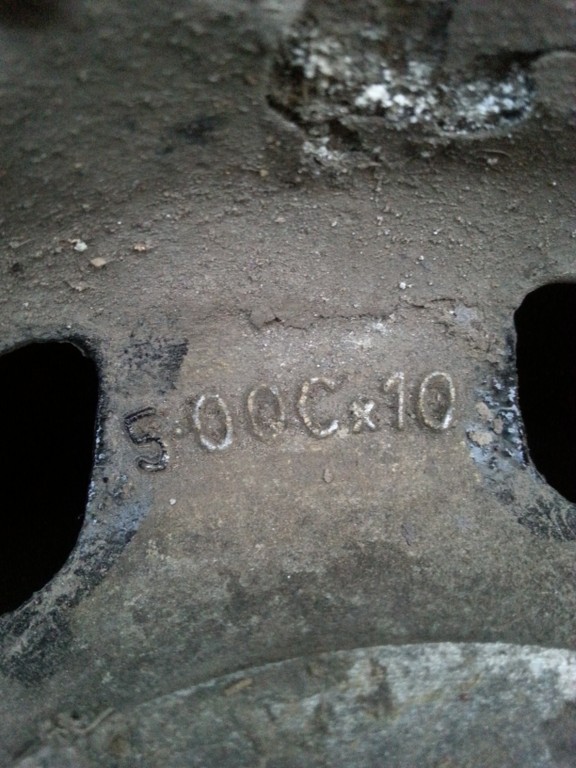
On a side note I bought some Genuine Dunlop alloys, 10inch. They need a complete refurb but 5 rims for £40 is hard to beat and only a 5mile drive from my home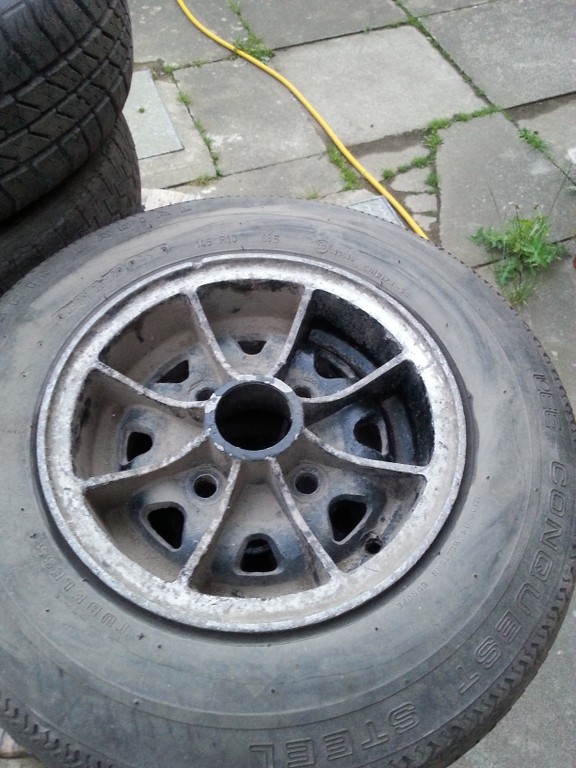
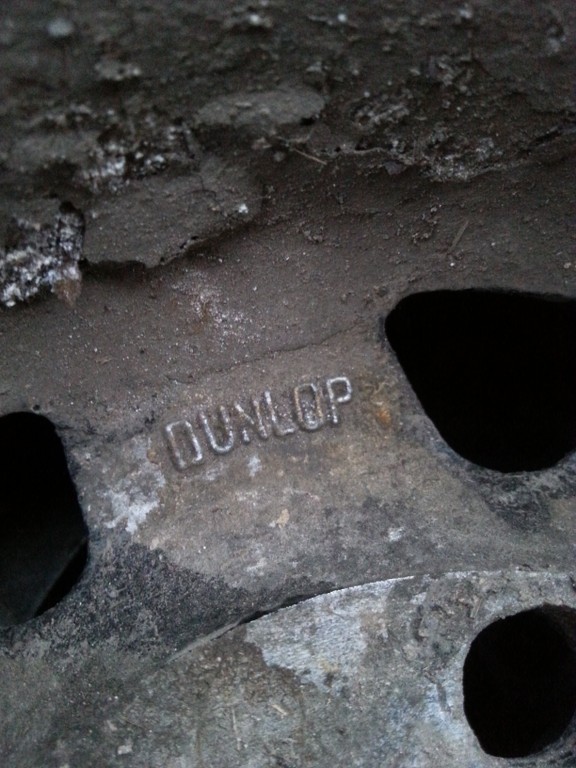
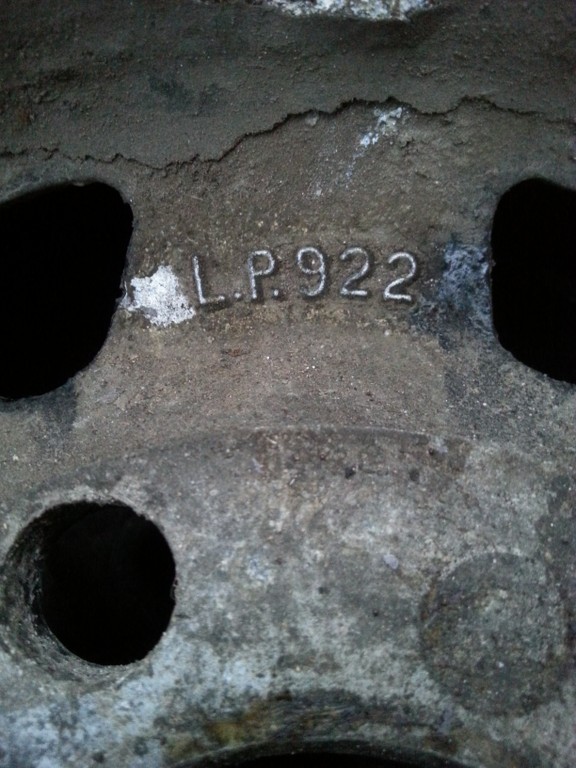
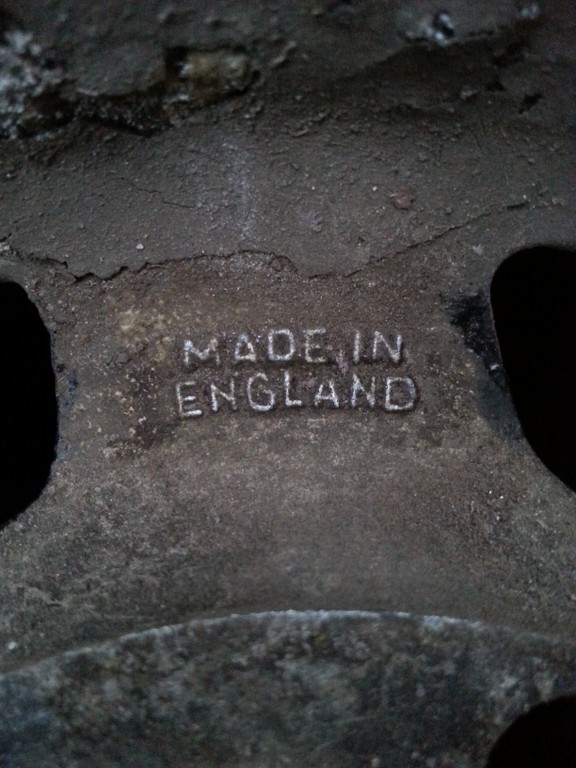
#22

Posted 30 July 2014 - 10:24 PM
I also came across this video on my phone of the mini when I first started it back in April, sorry for the poor quality
#23

Posted 31 July 2014 - 09:47 PM
Wow impressive work, I'm amazed how well you picked up welding! Mine's still hit and miss ![]()
#24

Posted 31 July 2014 - 10:44 PM
I'm liking this alot and love your 'get it done' attitude.
I think i ponder too much
Ben
#25

Posted 05 August 2014 - 08:49 PM
cheers guys, I'm trying my best to get her done by the end of 2014.
I had a spot of good luck the other day. I was persuading a panel to fit and then there was a loud bang at my garage door. My first thought was here we go, some old man giving off...... and it was an old man but he was bearing good news.
The old man up the road noticed me unloading my wheels the other night and thought he would pop by. Turns out he used to be an old school car painter - being mainly cellulose back then.
10 mins later he was back with his spray guns and all the sandpaper / sanding blocks you could need, even a cheeky set of dollies.
Long story short the old man is going to teach me how to spray celly, were gona start with the primer and hopefully I will graduate to the color coat soon after.
I am nowhere near ready to paint but at least I can hit the car with some primer and not have to fork out £££££ on rattle can paint.
Update to follow soon
cheers, David
#26

Posted 06 August 2014 - 11:30 AM
Well that's a result!
#27

Posted 06 August 2014 - 11:41 AM
Lawrence
#28

Posted 06 August 2014 - 11:44 AM
blimey good work
#29

Posted 09 August 2014 - 08:19 PM
Thanks for all the positive and helpful comments guys. Weld thru primer is a handy invention.
I have re-skinned the doors and fitted the A panels, pics to follow tomz - off to the pub now
Thanks, David
Edited by bluemini17, 22 December 2014 - 05:38 PM.
#30

Posted 09 August 2014 - 08:24 PM
Great thread!!!...love all the images...
Andy
2 user(s) are reading this topic
0 members, 2 guests, 0 anonymous users


