I won't ask how much that cost, let alone the shipping, but some nice goodies.

Leyland Clubman Resto
#46

Posted 01 July 2014 - 08:48 AM
#47

Posted 01 July 2014 - 09:08 AM
Well lets put it this way, the shipping cost 30% of the total cost.
UK to regional Australia in 4 days is pretty darn good tho!
More goodies in the post today...this time switches.
Here we have the new switches for the switch panel, all roughly the same size handles, all are off at the same angle.

Box 1 of spares

Box 2

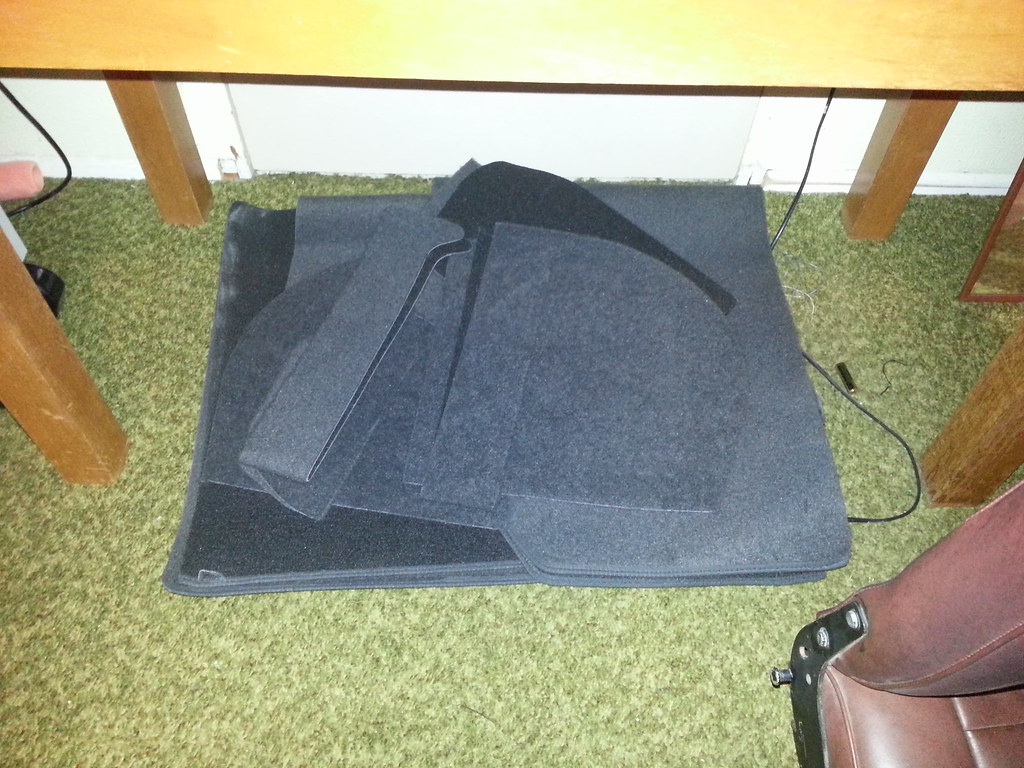
Carpet and Felt


Started to clean the front and rear screens, lots of sticker residue and screen bond to remove. Thankfully no chips or wiper scratches

And the rear seats, clean up but could do with a bit of a colour restore. Have conditioned the leather on them, so they are nice and soft and not dried out, just need to get the fading sorted...any one got any suggestions (without having to retrim them)

#48

Posted 02 July 2014 - 05:52 AM
Mock up of how the switch panel will look with these black handle switches...


Kinda looks like a mk1 mini switch panel, but the switches dont point up or down at such a big angle
#49

Posted 02 July 2014 - 07:10 AM
or this design, changed the icons to text, also changed fonts

#50

Posted 02 July 2014 - 09:45 AM
I like the first one.
#51

Posted 02 July 2014 - 10:58 AM
I might send it to the laser cutters tomorrow, see if it's possible for the to do it..
#52

Posted 02 July 2014 - 12:10 PM
Good point, also think the second one has more a classic feel to it than the first one with the icons.
#53

Posted 05 July 2014 - 08:32 AM
had to work today so didnt get alot done, had planned to do a bit, hopefully get more time at it tomorrow.
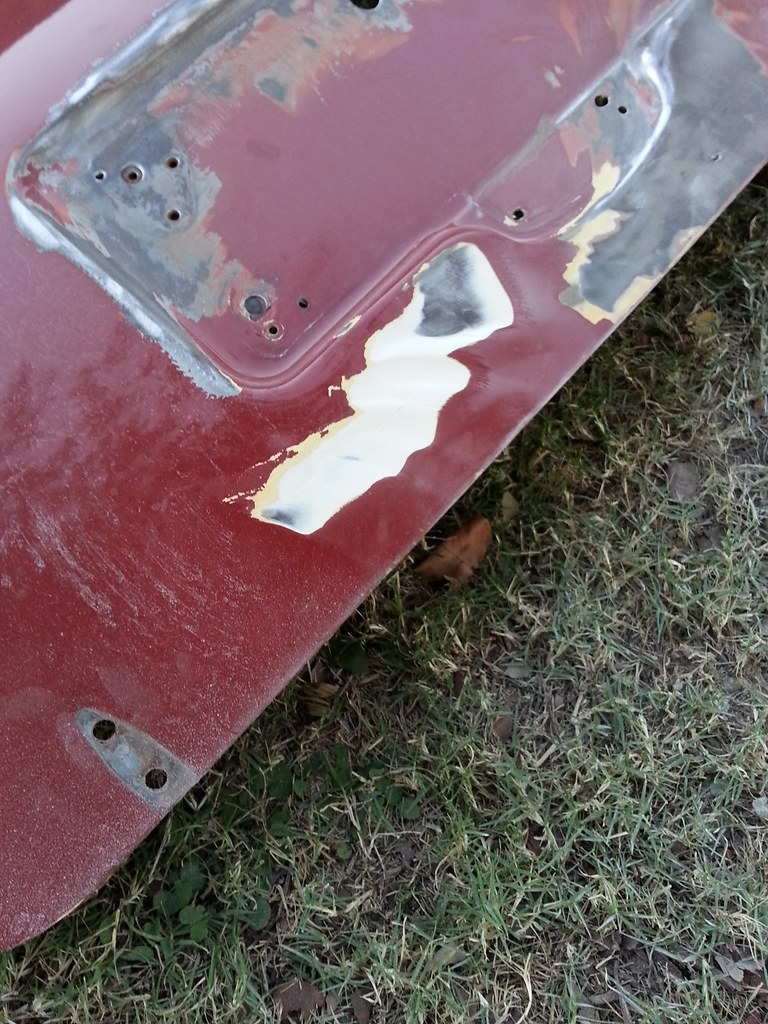
Started stripping down the boot lid, removing the chrome bits and badge, aswell as the carpet liner on the inside.
Came across some yellow primer, then alot of bog. Was pretty deep, so will be to try and pull it backout.

A few holes, need to weld these


Big coat of paint stripper soon got the rest of the paint sorted.

Done a bit on the rear passenger side, seems to be bog free so far.
#54

Posted 06 July 2014 - 07:46 AM
I didnt realise the bottom part of the dash was only made from moulded foam...
Had a go at trying to remove the vinyl covering, only to hear a loud crack and a big chunk of foam! No worries, gonna redesign the switch panel to suit the slot, like the mk1/uk mini's.
Here is the pieces of what came out..

The metal slot

Boot lid stripped, ready to be welded

Both doors off, ready to strip and treat any nasties that may lie beneath


Another small rust hole.....and again filled with silicone rather than repairing it...under the rear seat bench

There is also a small bit of rust just below where the door check strap bolts onto the body. I'm happy with the progress I am making, should be able to spend more time on it as the evenings get longer and hotter in a month or so.
#55

Posted 07 July 2014 - 02:13 AM
Going to measure up that slot tonight, fit the heater unit back in temporarily and see if I can fit the heater controls and switches into the one slot.
Initial design layout

#56

Posted 07 July 2014 - 05:02 AM
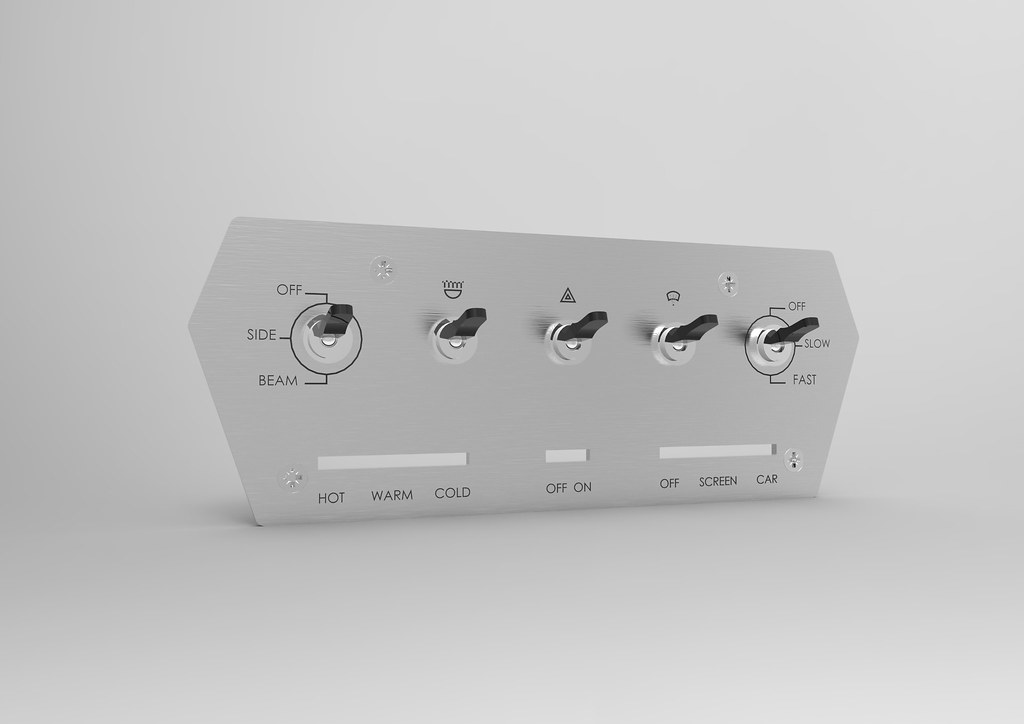
A quick render of how it might look....still going of guessing dimensions, so I am hoping I can get it all to fit within the slot

#57

Posted 07 July 2014 - 07:44 AM
Have just measured up, needed to make drawing slighly smaller. Still looks alright.
Fitted heater unit in, top mounting bracket is in the way, so it will need moving back and an adapter bracket made to suit.
Ive got 10mm to play with from the bottom of the biggest switch to the bottom of the switch panel, plus plenty of room before you would be able to see it from under the dash, so pretty confident it will work ok.
#58

Posted 07 July 2014 - 11:52 PM

#59

Posted 08 July 2014 - 09:47 AM
I like that!
#60

Posted 09 July 2014 - 03:32 AM
Sent it off to laser cutters to see if they can do it, and more importantly, see how much coin its gonna cost!
2 user(s) are reading this topic
0 members, 2 guests, 0 anonymous users


