Sorry to keep going on about the dented tanks but why did the Clubmans need to have the tanks "modified", aren't the rear ends the same as round nose Minis?

Leyland Clubman Resto
#31

Posted 15 June 2014 - 12:04 PM
#32

Posted 16 June 2014 - 03:31 AM
Sorry to keep going on about the dented tanks but why did the Clubmans need to have the tanks "modified", aren't the rear ends the same as round nose Minis?
Australian Clubmans were the first made here with the oblong taillights. All roundnose minis had the MK1 style rear lights, although we changed to "2 screw" Aussie made ones to boost local content. The factory was worried about the wiring for the lights being too close to the tanks and causing sparks..
Edited by timmy850, 16 June 2014 - 07:11 AM.
#33

Posted 16 June 2014 - 08:26 AM
Freezing here at the minute, too cold to do any work in the evenings.
Heres the fuel tank with the bad part cut out,
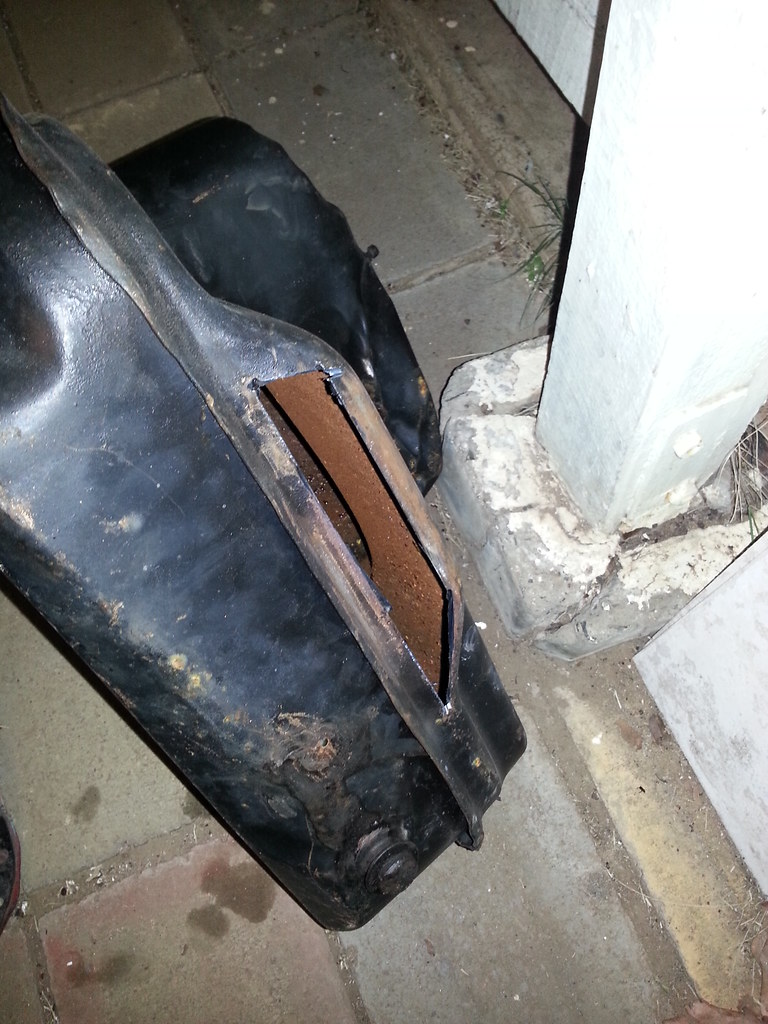
Theres another small hole just above the drainage pipe, but a weld should sort that out.
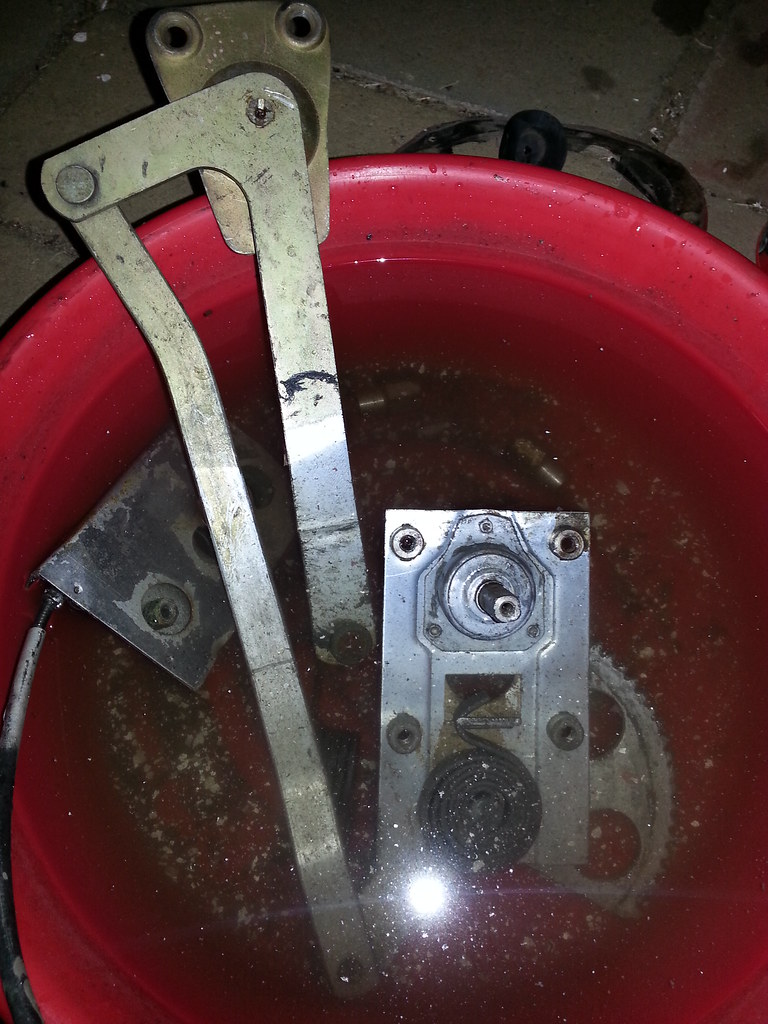
Got one window winder soaking in vinager, clean it up a bit, and hopefully it will losen out the spring as it was pretty hard to wind the windows up or down when it was in the car. Notice the difference in colour, I'm not sure if thats the vinager cleaning it or stripping off the zinc plating?
Also, when I was stripping these off the car, I noticed there almost identical, one is stamped LOCKHEED 7 BAI and other is GIRLOCK D66
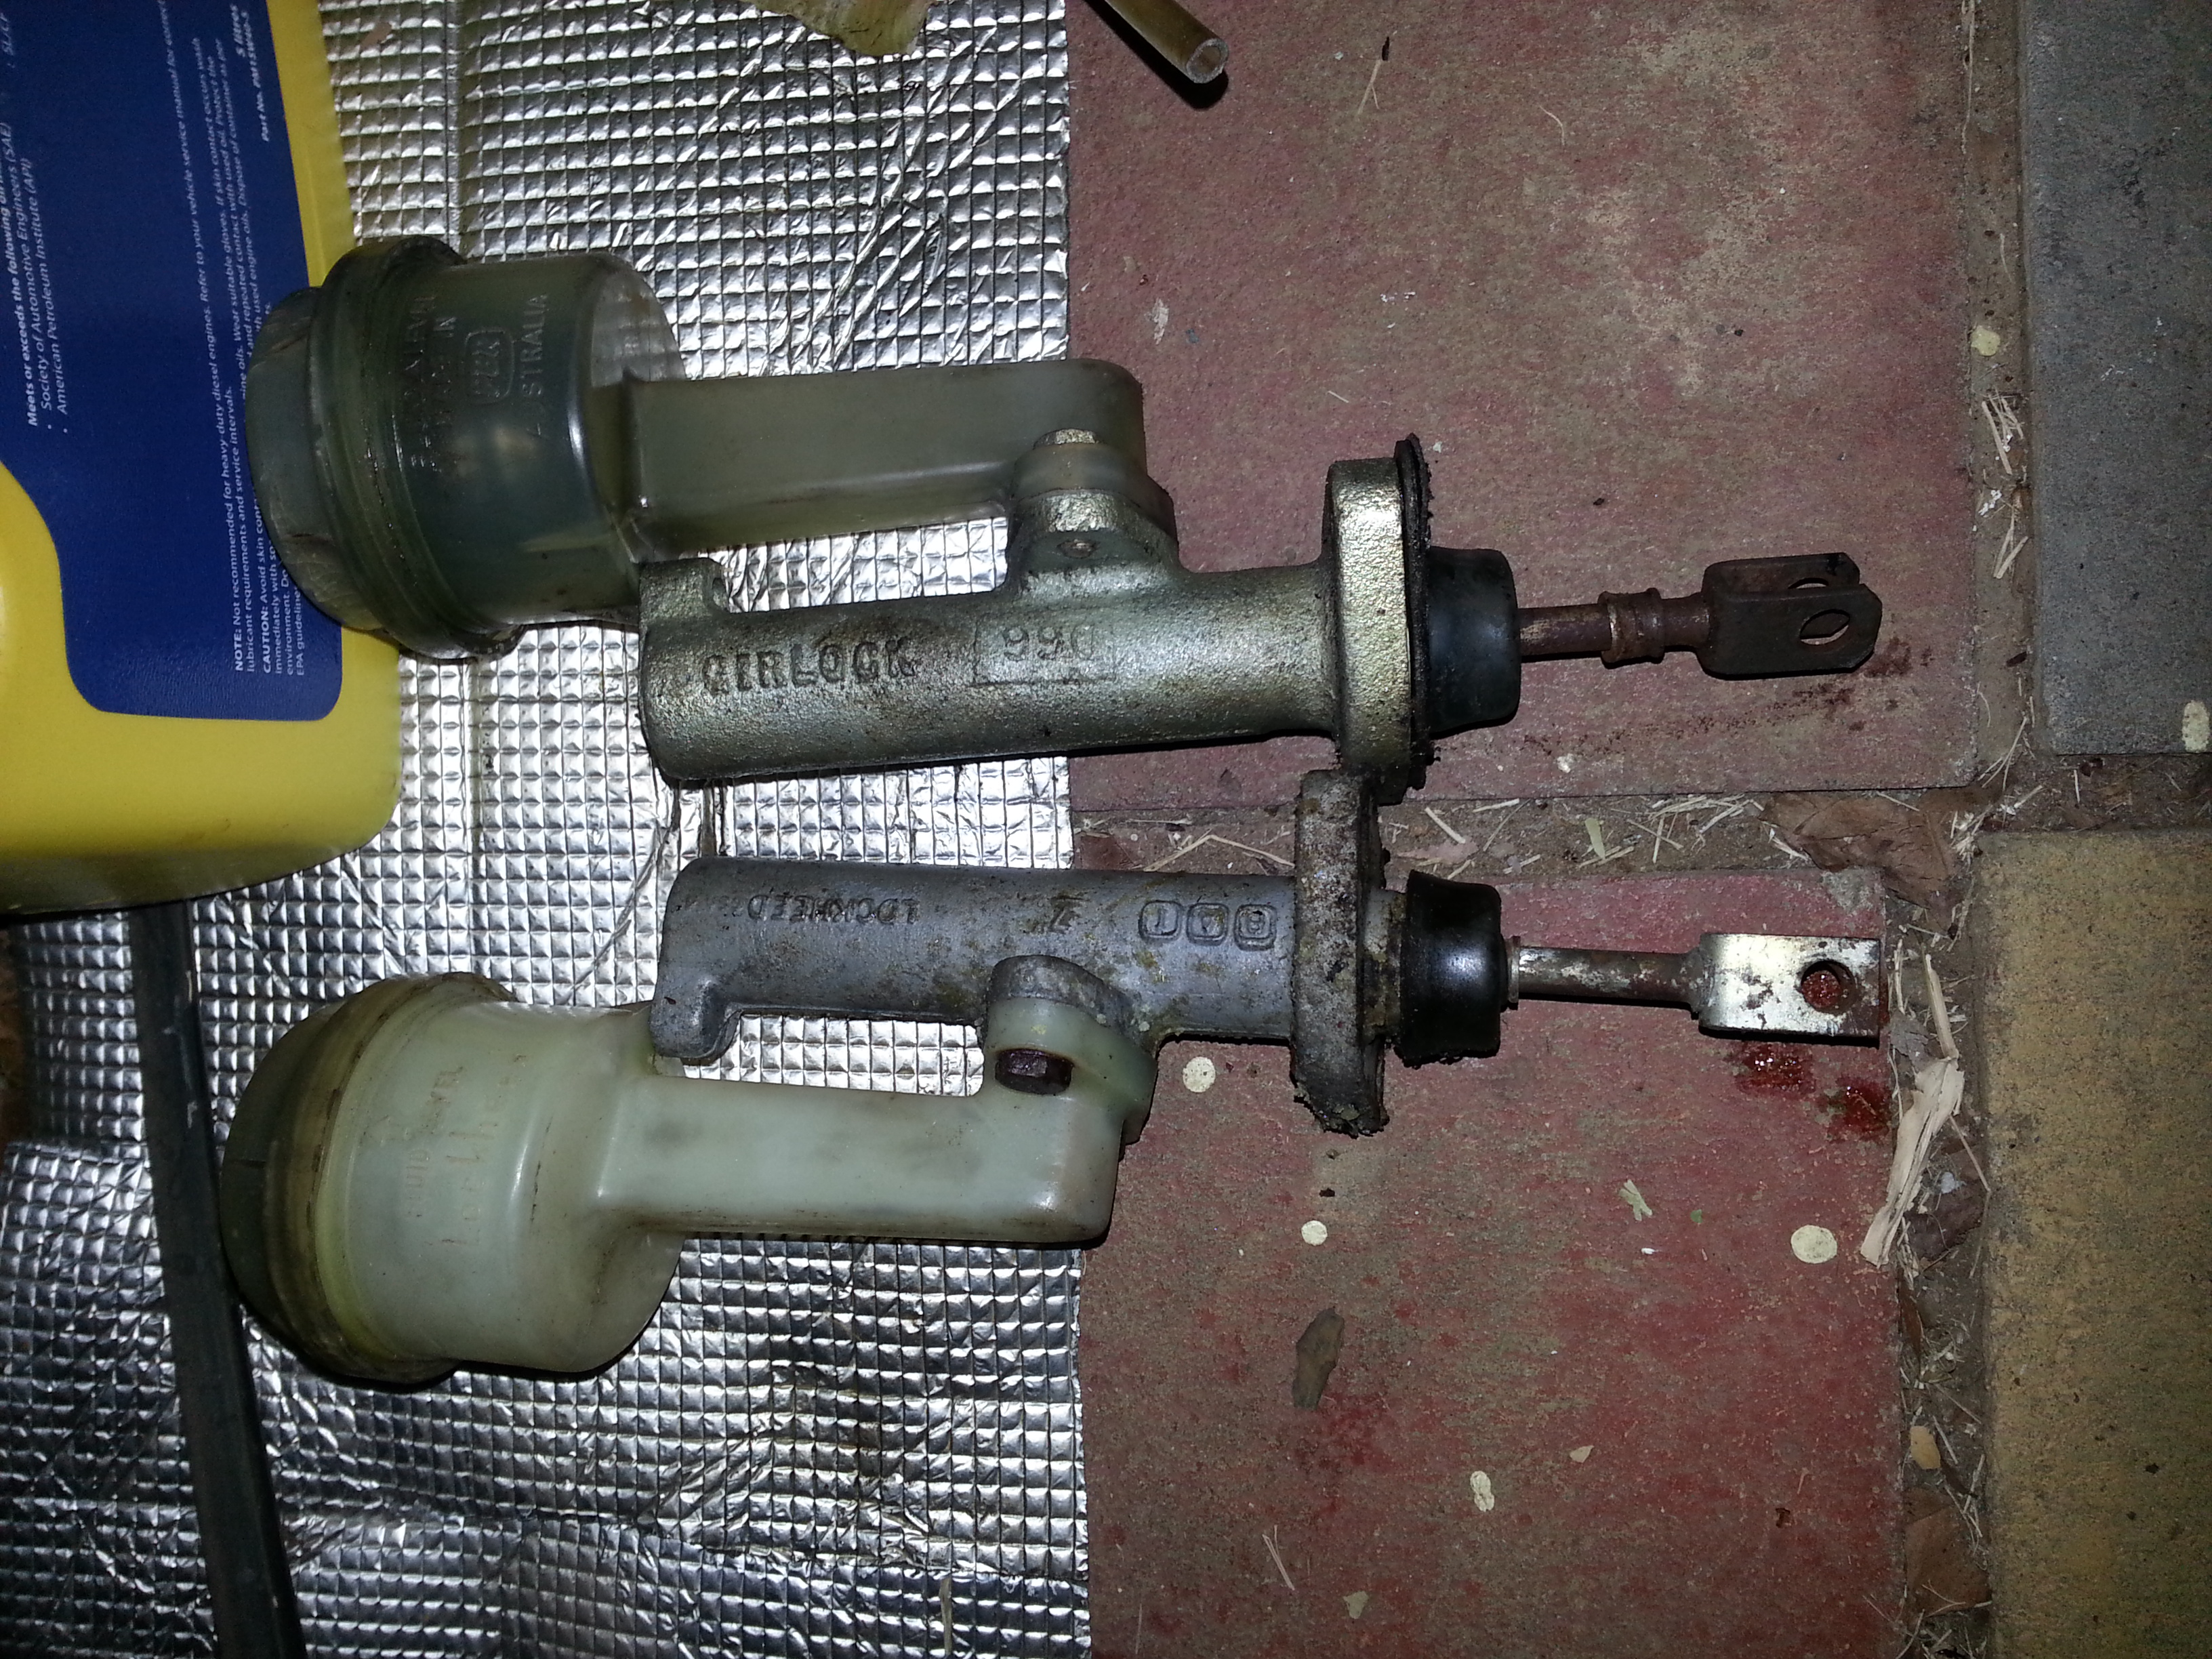
Are they ment to be the same, or has somebody used a brake as a clutch?
#34

Posted 16 June 2014 - 10:09 AM
nice looking car! That is definitely a LH tank 'modified' to fit the RHS. You can buy plastic RHS tanks on ebay for $175 If you want a cheap option to put back in that looks correct.
As for the master cyls, it's hard to know whats what without stripping them down and seeing the internals and measuring the bore. someone on here might know how to identify them more easily from external inspection - the way the reservoir aligns up with the feet, and the size of the feet I think are clues as to what they are. New lockheed ones are cheap and less hassle than getting old ones resleeved.
#35

Posted 16 June 2014 - 11:16 AM
I'm going to heat it up with an oxy and pull some of the bad dents out, get it pressure tested after I weld in a new piece.
#36

Posted 19 June 2014 - 07:56 AM
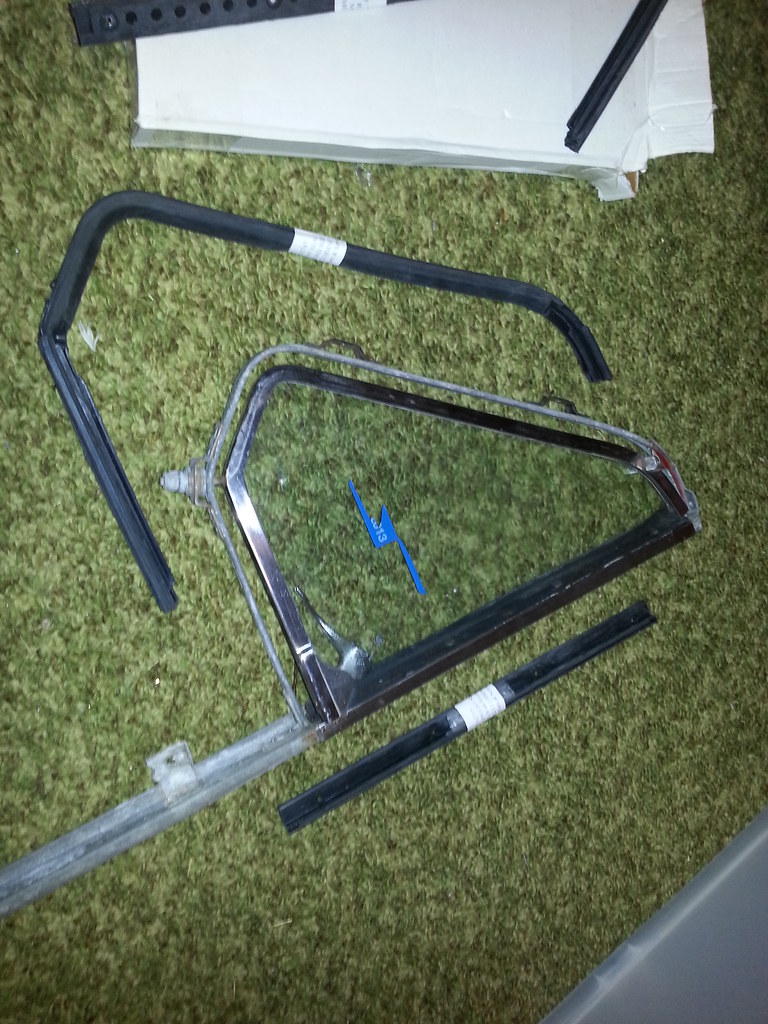
Got the 1st new parts today through the post,
Front Quarter Vent seals.
#37

Posted 19 June 2014 - 08:15 AM
I bet those cost a pretty penny! They cost a fortune to get here in South Africa! ![]()
#38

Posted 19 June 2014 - 09:47 AM
I bet those cost a pretty penny! They cost a fortune to get here in South Africa!
Yes mate, cost a bit indeed! Au $178!
Minispares order placed this evening. Should be everything I need to complete it!
#39

Posted 20 June 2014 - 08:47 AM
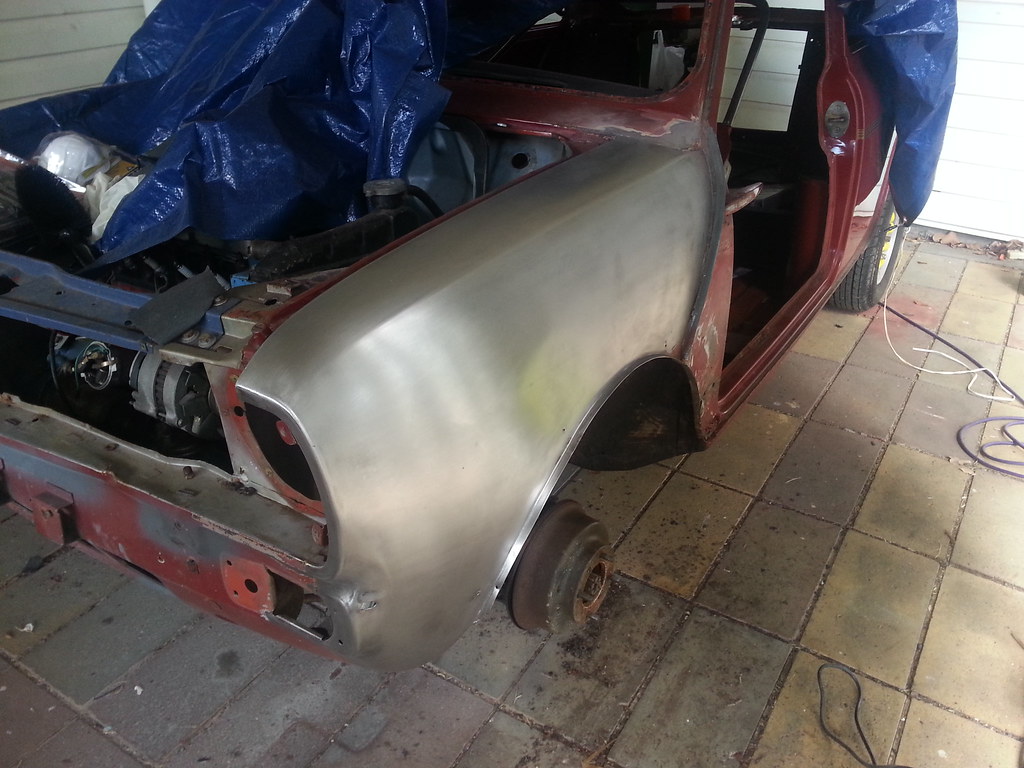
Small amount of work done this afternoon. Started to strip paint off the passenger wing, seems to come off relativaly easy with the paint stripper and scrapper.
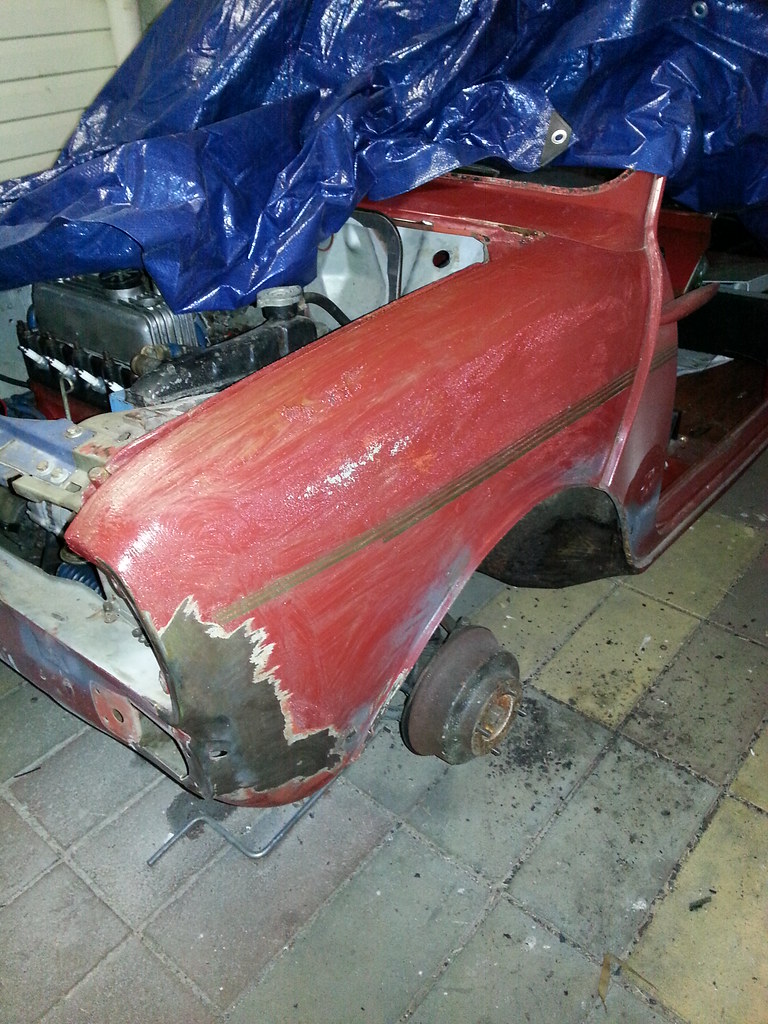
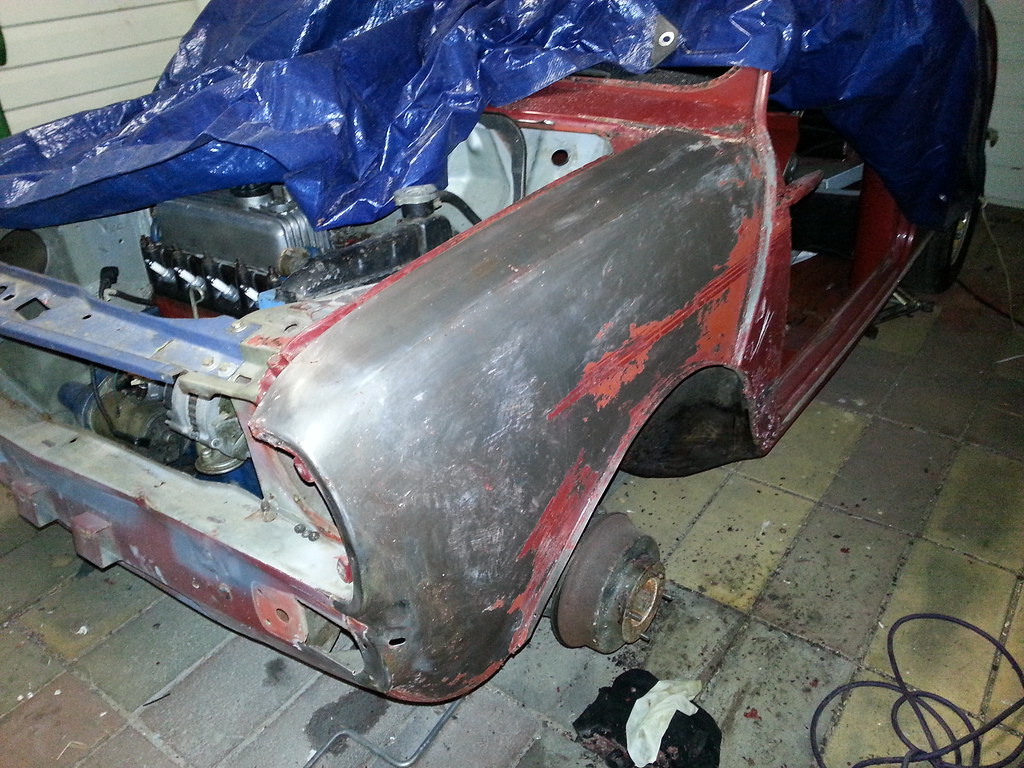
Trying out the cling film trick on the bonnet too.
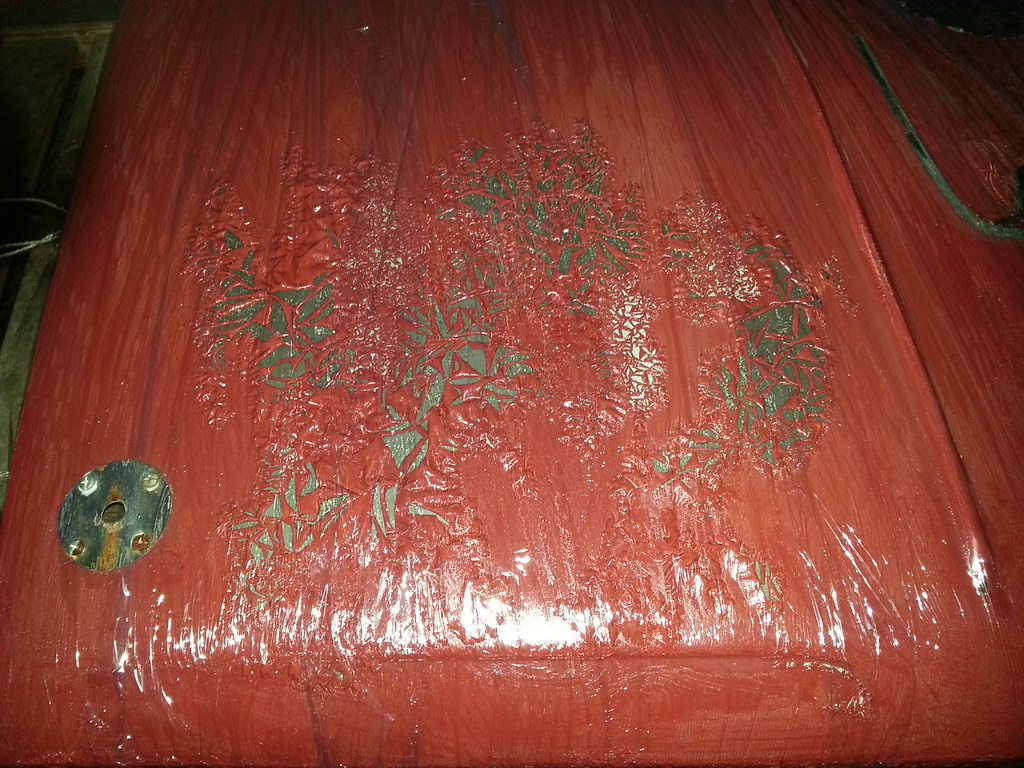
Got one tank wire brushed down and etched. Came up pretty good.
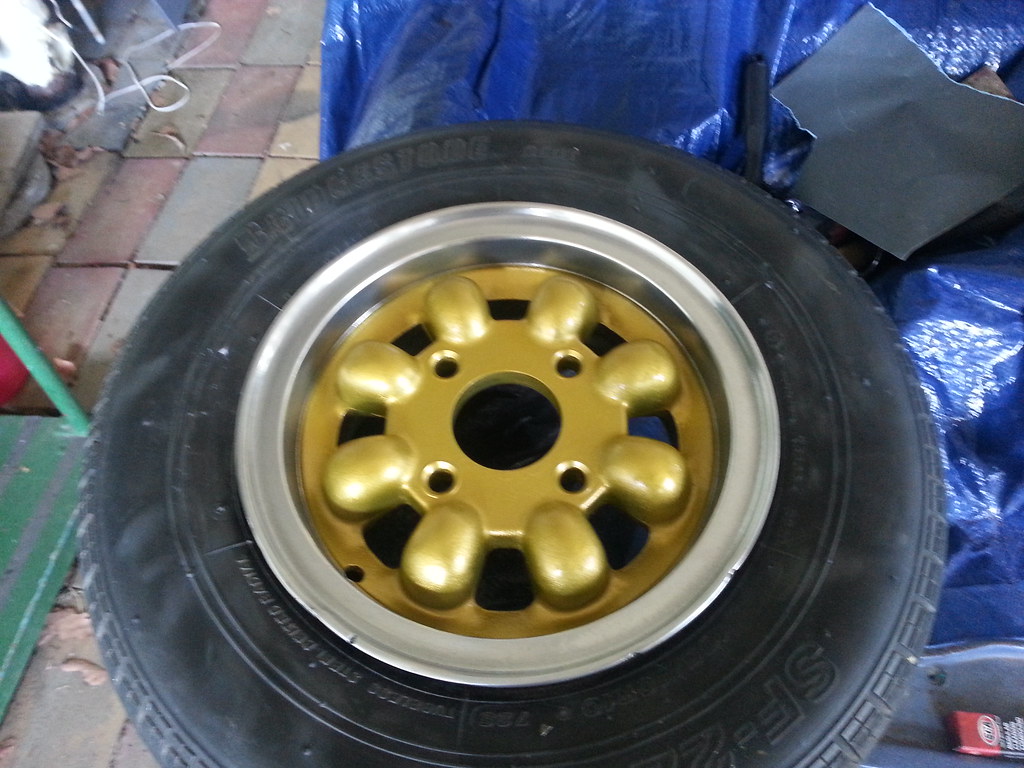
Bought my paint for my alloys, going gold with a polished lip.
#40

Posted 21 June 2014 - 04:33 AM
So back to it today, got the bonnet stripped, sanded down and etched.
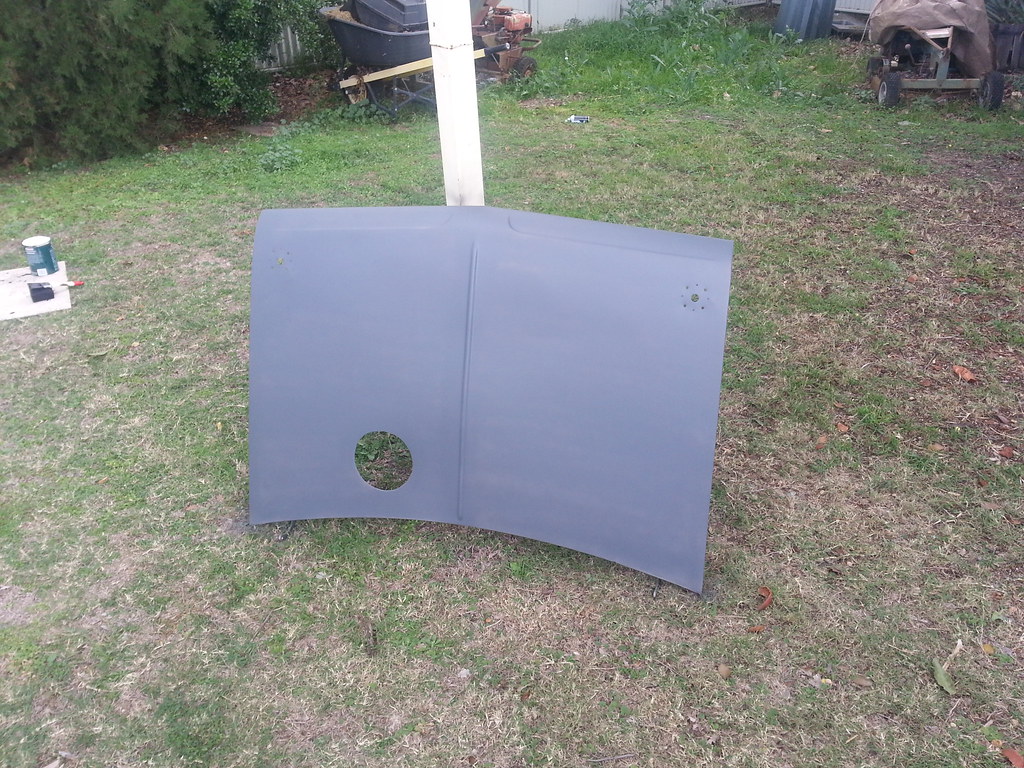
Got the rest of the wing done, seems to be good condition, bit of a small dent in it so will need filling. A few dings on the bonnet that need filling too, but only small surface imperfections.
Also finished up one wheel, I think it looks better than what it was. A few deeper kerb marks that are too deep to come out, but this was the worst alloy with kerbing
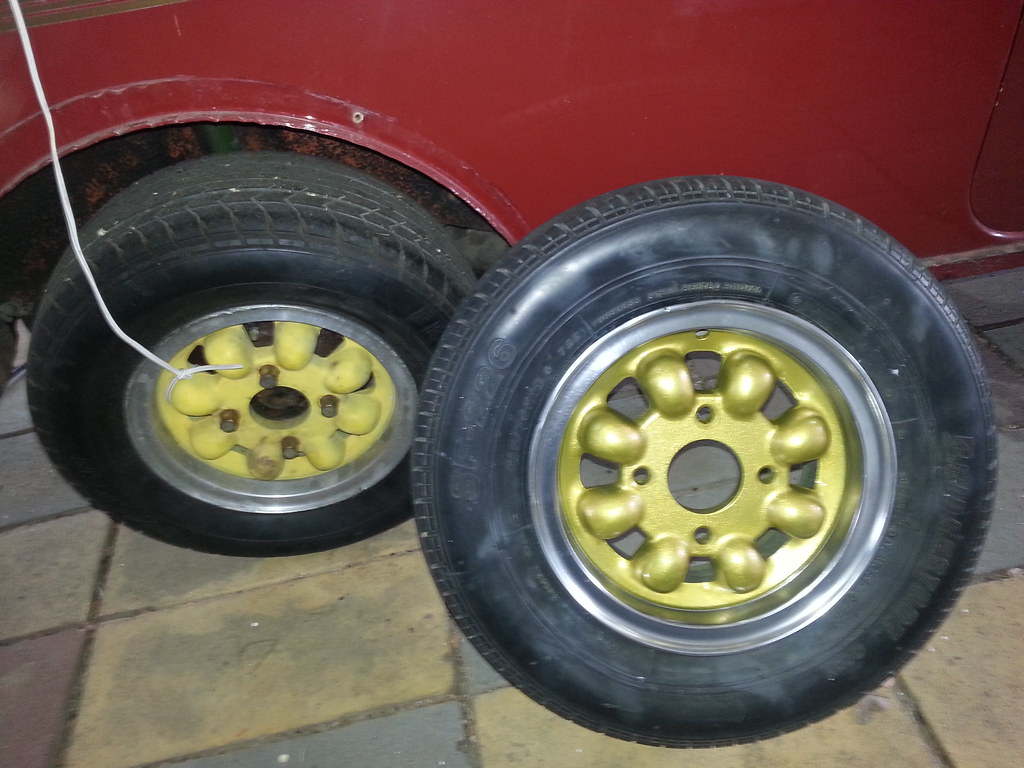
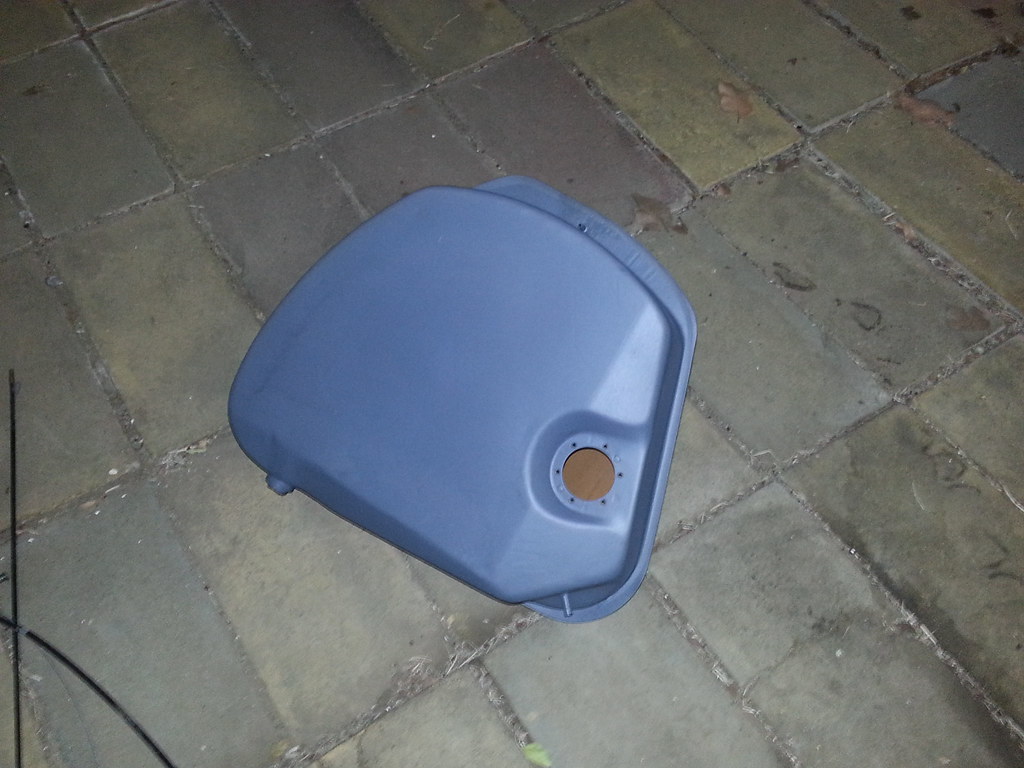
Also finished up one fuel tank in chassis black. Most of the day was spent sanding down the wheel, pretty hard getting between the spoke and the lip. Breaking the bead was pretty easy using a scissor jack under a step.
#41

Posted 22 June 2014 - 09:54 PM
Bit more stuff done today, mostly cleaning interior parts and giving stuff a lick of paint. Fixed up one tear in the rear bench. Need to find something that can bring a bit of life back into the leather, as parts of it have gone a little dried out and rigid.
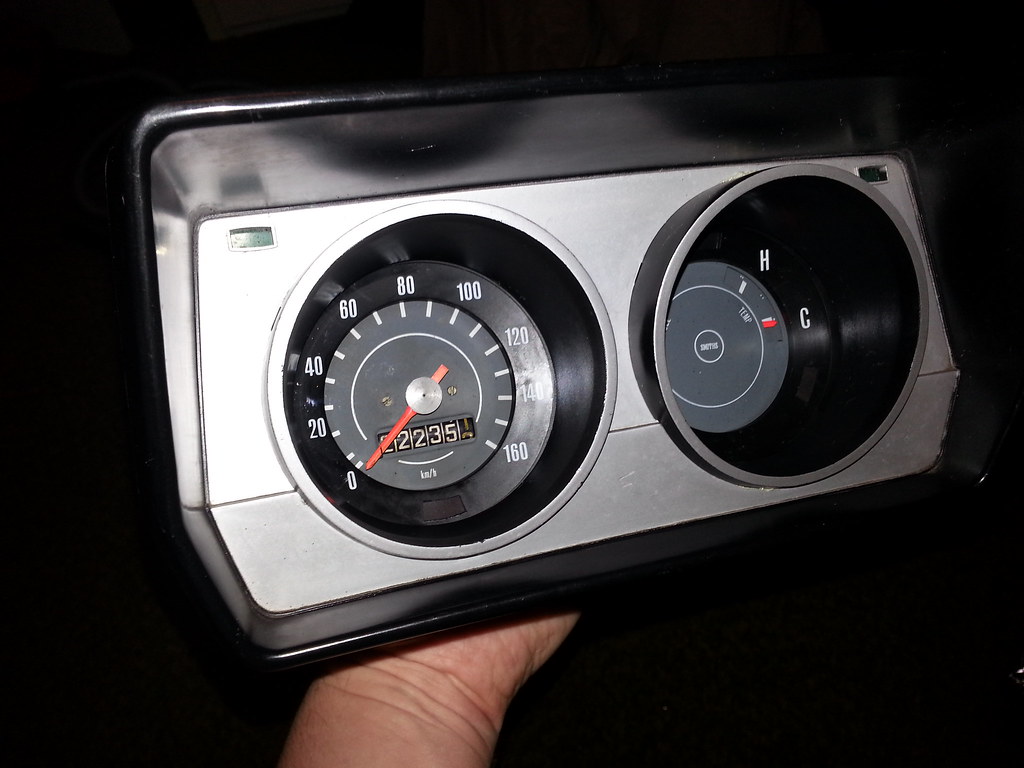
Took apart the speedo, noticed the needle was falling below the resting point, the stop had bent down out of shape. Just needed to pull the stop back out and straighten it up. Clean the glass and reseated the gaskets, need to test all the bulbs before it goes back in.
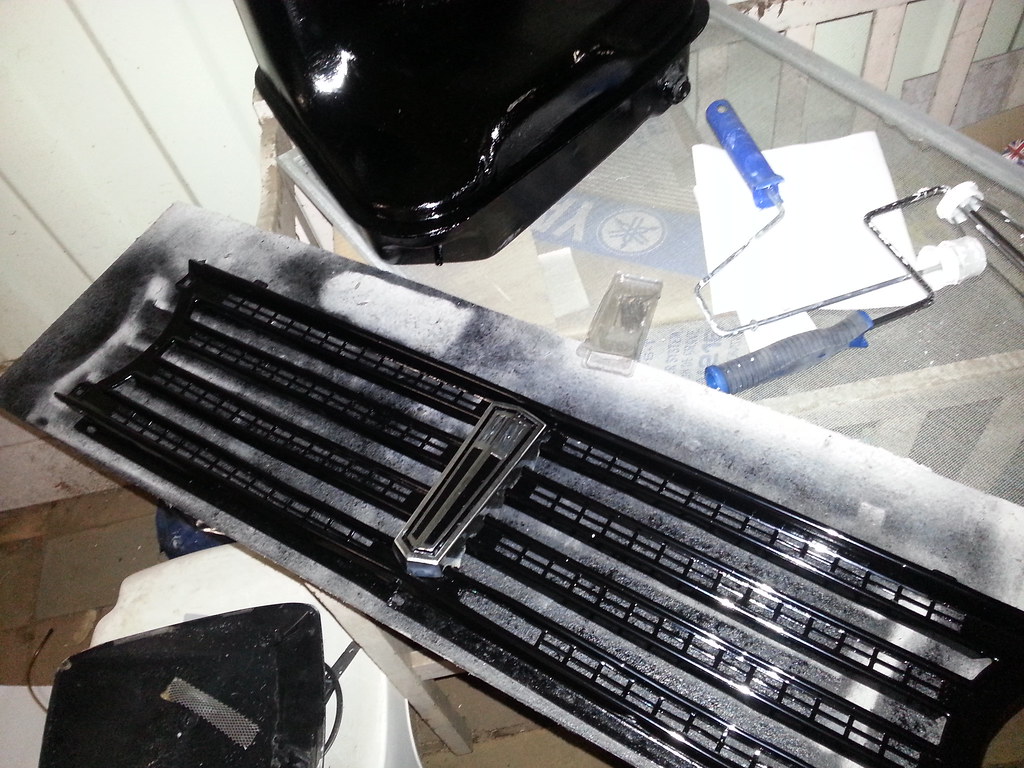
Sprayed the grille and cleaned up the badge. It was bent more than I had expected, so done it all black and will use silver vinyl stripe to pick out the ribs of it at a later stage. Need to get a small brush to do the lettering around Mini
#42

Posted 23 June 2014 - 08:37 AM
Great job on those wheels.
#43

Posted 30 June 2014 - 09:25 AM
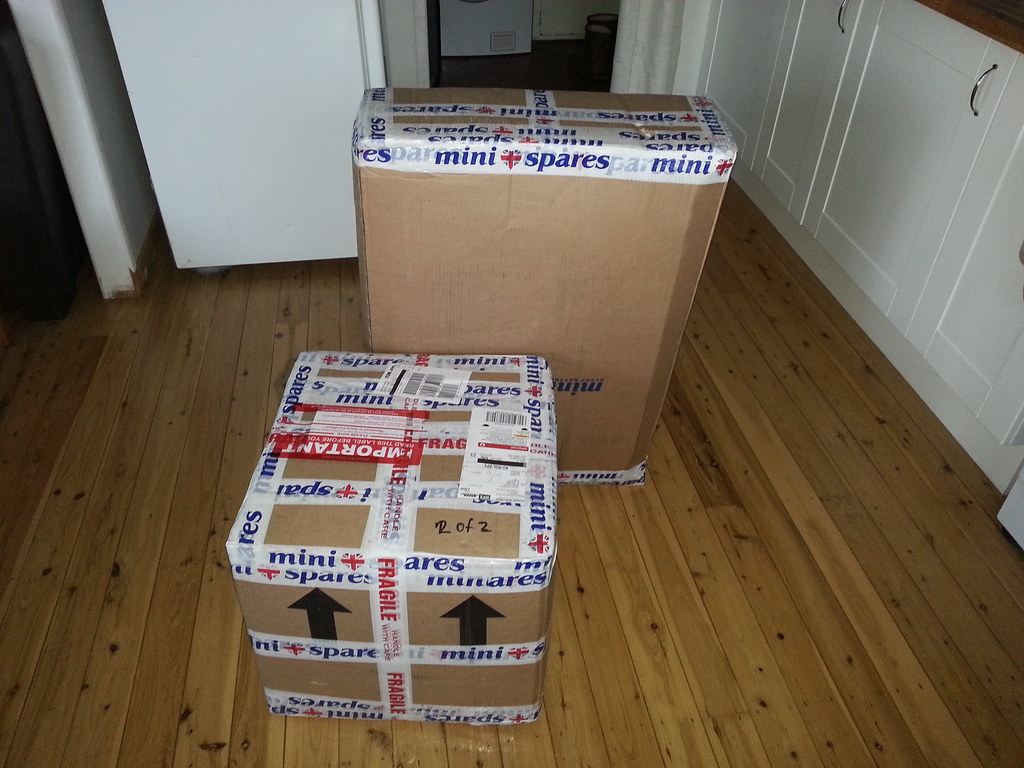
excited!
#44

Posted 30 June 2014 - 11:05 AM
Let's see ![]()
#45

Posted 30 June 2014 - 11:09 PM
I didn't get a photo of all the parts before I packed them away in plastic containers.
List of items is;
Radiator 3 Core
Water Pump
Water Pump Fitting Kit
Chrome Washer Jet (2)
Wiper Motor Box (2)
Dark Grey Carpet set
Carpet Underlay
Ball Joint Kit (2)
Steering Wheel & Boss
Headlining Kit
Engine Steady Bush Kit (2)
Windscreen Rubber (2)
Rear Quarter Window Seal (2)
Brake Shoes Front
Brake Shoes Rear
Windscreen Chrome Fillet (2)
Windscreen Chrome Joiner (2)
Small bore Gasket Kit
Accelerator Cable
Clutch Kit
Petrol Tank Neck Seal (2)
Engine Mount (2)
H4 Headlamps (2)
Steering wheel came with boss fitting kit, with a chrome and black plastic centre. Unfortunately the chrome centre cap was sitting on top of the plastic on and scratched it badly.
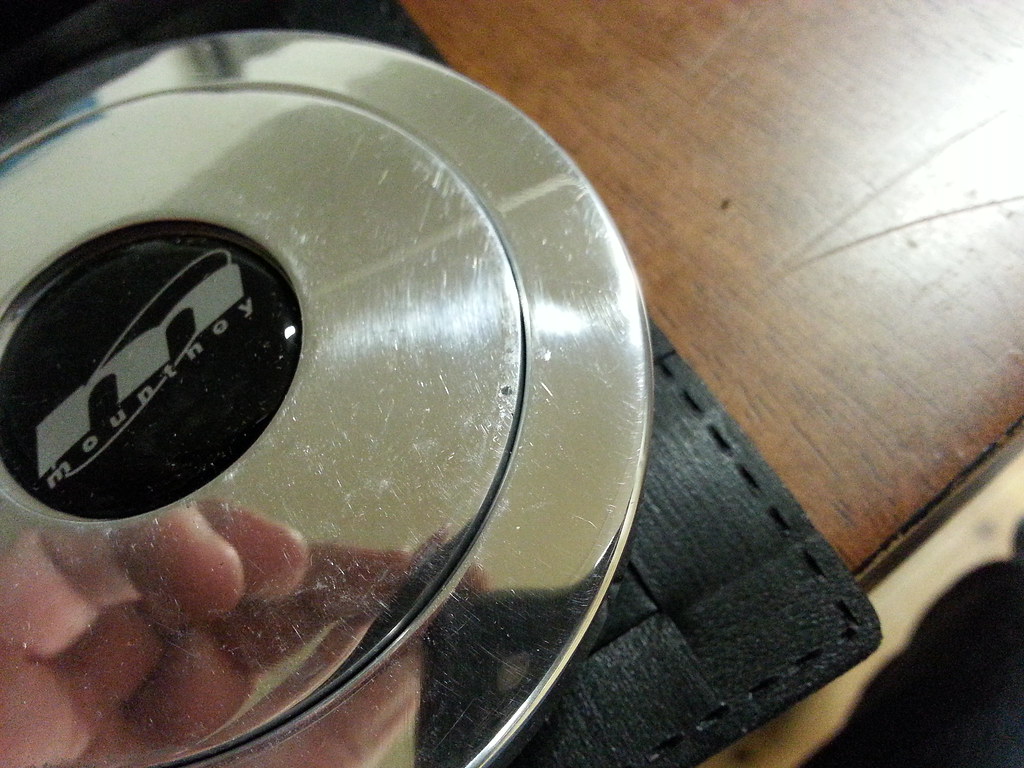
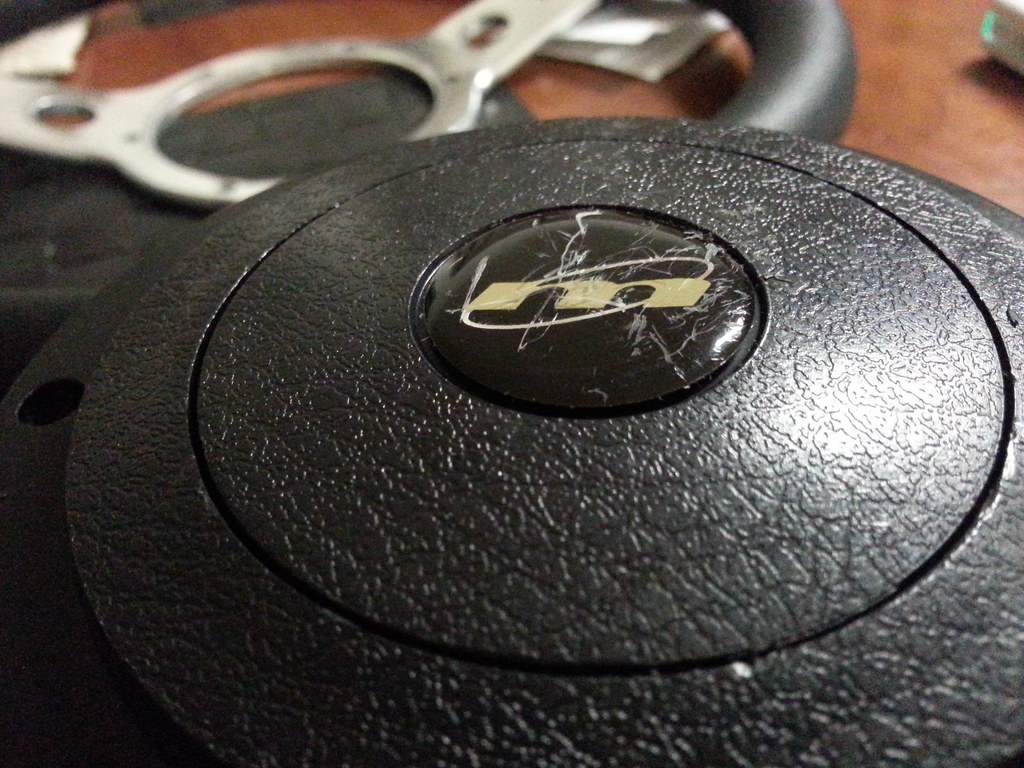
In fairness, they have already responded to my email and are sending replacements.
1 user(s) are reading this topic
0 members, 1 guests, 0 anonymous users


