Cheers Ben, it's starting to feel like it now !Nice one jay.
It really is coming together nicely.
Ben
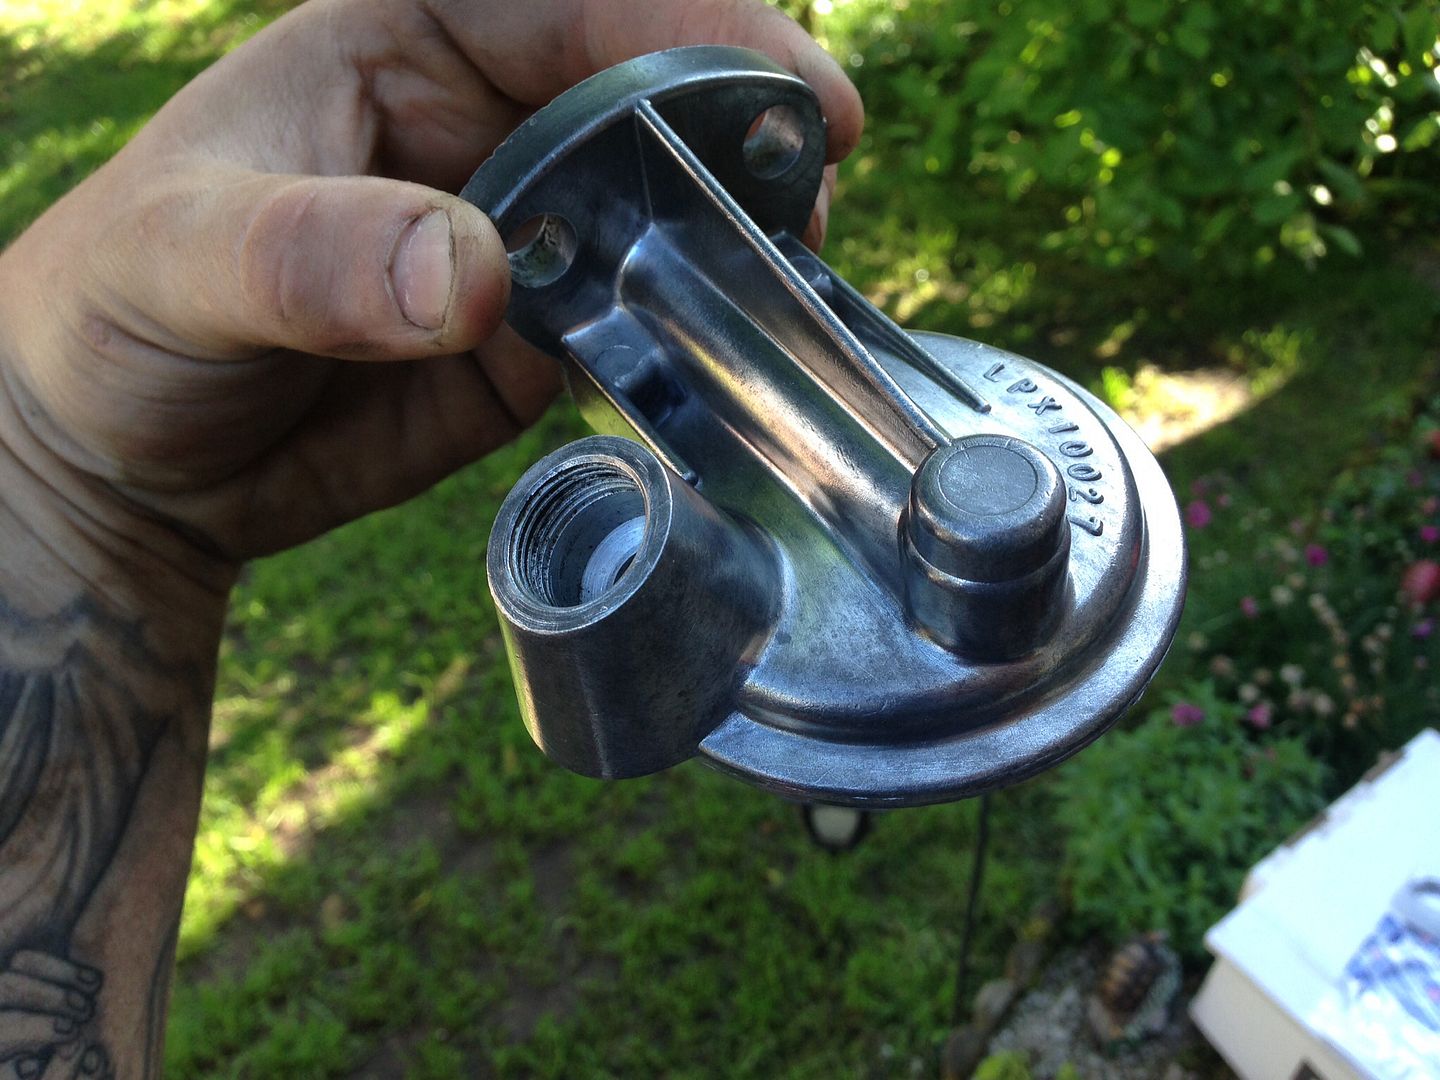
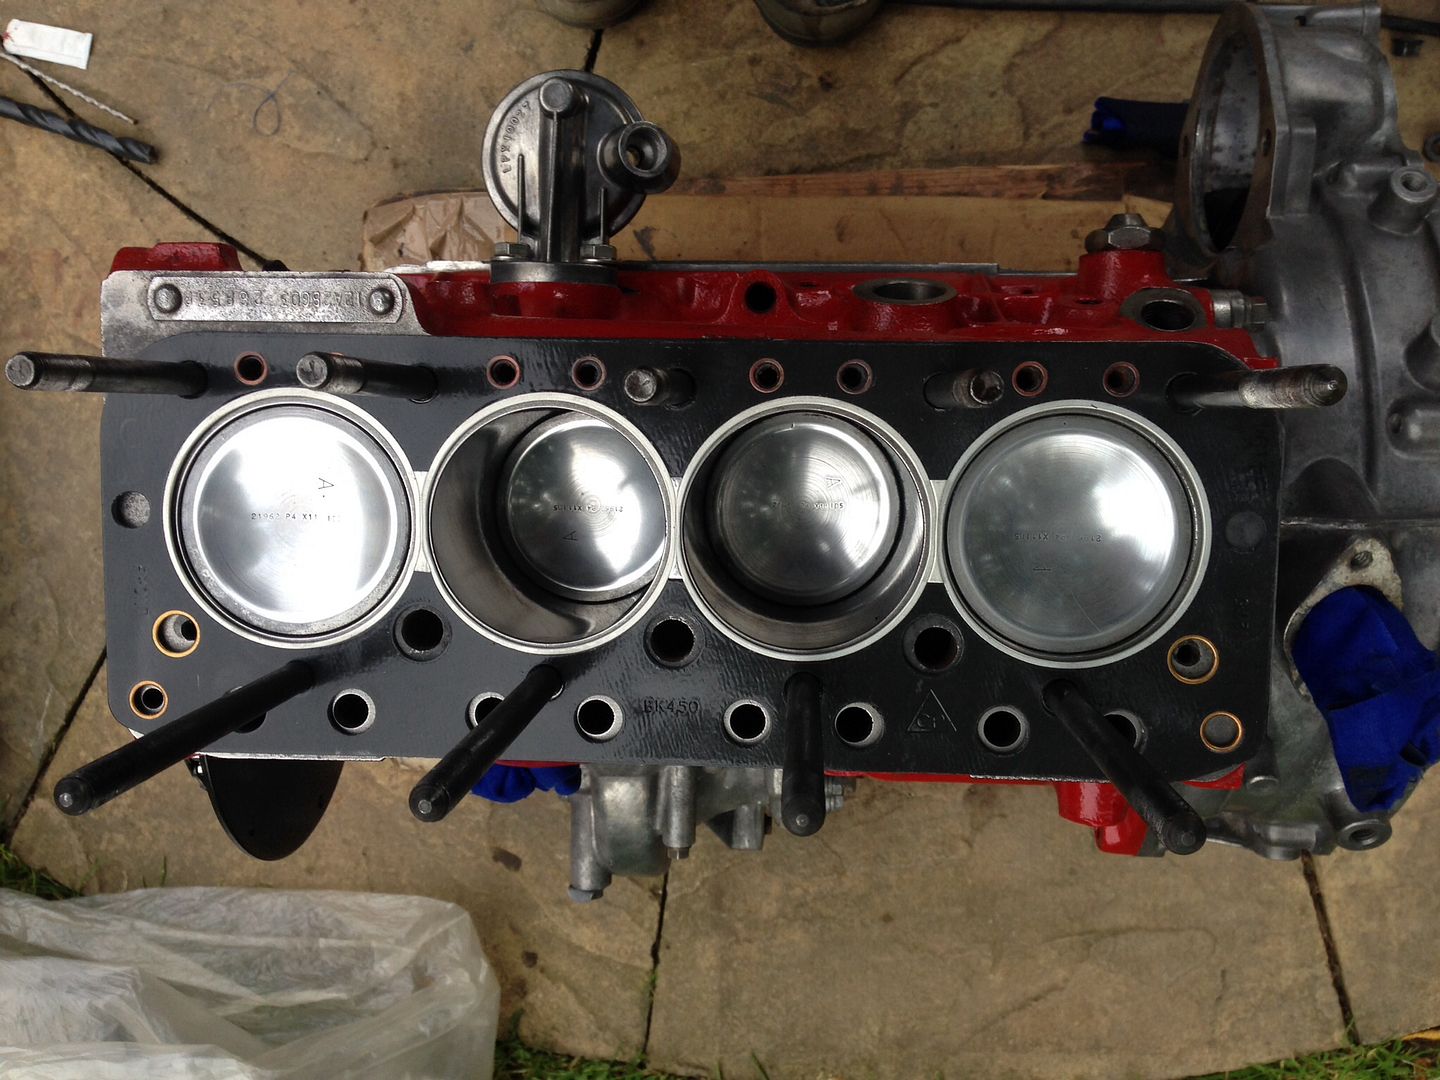
Thanks, it took a while to get it like that but it's definatley been worth the graft ! Their was a guy on here in the traders section who was importing the bibs from japan. Take a look, he said he was ordering some more but if not then you could try eBay.Great job on that cylinder head, looks really good. I like that fuel bib, also want one like that. Where did you get it from?
Update,
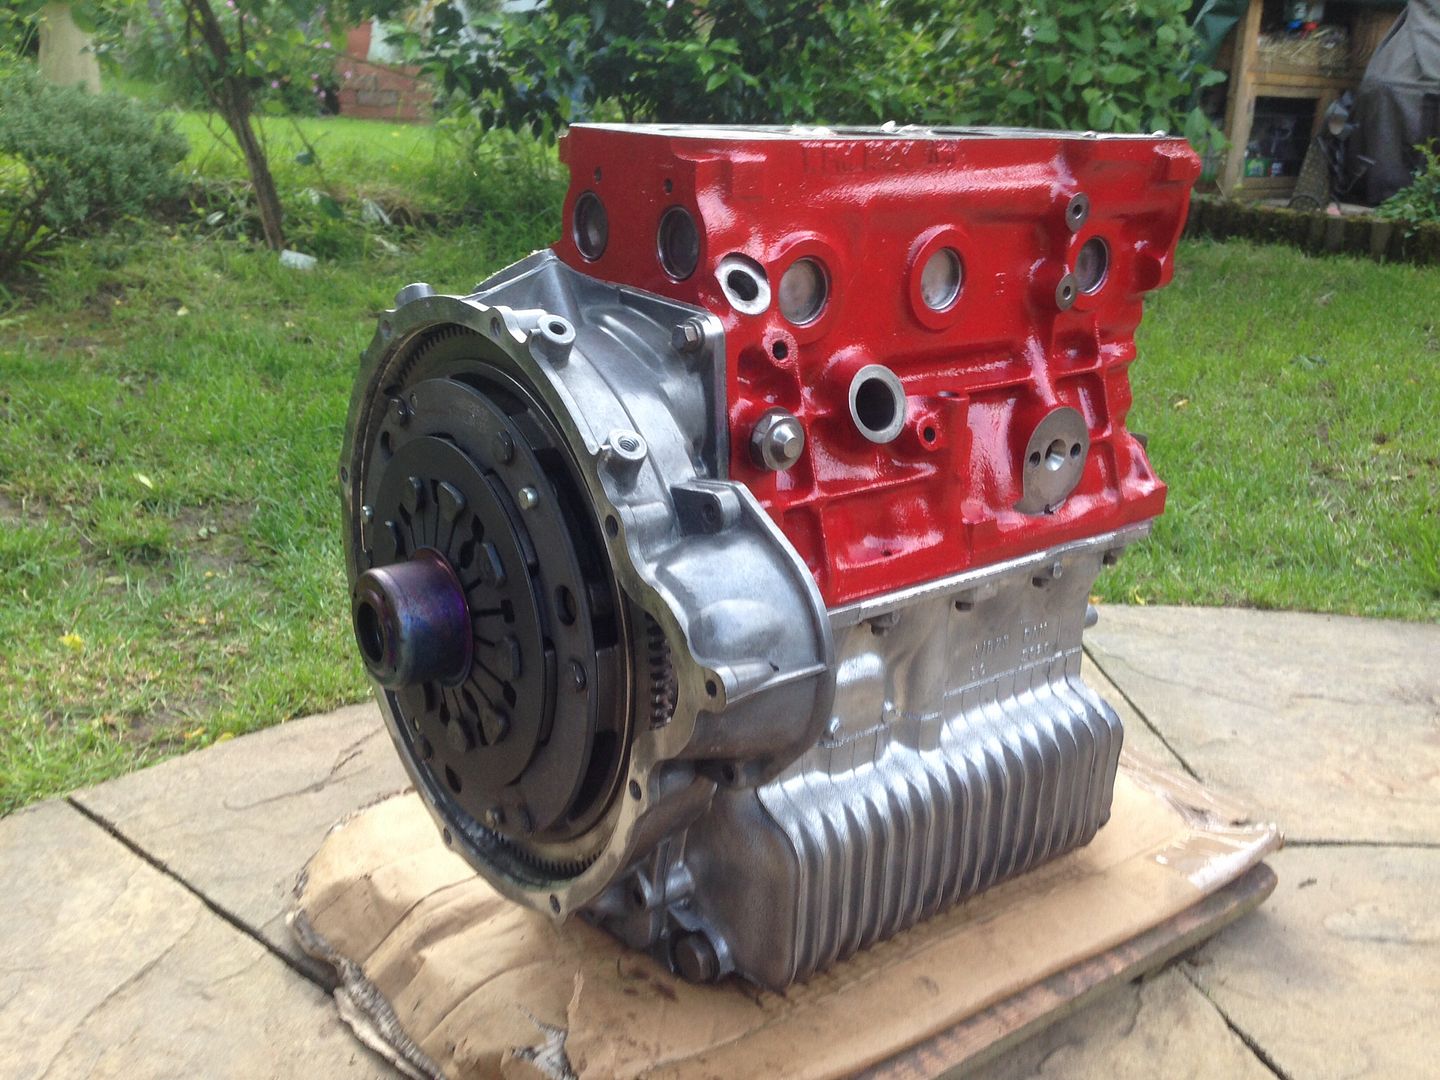
Felt like doing some engine work today seeing as the weather was so nice, so I got it stripped, sanded and painted. Here's some pics of progress.
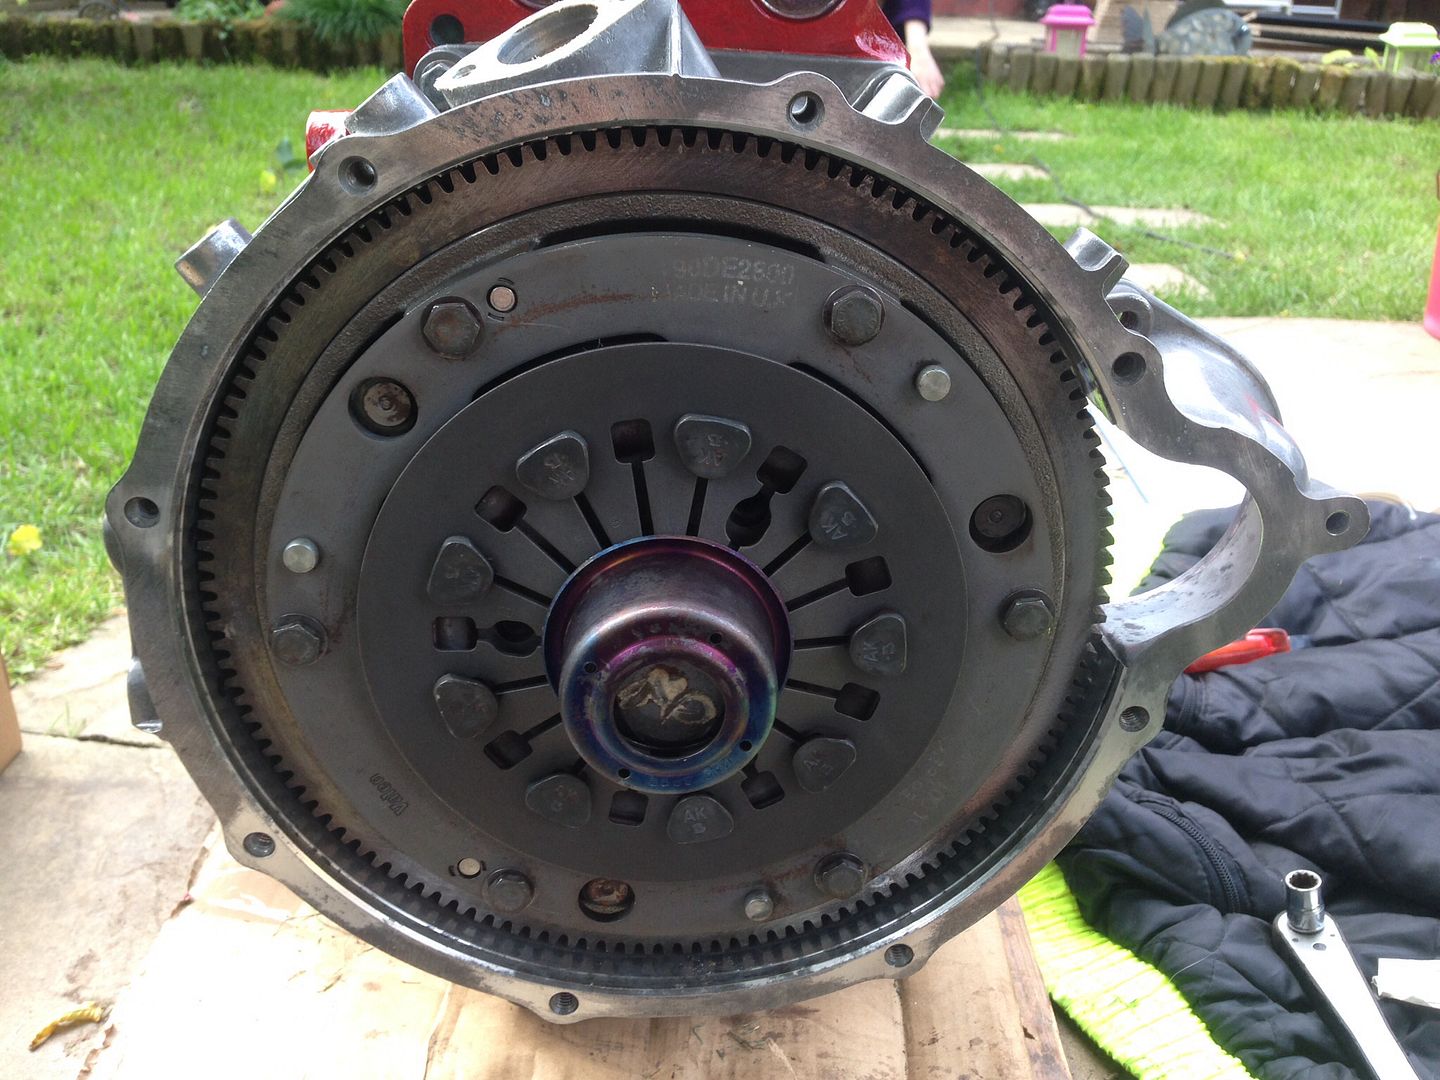
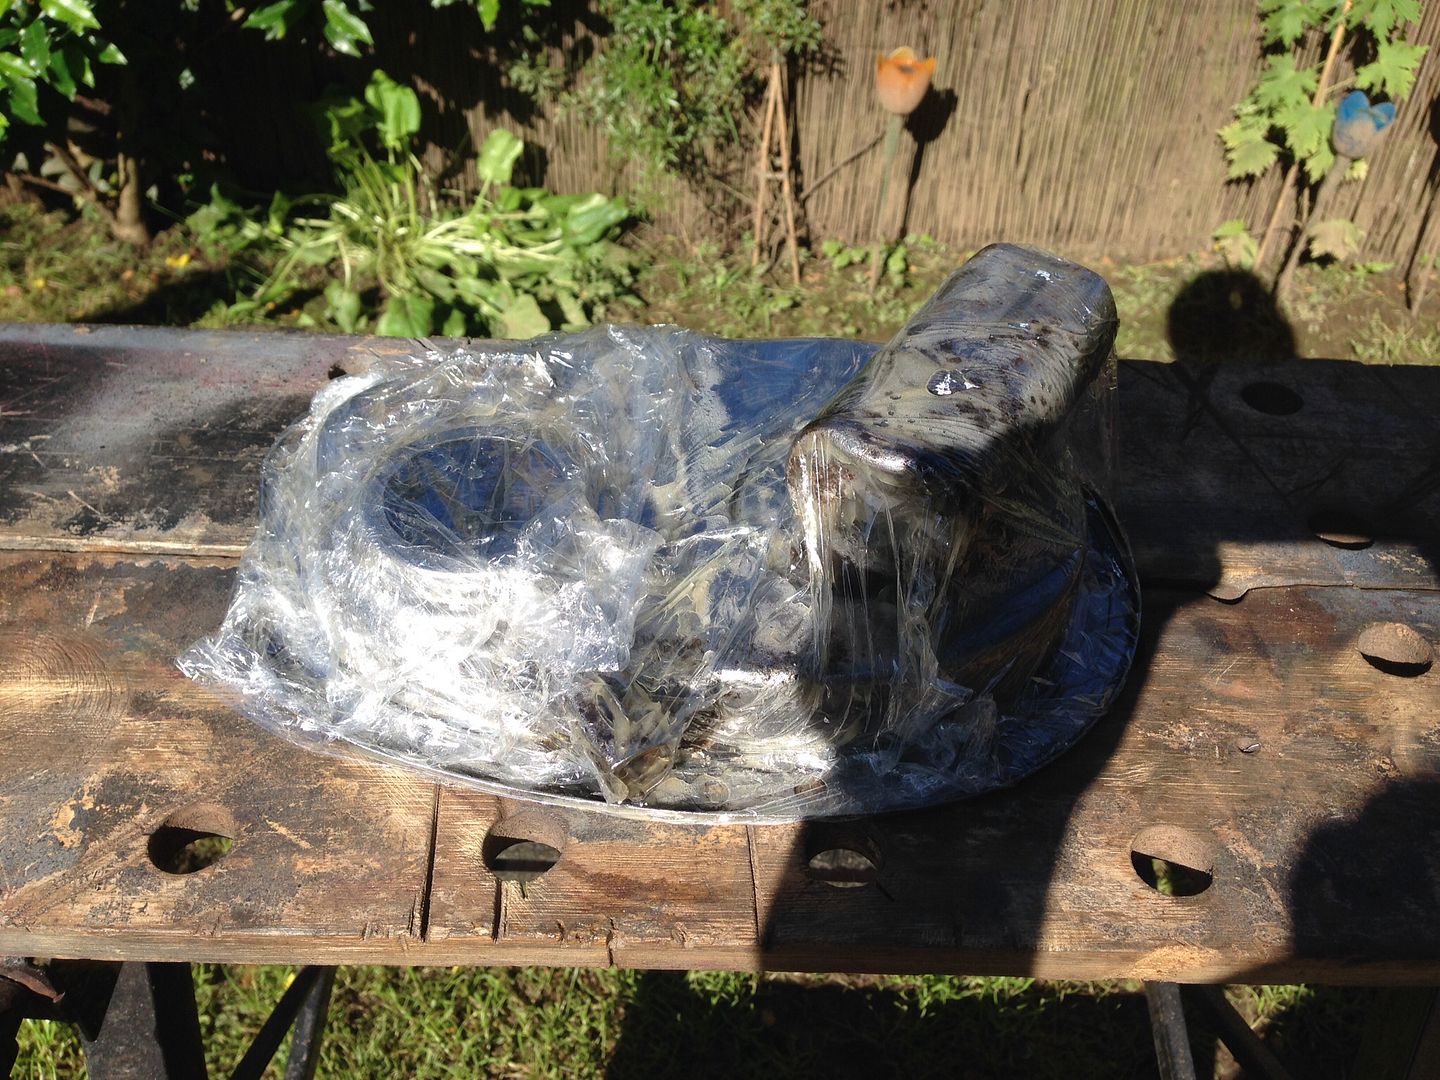
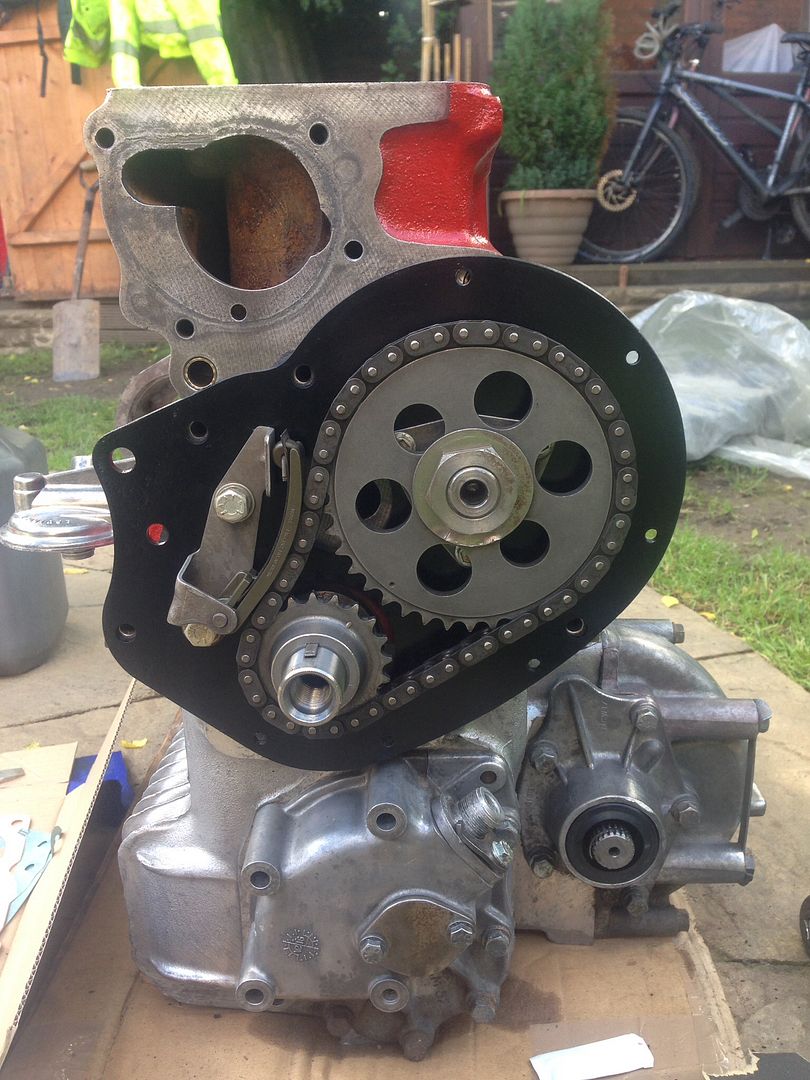
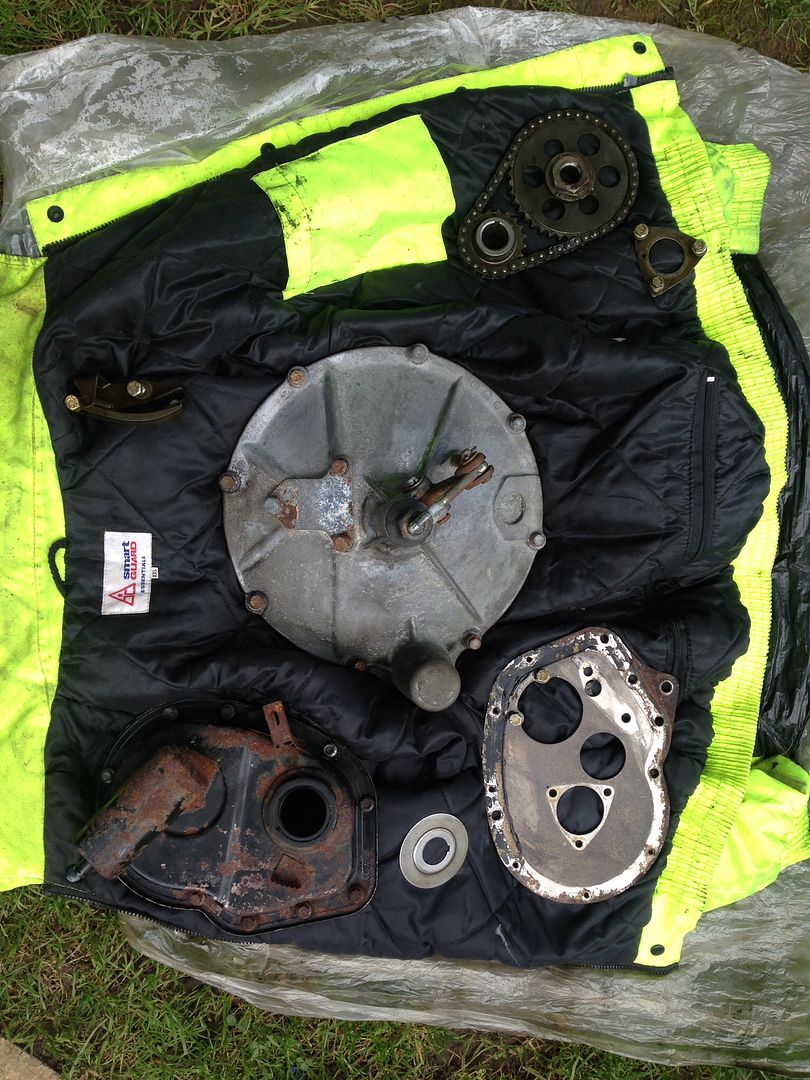
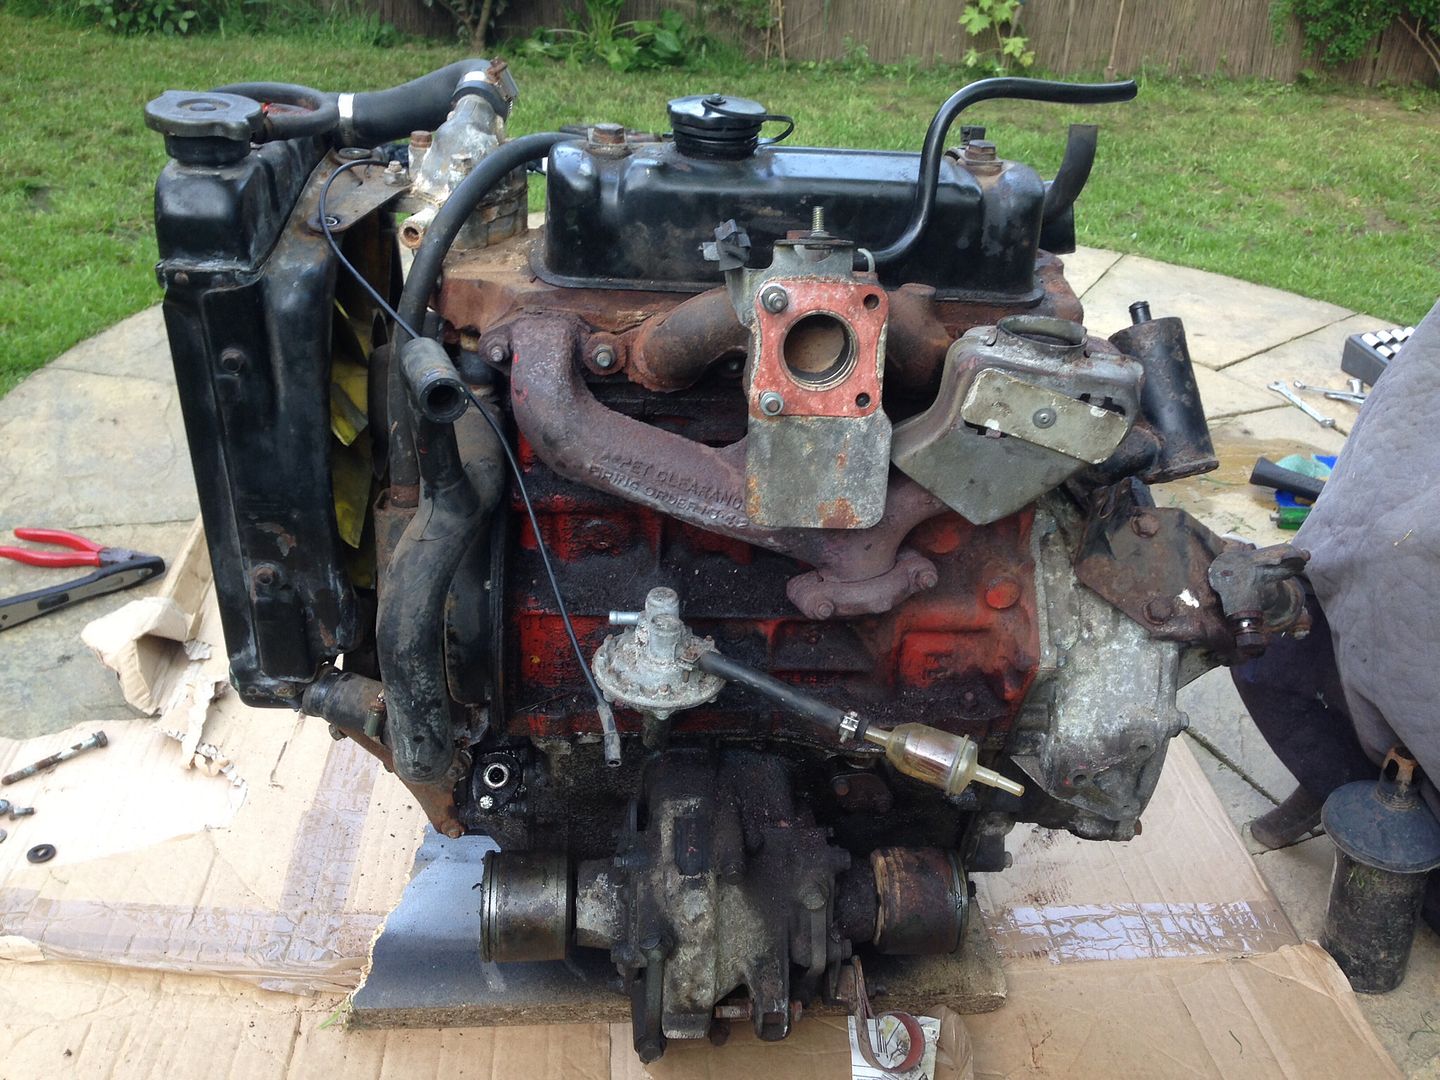
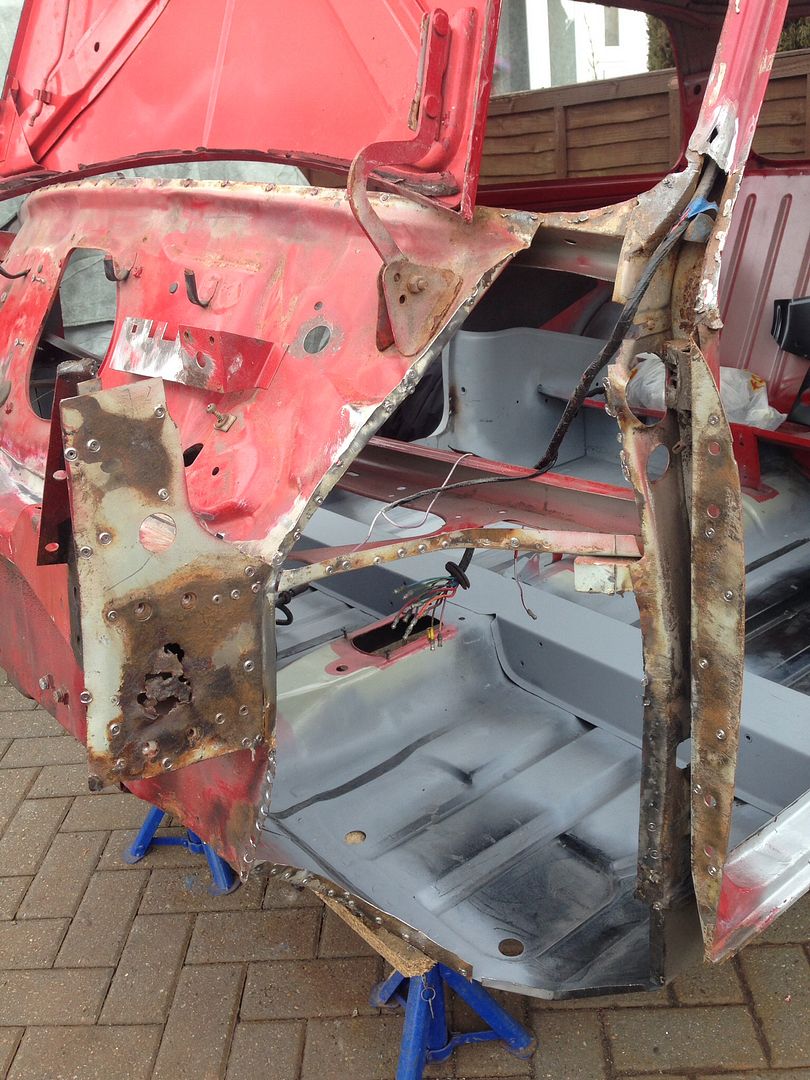
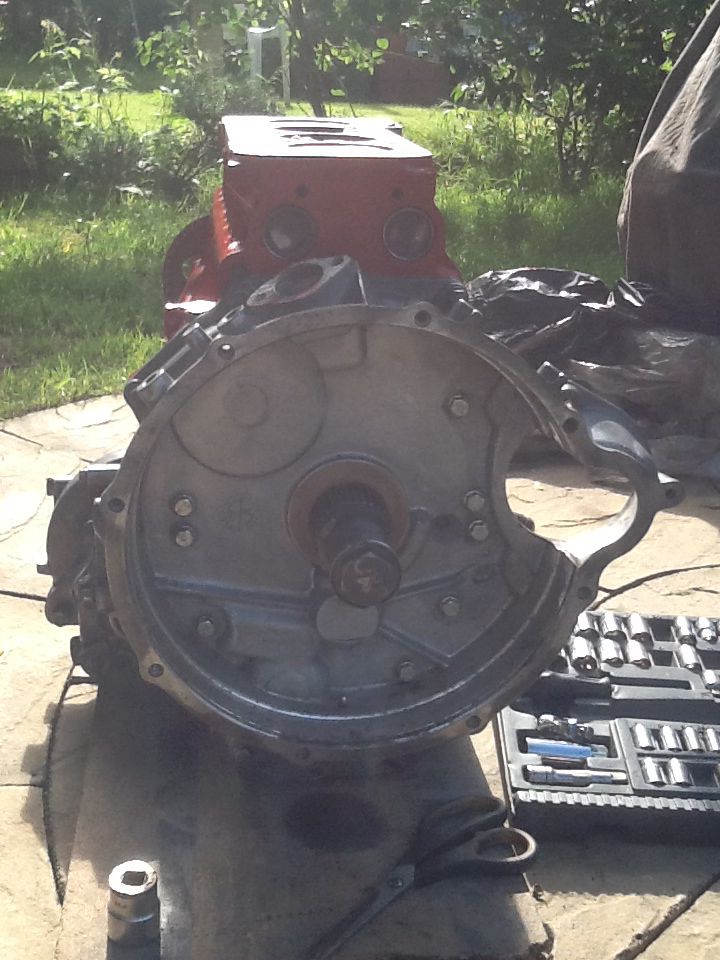
Stripped down to the block and box, it came apart so nicely, nothing seized, looks like its been looked after -
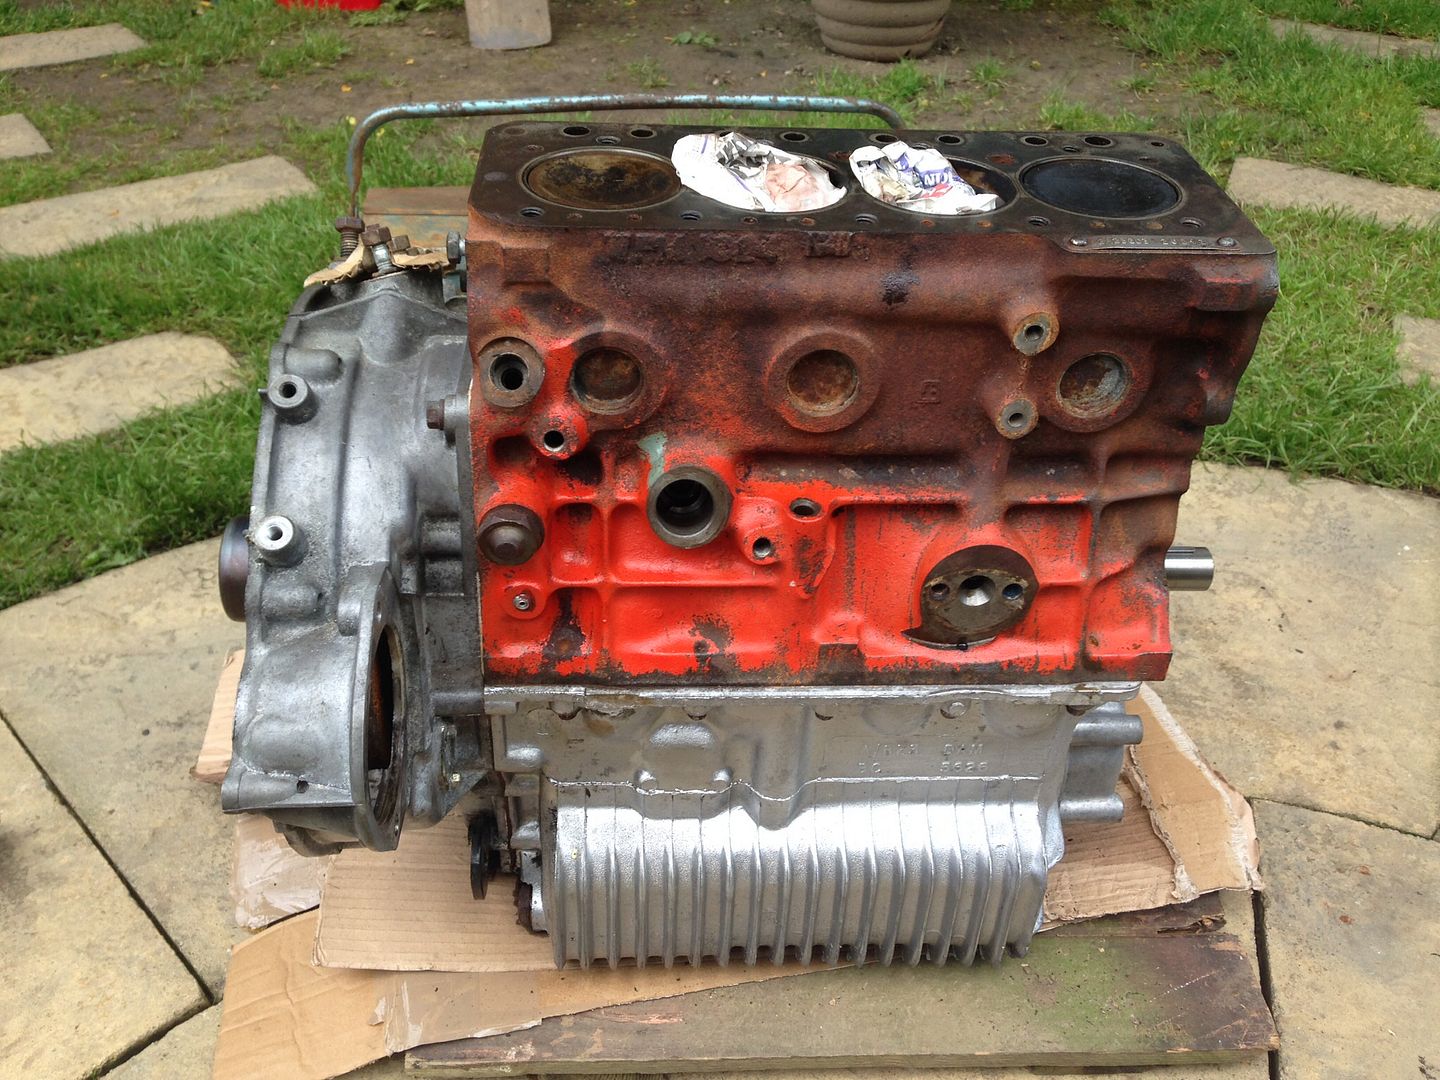

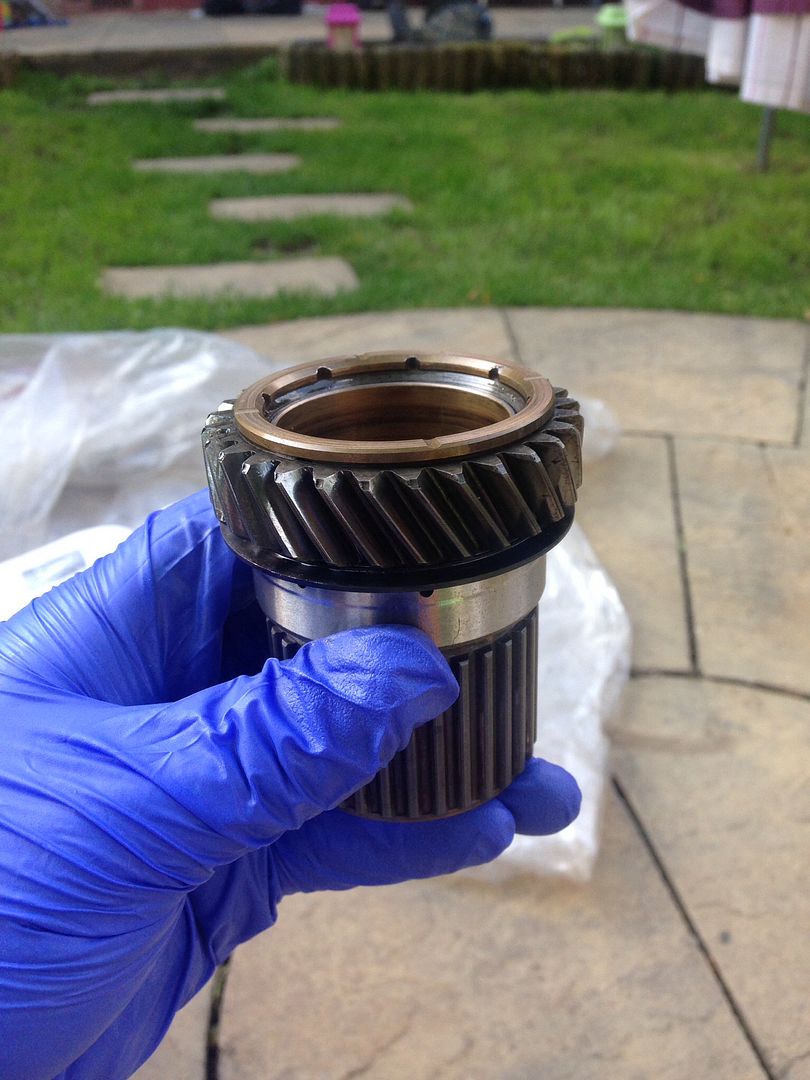
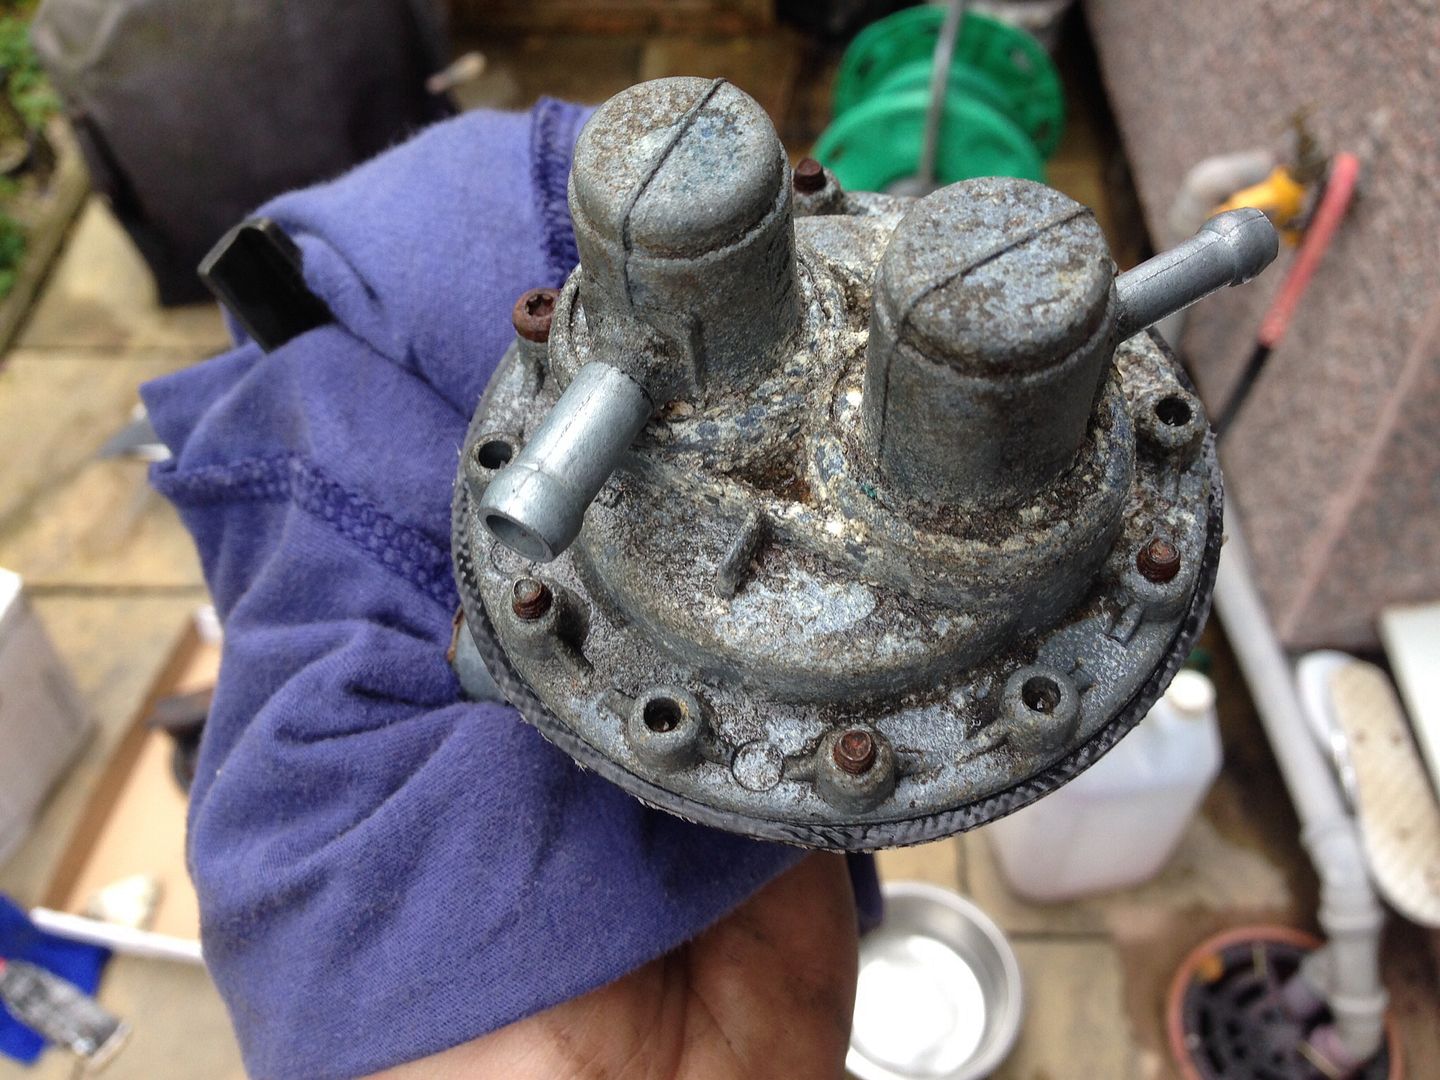
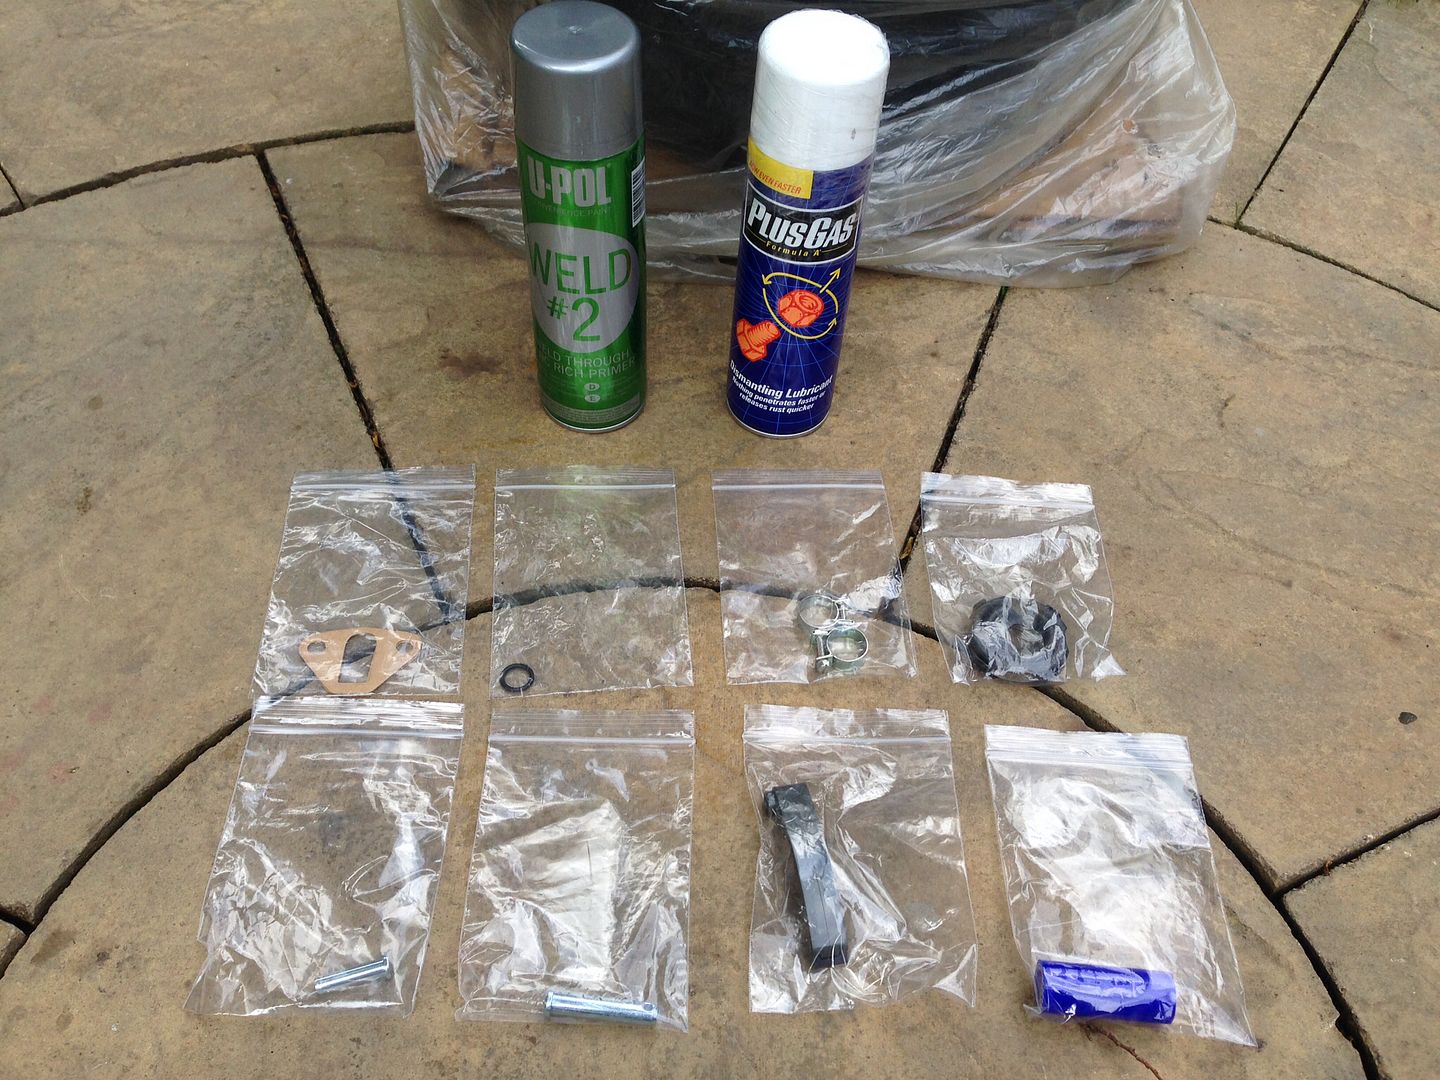
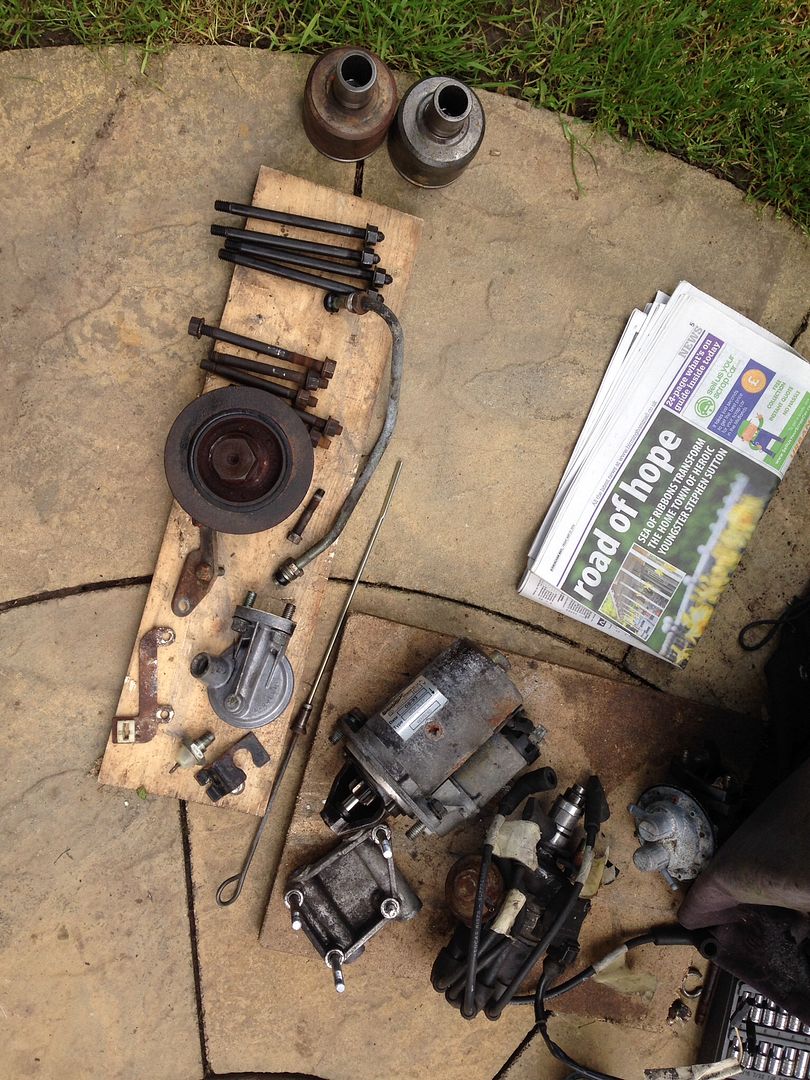
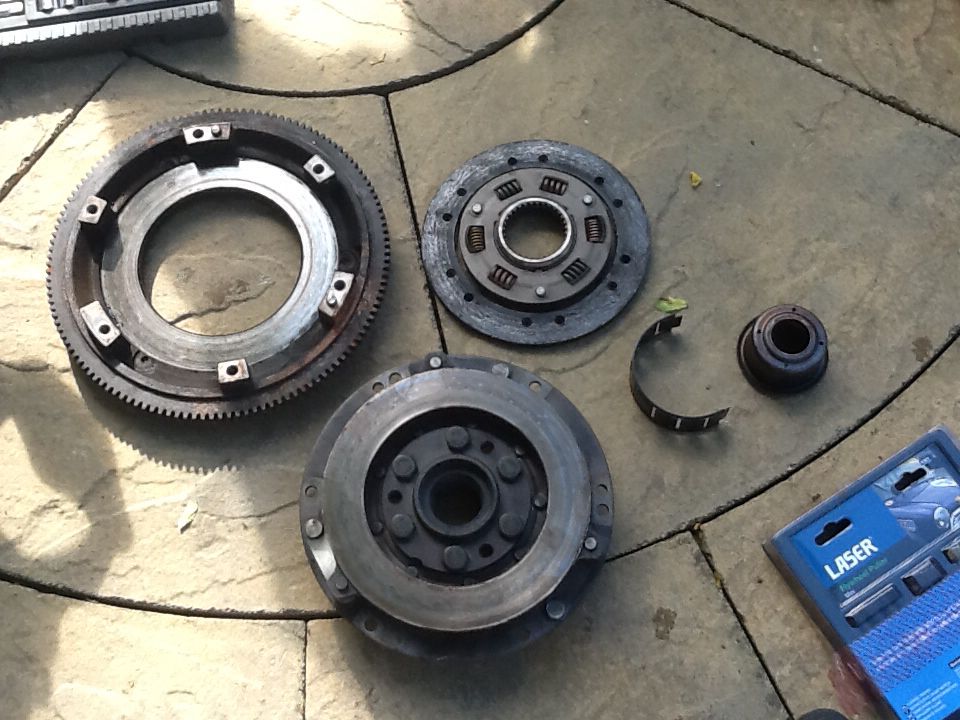
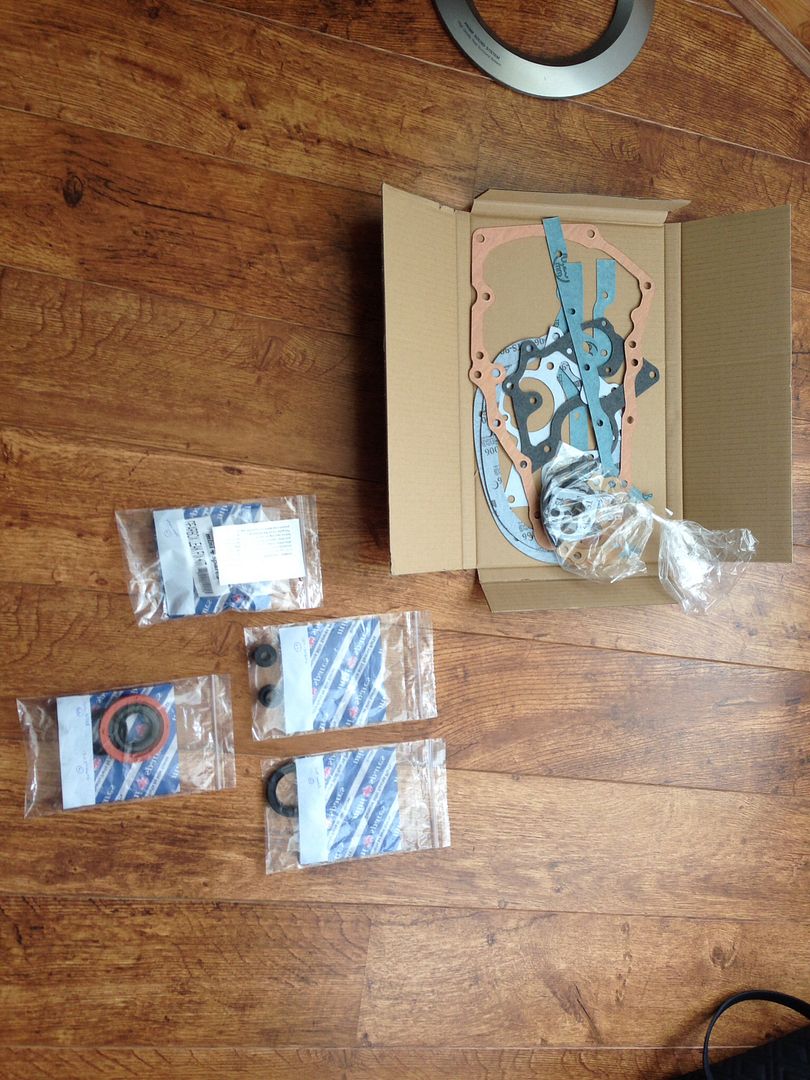
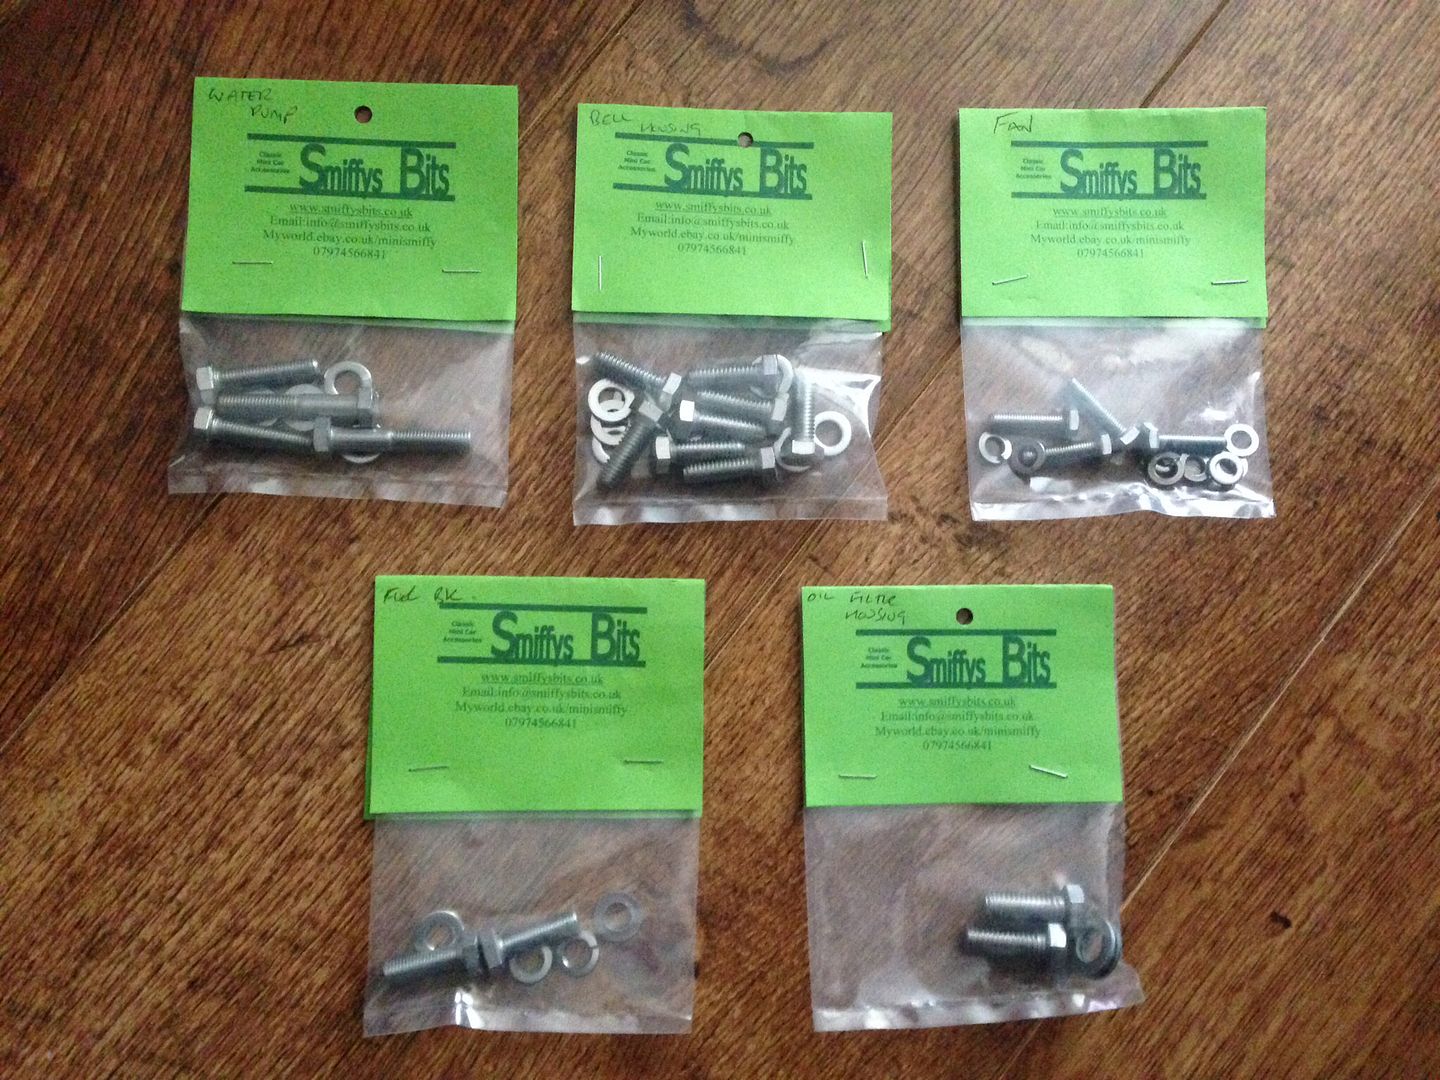
All the parts laid out -
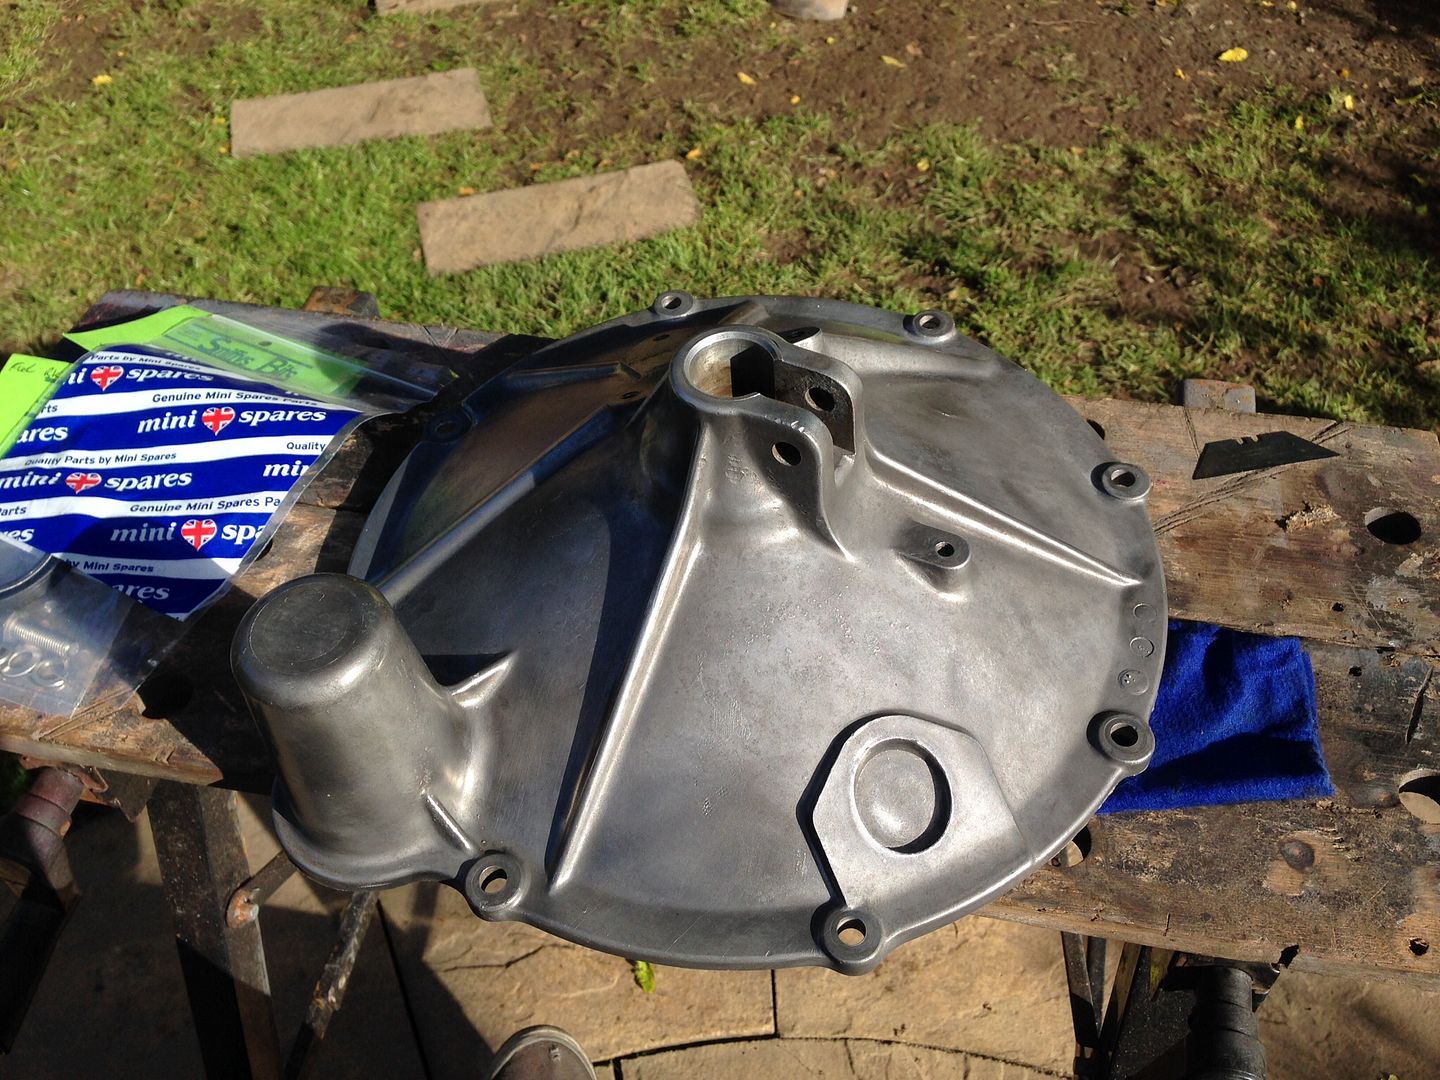
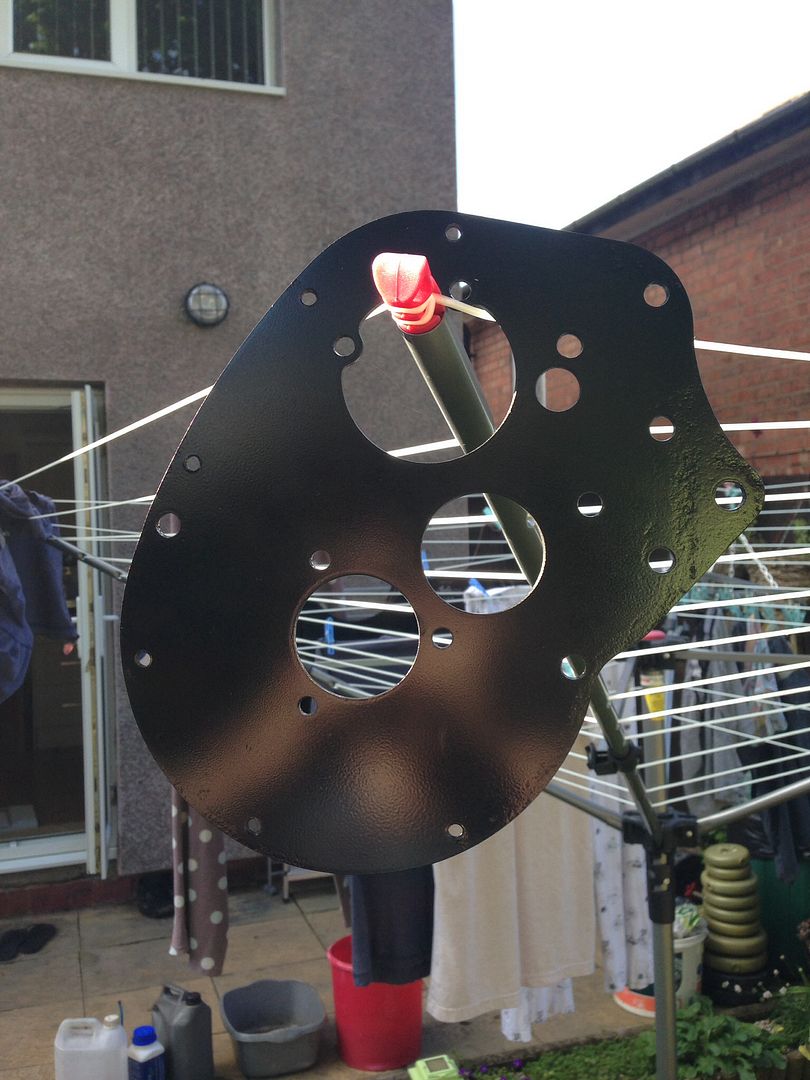
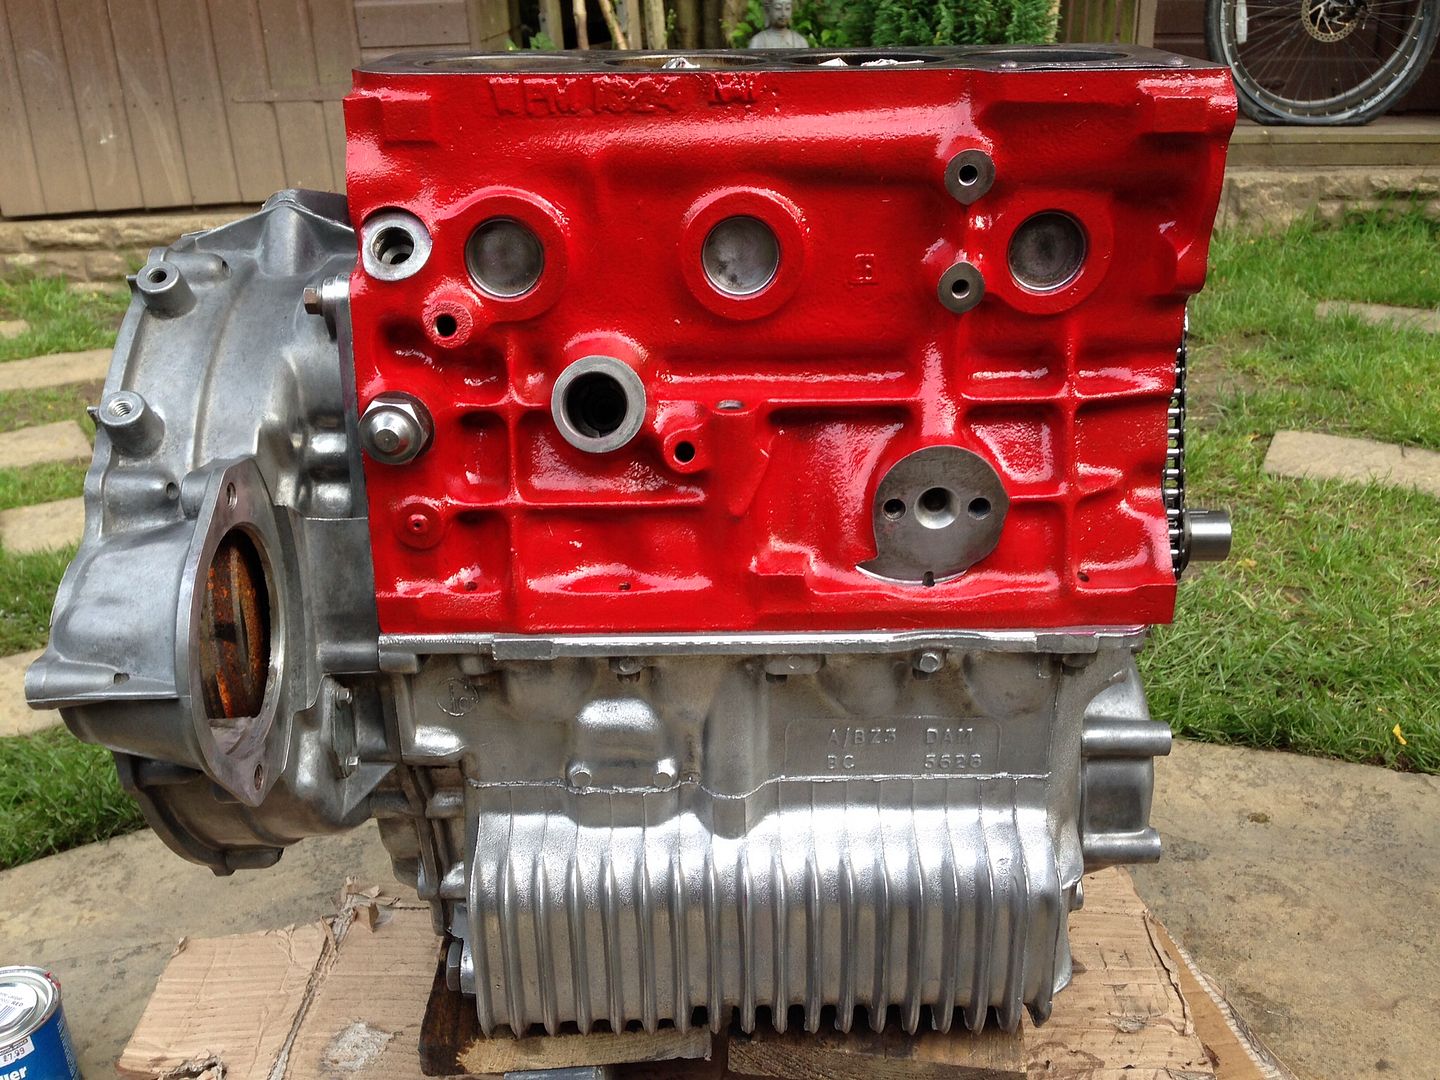
Then out came the wire brush attachments and the block was cleaned up and masked ready for paint -
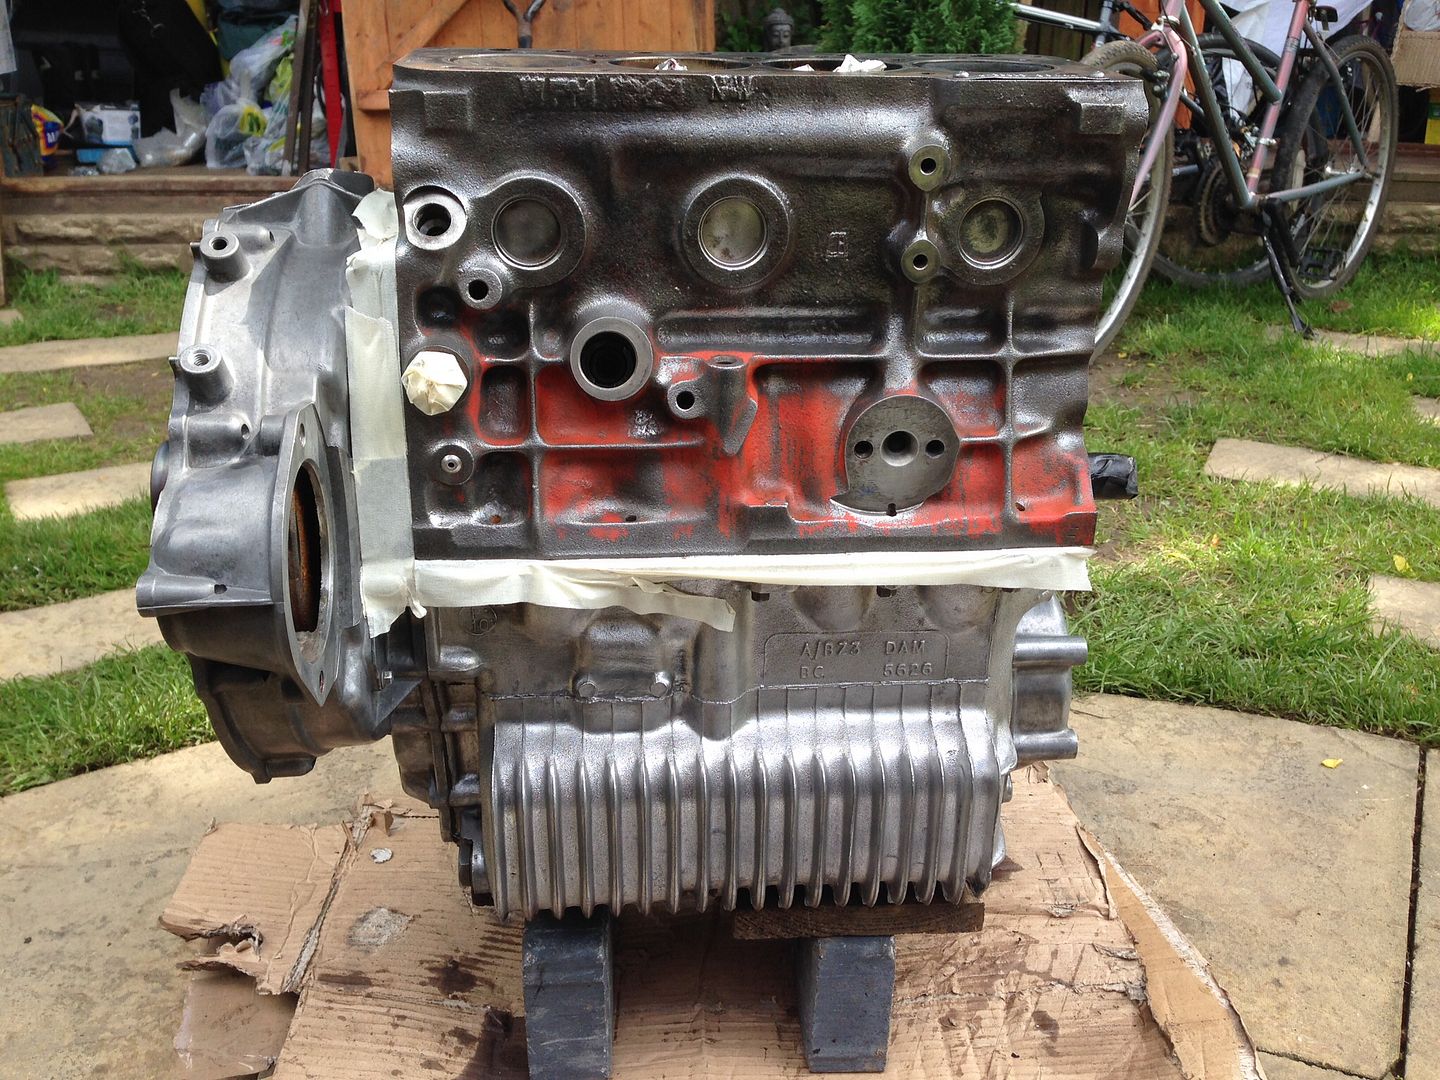
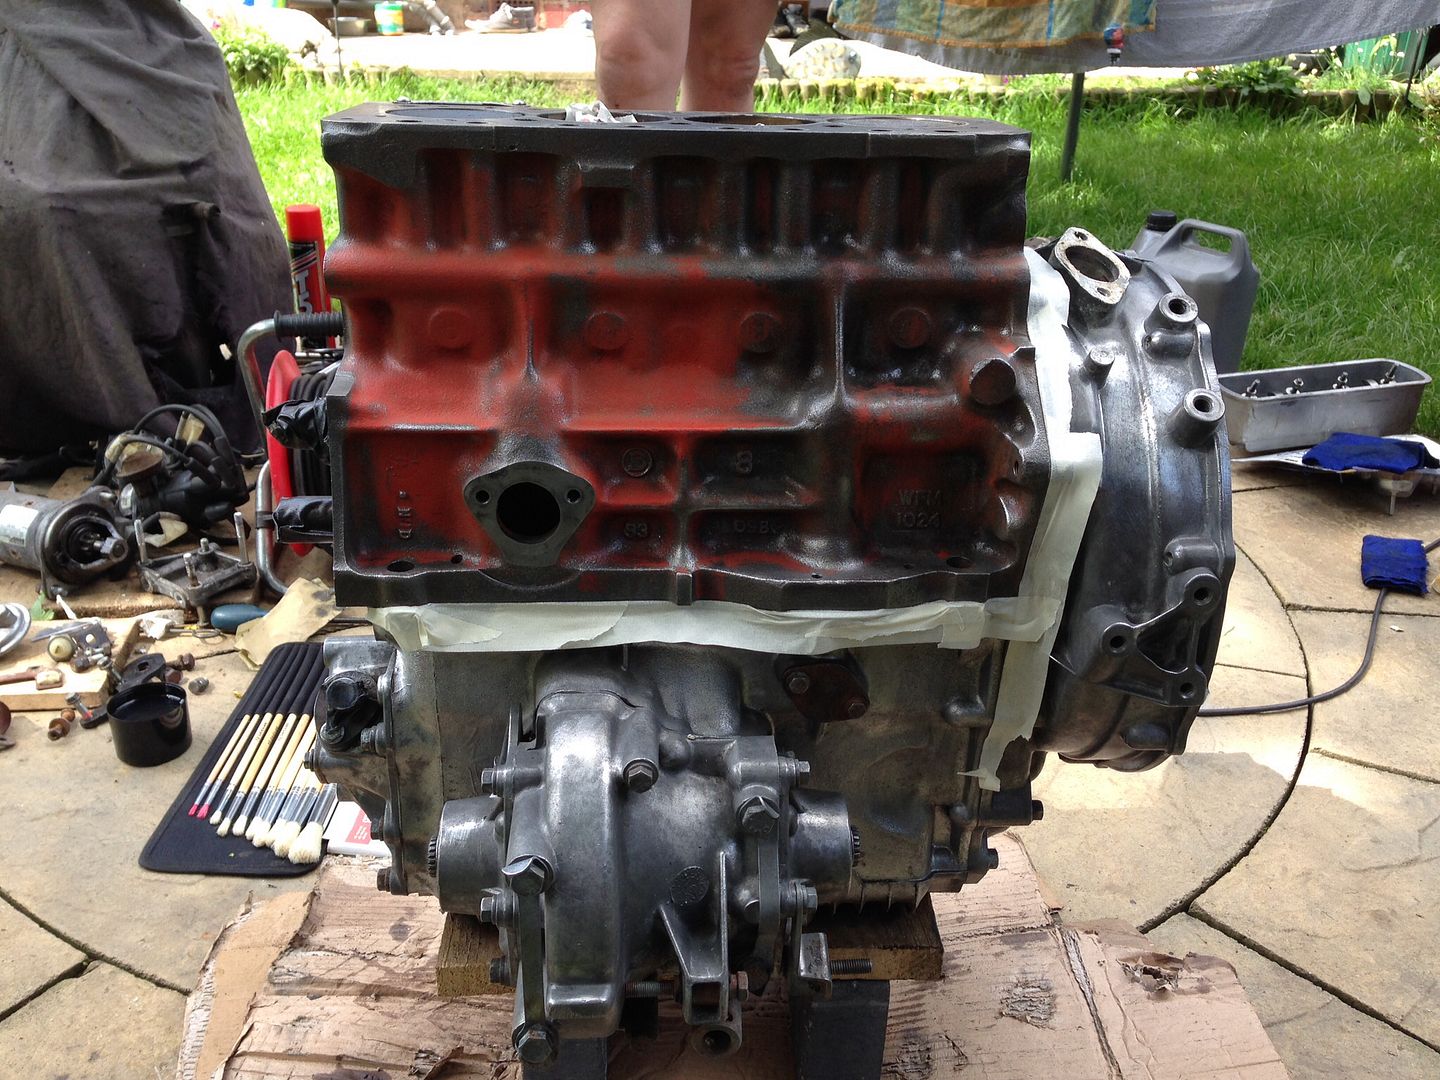
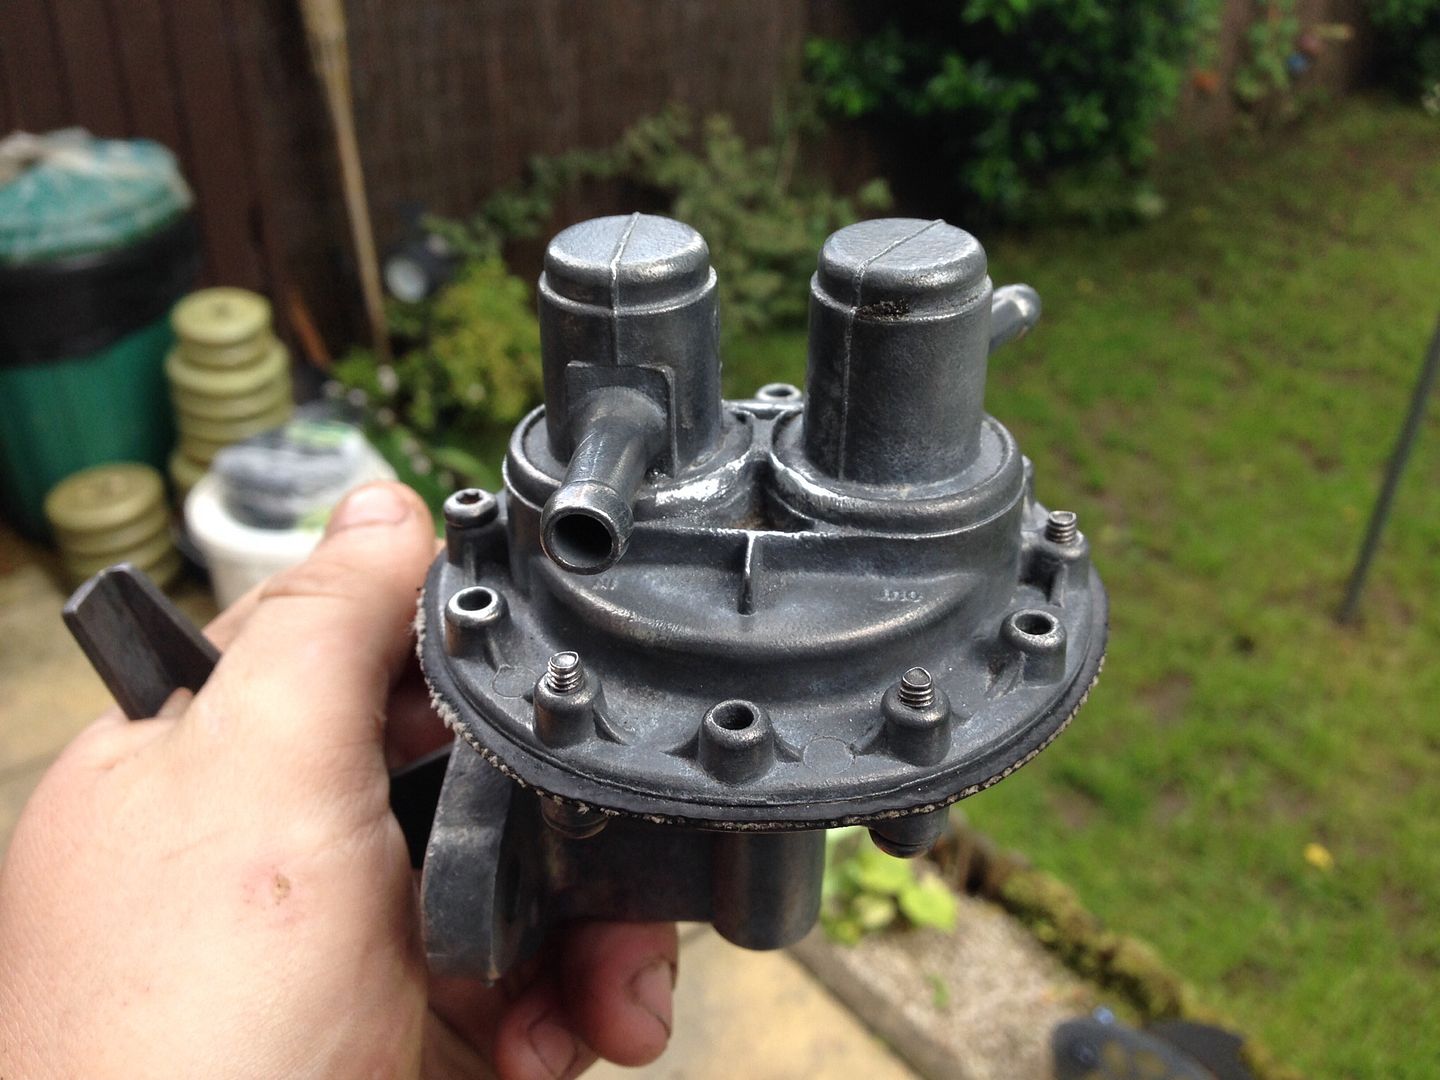
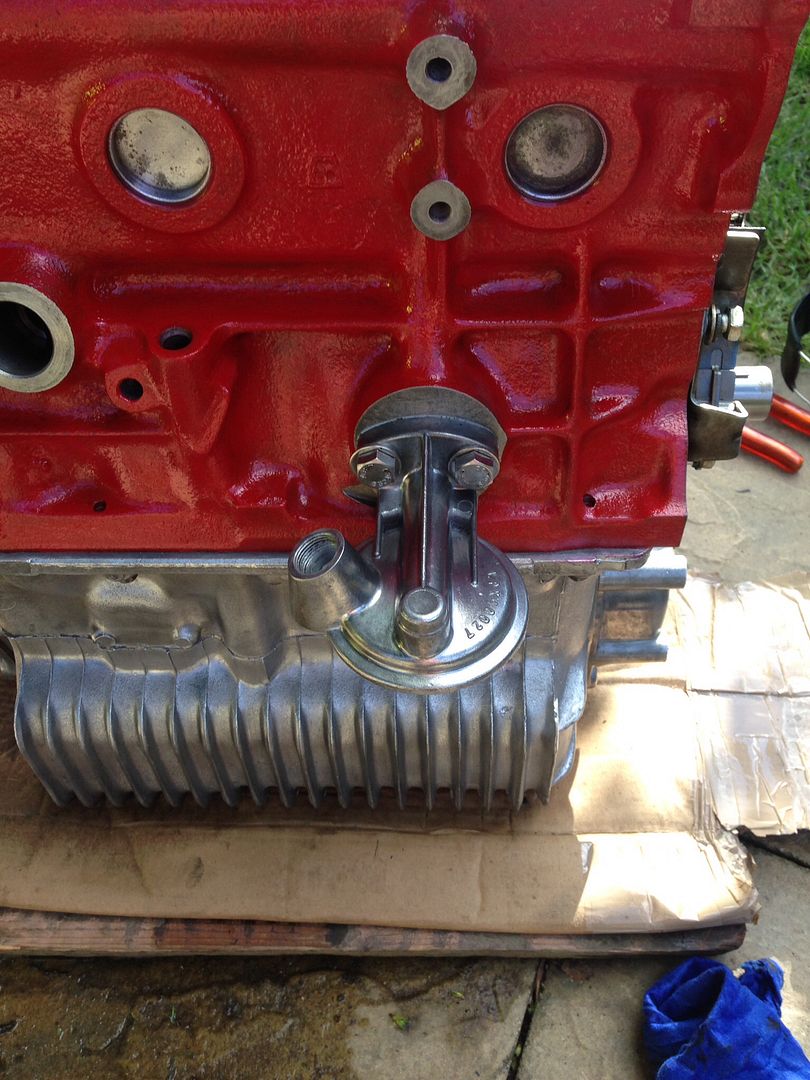
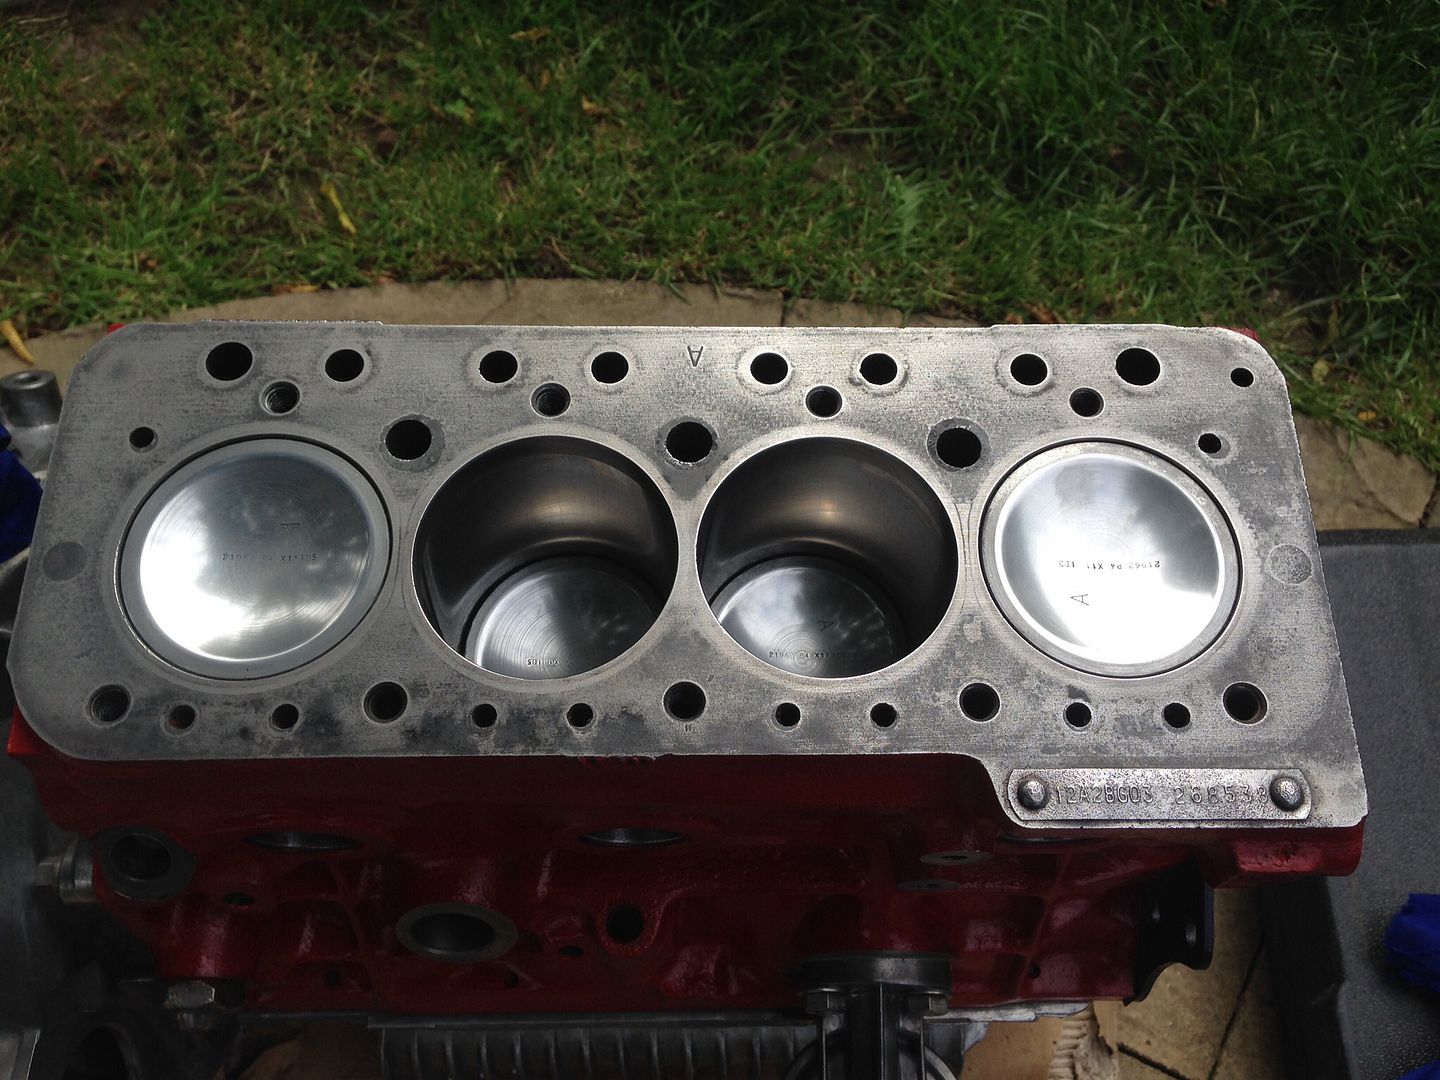
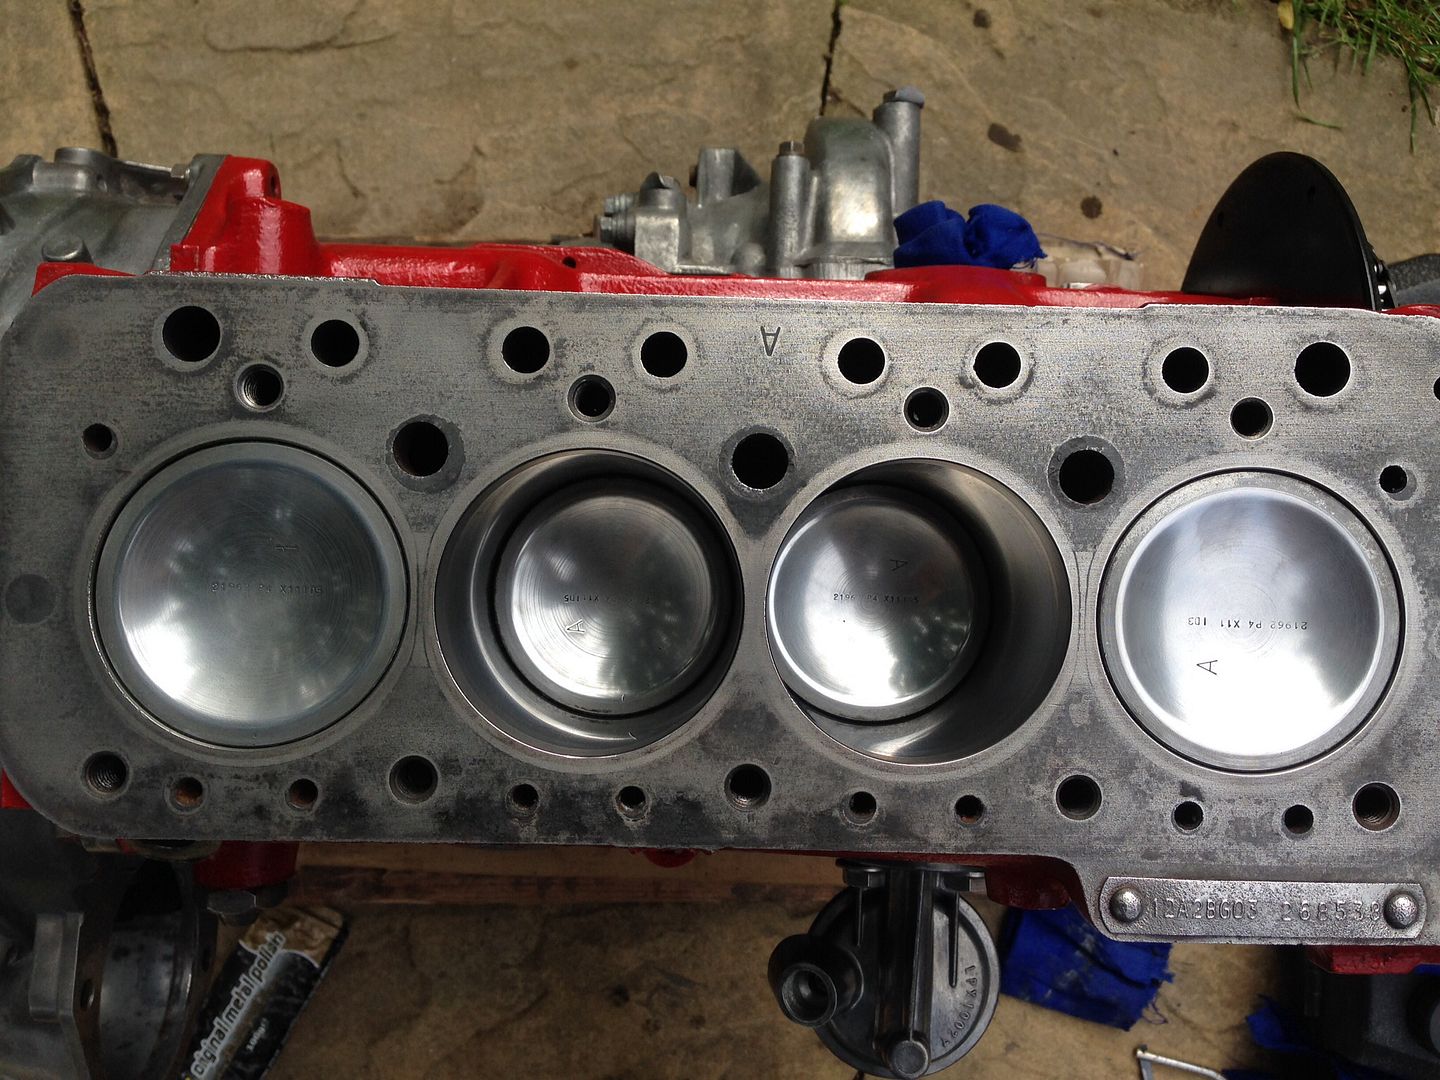
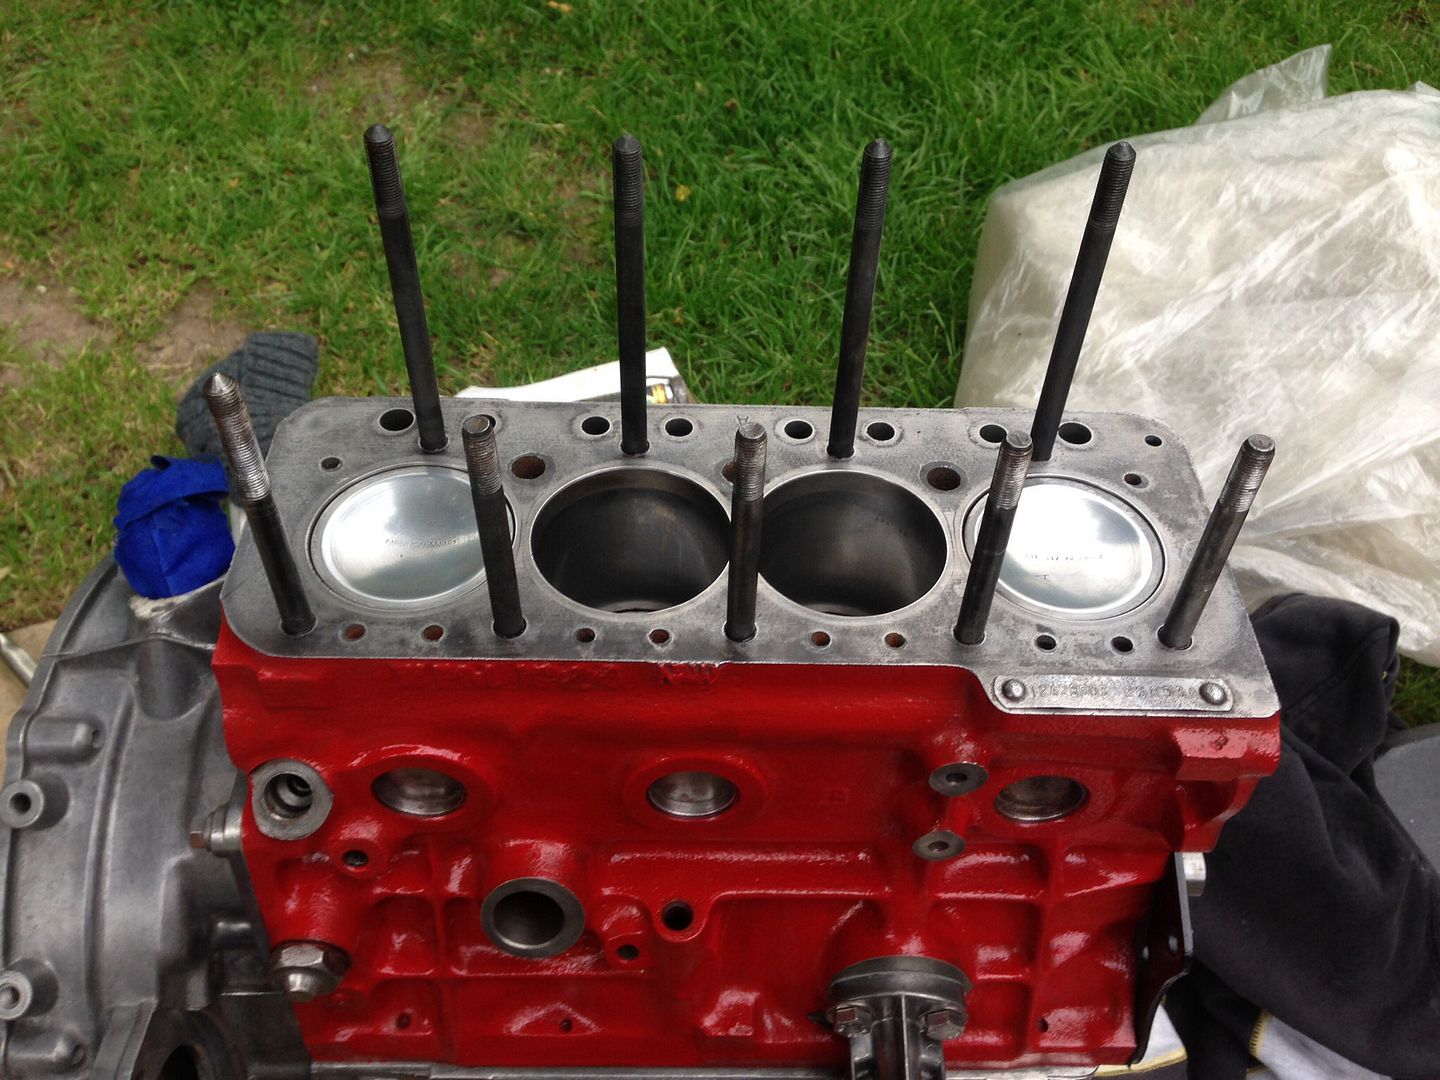
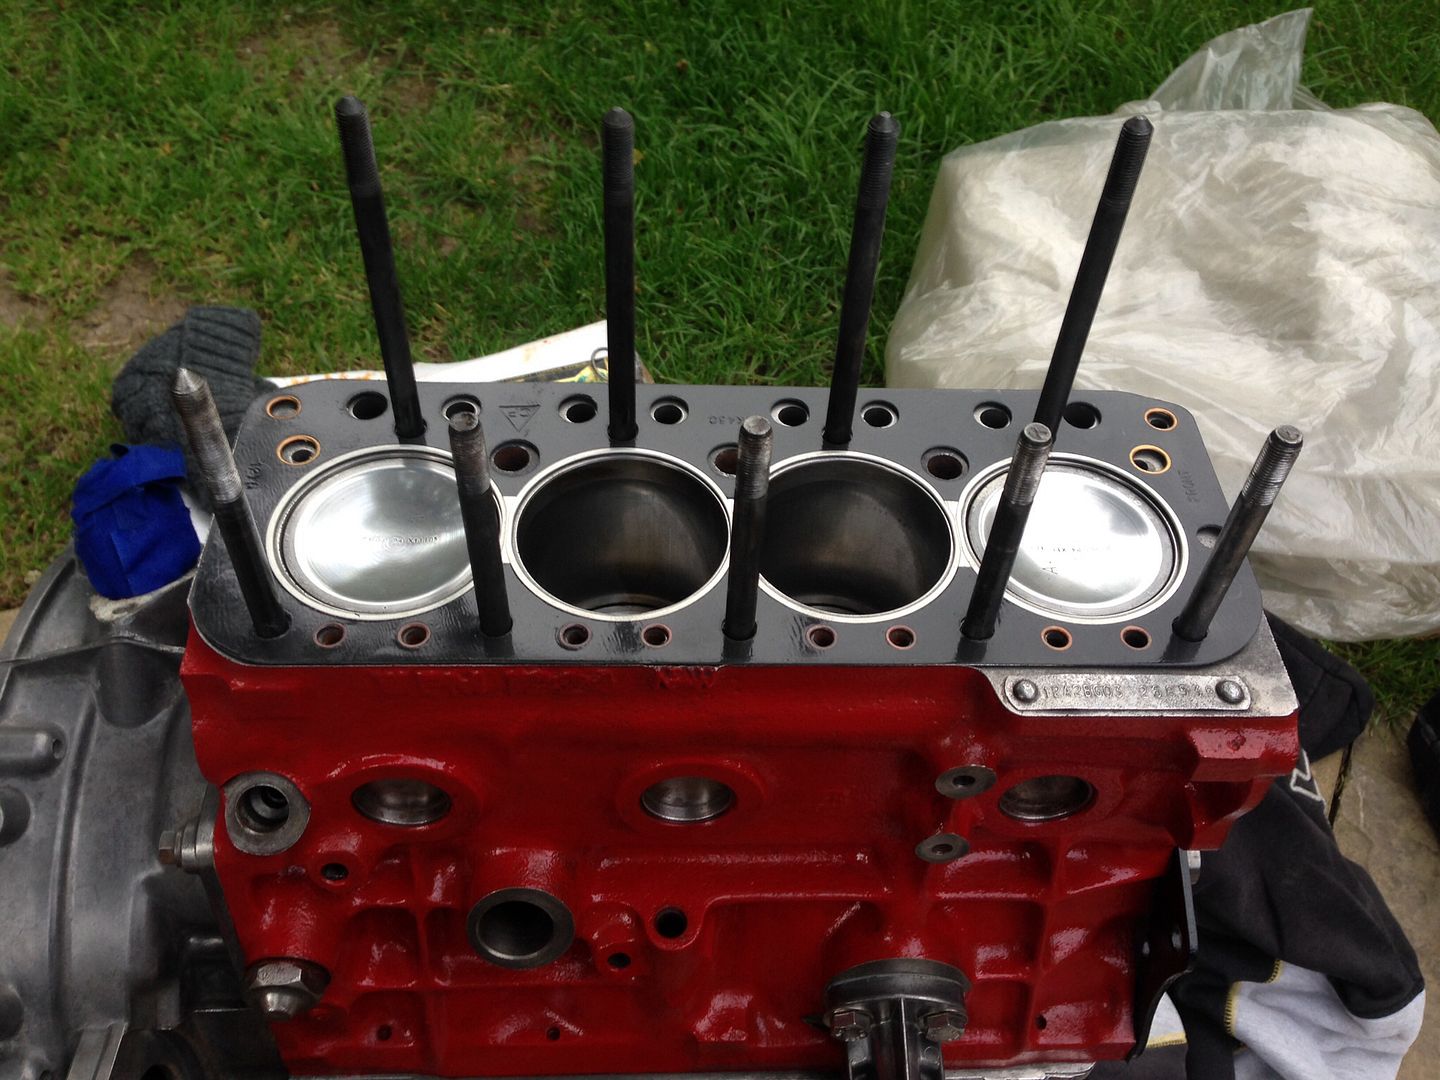
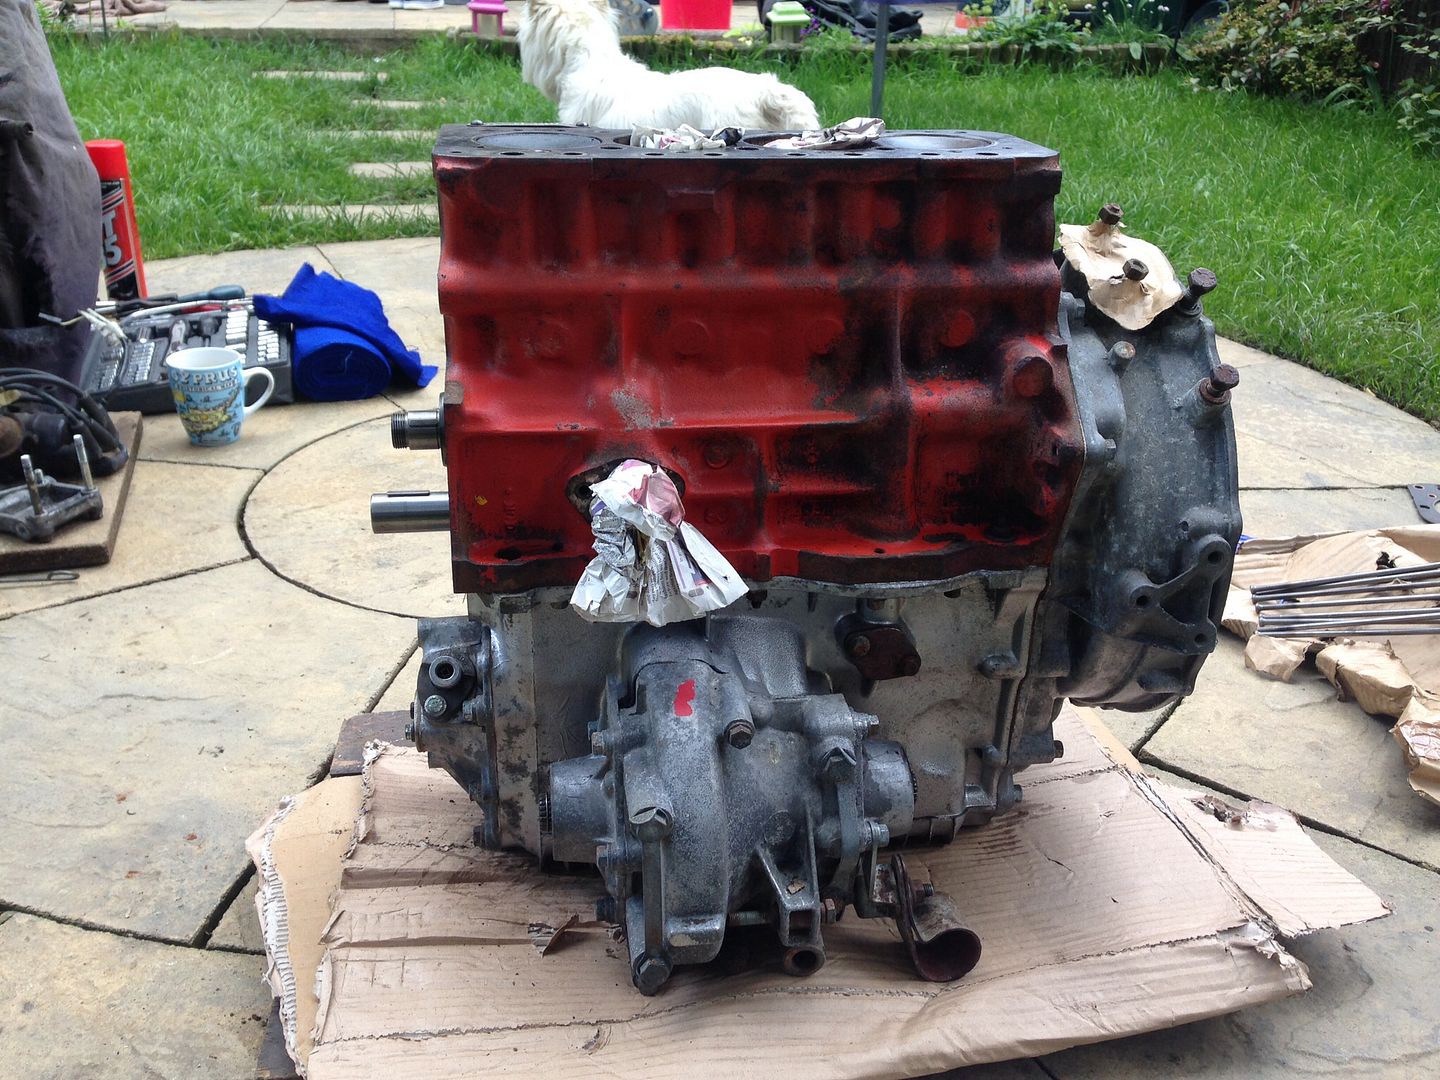
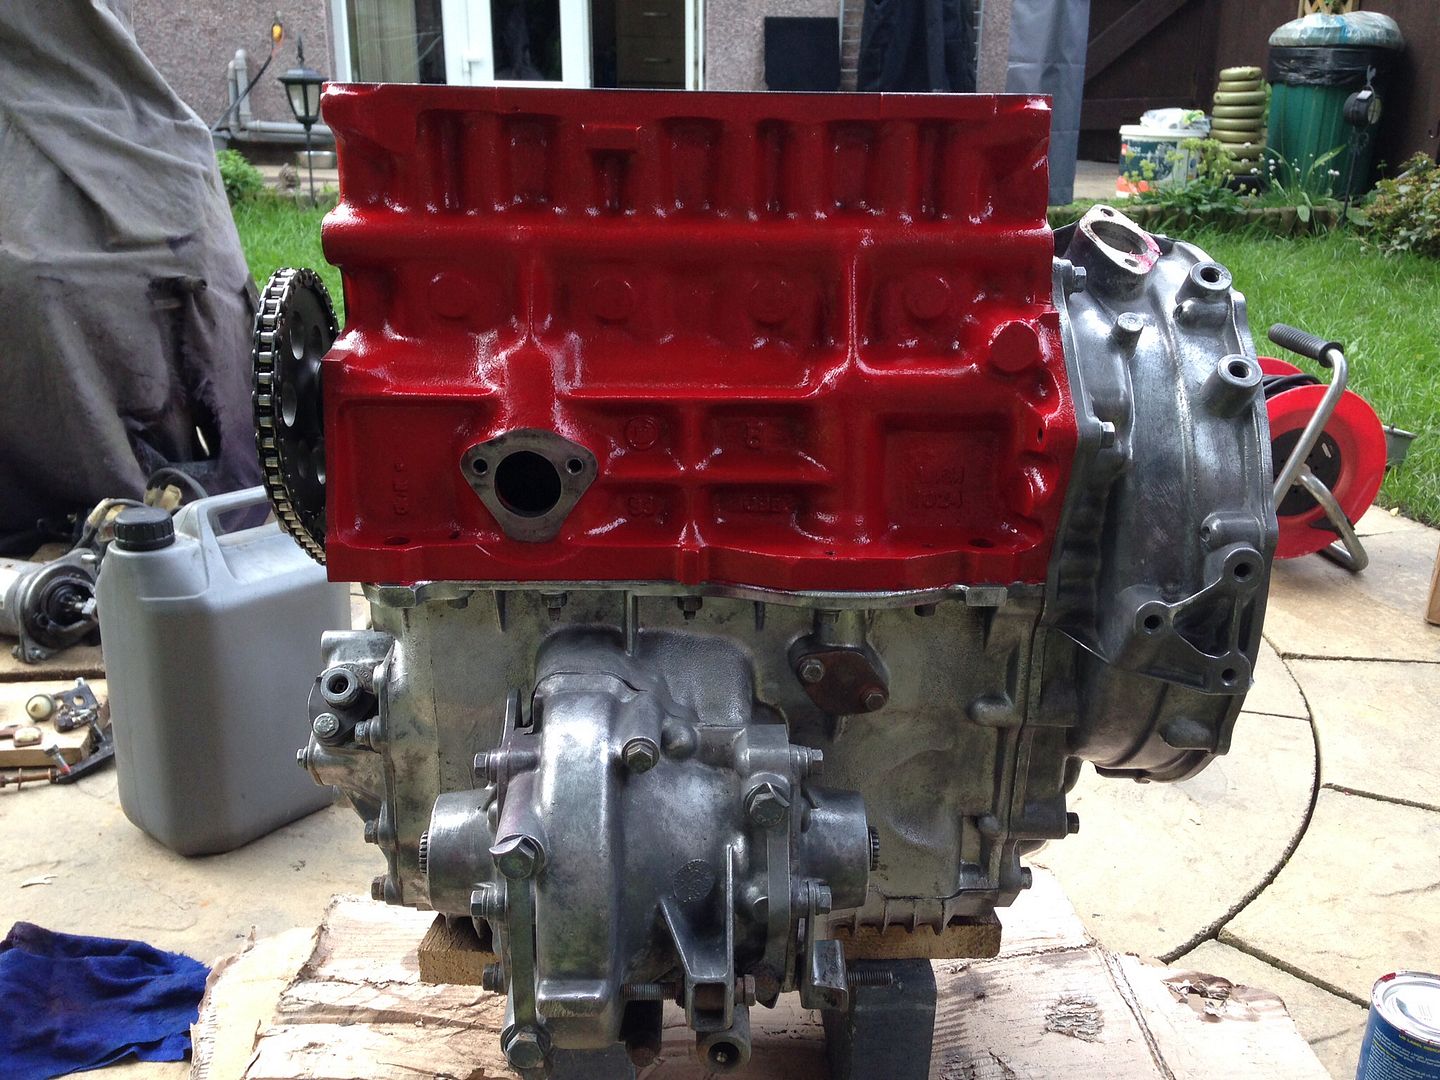
Painted up and all the aluminium cleaned up, will autosol this in the near future -
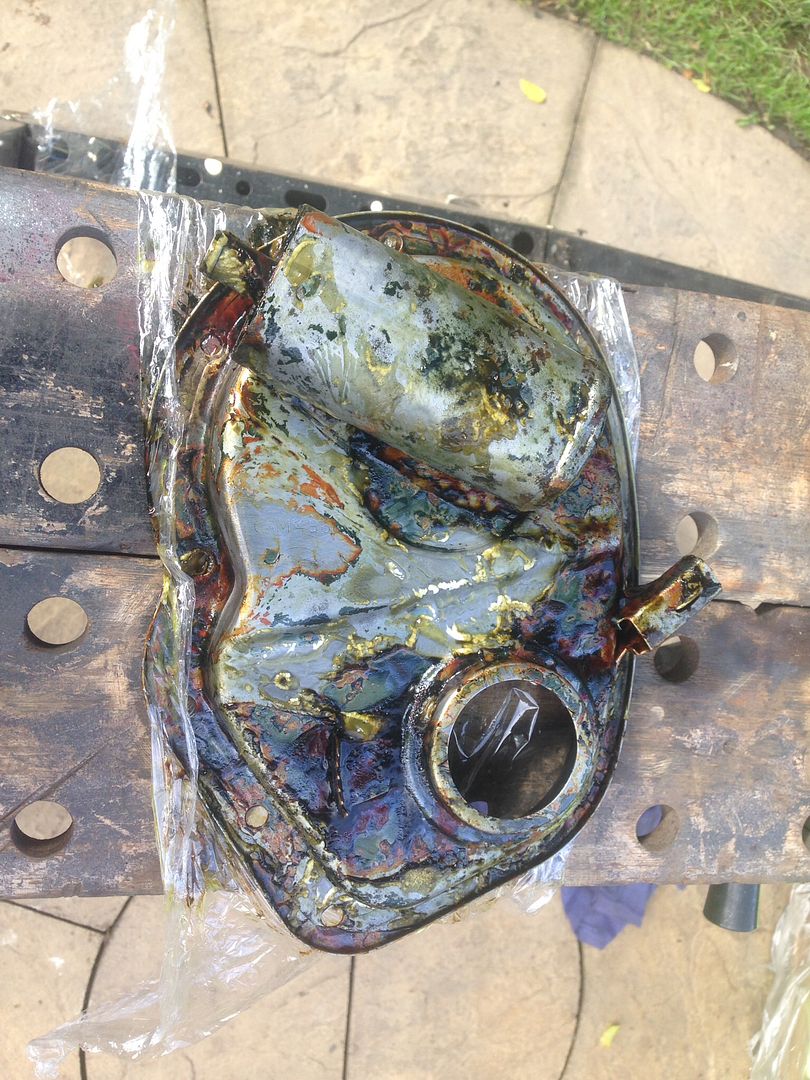
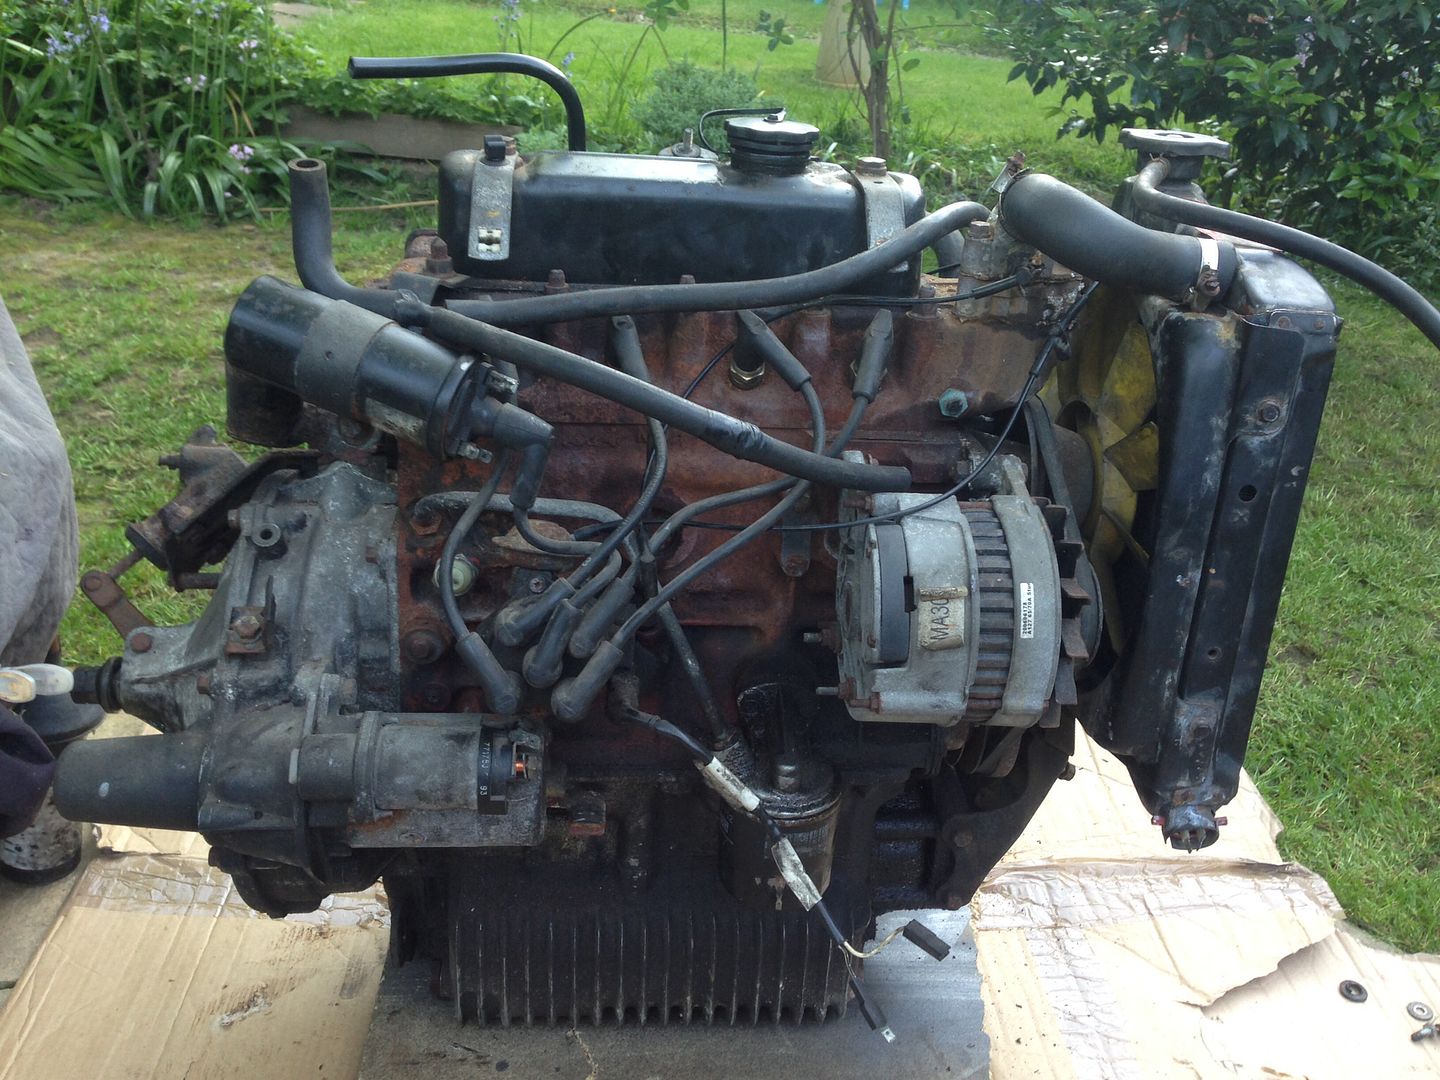
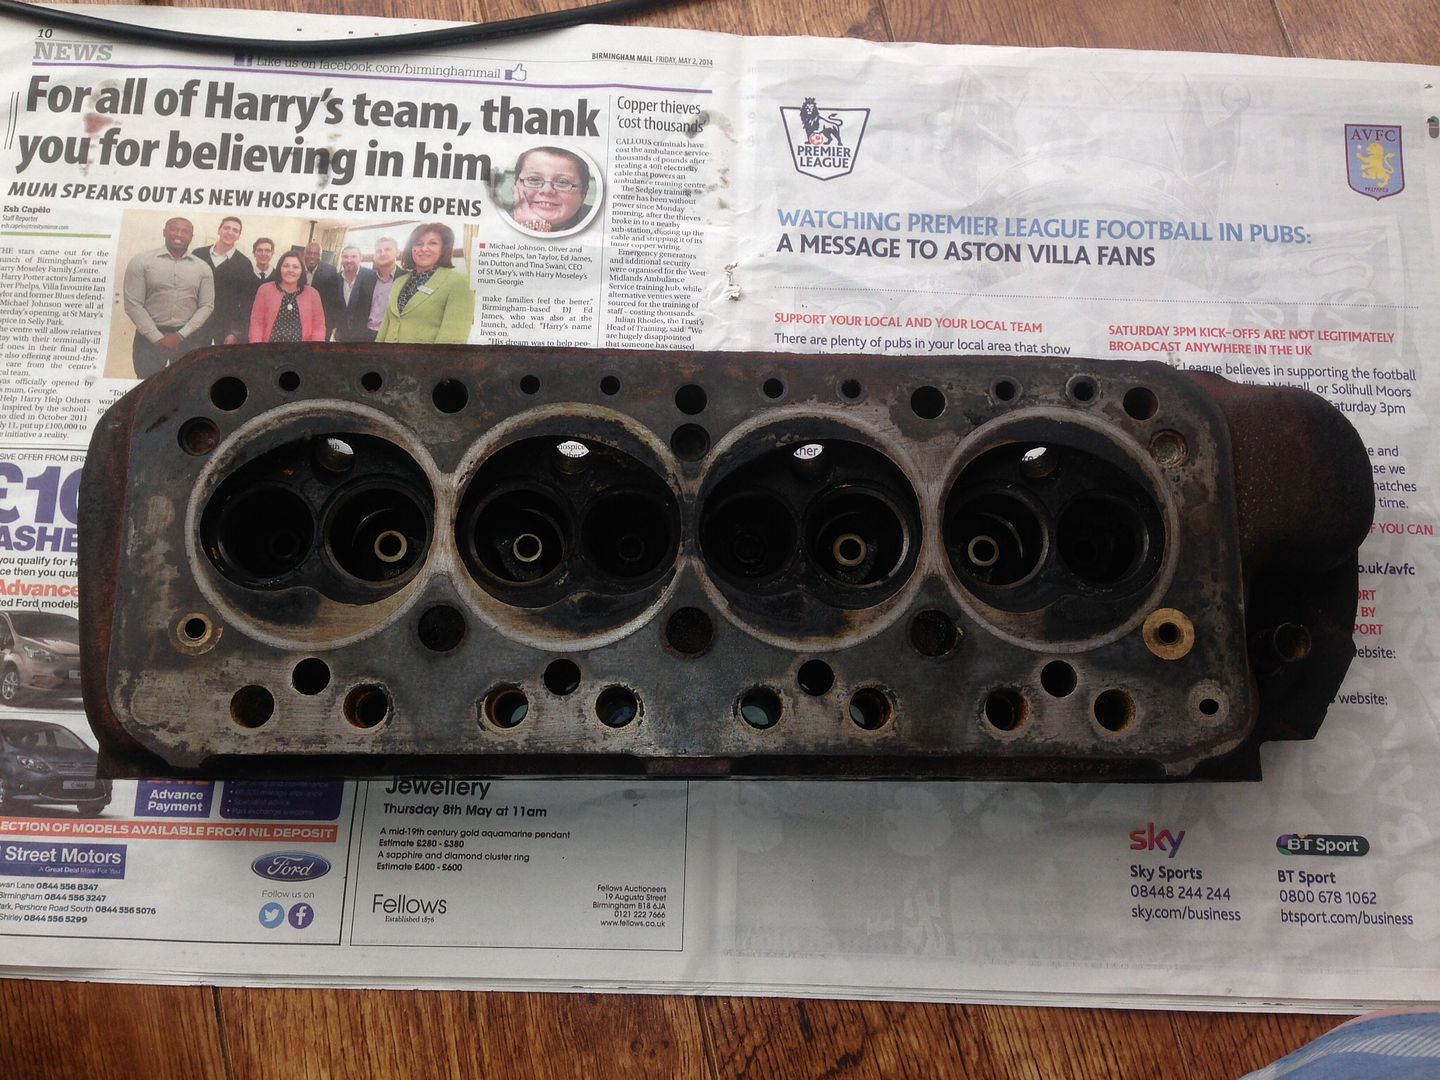
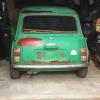
And just for a comparison, came a long way from this -
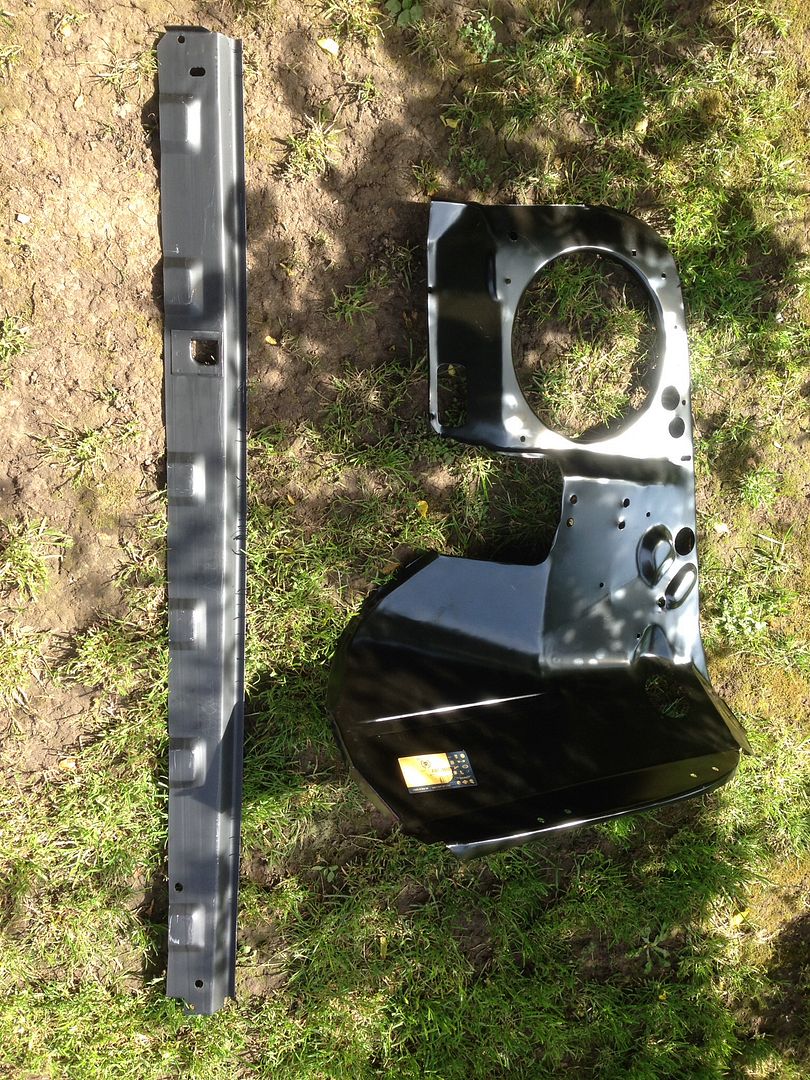
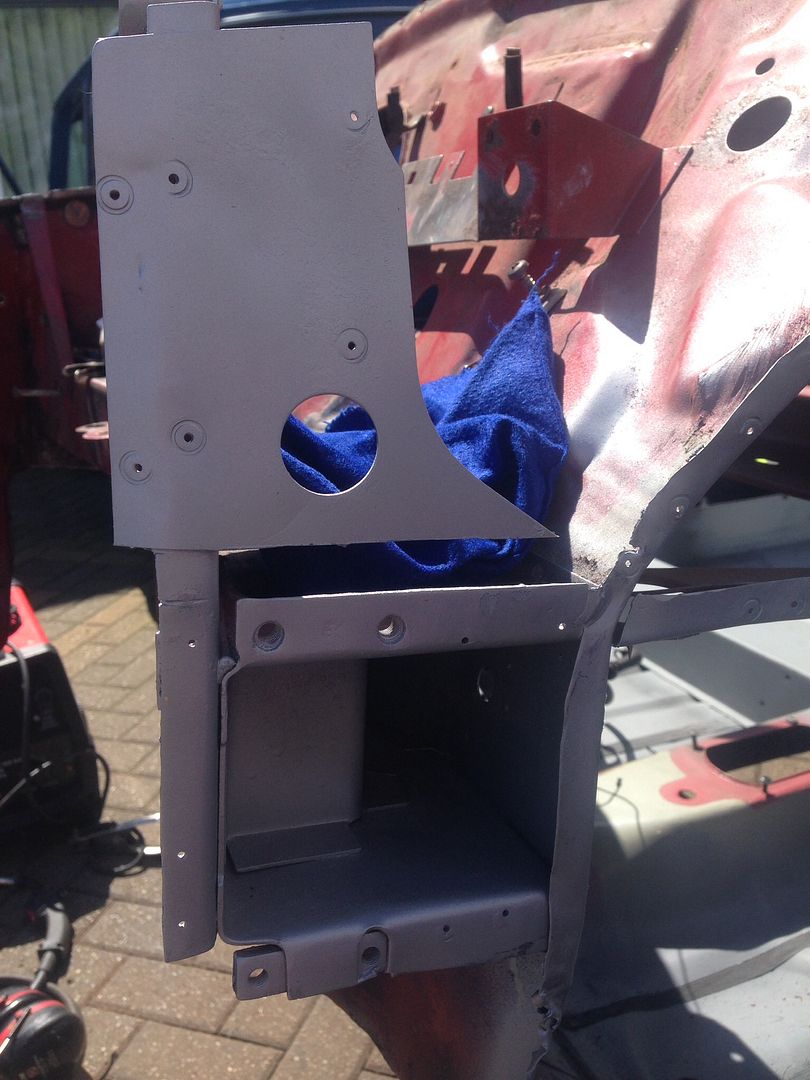
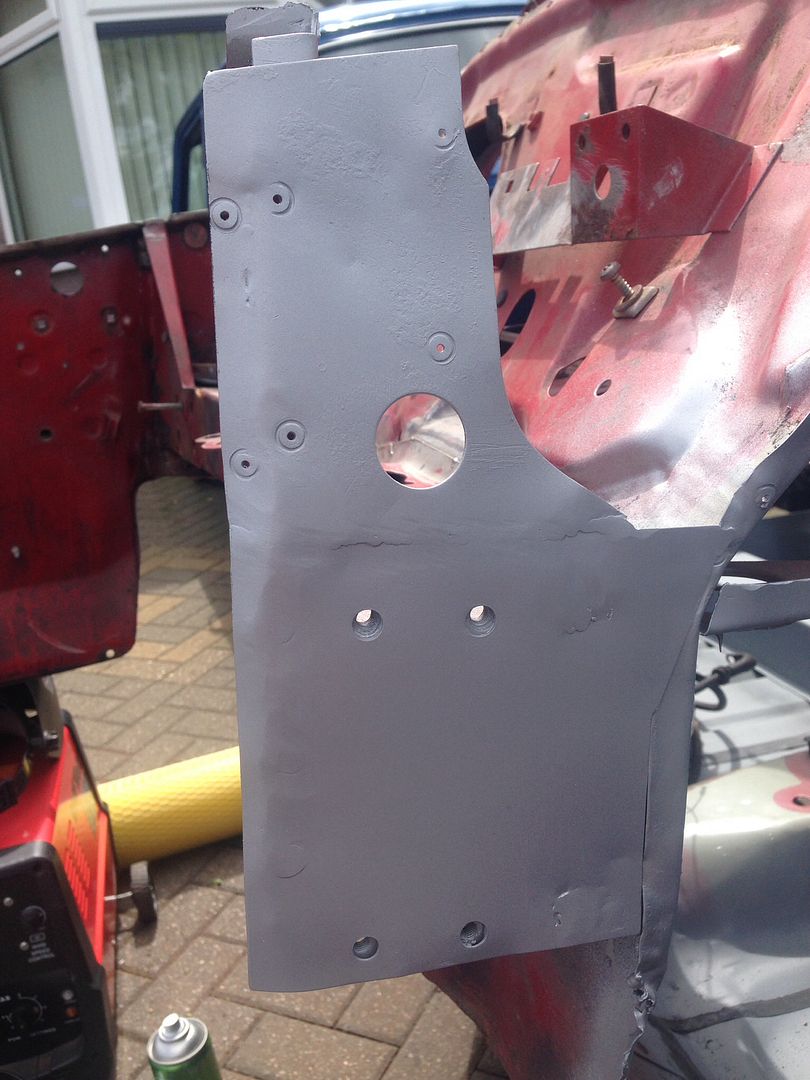
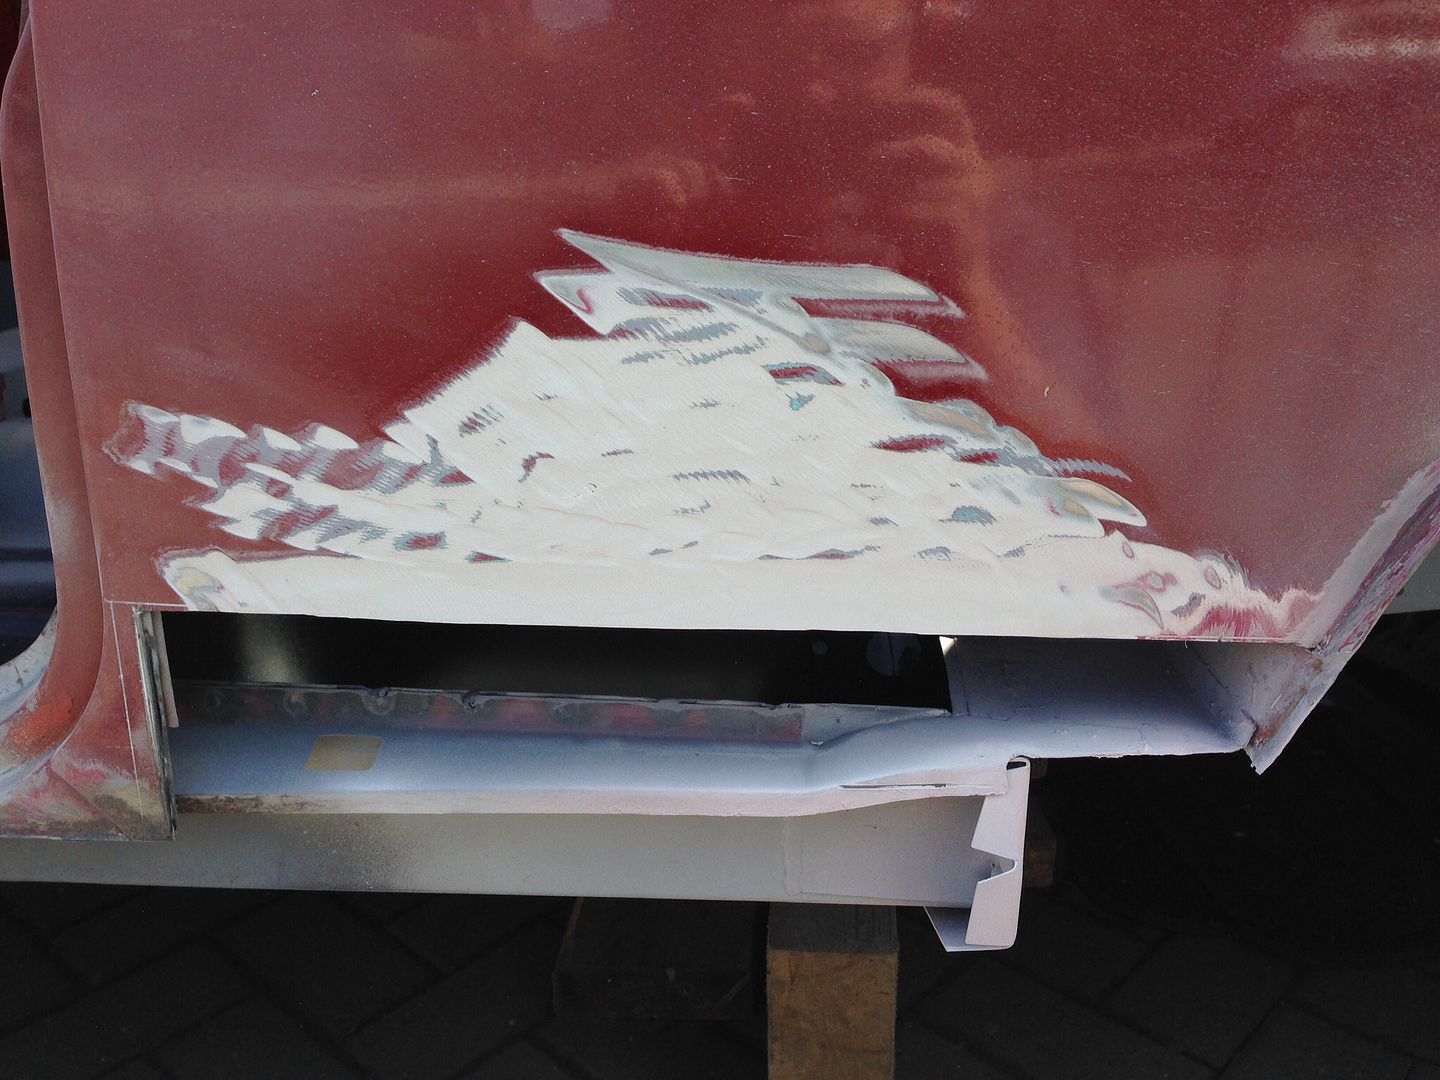
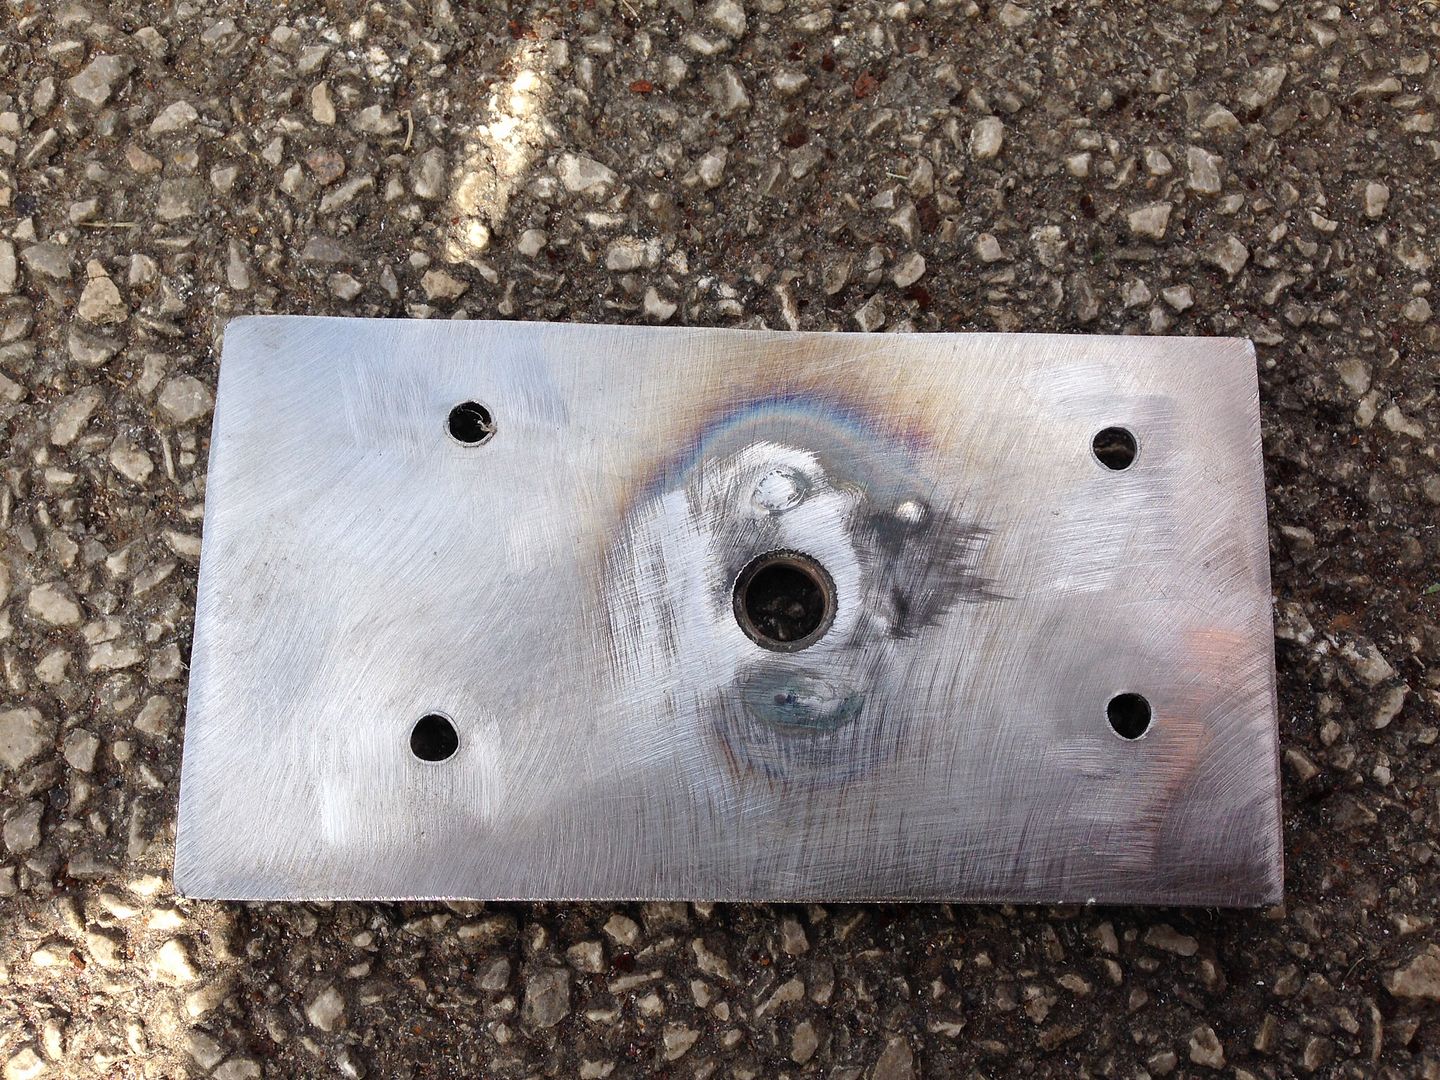
Before -
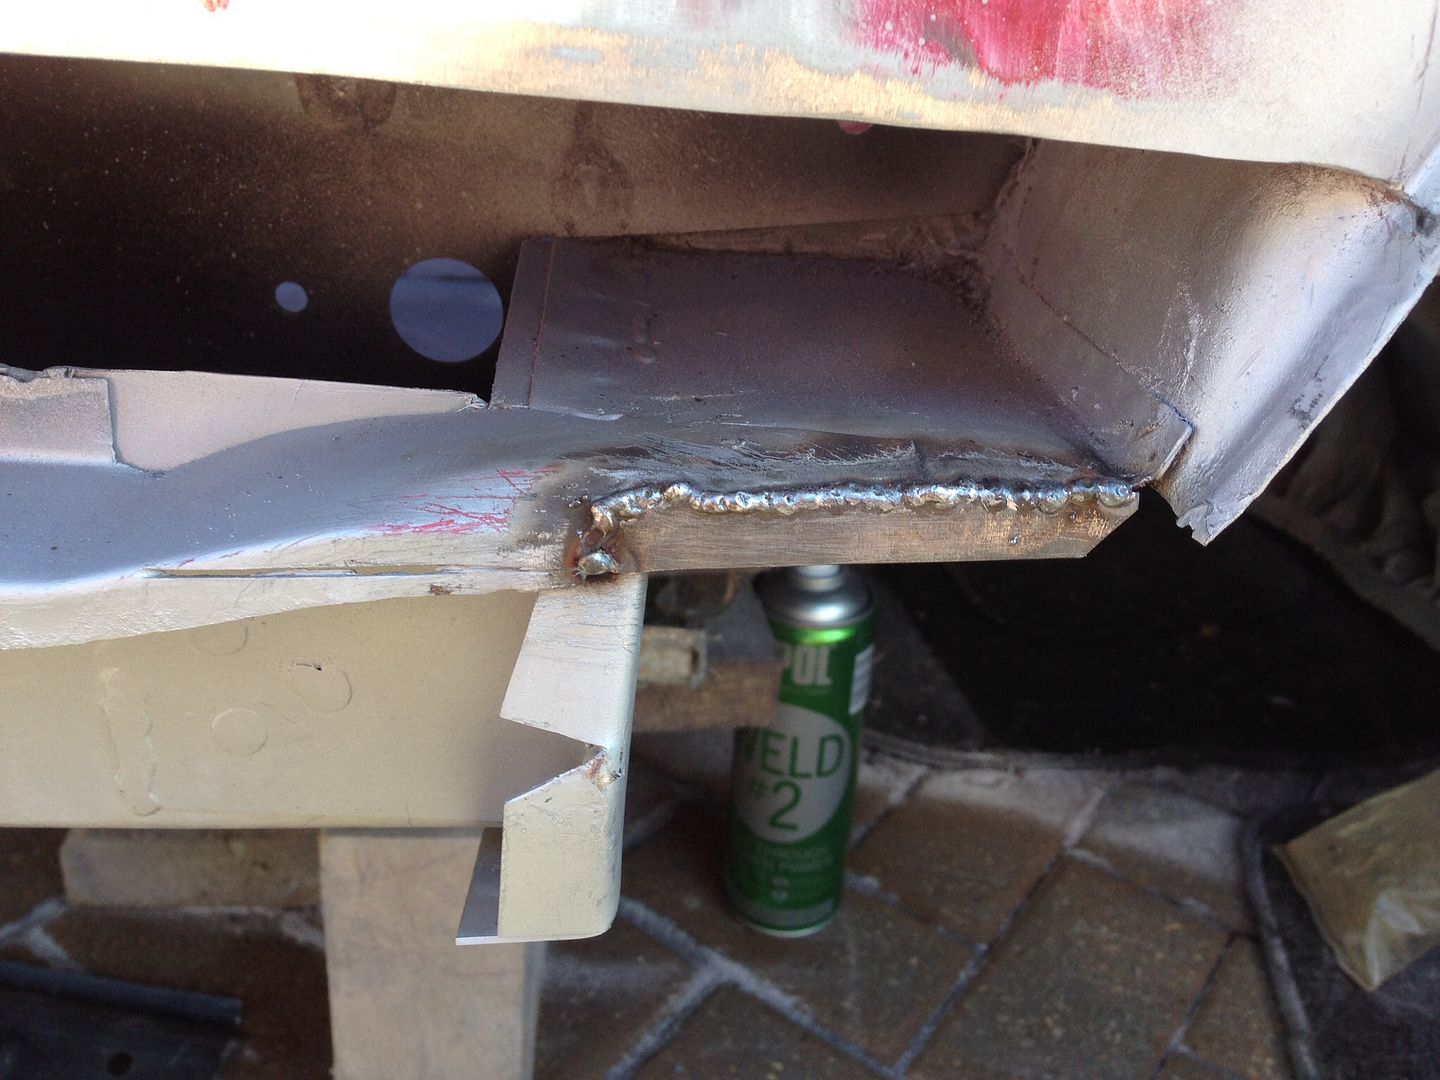
After -
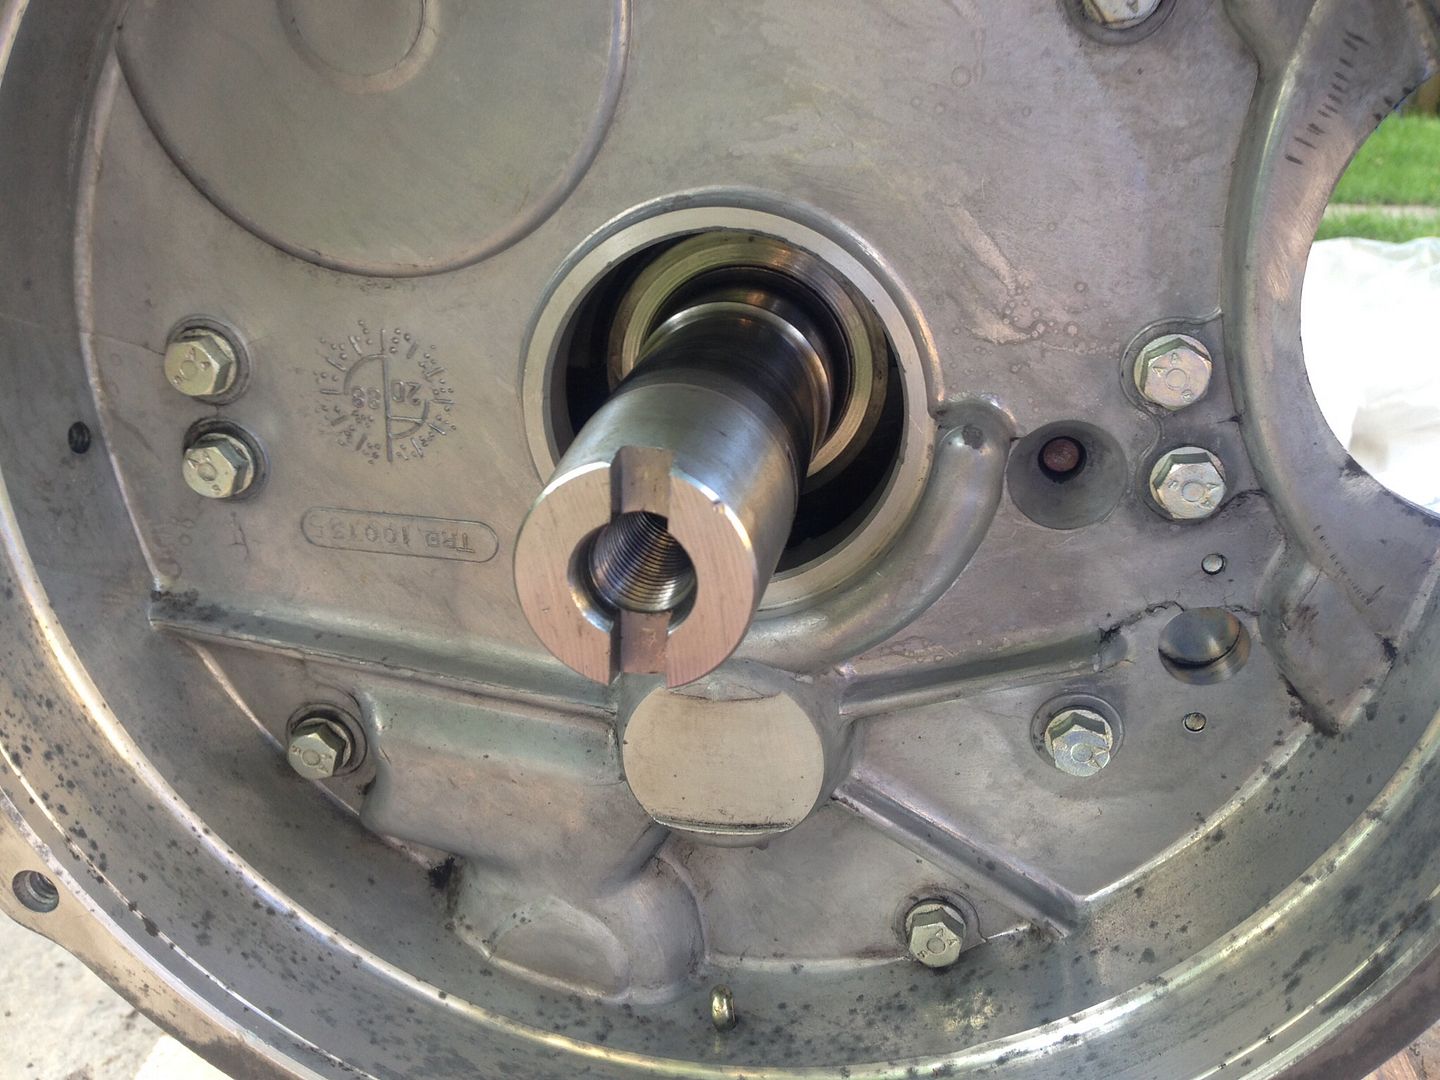
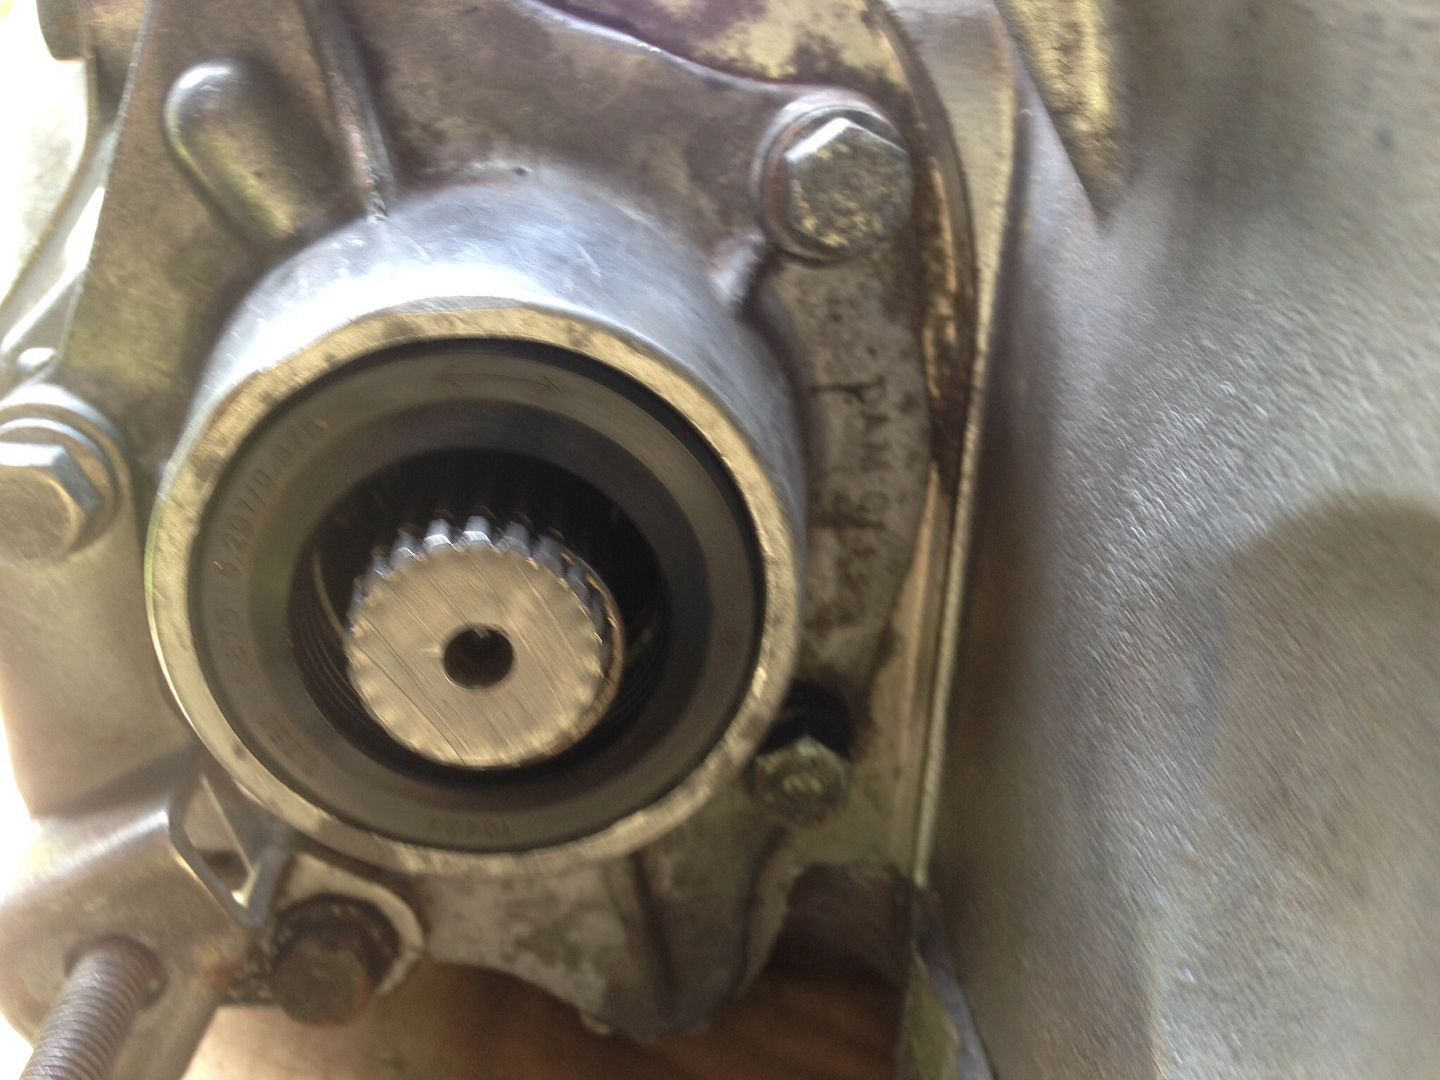
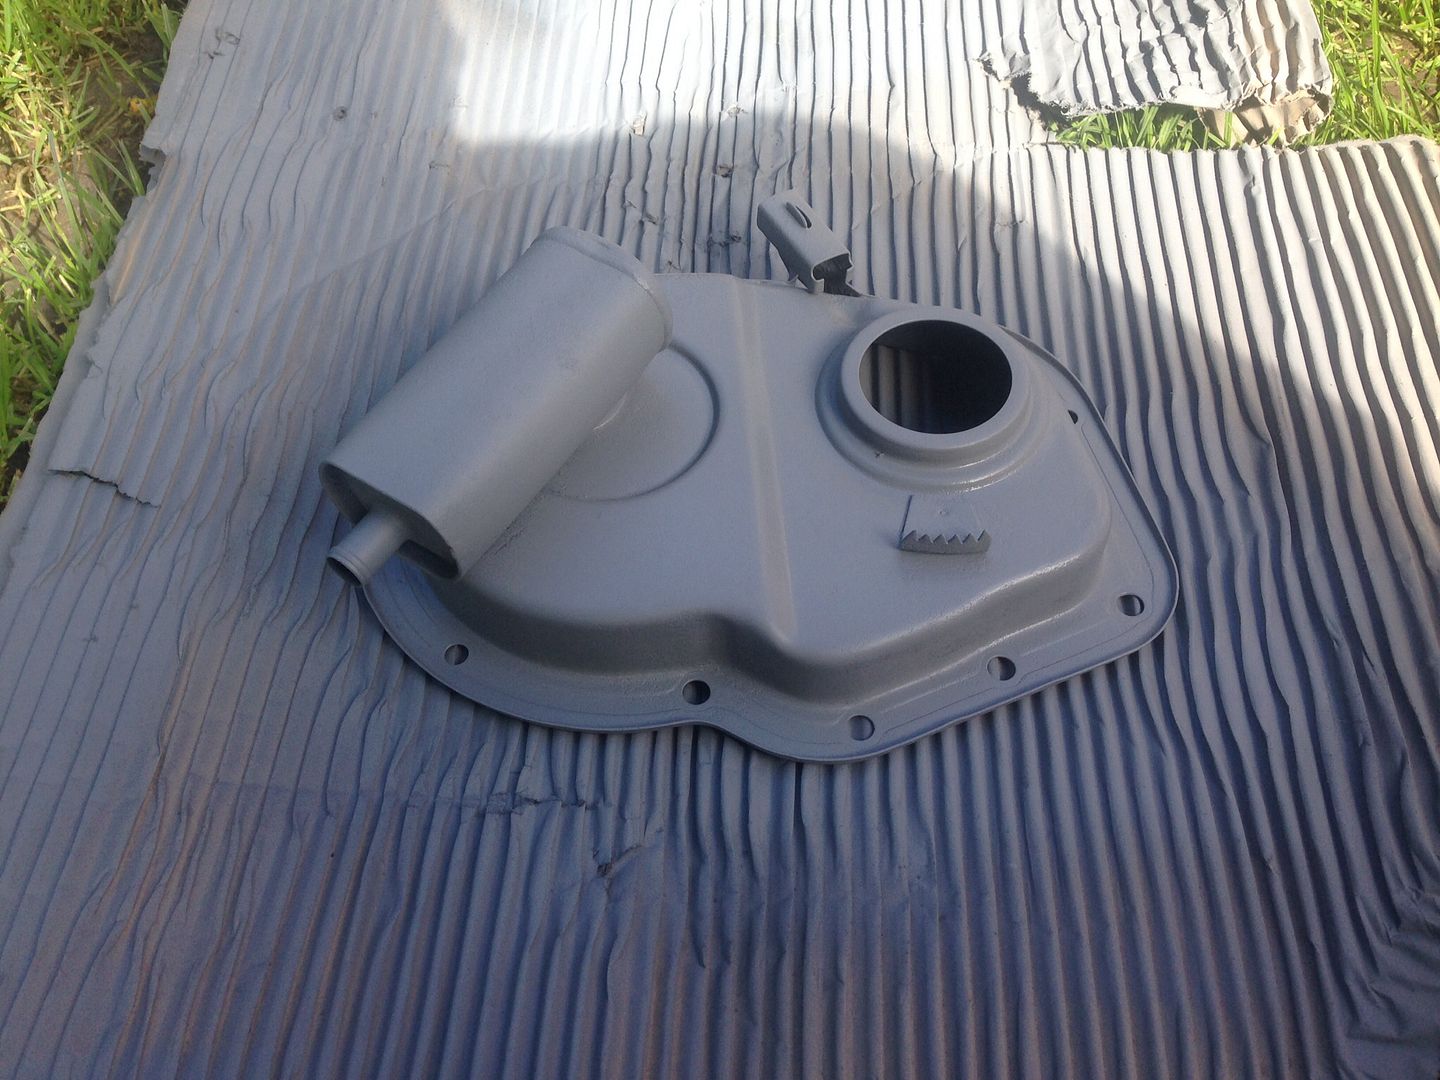
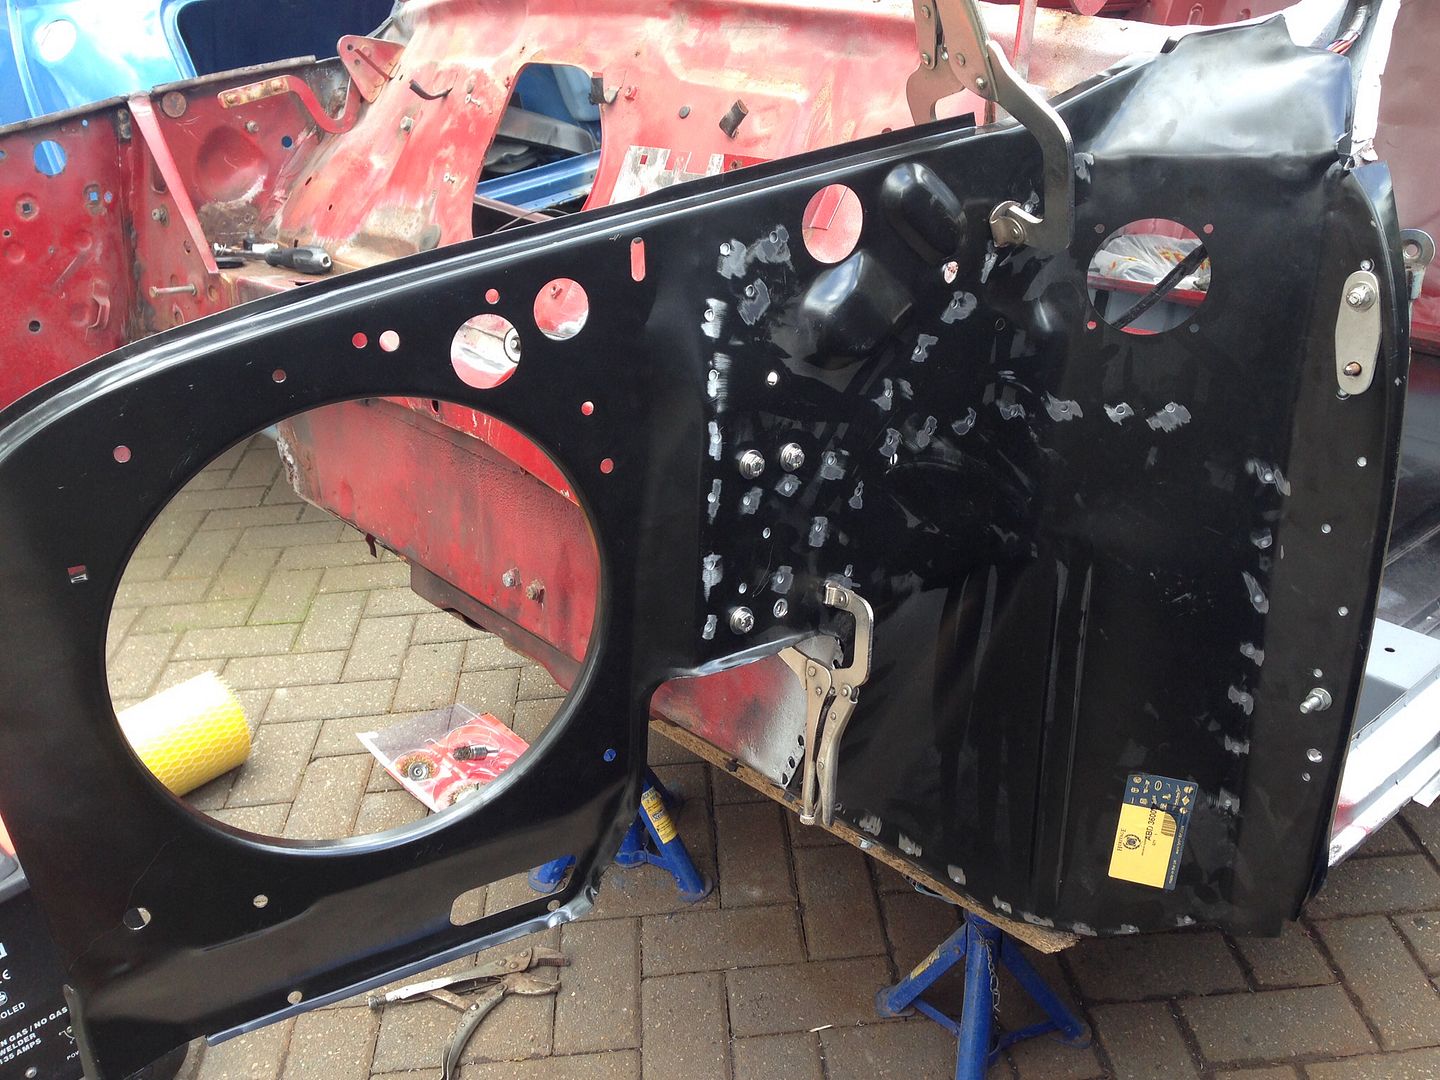
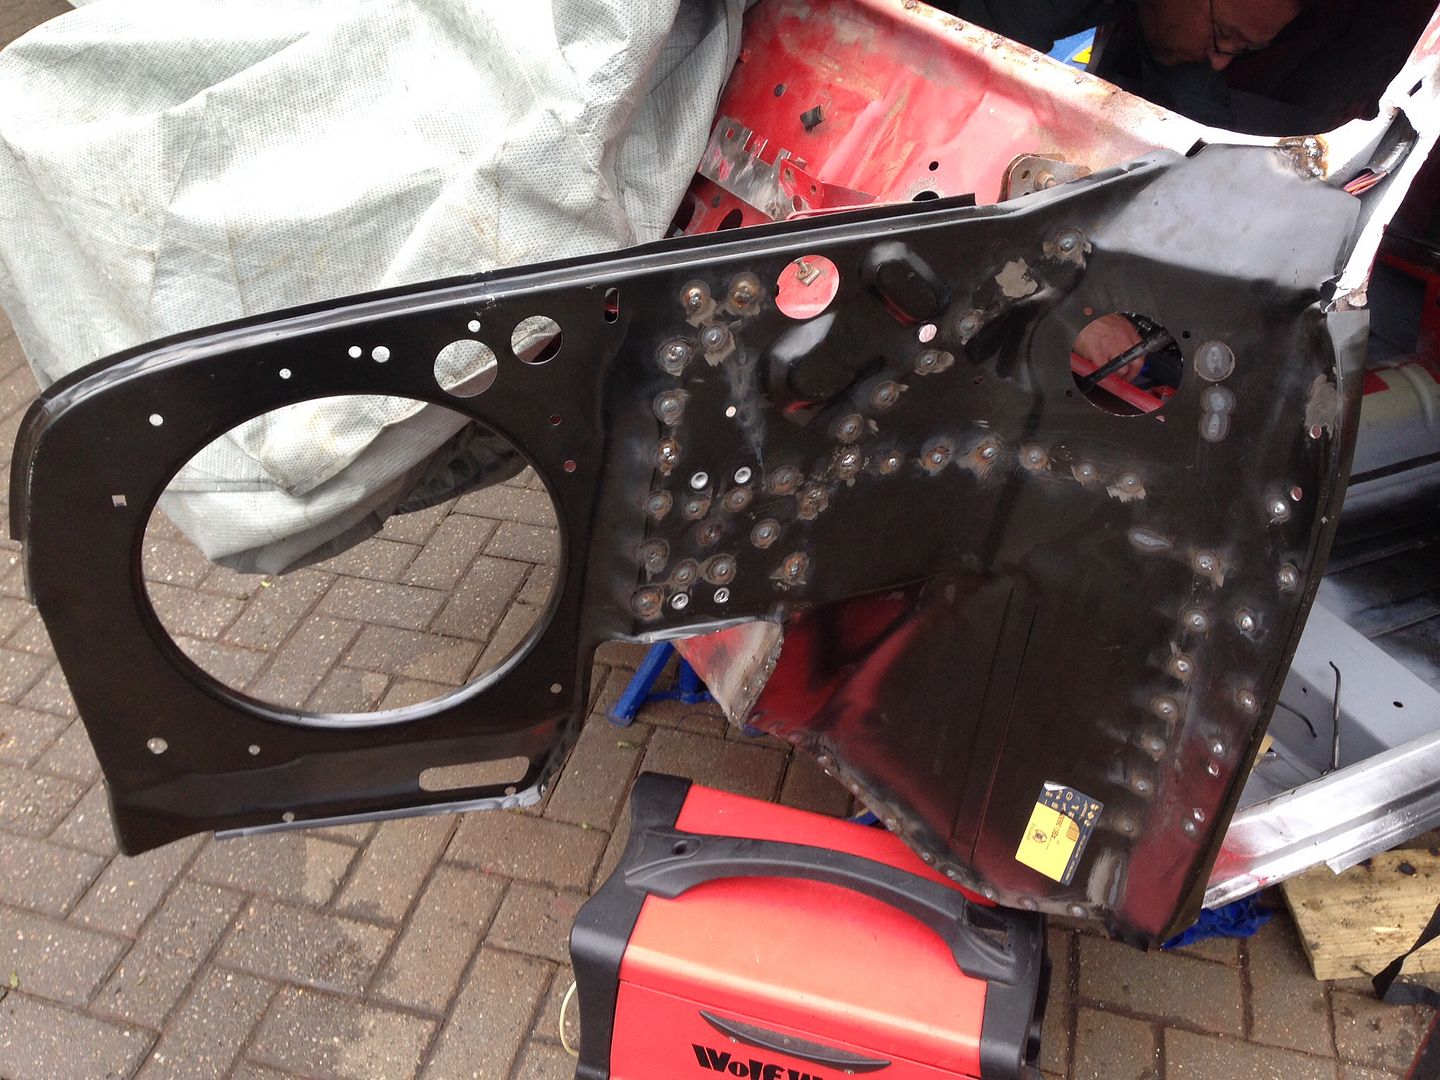
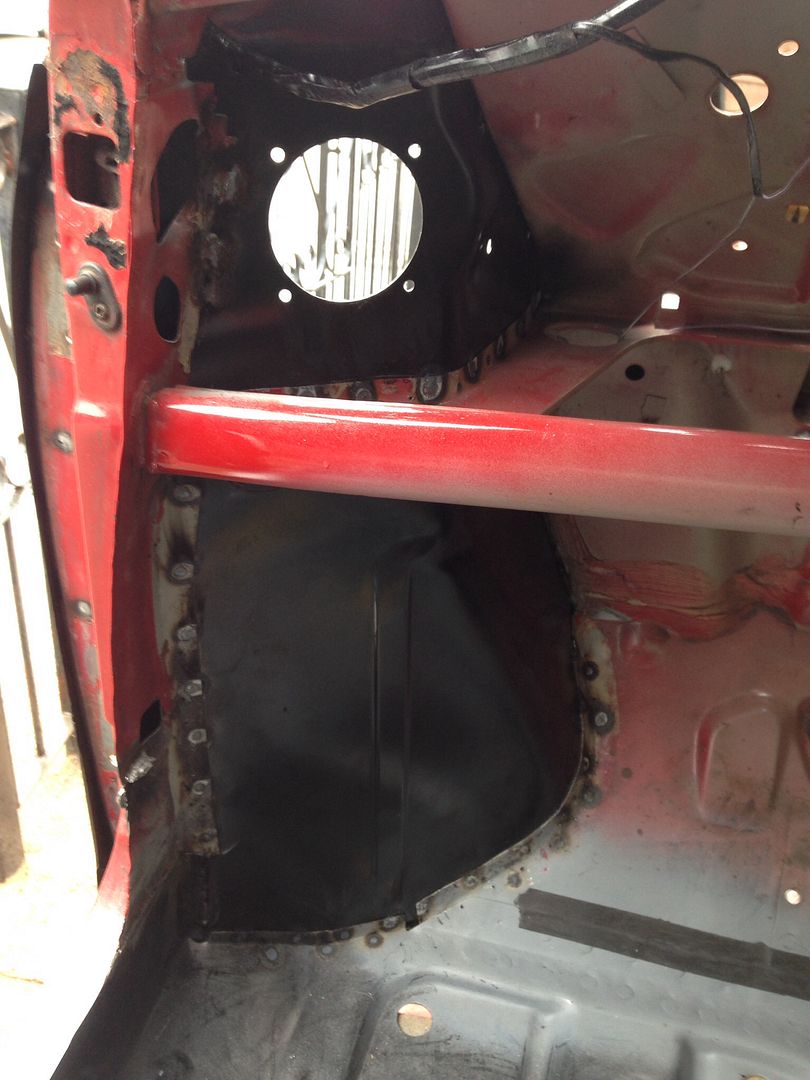
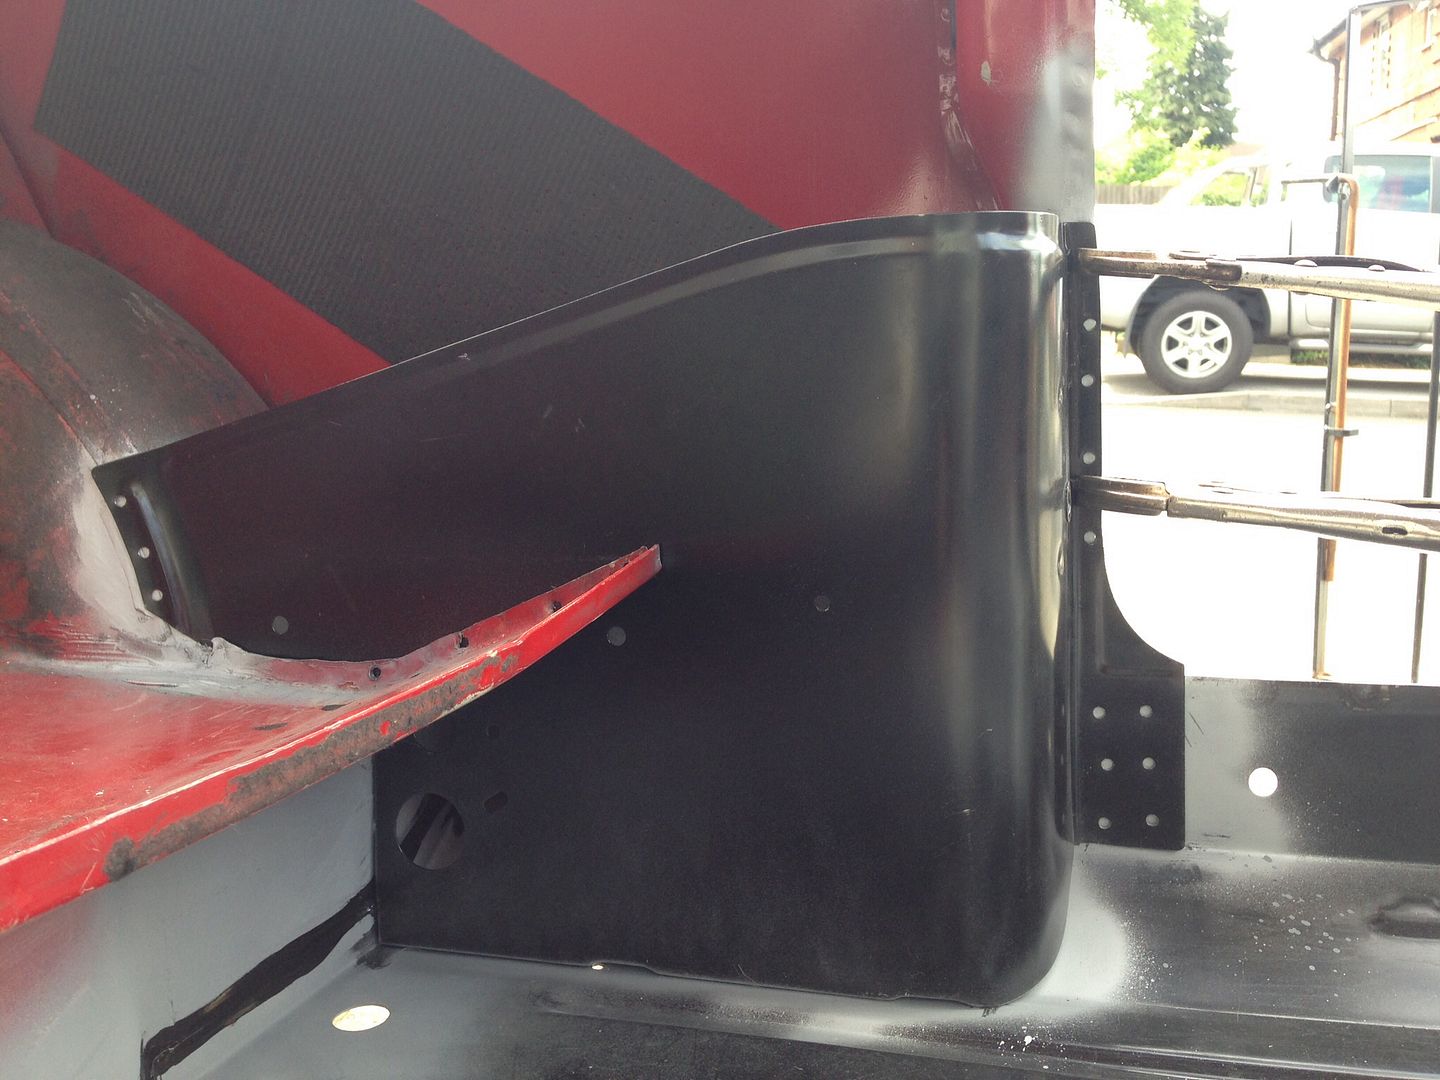
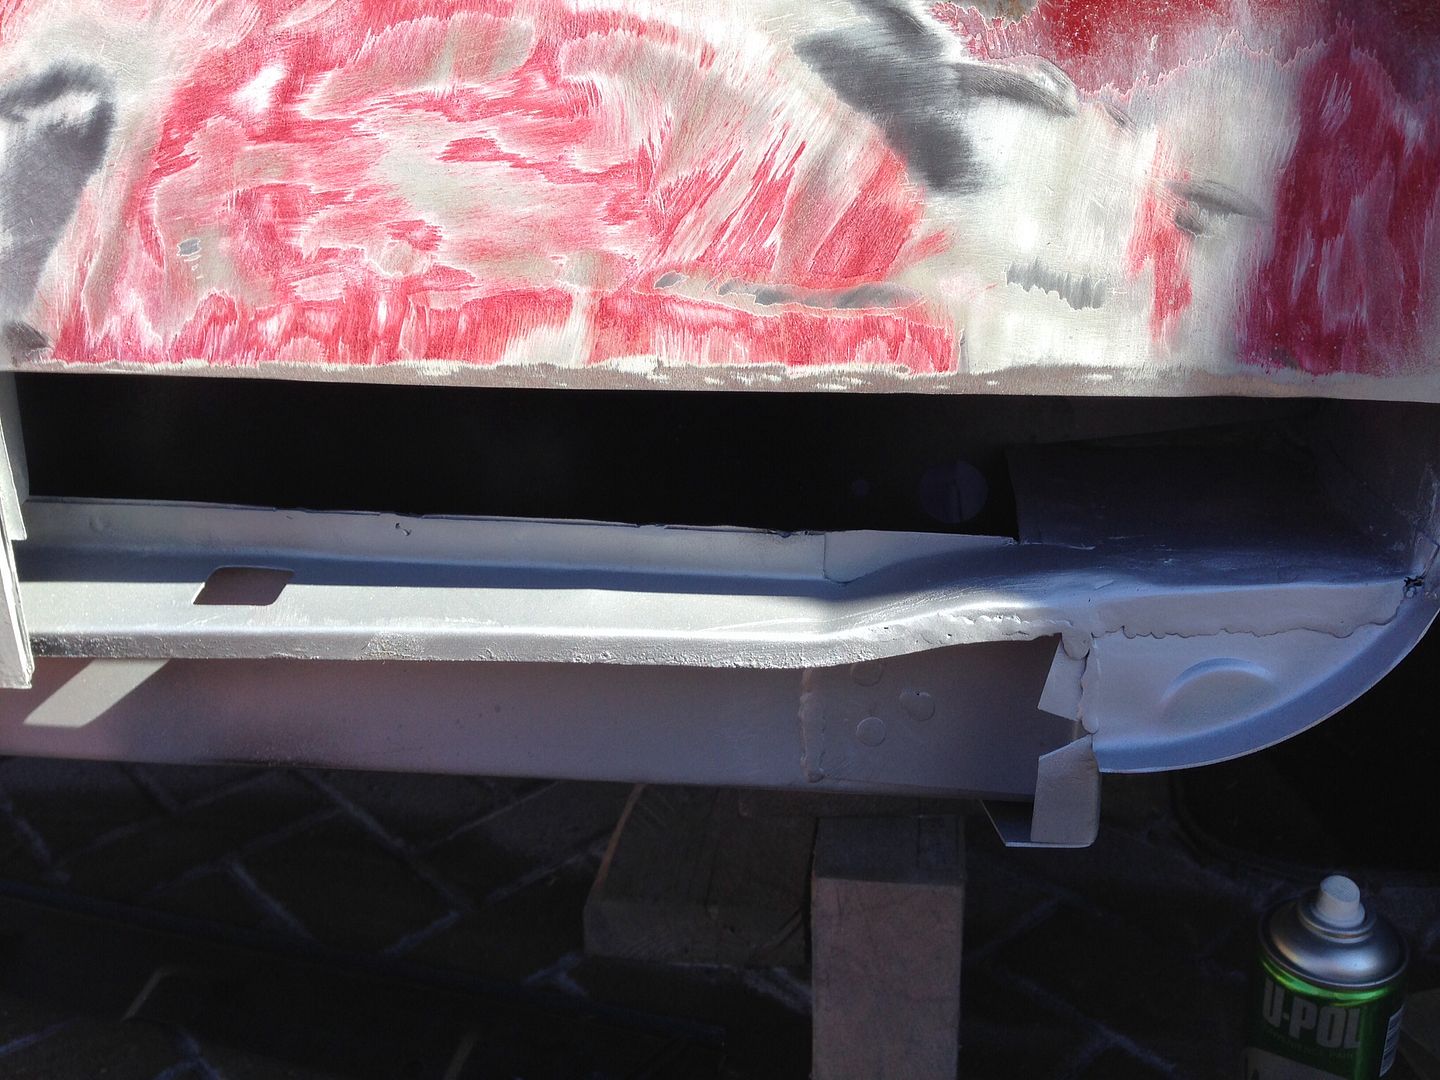
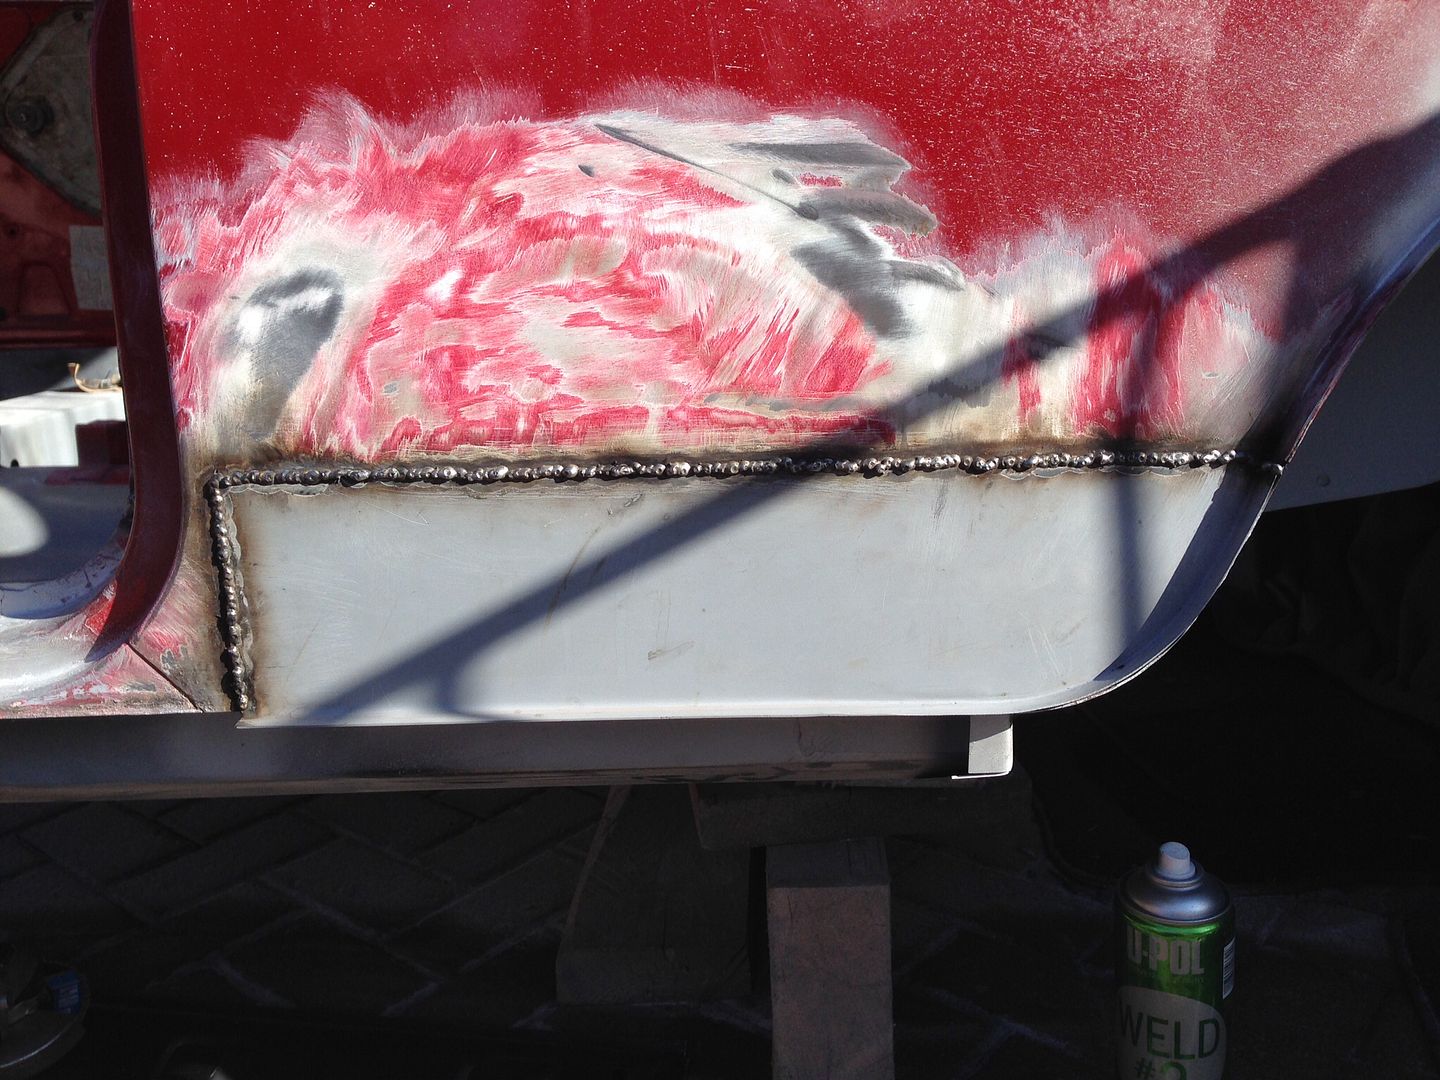
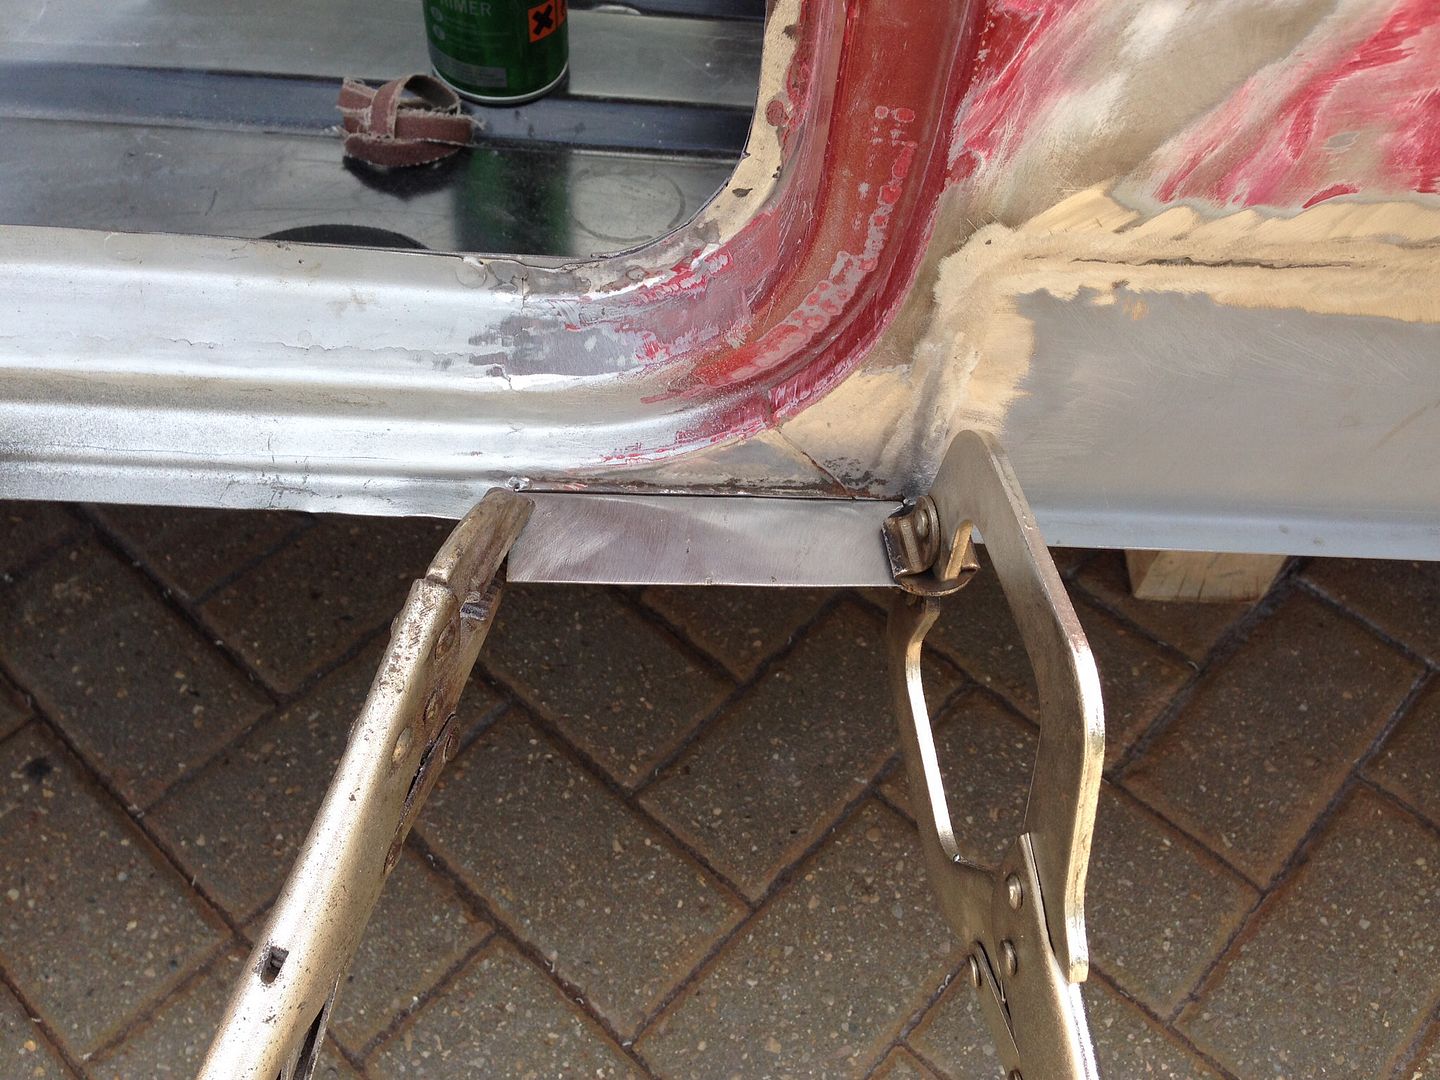
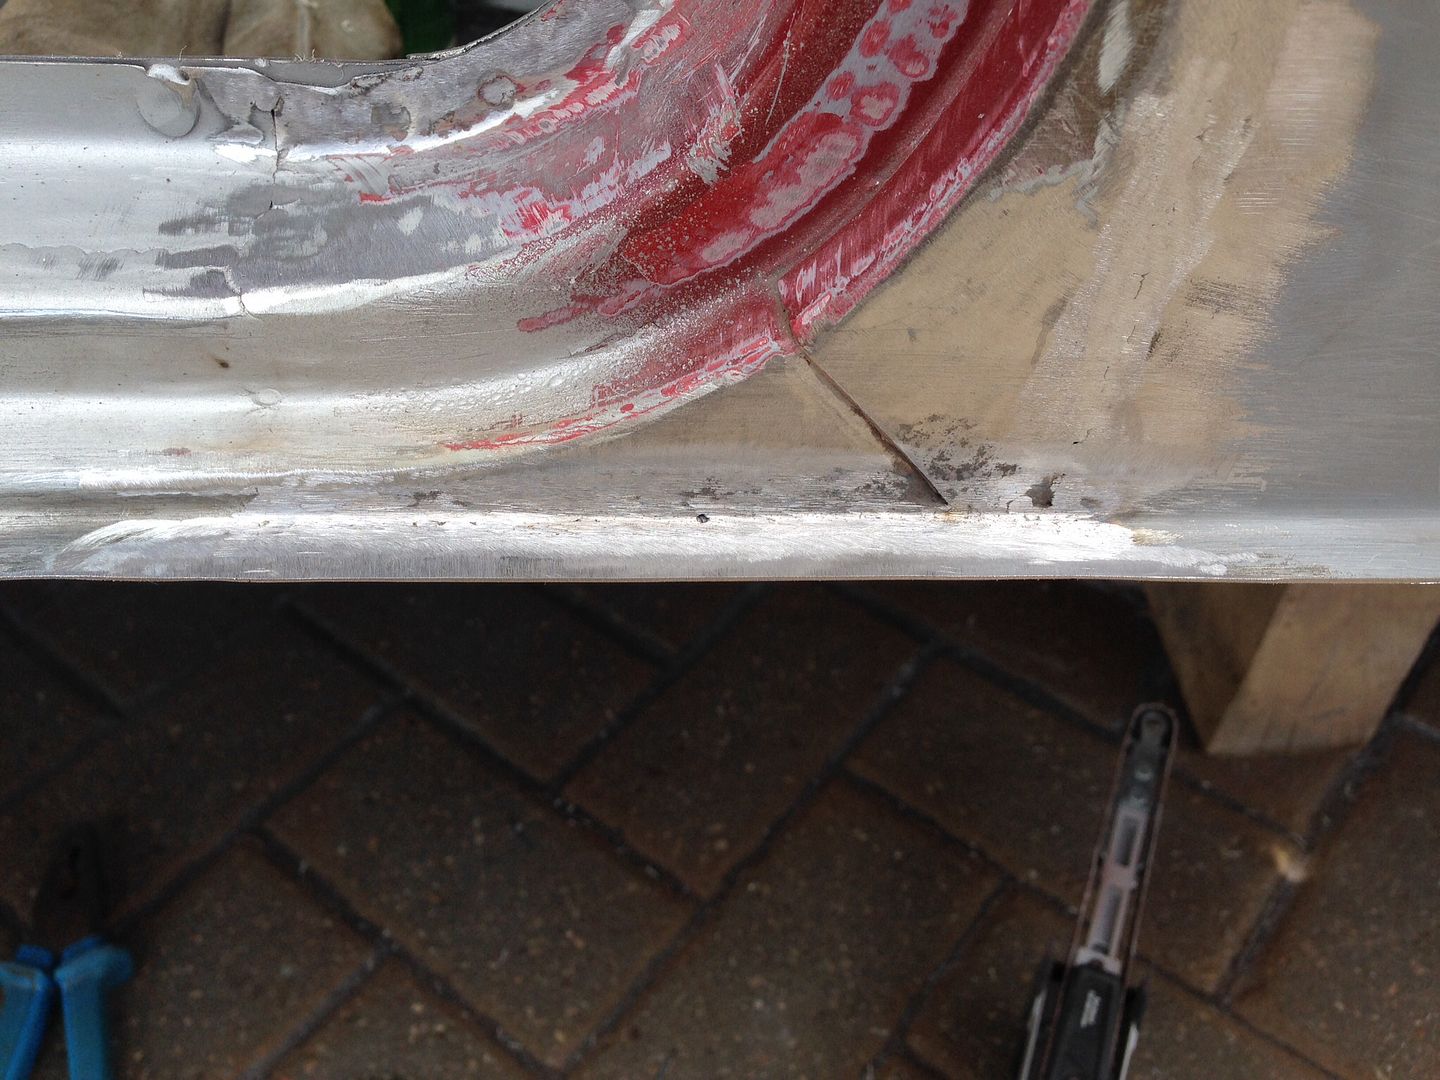
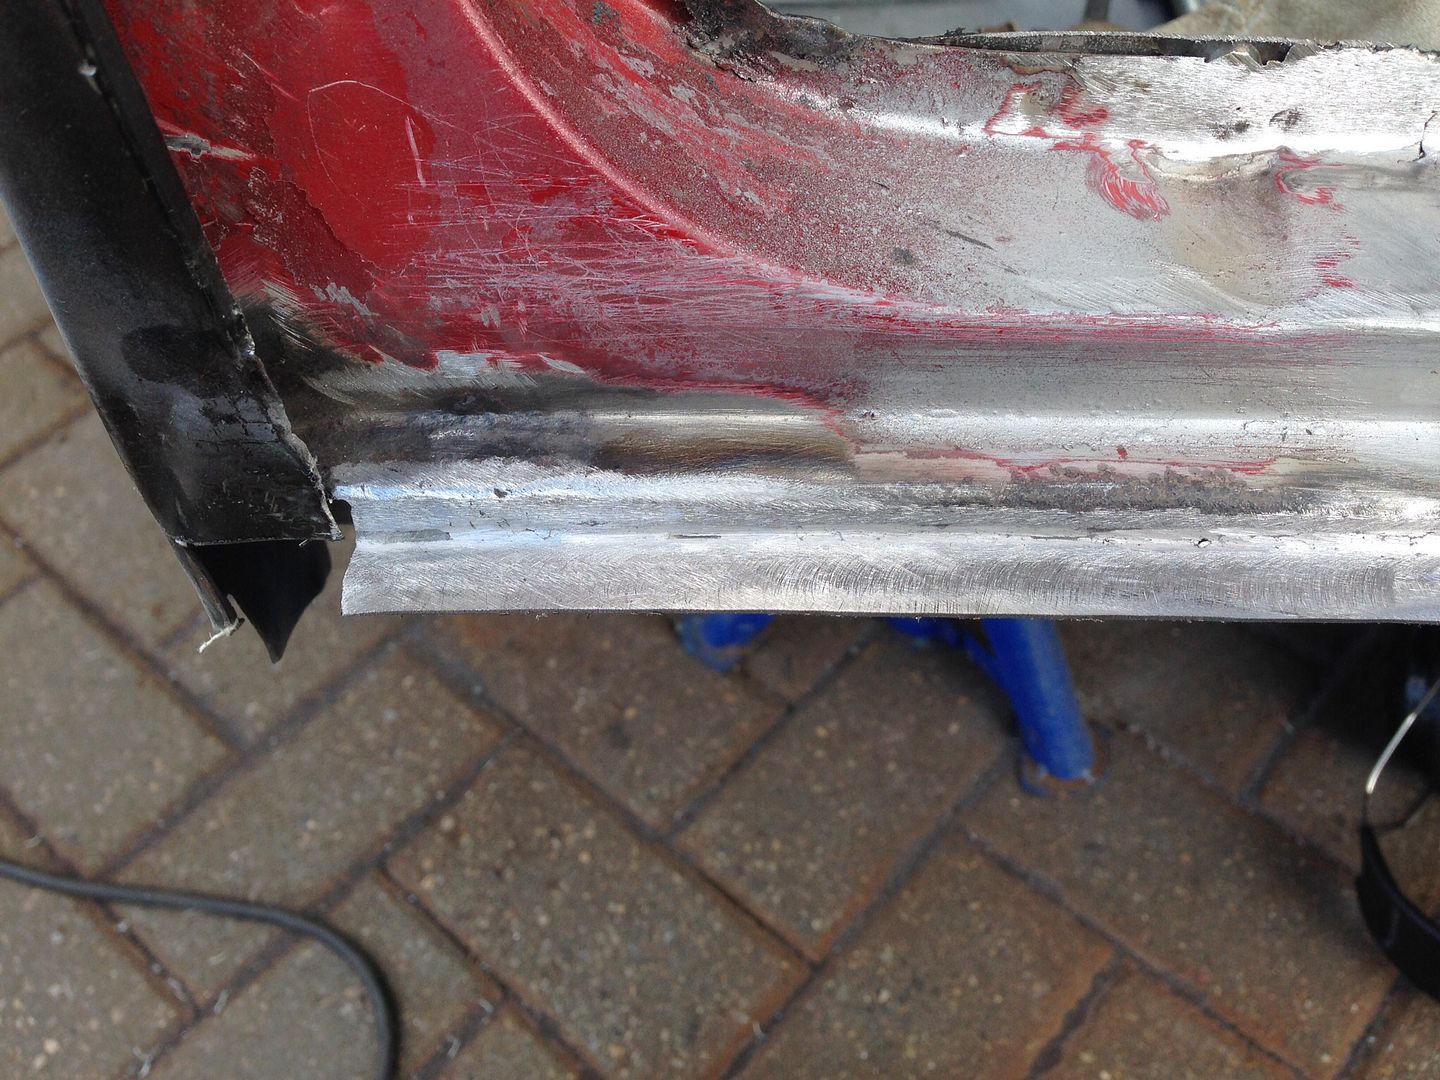
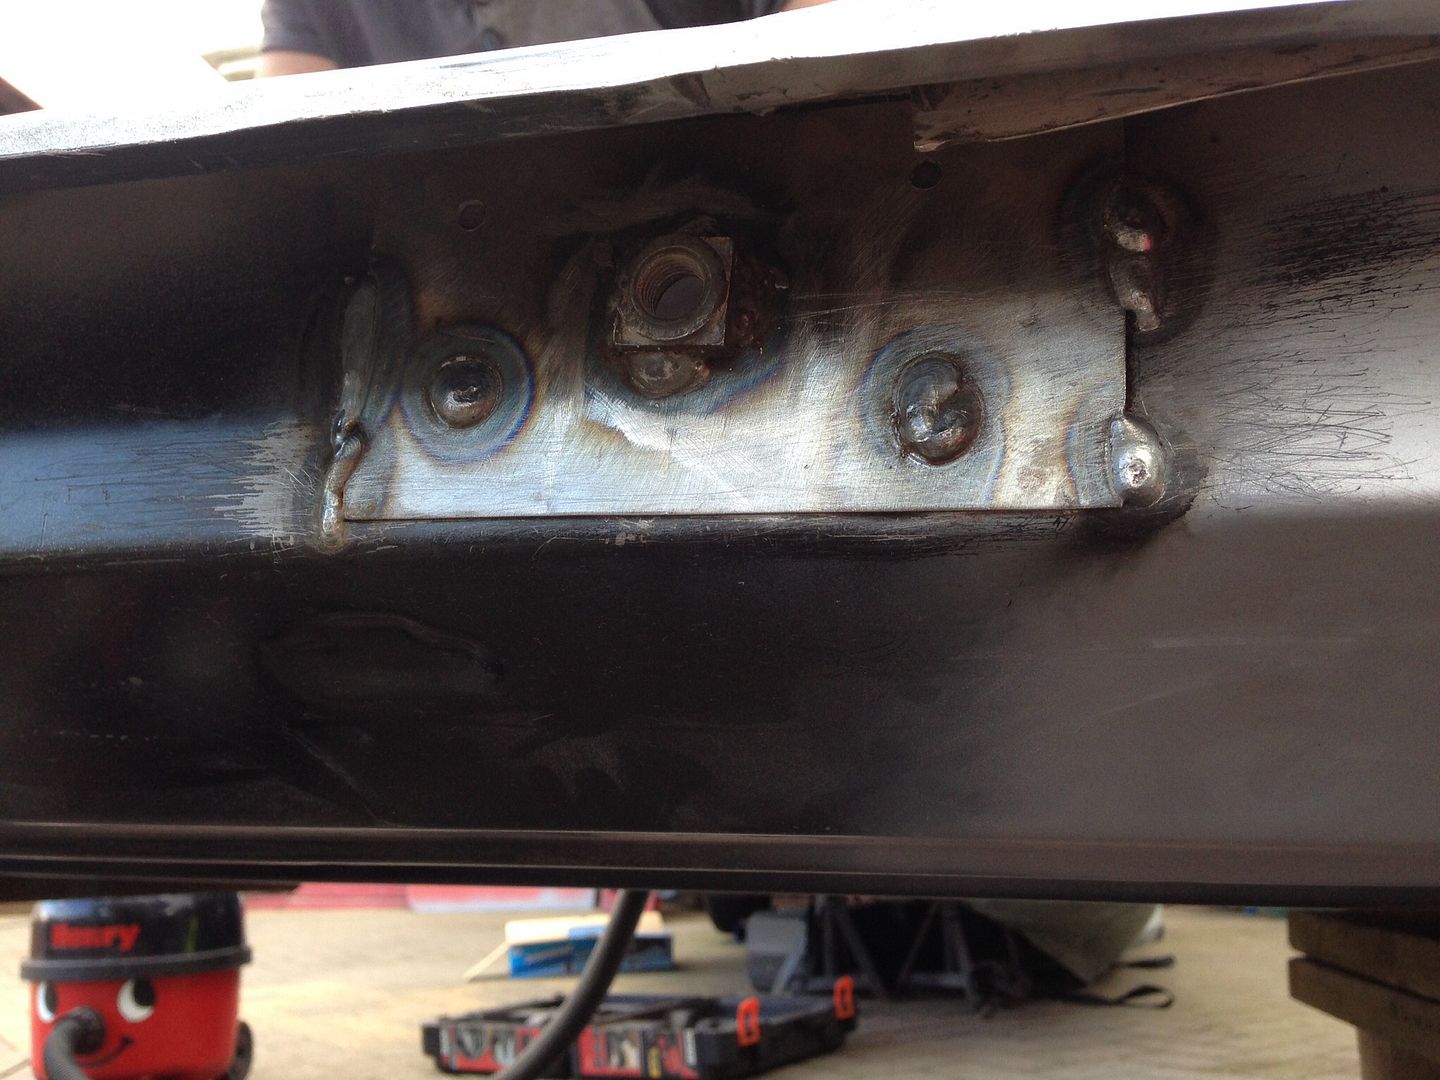
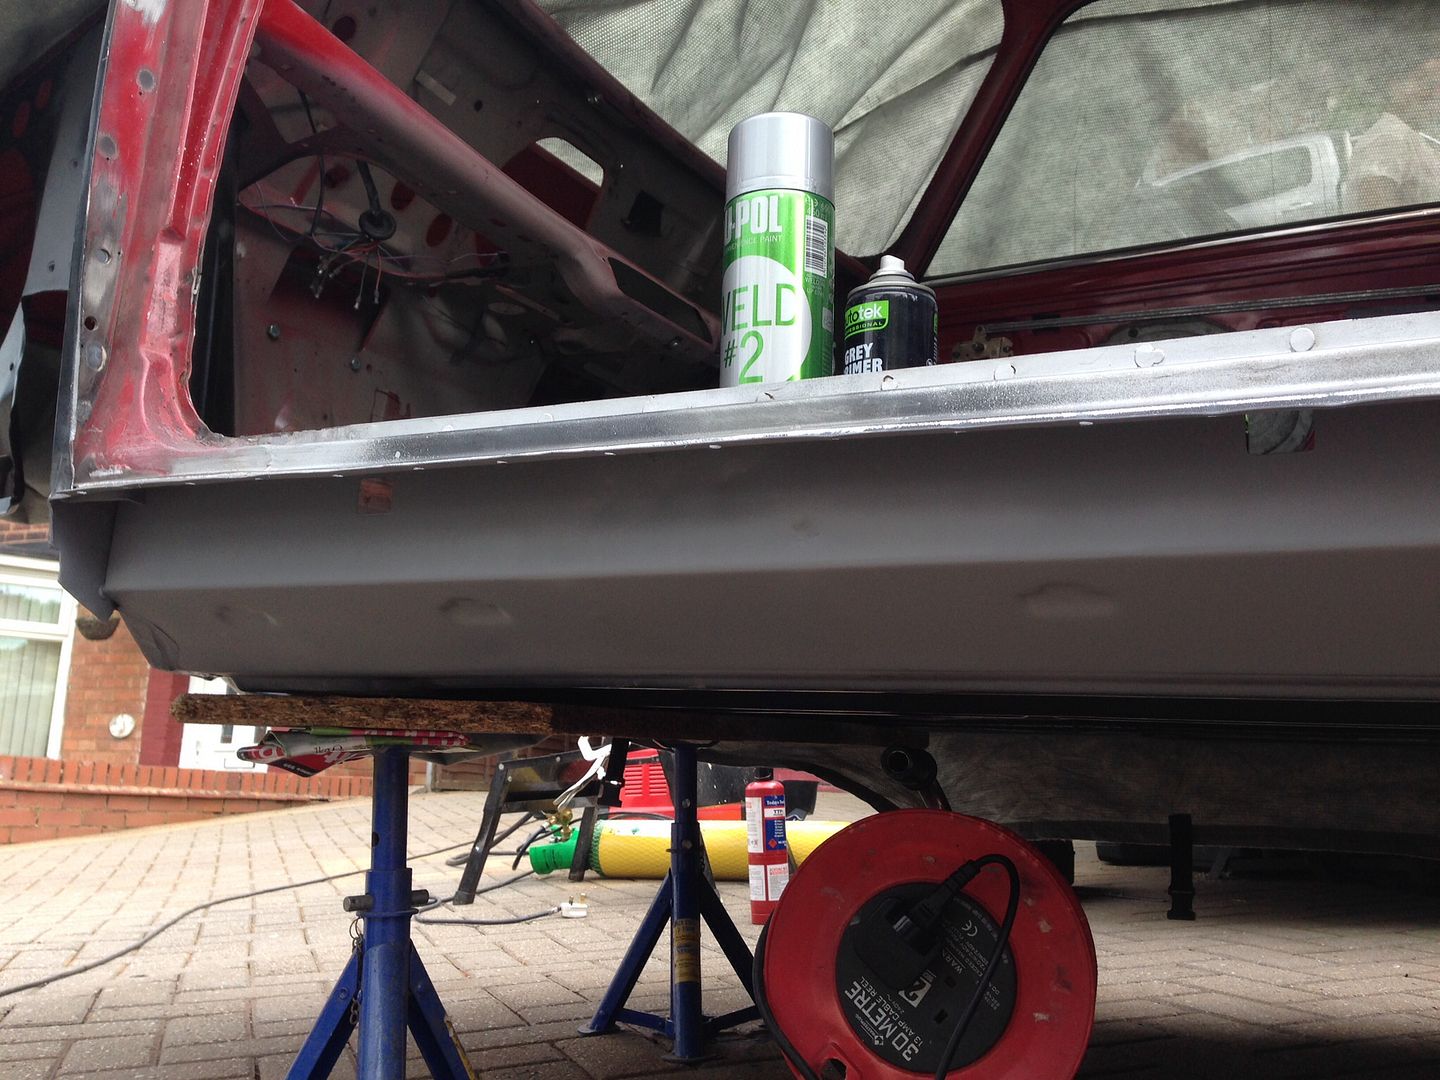
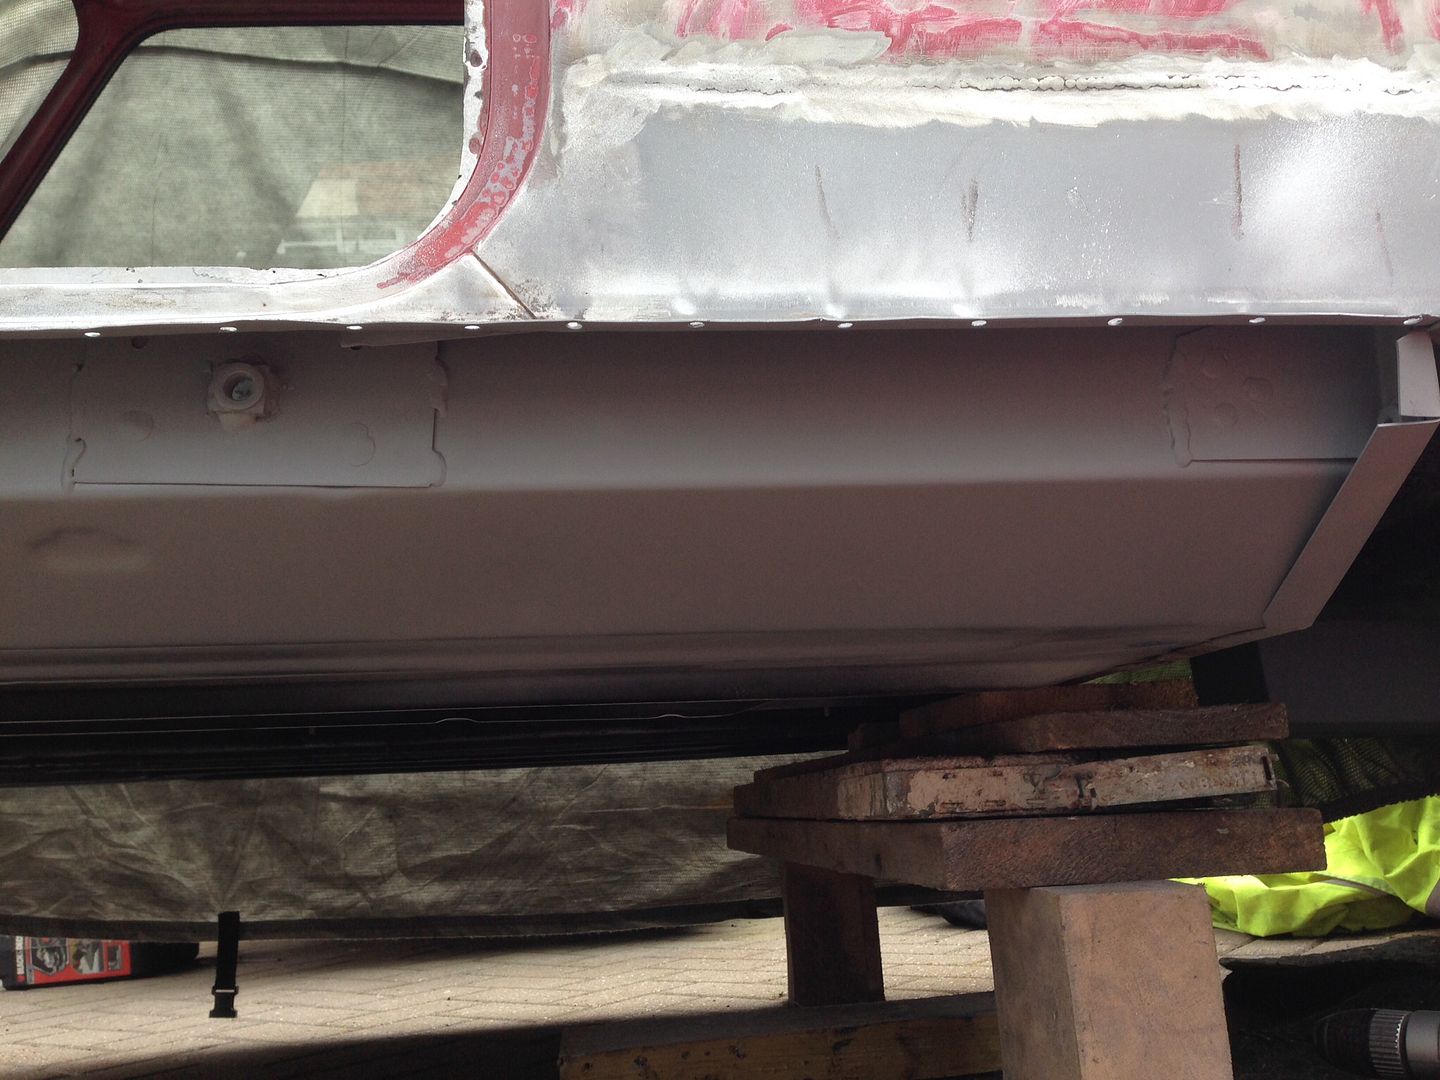
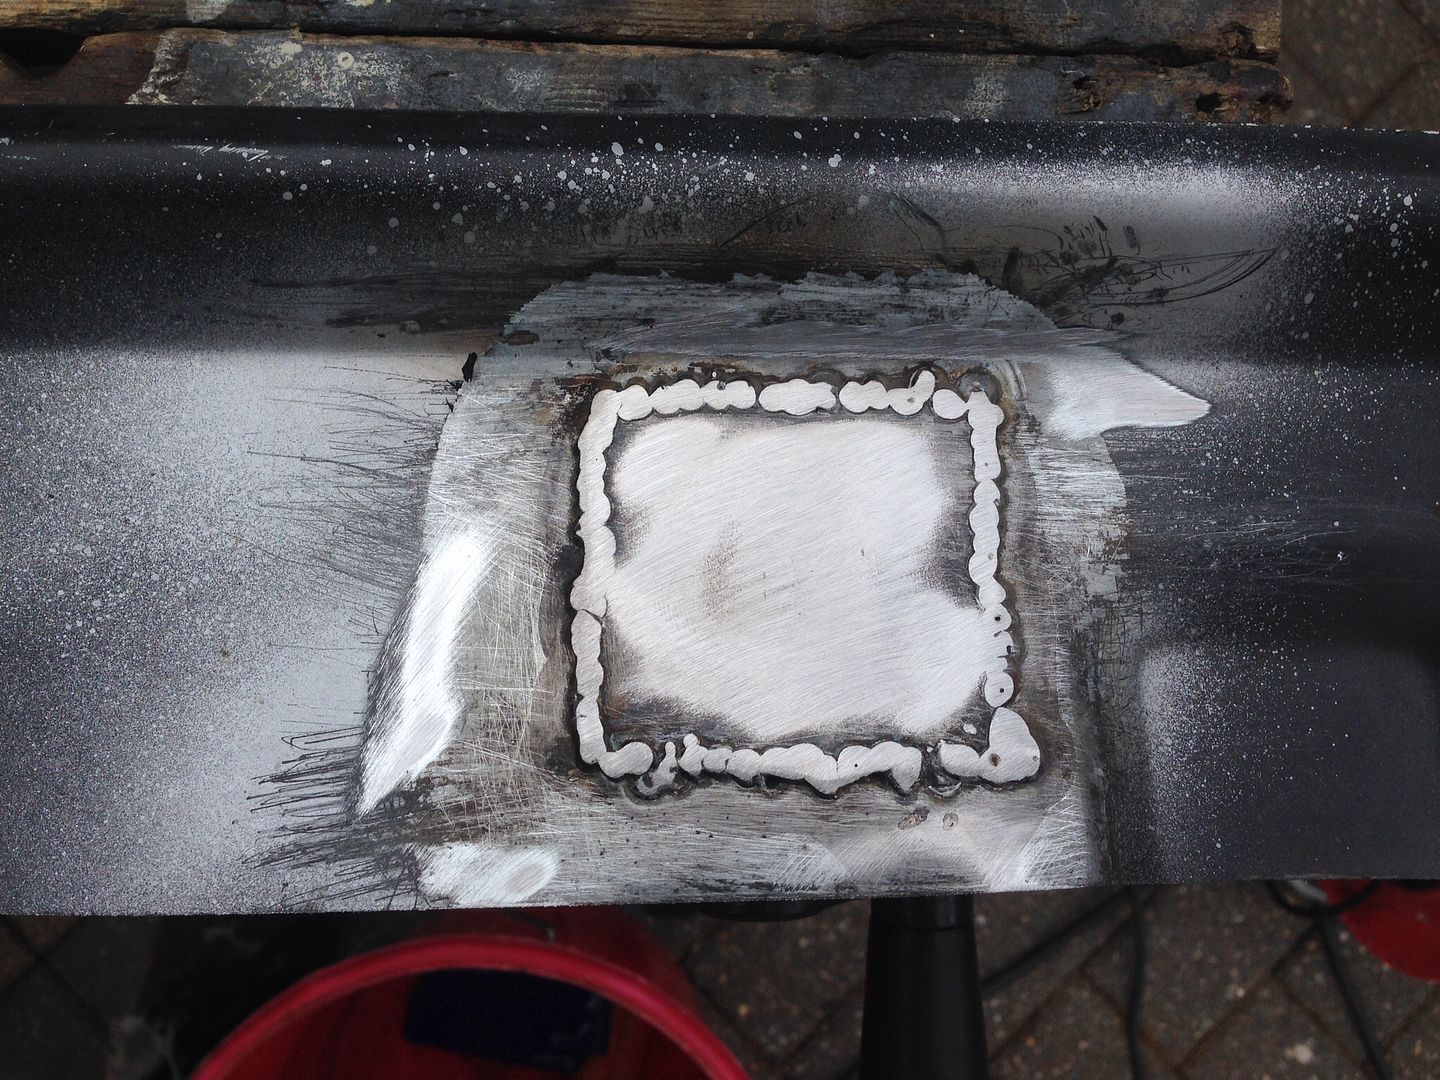
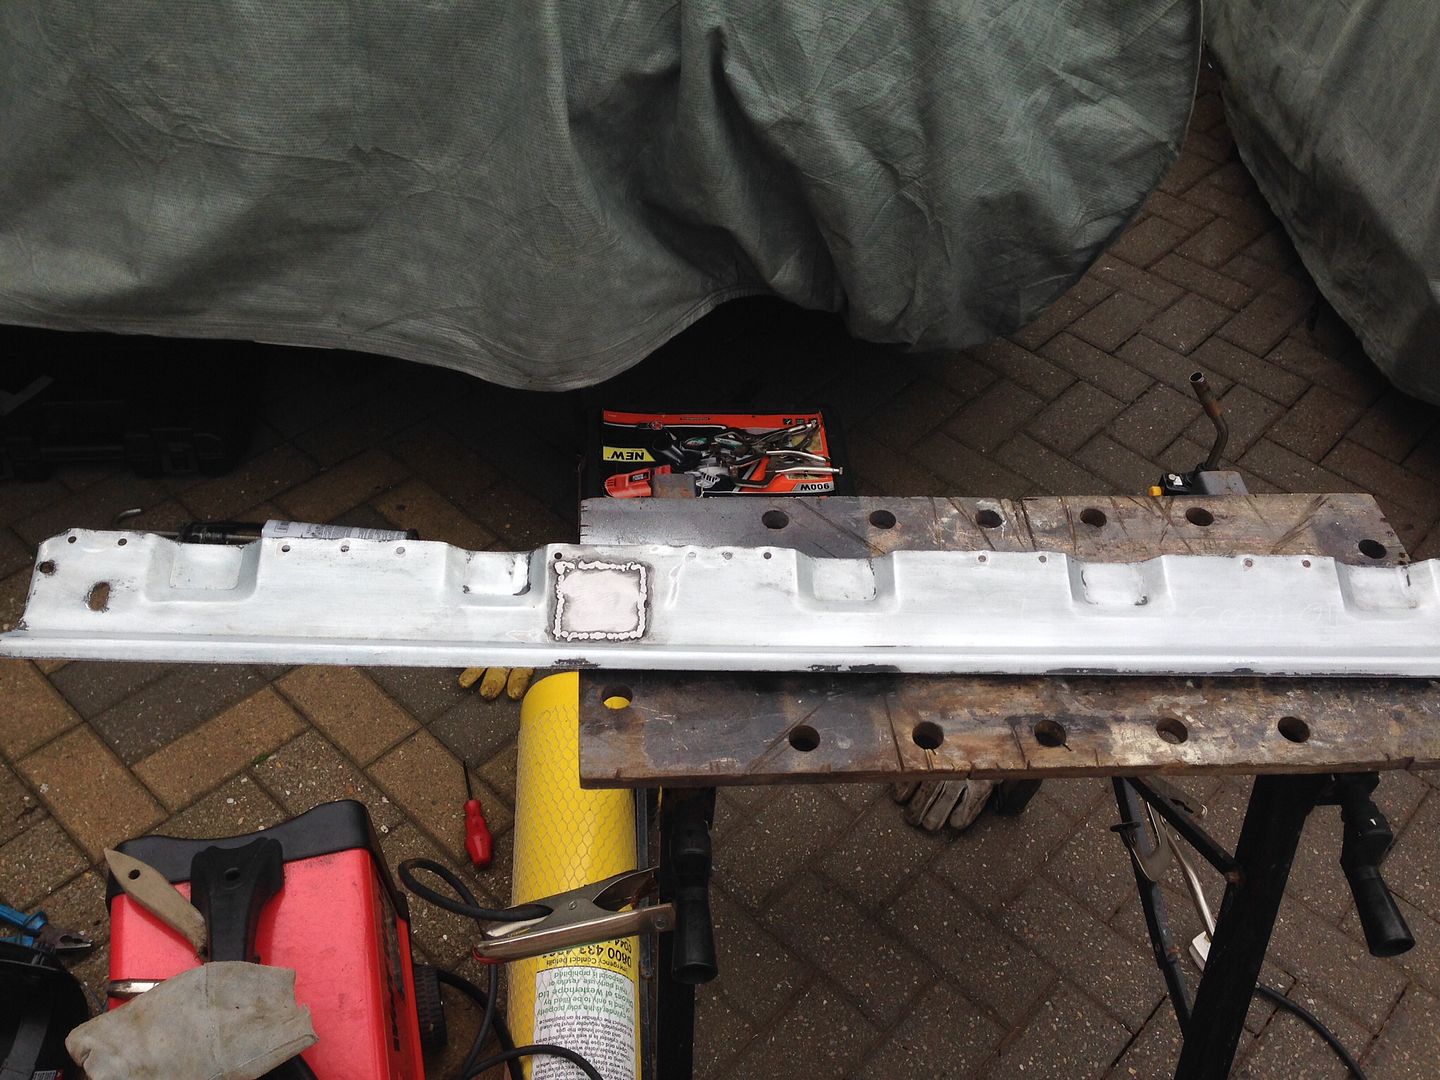
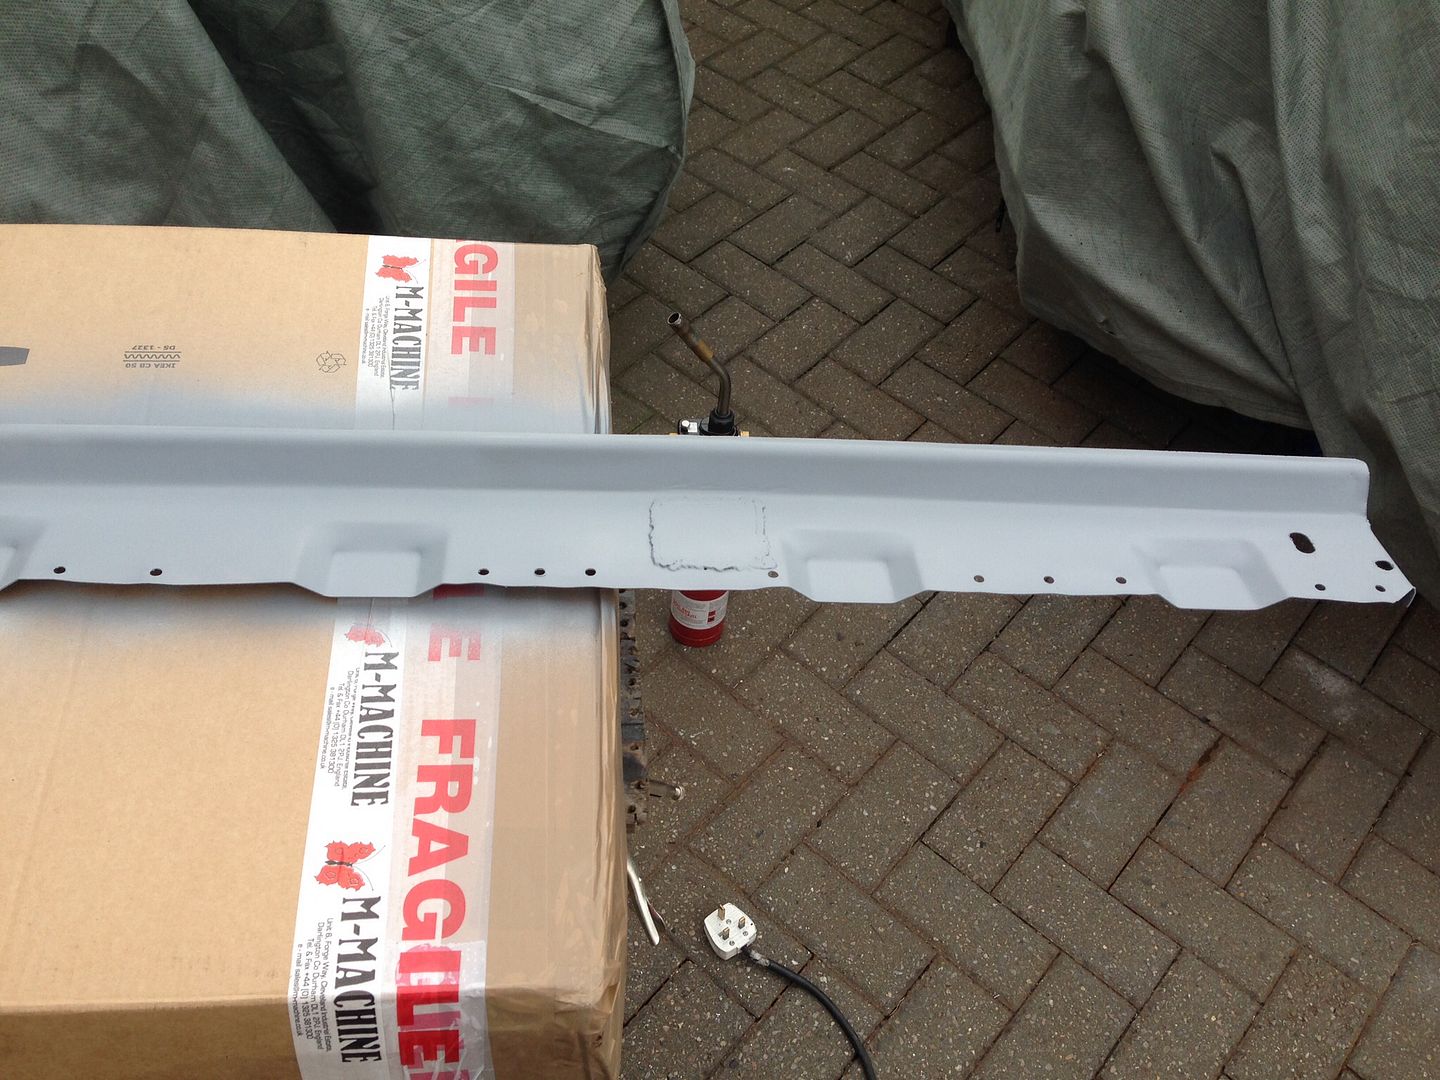
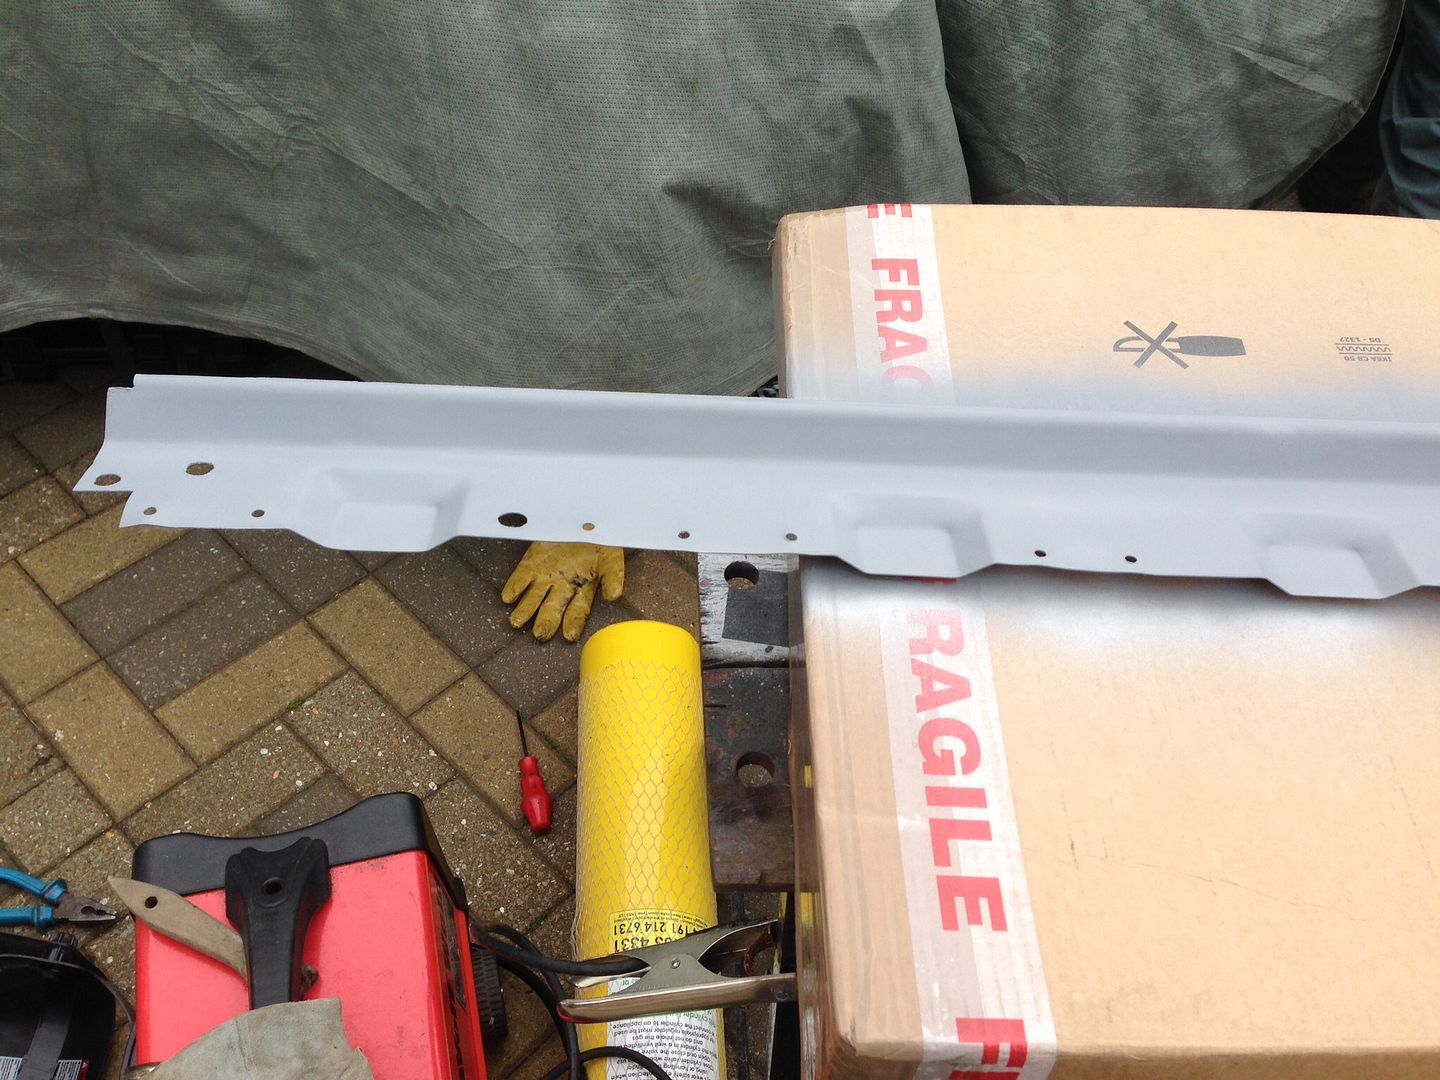
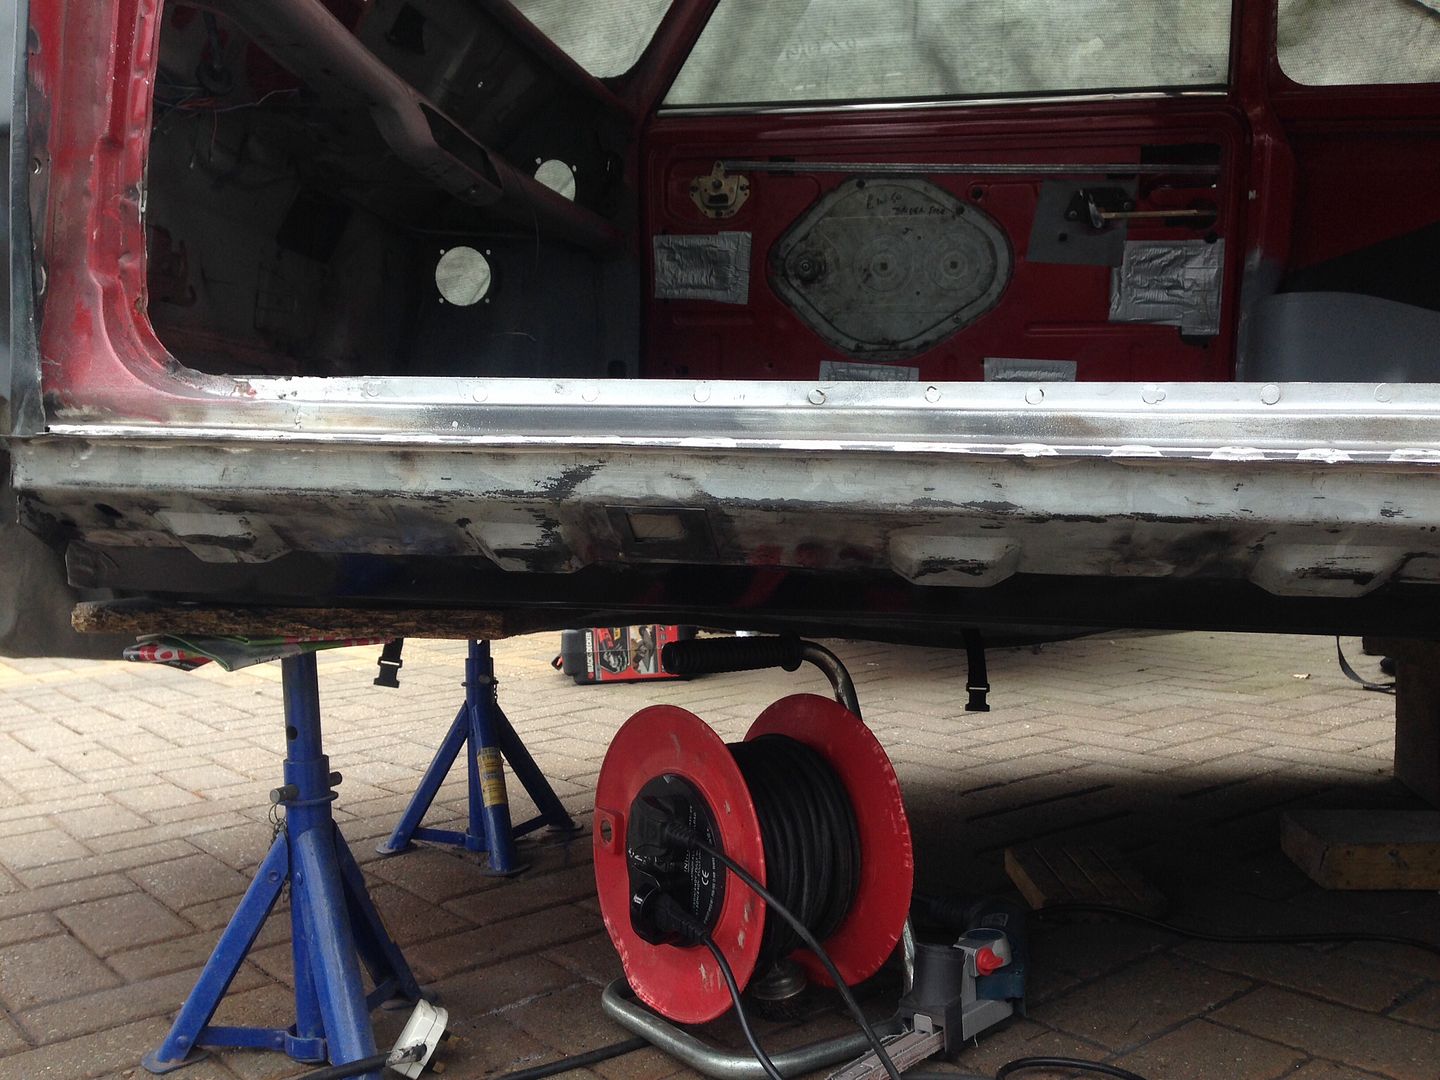
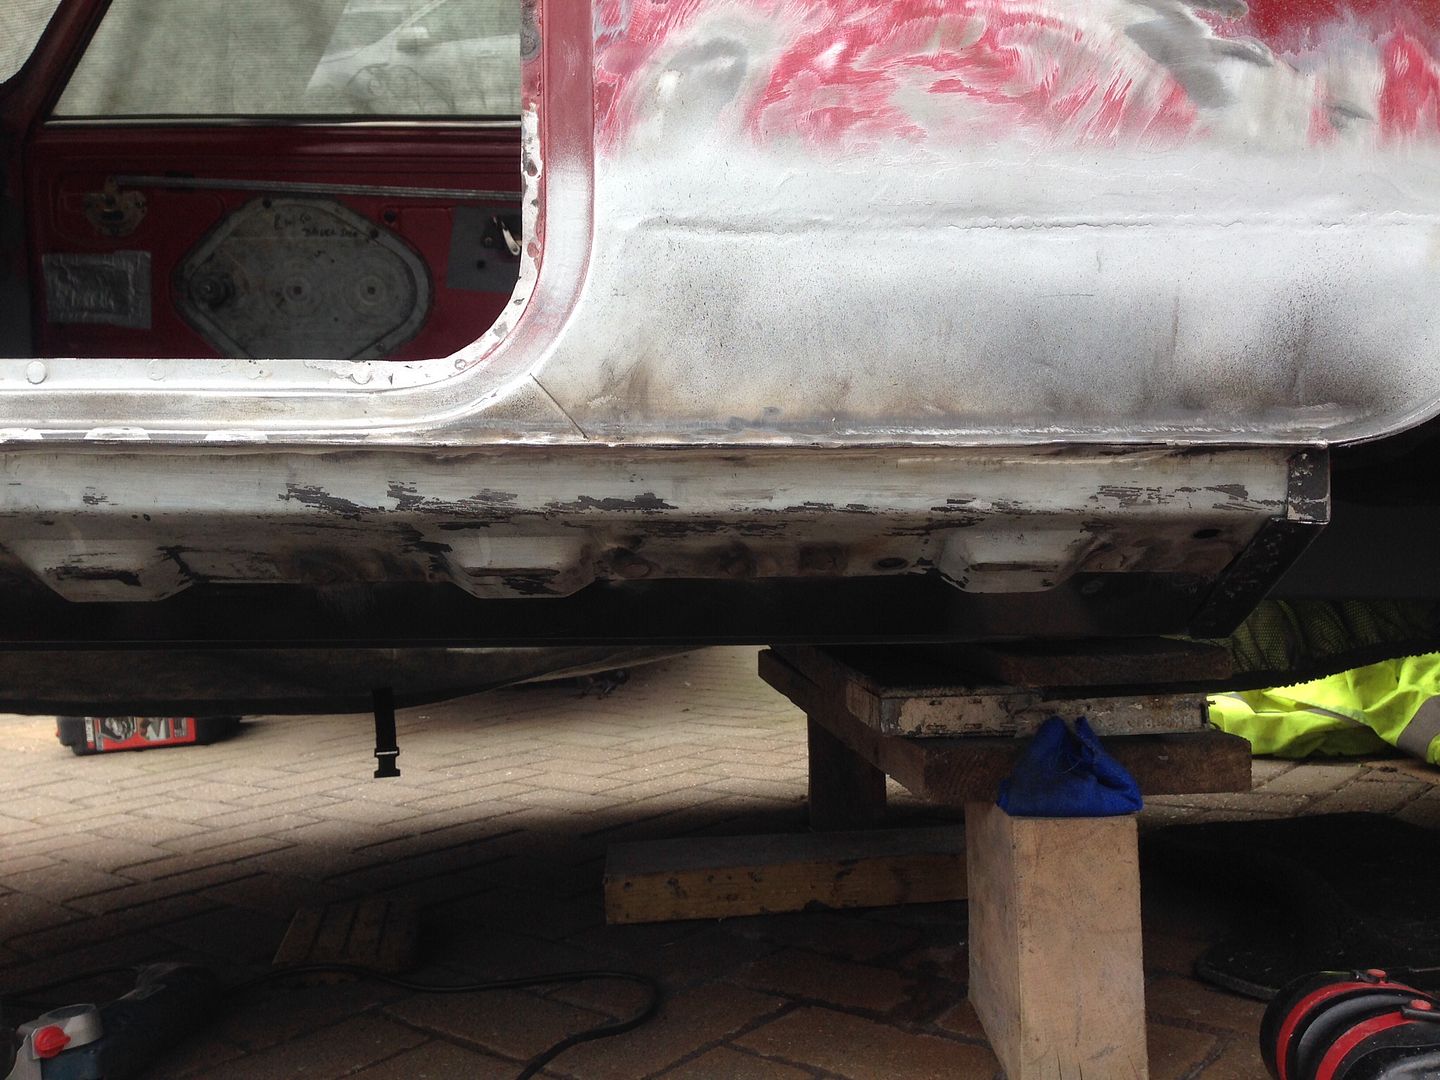
Before -

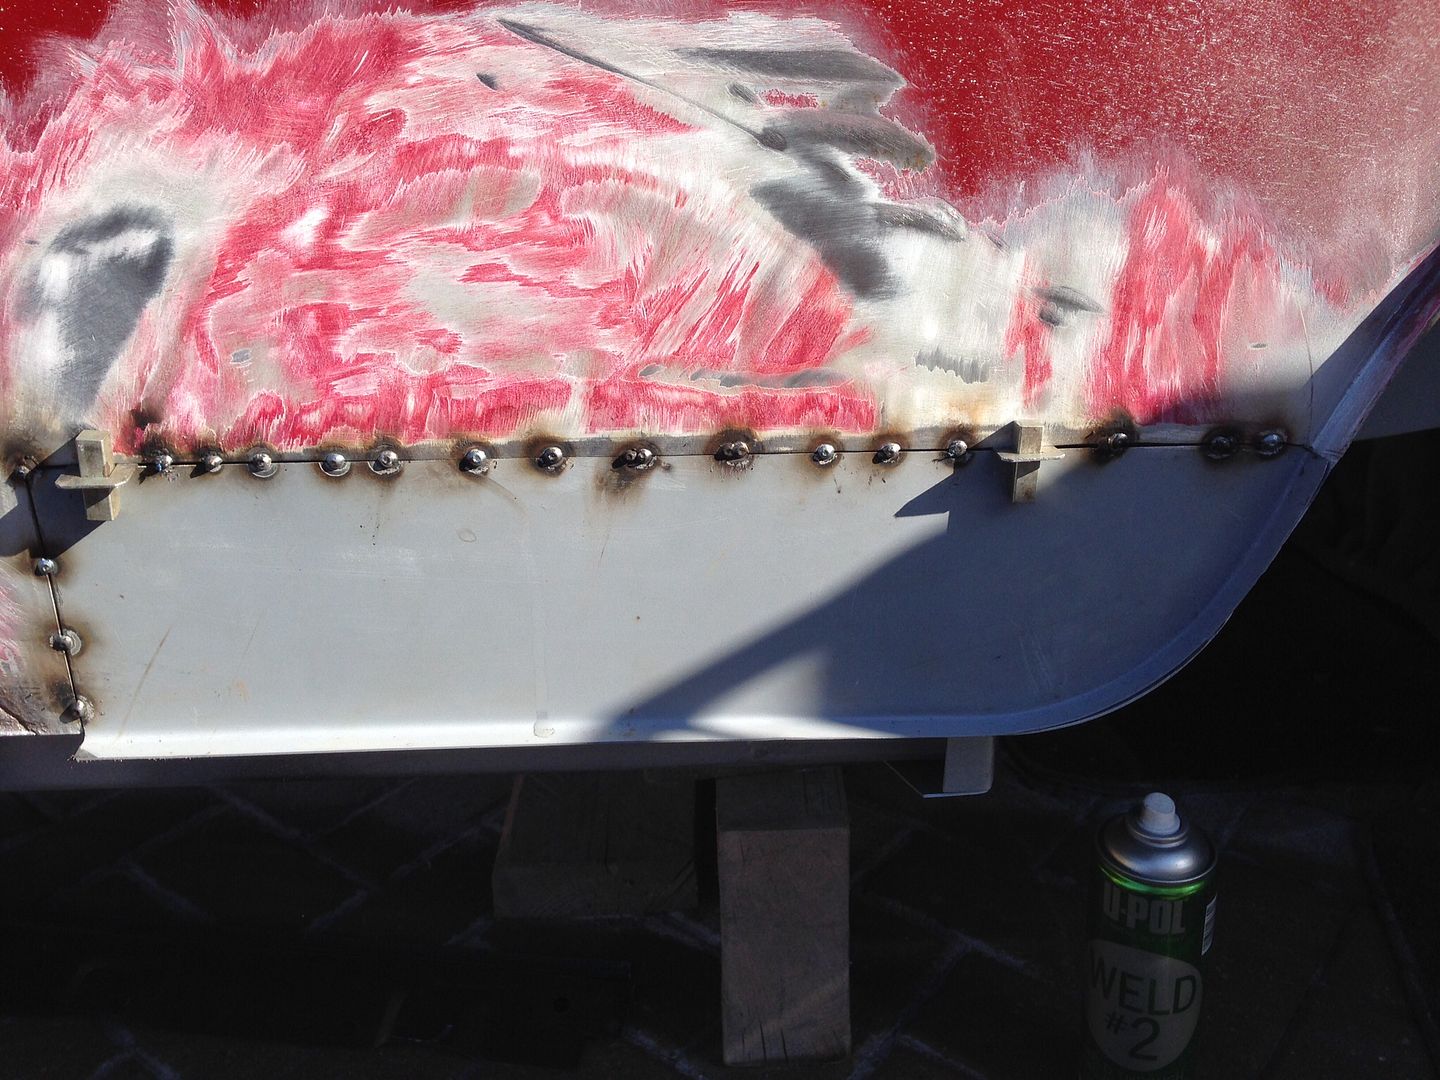
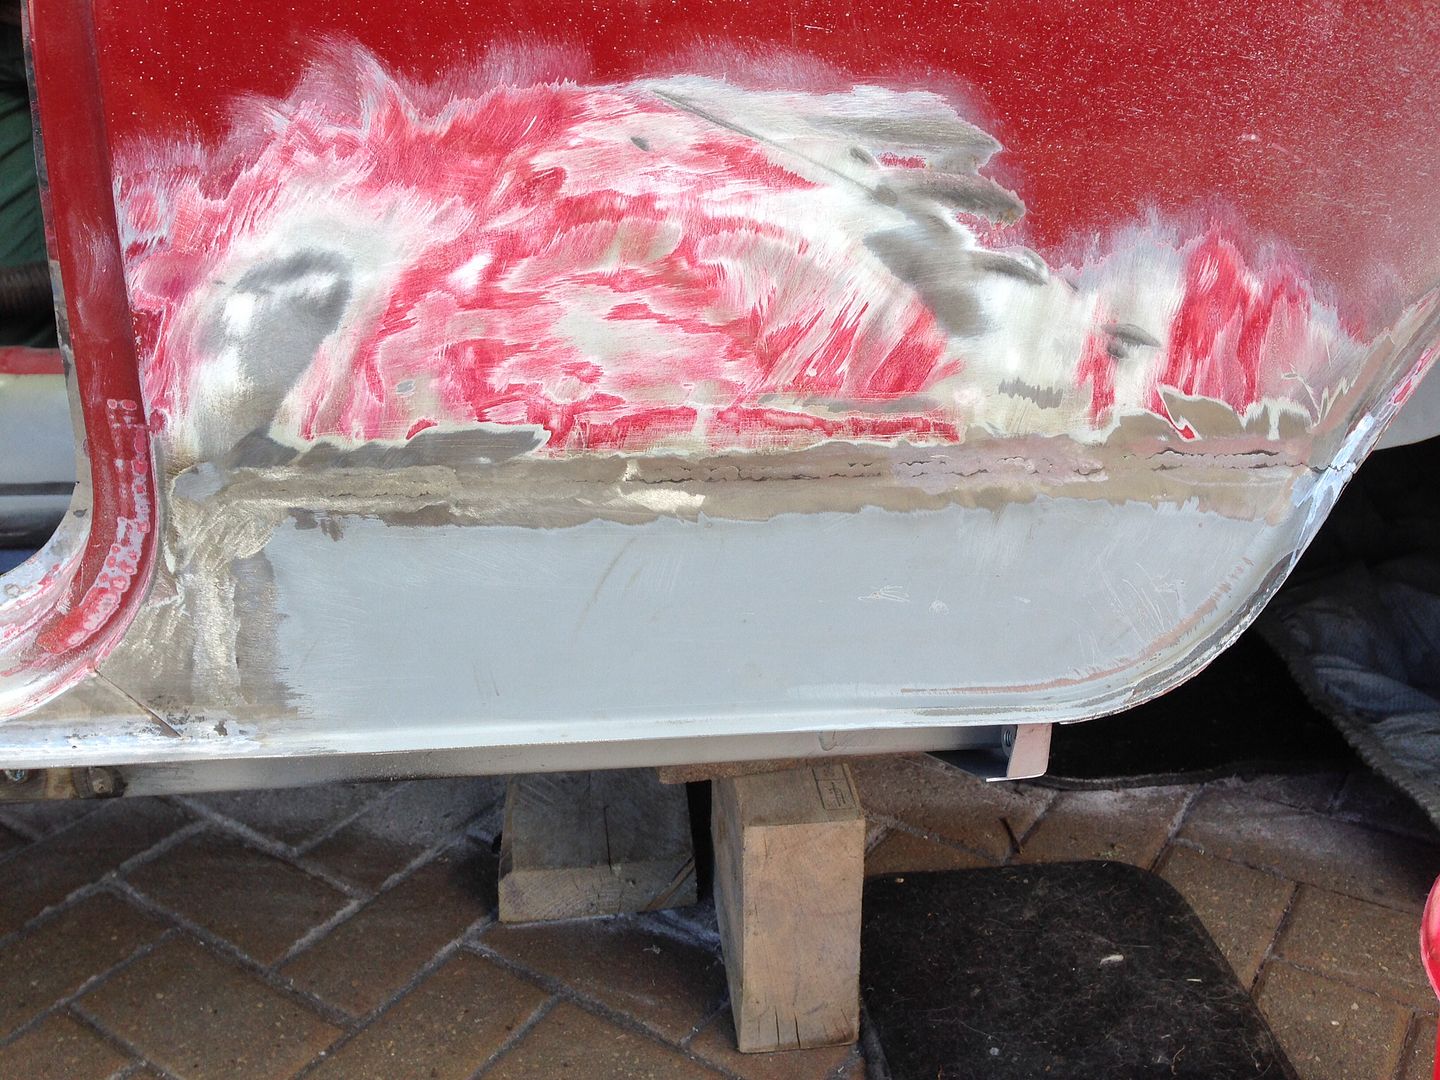
After -
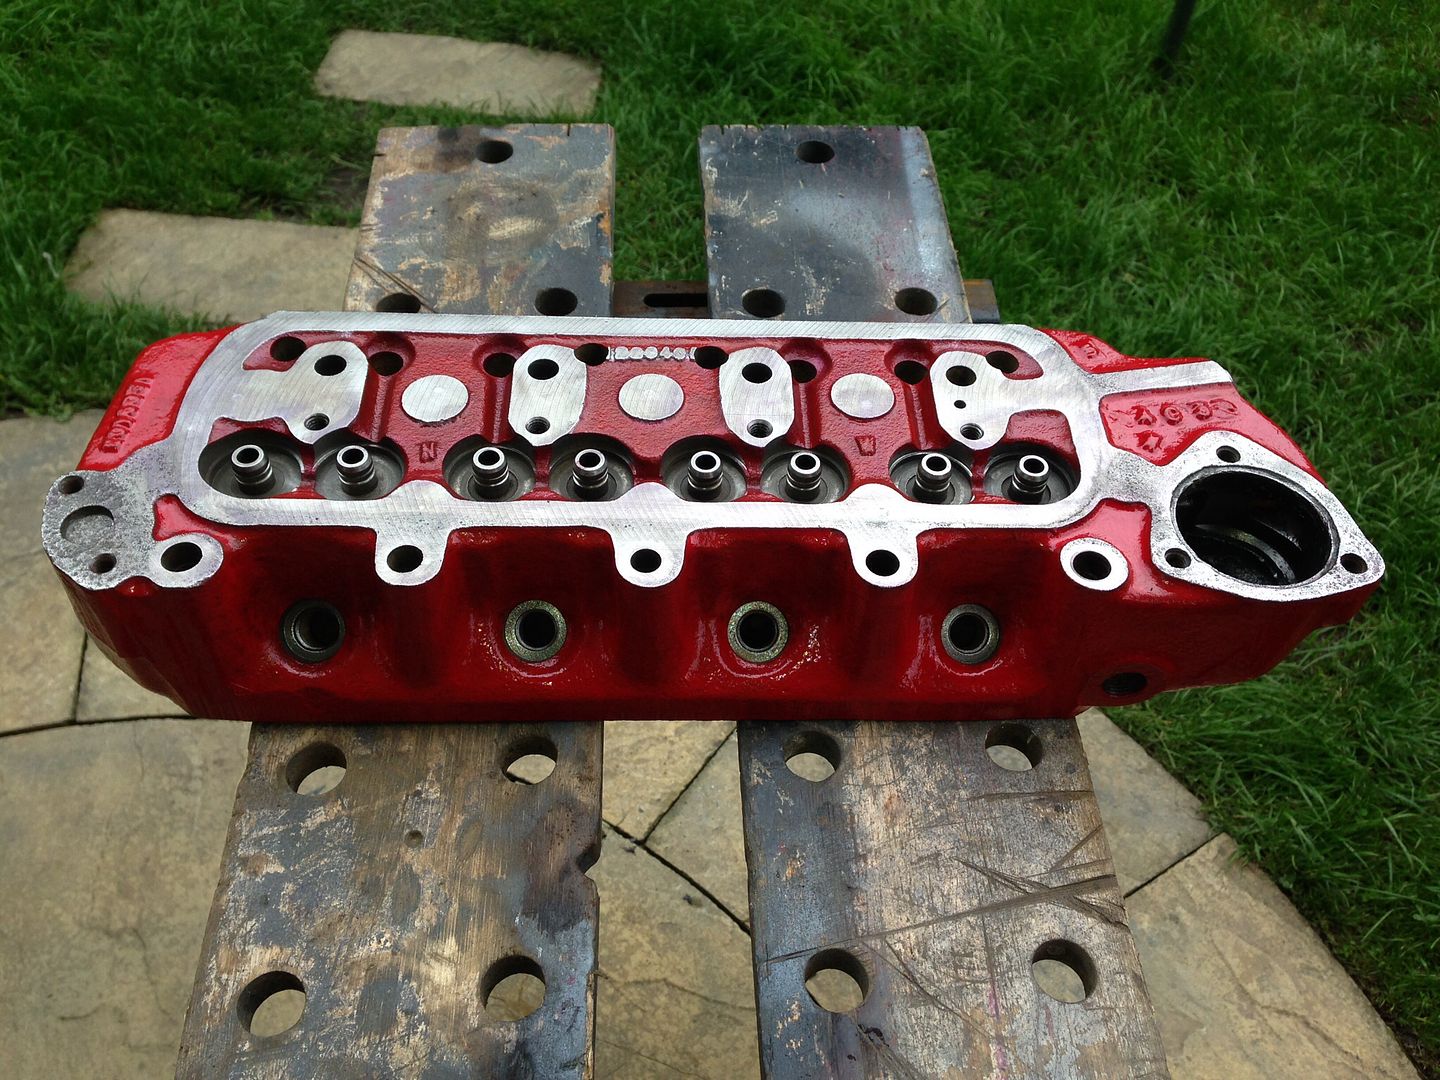
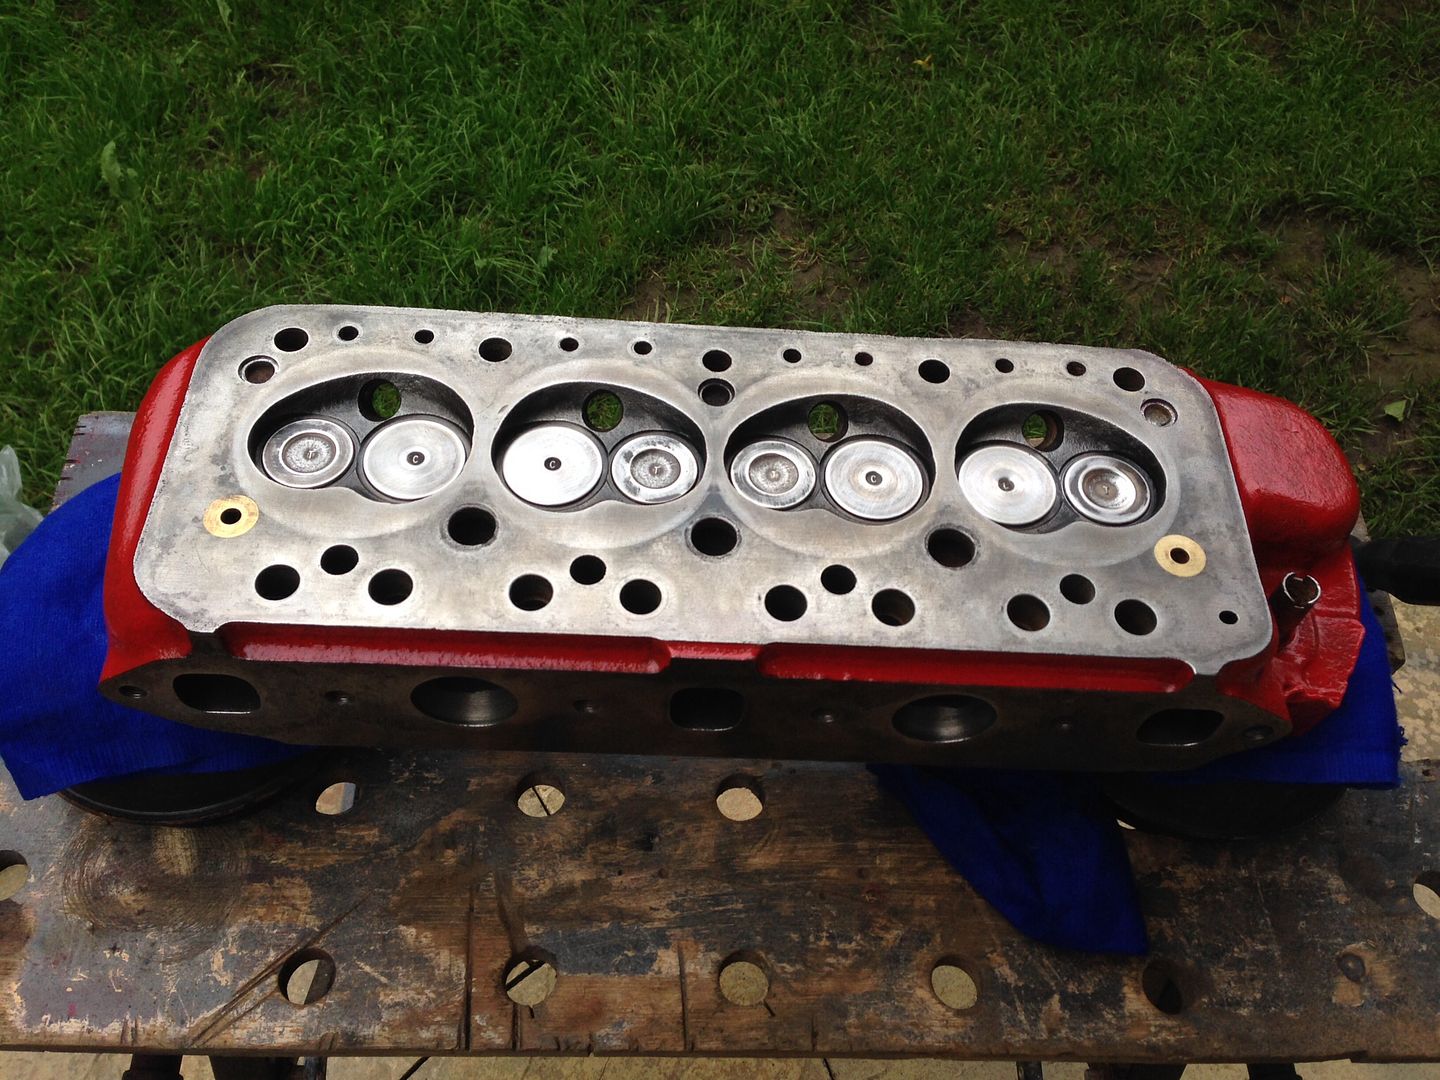
Looks good if I say so my self
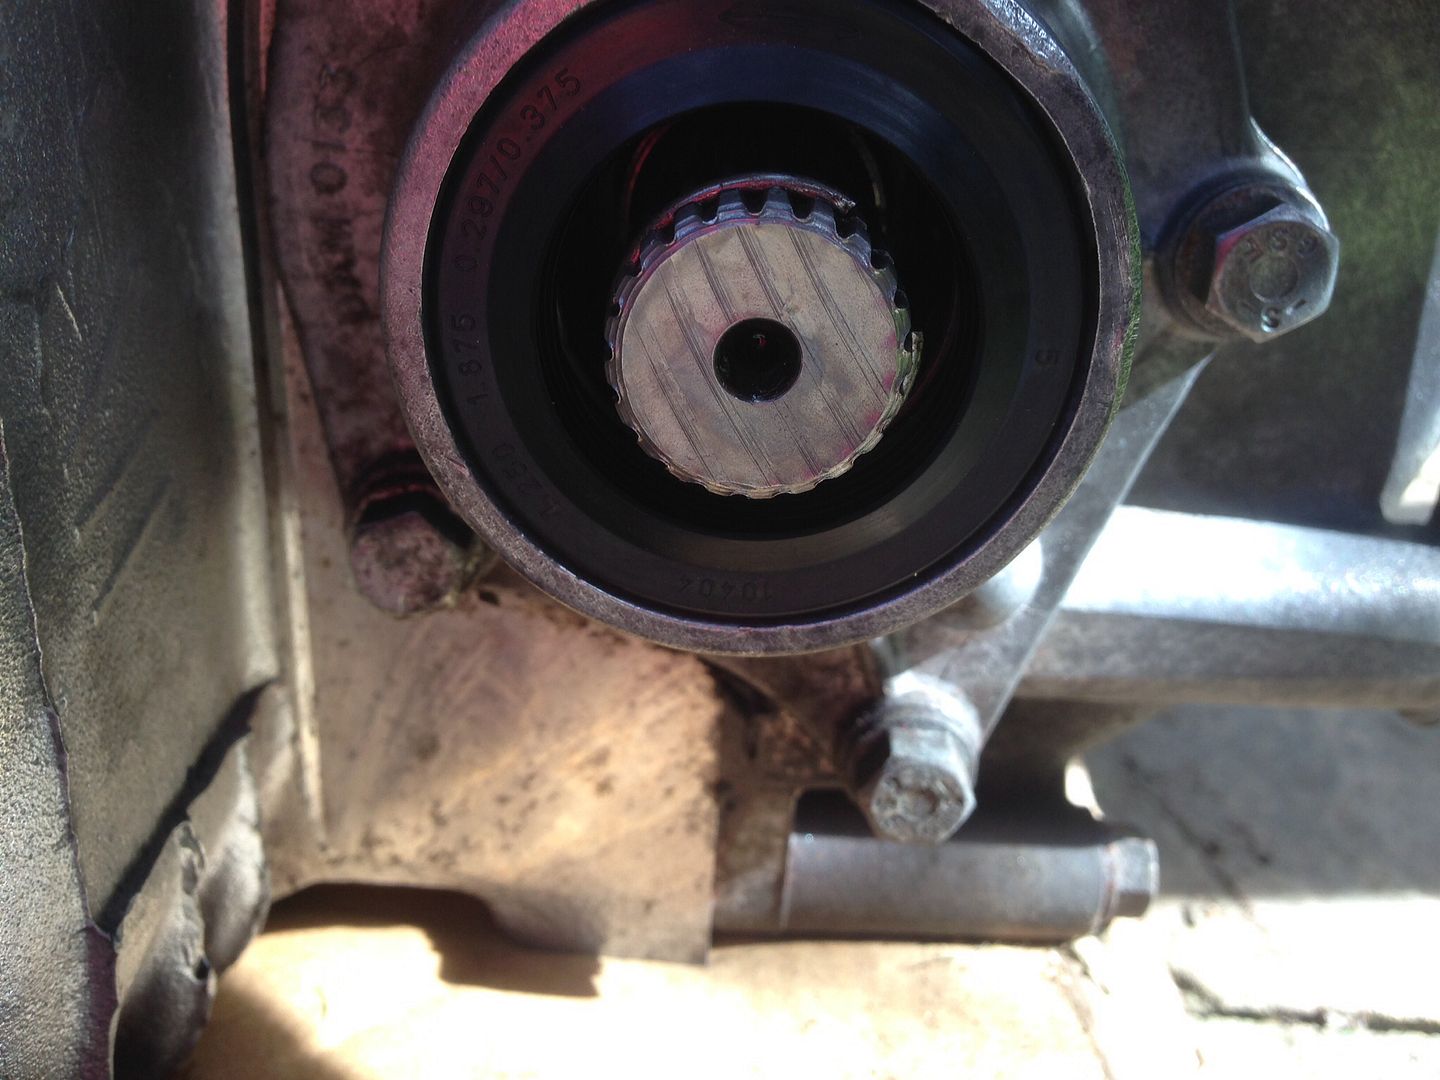
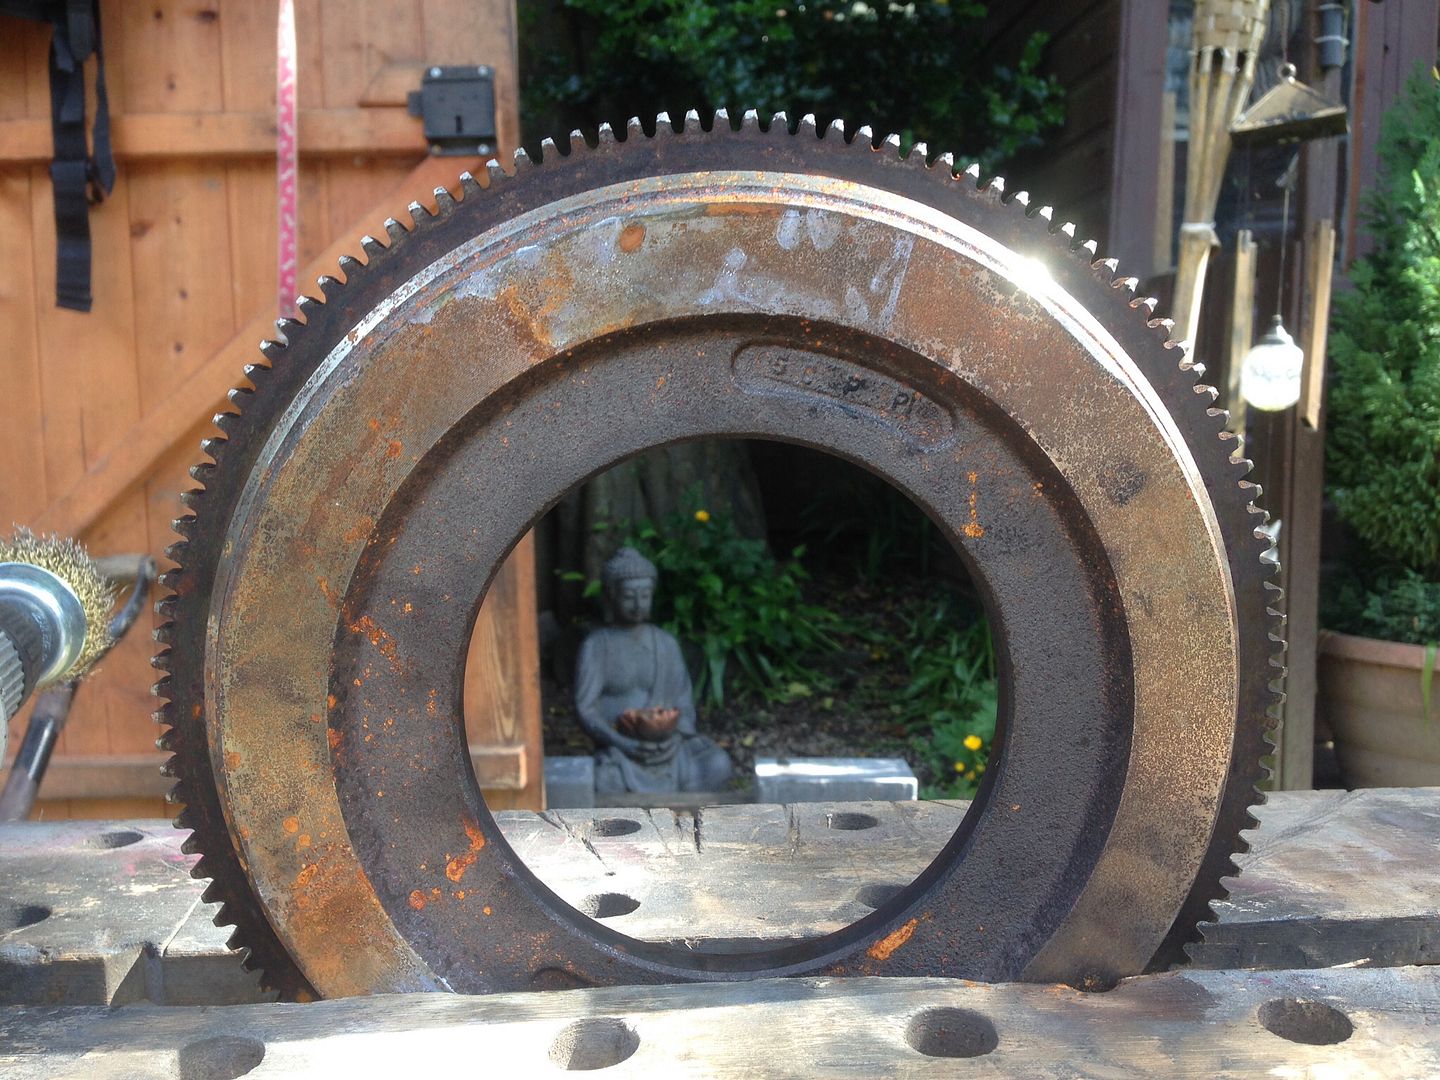
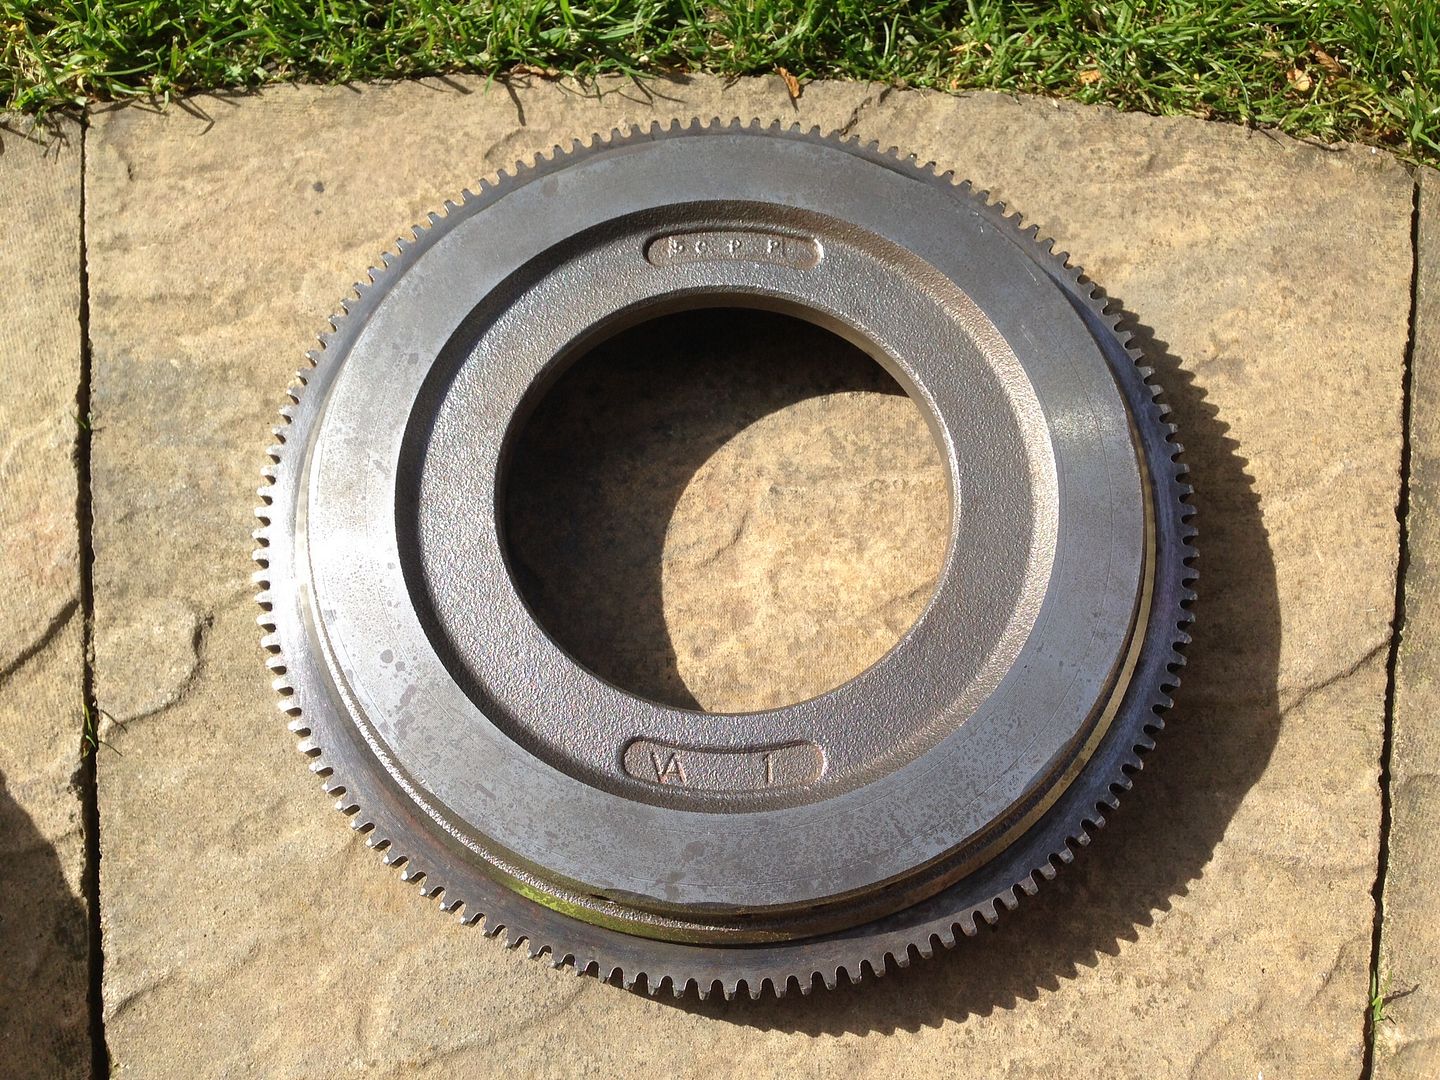
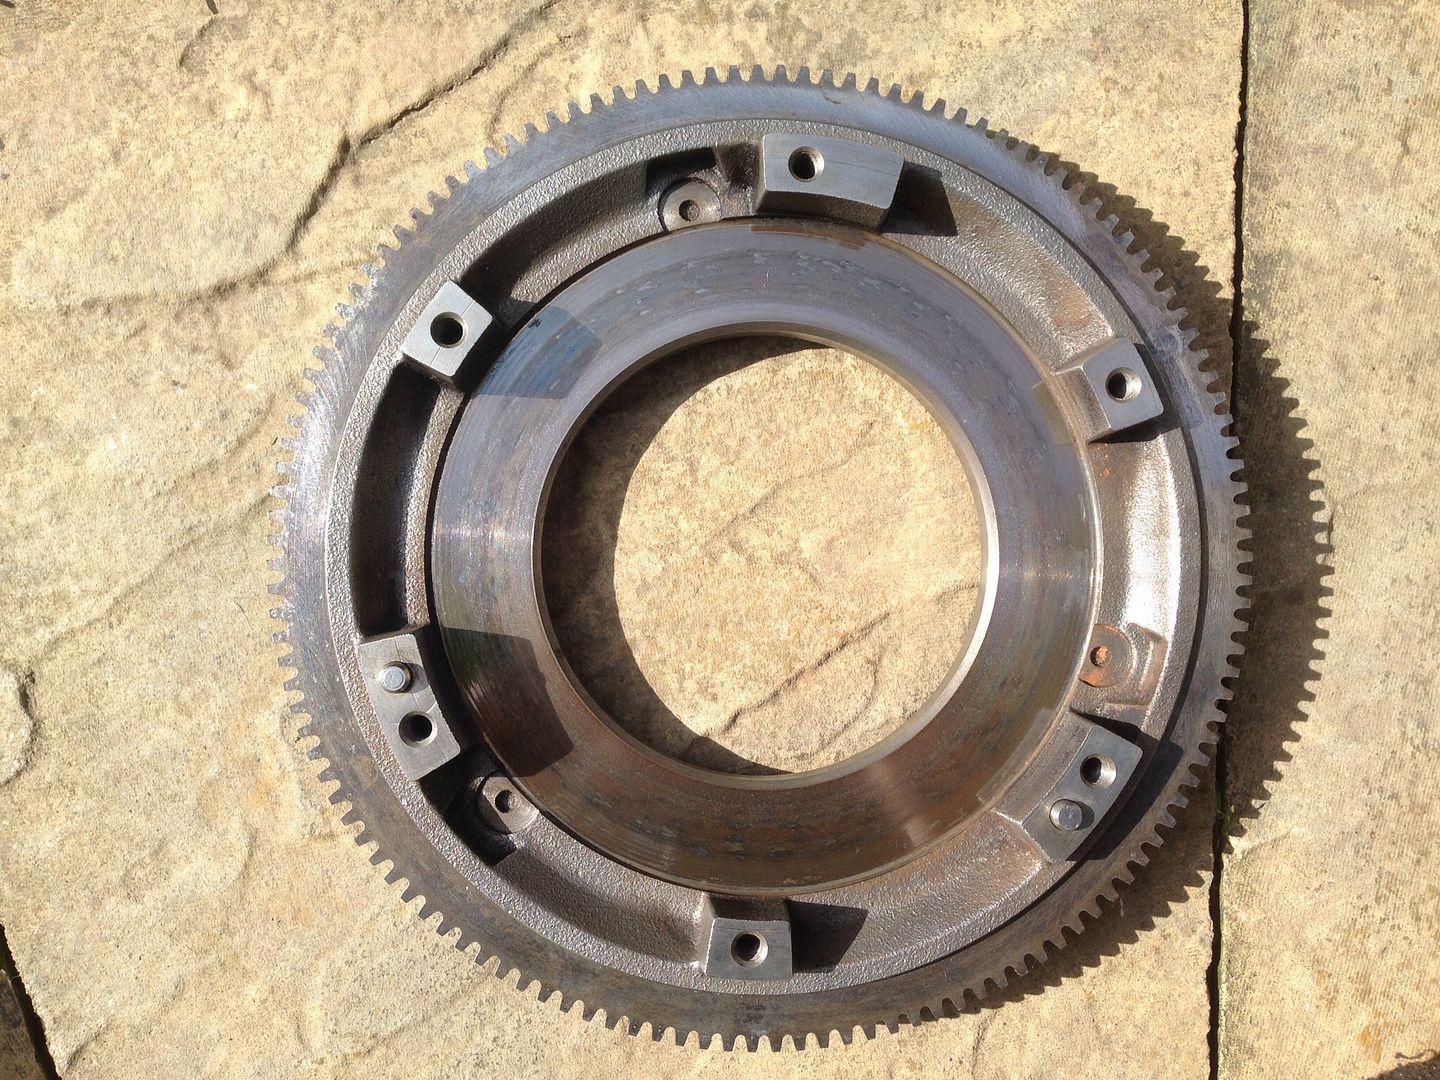
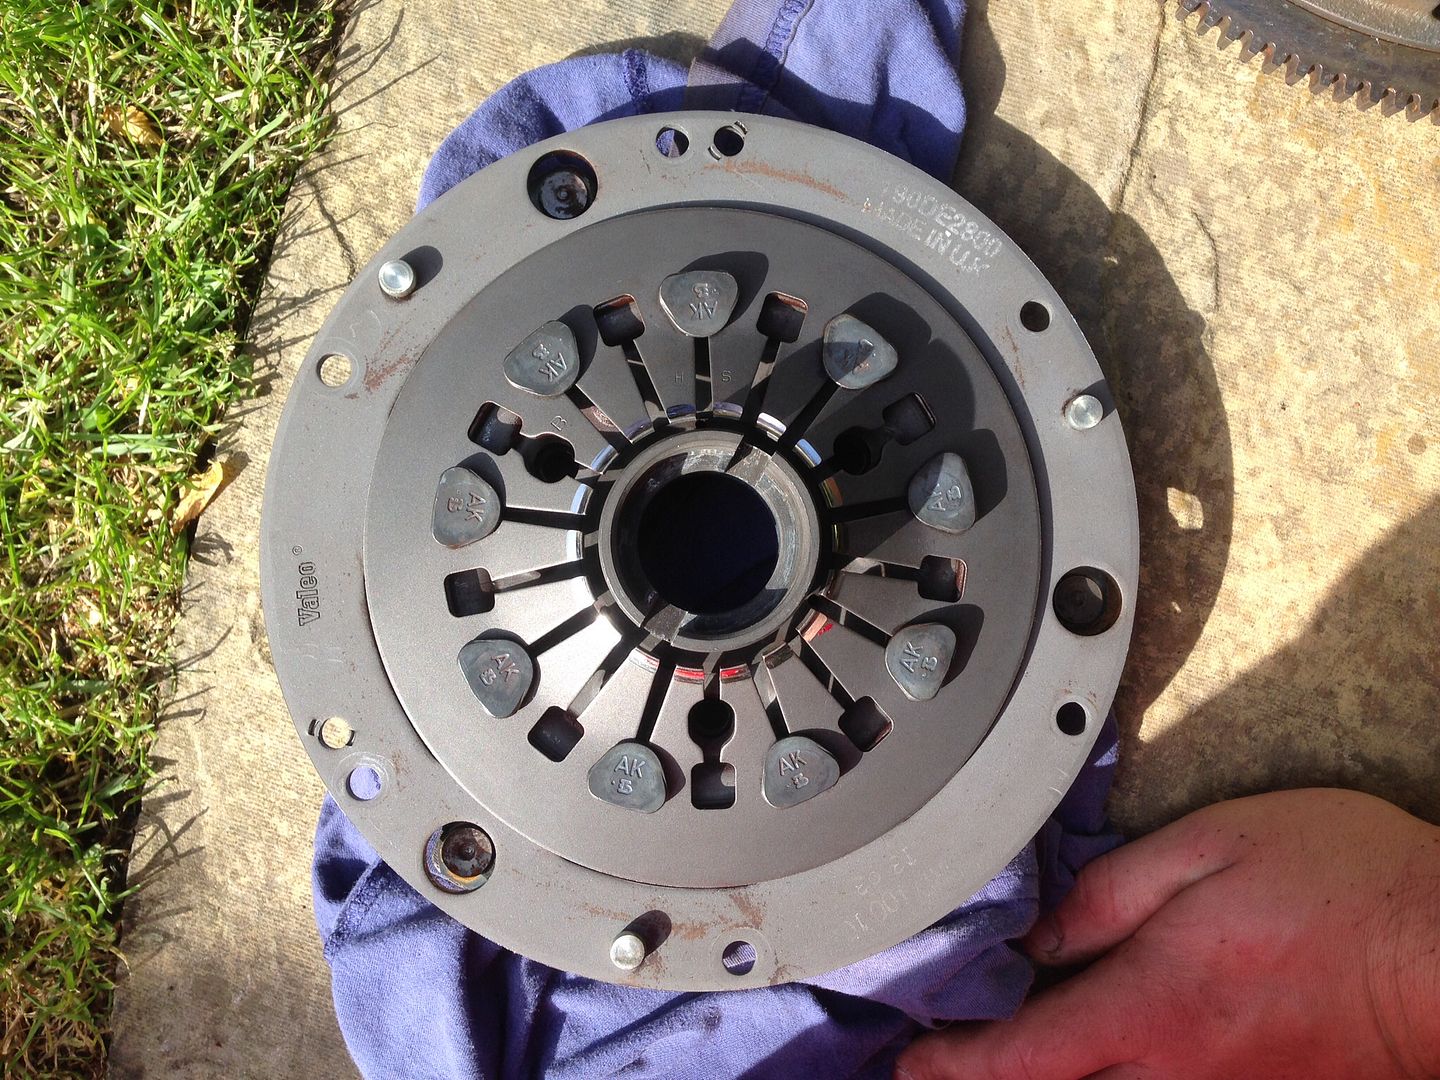
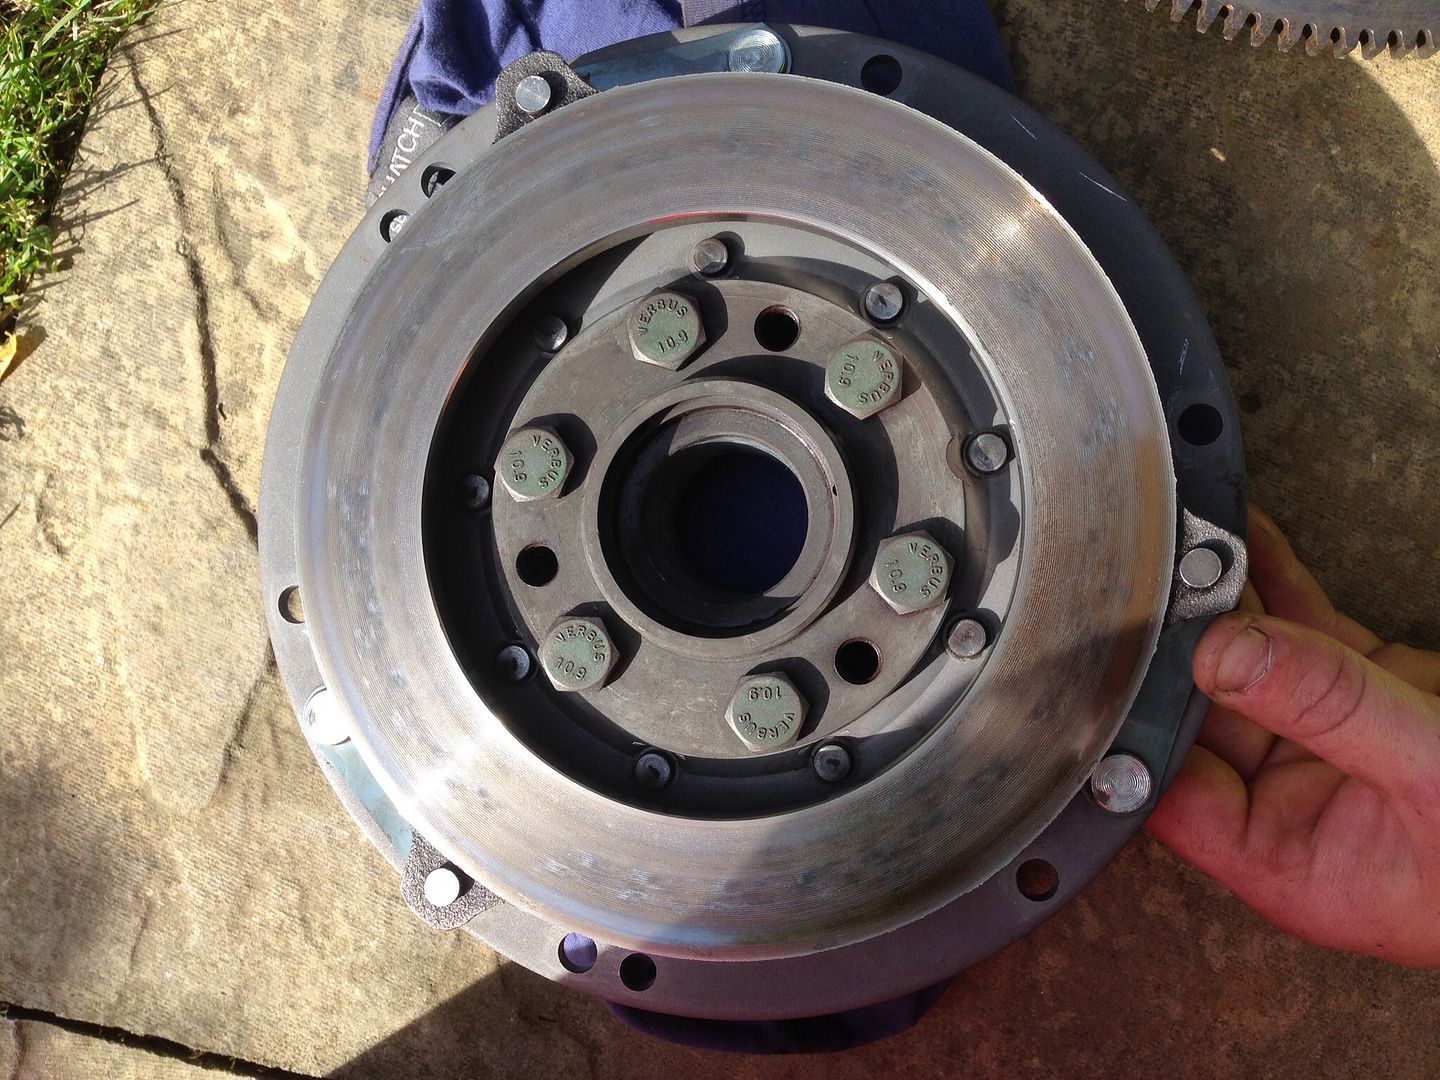
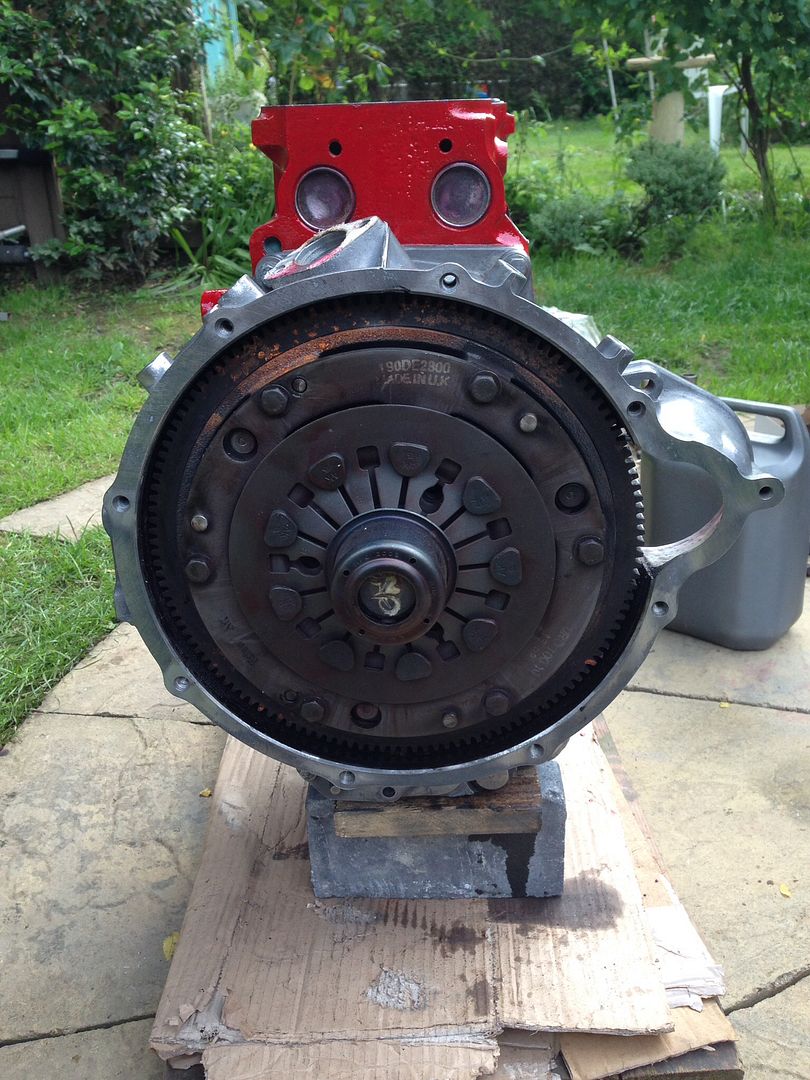
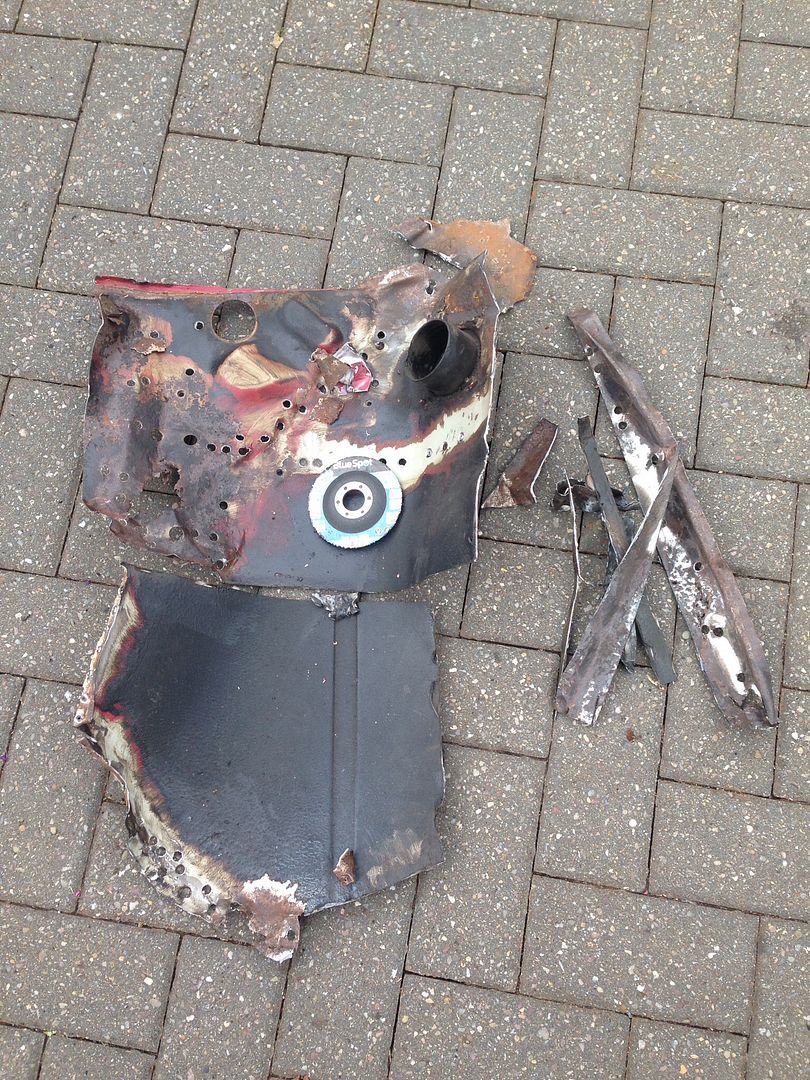
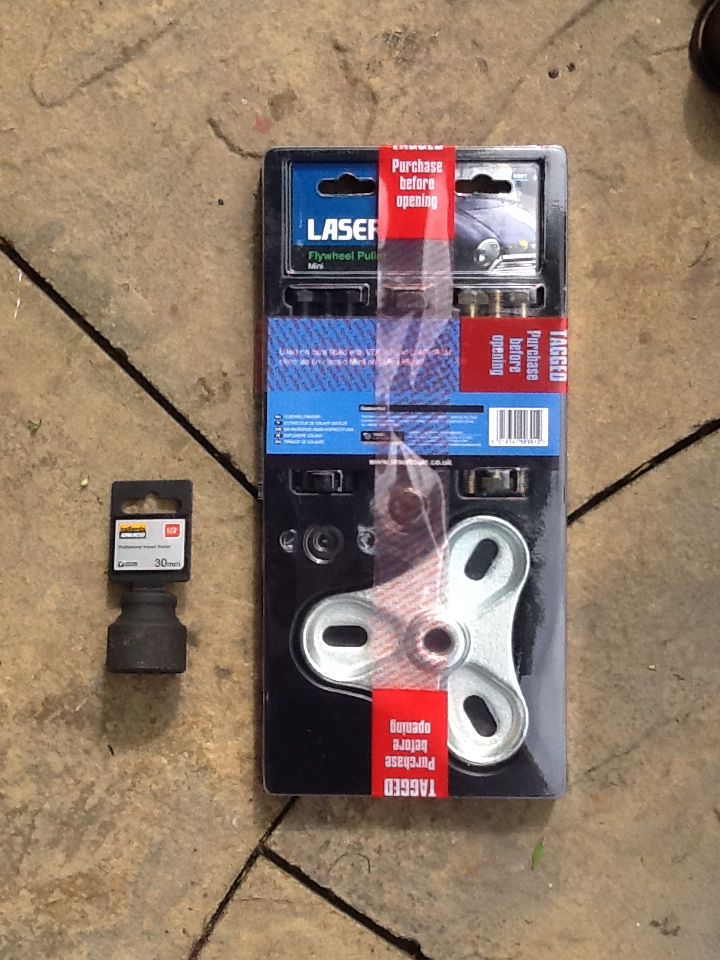
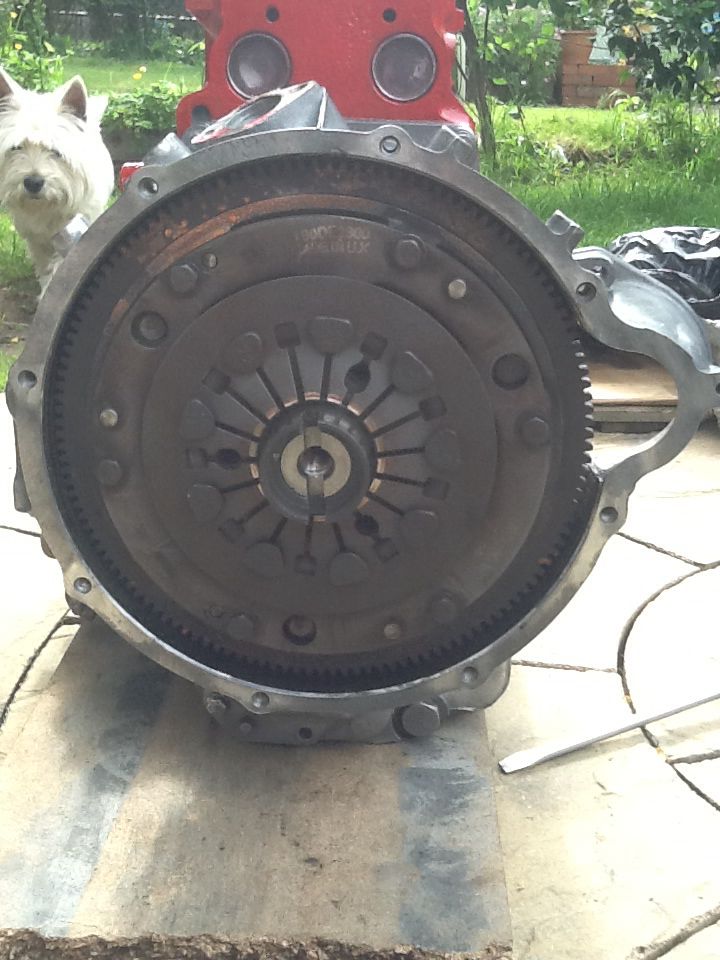
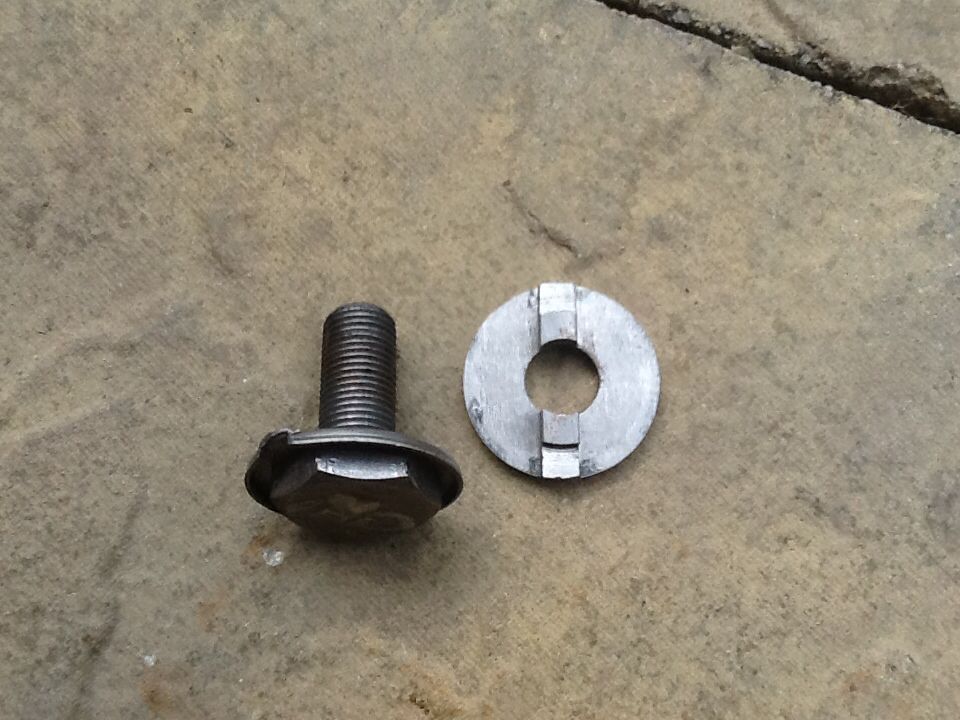
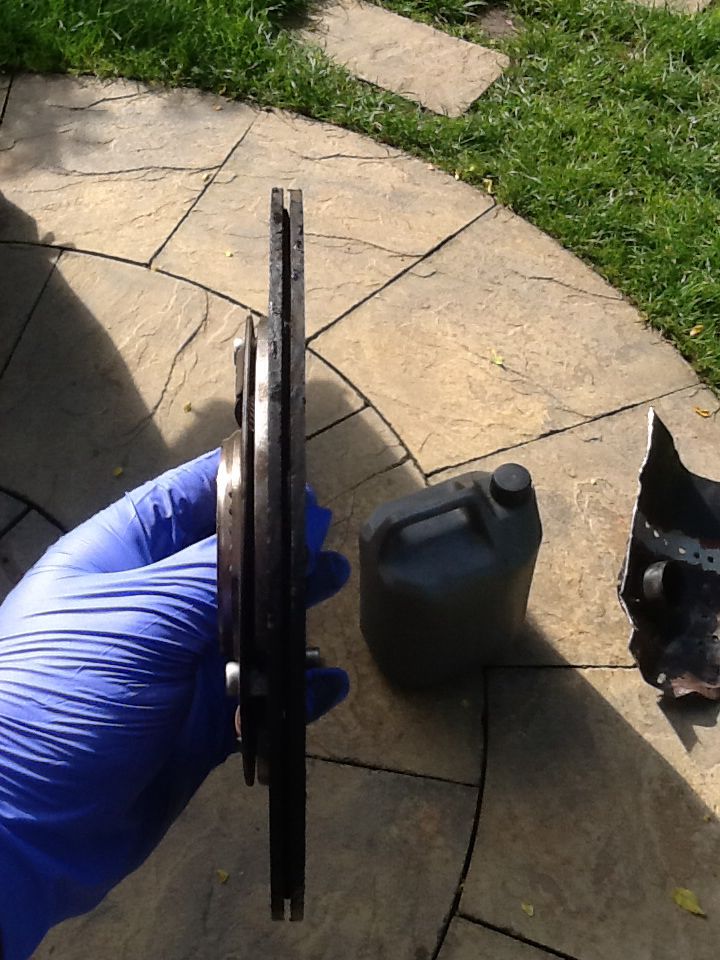
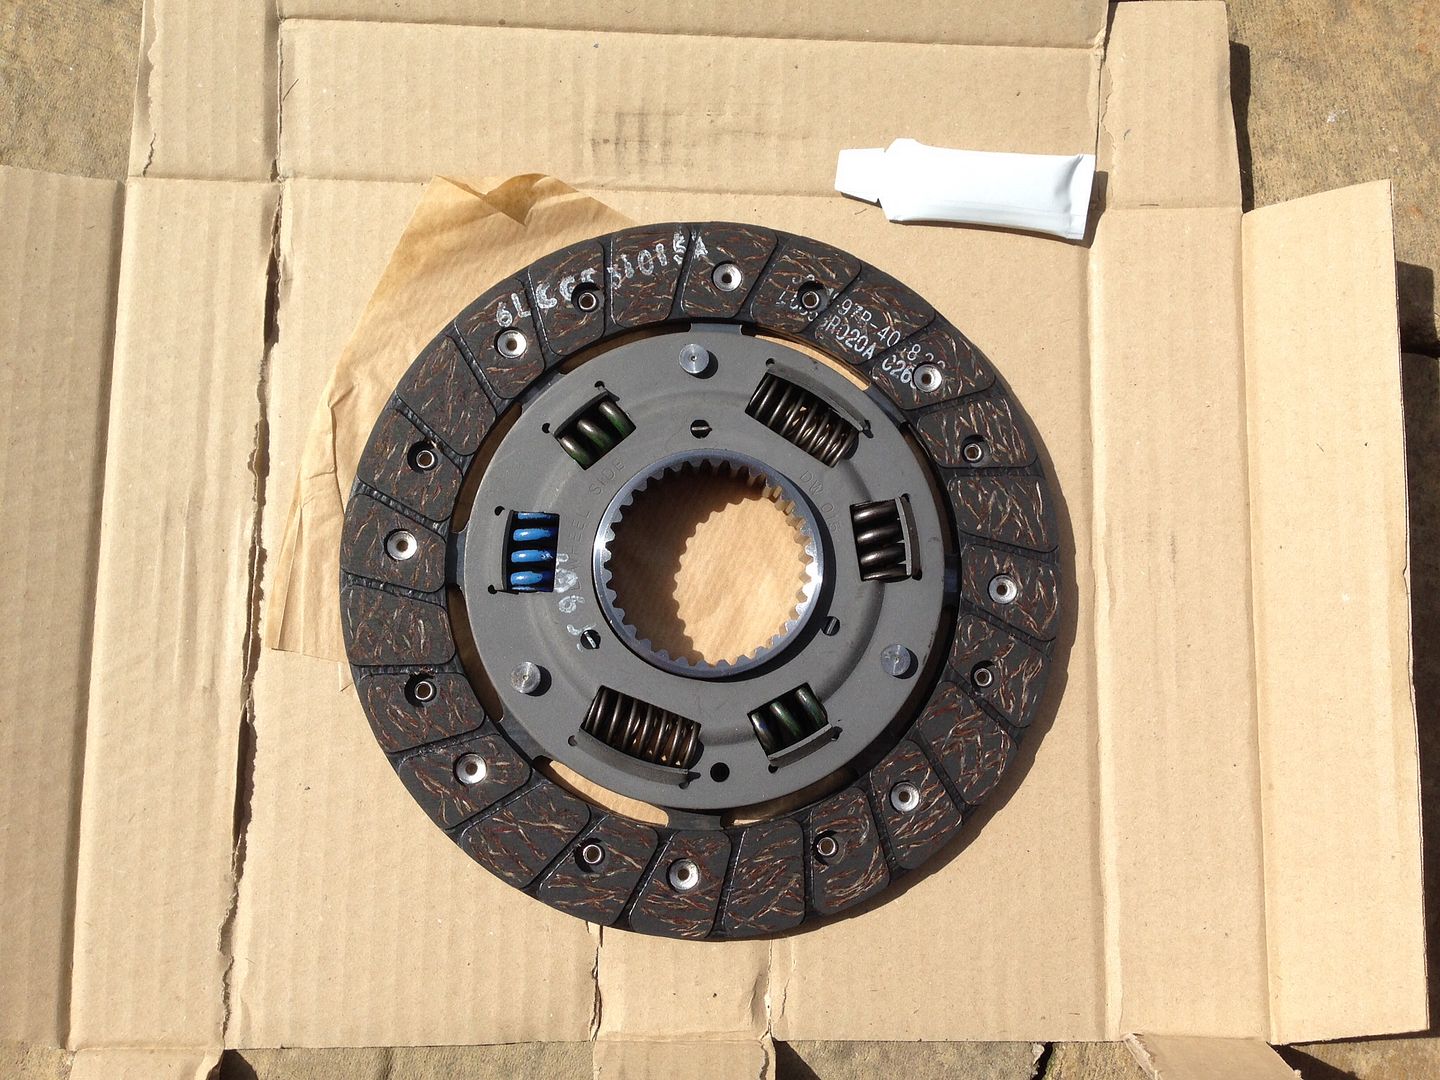
 , going to buy a flywheel puller, as I want to replace the clutch. Better to do it now rather than when it's back in the car !
That's all the progress today, may get some more done before work tomorrow !
Edited by big-jay, 09 June 2014 - 07:17 AM.


 -
-