
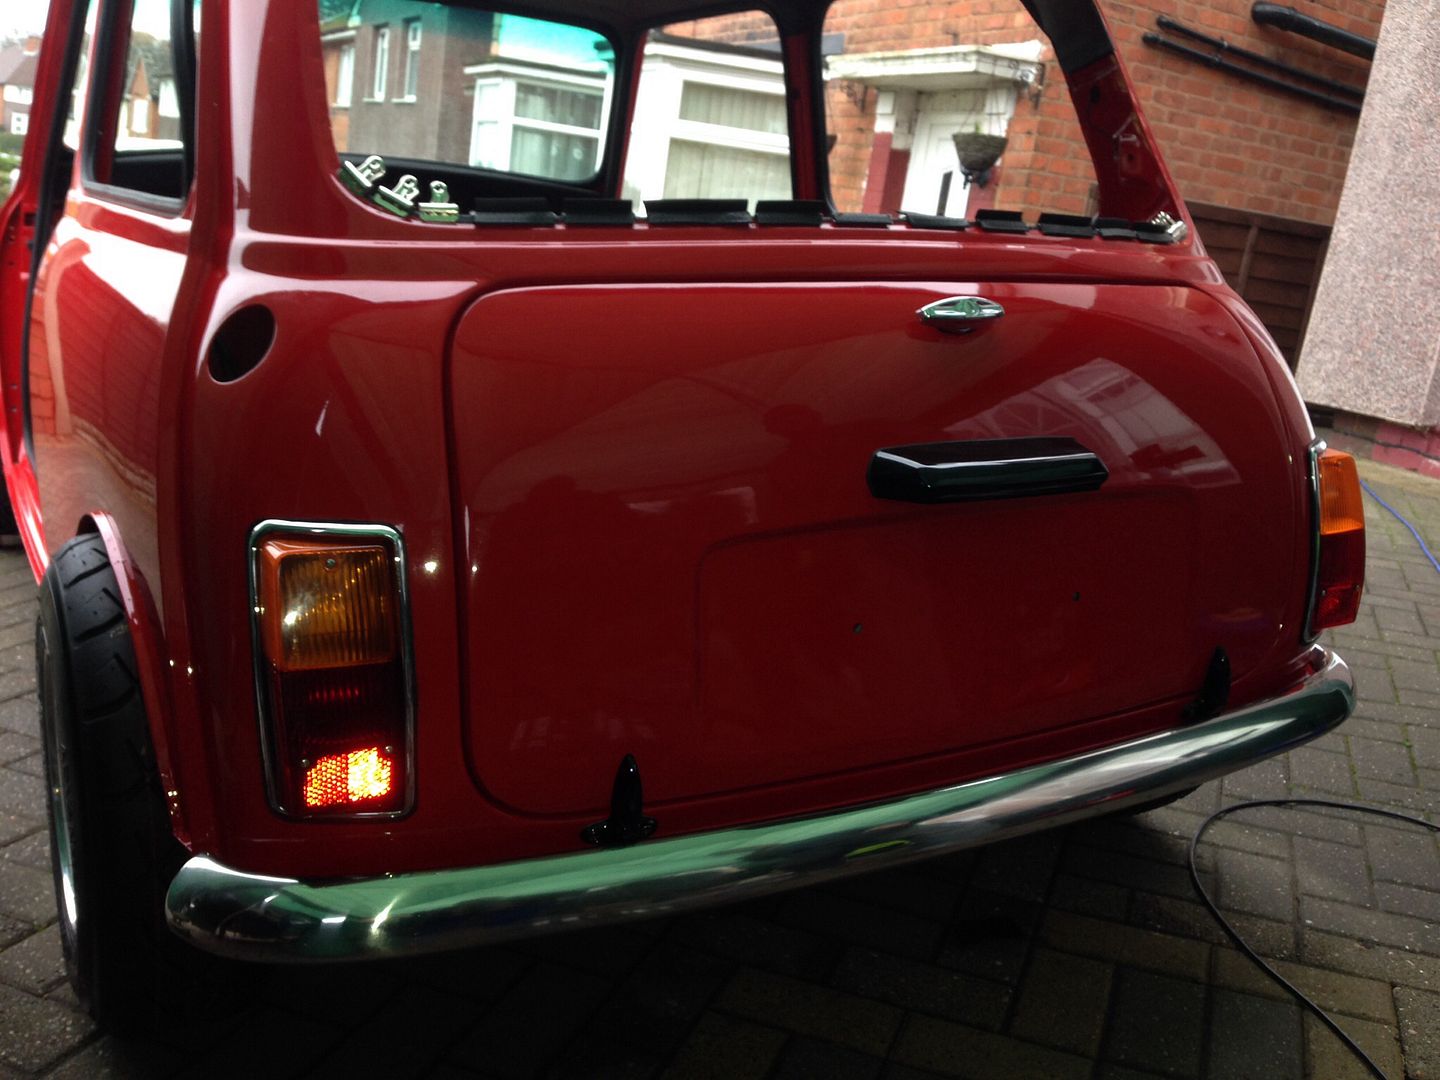
Stunning job as always Jay. Normally I'm not a fan of red on red, but this just works
Keen to see how you get on with the headlining.
Cheers Jared !

Super Mini Mad

Posted 15 November 2014 - 08:19 PM
Stunning job as always Jay. Normally I'm not a fan of red on red, but this just works
Crazy About Mini's

Posted 15 November 2014 - 08:23 PM
Edited by megamini_jb, 15 November 2014 - 08:24 PM.
One Carb Or Two?

Posted 15 November 2014 - 08:49 PM
Super Mini Mad
Posted 15 November 2014 - 09:01 PM
Loving the splits! And the red engine looks so cool in a red car!
Sweet build!
Looking mint Jay :)

Super Mini Mad
Posted 16 November 2014 - 06:09 PM

One Carb Or Two?
Posted 16 November 2014 - 06:33 PM
Super Mini Mad
Posted 16 November 2014 - 06:55 PM
Like a pro Jay. Looks really good. Could I ask what glue you use to bond the material.
Has a small thing but it does make a difference

Posted 16 November 2014 - 07:08 PM
You guys really did do a stunning job of that rooflining - I hope mine comes out at least half as good. I suppose once a you get into a rhythm then it gets easy. Just one question (and probably self explanatory as well), did you pull the lining in all directions, but making sure to keep it centralised? Also, do you recommend starting with the front or rear of the roof?
Great job as always
Edited by Jared Mk3, 16 November 2014 - 07:08 PM.
Super Mini Mad
Posted 16 November 2014 - 08:21 PM
You guys really did do a stunning job of that rooflining - I hope mine comes out at least half as good. I suppose once a you get into a rhythm then it gets easy. Just one question (and probably self explanatory as well), did you pull the lining in all directions, but making sure to keep it centralised? Also, do you recommend starting with the front or rear of the roof?
Great job as always
Crazy About Mini's

Posted 16 November 2014 - 08:25 PM
Super Mini Mad
Posted 16 November 2014 - 08:33 PM
Excellent work getting her back together Jay!
As a side question, what sealant did you use when you assembled your rims? And what torque did you do the Allen bolts upto?
Crazy About Mini's
Posted 16 November 2014 - 08:50 PM
Super Mini Mad
Posted 16 November 2014 - 08:59 PM
Ahh, will drop the guy that done the conversion an email to confirm a torque setting, thanks for letting me know !It's supposed to be around 16-20lbft. I always thought you had to seal them once they're together to prevent air escaping through the gaps and causing corrosion.
Edited by big-jay, 16 November 2014 - 09:52 PM.
Has a small thing but it does make a difference
Posted 16 November 2014 - 09:43 PM
You guys really did do a stunning job of that rooflining - I hope mine comes out at least half as good. I suppose once a you get into a rhythm then it gets easy. Just one question (and probably self explanatory as well), did you pull the lining in all directions, but making sure to keep it centralised? Also, do you recommend starting with the front or rear of the roof?
Great job as always
Thanks Jared,
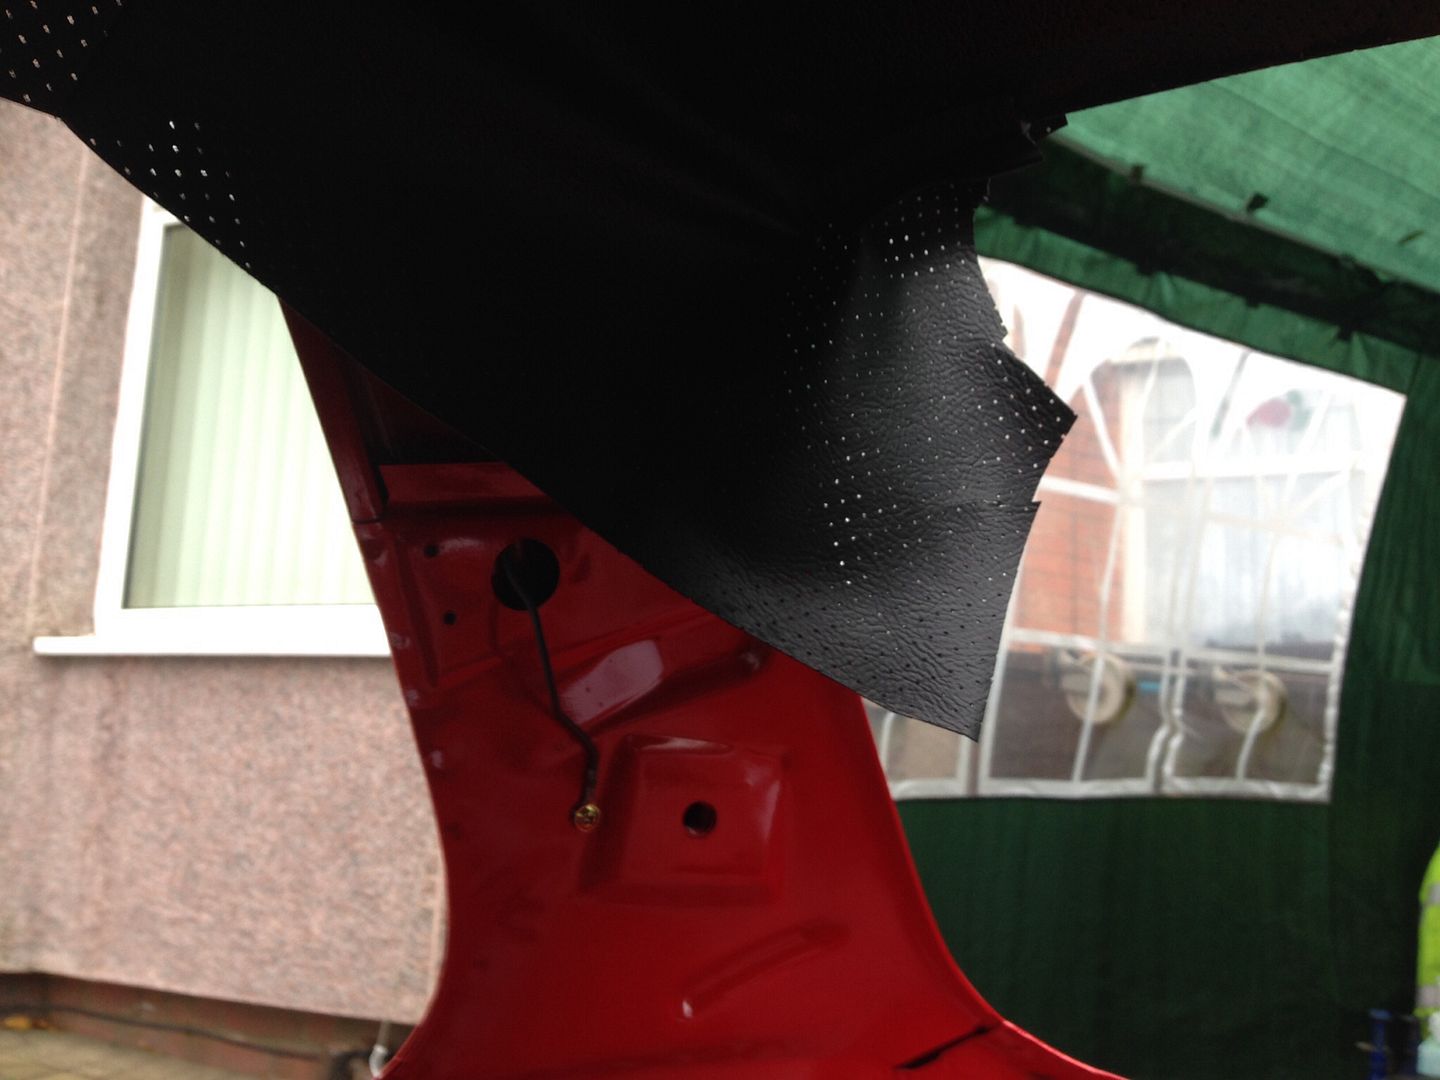
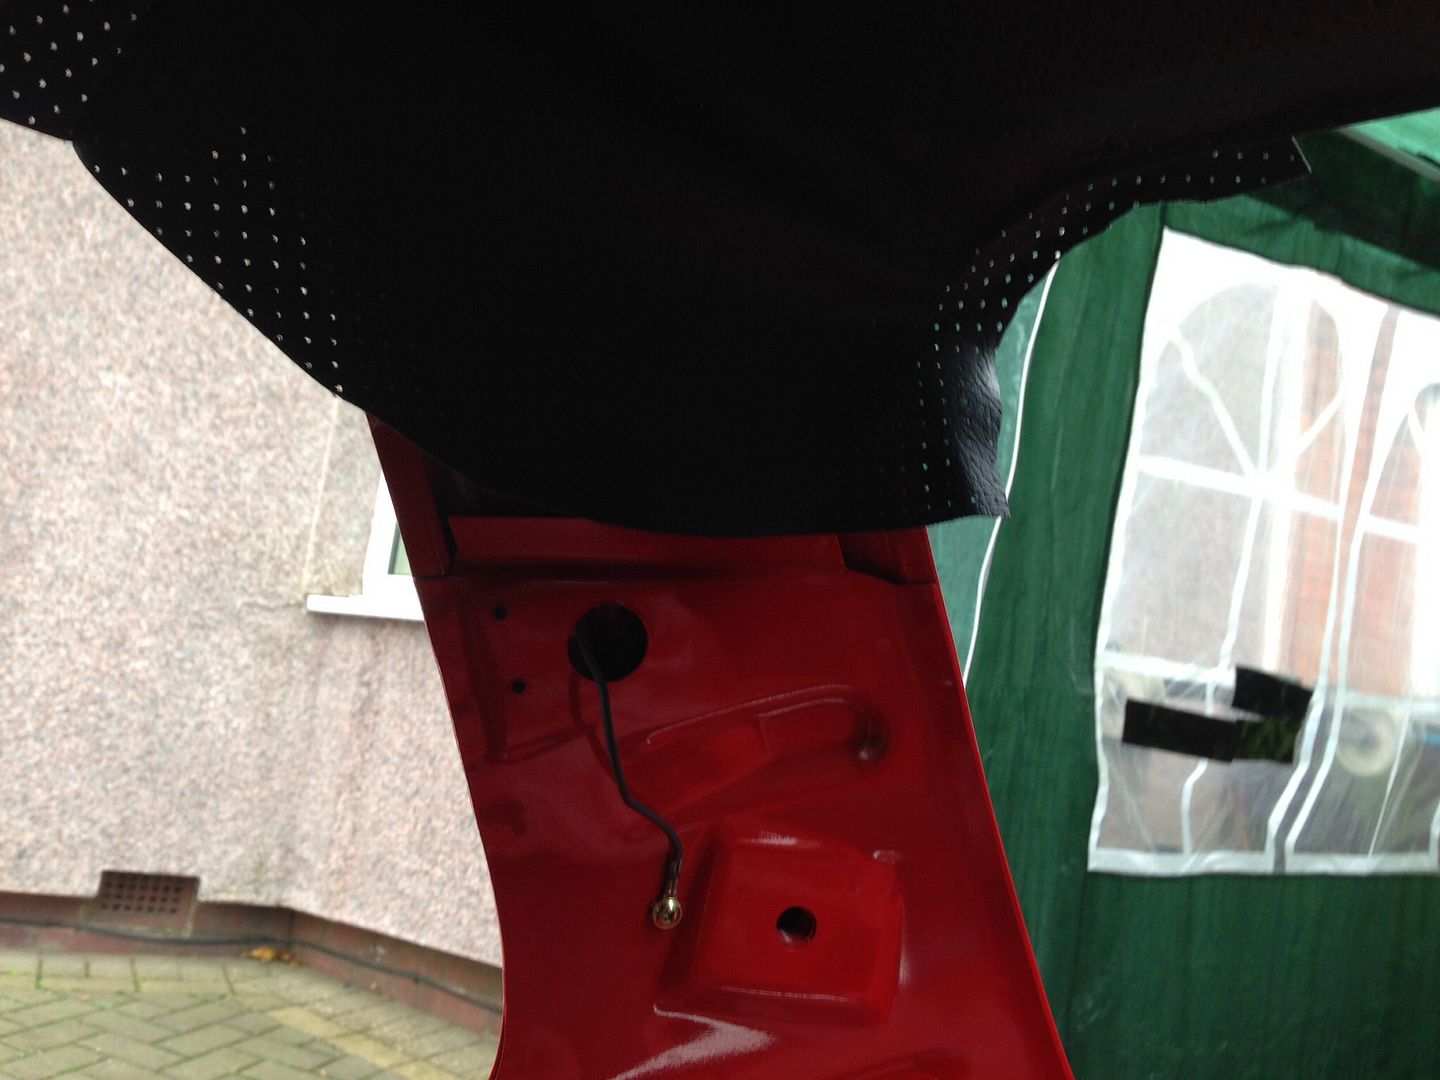
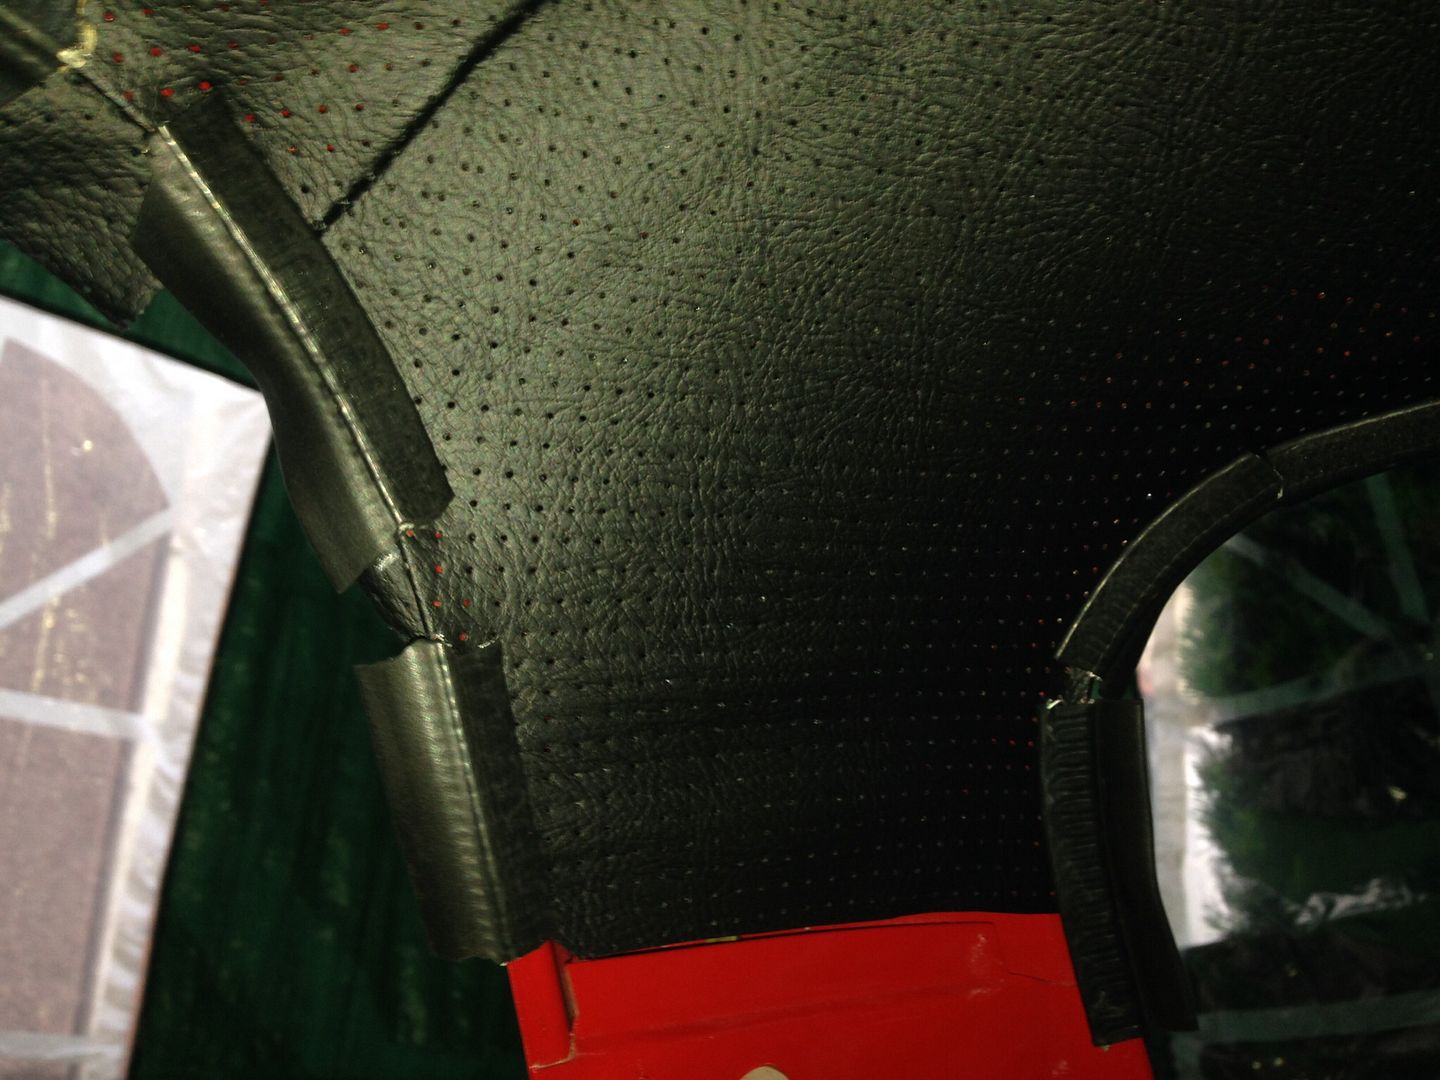
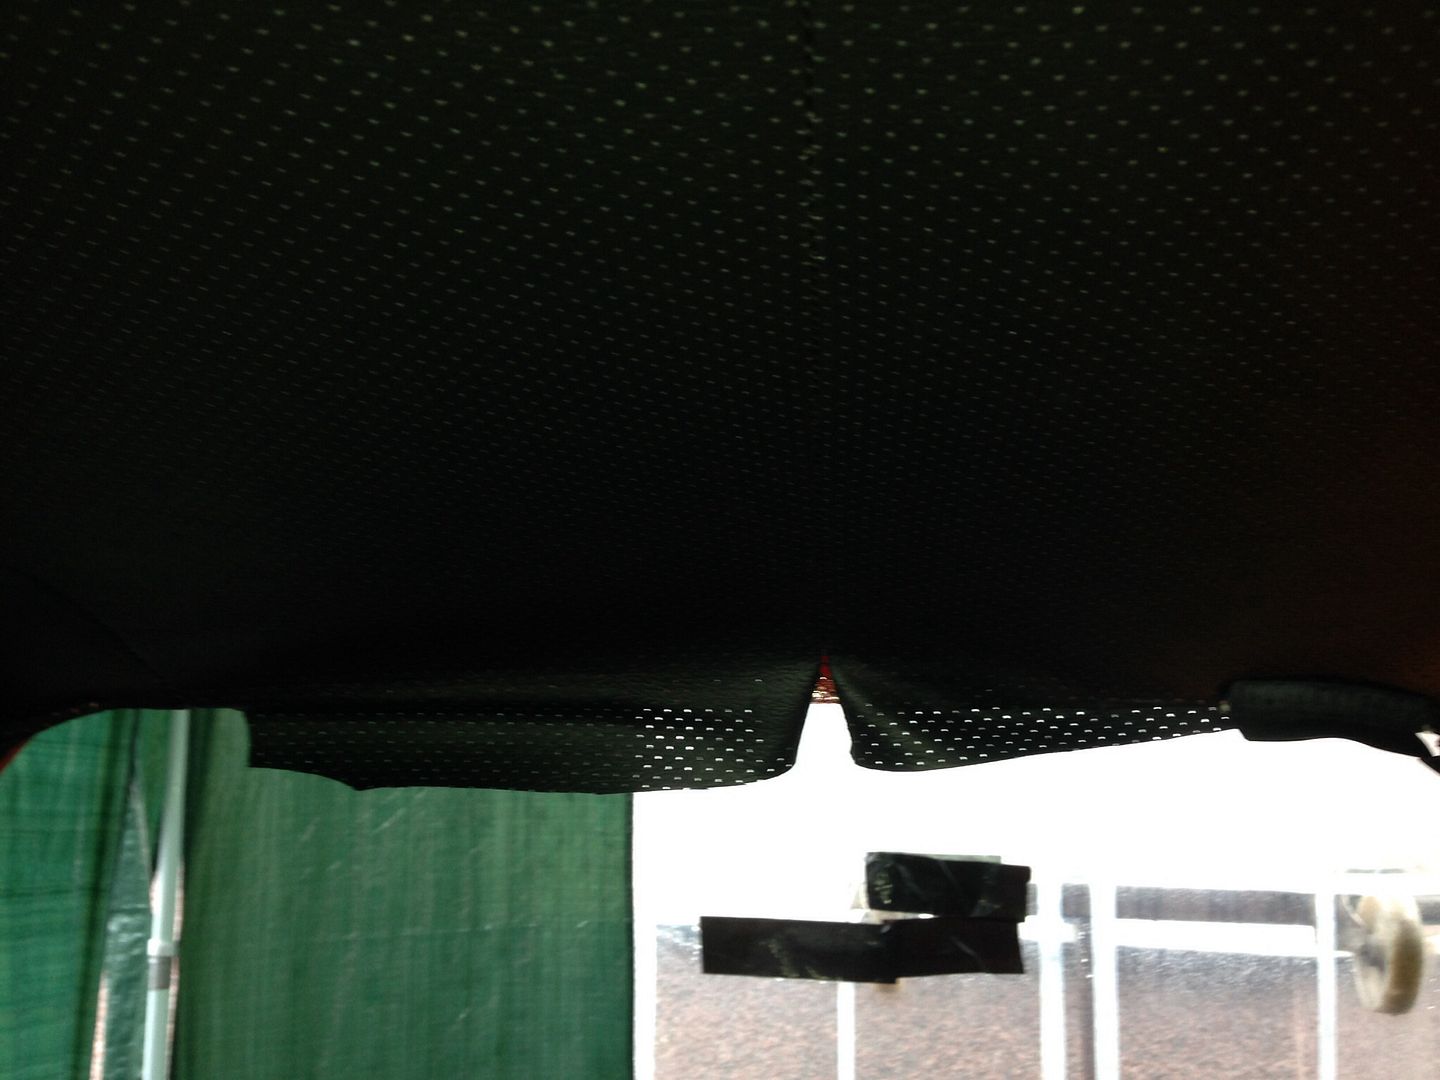
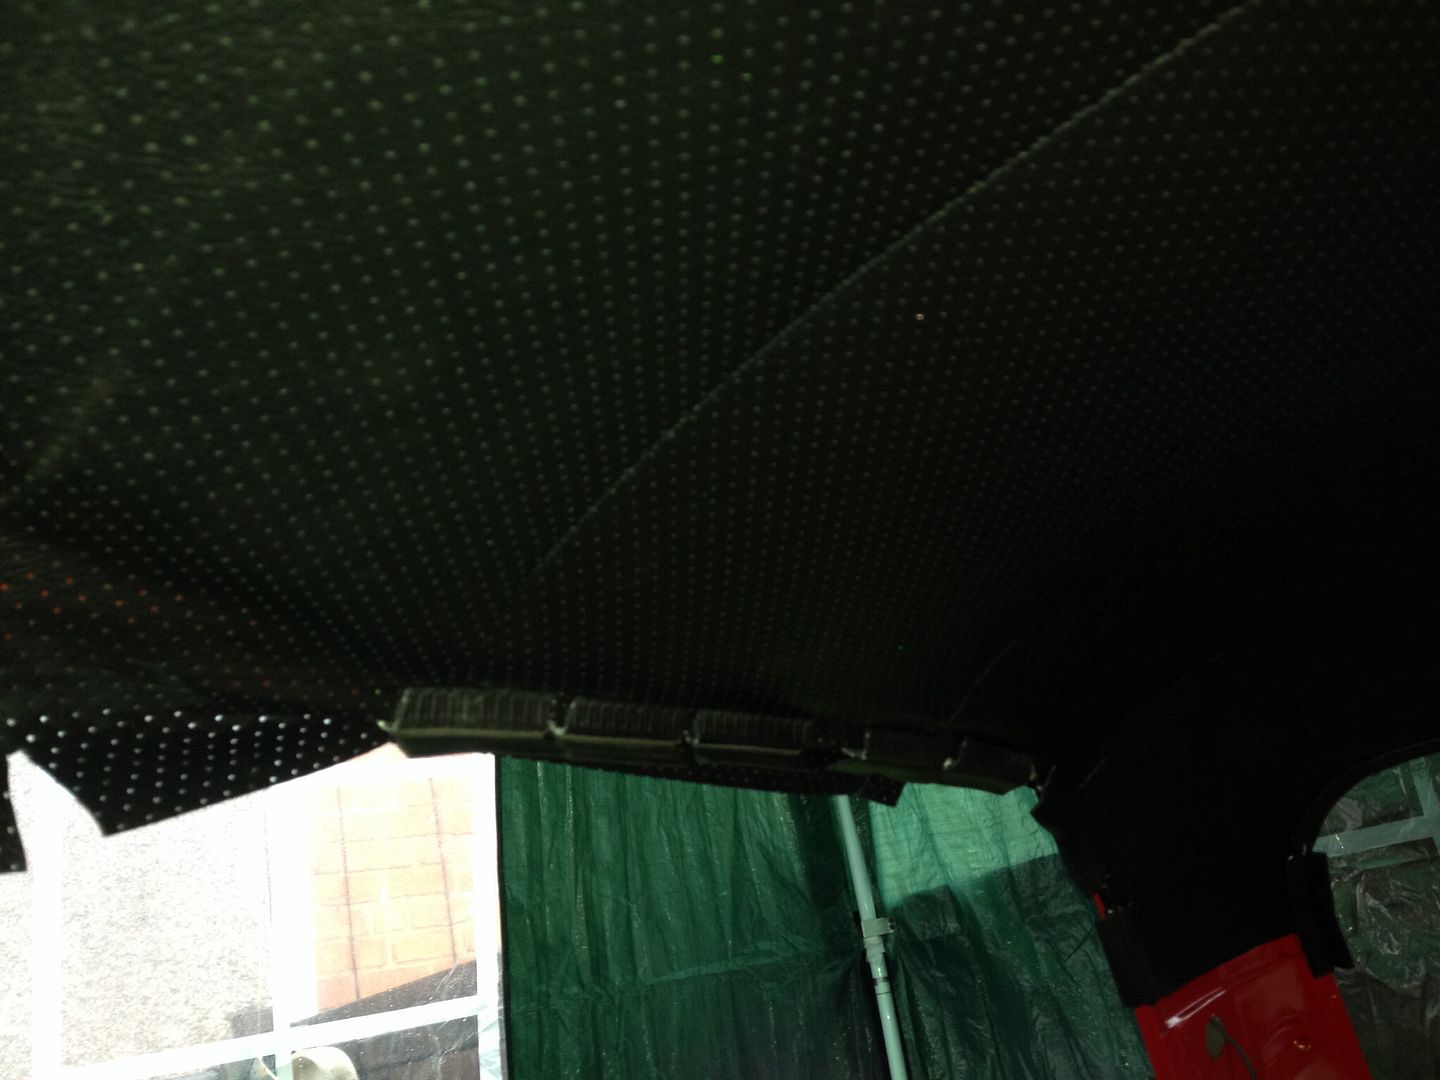
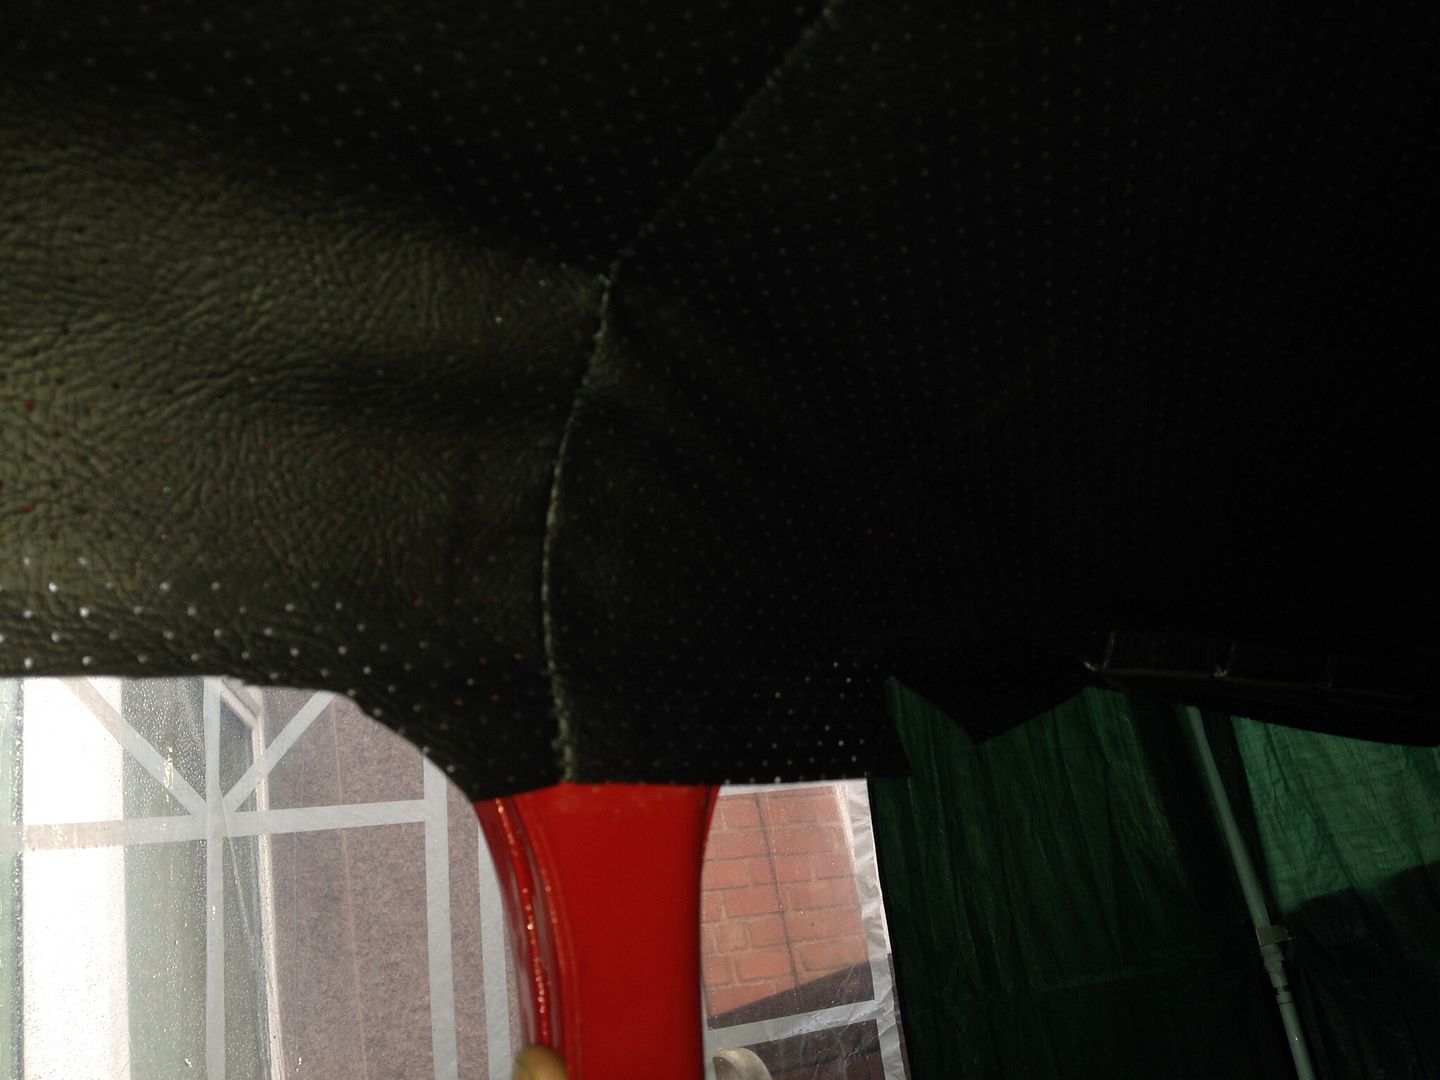
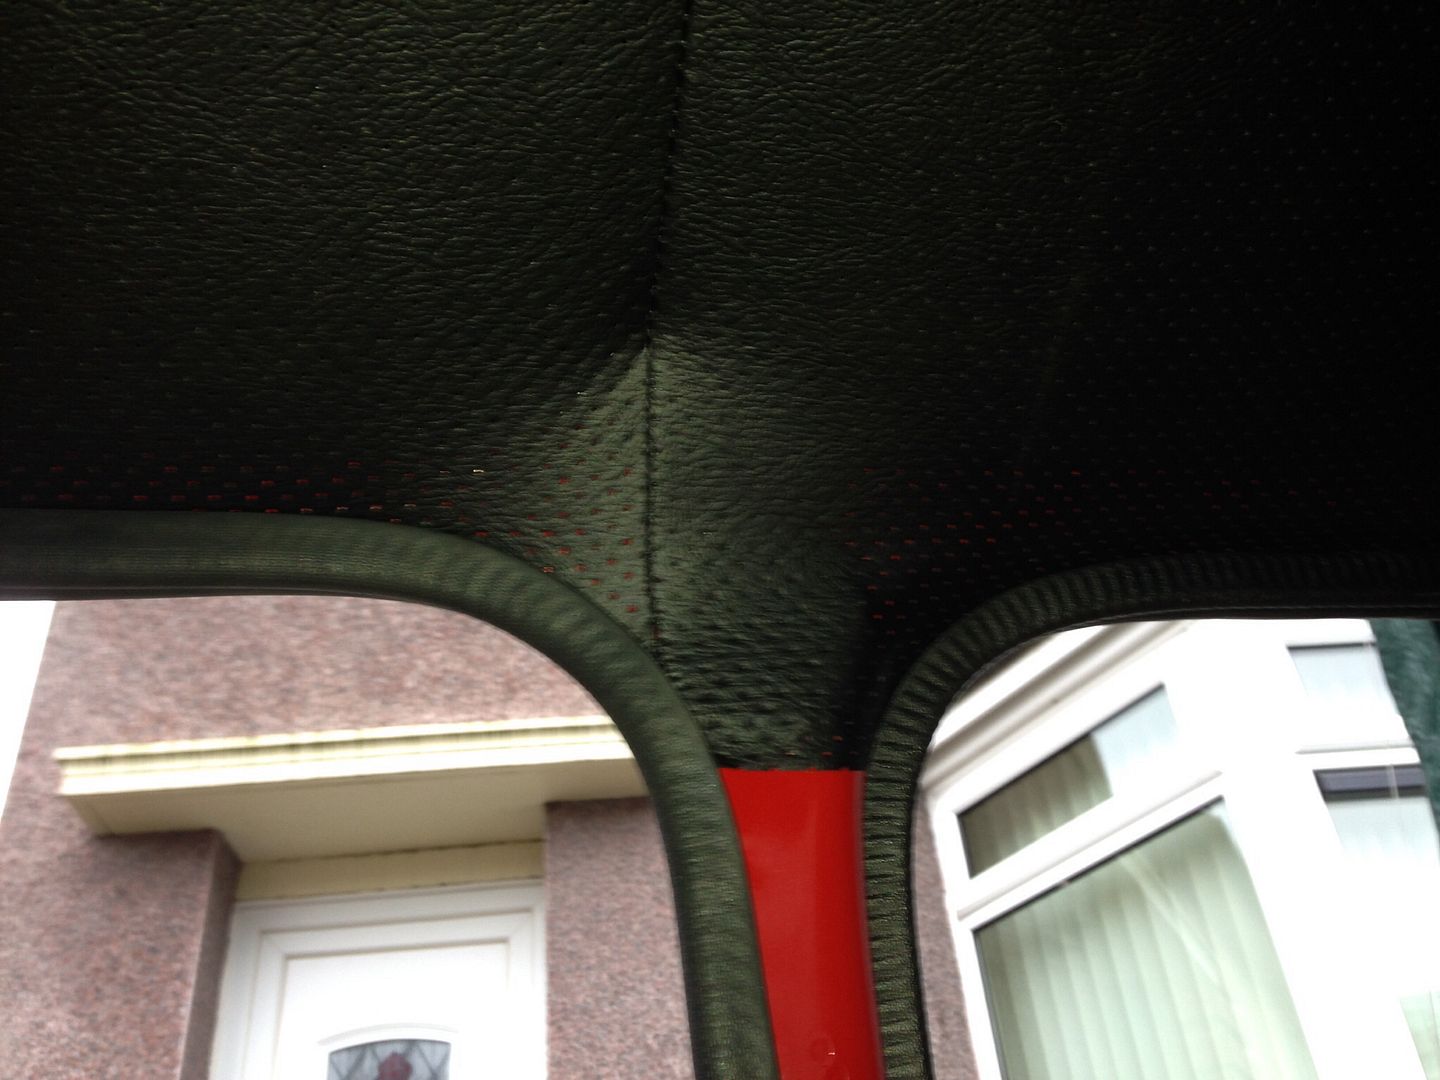
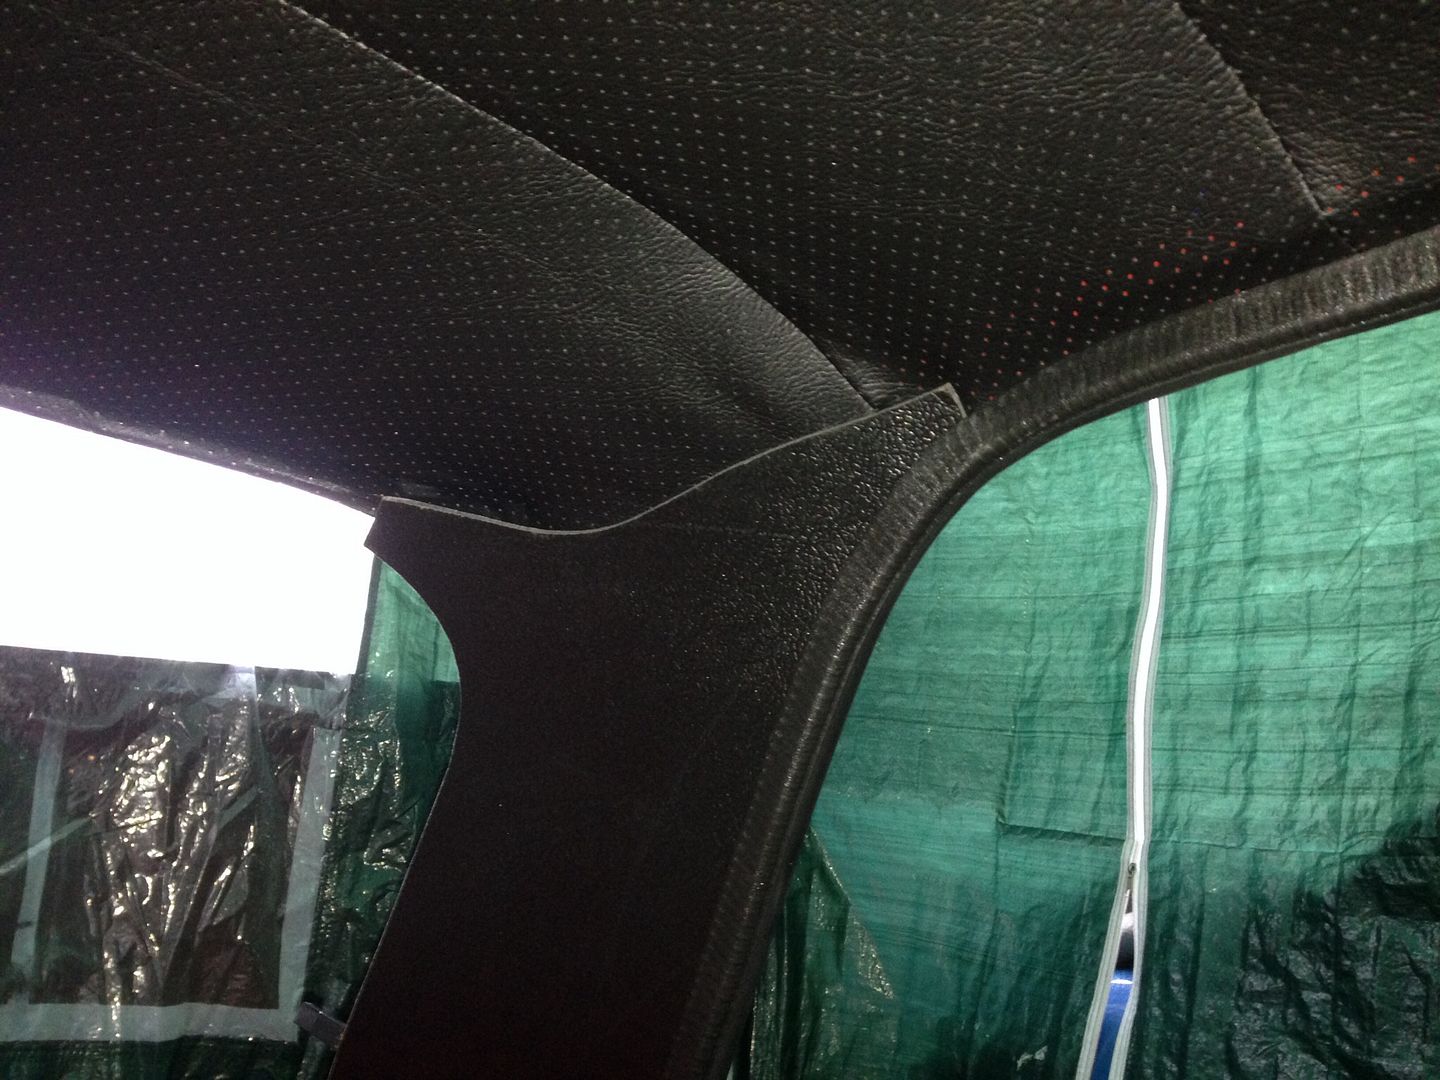
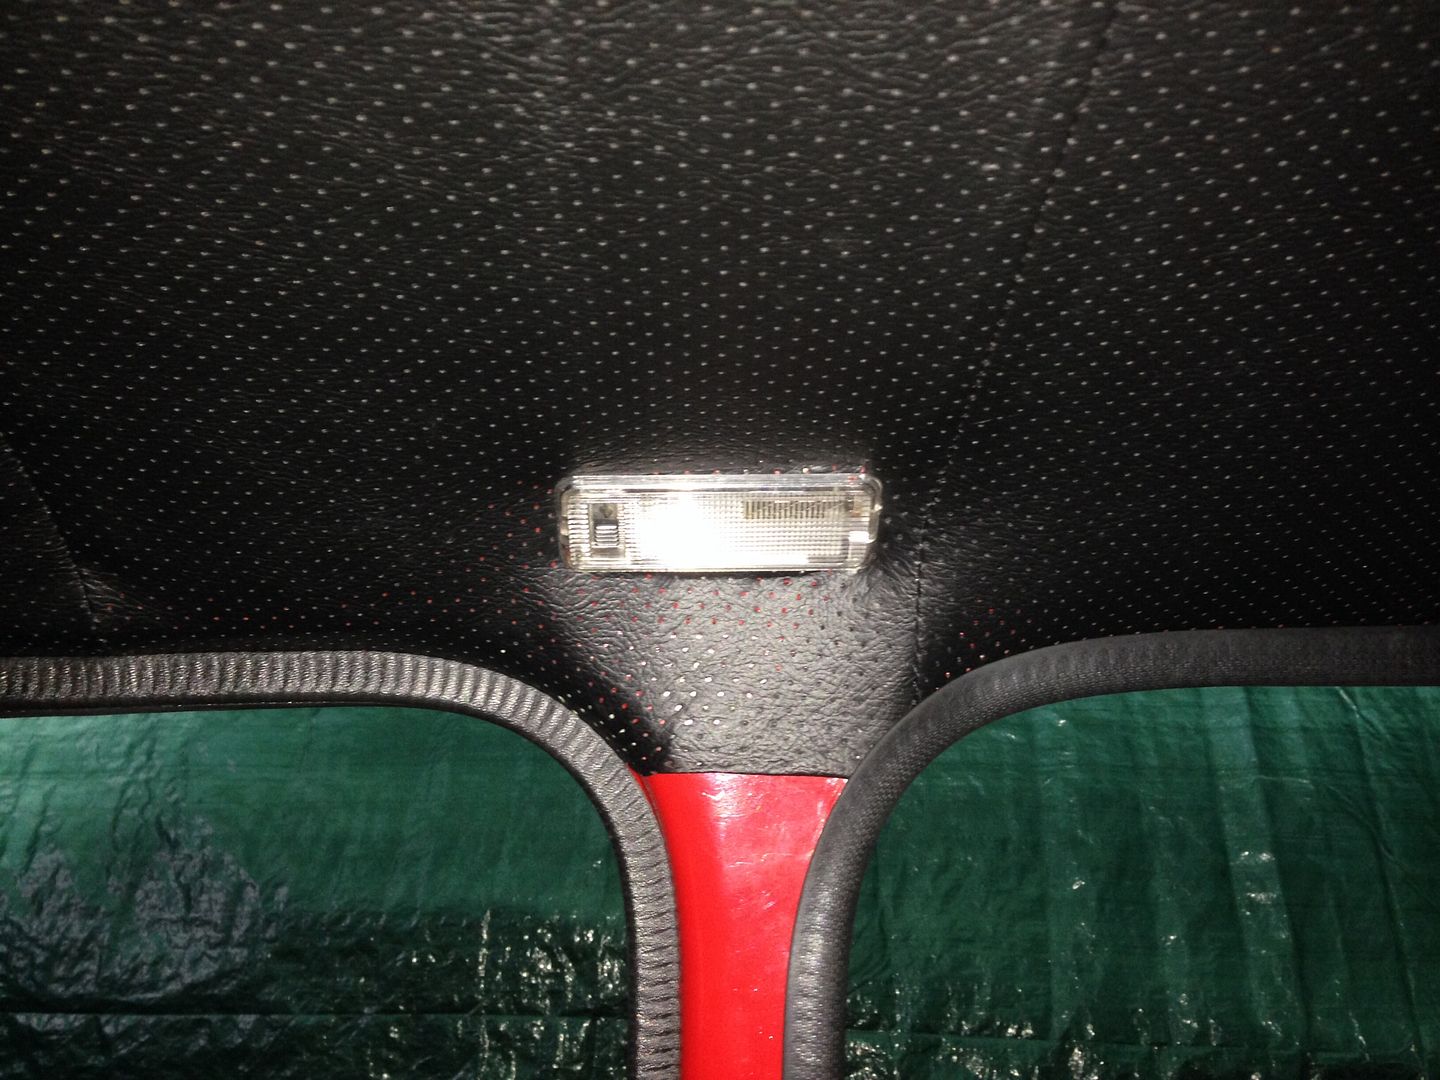
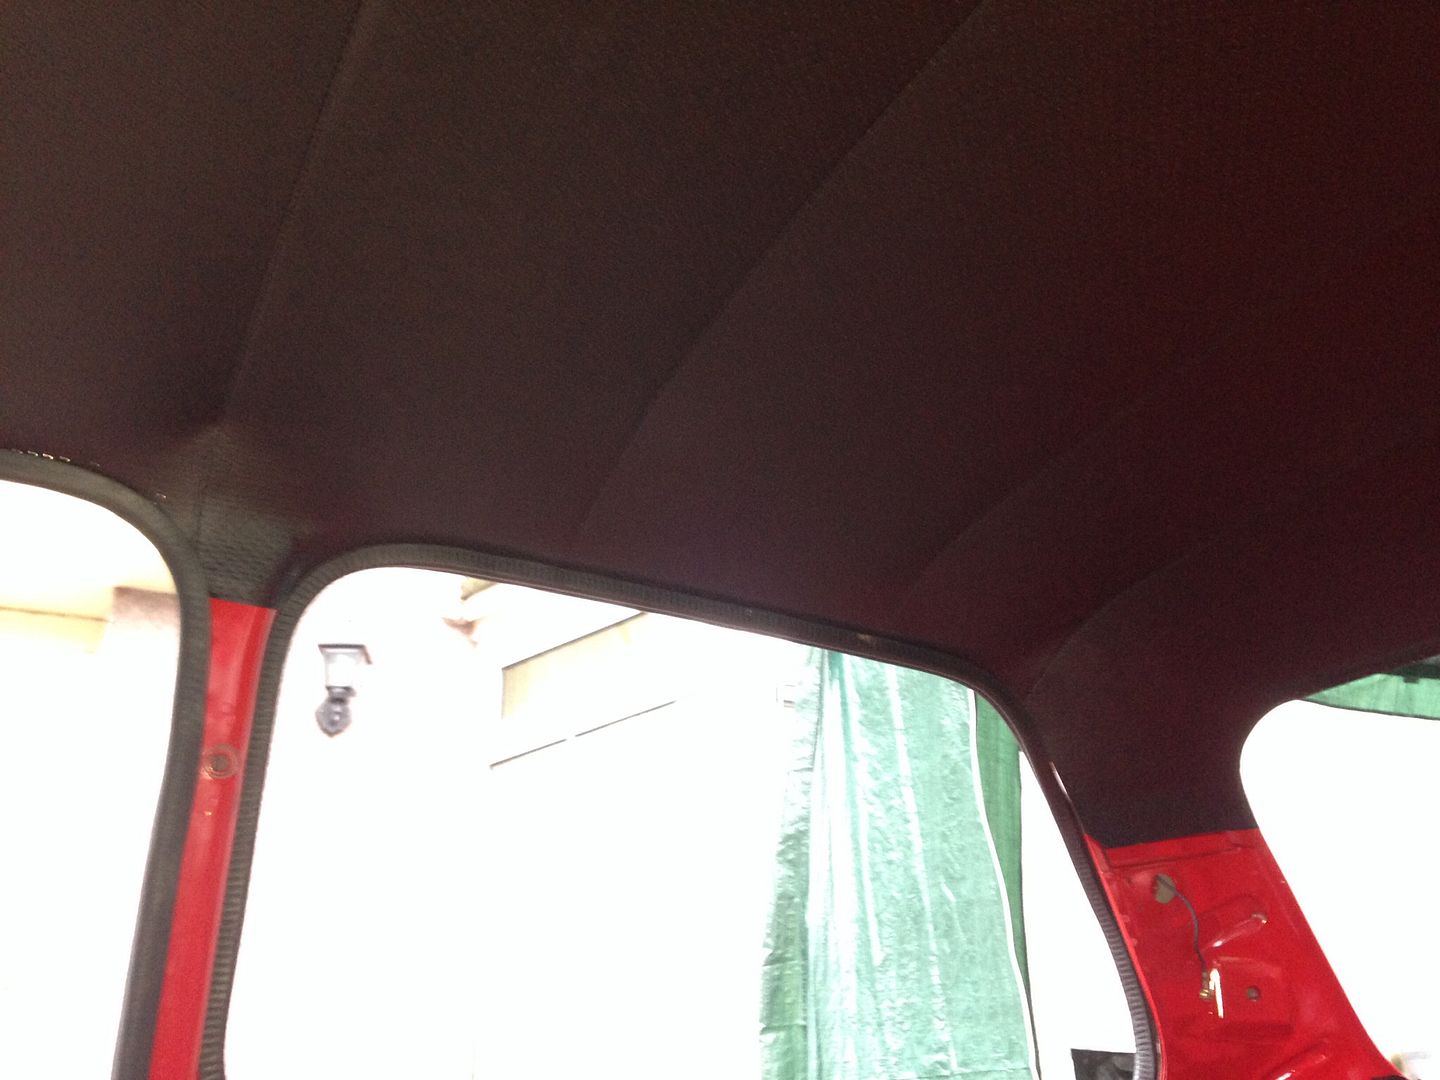
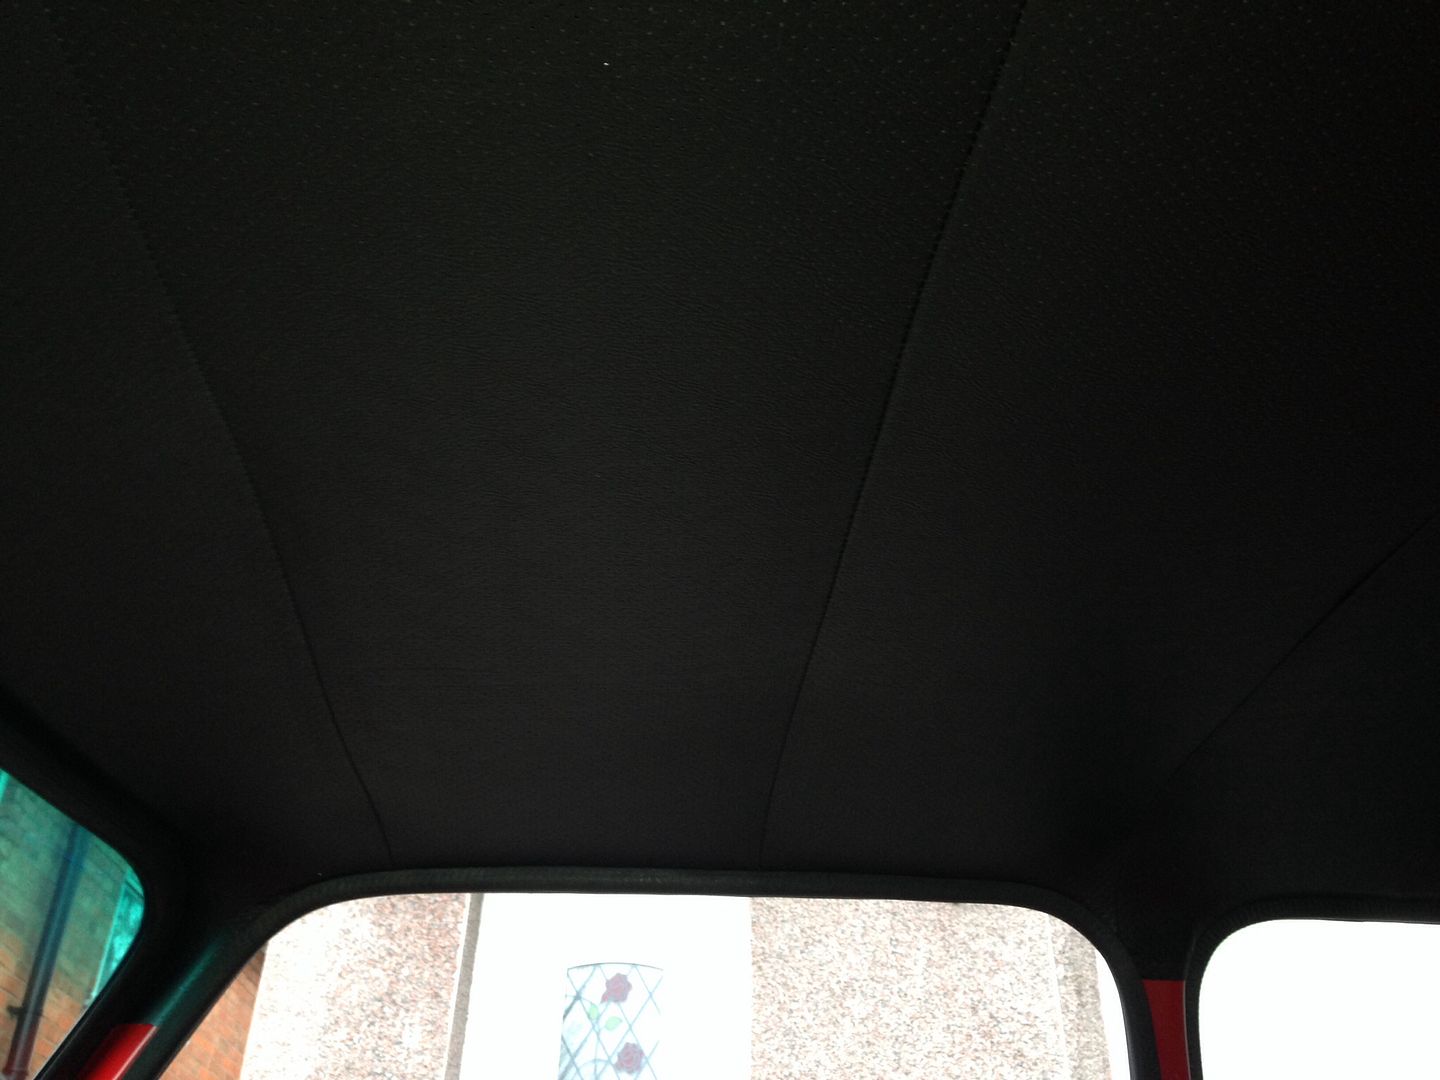
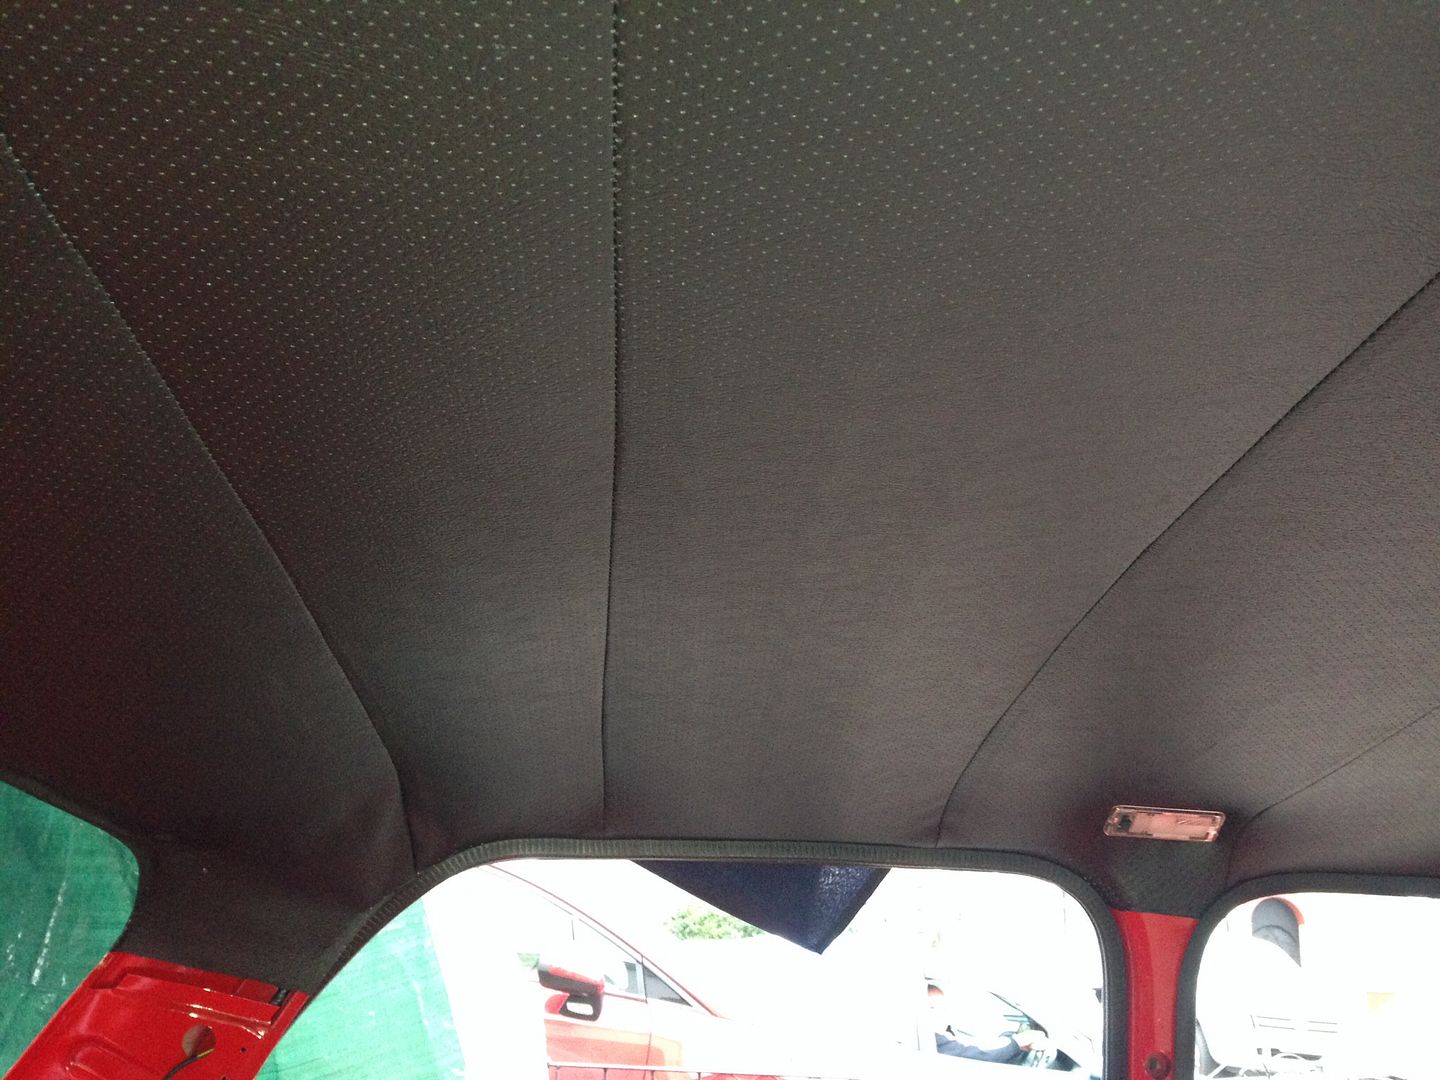
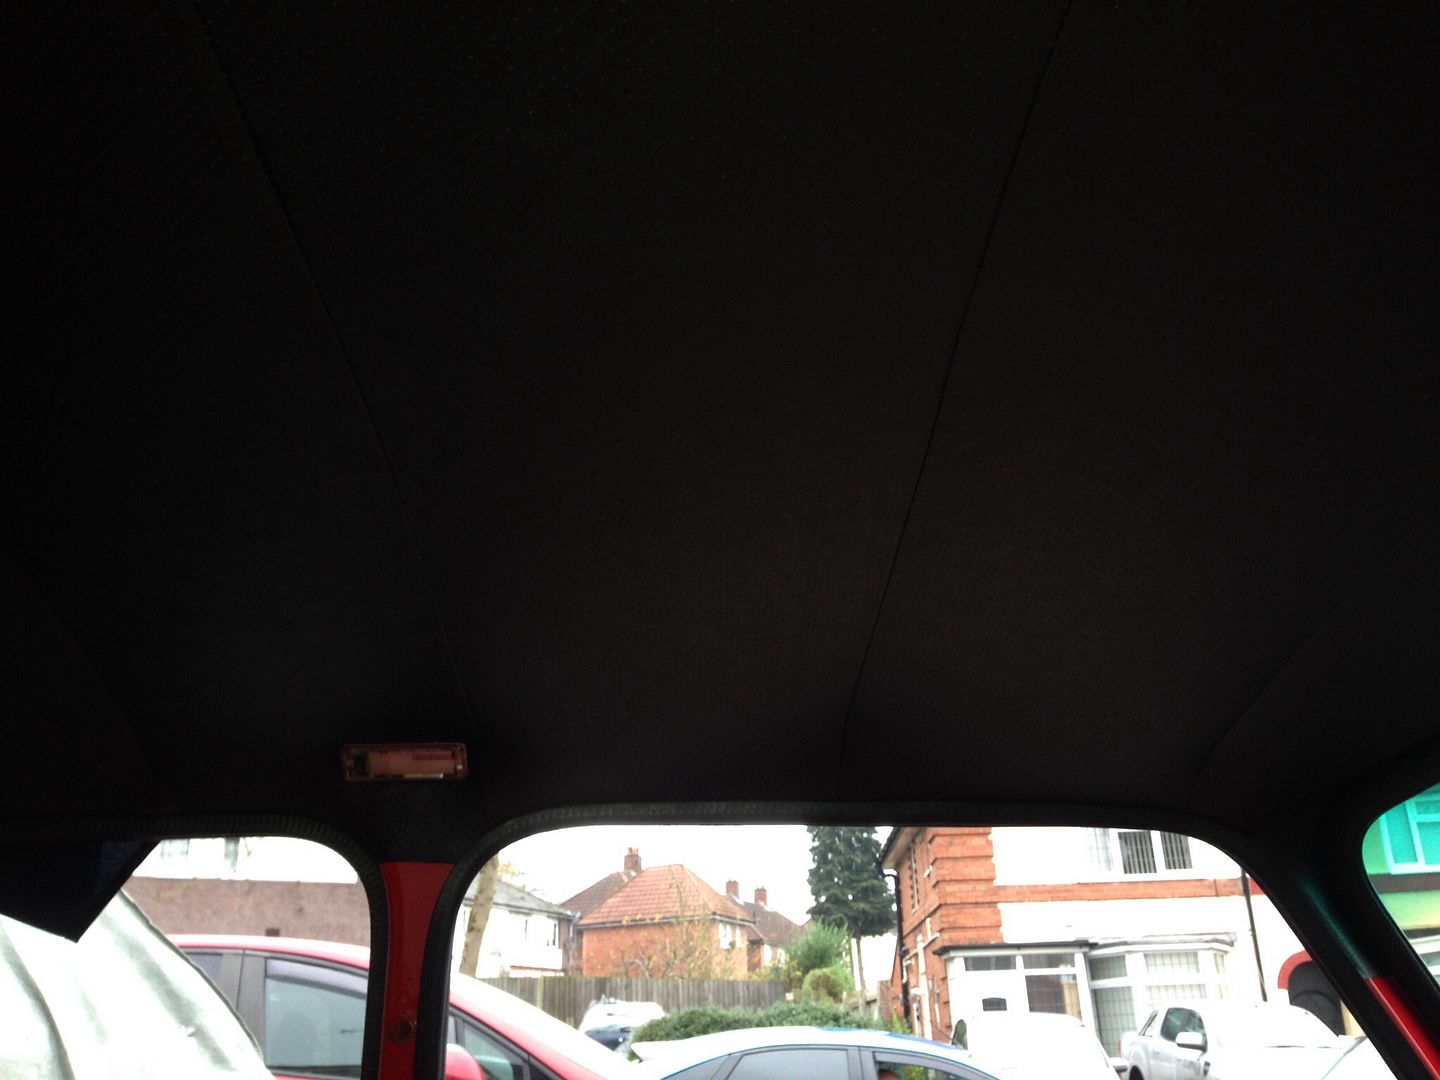
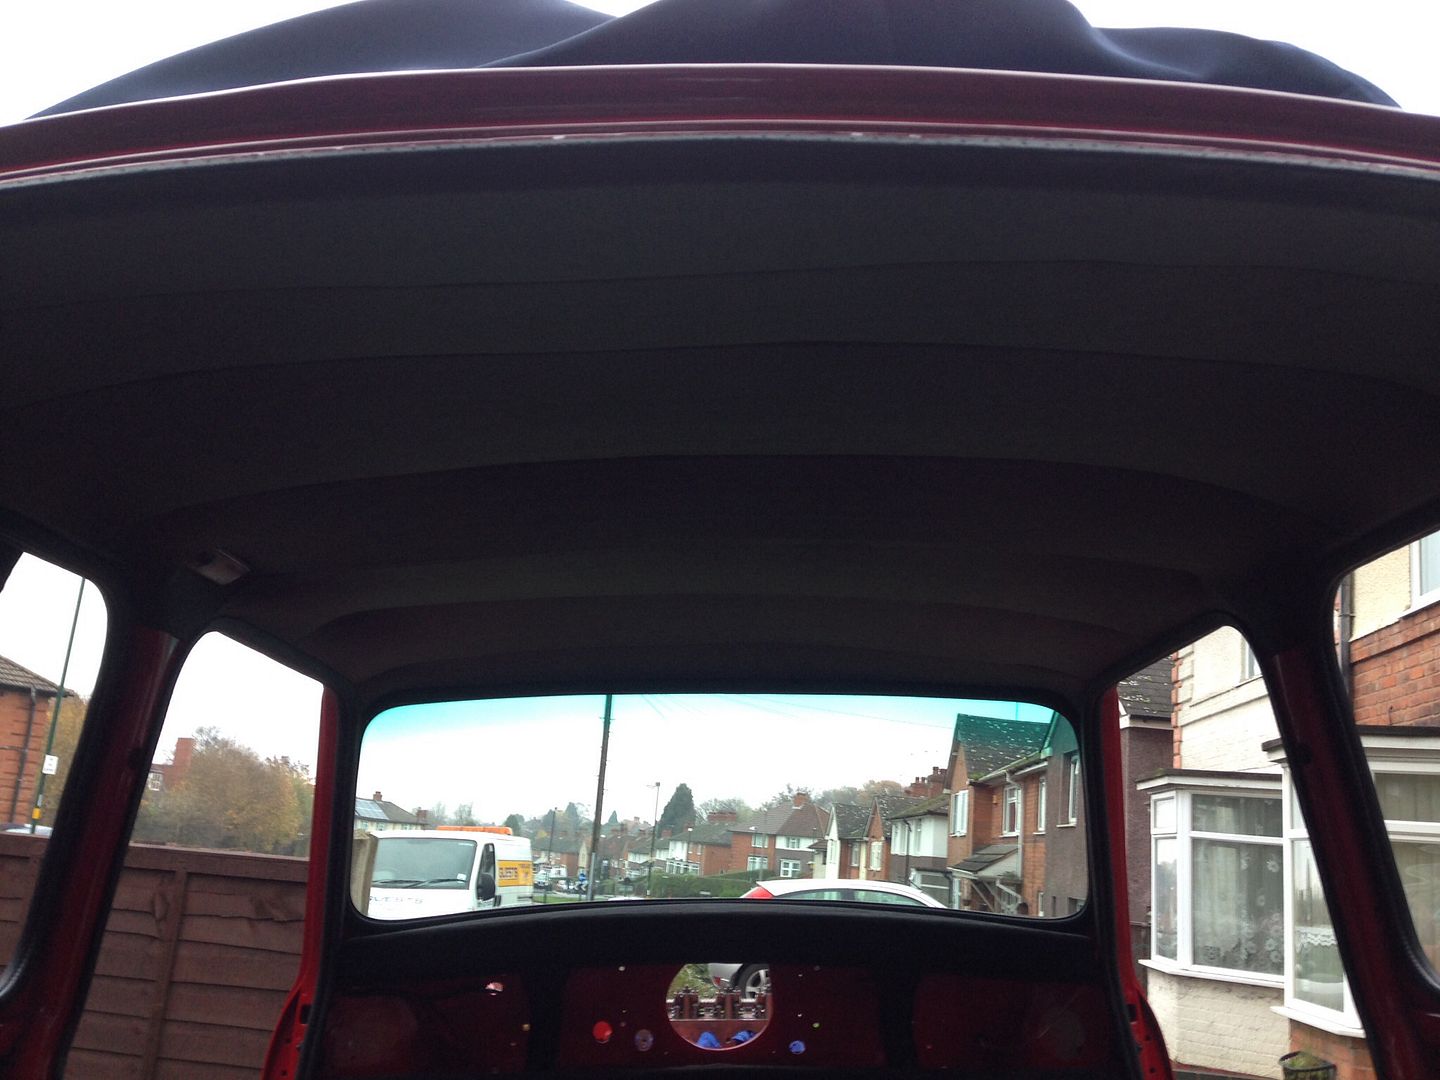
It does get easier as you go, it's making the first cuts in the lining that are the most nerve racking !
Yeh, that's all we did, I pulled the fabric downwards to remove the creases and my dad pulled either side tight and stuck it to the flanges.
We started by tensioning the front and glueing that down, then round to the back and done the same thing there. Then it's just a case of doing the sides. It looks a pretty daunting thing to fit, but it's not really to bad if you just take your time. We done it over the course of a month doing bits at a time really !
Really appreciate the assistance. Will definitely be going back to have a look how you did it.
Super Mini Mad
Posted 16 November 2014 - 09:51 PM
Really appreciate the assistance. Will definitely be going back to have a look how you did it.


Projects →
Mini Saloons →
Mini Cooper Project - Finally StartsStarted by piphatch , 08 Jan 2025 |
|

|
||
Projects →
Mini Saloons →
1965 Austin Mini Restoration - Canadian Mk1Started by DoubleEh , 14 Nov 2022 |
|

|
||
Projects →
Mini Saloons →
Project Joe - 1991 Mini Mayfair 998Started by Eggers , 02 Jun 2022 |
|

|
||
Projects →
Mini Saloons →
Mpi Dashboad ProblemStarted by mikeprez , 22 Dec 2021 |
|

|
||
Projects →
Mini Saloons →
1978 Oew - Willy The MiniStarted by smalltreegrower , 11 Nov 2021 |
|

|
0 members, 1 guests, 0 anonymous users


