
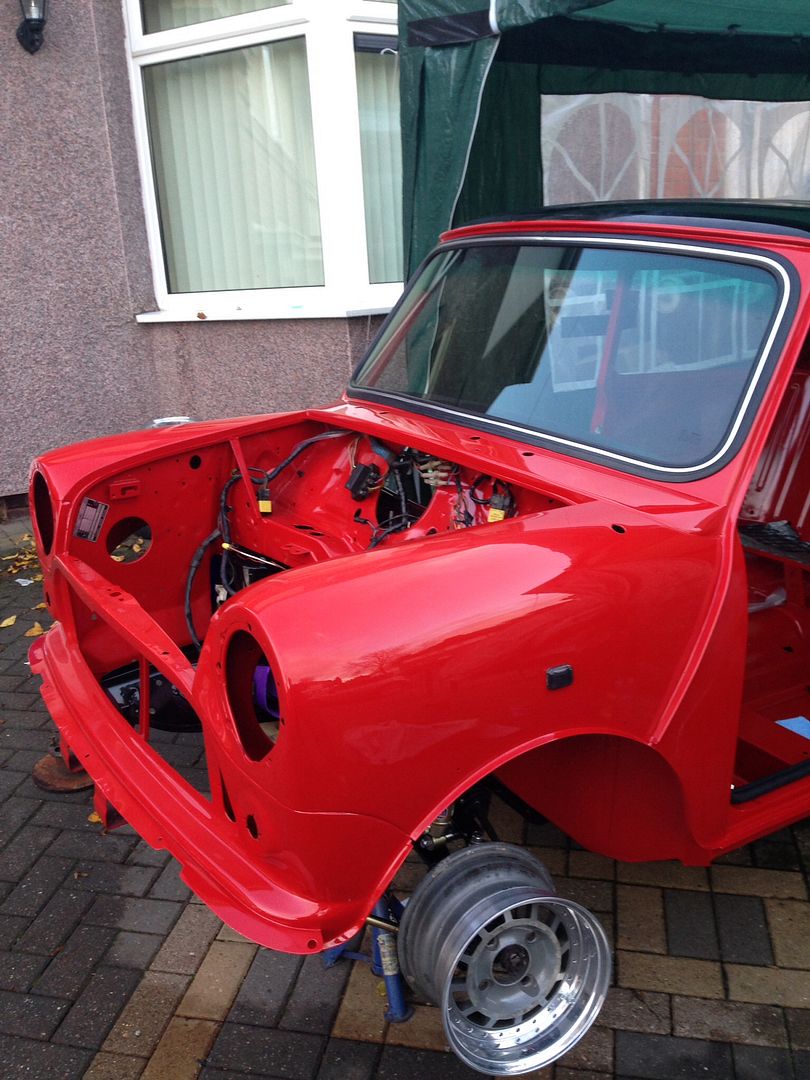
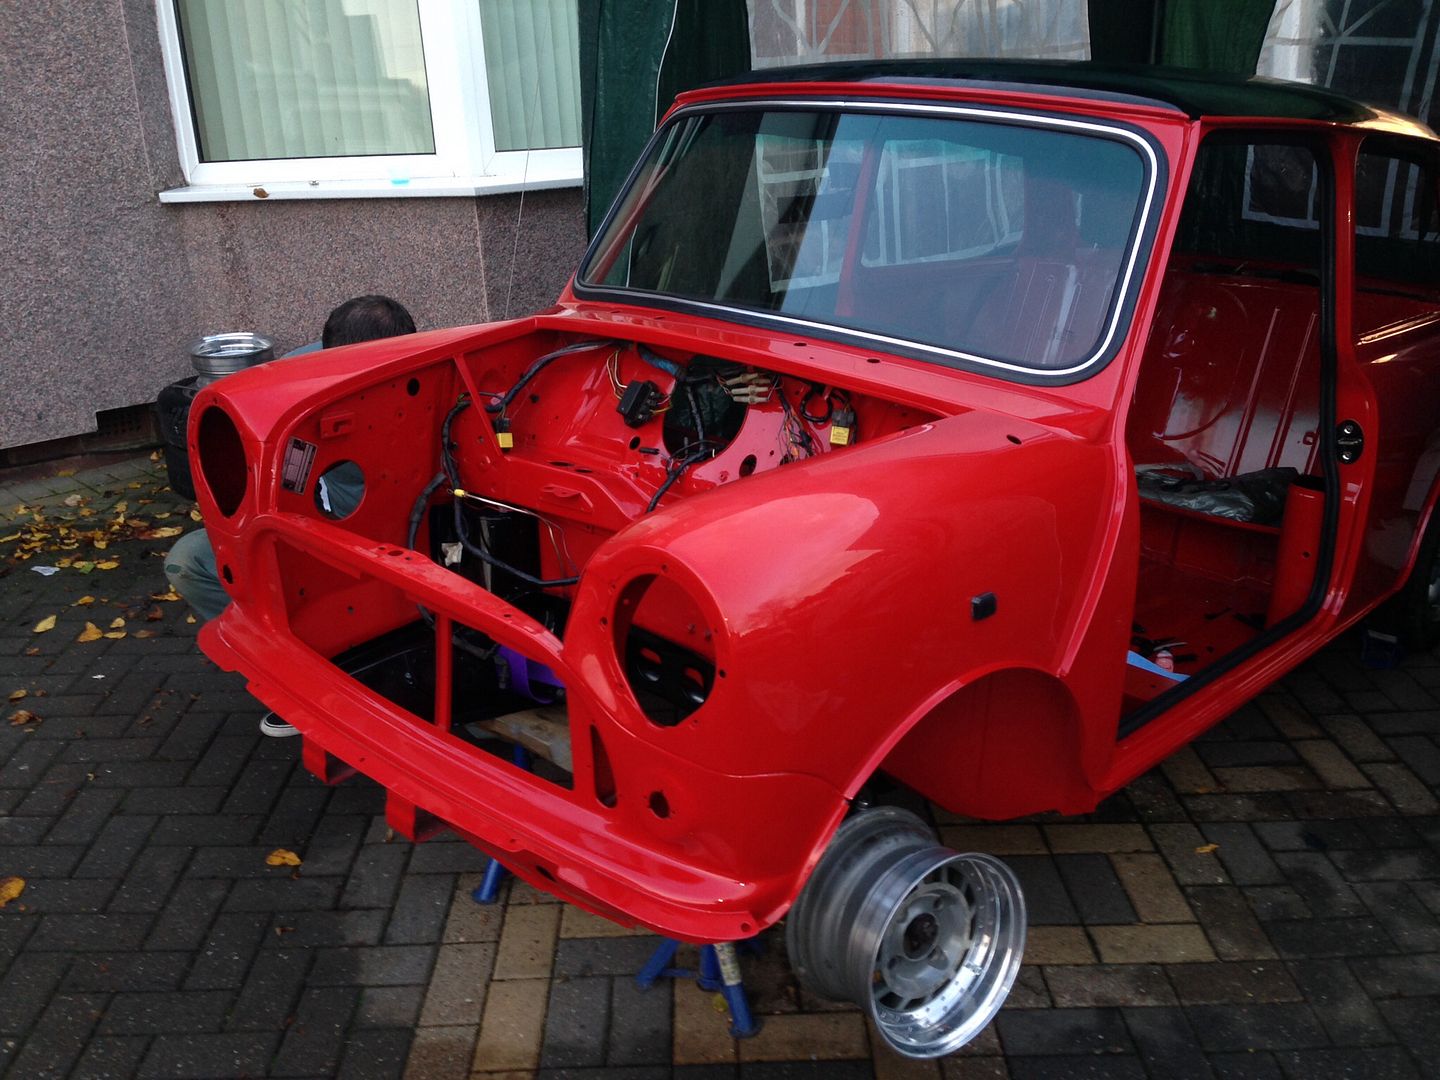
This is one smart rebuild. Everything is so clean and smart
Thanks mate, going to tackle the headlining today, more updates later !

Super Mini Mad

Posted 02 November 2014 - 10:14 AM
This is one smart rebuild. Everything is so clean and smart
Has a small thing but it does make a difference

Posted 02 November 2014 - 12:07 PM
I want to see how you do your headlining. I have to do mine at some stage as well.
Passed Test

Posted 02 November 2014 - 12:51 PM
Super Mini Mad
Posted 02 November 2014 - 06:27 PM


Super Mini Mad
Posted 02 November 2014 - 06:37 PM
I want to see how you do your headlining. I have to do mine at some stage as well.
Has a small thing but it does make a difference
Posted 02 November 2014 - 06:44 PM
I want to see how you do your headlining. I have to do mine at some stage as well.
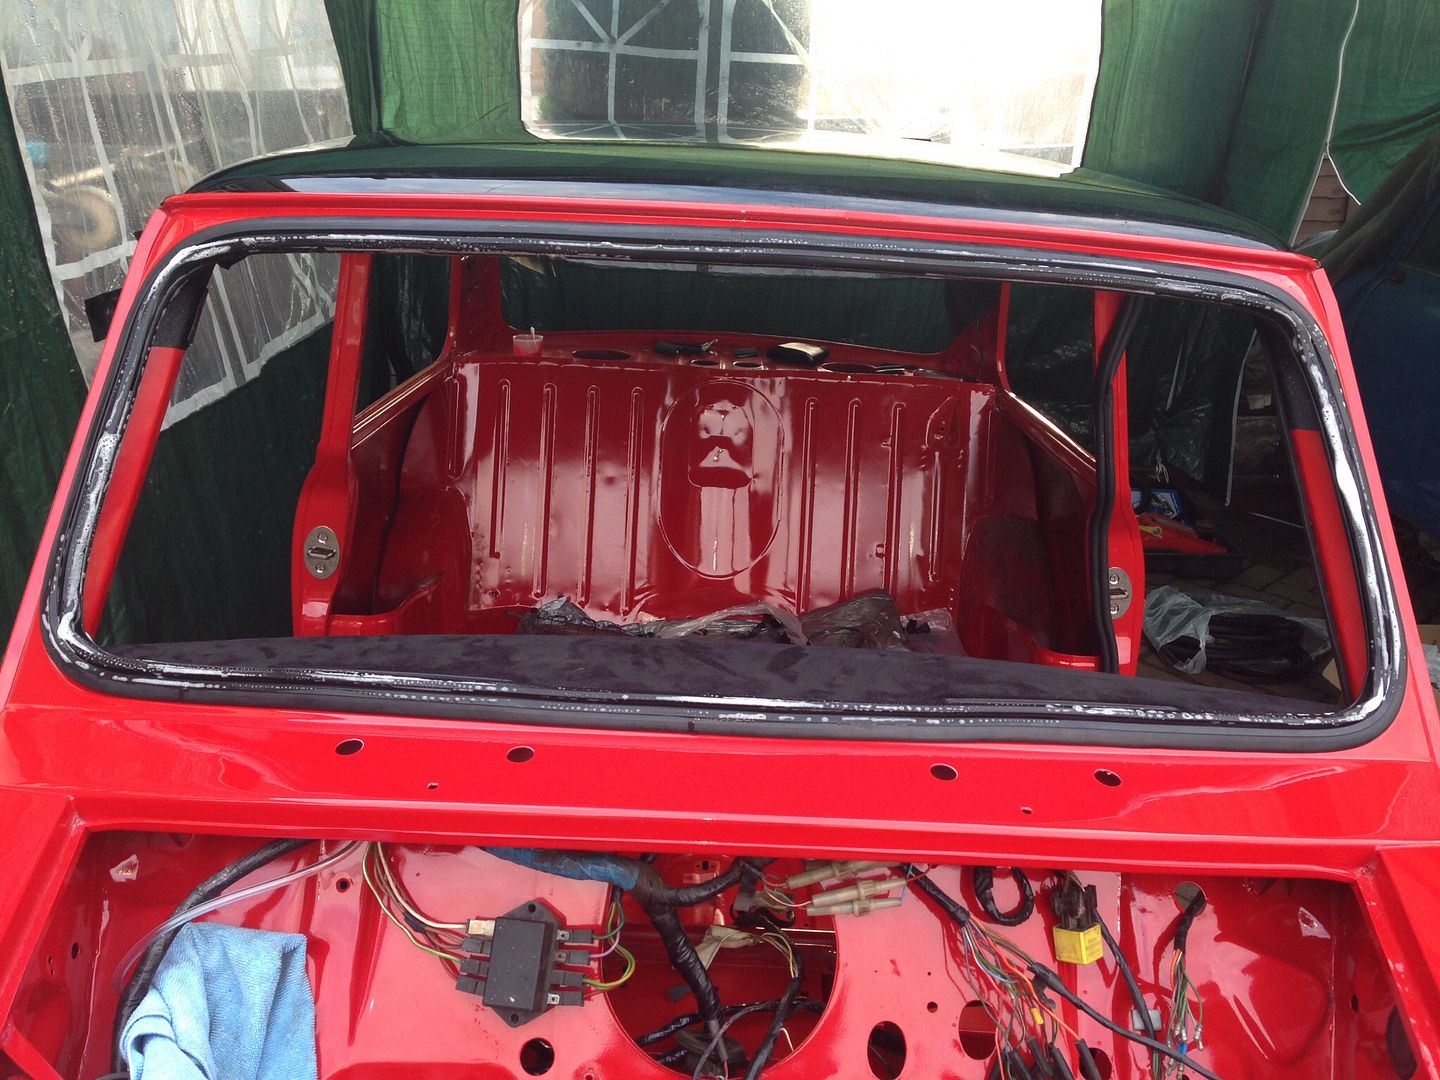
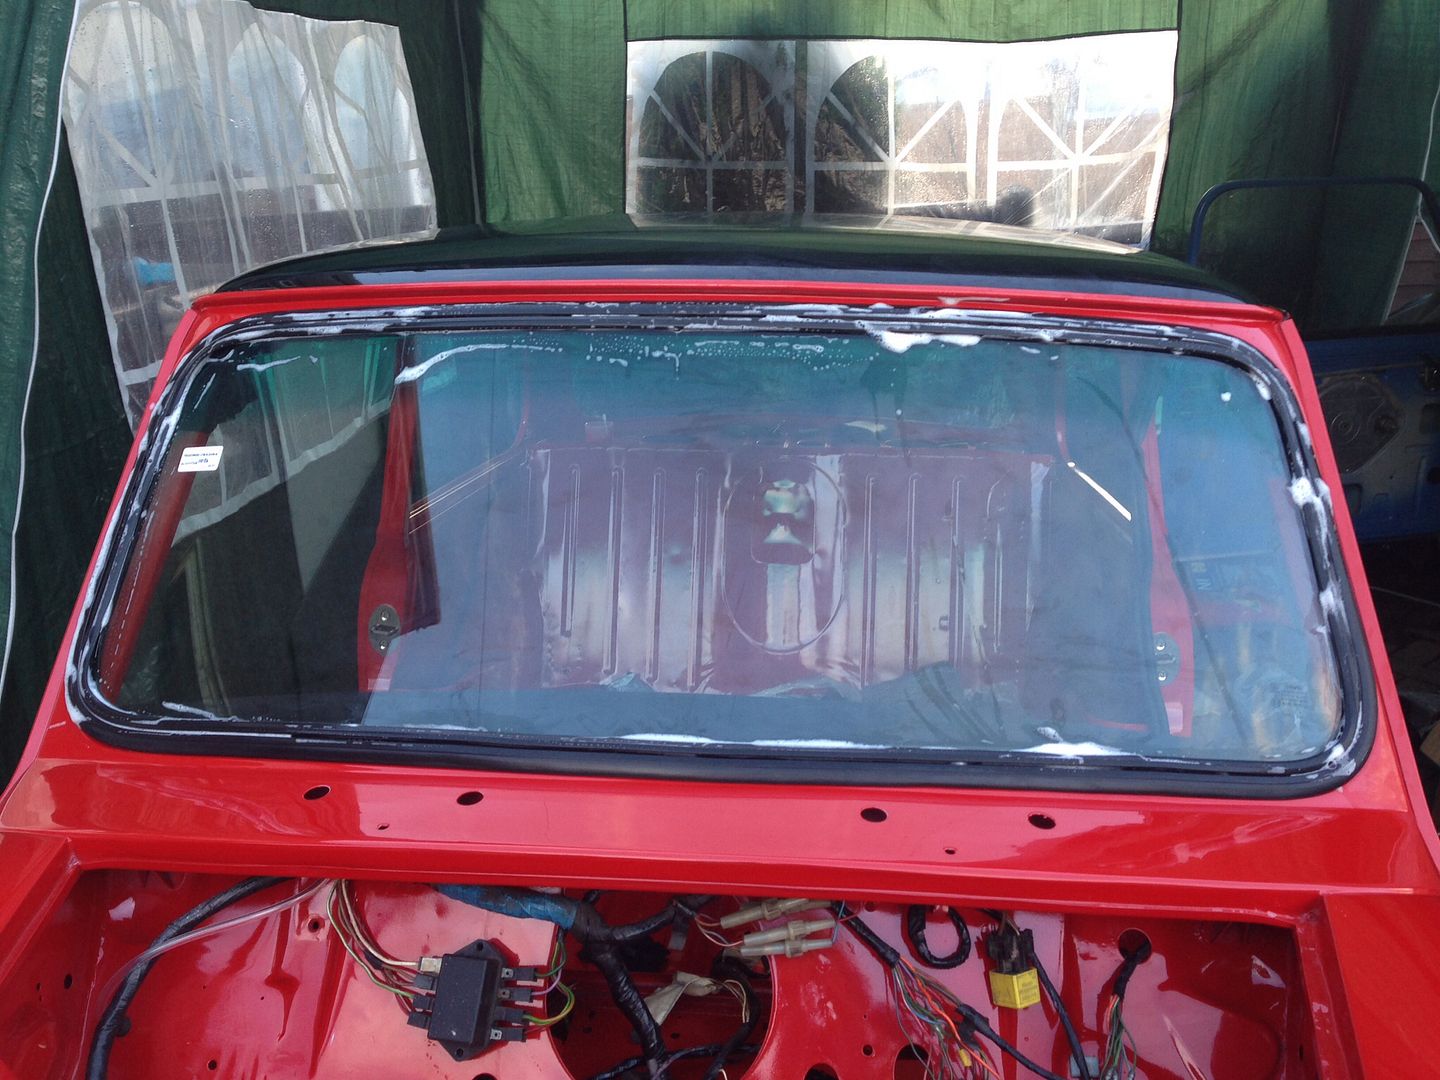
I'll take some better/more detailed ones for you when we fit the rear half mate.
Thanks, I'd really appreciate it! That front half looks so neat too. Great job done by your dad. ![=]](https://www.theminiforum.co.uk/forums/public/style_emoticons/default/sideways.gif)
Super Mini Mad
Posted 03 November 2014 - 06:54 PM

Has a small thing but it does make a difference
Posted 03 November 2014 - 08:24 PM
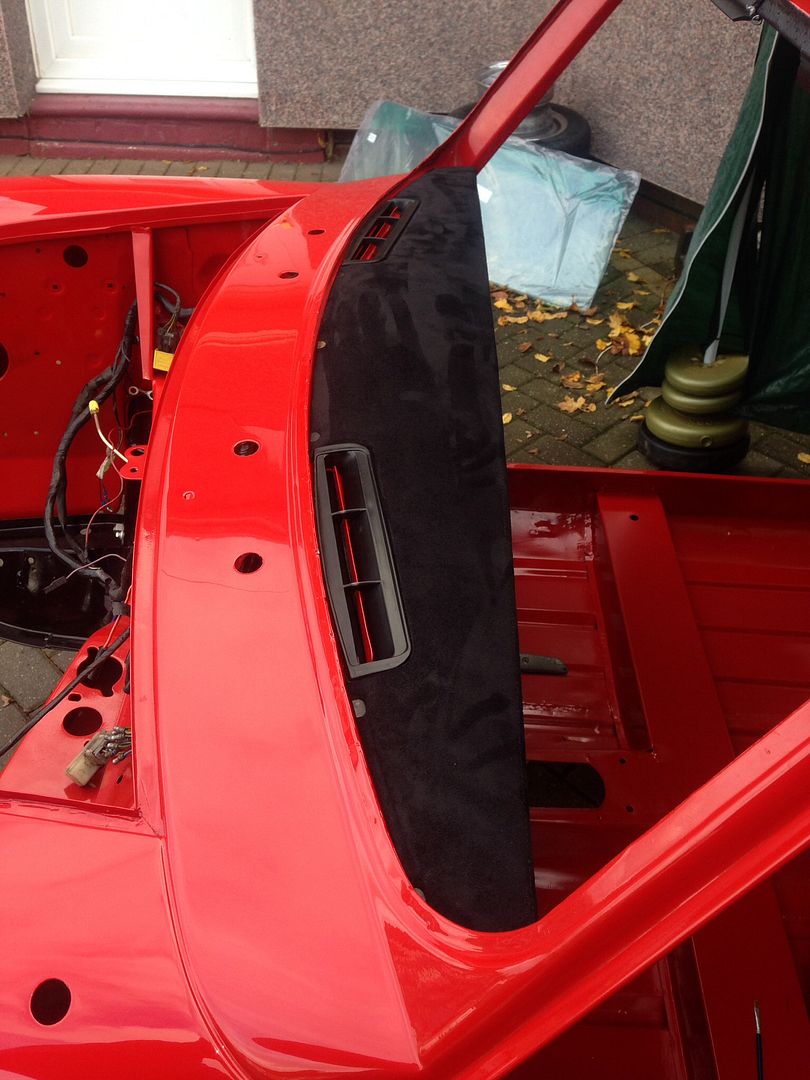
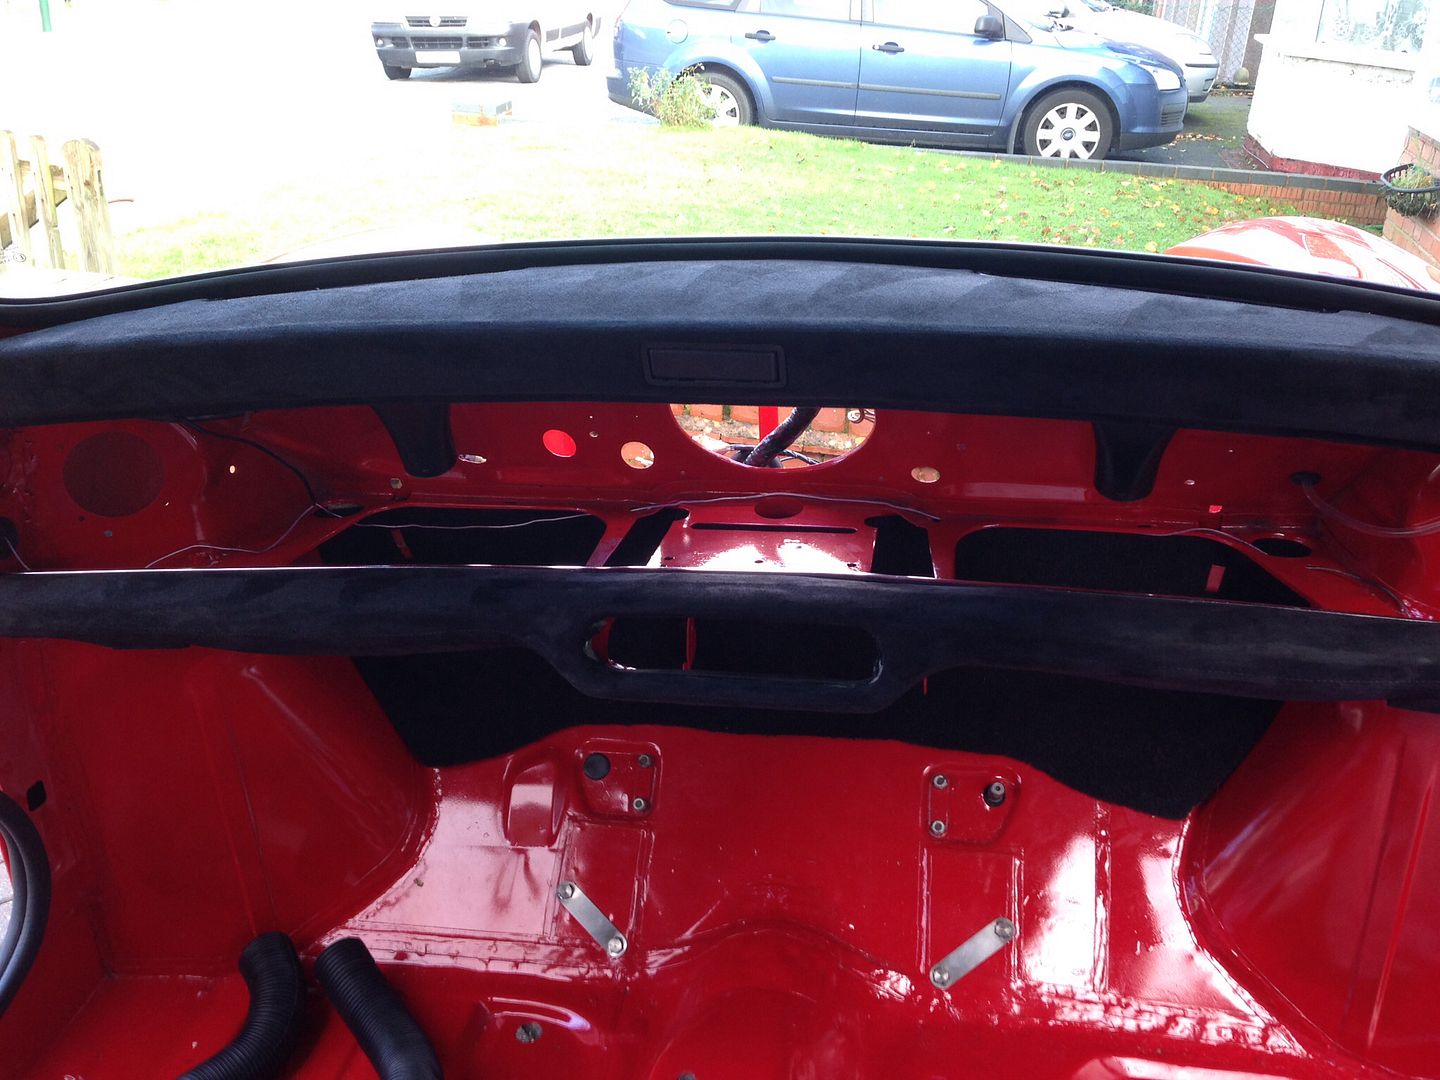
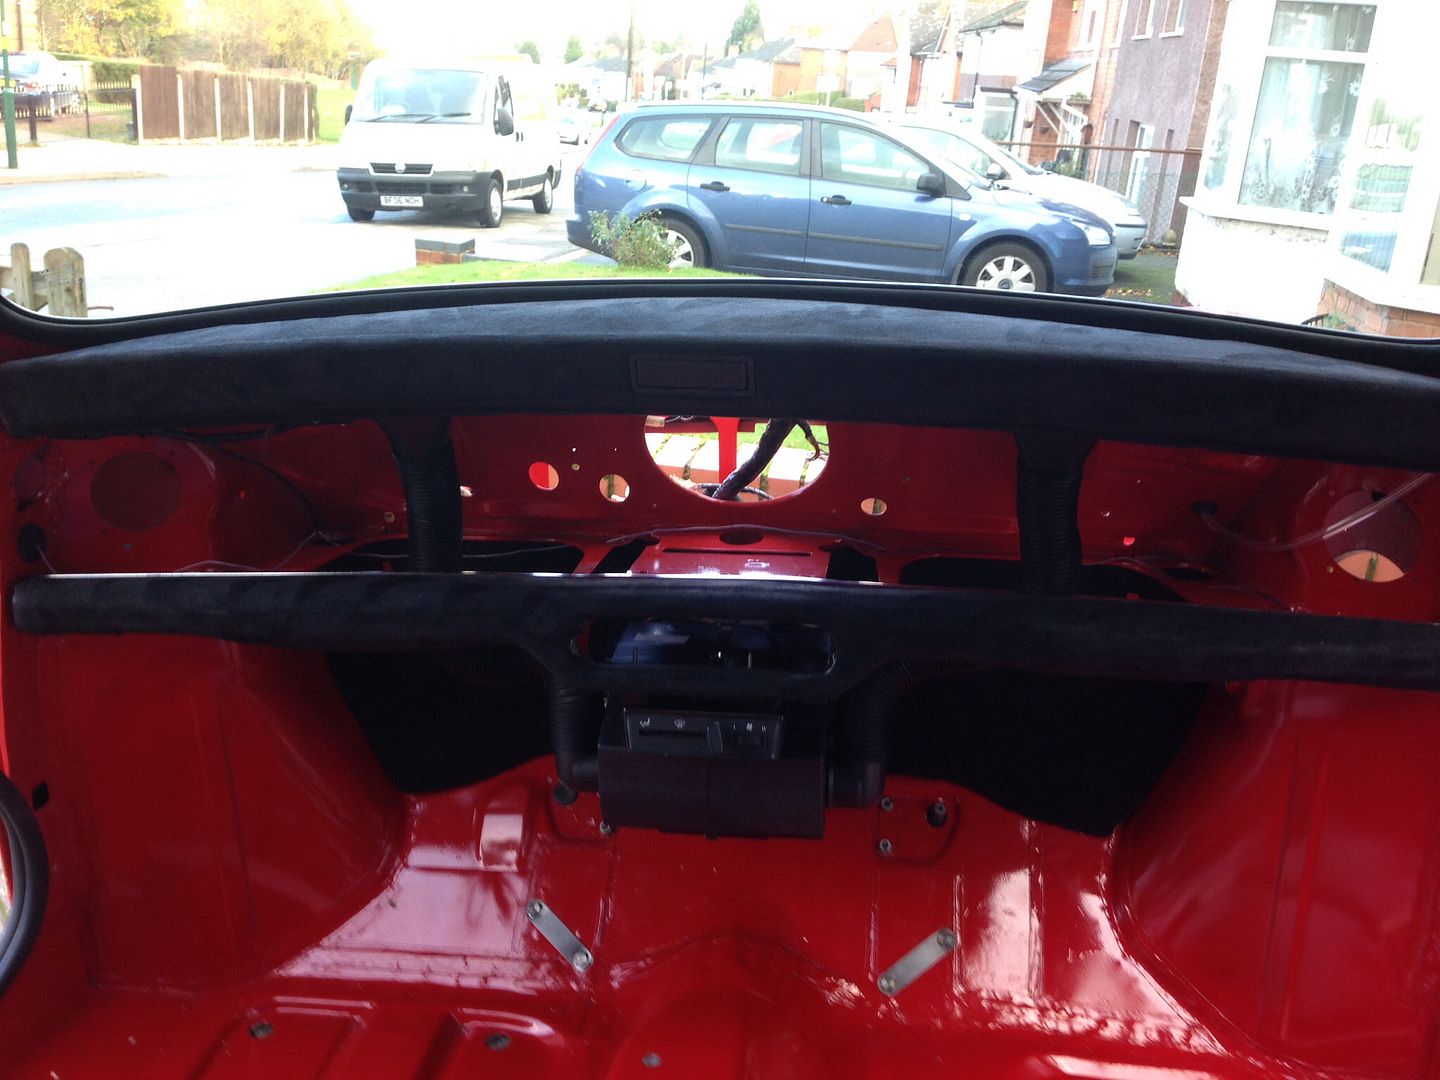
That suede looks so good on those rails - gives that classy look, as well as being sporty. Like.
Super Mini Mad
Posted 03 November 2014 - 08:37 PM
Cheers mate,That suede looks so good on those rails - gives that classy look, as well as being sporty. Like.
Edited by big-jay, 03 November 2014 - 08:48 PM.
One Carb Or Two?

Posted 04 November 2014 - 08:46 AM
I want to see how you do your headlining. I have to do mine at some stage as well.
I'll take some better/more detailed ones for you when we fit the rear half mate.
Thanks, I'd really appreciate it! That front half looks so neat too. Great job done by your dad.
Formally known as dominicdee

Posted 04 November 2014 - 11:26 AM
Has a small thing but it does make a difference
Posted 04 November 2014 - 12:31 PM
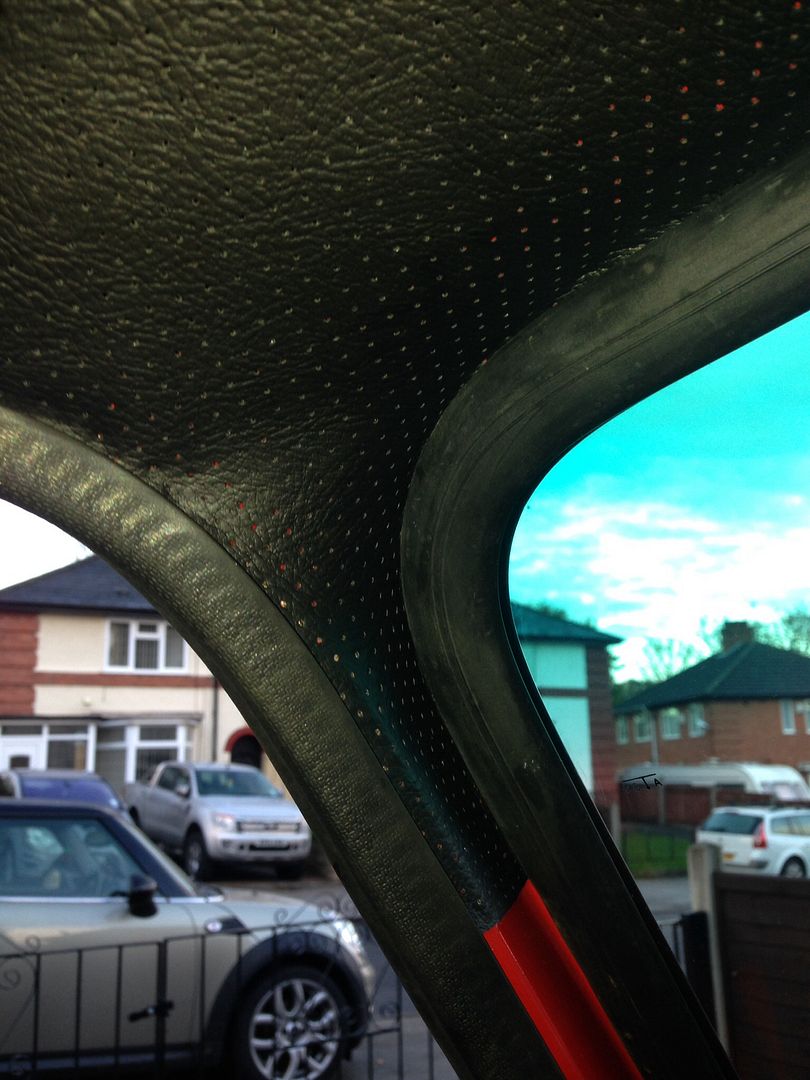
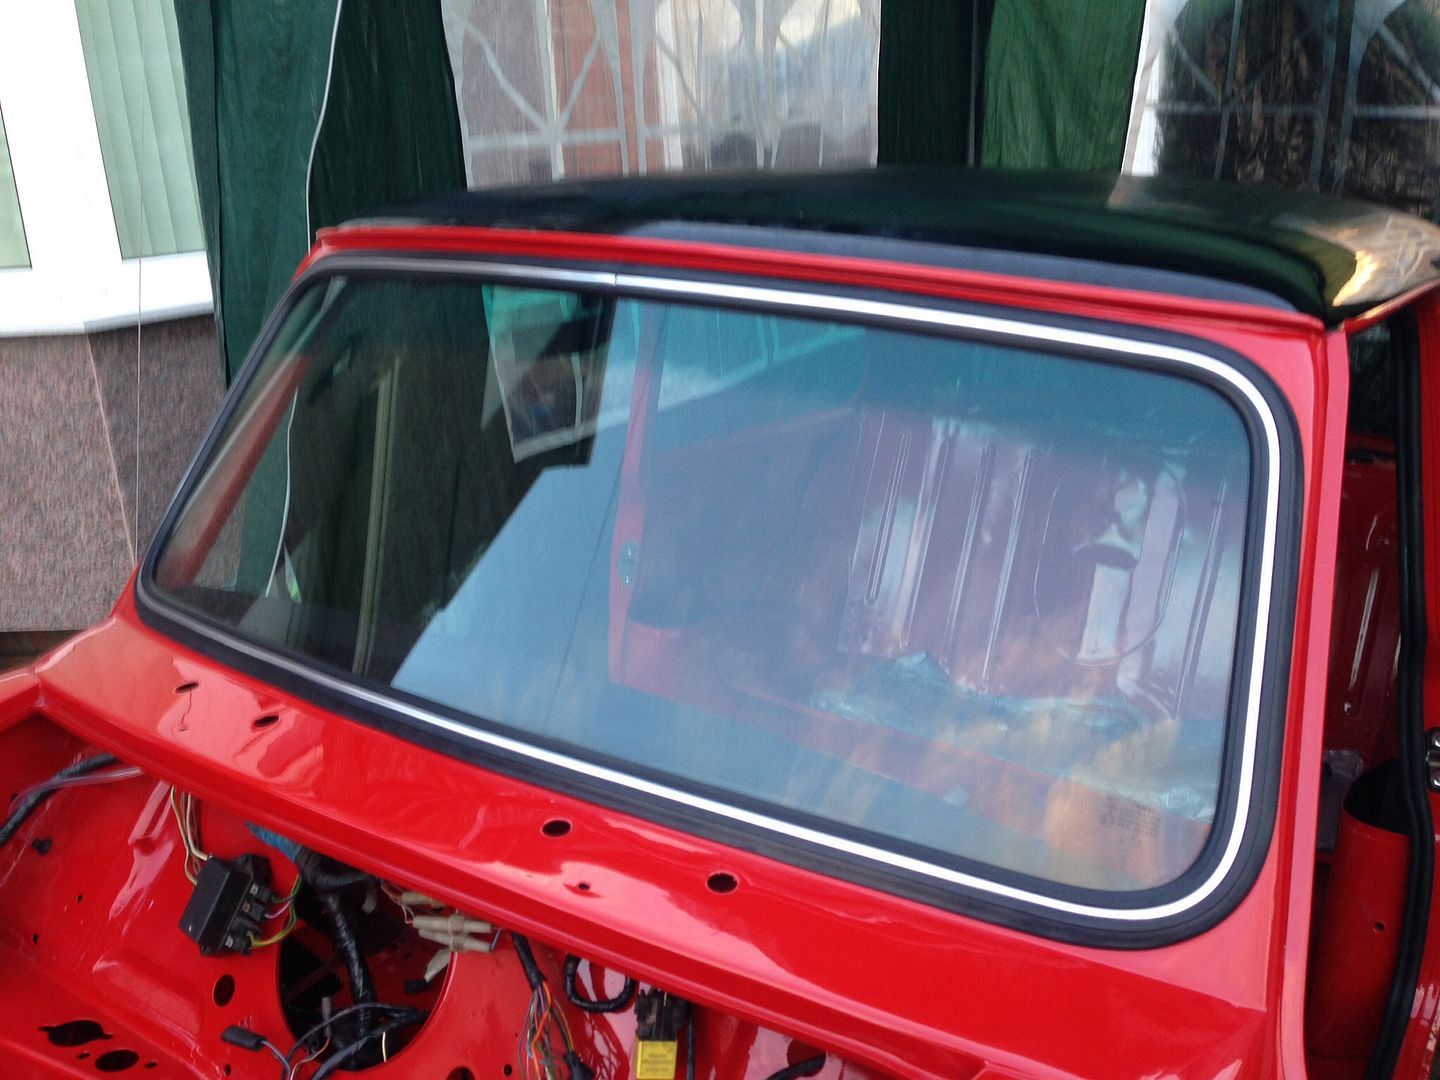
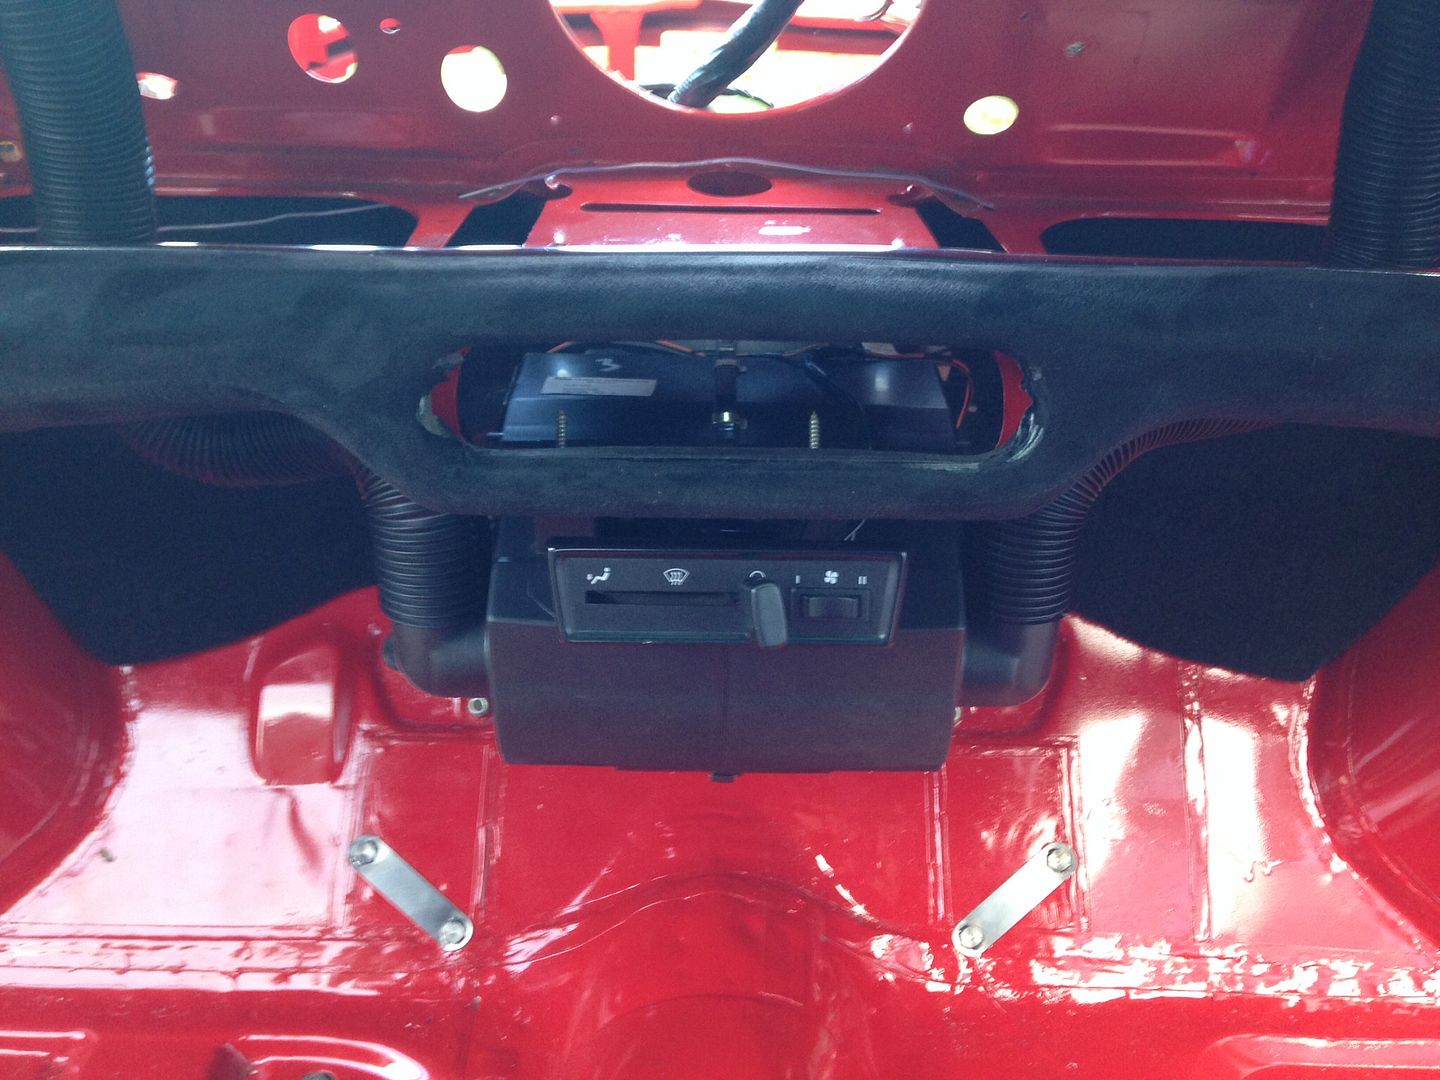
Hi Jared ( jays dad here )The trick with the head lining is to take your time I can't stress that enoughStart by tensioning the front when your happy with that tension the back . We left ours for a while after this to allow the creases to come out then after a few days I started to glue it inGet some evo stick contact adhesive ( it's what we used on the line ) now starting at the front glue the window frame lip inside and out we used a small brush for even coverage then allow to touch dry ( that's the key here for a good contact) do the same to the headlining where it will contact the metal then pulling evenly simply stick it down . It will help if there is 2 pairs of hands then when contact is made smooth it along the lip and contact area and apply some fastners in our case we used some old boot seal trim but bull clips or even pegs will do just as well.Repeat the process for the back window and then the door and rear window apertures simple as that really :-)Jay will post up some pics for you when i finish it off.Thanks, I'd really appreciate it! That front half looks so neat too. Great job done by your dad.I'll take some better/more detailed ones for you when we fit the rear half mate.I want to see how you do your headlining. I have to do mine at some stage as well.
Super Mini Mad
Posted 04 November 2014 - 04:06 PM
Wow that dash is mint! Love it!
Super Mini Mad

Posted 05 November 2014 - 01:47 PM
The trick with the head lining is to take your time I can't stress that enough
Start by tensioning the front when your happy with that tension the back . We left ours for a while after this to allow the creases to come out then after a few days I started to glue it in
Get some evo stick contact adhesive ( it's what we used on the line ) now starting at the front glue the window frame lip inside and out we used a small brush for even coverage then allow to touch dry ( that's the key here for a good contact) do the same to the headlining where it will contact the metal then pulling evenly simply stick it down . It will help if there is 2 pairs of hands then when contact is made smooth it along the lip and contact area and apply some fastners in our case we used some old boot seal trim but bull clips or even pegs will do just as well.
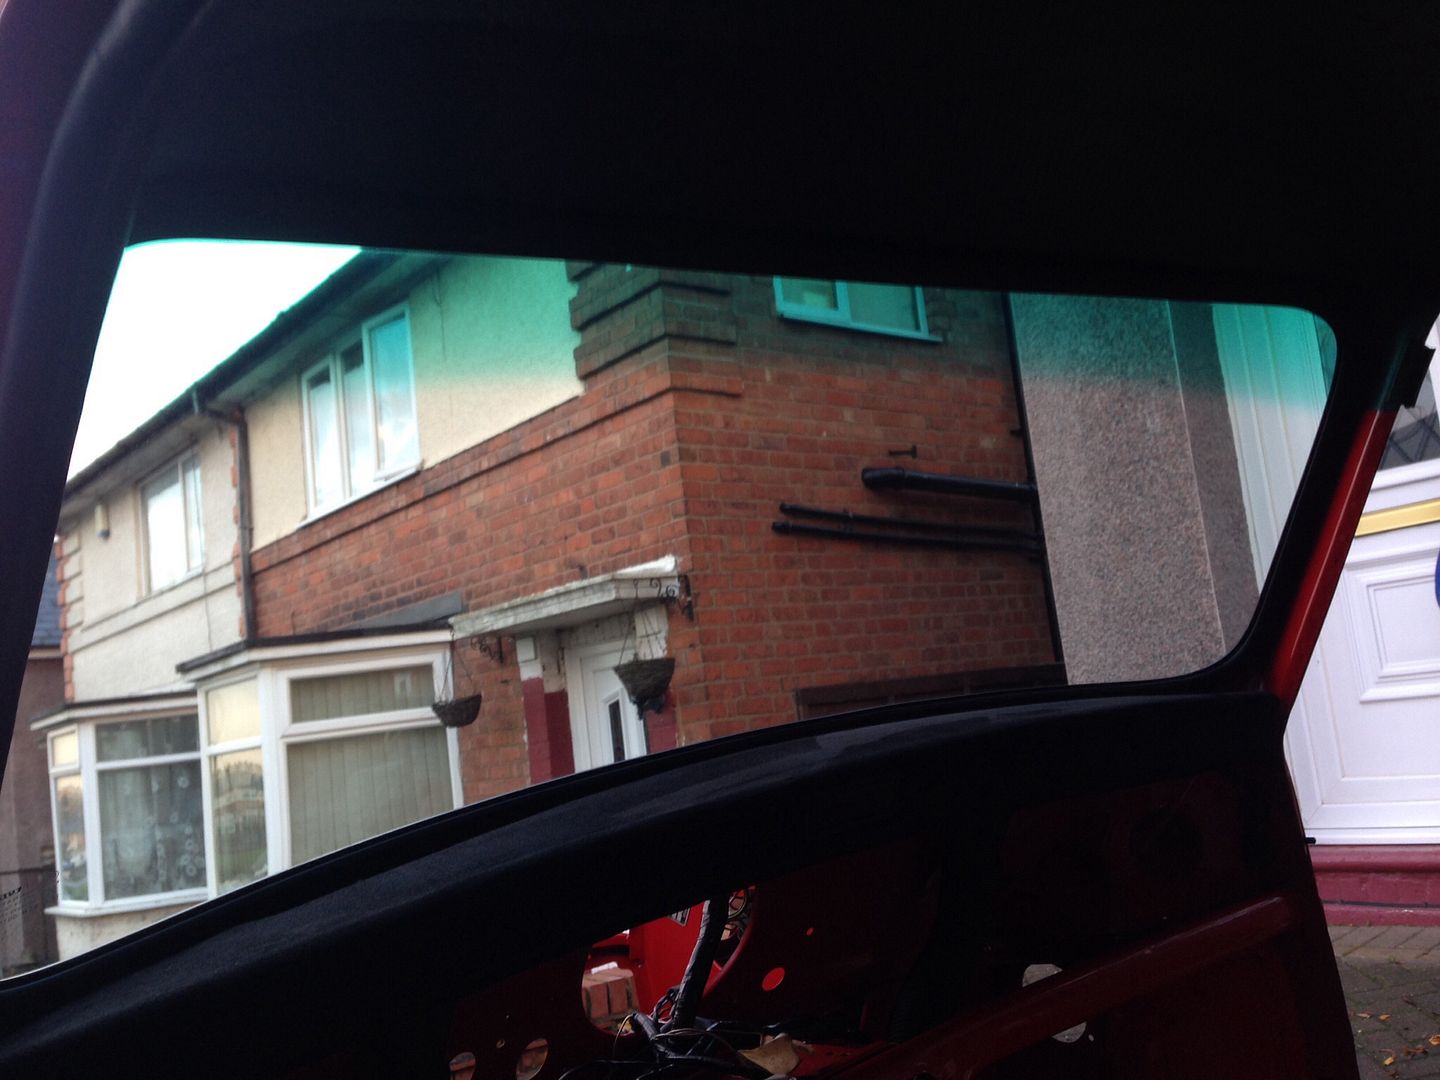
Repeat the process for the back window and then the door and rear window apertures simple as that really
Jay will post up some pics for you when i finish it off.
Interesting. When I had to replace a headlining recently my buddy and I started at the back and worked forwards. It turned out ok, you have to be patient and wait for the glue to "go off" and have to be brave with the blade making the necessary nicks and cuts............
Phil.
One Carb Or Two?
Posted 07 November 2014 - 08:13 AM


Projects →
Mini Saloons →
Mini Cooper Project - Finally StartsStarted by piphatch , 08 Jan 2025 |
|

|
||
Projects →
Mini Saloons →
1965 Austin Mini Restoration - Canadian Mk1Started by DoubleEh , 14 Nov 2022 |
|

|
||
Projects →
Mini Saloons →
Project Joe - 1991 Mini Mayfair 998Started by Eggers , 02 Jun 2022 |
|

|
||
Projects →
Mini Saloons →
Mpi Dashboad ProblemStarted by mikeprez , 22 Dec 2021 |
|

|
||
Projects →
Mini Saloons →
1978 Oew - Willy The MiniStarted by smalltreegrower , 11 Nov 2021 |
|

|
0 members, 1 guests, 0 anonymous users


