
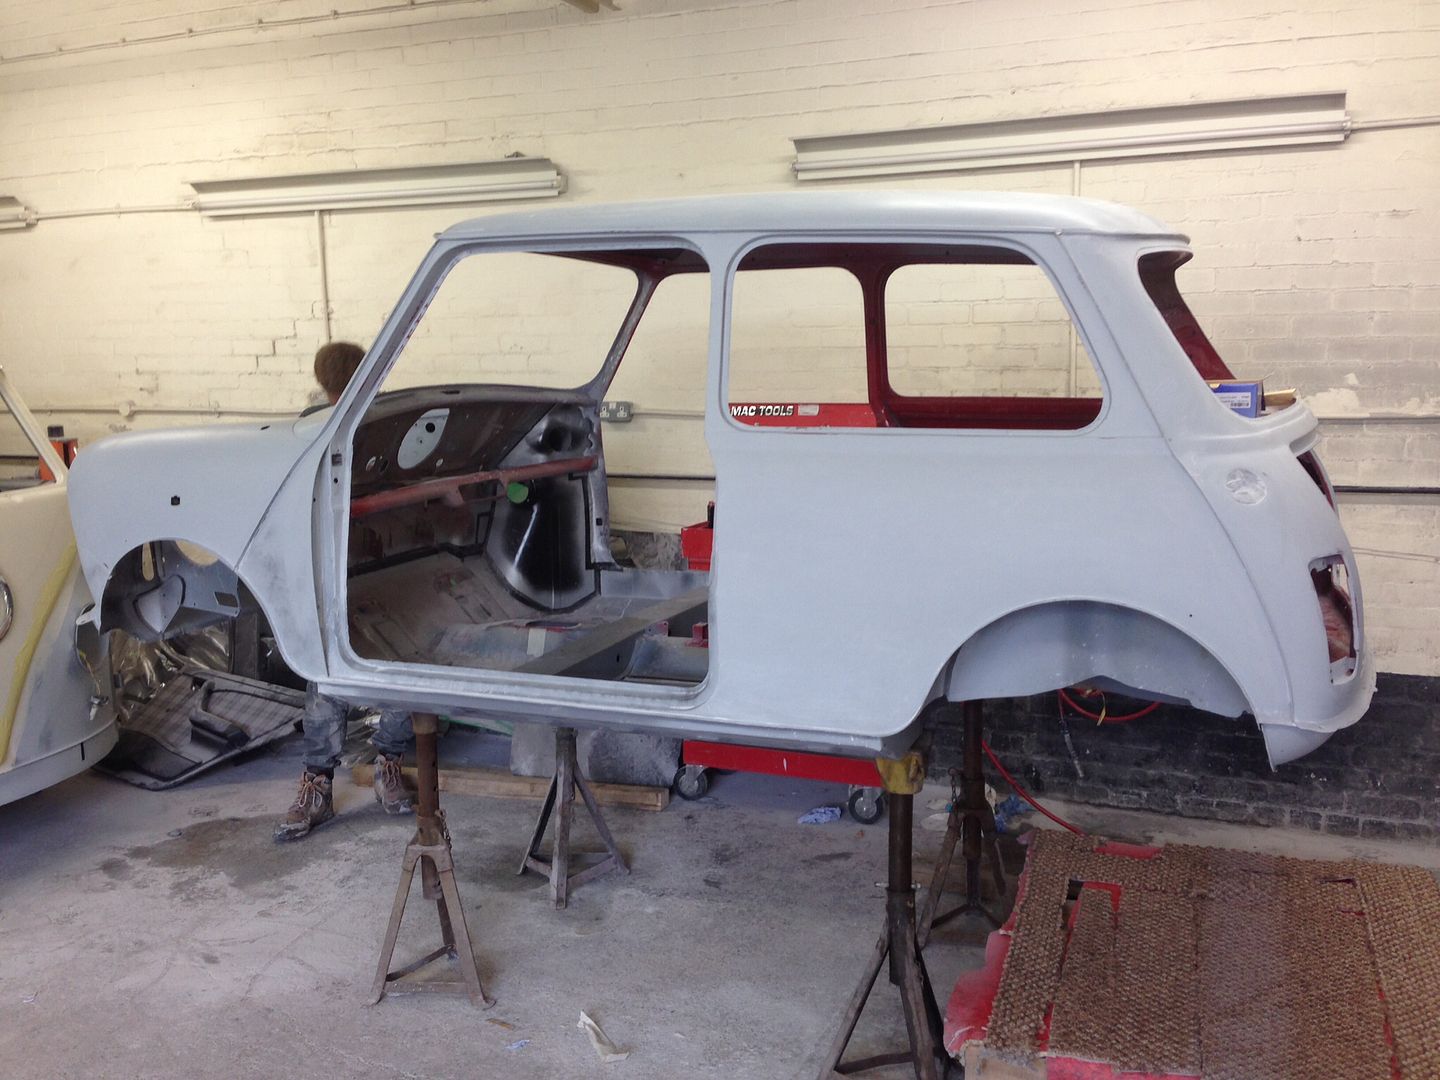
Great work, look forward to your next images!. Hopefully in a primer...
Andy

Mini Mad

Posted 03 September 2014 - 06:40 PM
Great work, look forward to your next images!. Hopefully in a primer...
Andy
Super Mini Mad
Posted 03 September 2014 - 06:51 PM
Great work, look forward to your next images!. Hopefully in a primer...
Andy
Super Mini Mad
Posted 06 September 2014 - 08:28 PM
 -
-

Mill Road Garage

Posted 06 September 2014 - 09:57 PM
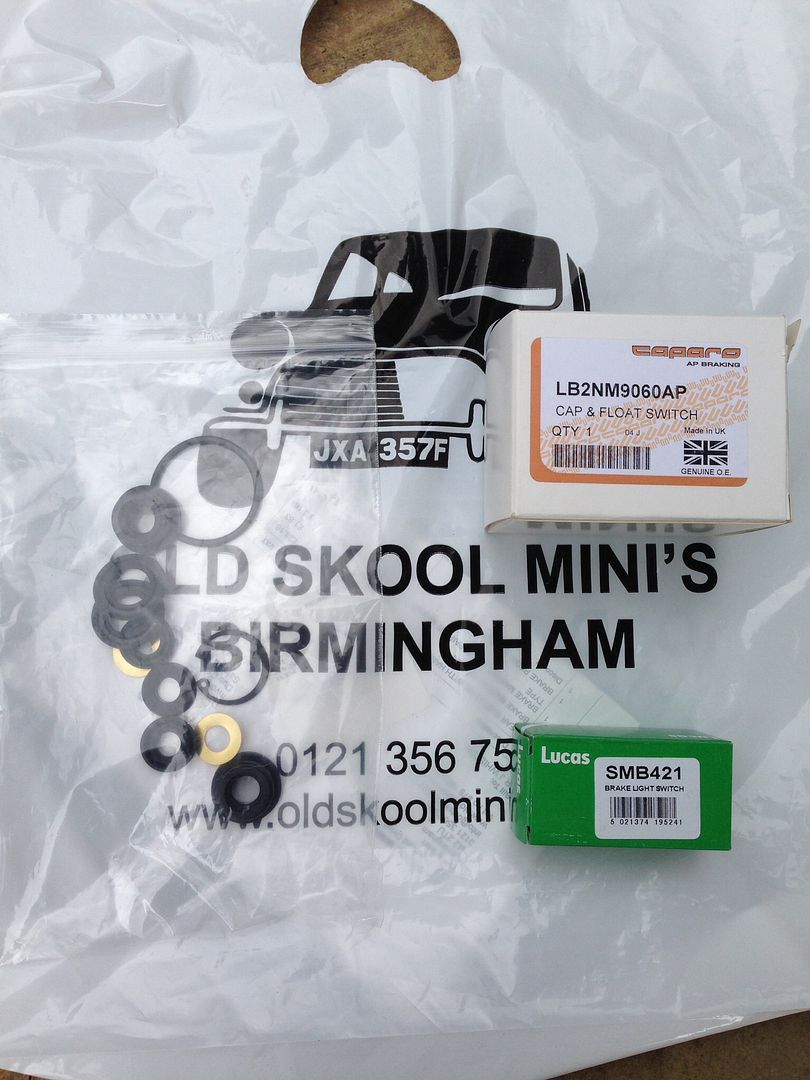
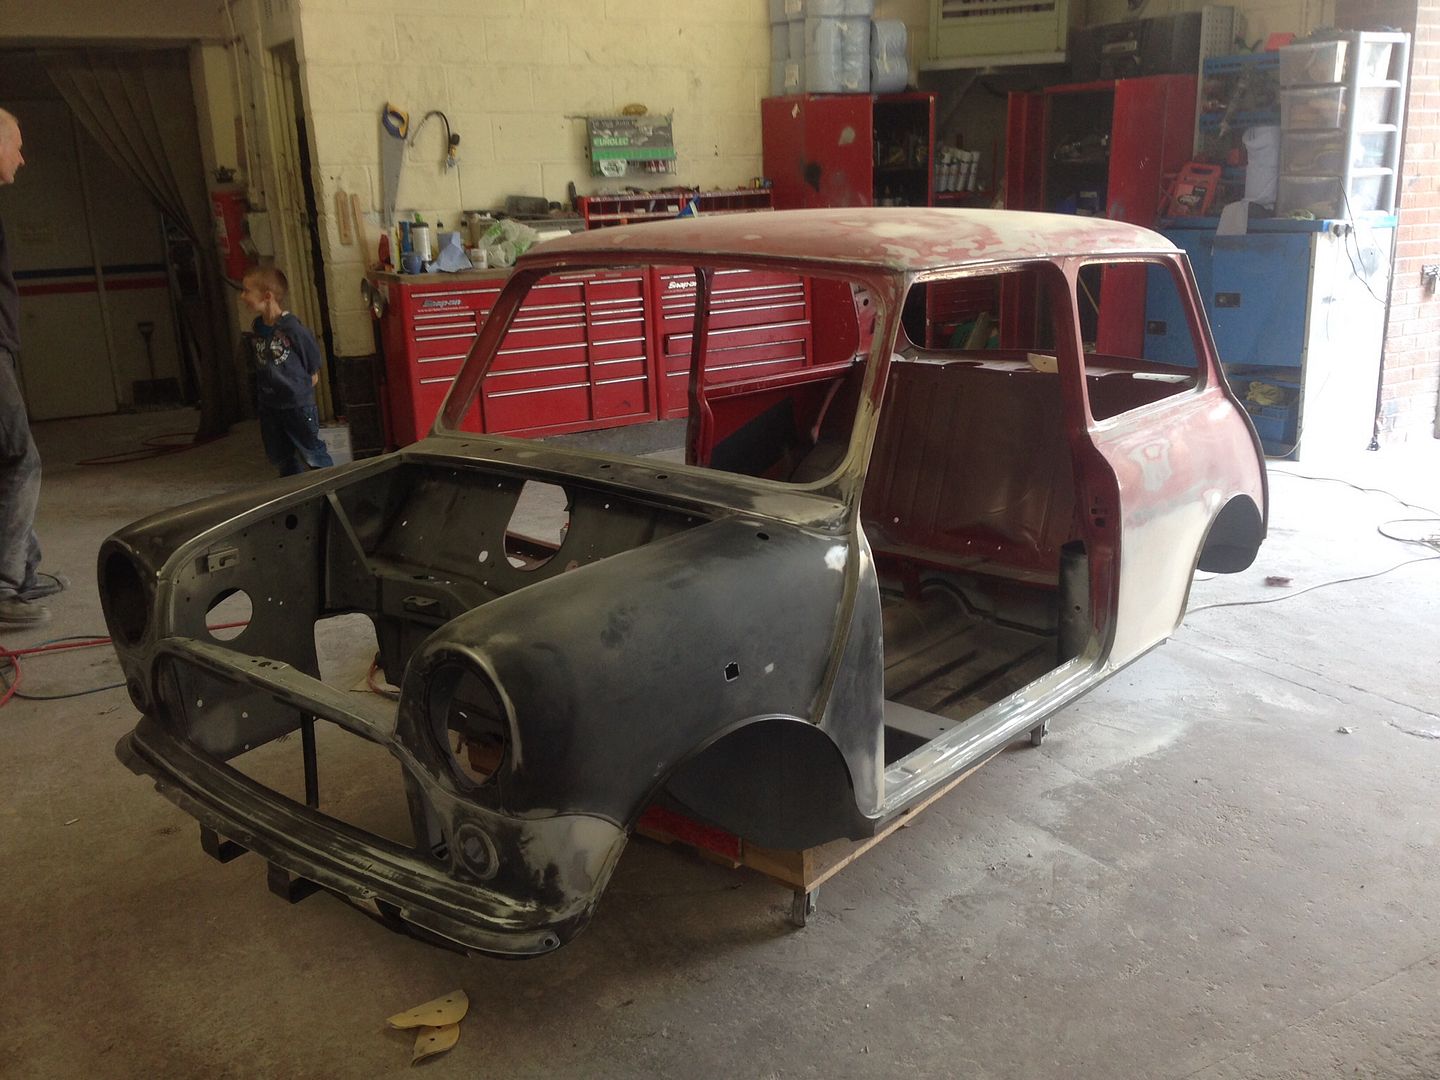
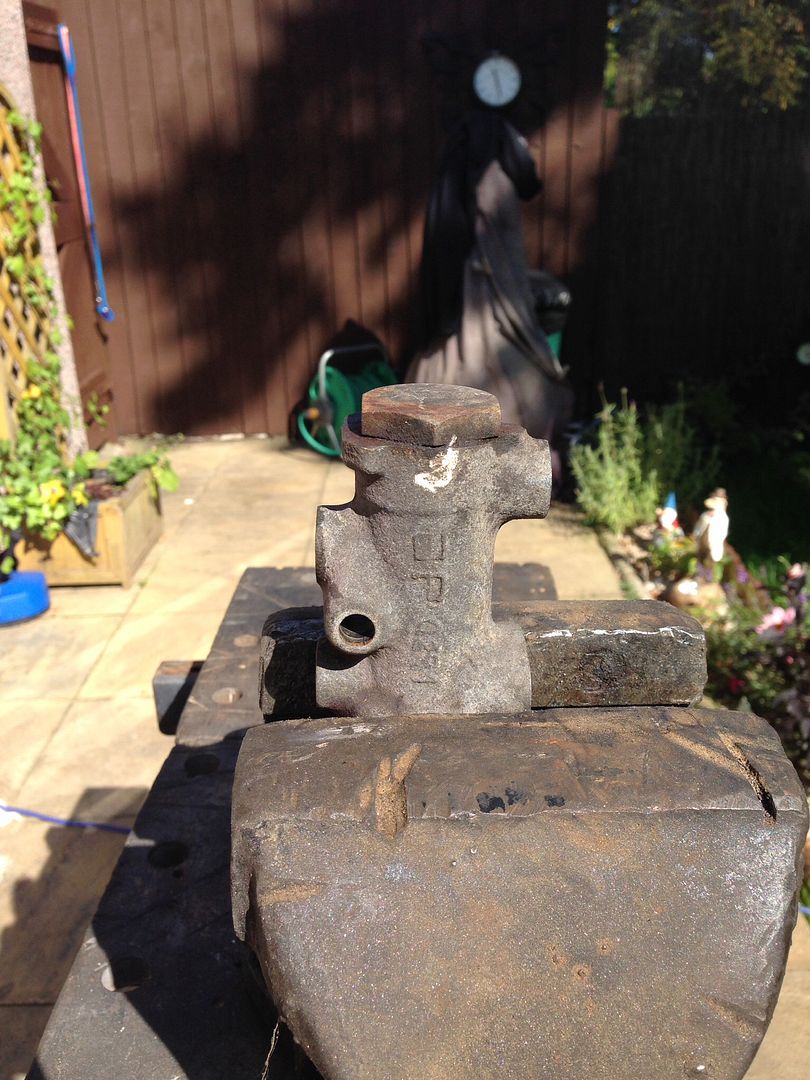
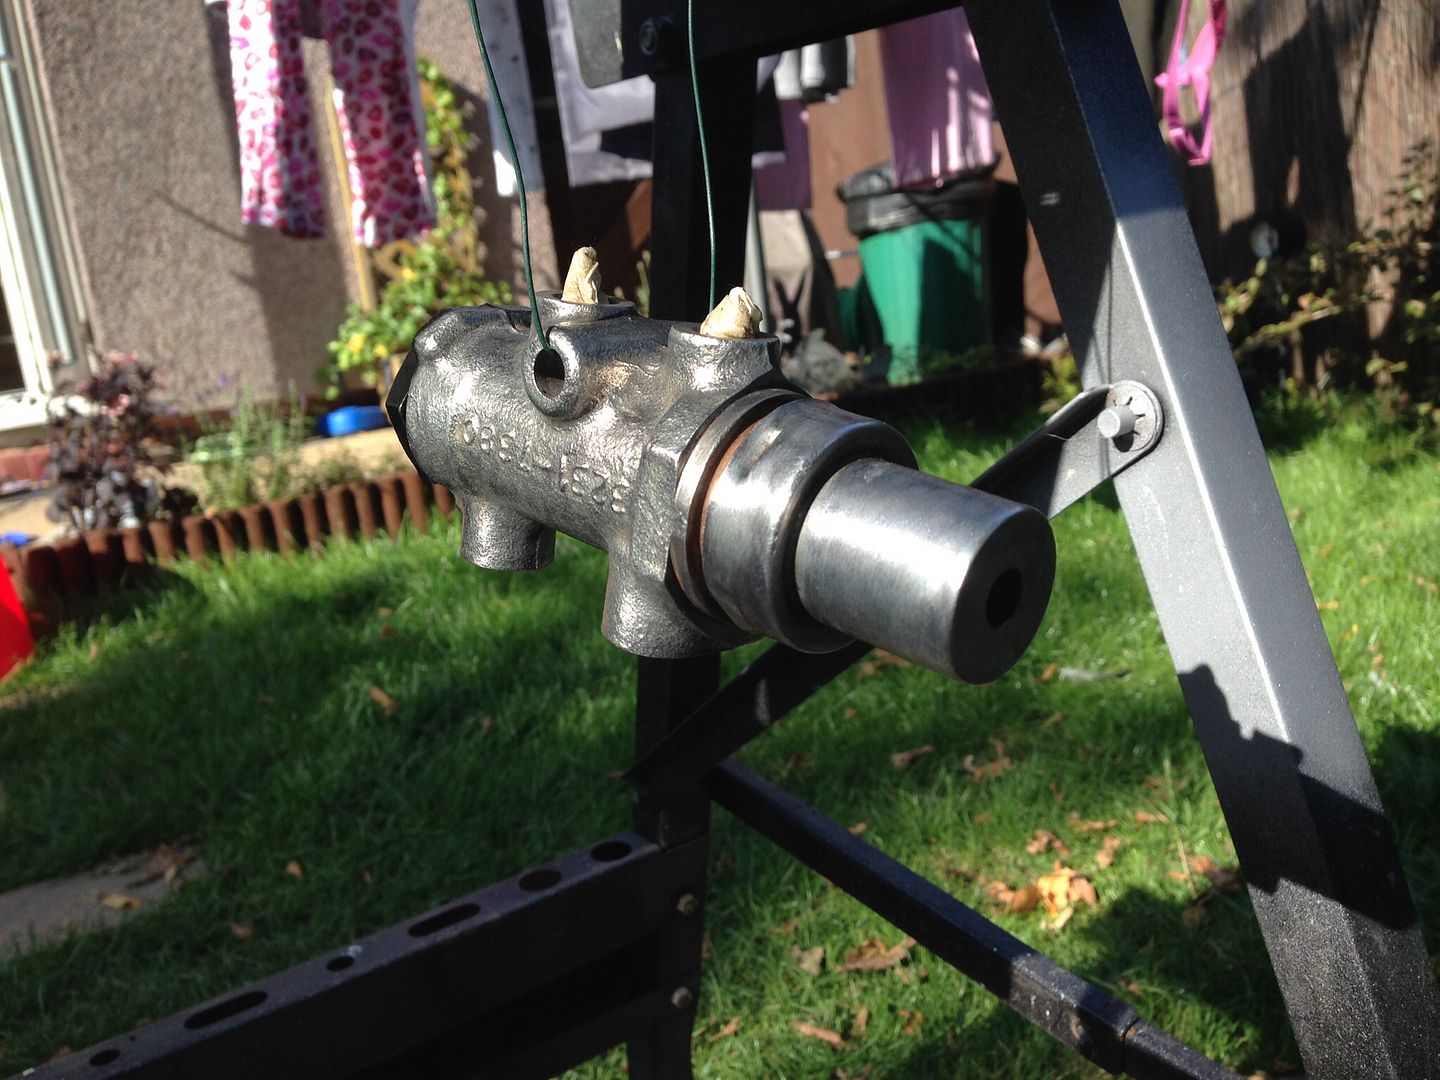
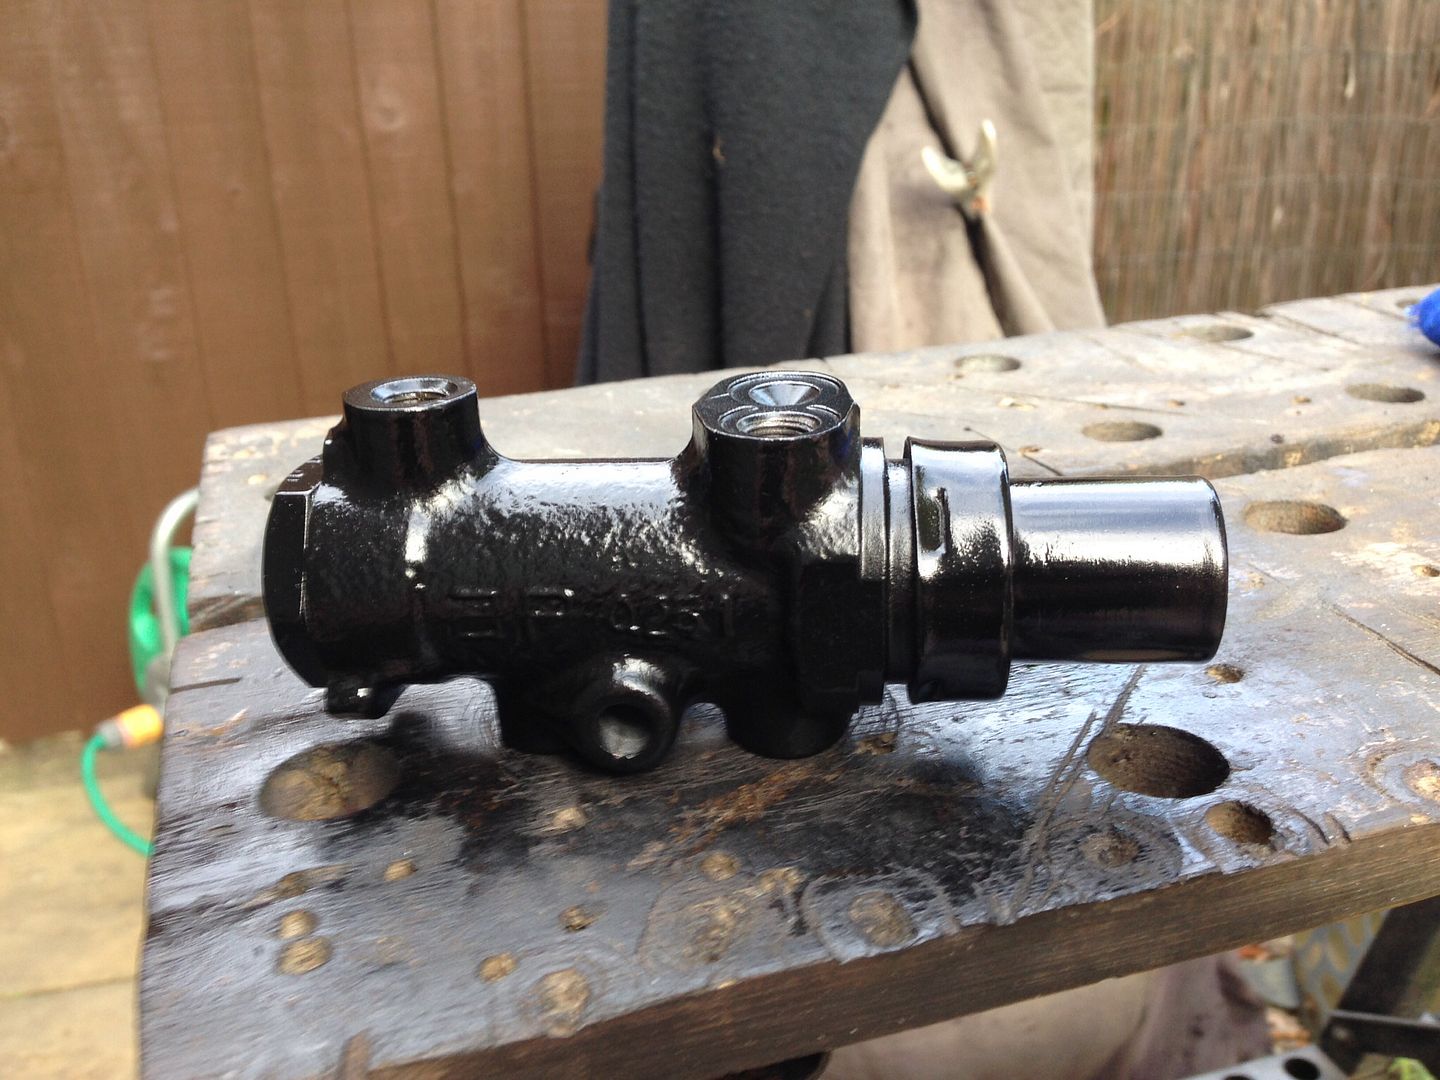
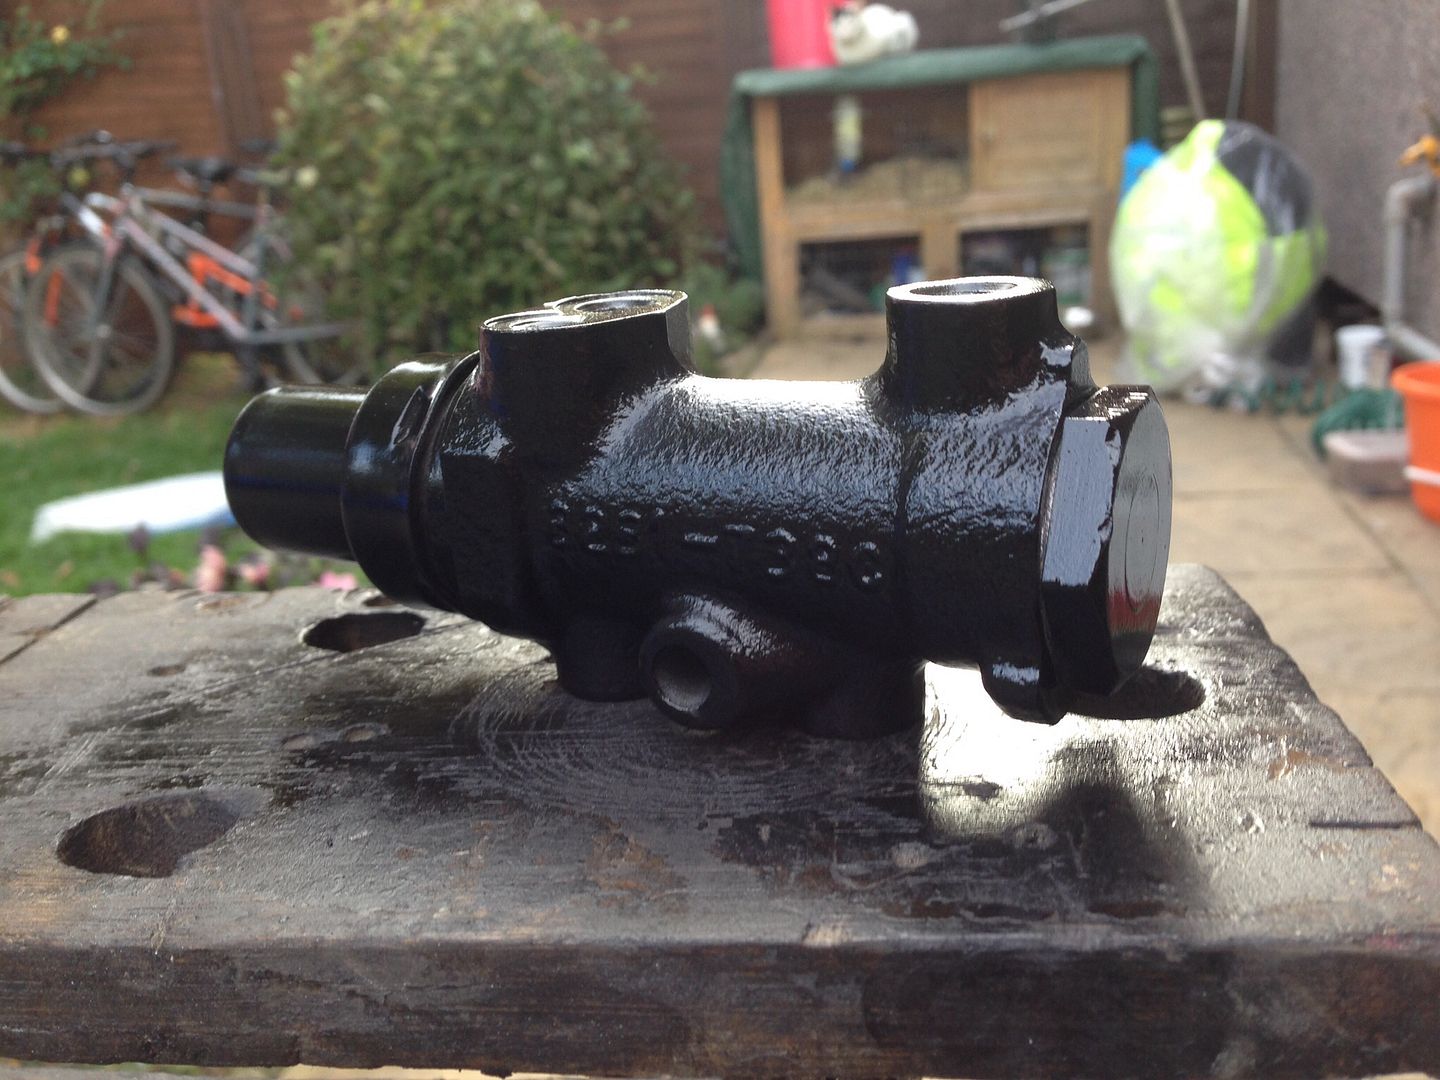
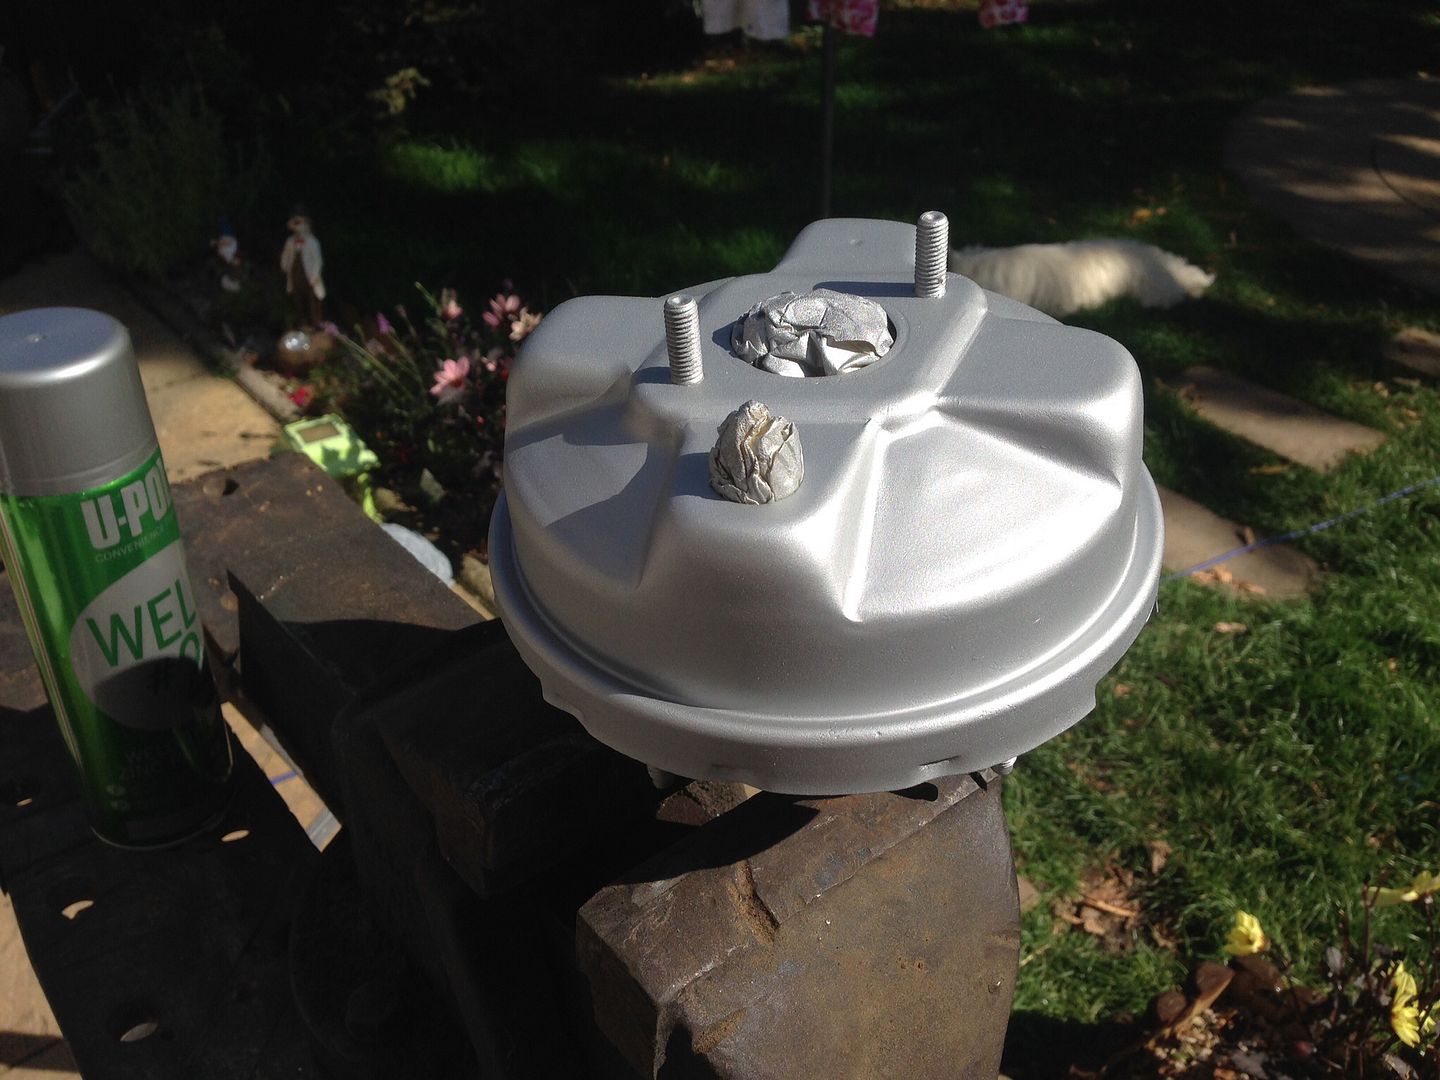
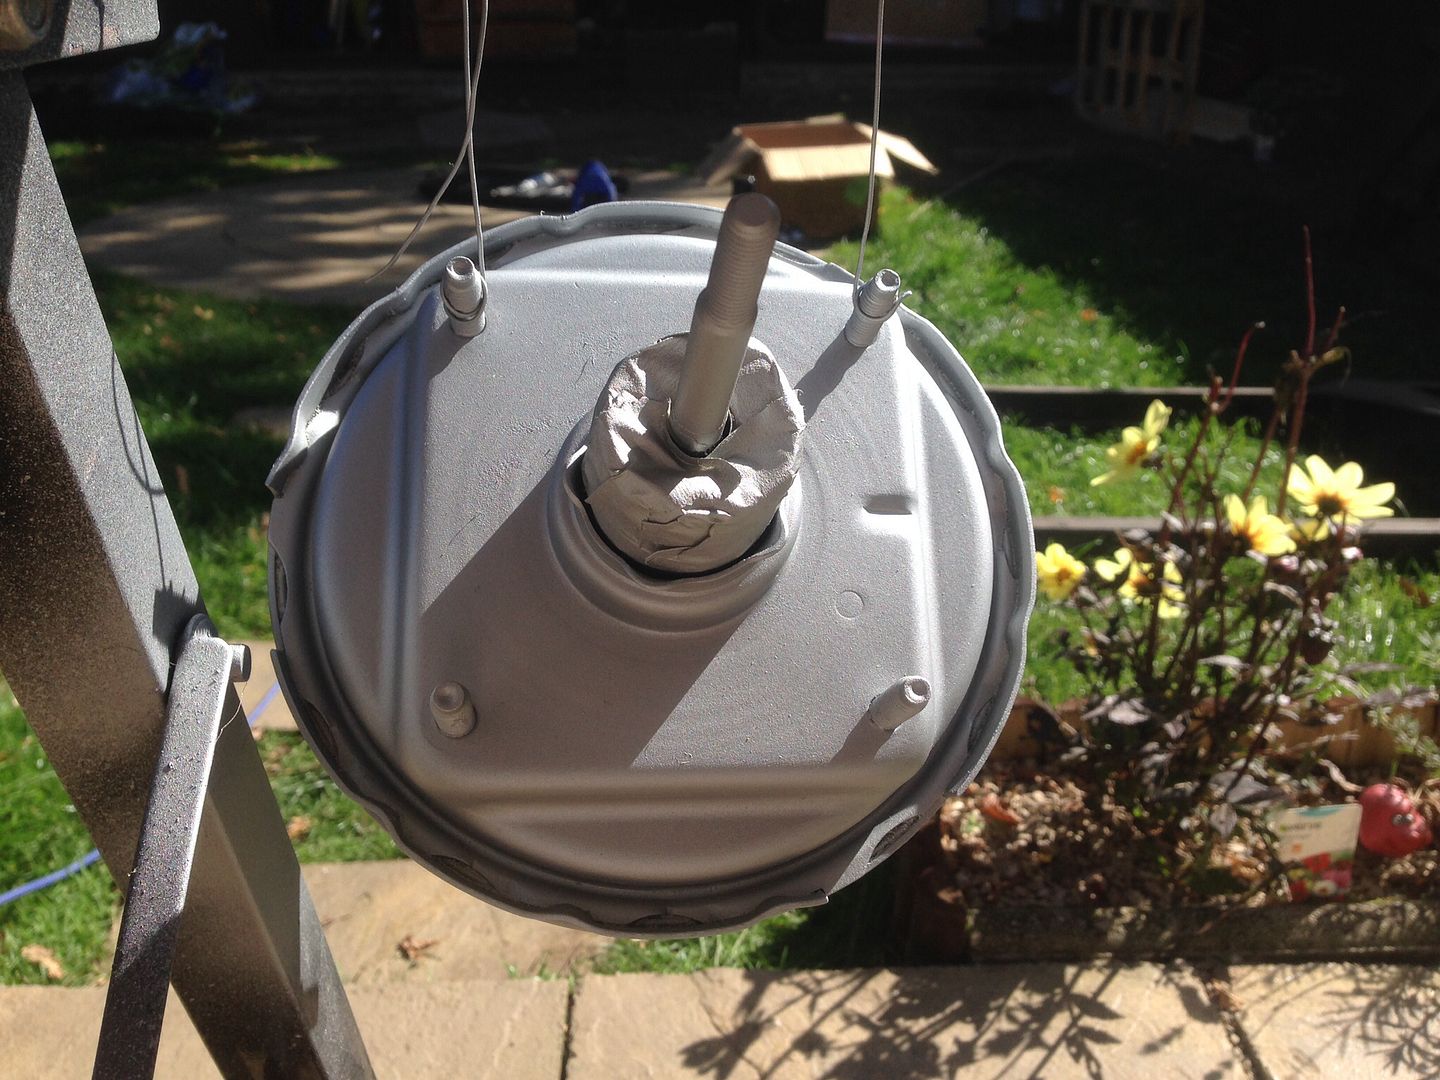
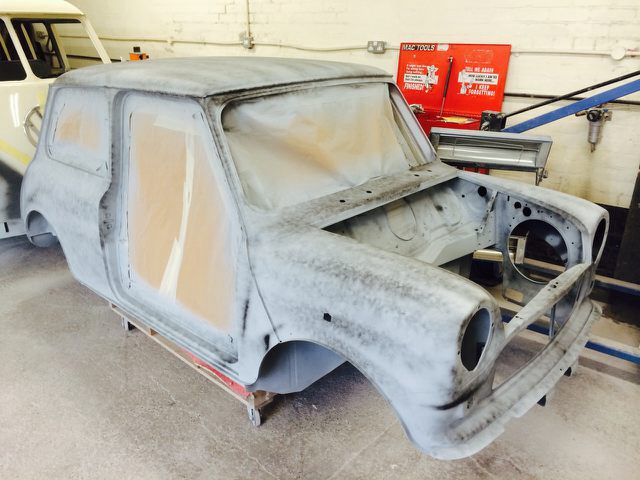
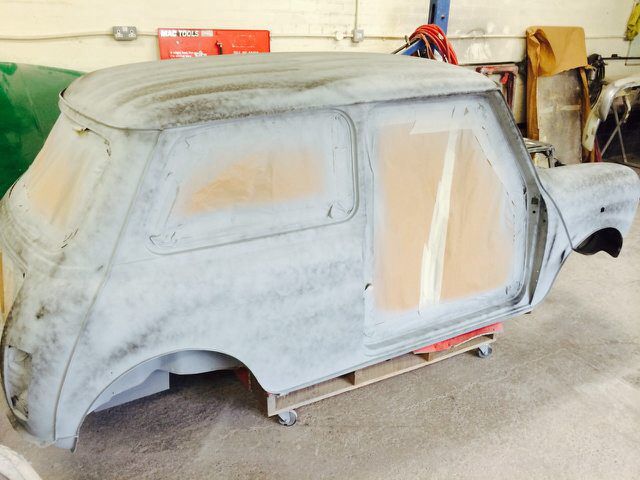
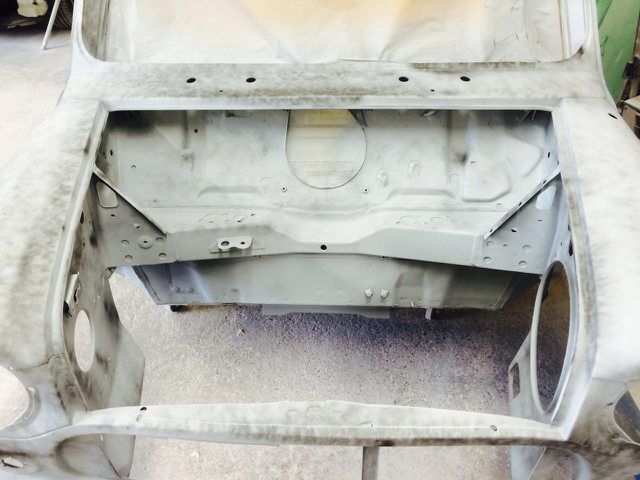
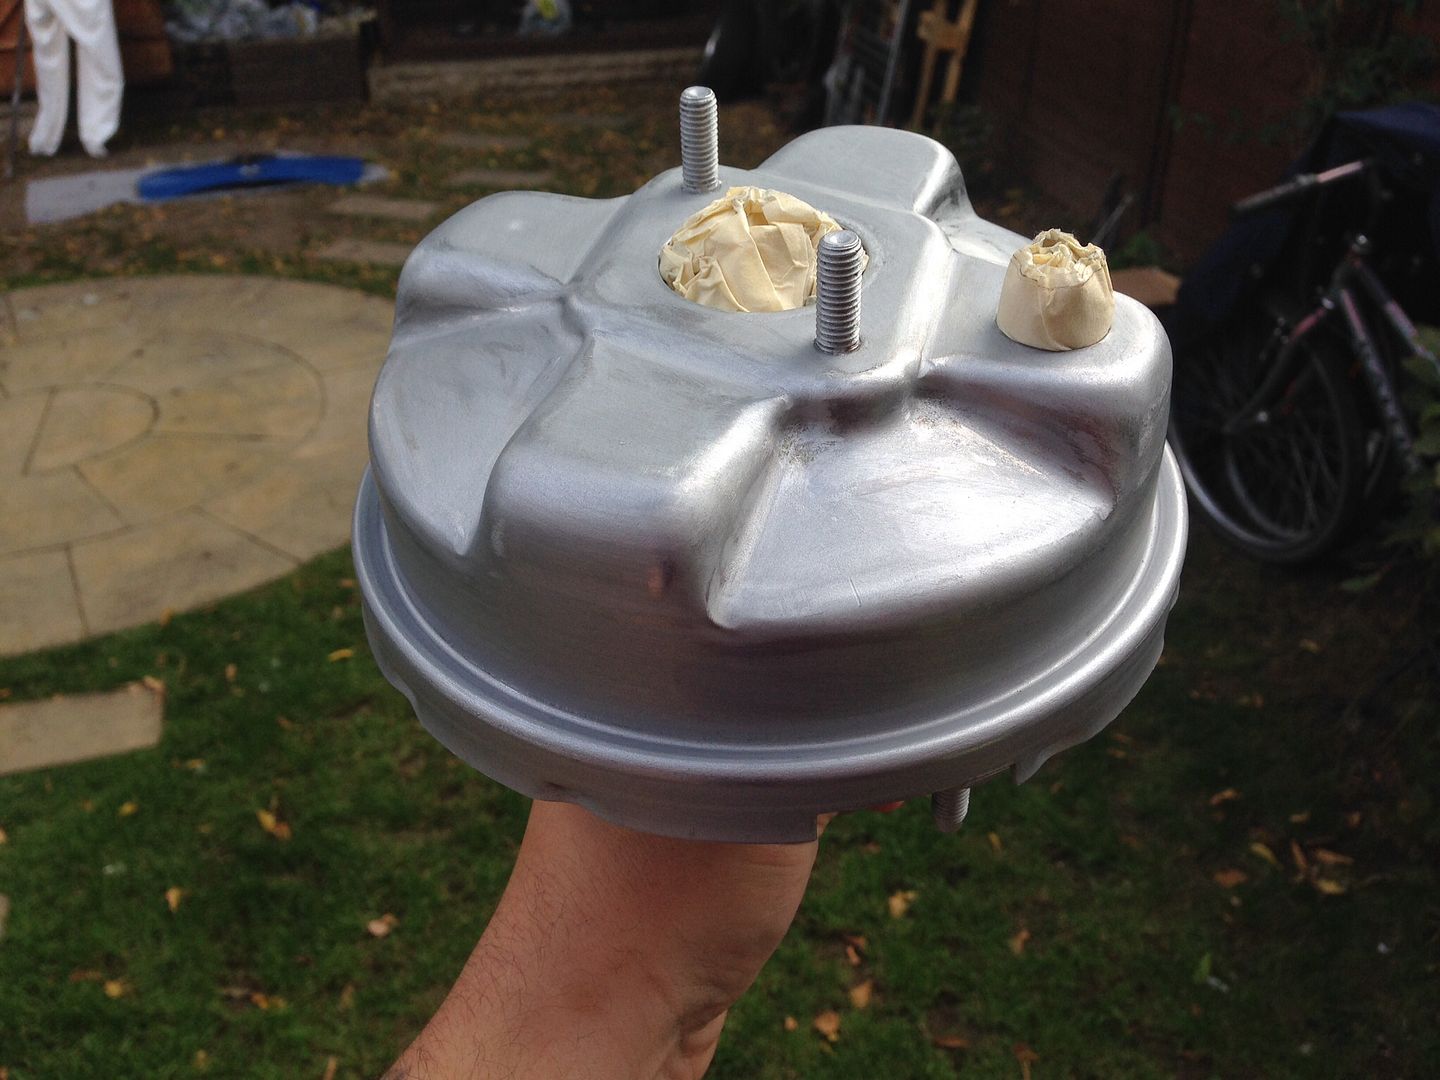
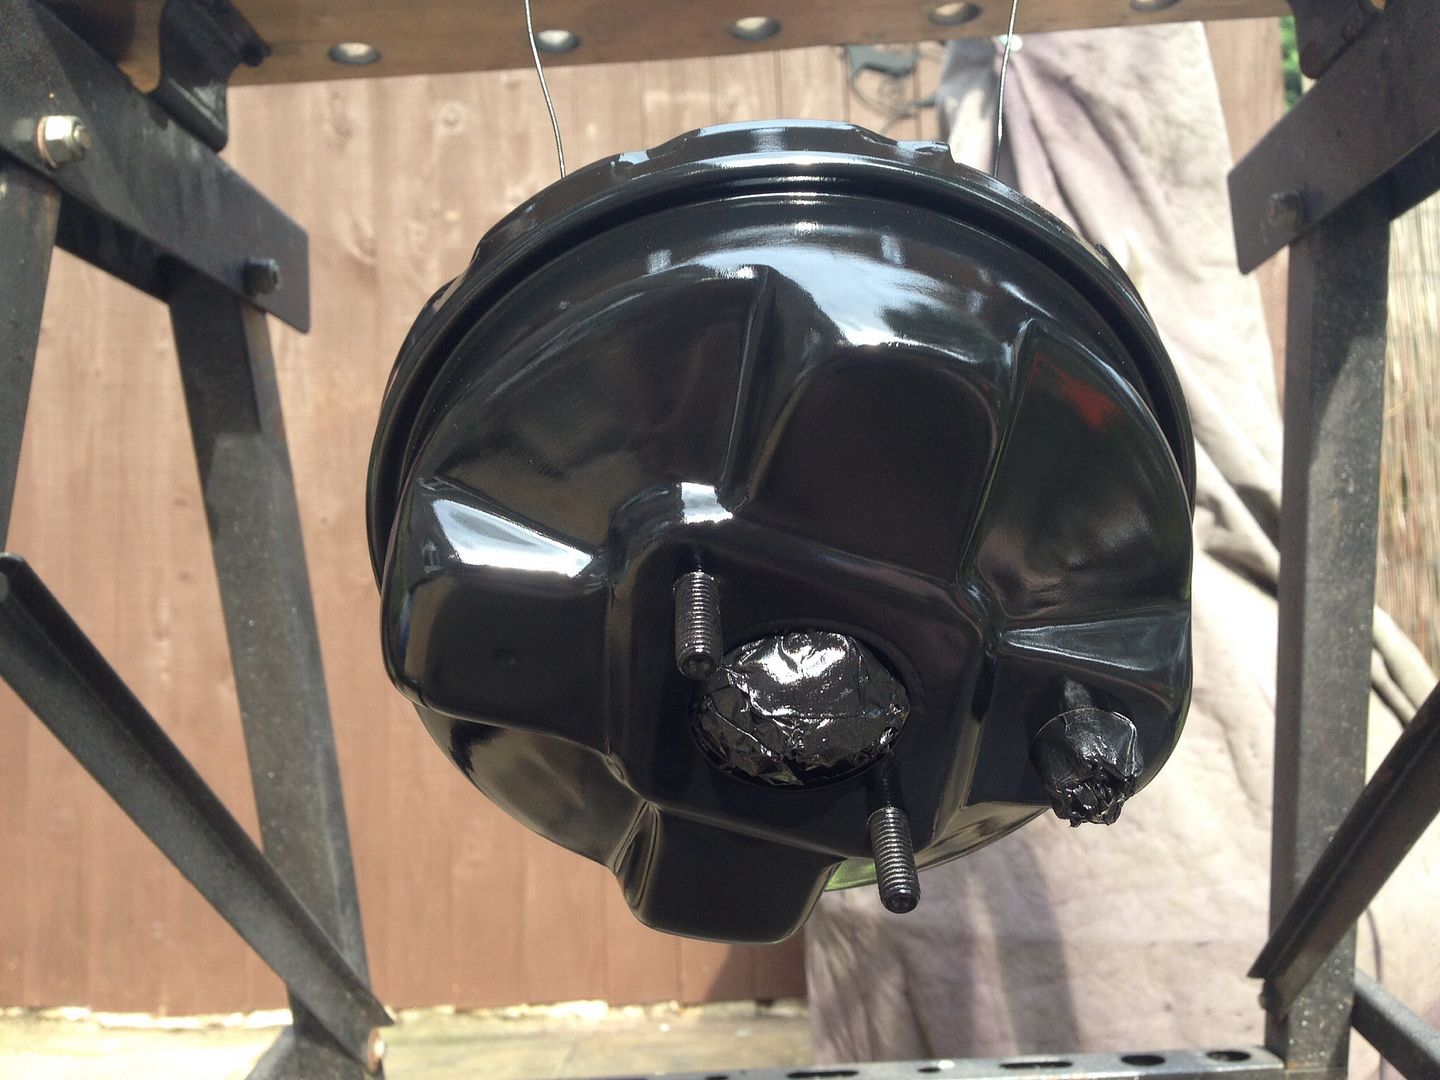
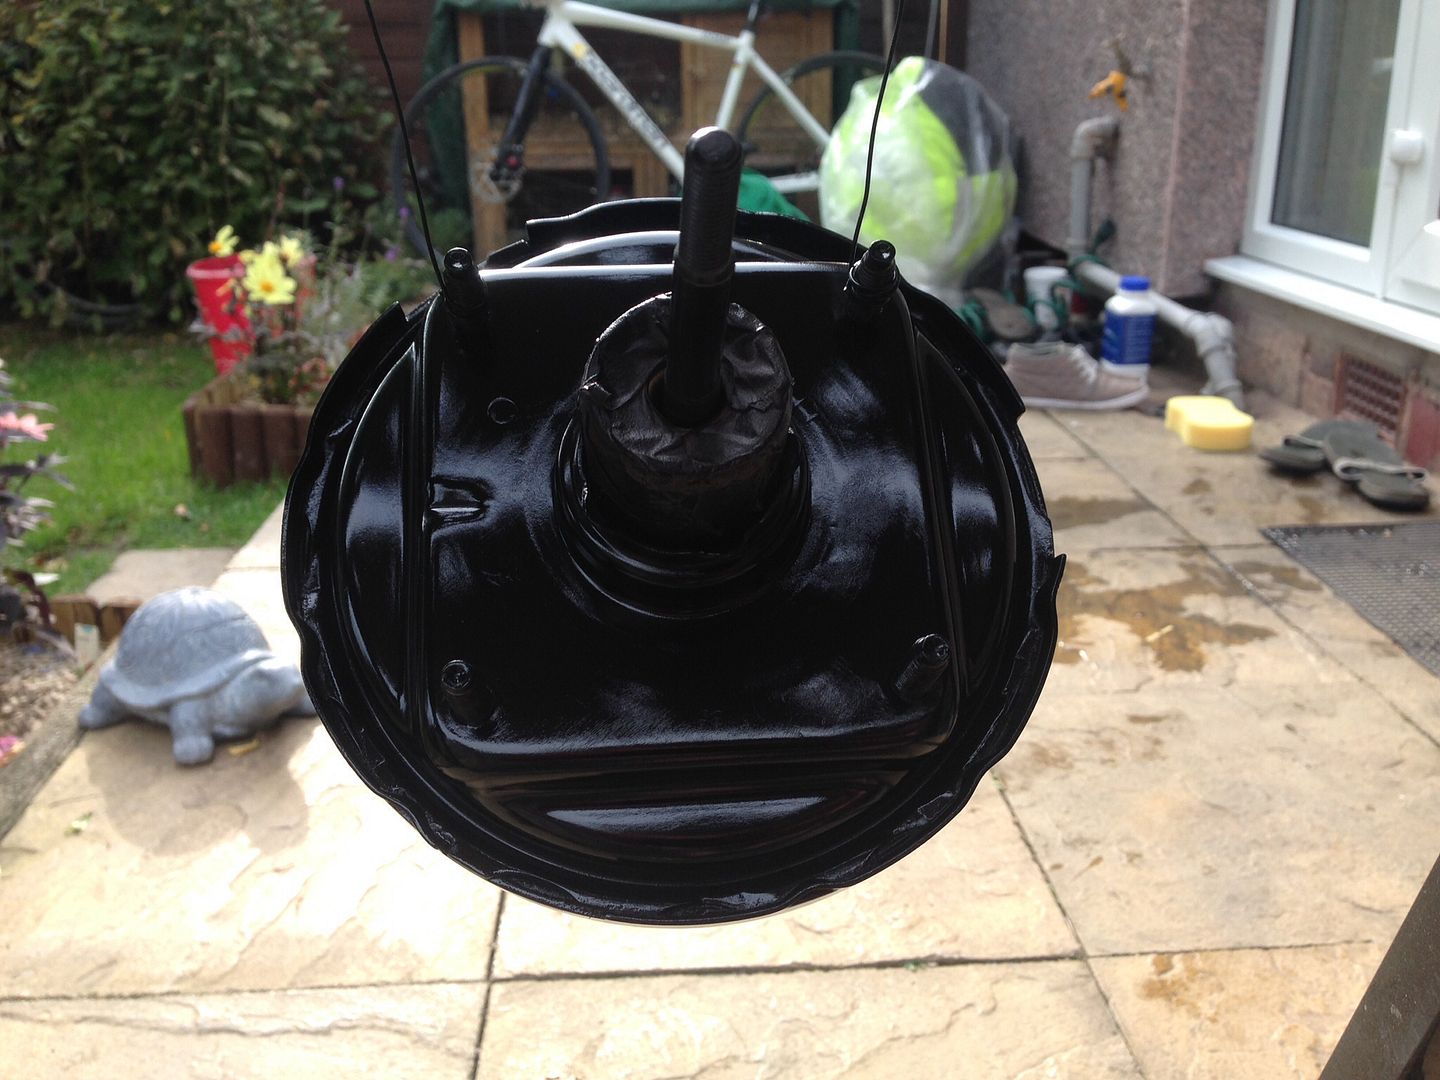
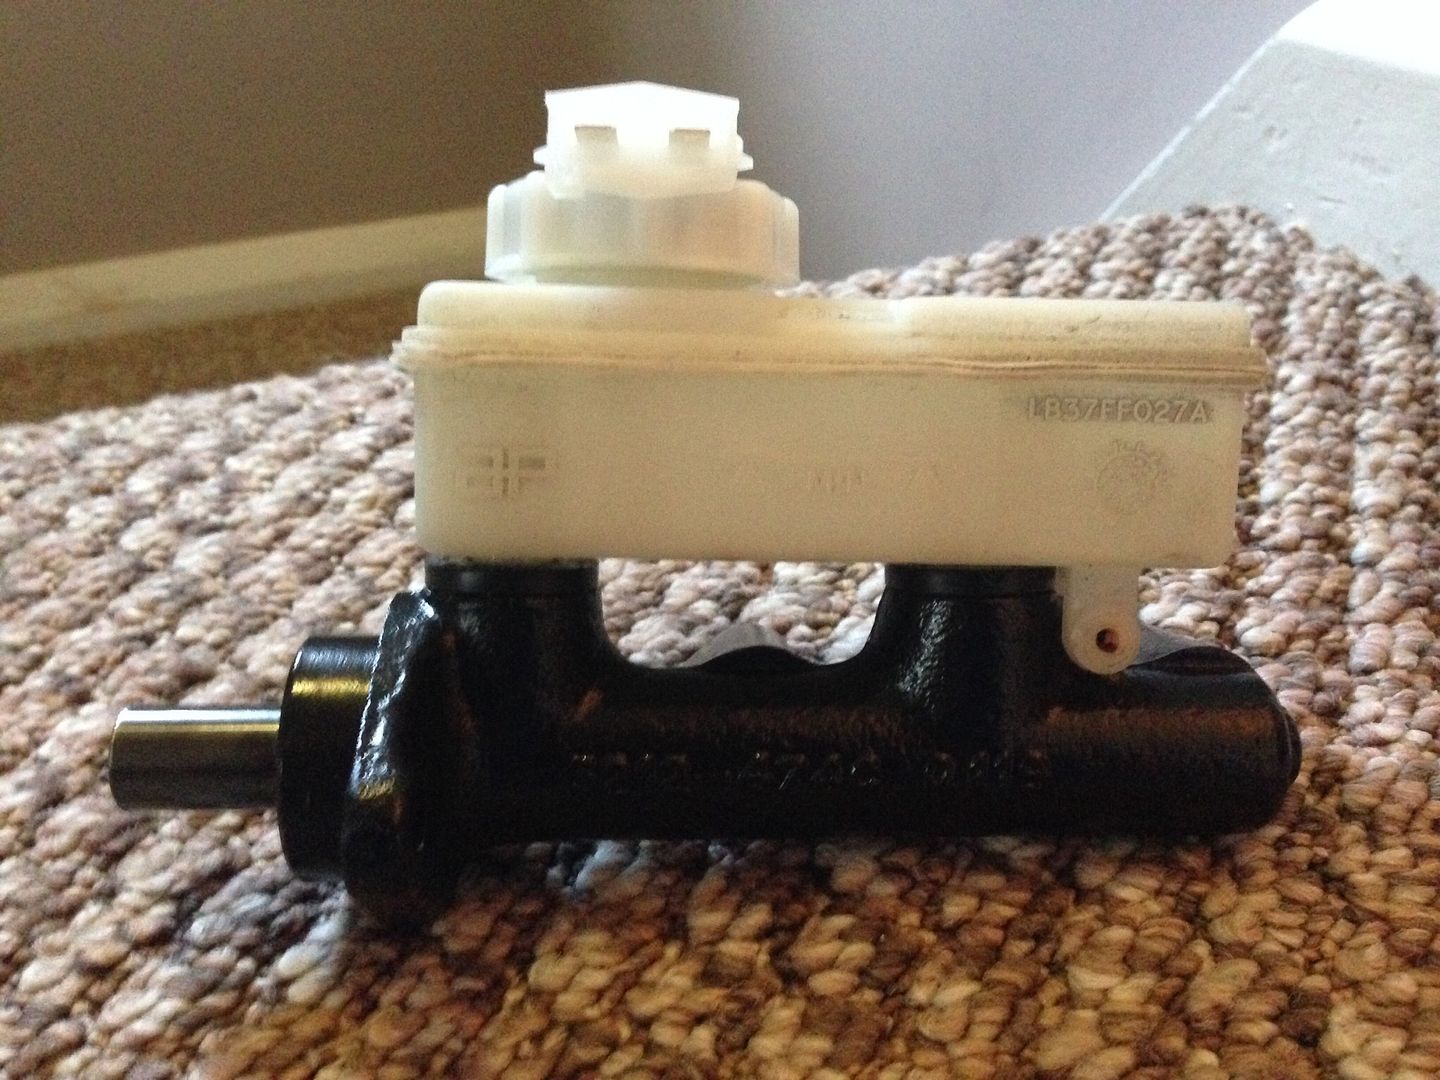
Looks like they are doing a good job on the shell Jay!
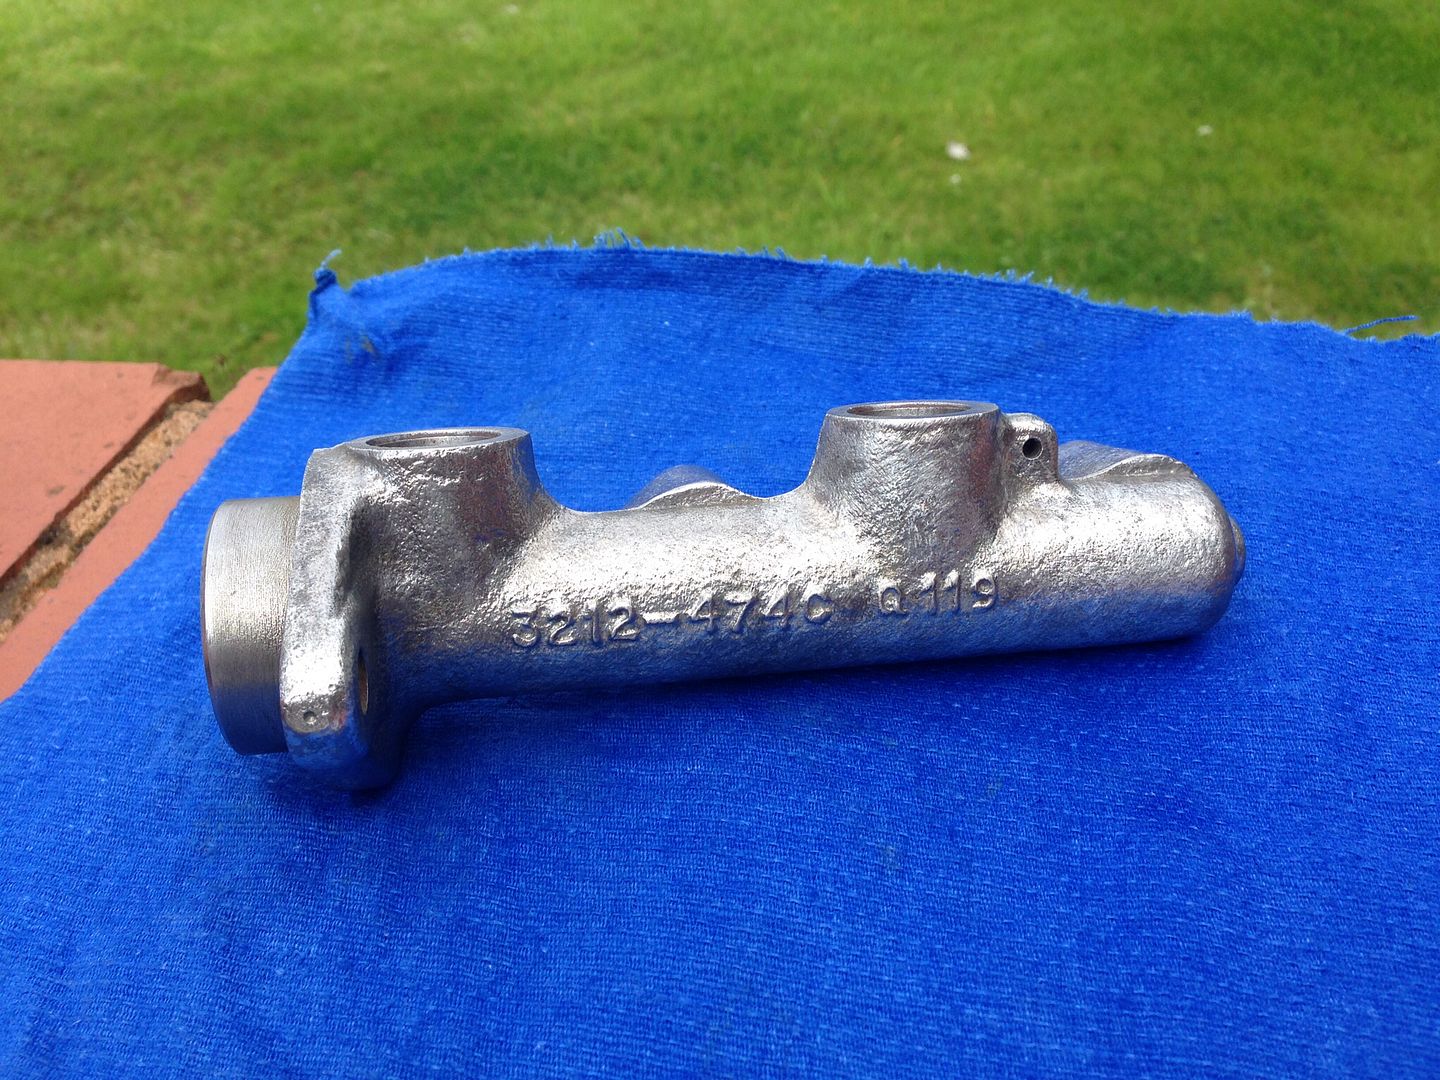
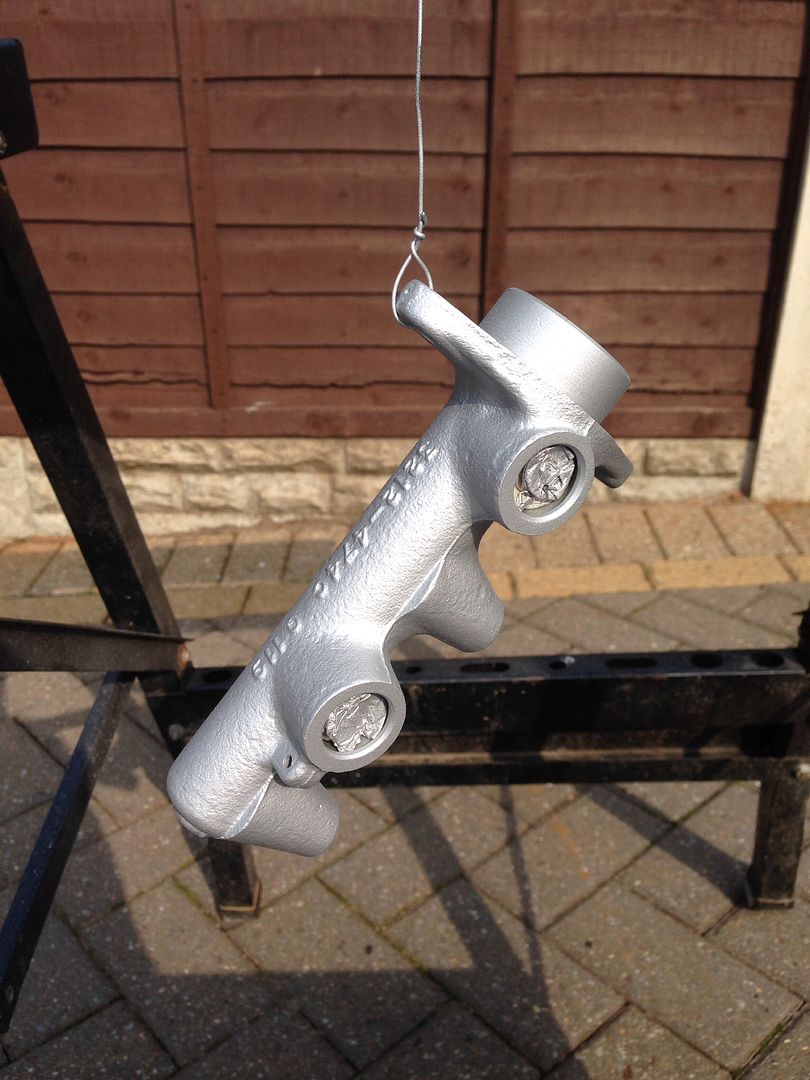
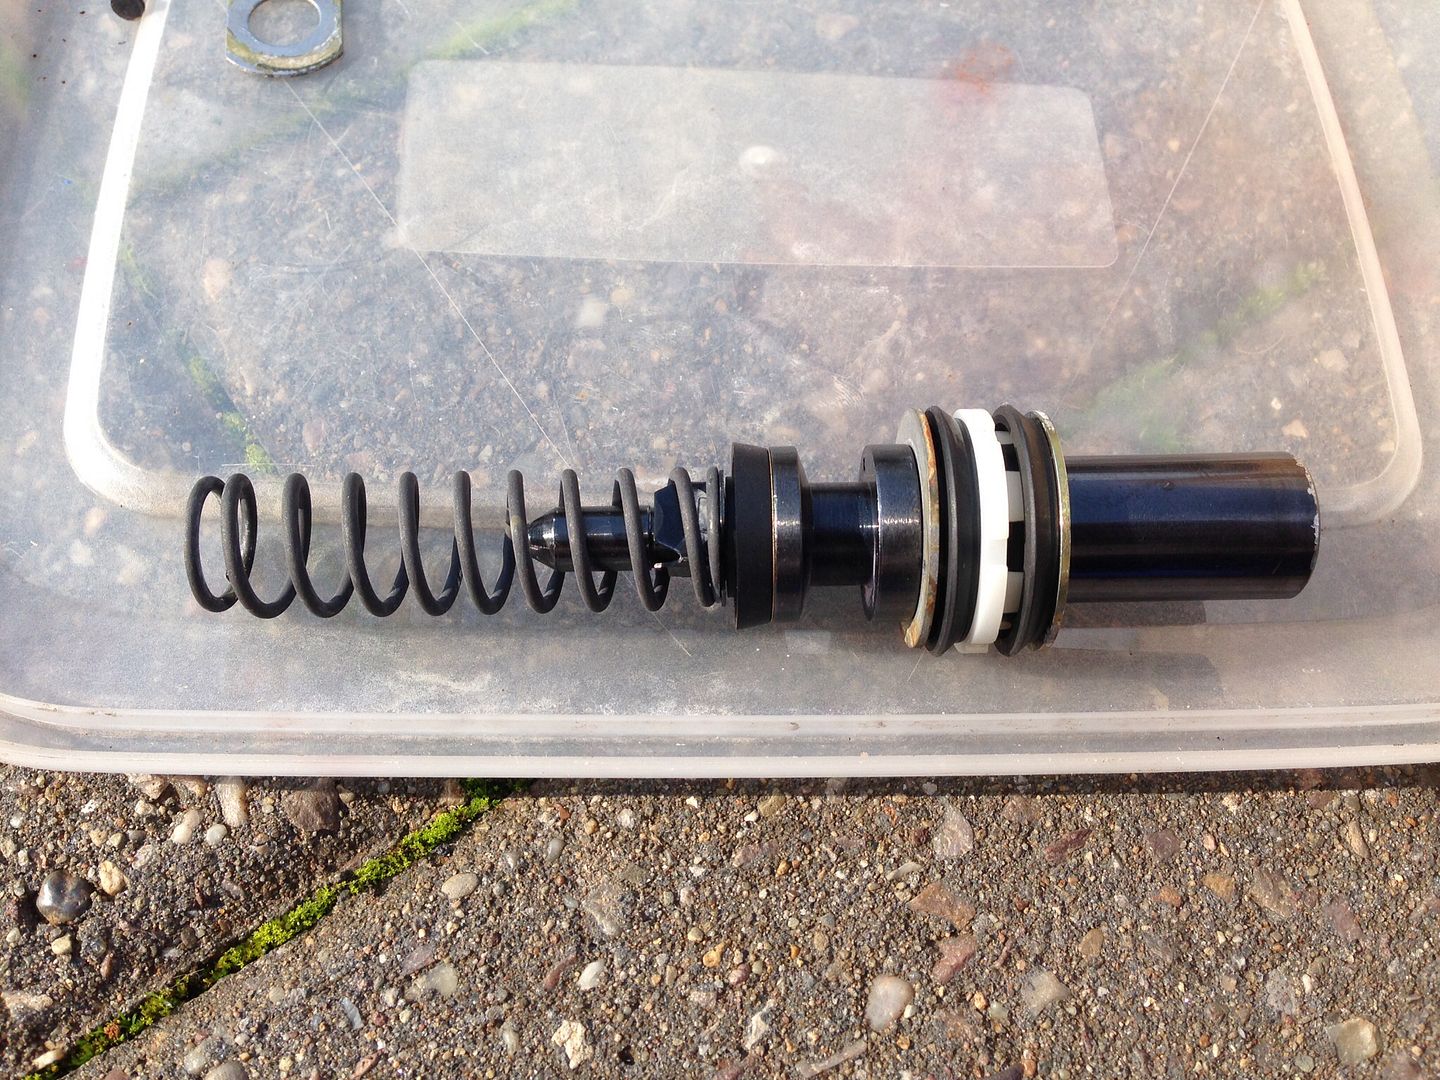
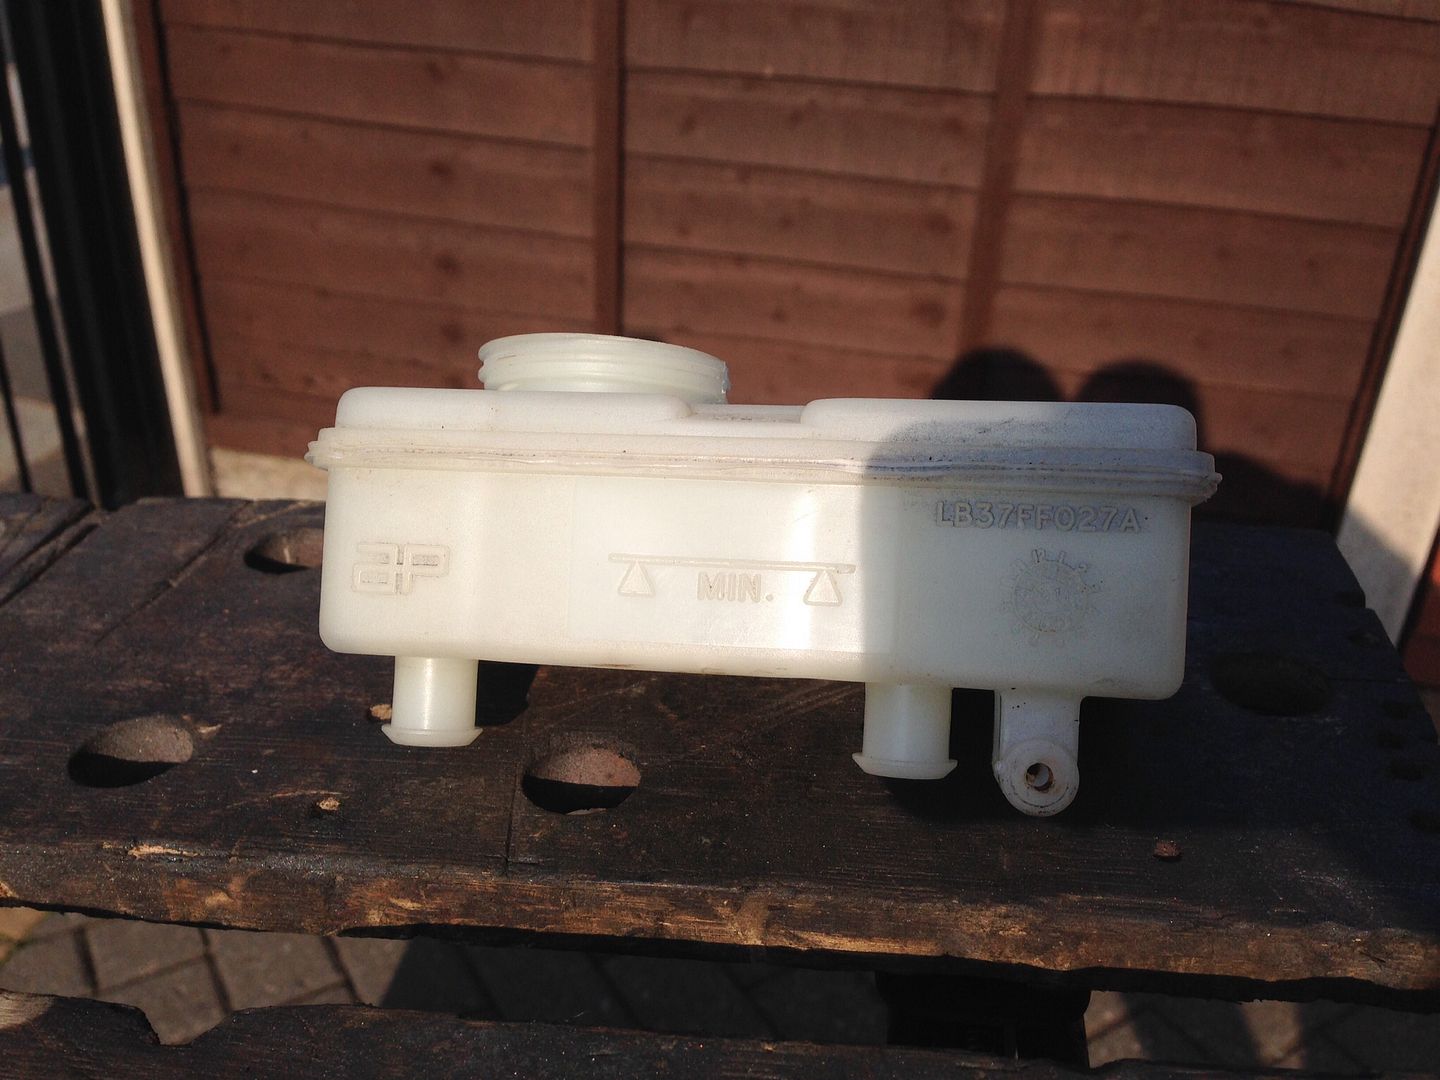
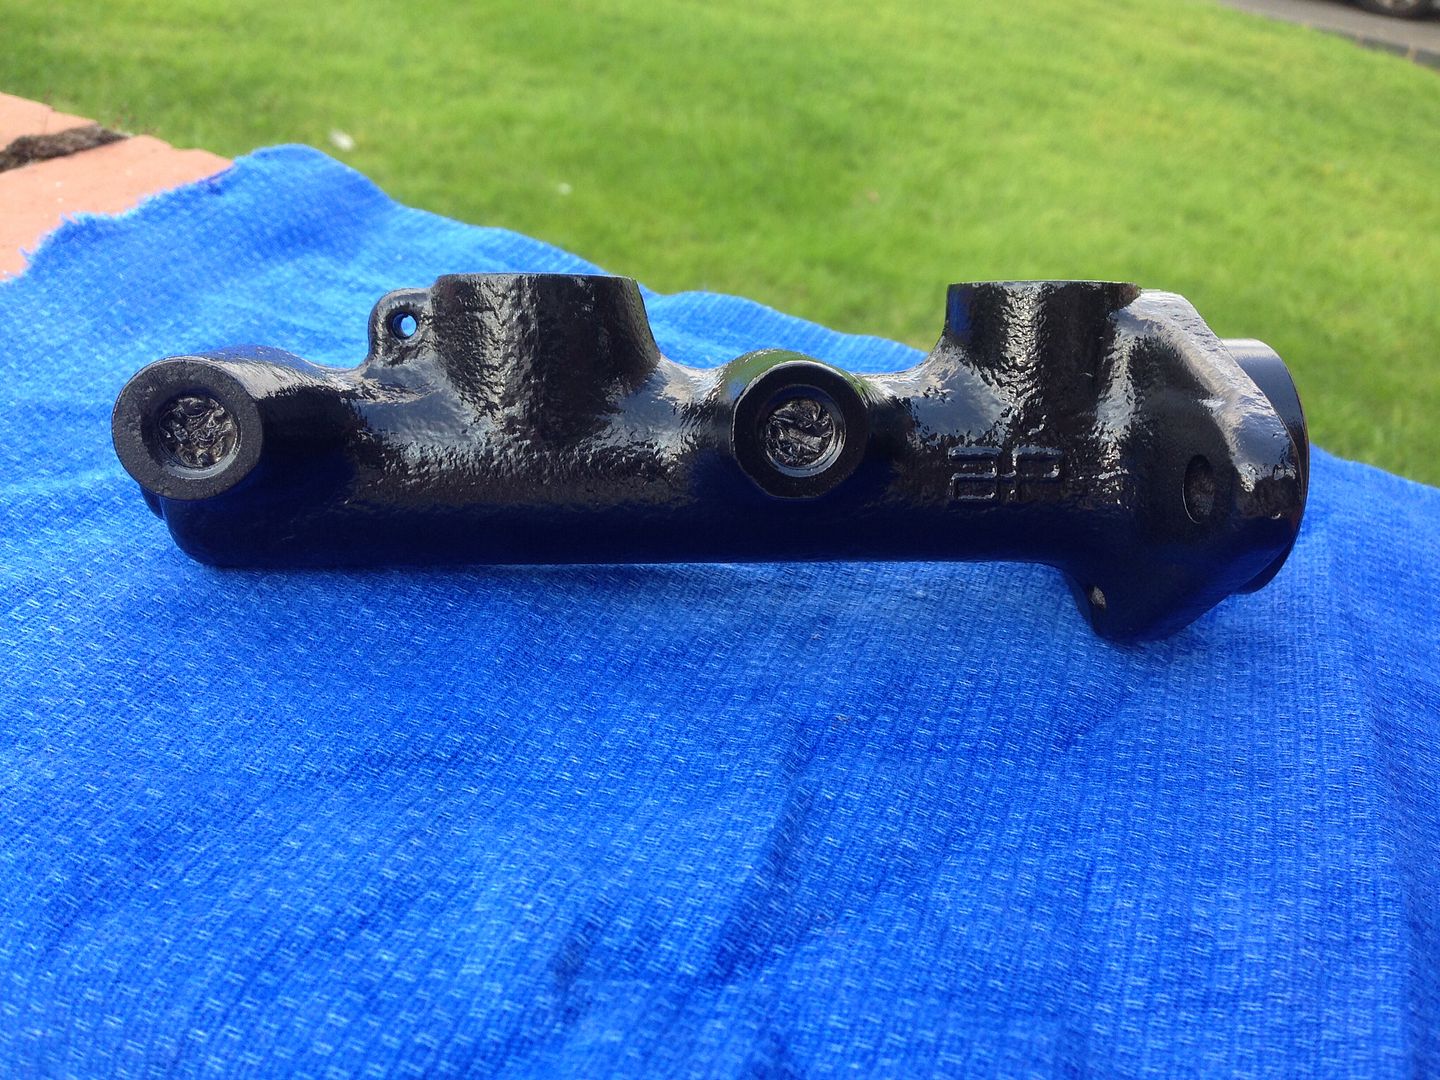
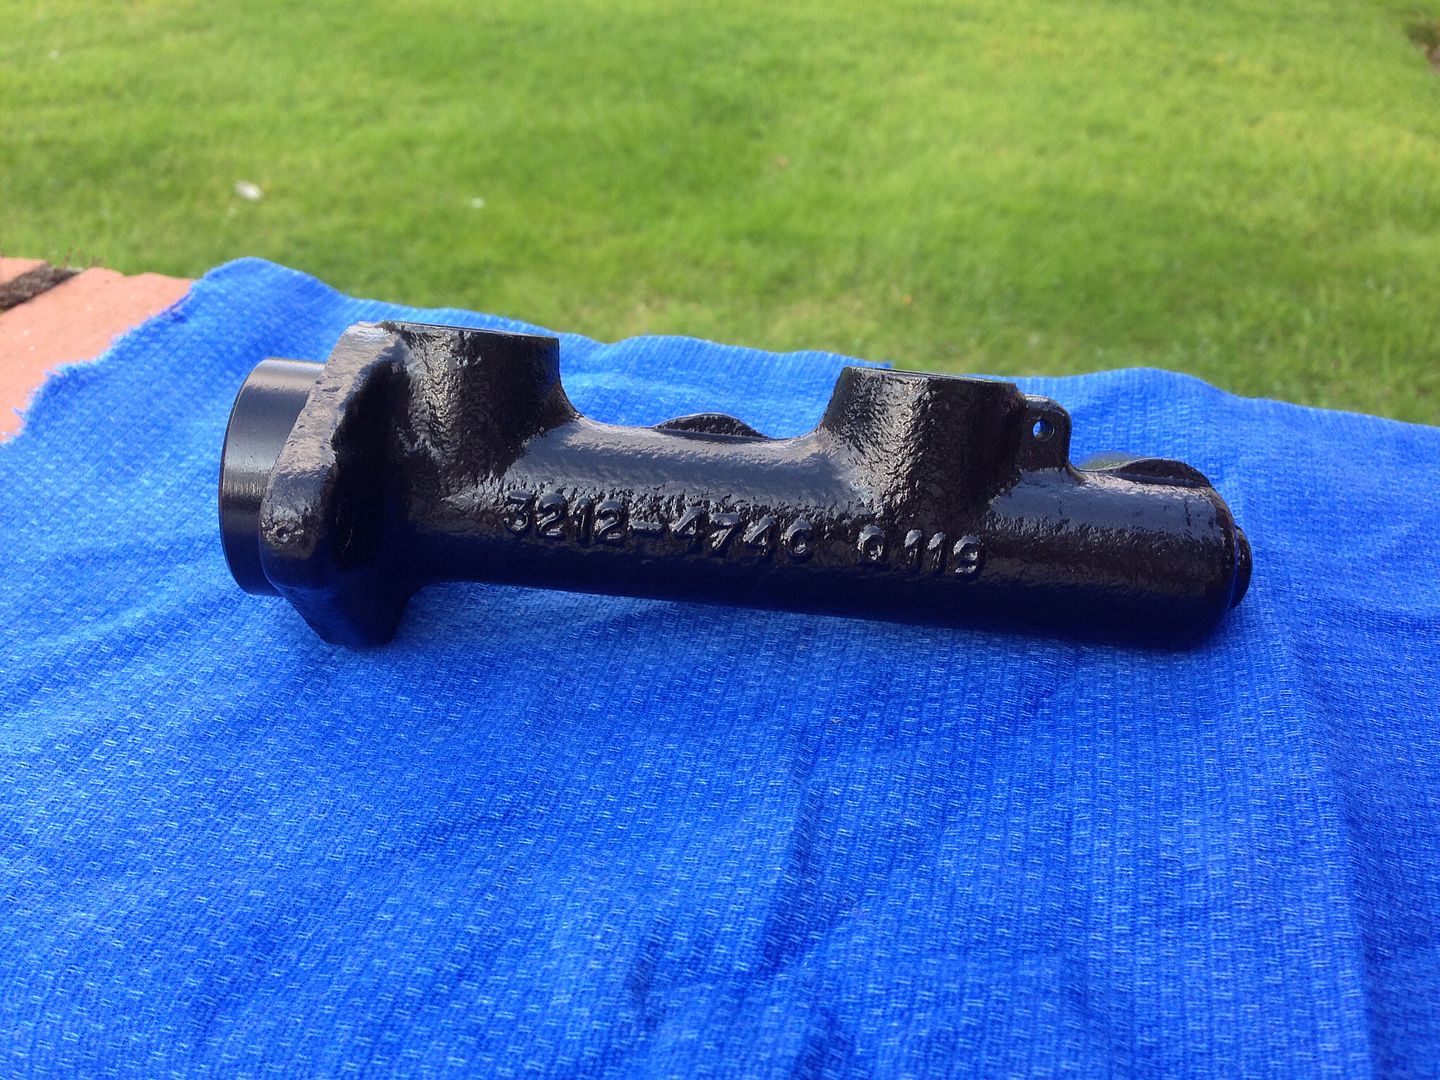
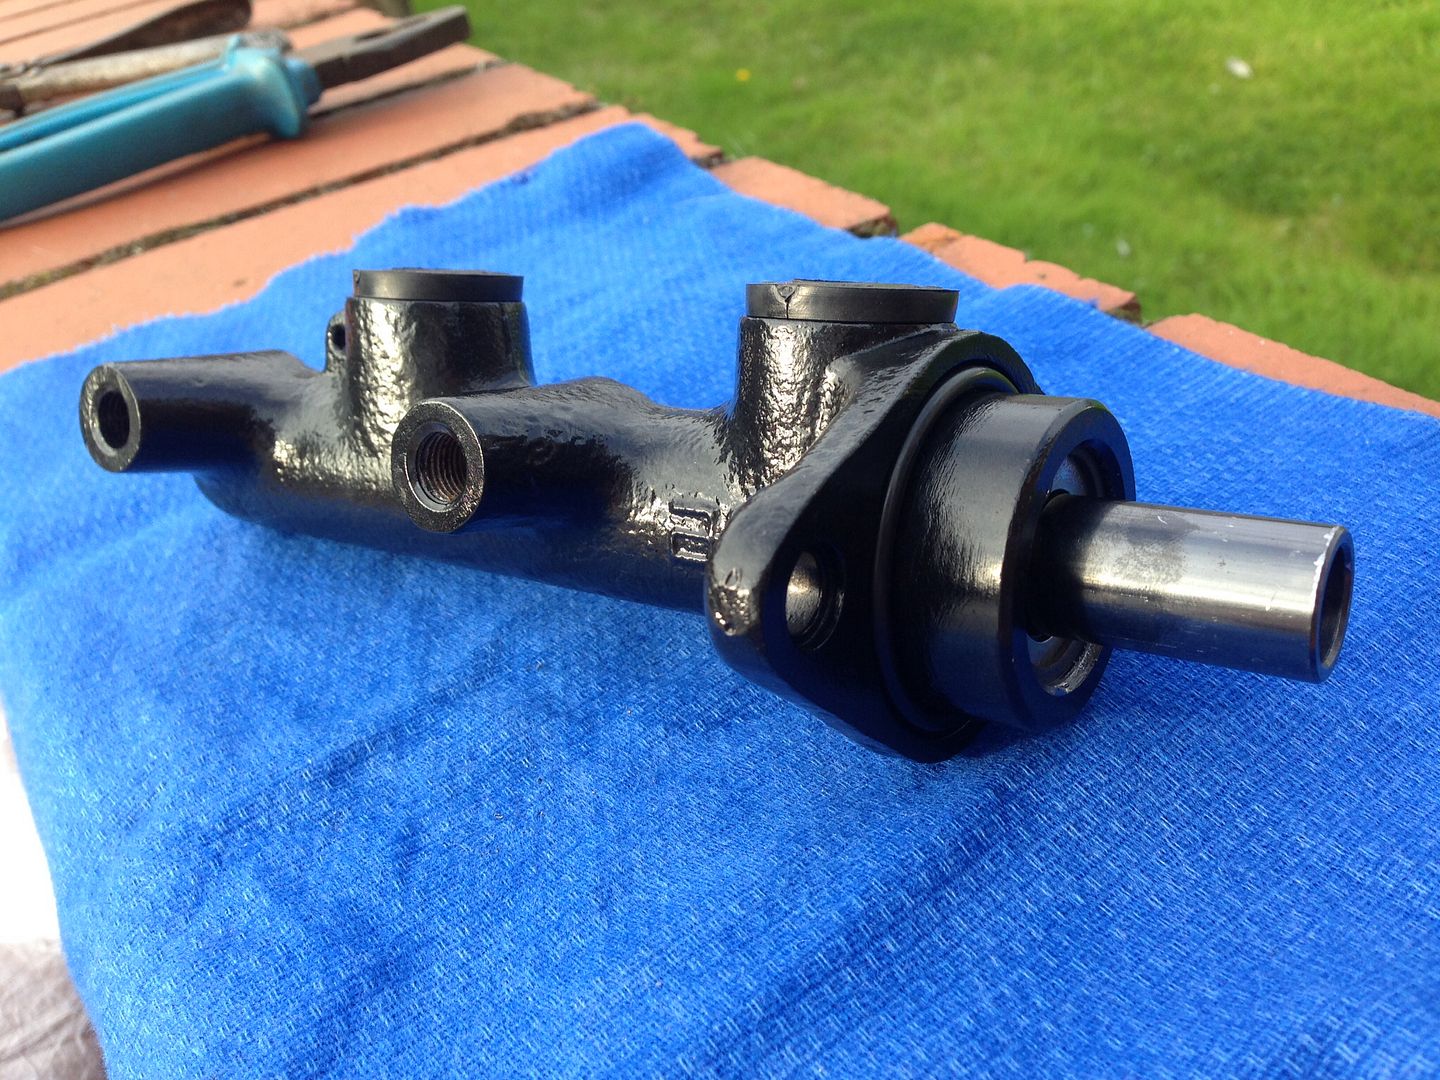
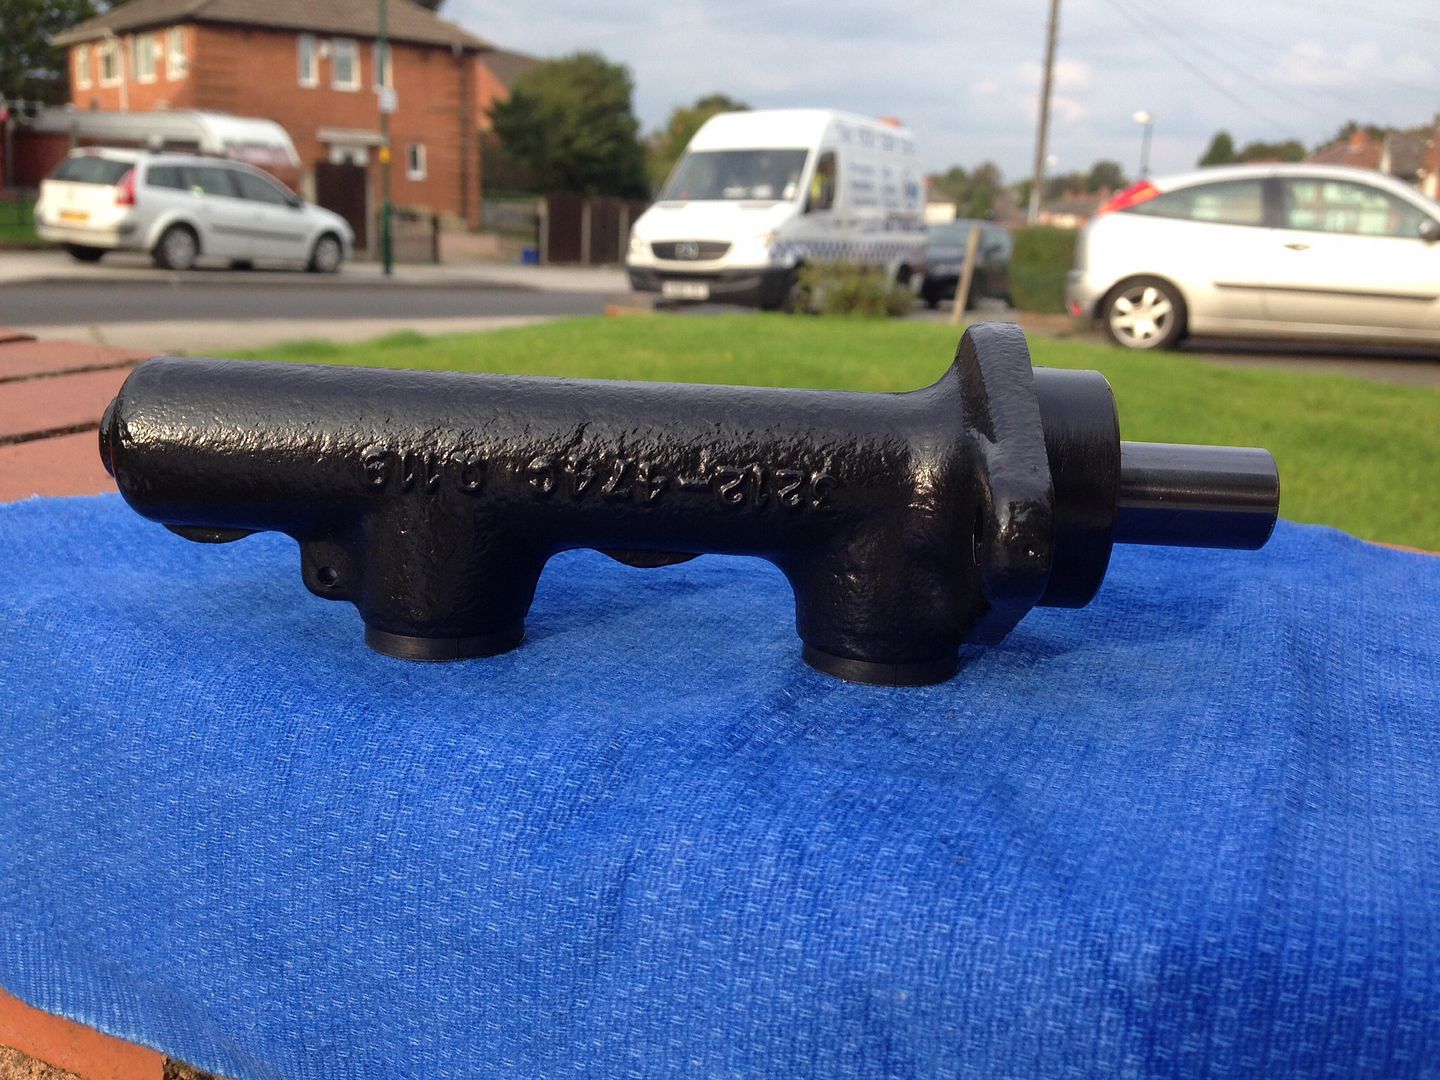
That master cylinder looks excellent.
Ben
Super Mini Mad
Posted 07 September 2014 - 07:51 AM
Looks like they are doing a good job on the shell Jay!
That master cylinder looks excellent.
Ben
Up Into Fourth

Posted 07 September 2014 - 08:07 AM
Just flicked through your build thread this morning, great work. Brought back many memories of cut hands, welding burns etc. Will be a very nice mini when finished.
Graham
Super Mini Mad
Posted 07 September 2014 - 08:48 AM
Just flicked through your build thread this morning, great work. Brought back many memories of cut hands, welding burns etc. Will be a very nice mini when finished.
Graham
.Super Mini Mad
Posted 08 September 2014 - 06:16 PM
Edited by big-jay, 08 September 2014 - 06:17 PM.
Super Mini Mad
Posted 09 September 2014 - 06:06 PM
Learner Driver

Posted 11 September 2014 - 07:55 AM
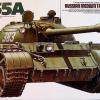
That subby looks great Jay!
I like the carpets, just wish they didn't put heel pads on both sides.
Look forward to the body shop photos tomorrow mate
Ben
Hi Ben,
I work for Newtons and have done for around 8 years. We are able to supply the carpets with either 1 heel mat or no heel mats depending on your requirements. I suppose this is the benefit when we make the products ourselves!
Any questions i am always happy to help.
Shaun
Super Mini Mad
Posted 13 September 2014 - 04:23 PM

Mill Road Garage
Posted 13 September 2014 - 05:06 PM
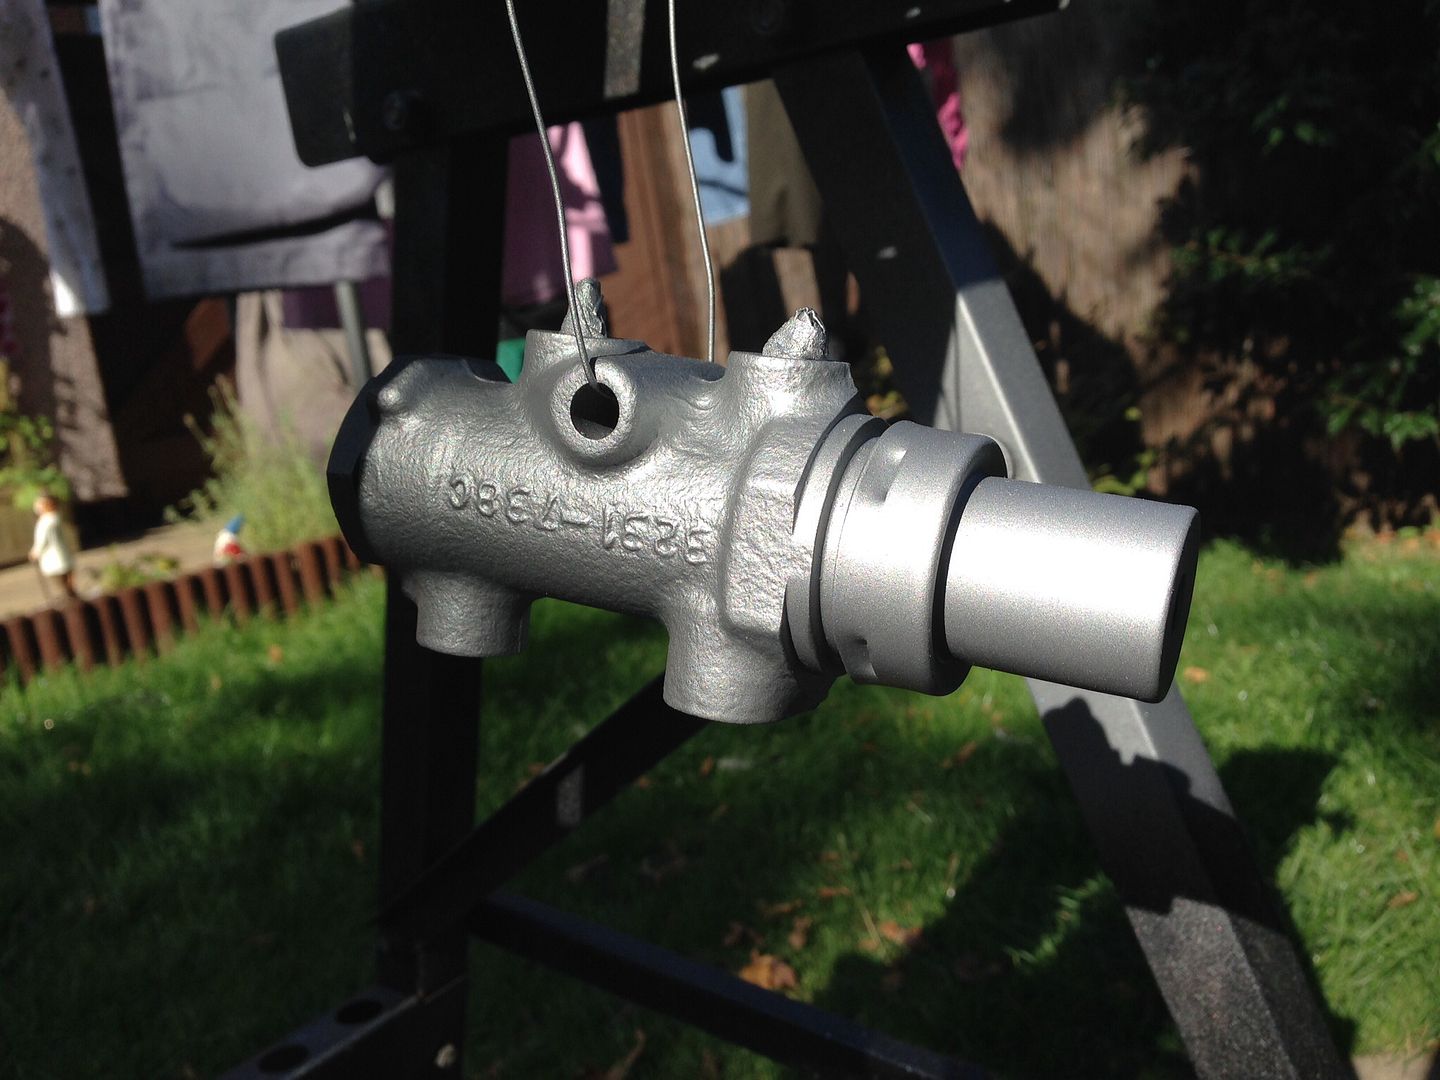
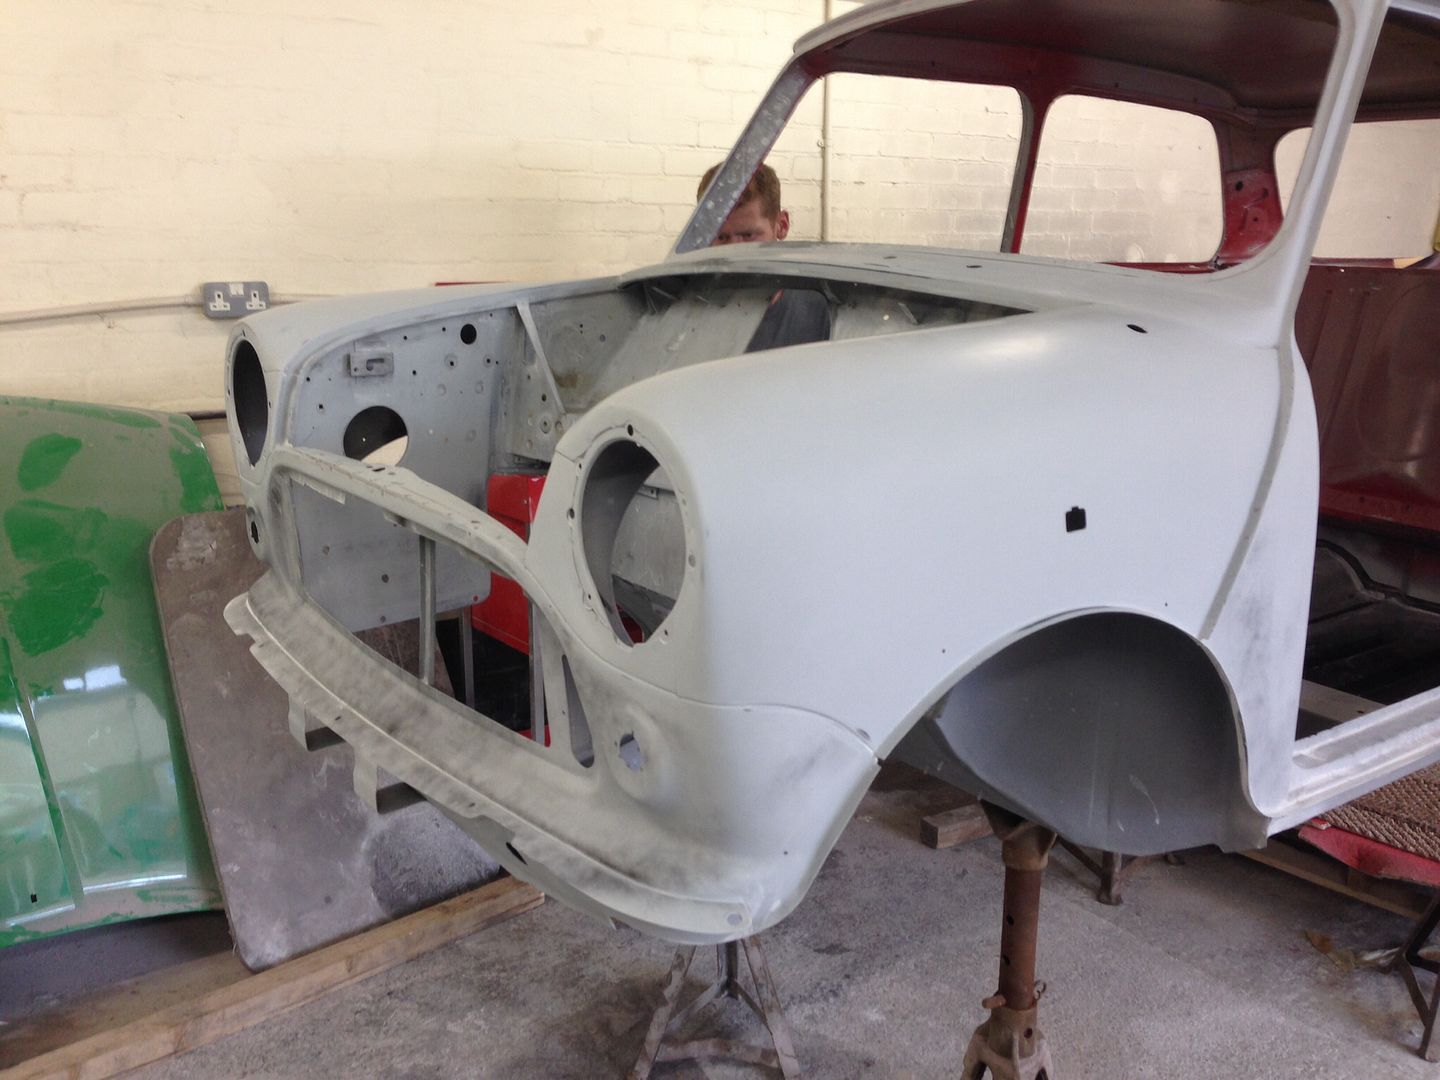
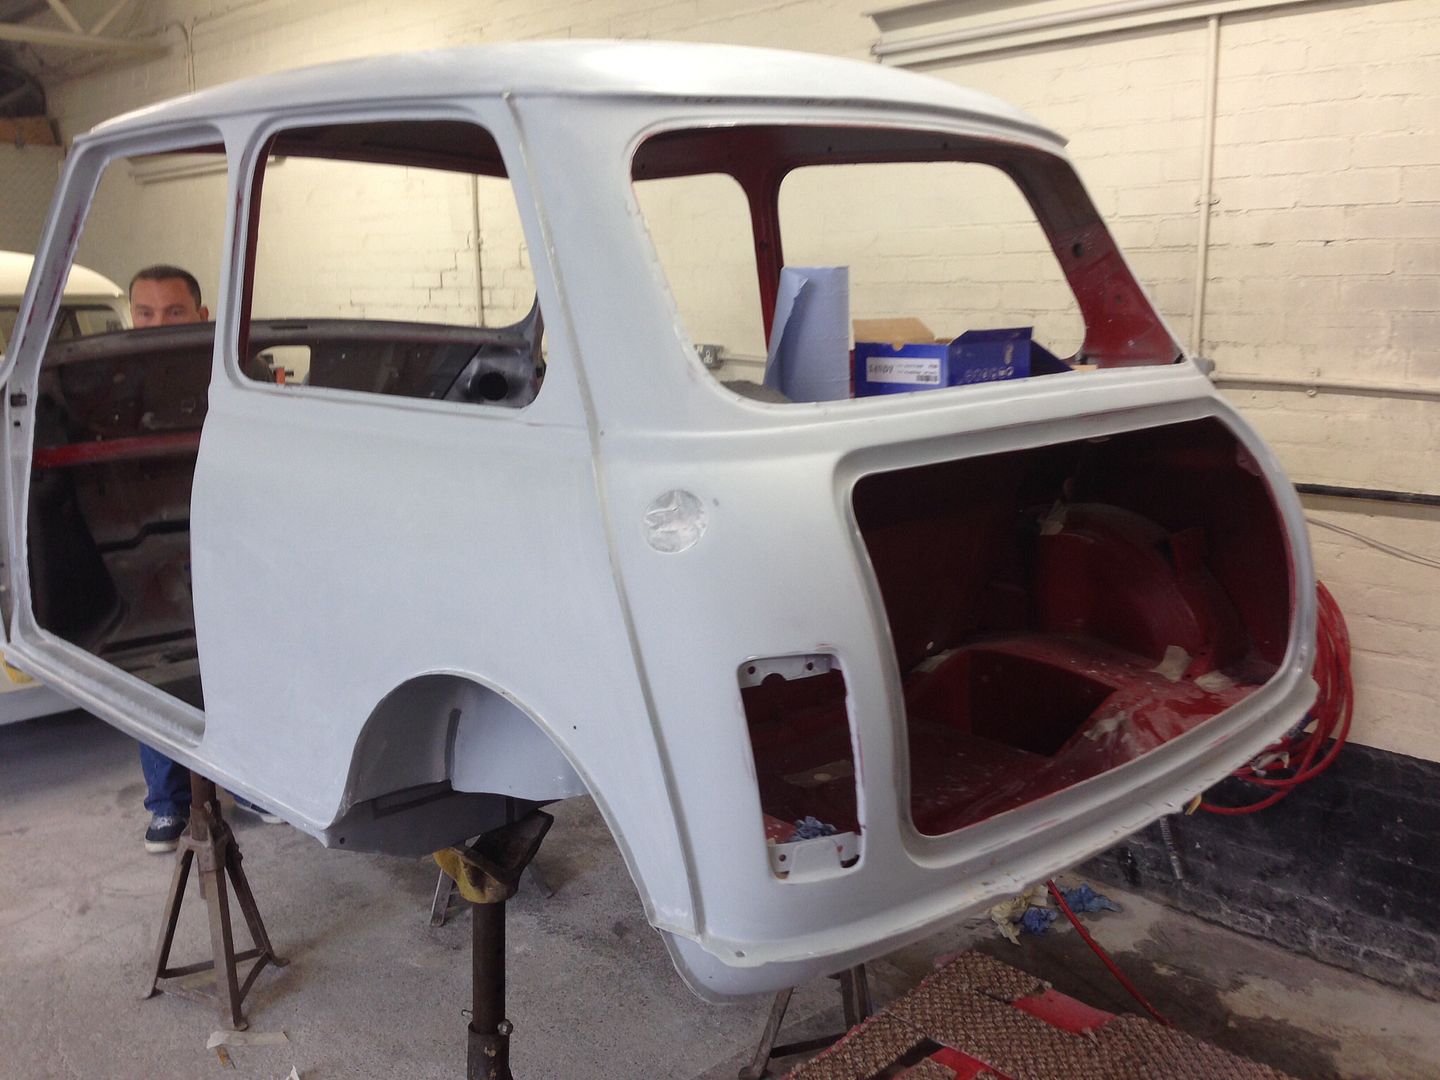
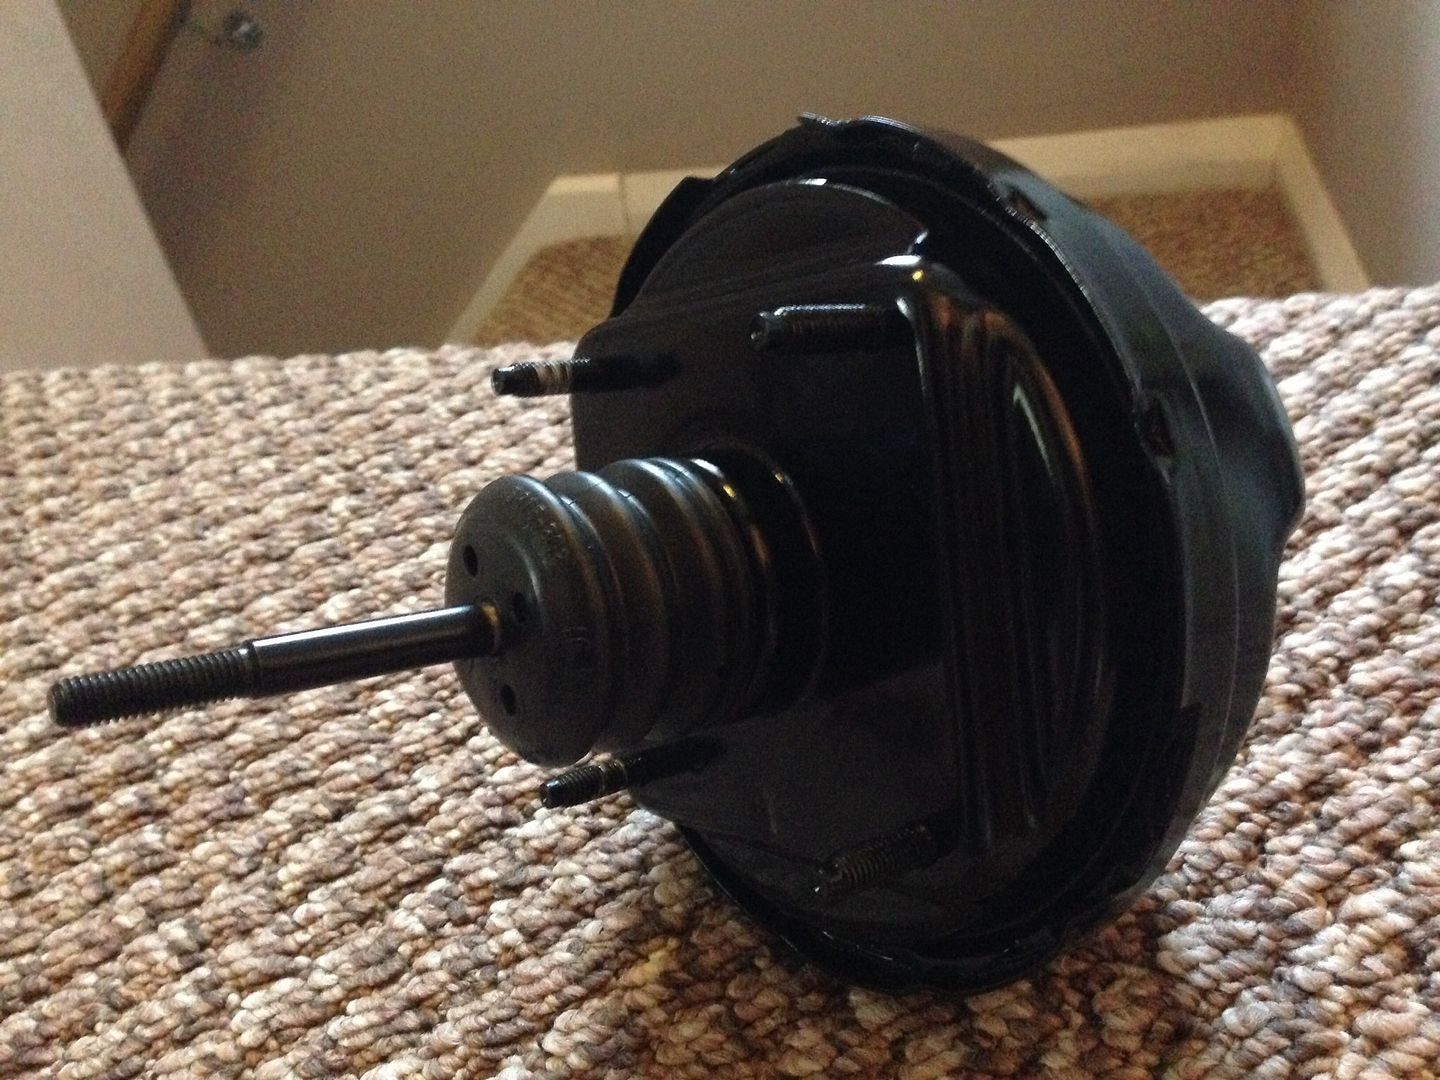
You must be really pleased with that Jay!
Edited by Ben_O, 13 September 2014 - 05:06 PM.
Super Mini Mad
Posted 14 September 2014 - 06:56 PM
You must be really pleased with that Jay!
Edited by big-jay, 14 September 2014 - 06:57 PM.
Super Mini Mad
Posted 14 September 2014 - 07:13 PM


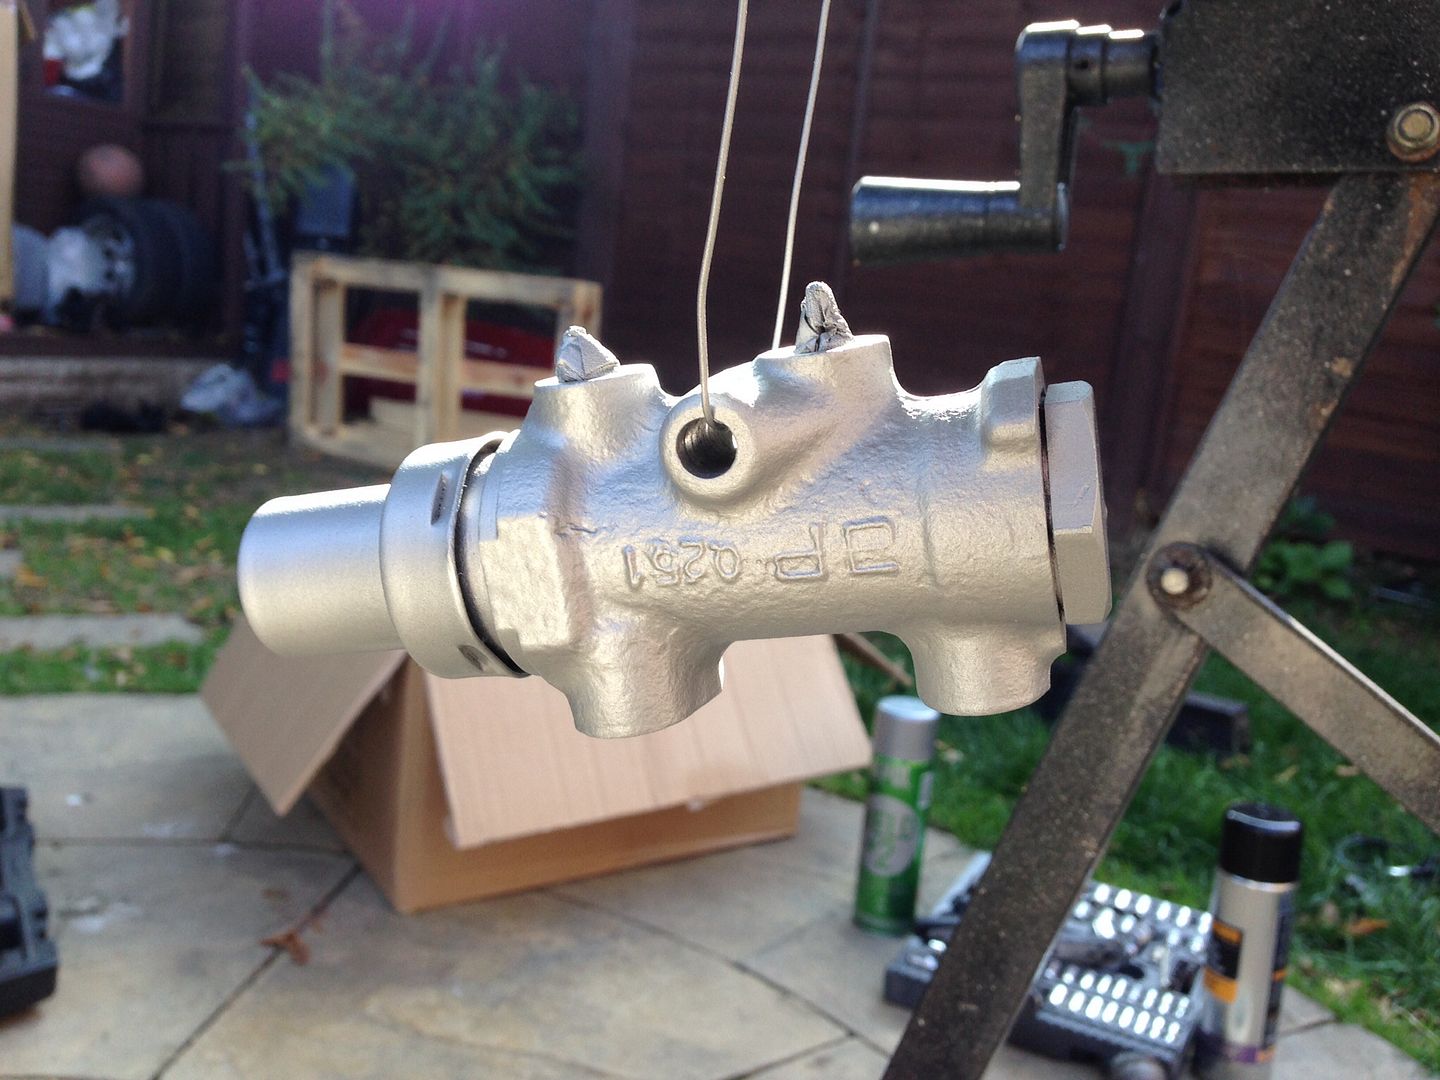
Has a small thing but it does make a difference

Posted 14 September 2014 - 08:32 PM
Looks like a job well done. Little details make all the difference.


Projects →
Mini Saloons →
Mini Cooper Project - Finally StartsStarted by piphatch , 08 Jan 2025 |
|

|
||
Projects →
Mini Saloons →
1965 Austin Mini Restoration - Canadian Mk1Started by DoubleEh , 14 Nov 2022 |
|

|
||
Projects →
Mini Saloons →
Project Joe - 1991 Mini Mayfair 998Started by Eggers , 02 Jun 2022 |
|

|
||
Projects →
Mini Saloons →
Mpi Dashboad ProblemStarted by mikeprez , 22 Dec 2021 |
|

|
||
Projects →
Mini Saloons →
1978 Oew - Willy The MiniStarted by smalltreegrower , 11 Nov 2021 |
|

|
0 members, 1 guests, 0 anonymous users


