Update,
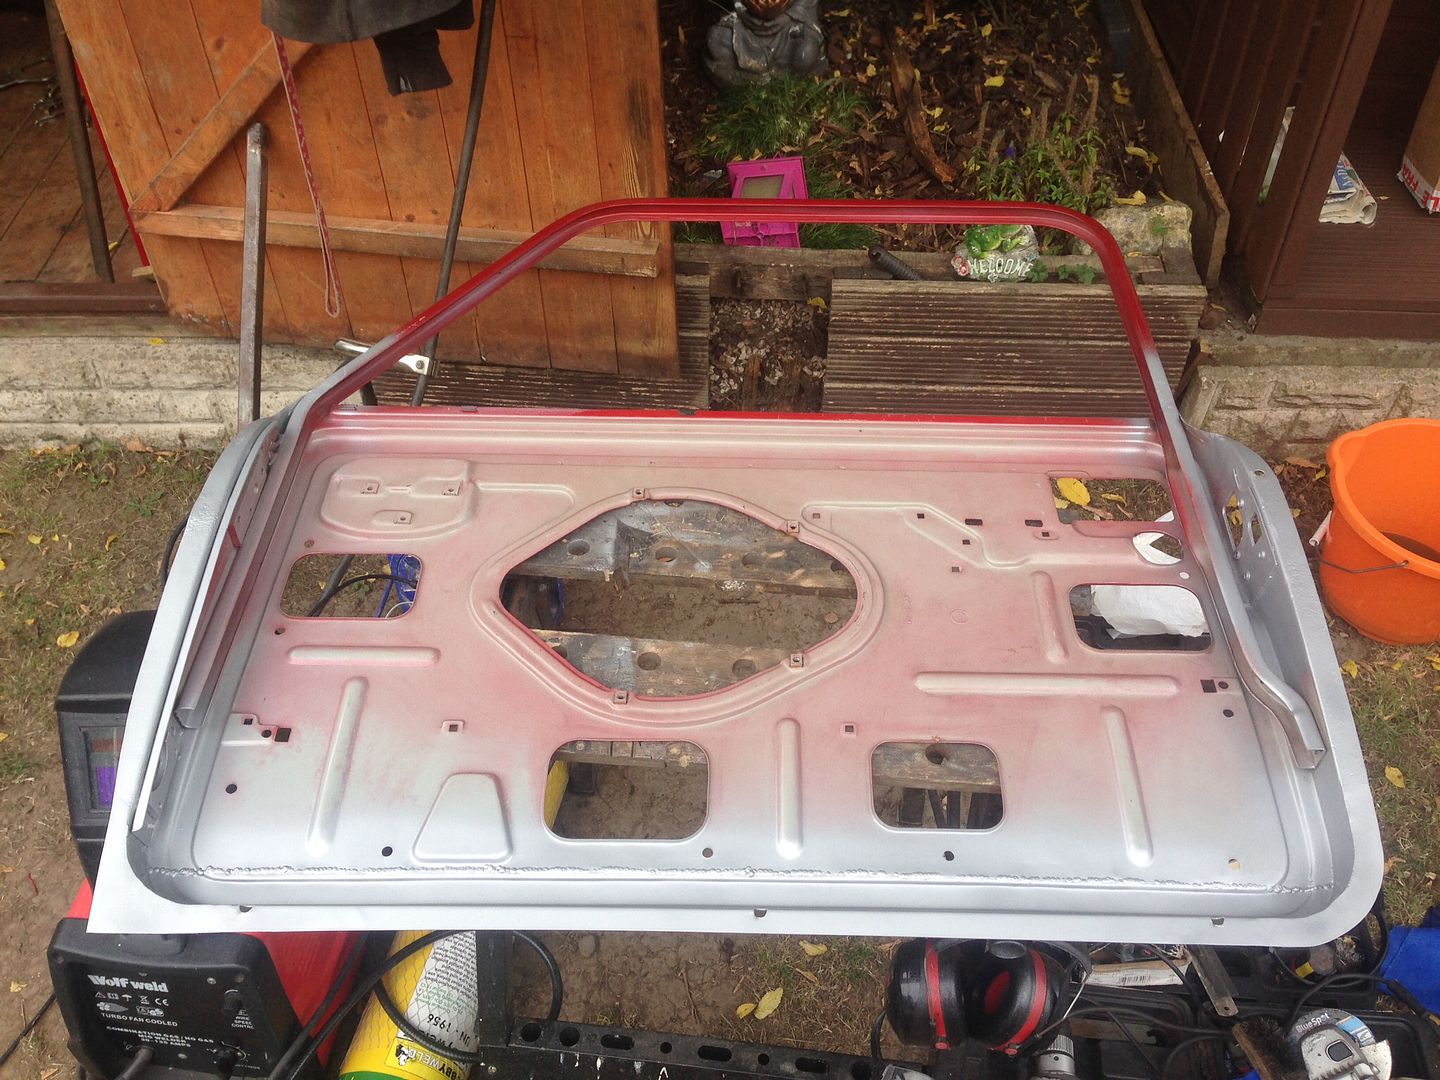
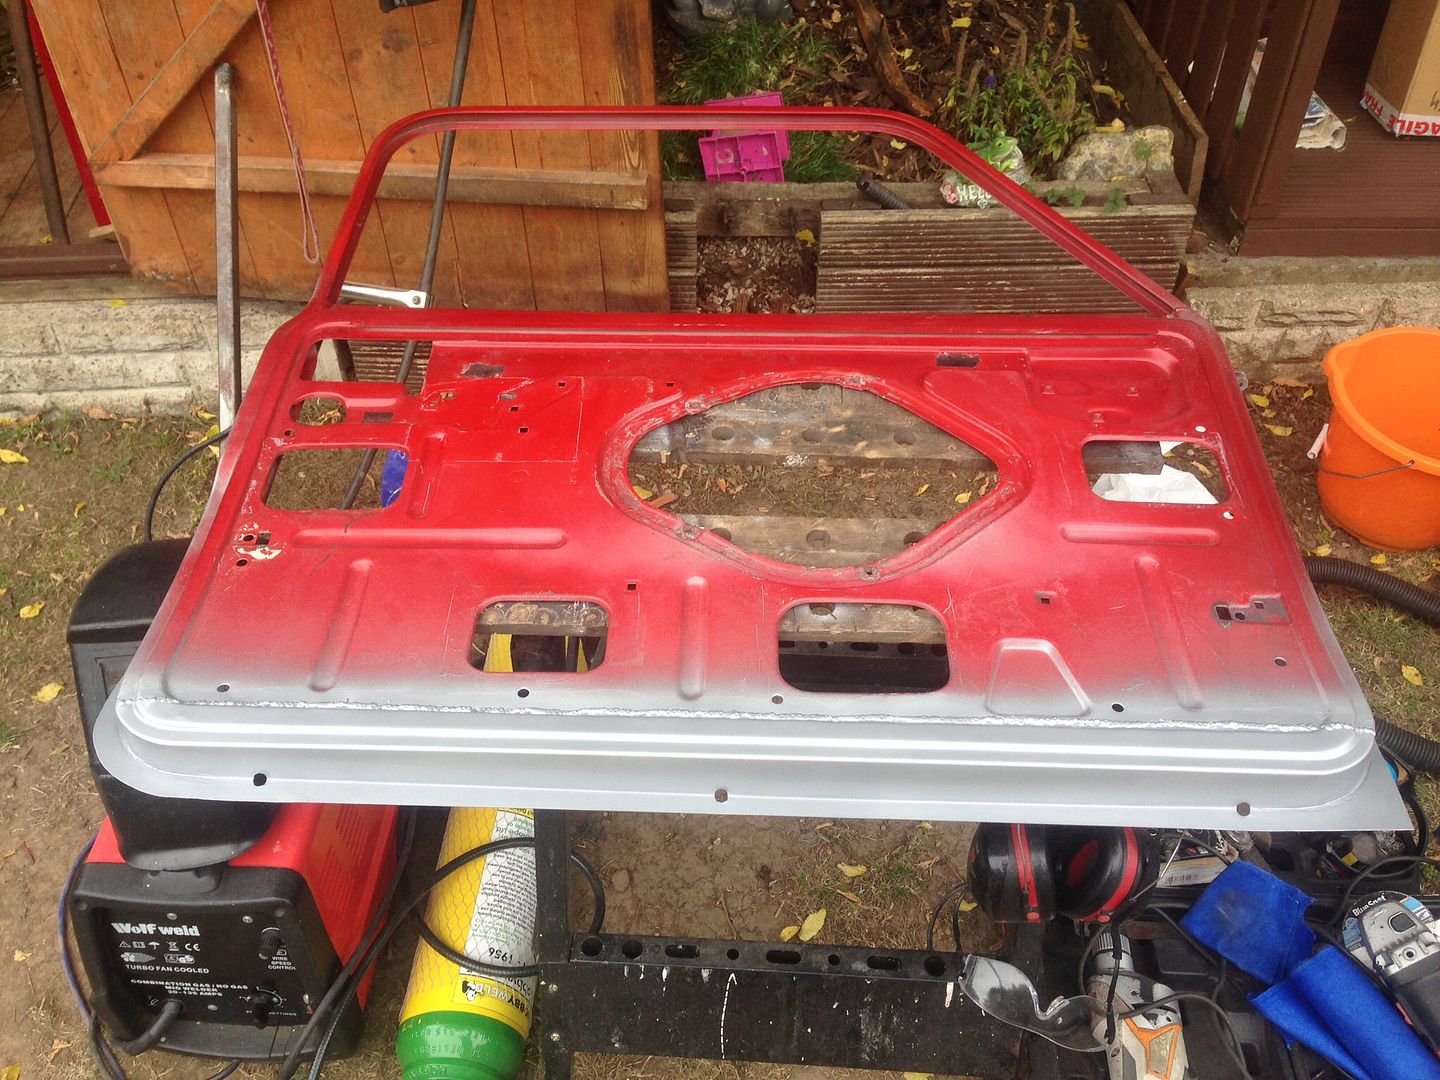
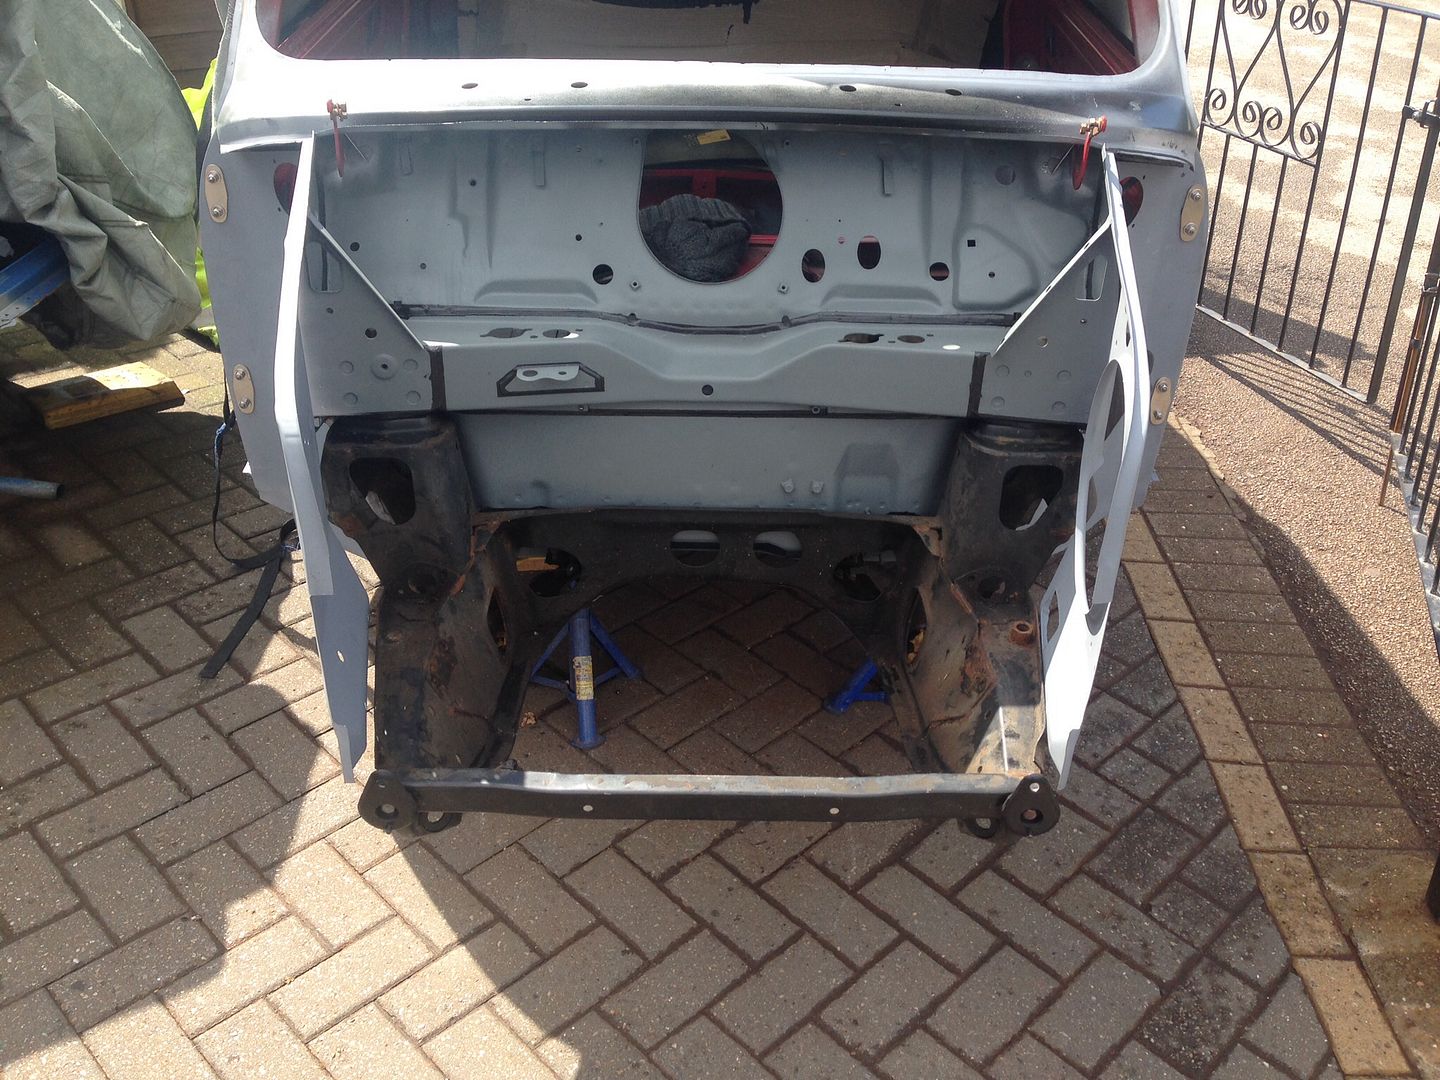
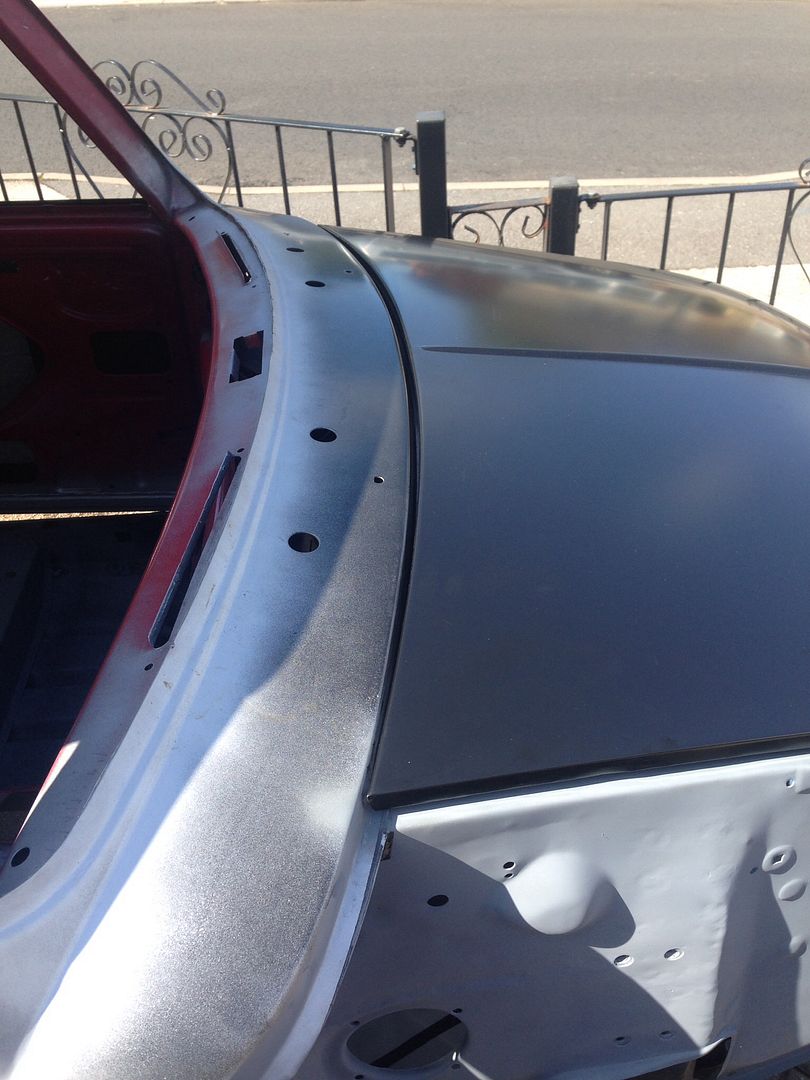
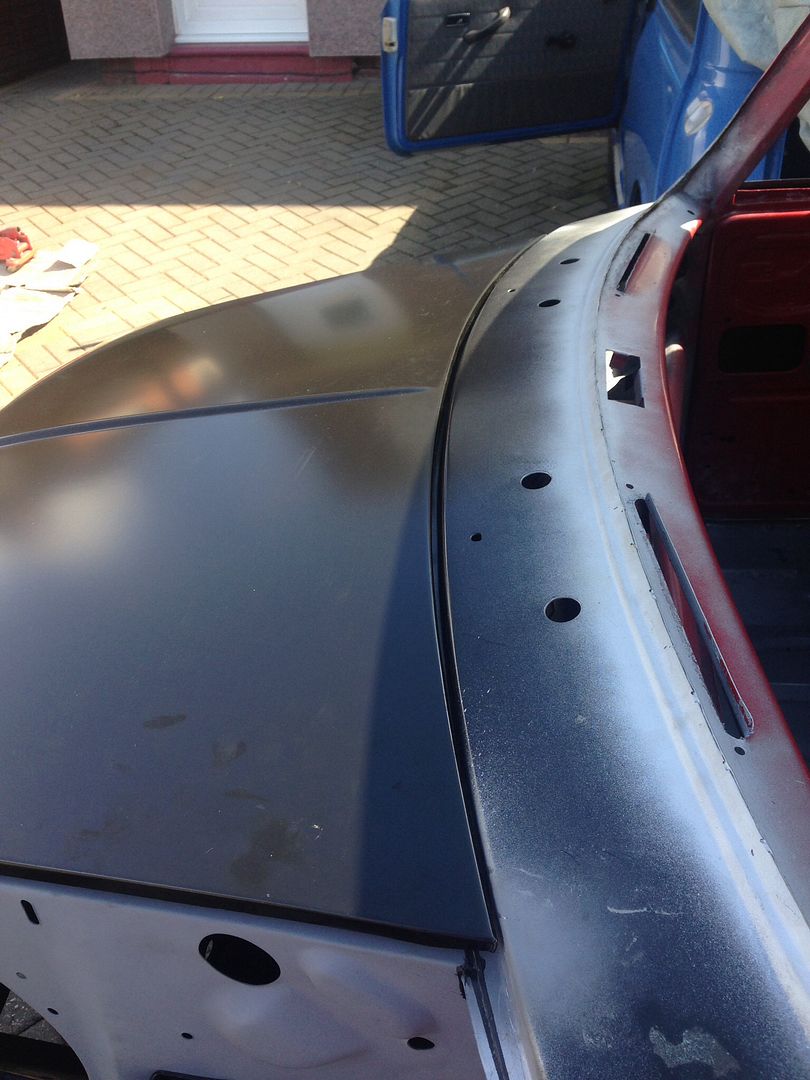
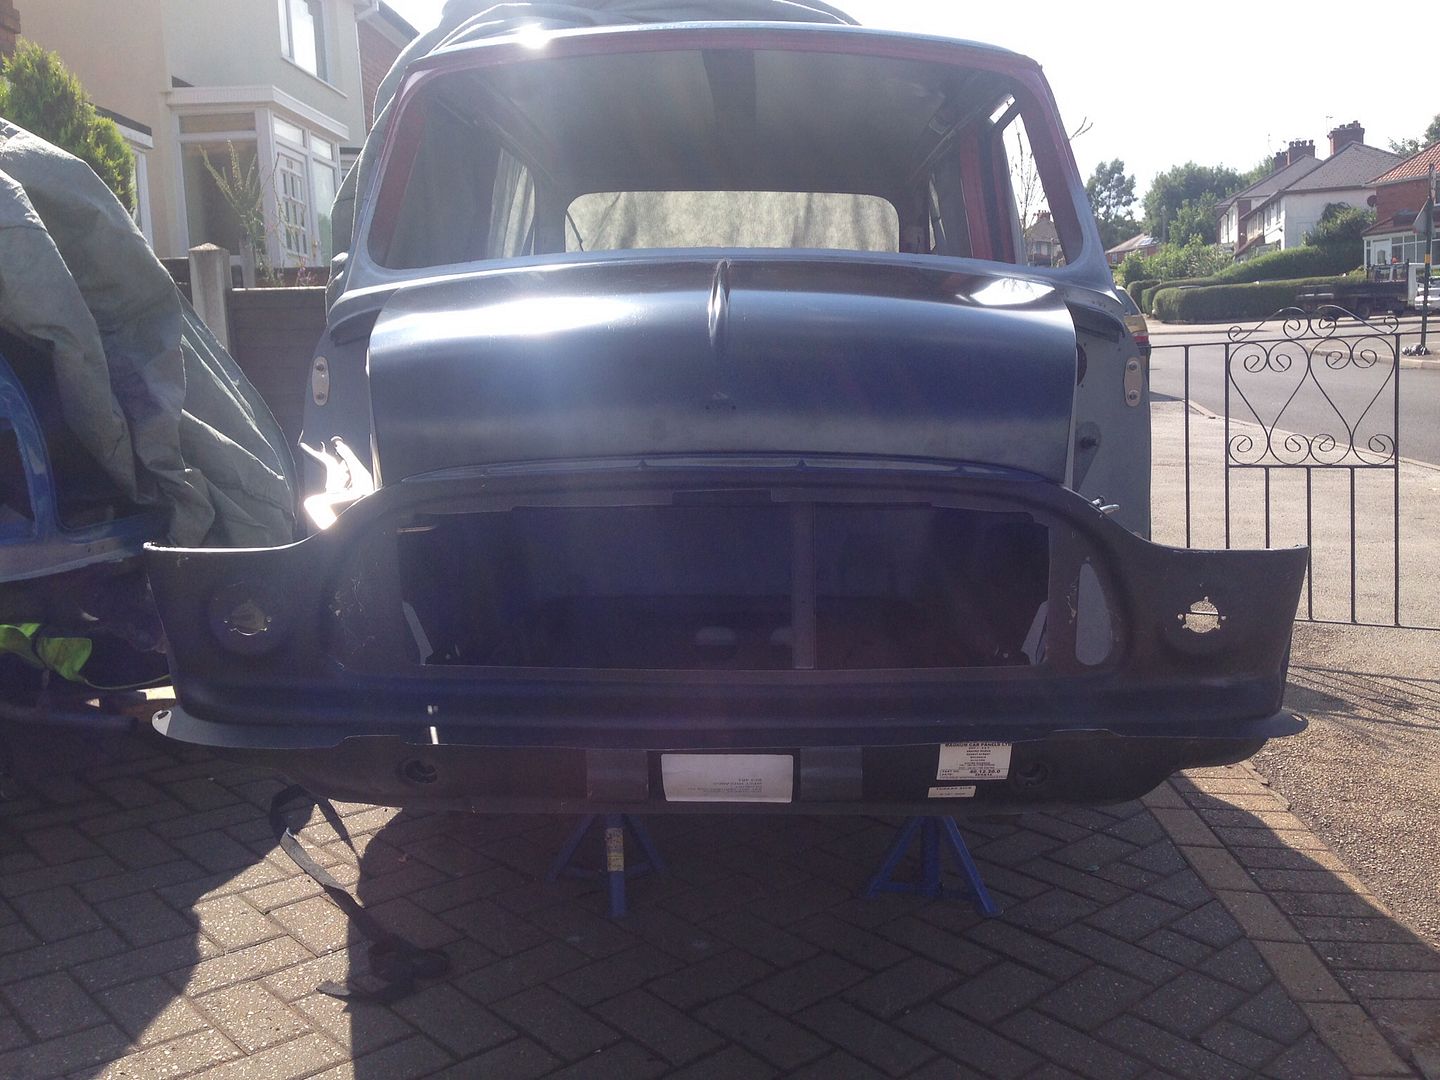
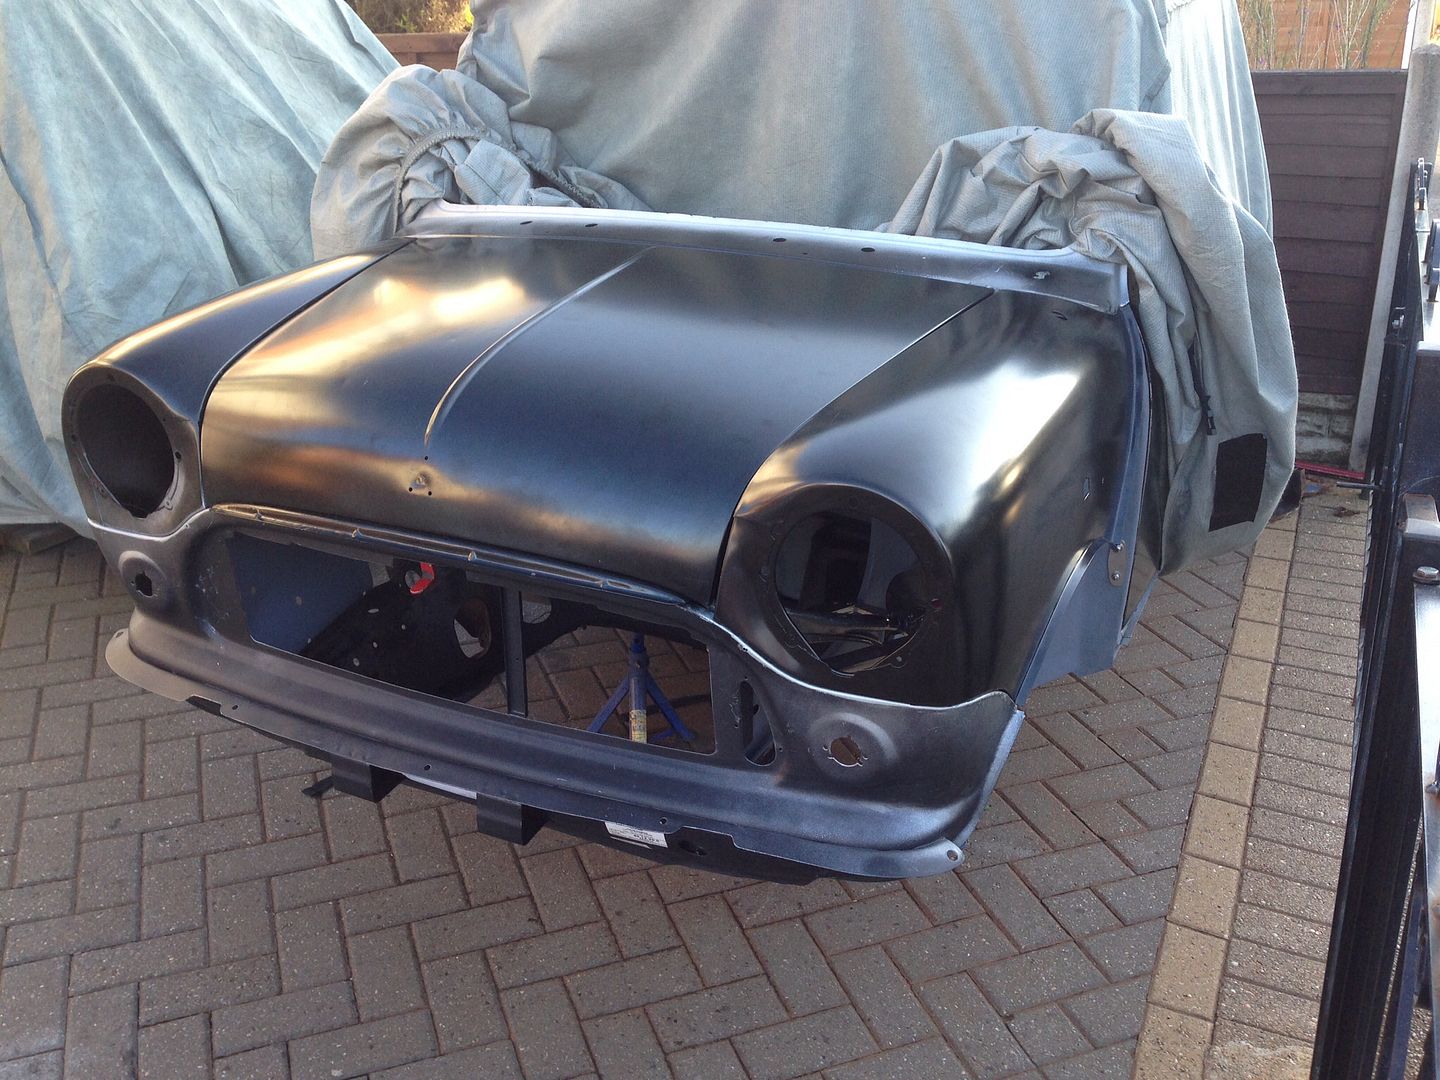
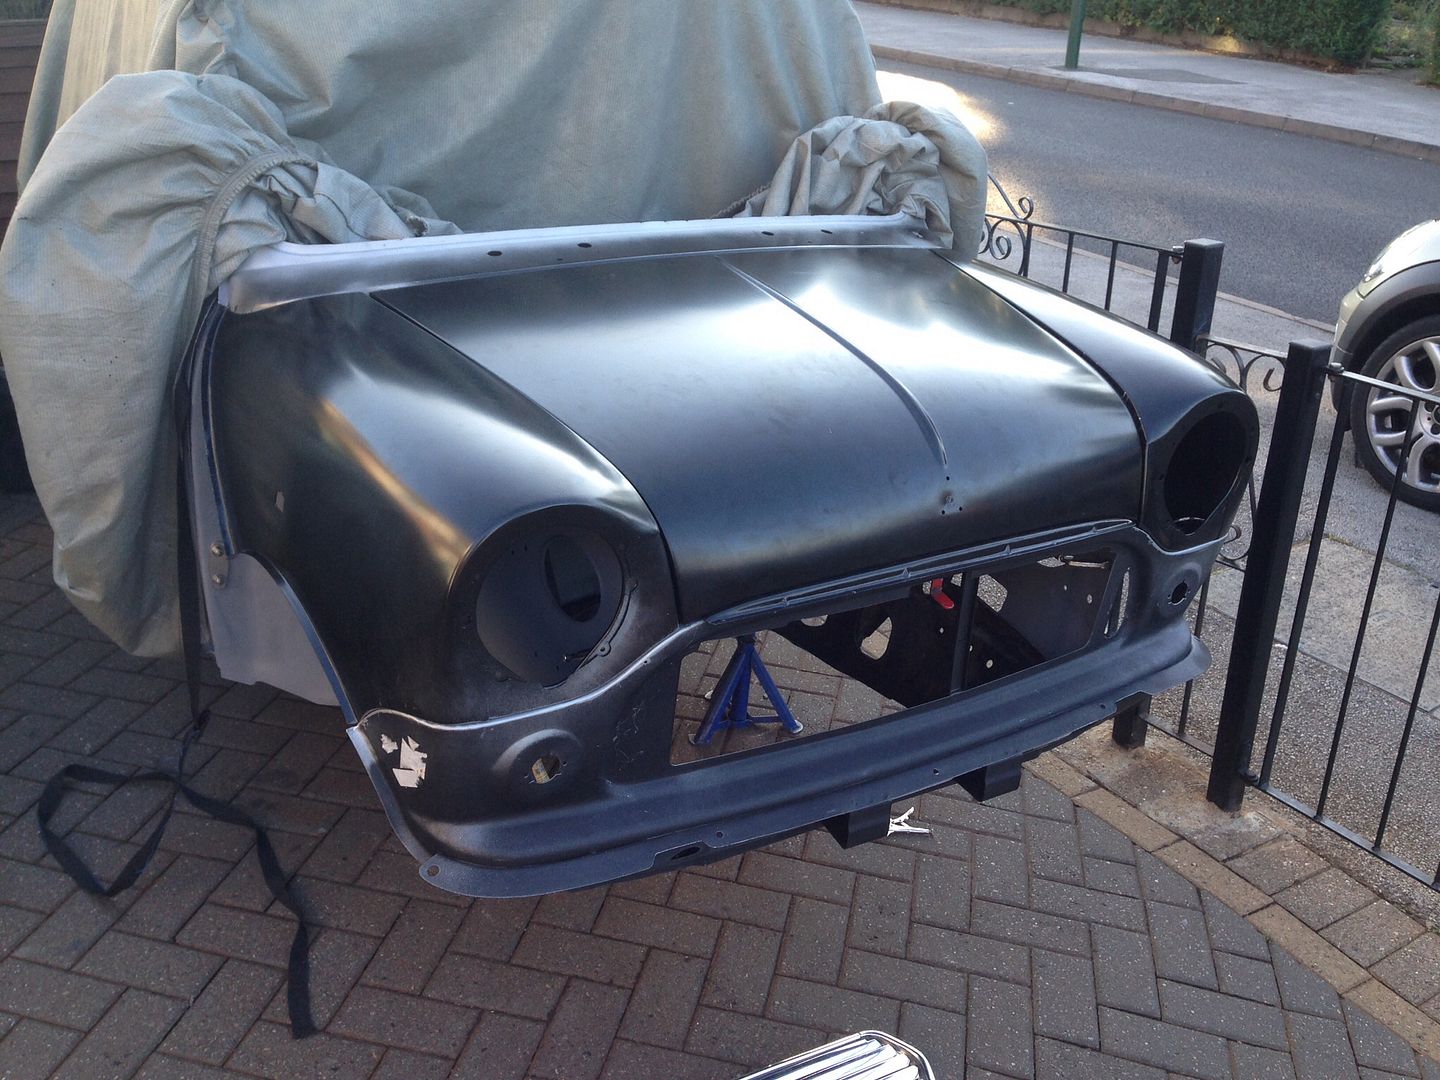
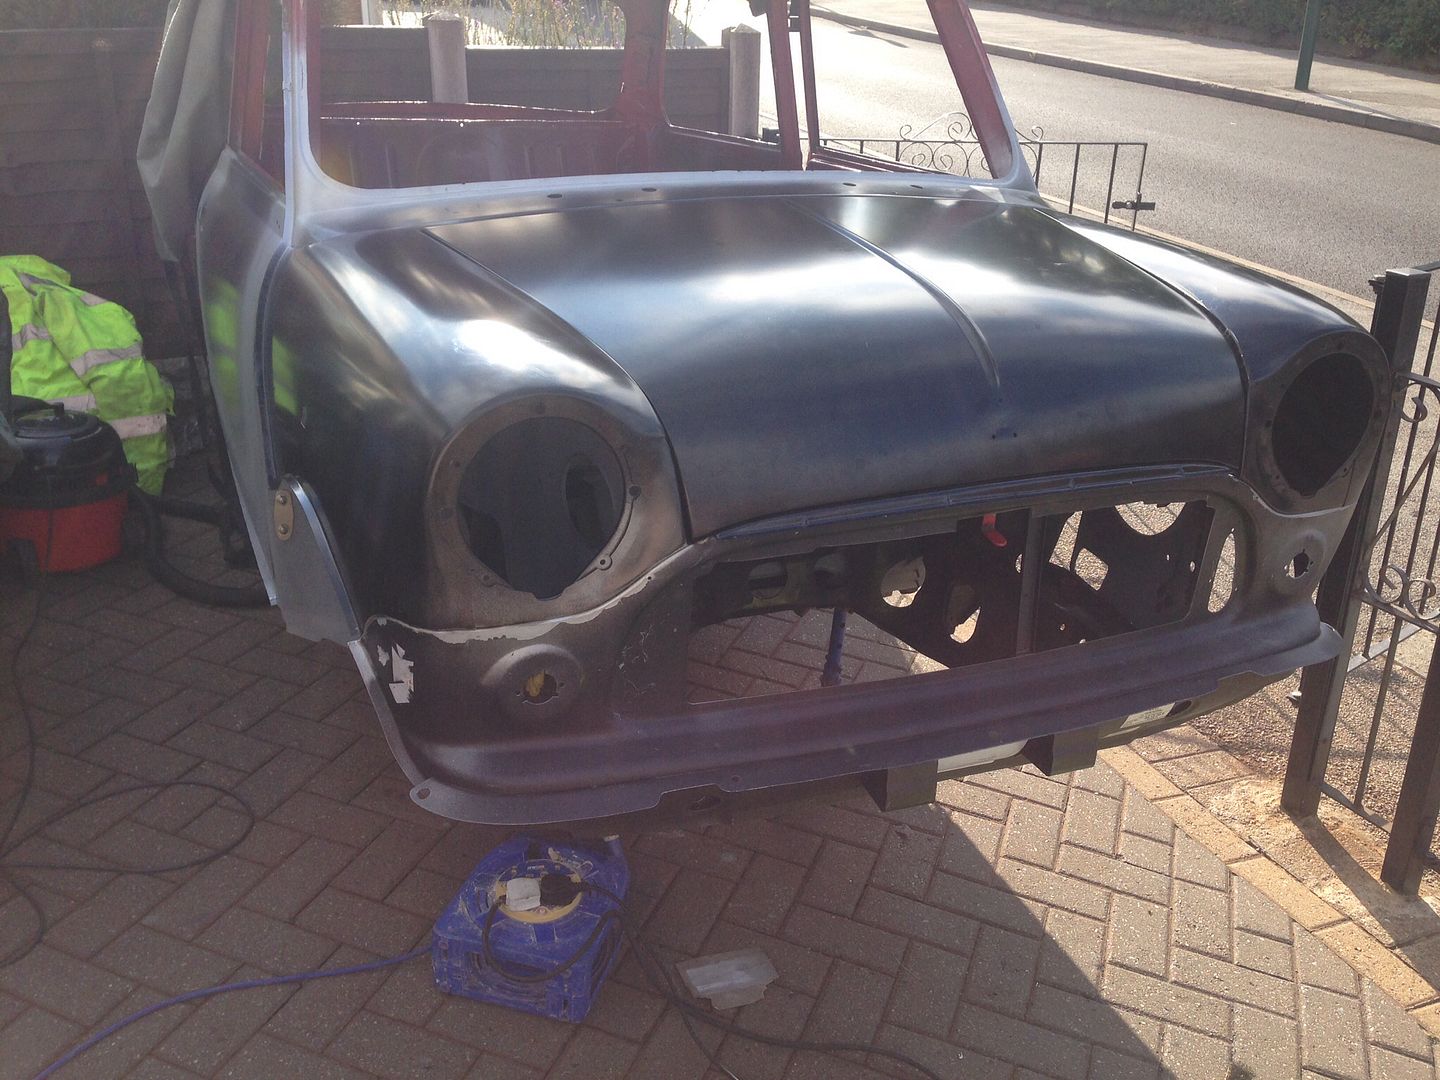
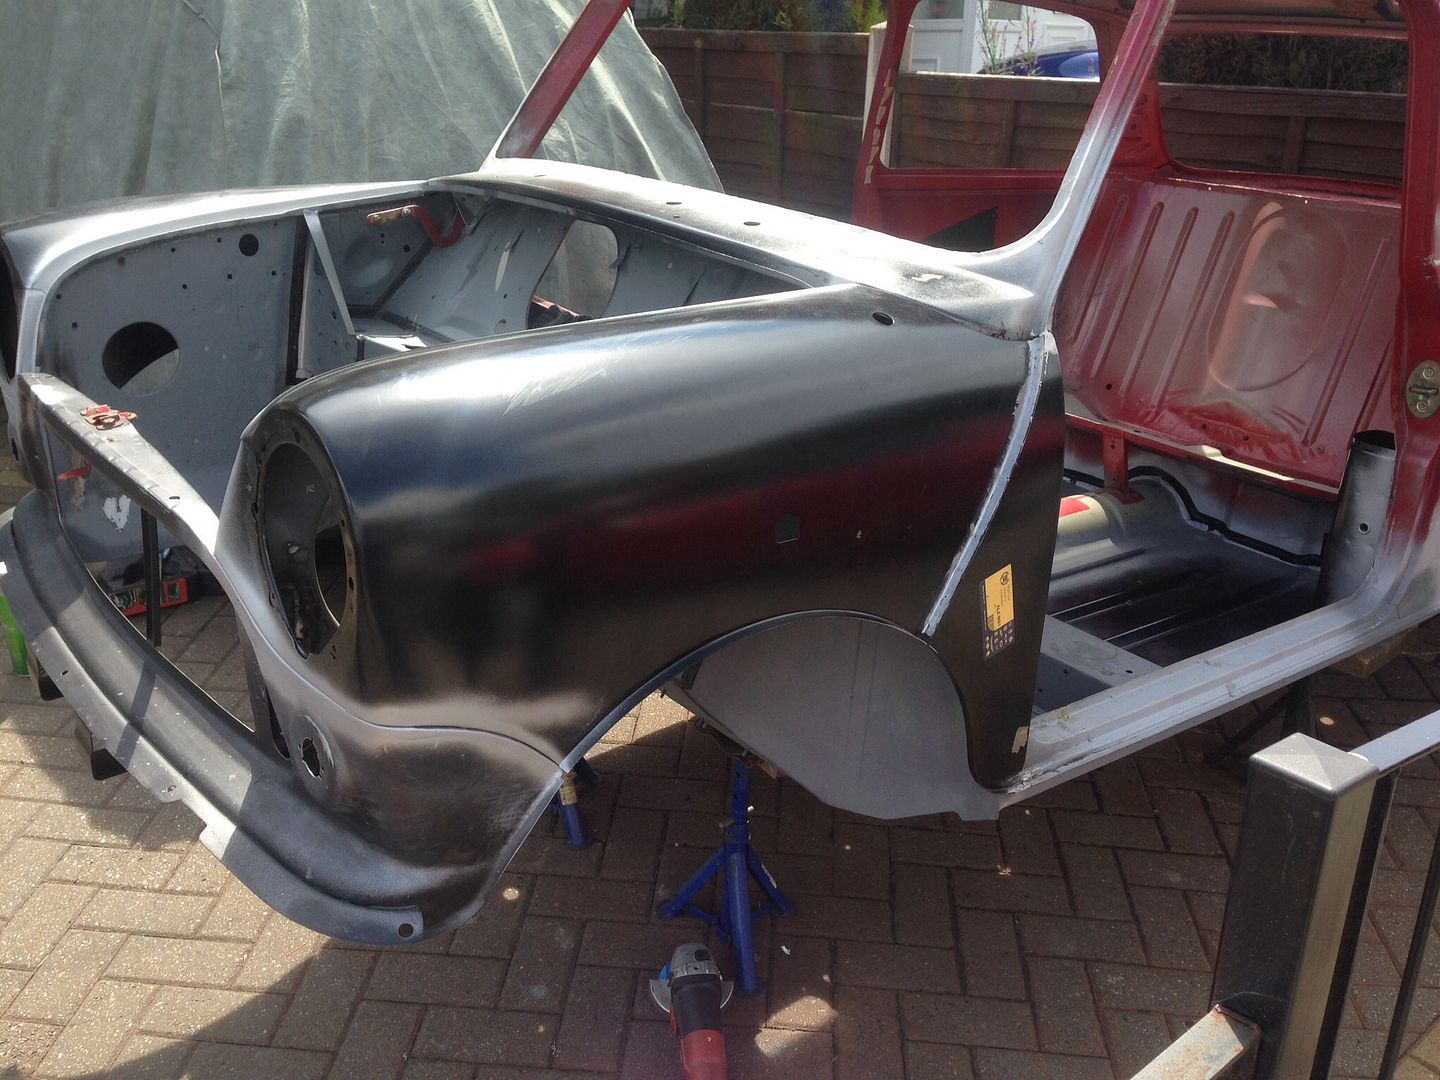
Well the Minis off to the paint shop on Saturday, so I've been doing all of the small jobs that are required to make sure she's ready, lots of sealing, bits of fillering and a few welds here and there. Nothing too interesting so I didn't take too many pictures, but I'll put up what I have anyway.
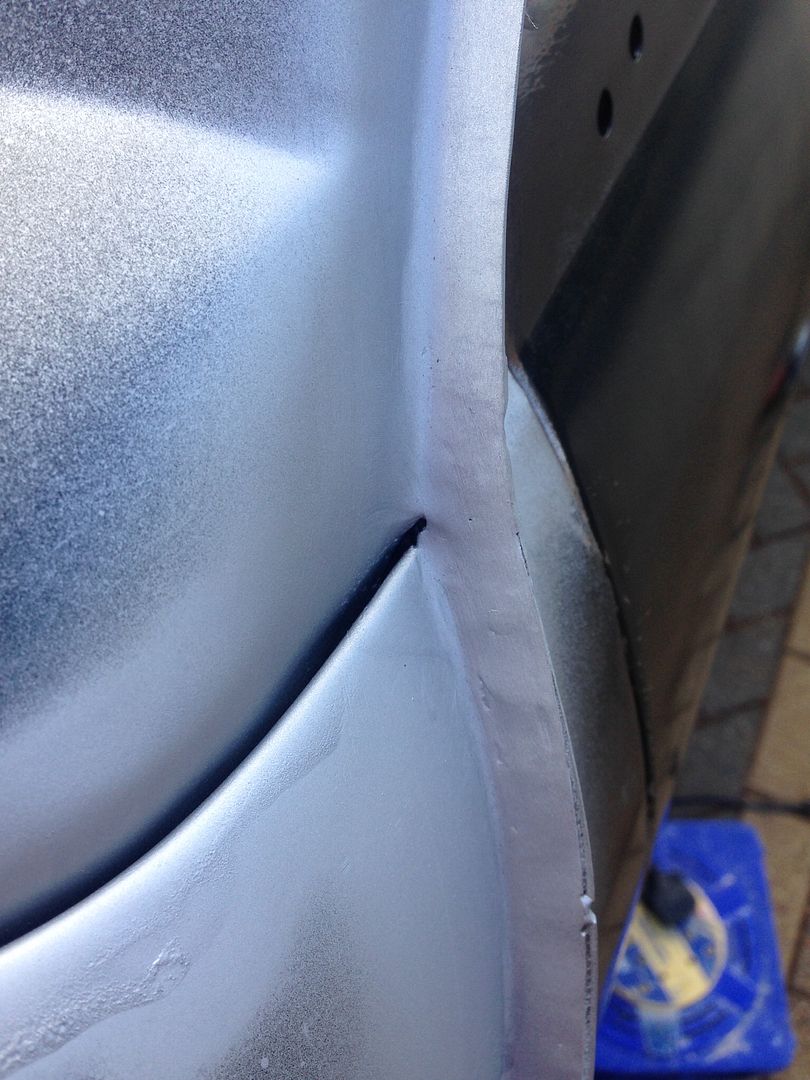
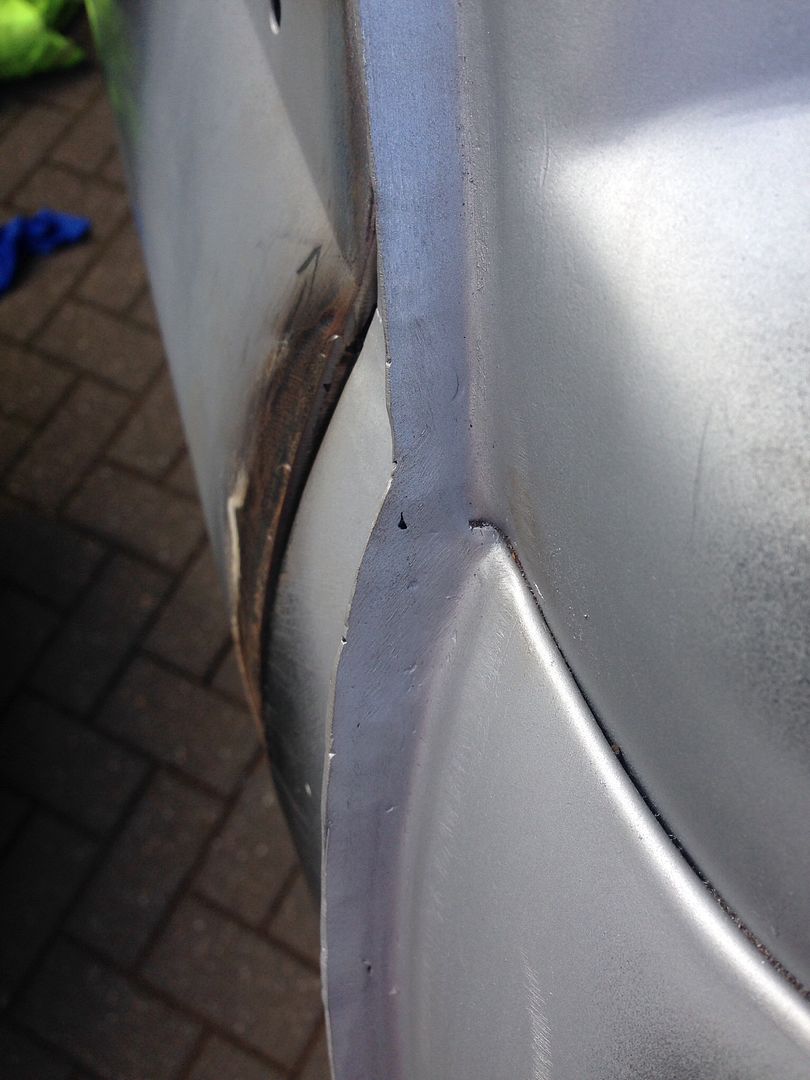
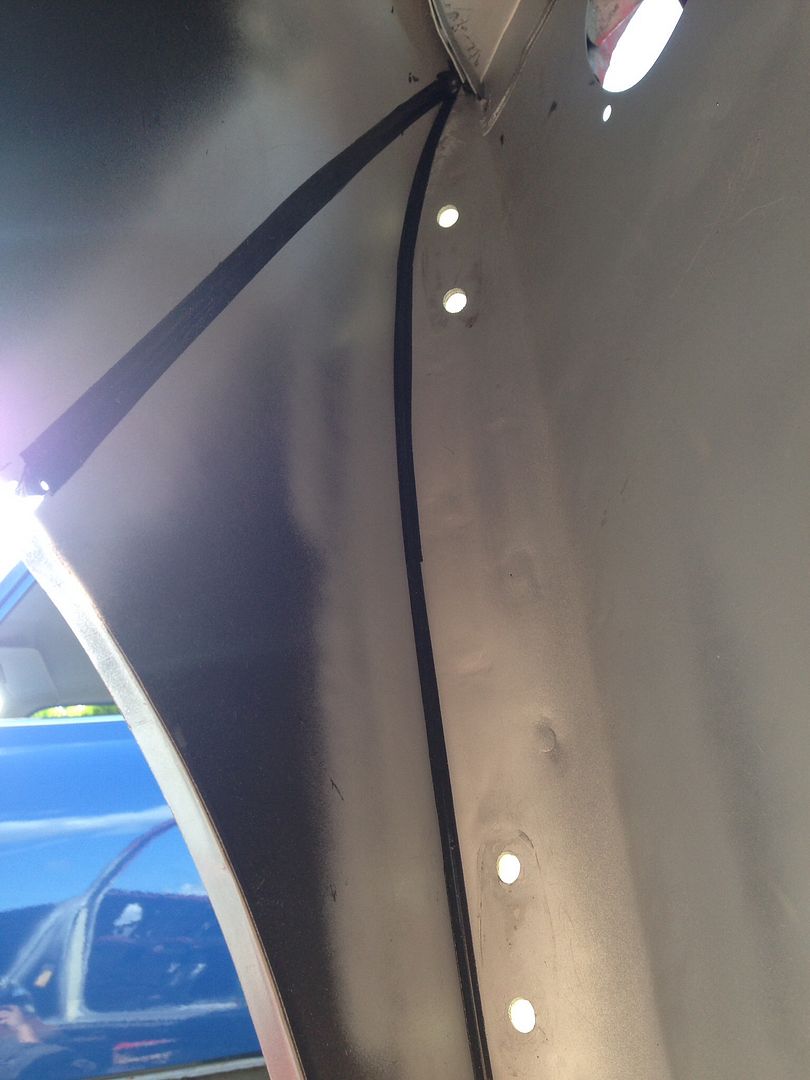
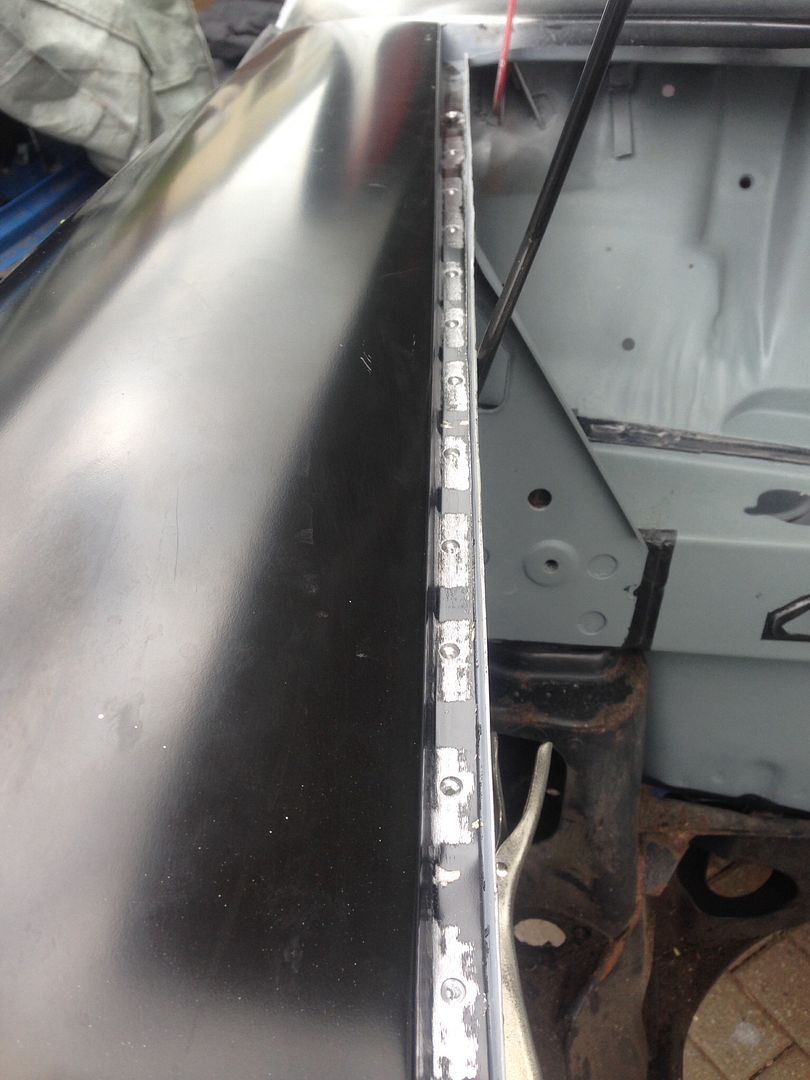
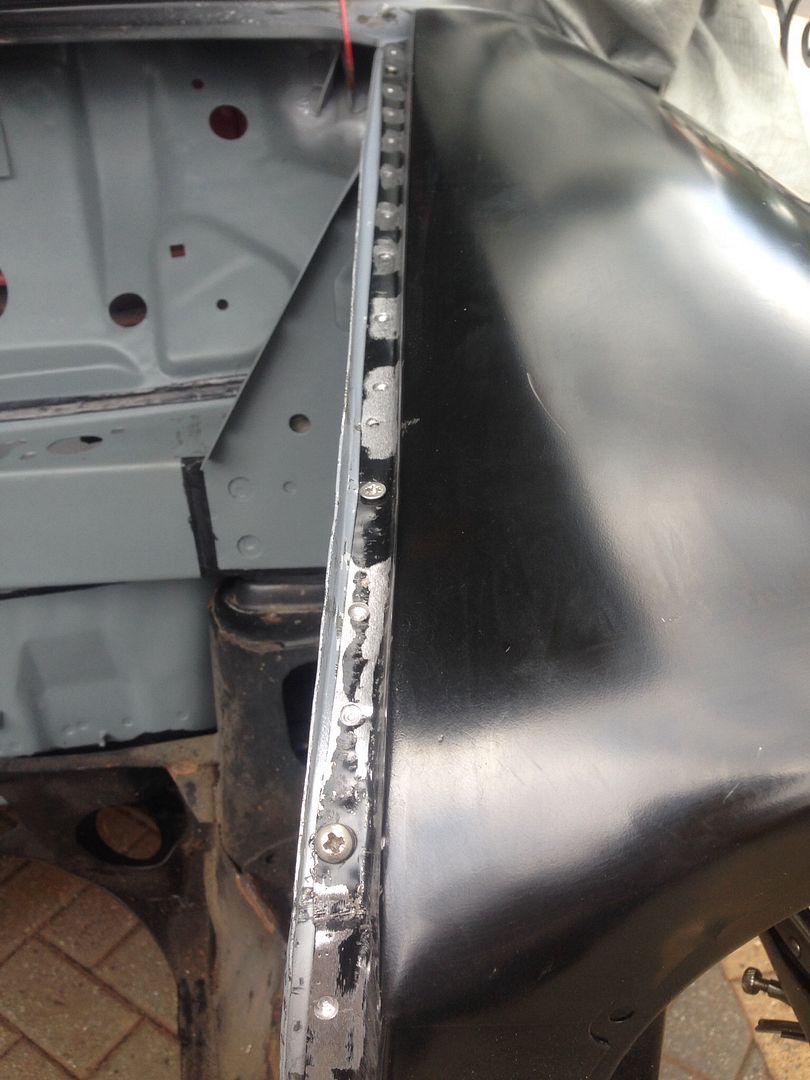
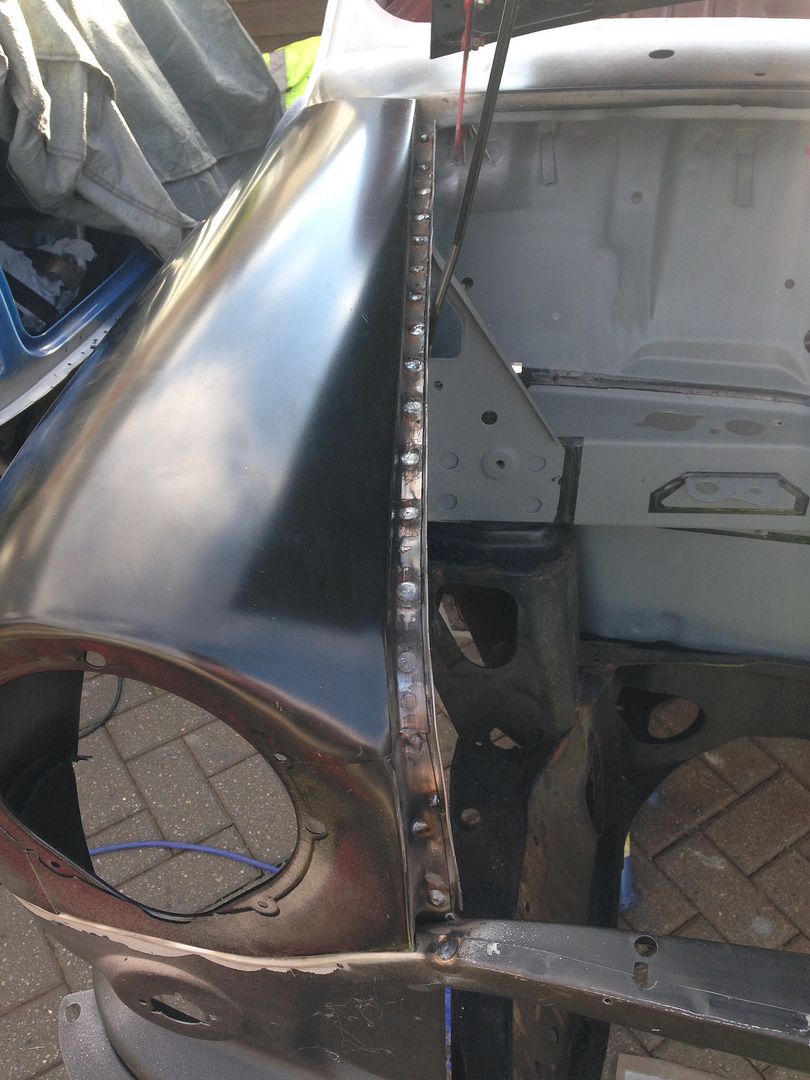
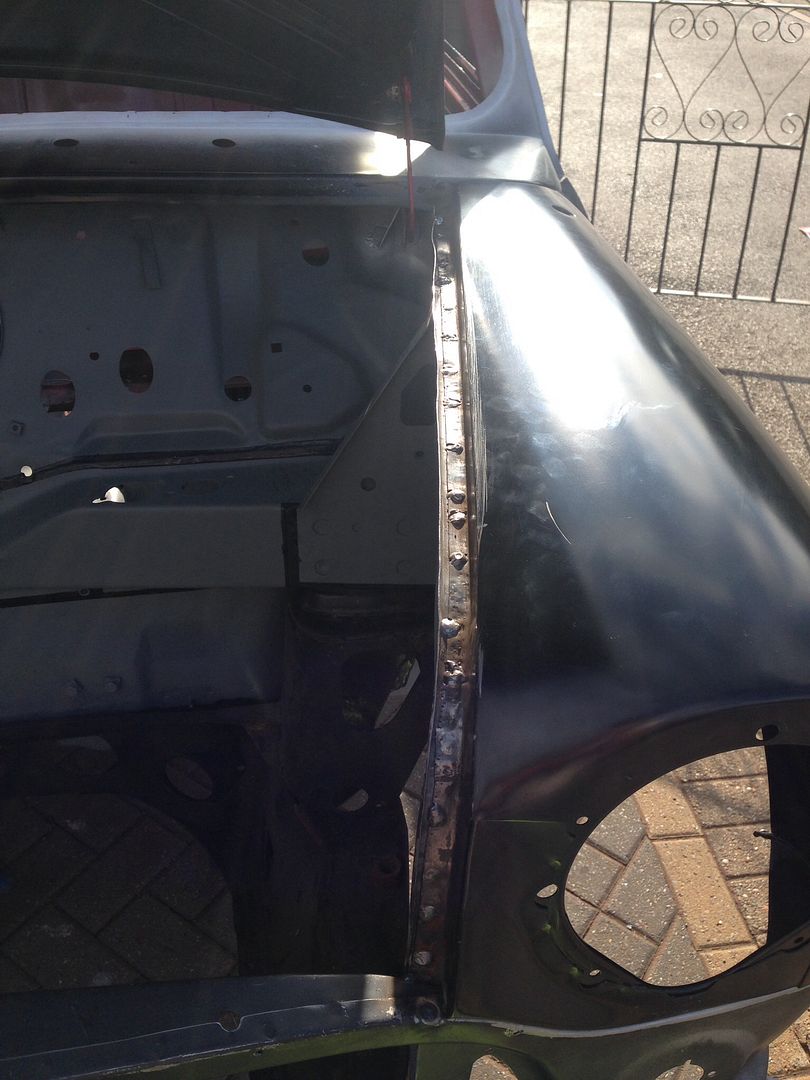
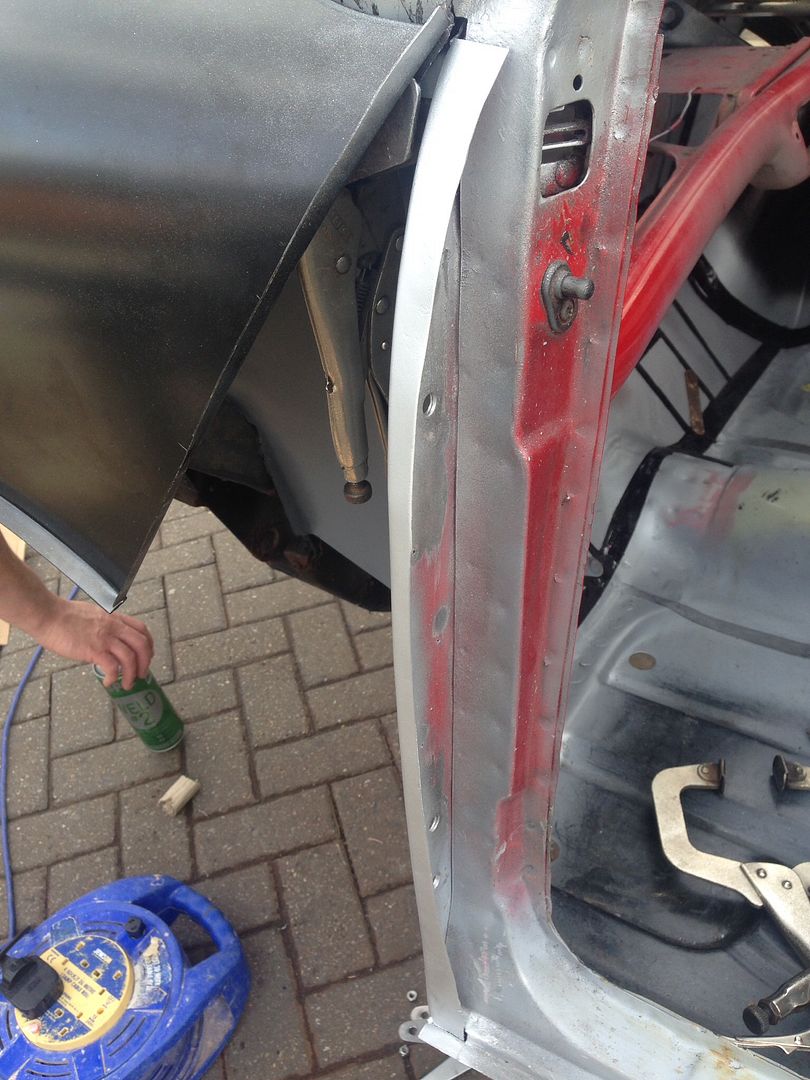
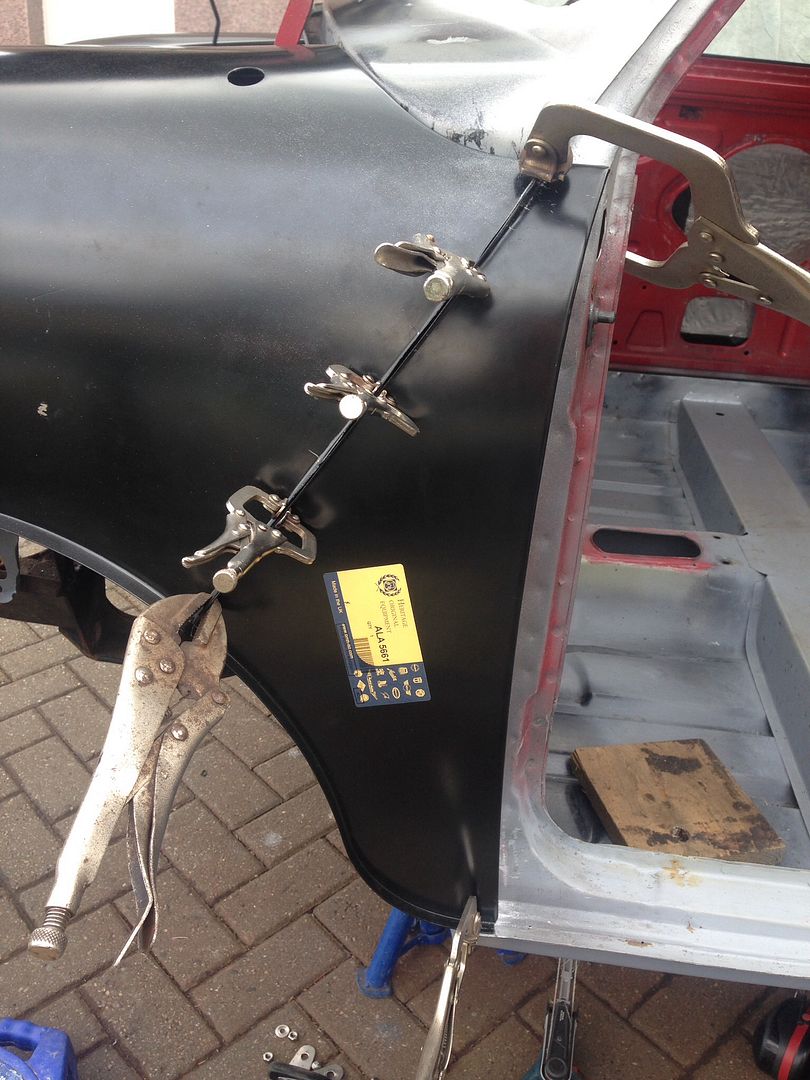
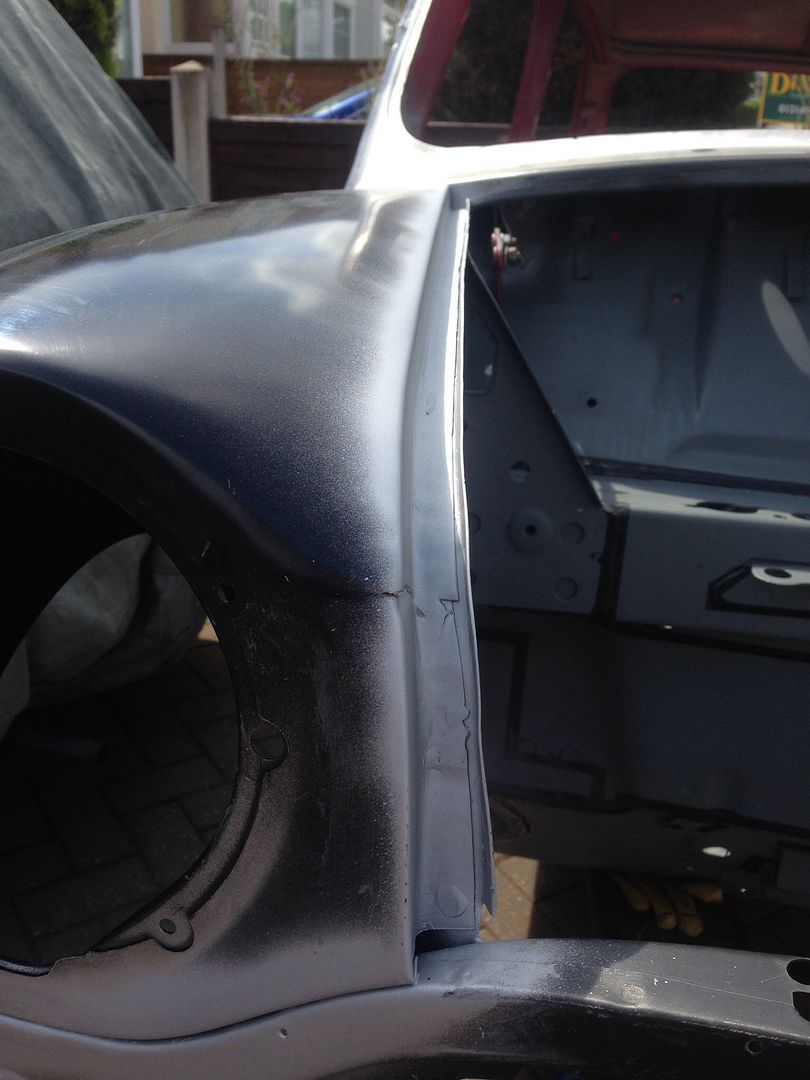
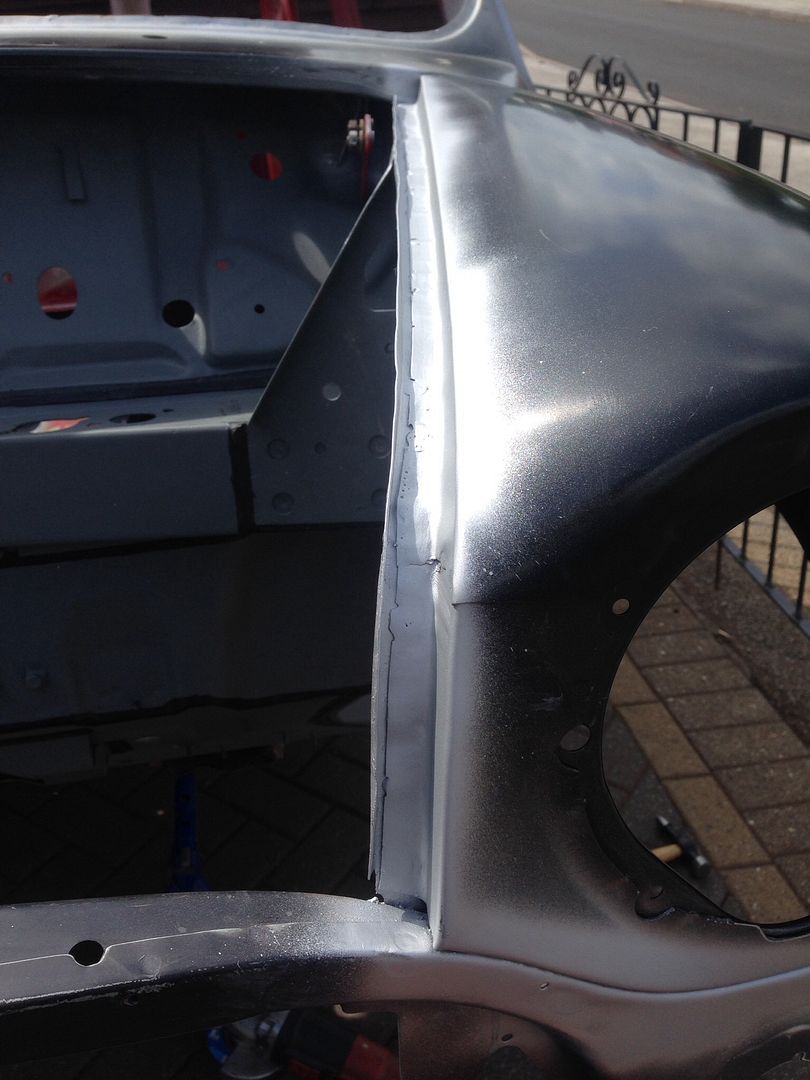
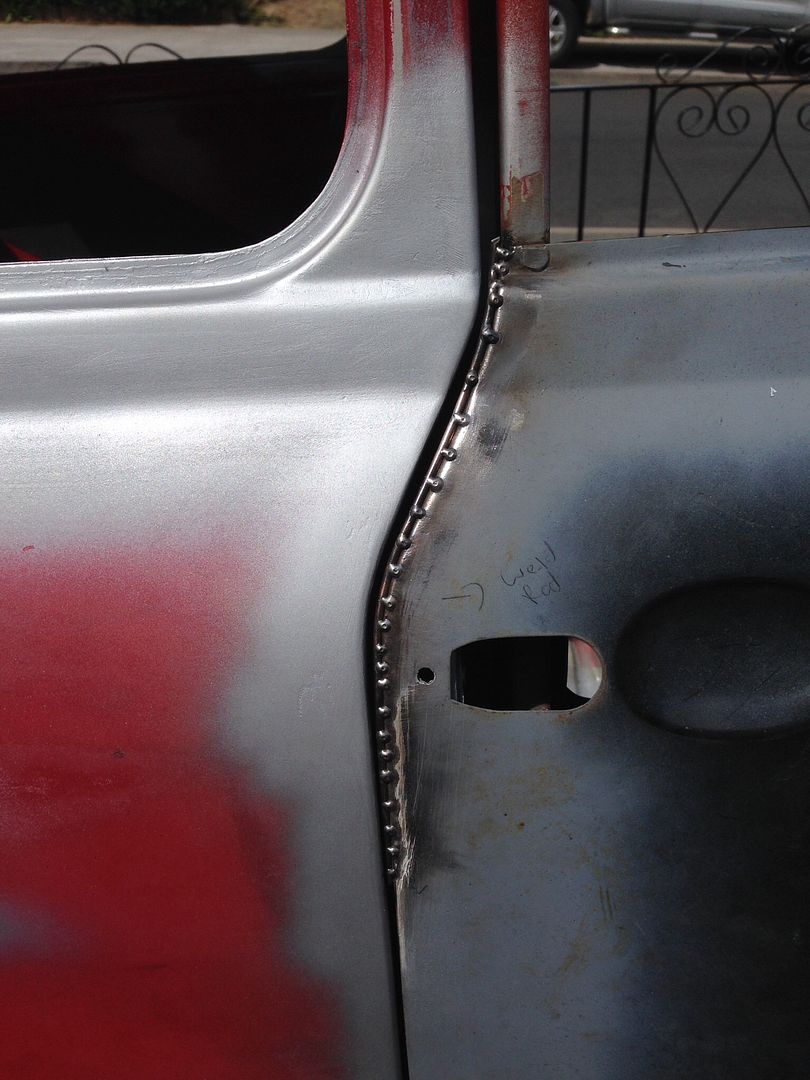
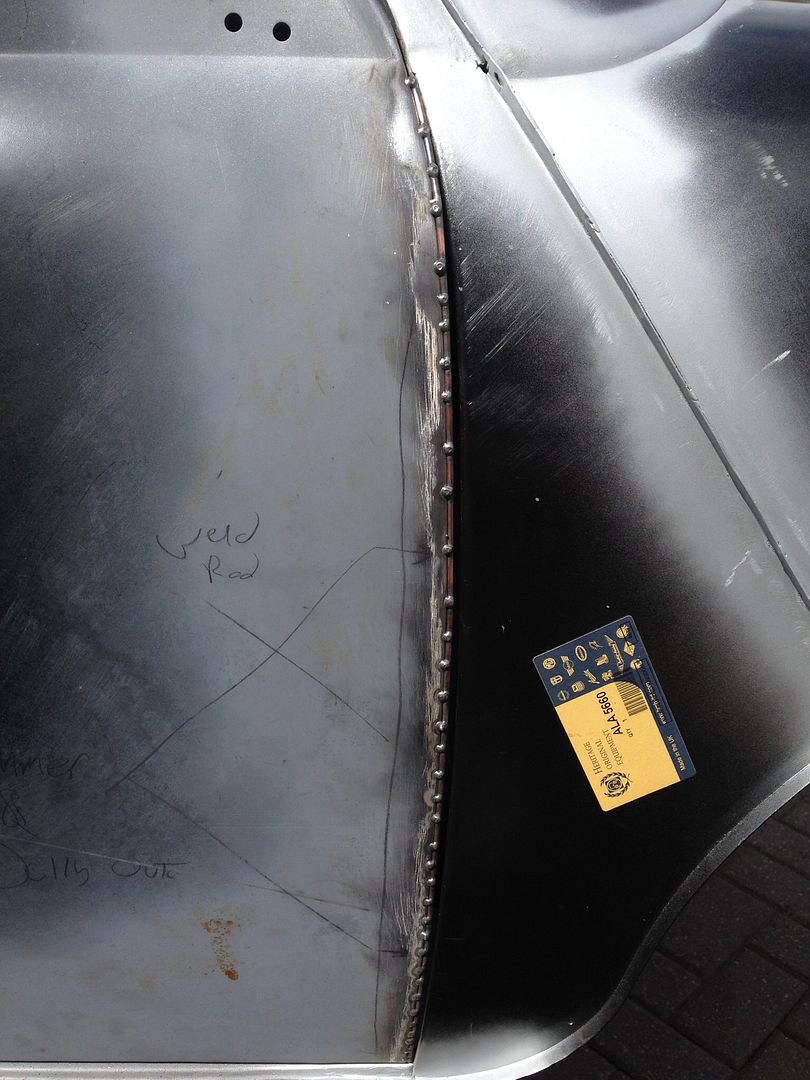
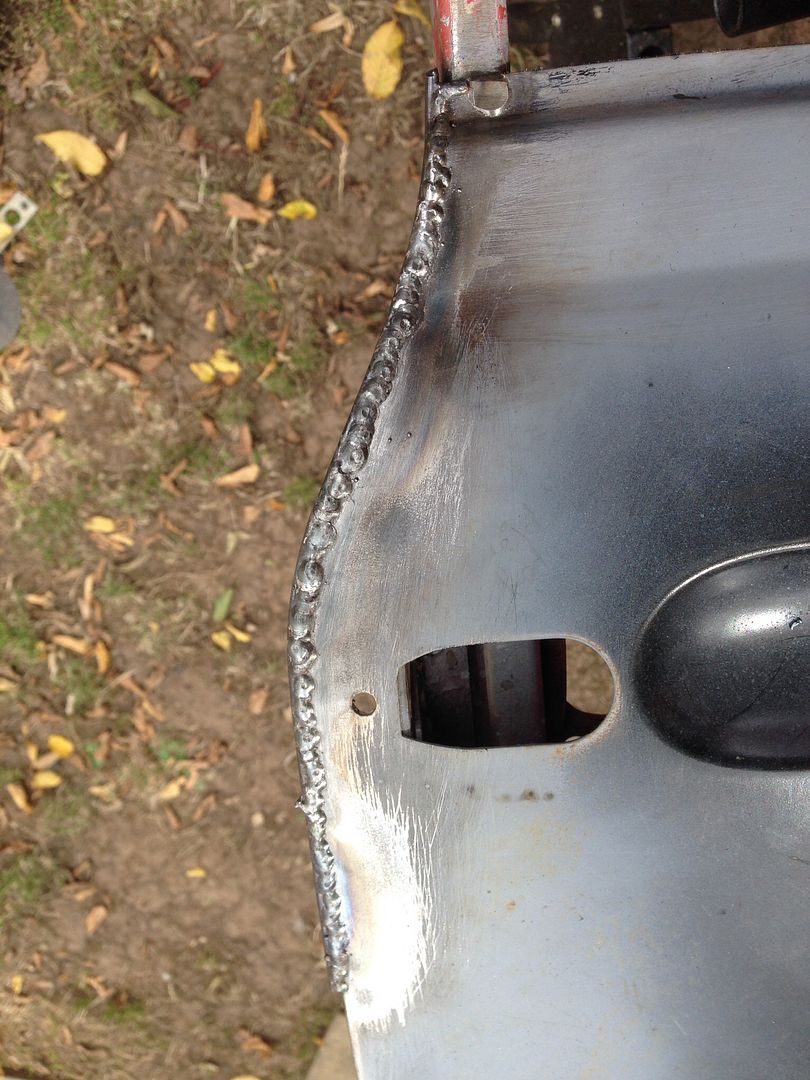
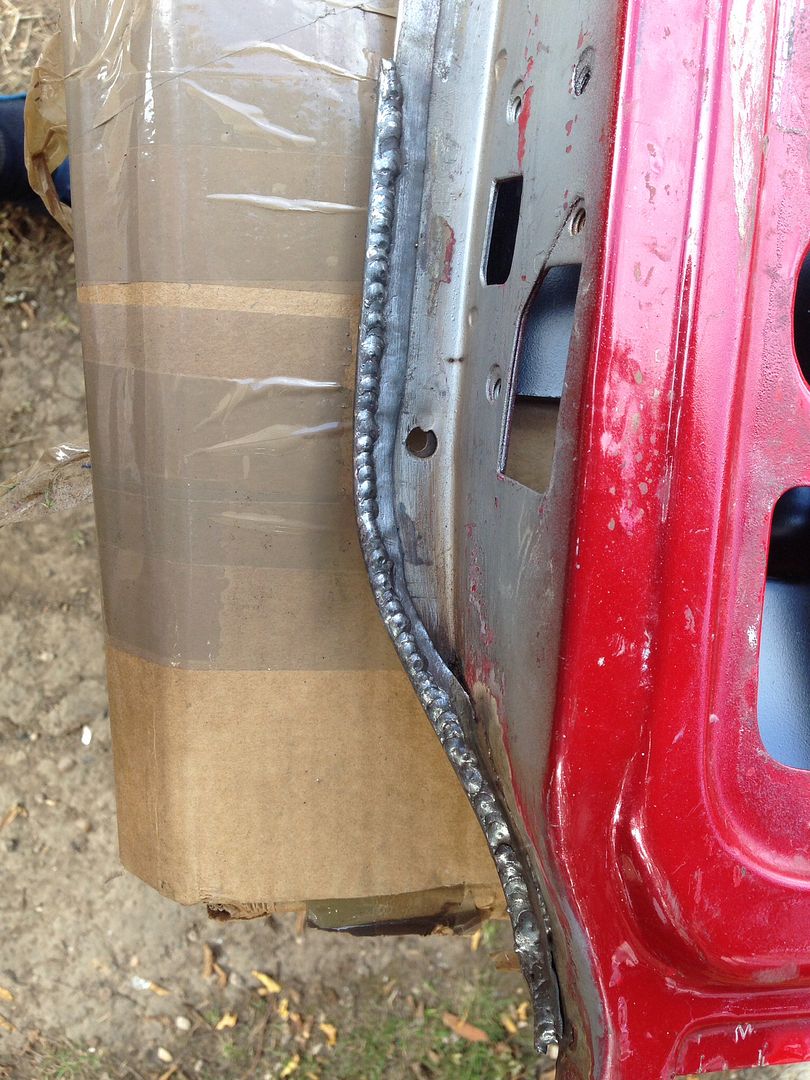
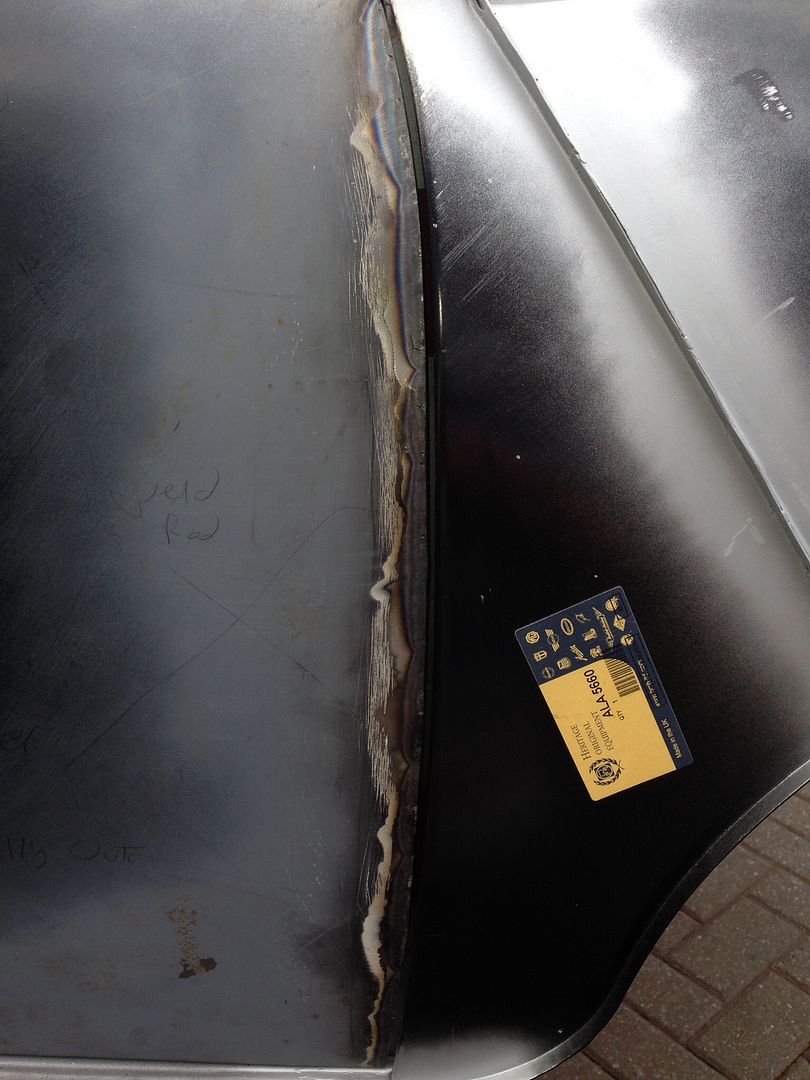
Completely welded the scuttle flange to the wing/a-panel flange -
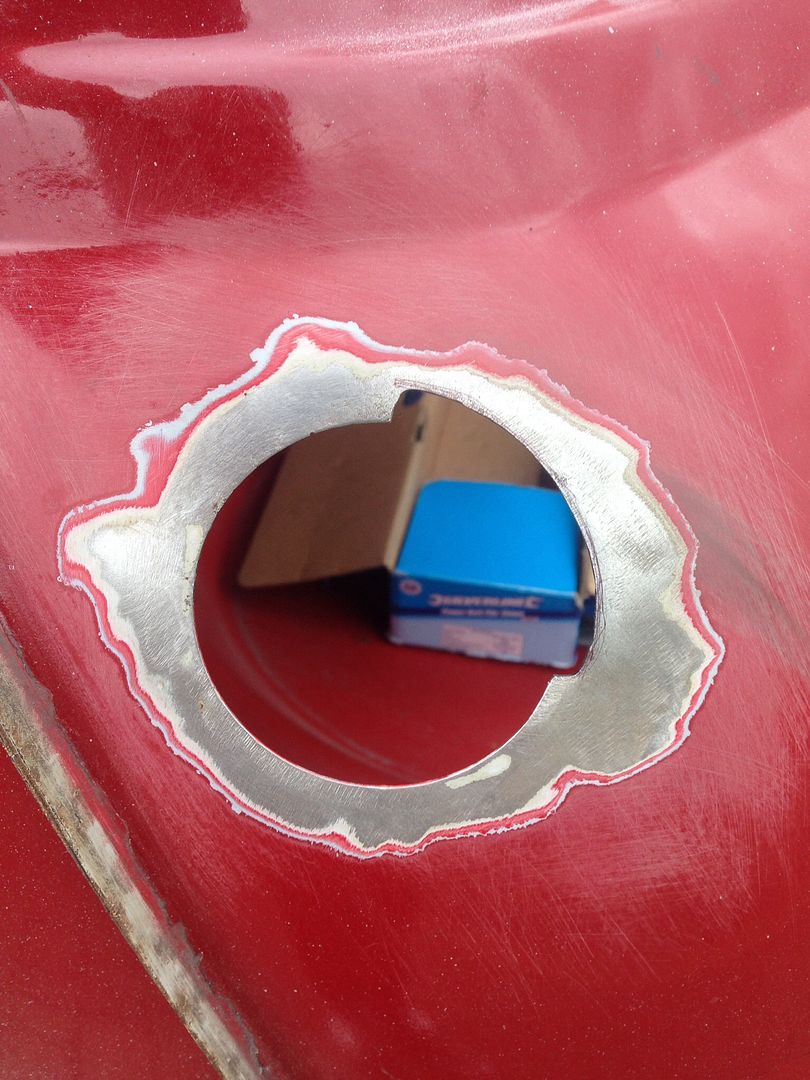
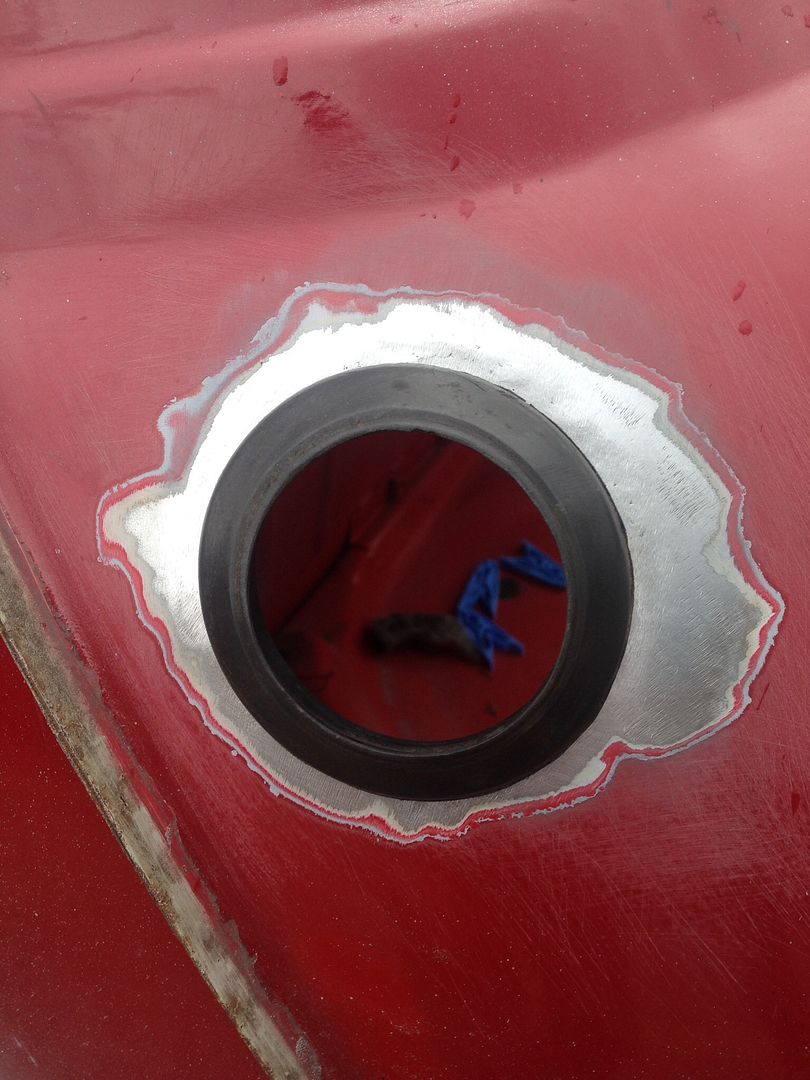
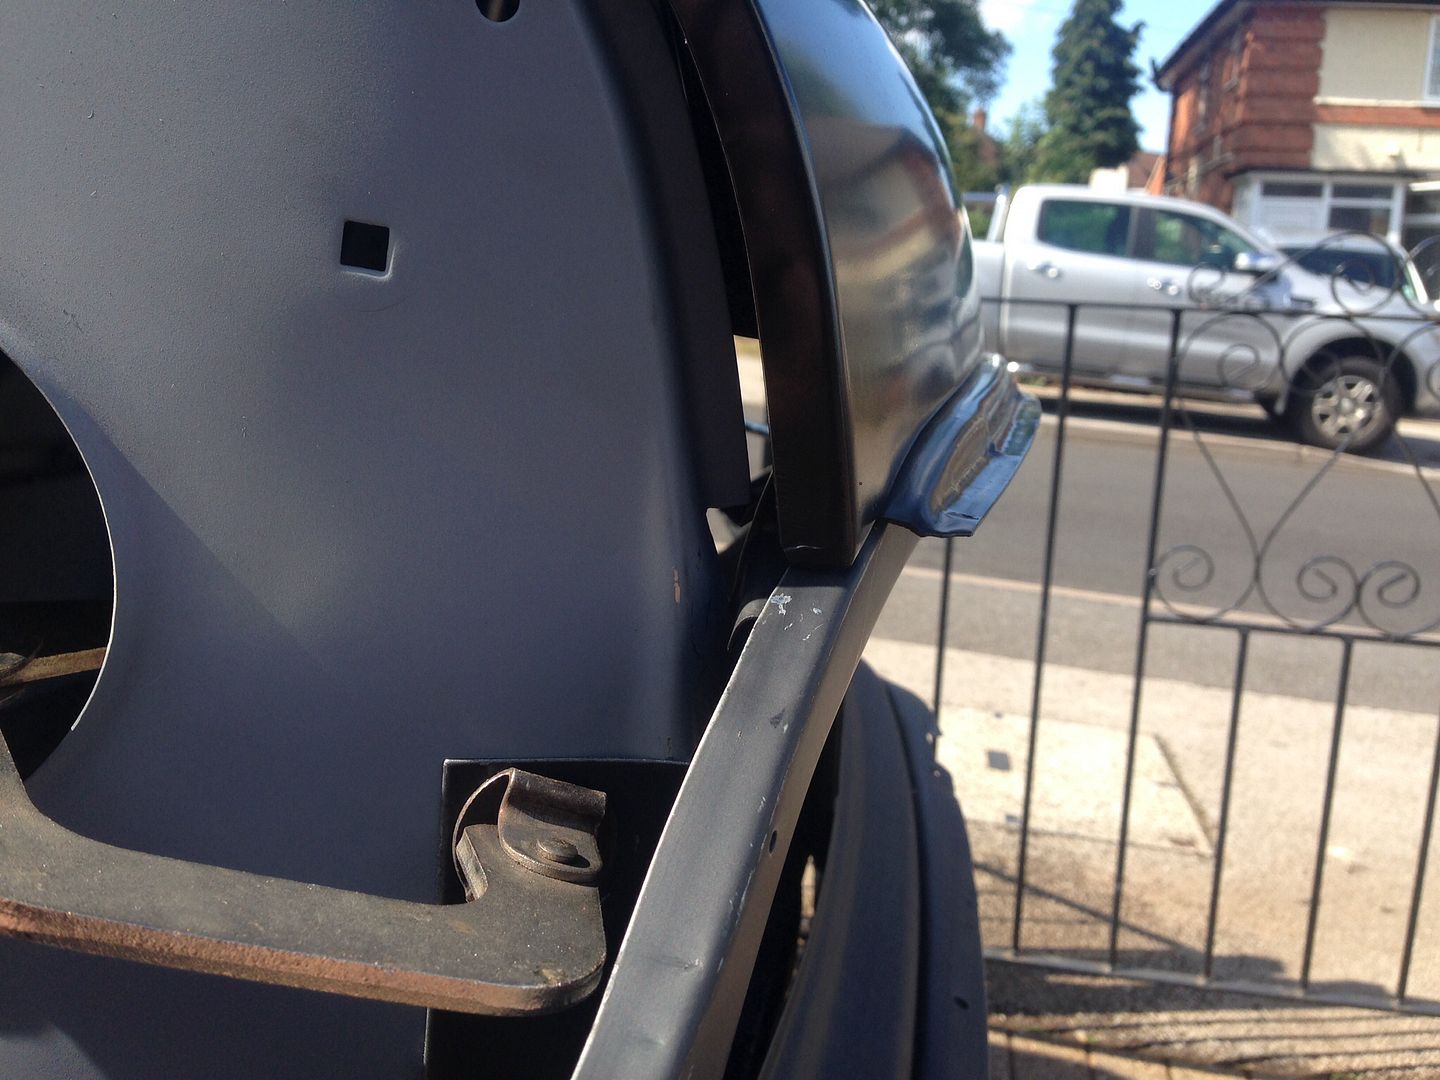
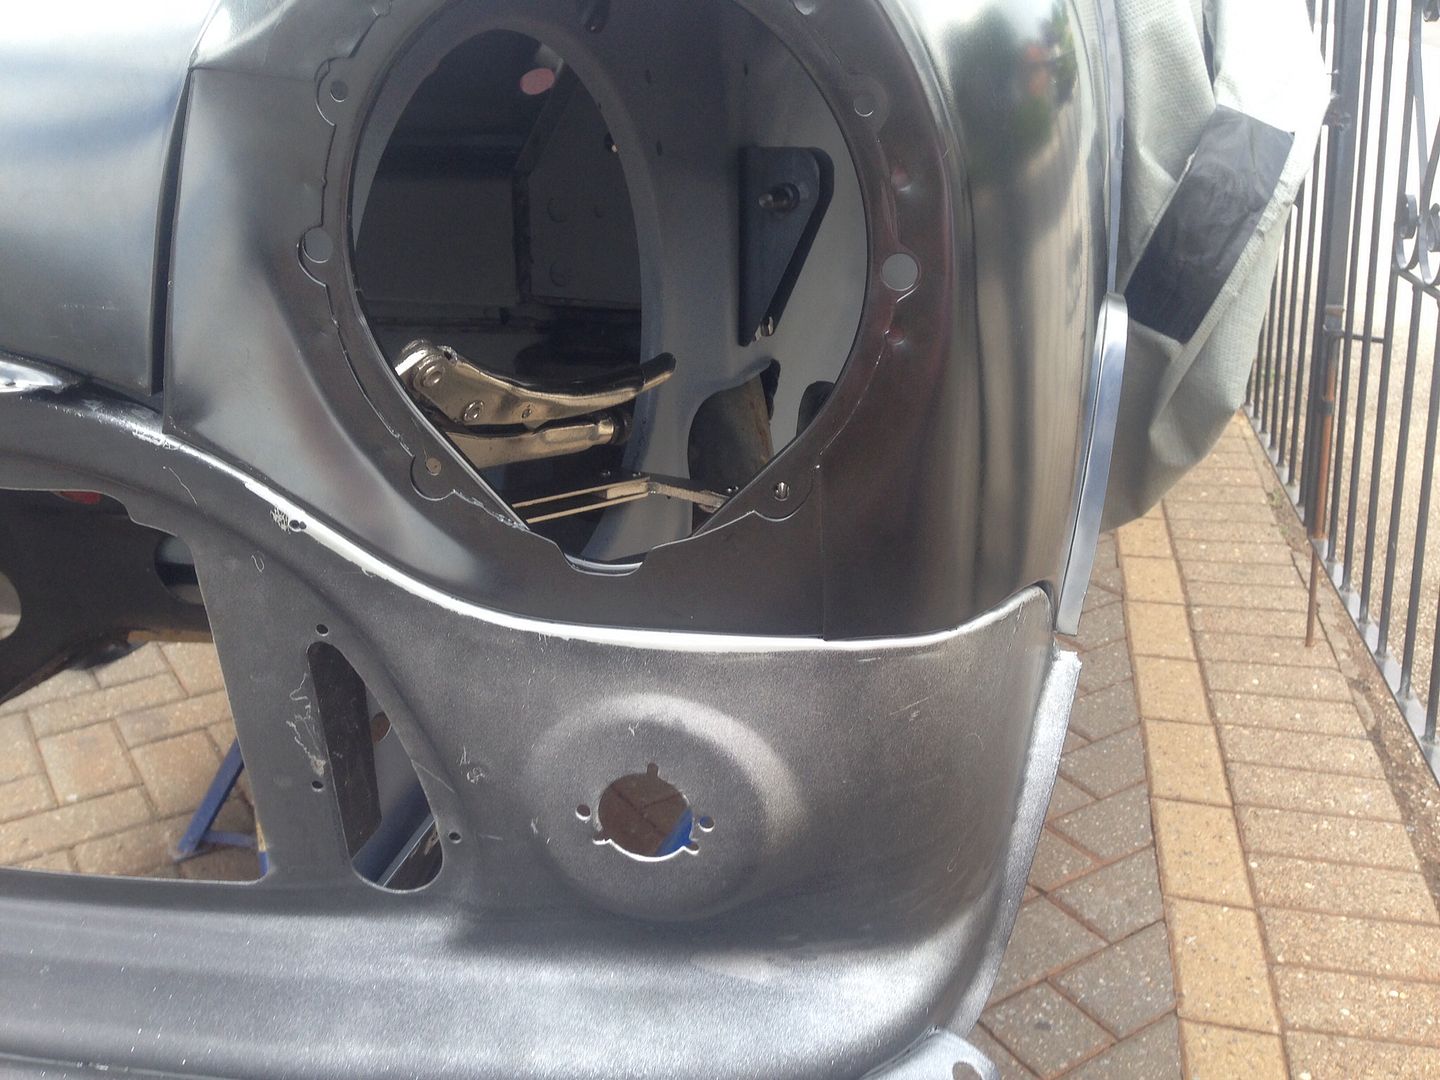
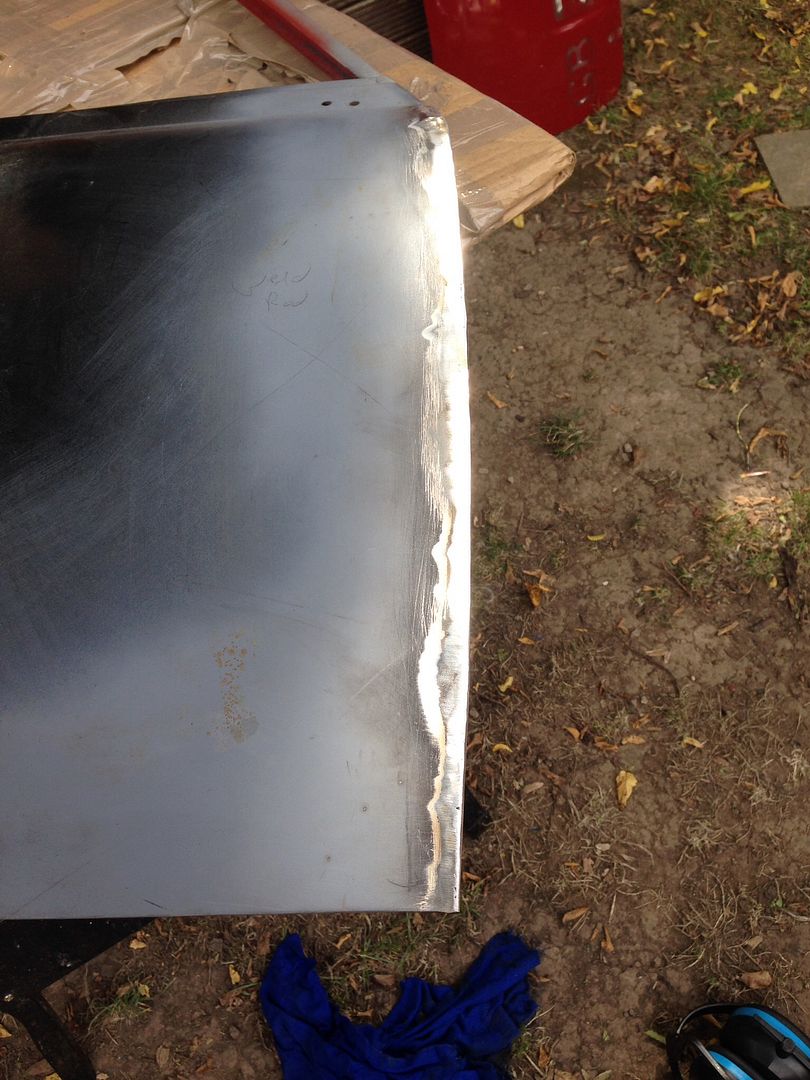
Had some extensive pitting around the fuel filler neck, so had to replace that with fresh metal. Cut out the rot -
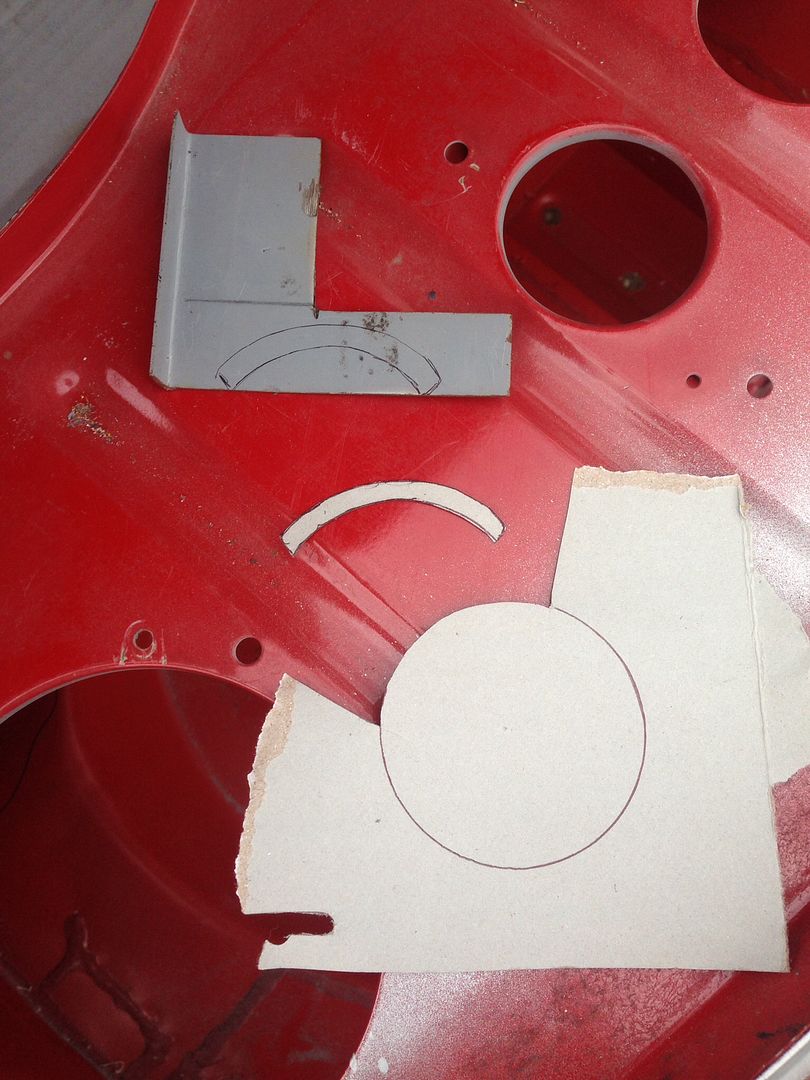
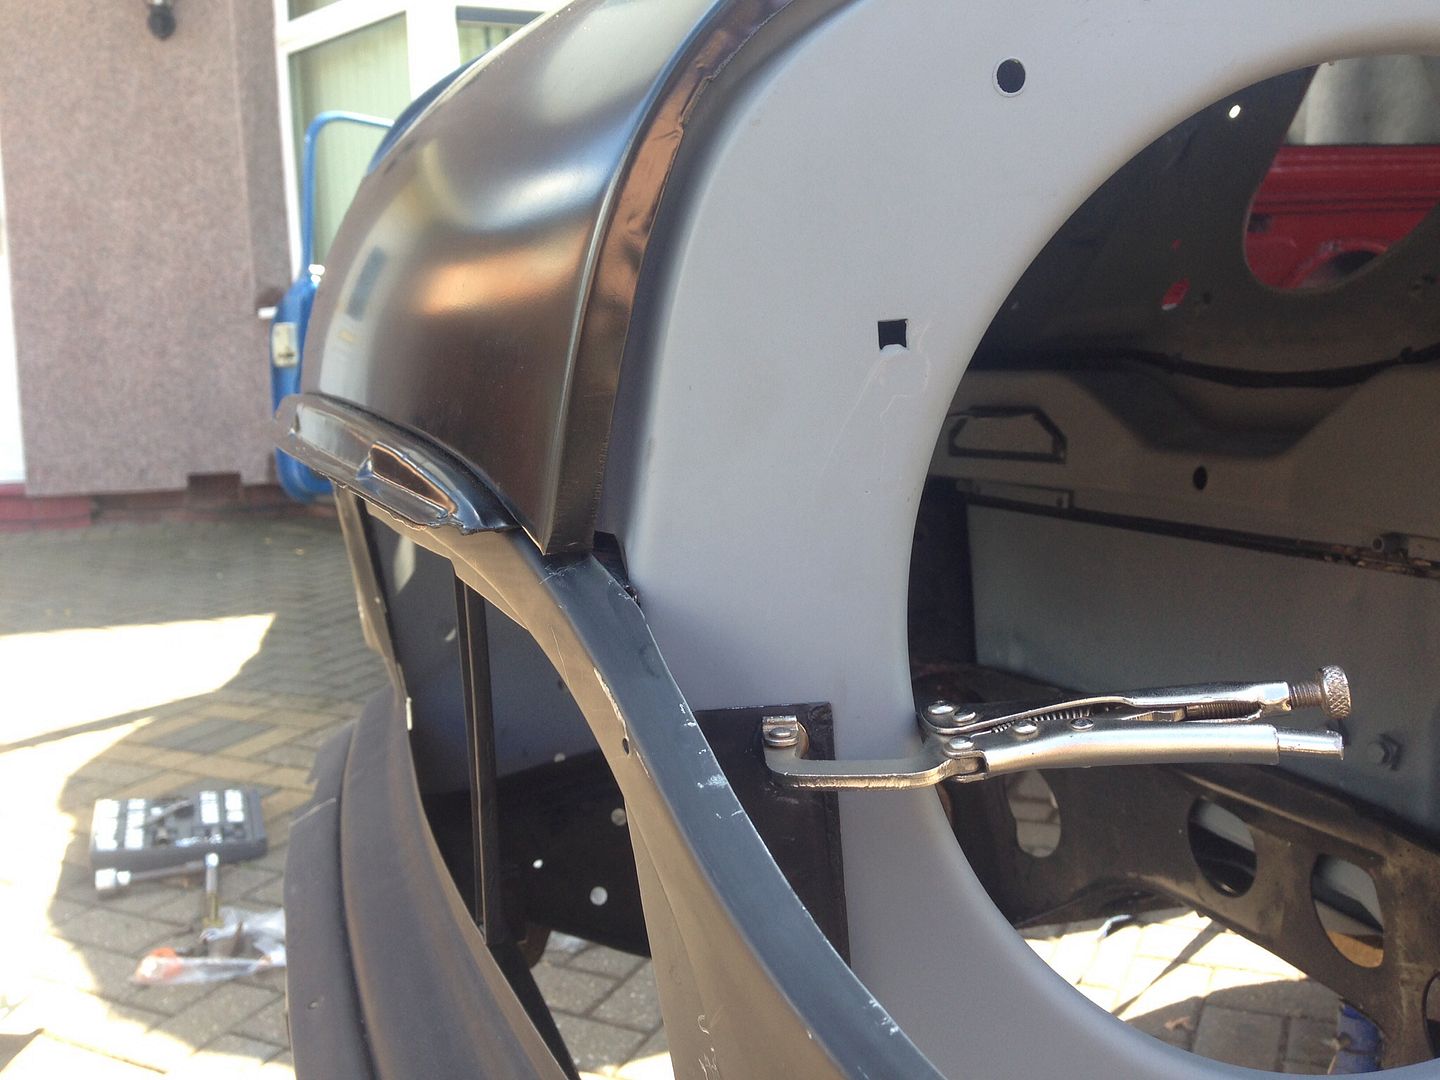
CAD template made and transferred to steal -
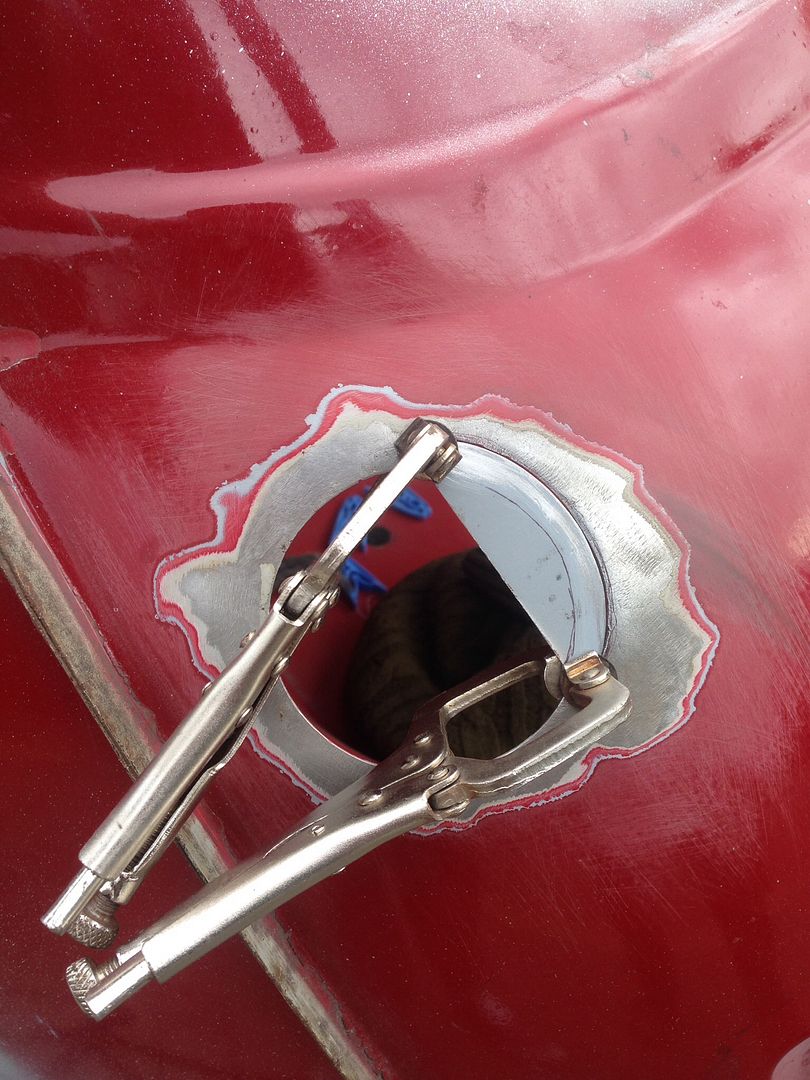
Clamped in place -
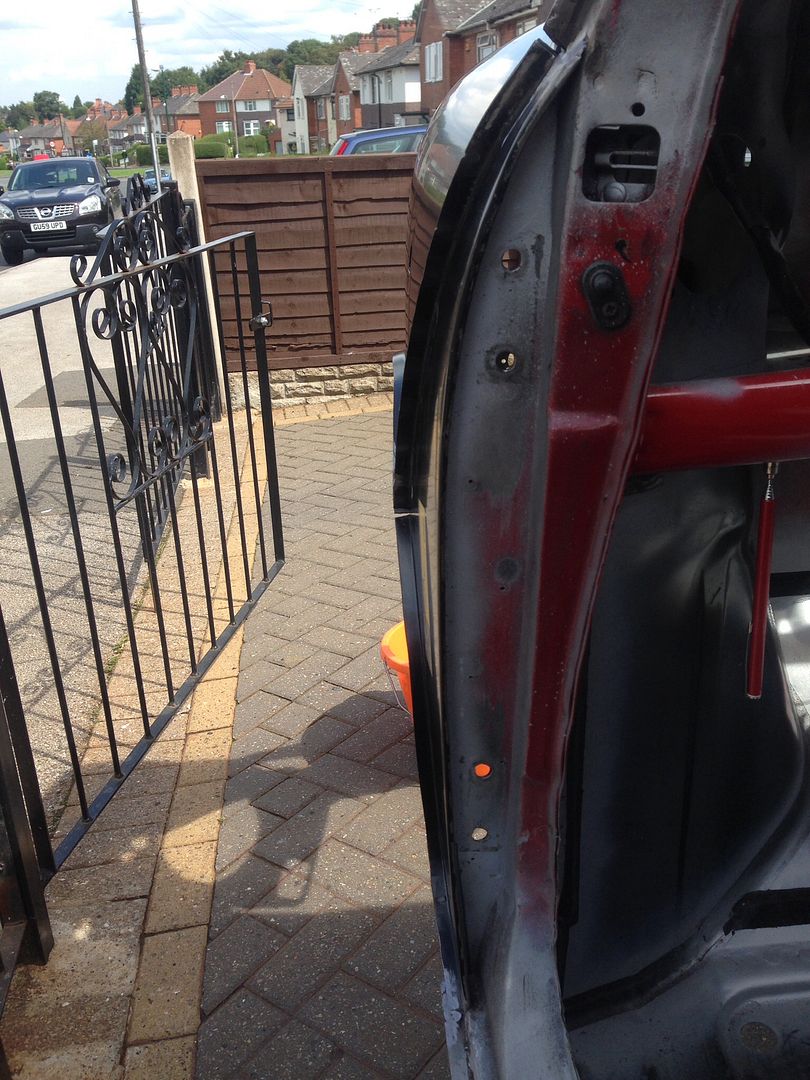
Welded in and ground down -
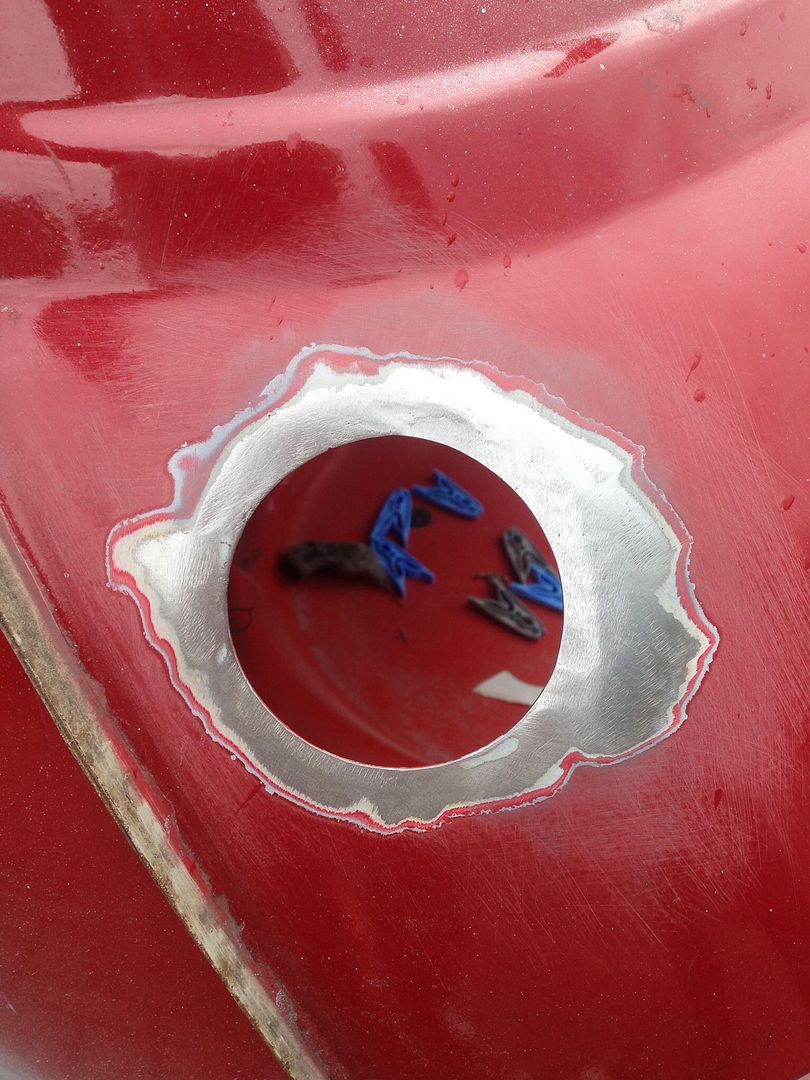
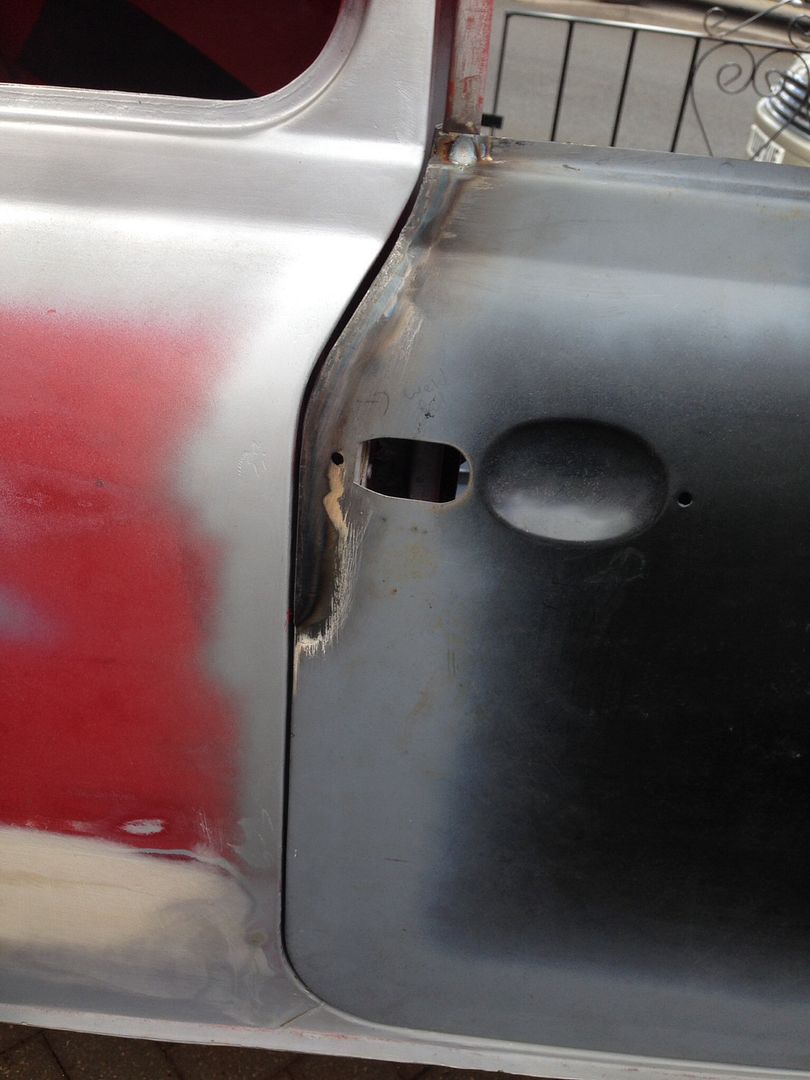
Tried the rubber seal for fitment-
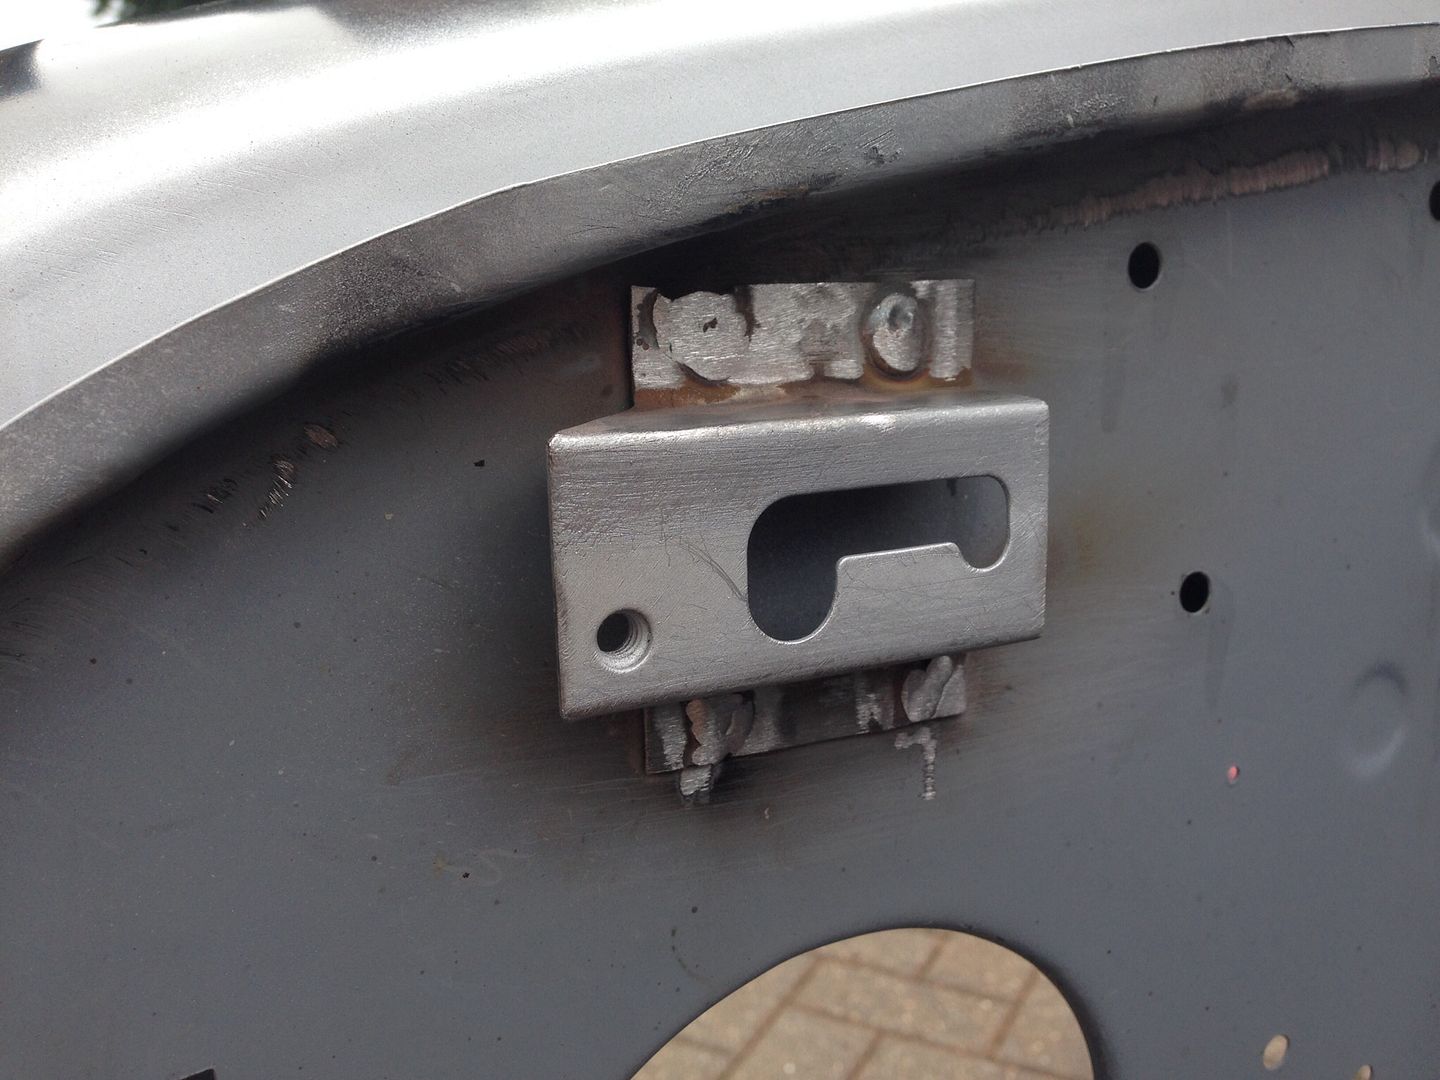
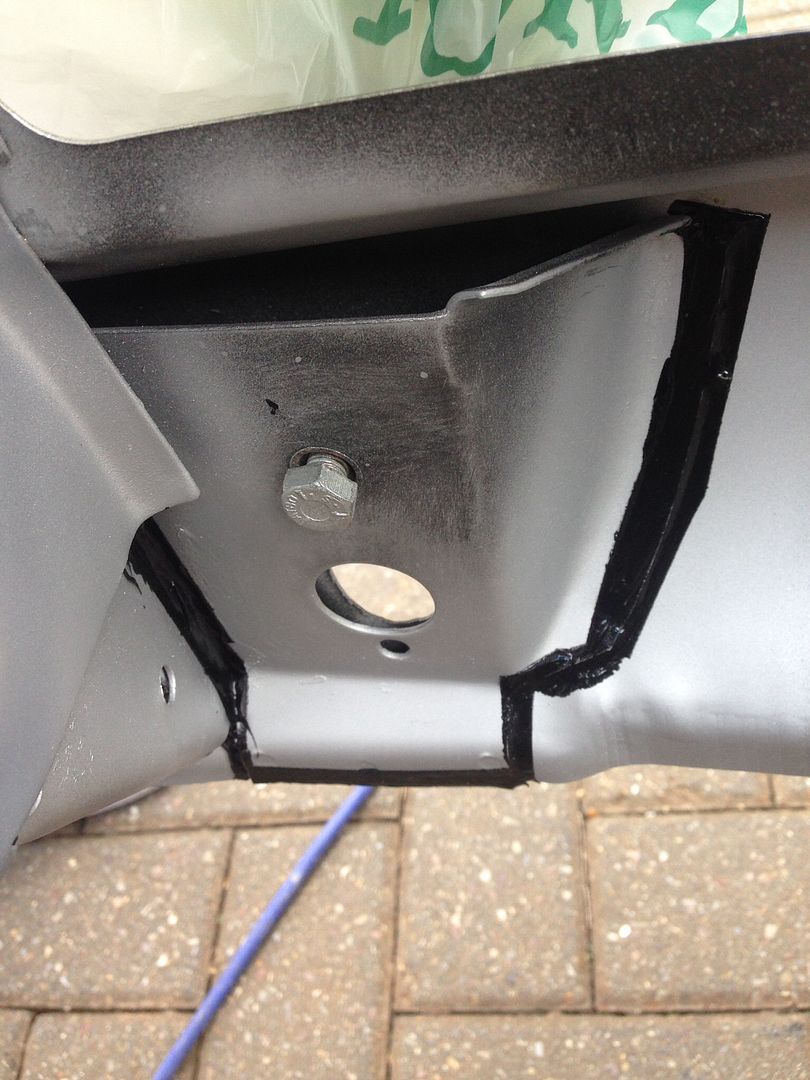
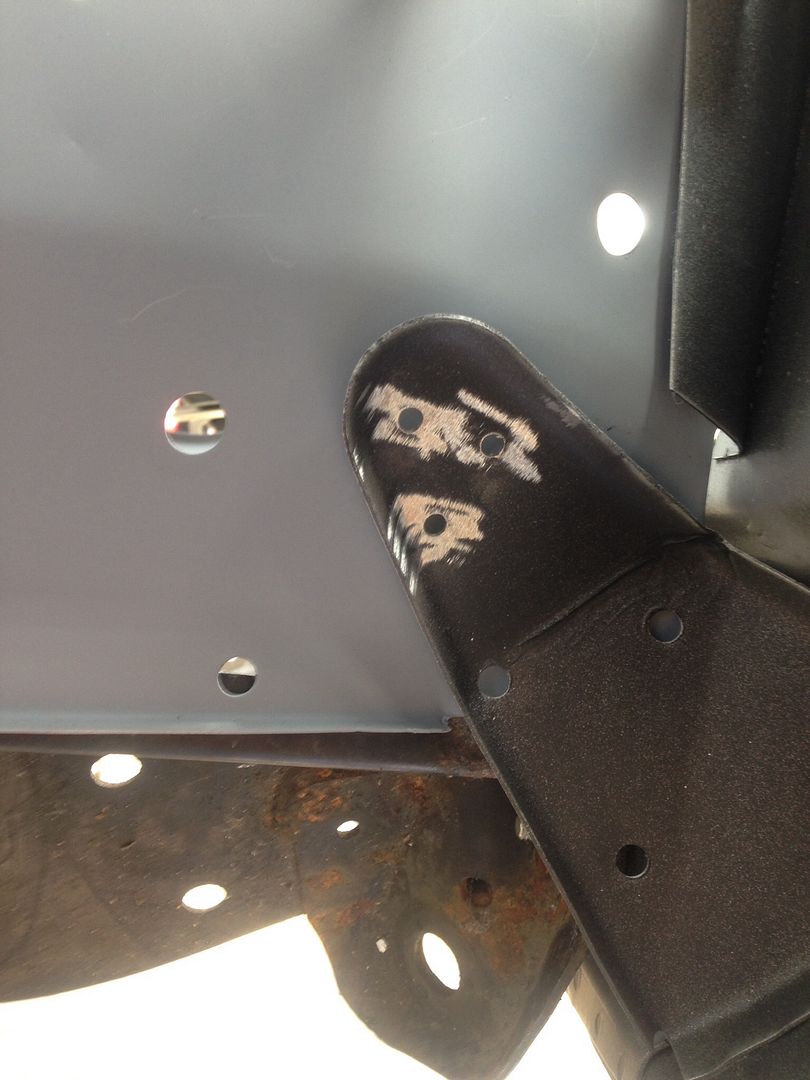
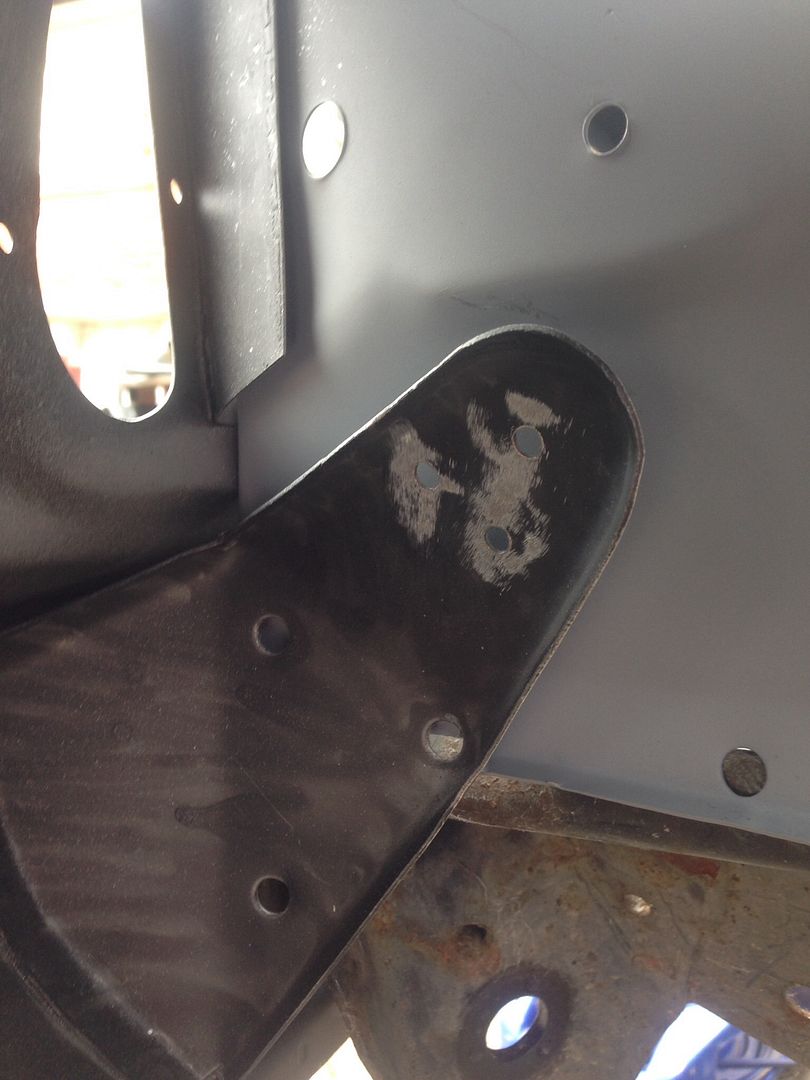
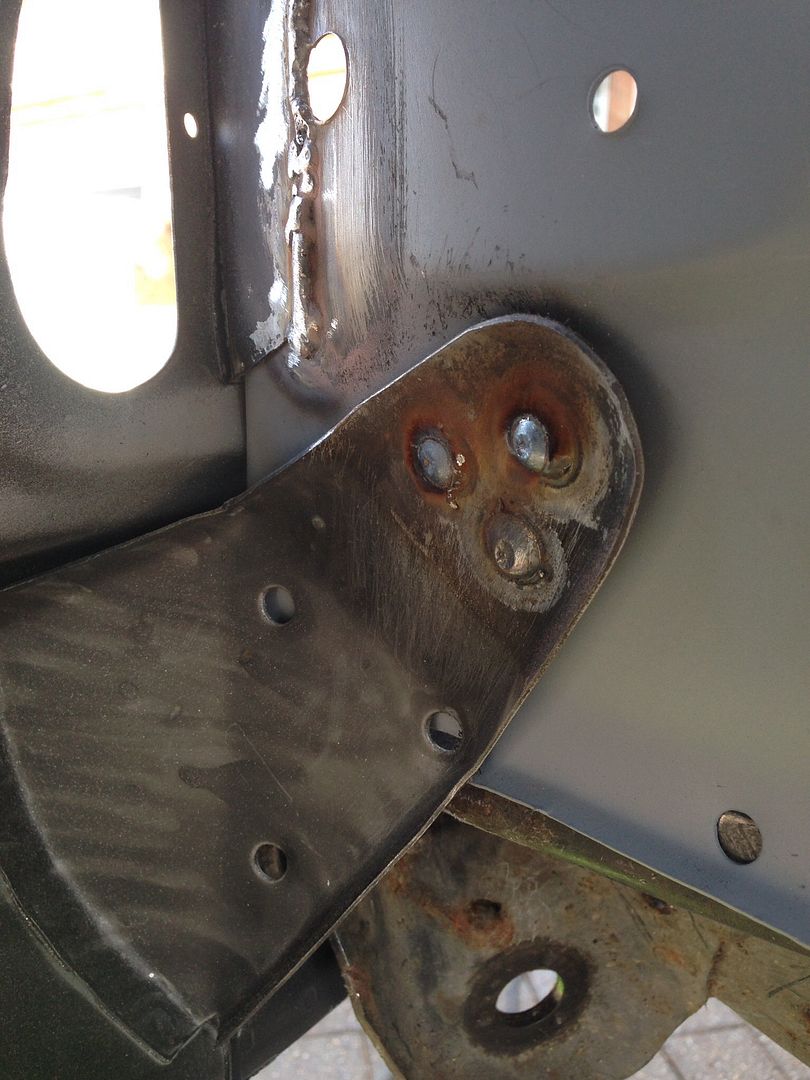
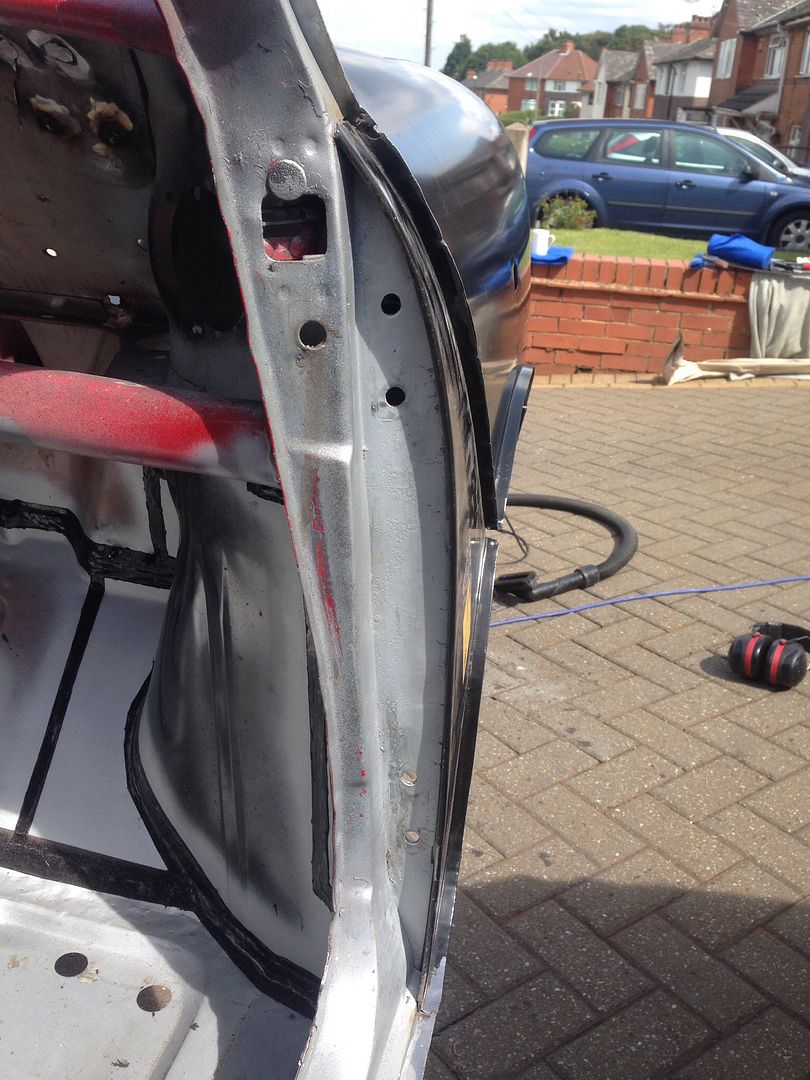
Cleaned up and welded the bonnet stay bracket back in place -

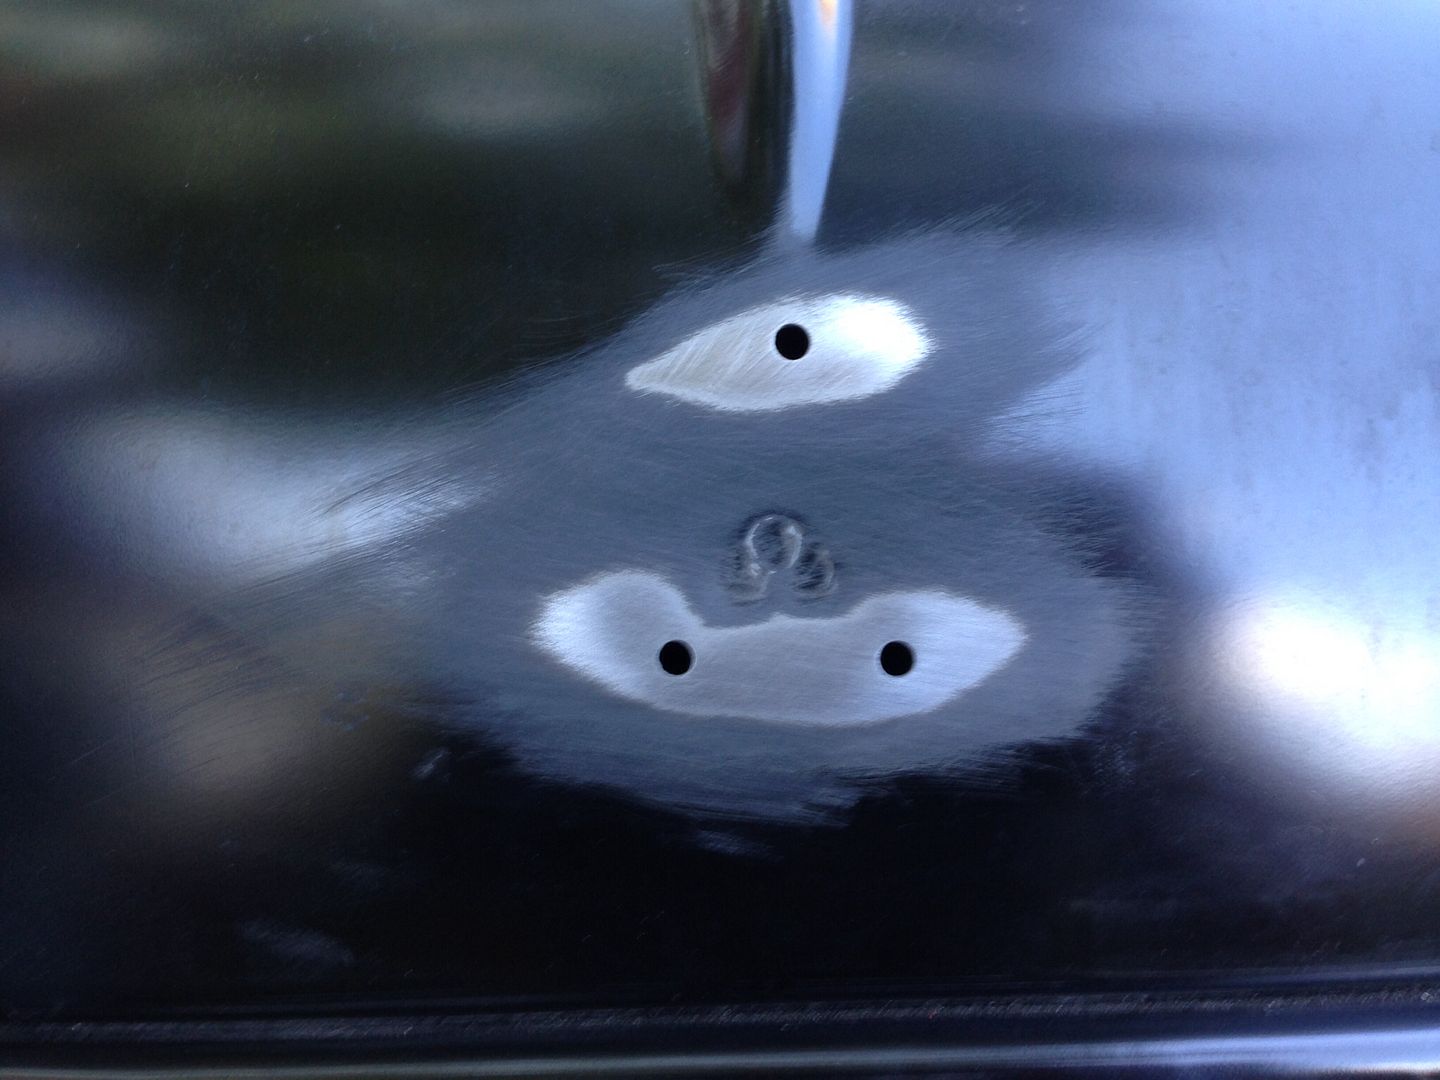
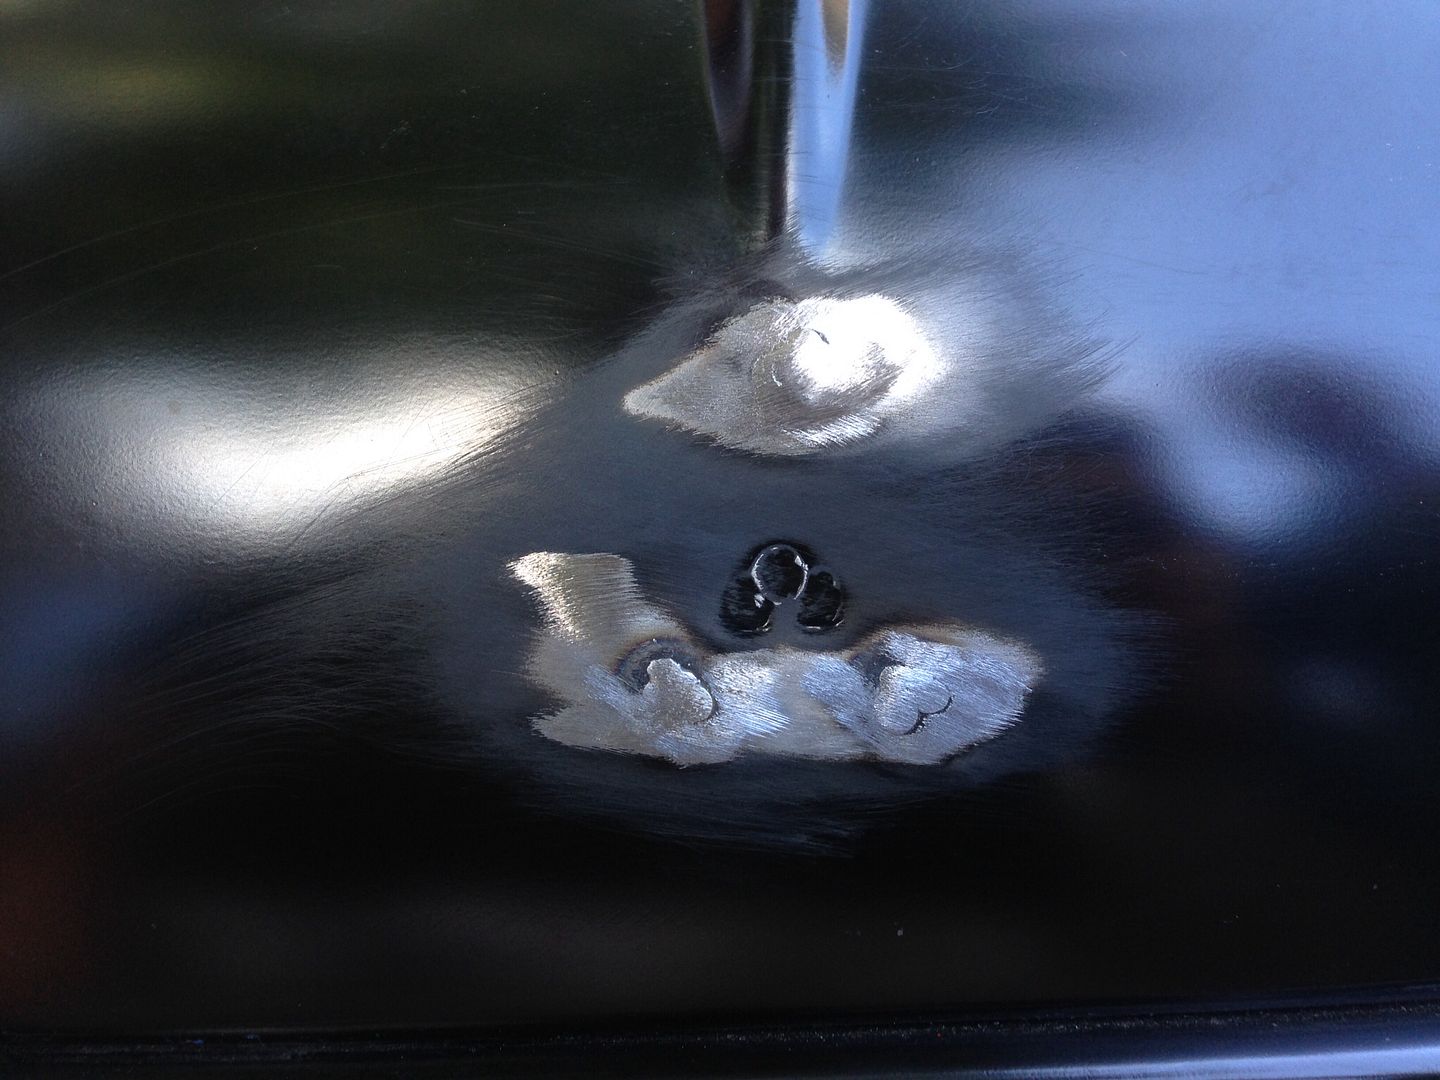
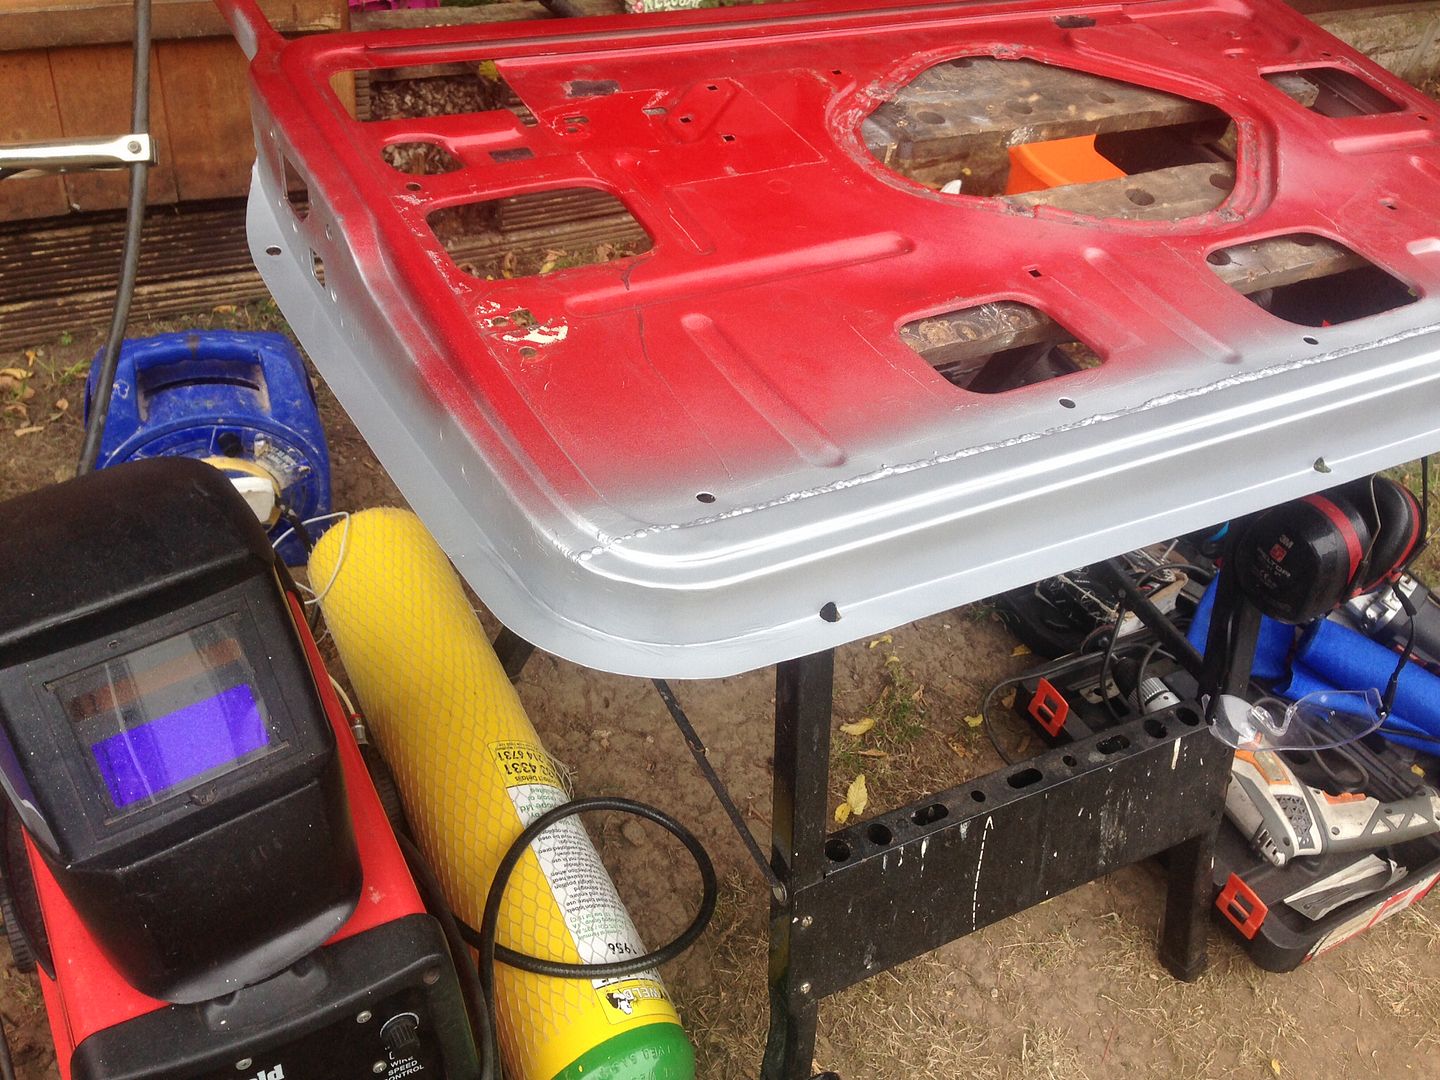
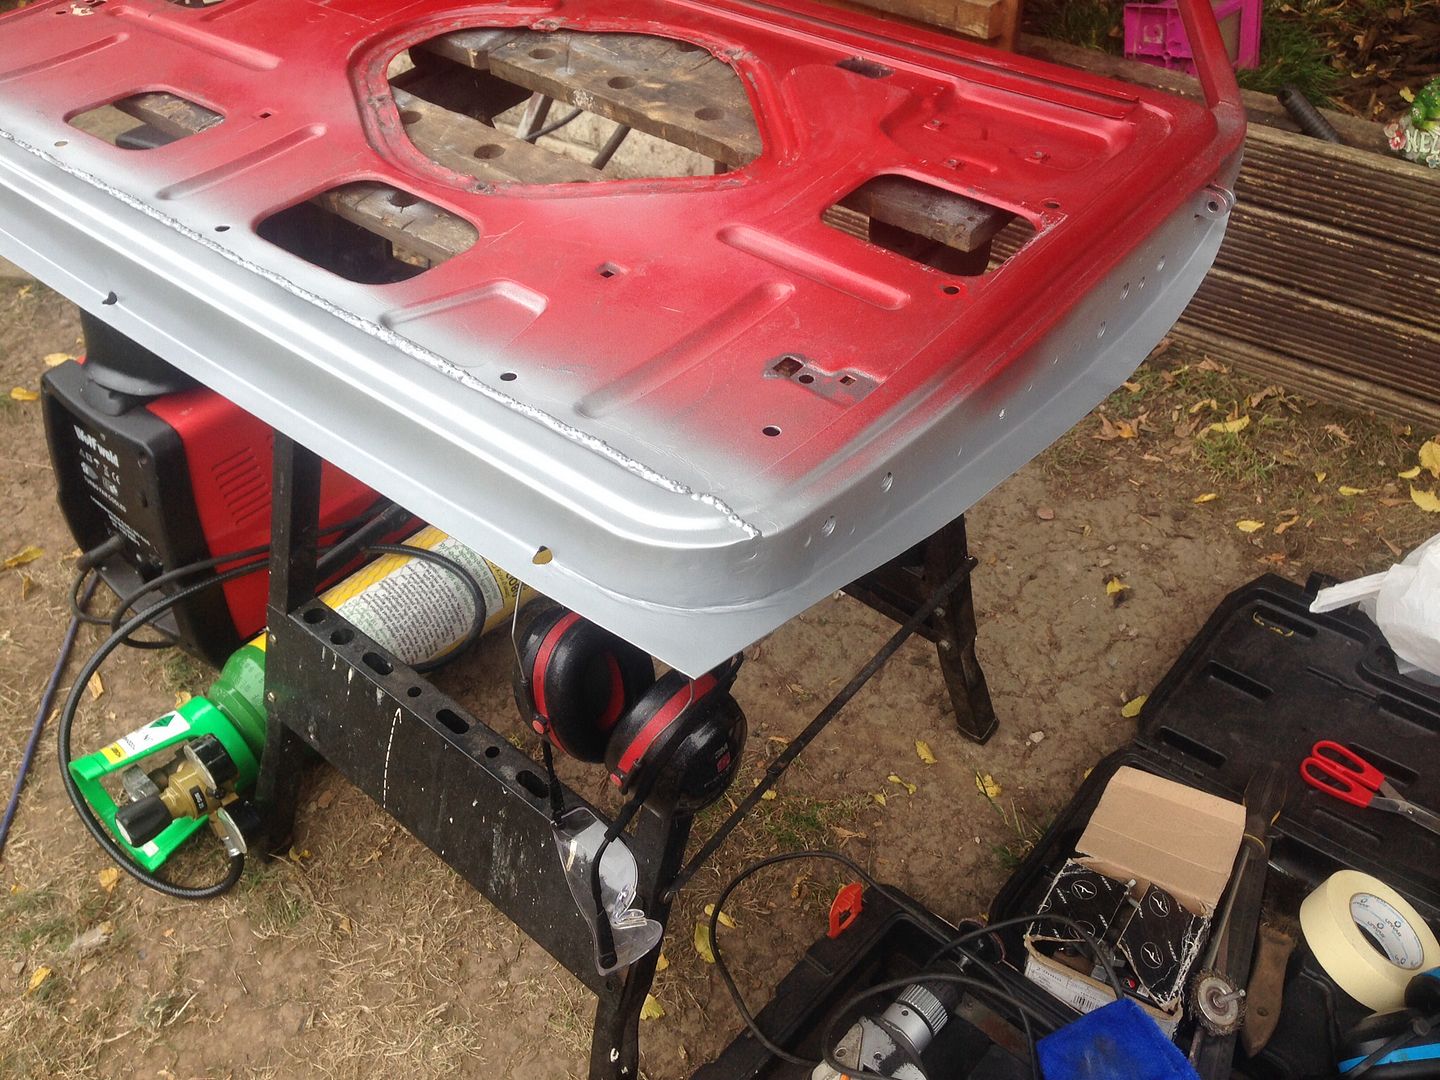
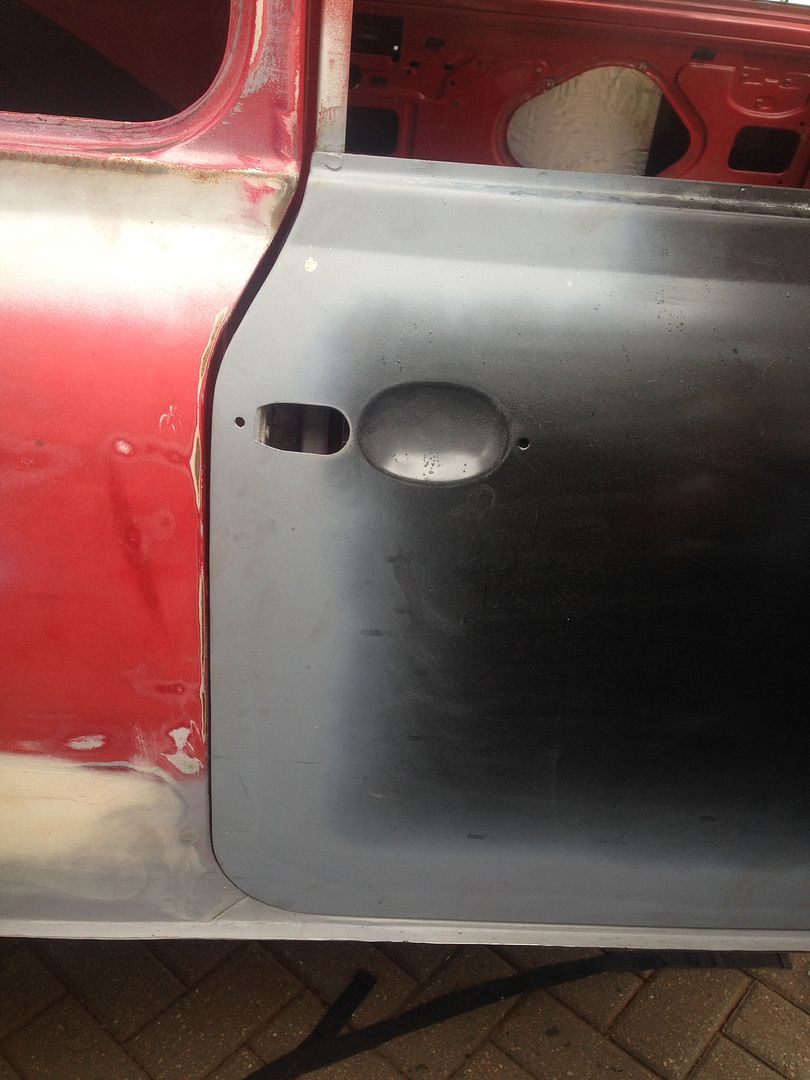
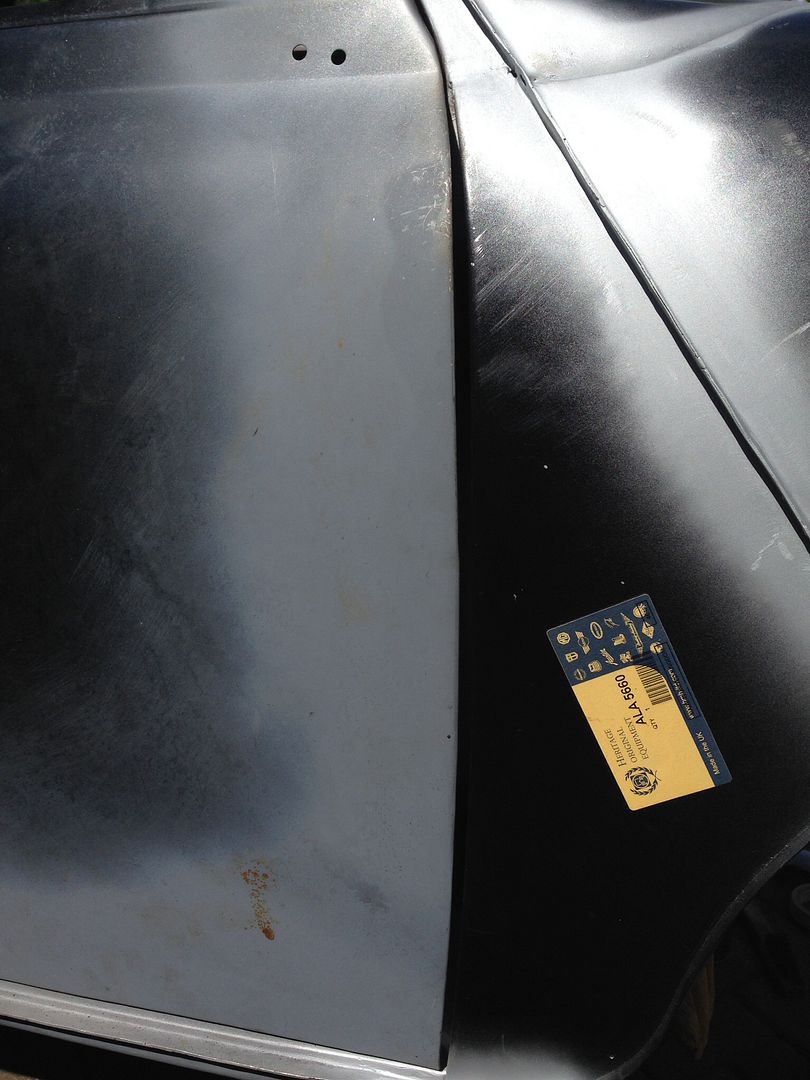
Welded up the holes in the bonnet as I'm going for the clean, de-badged look. Still needs going over with the power file to make it completely smooth, then a lick of filler to finish that off -
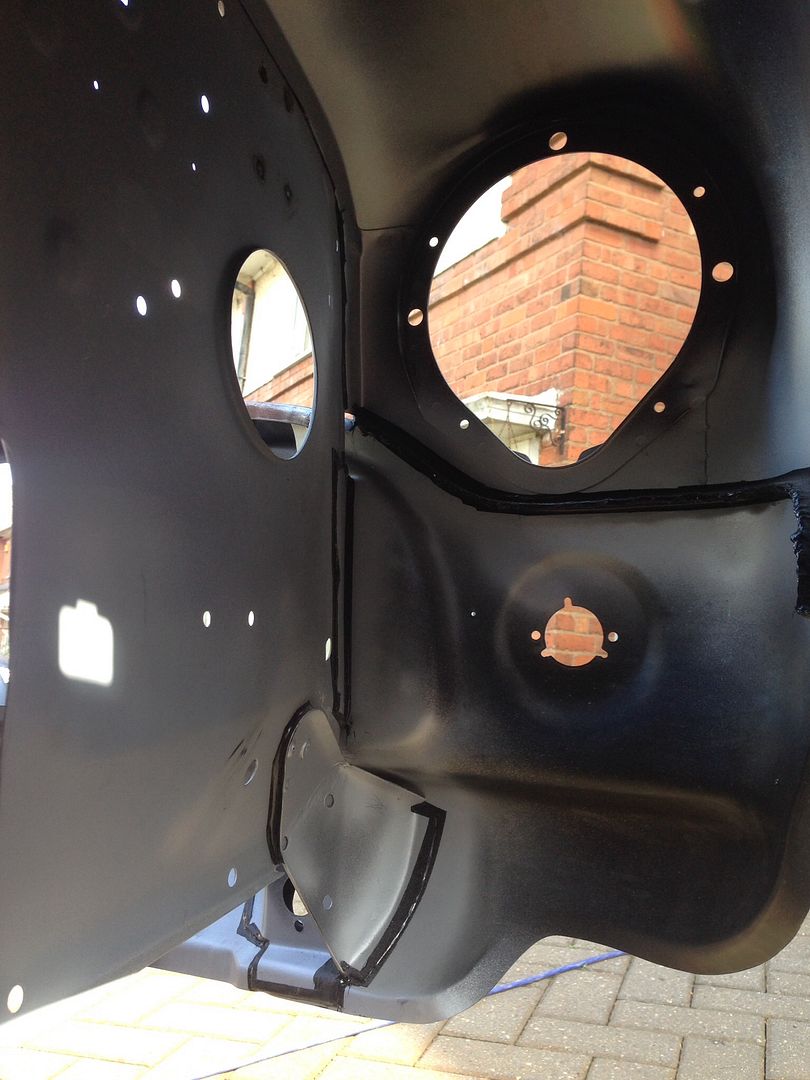
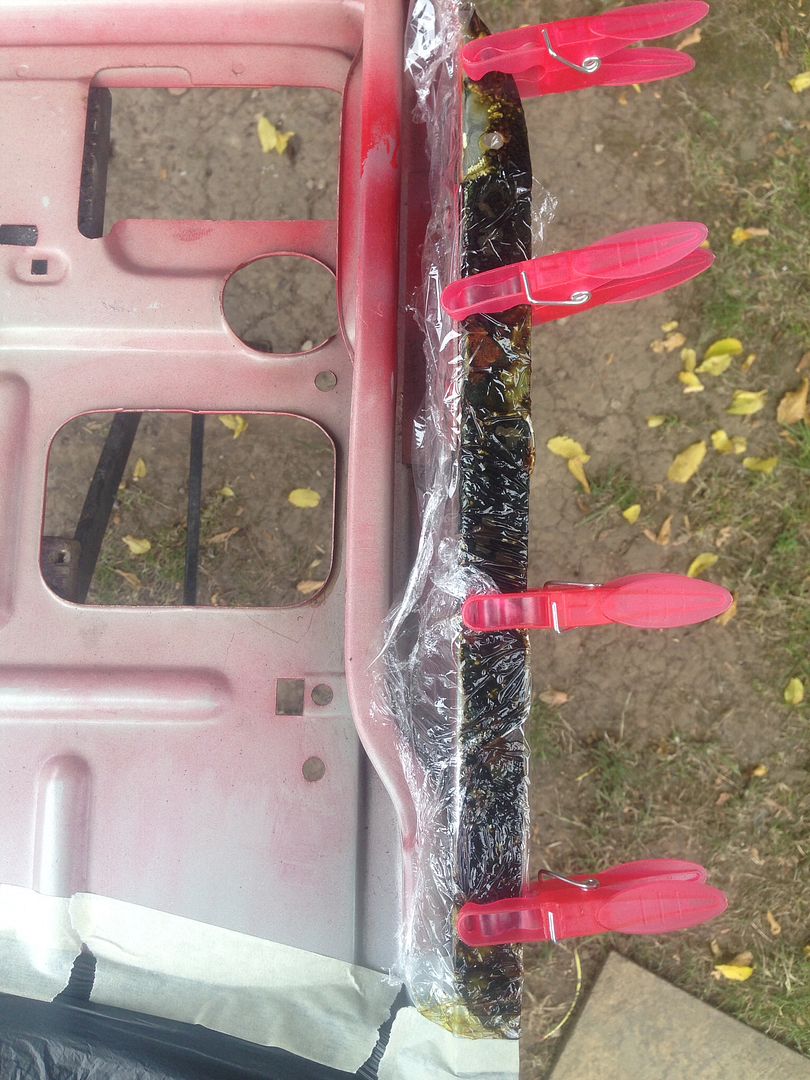
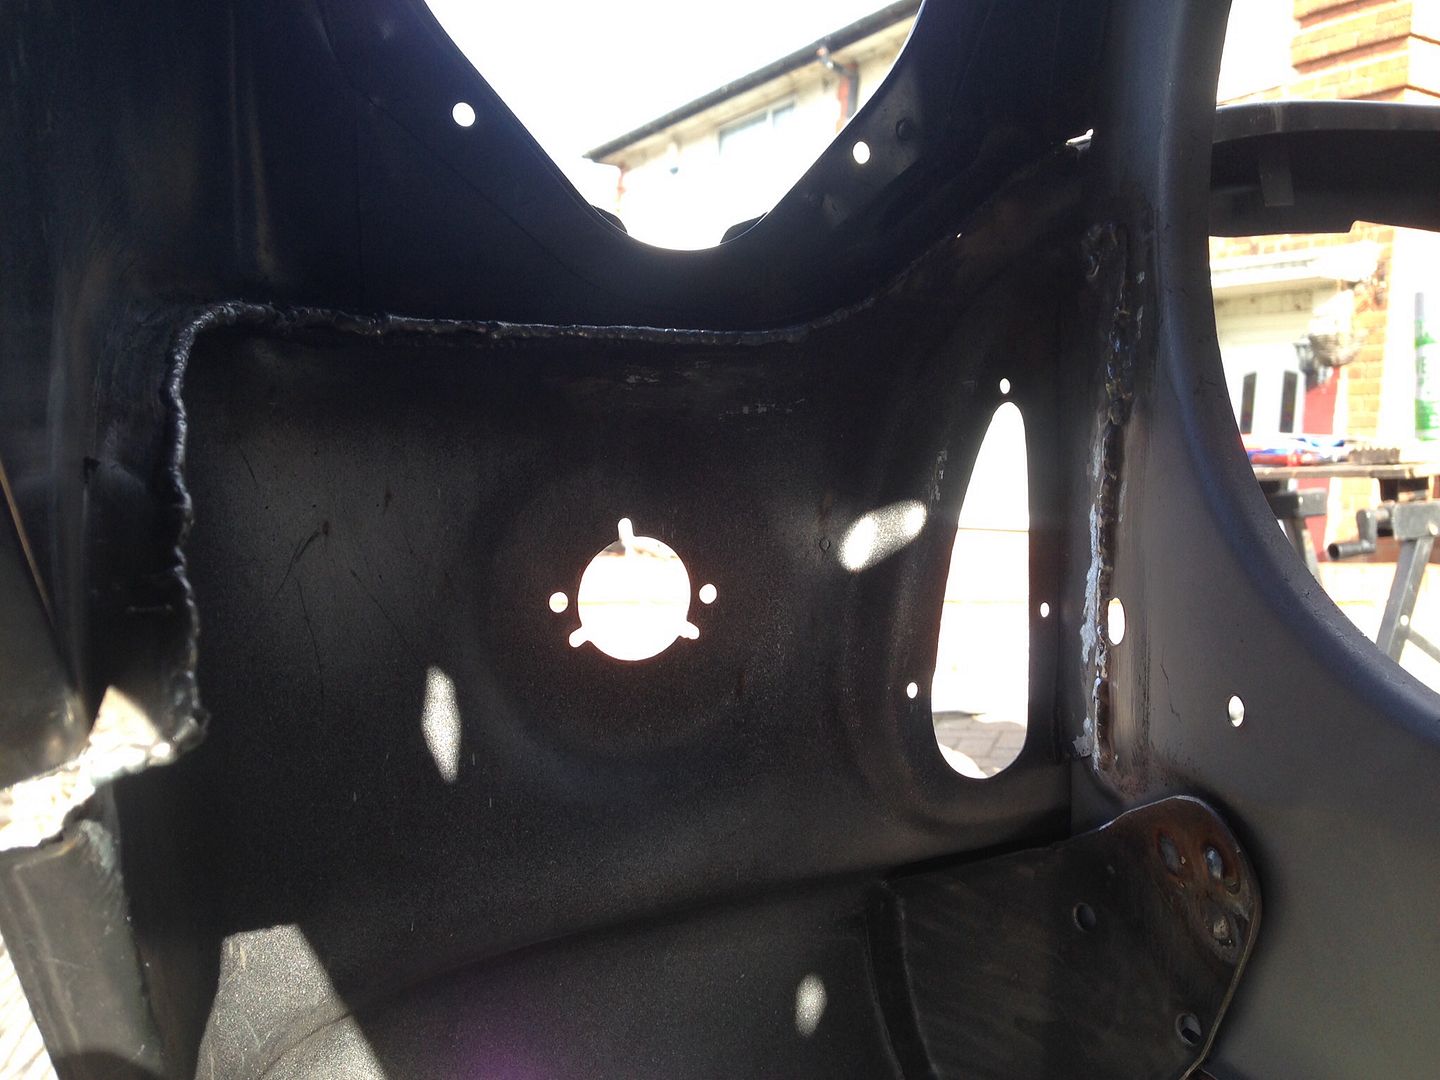
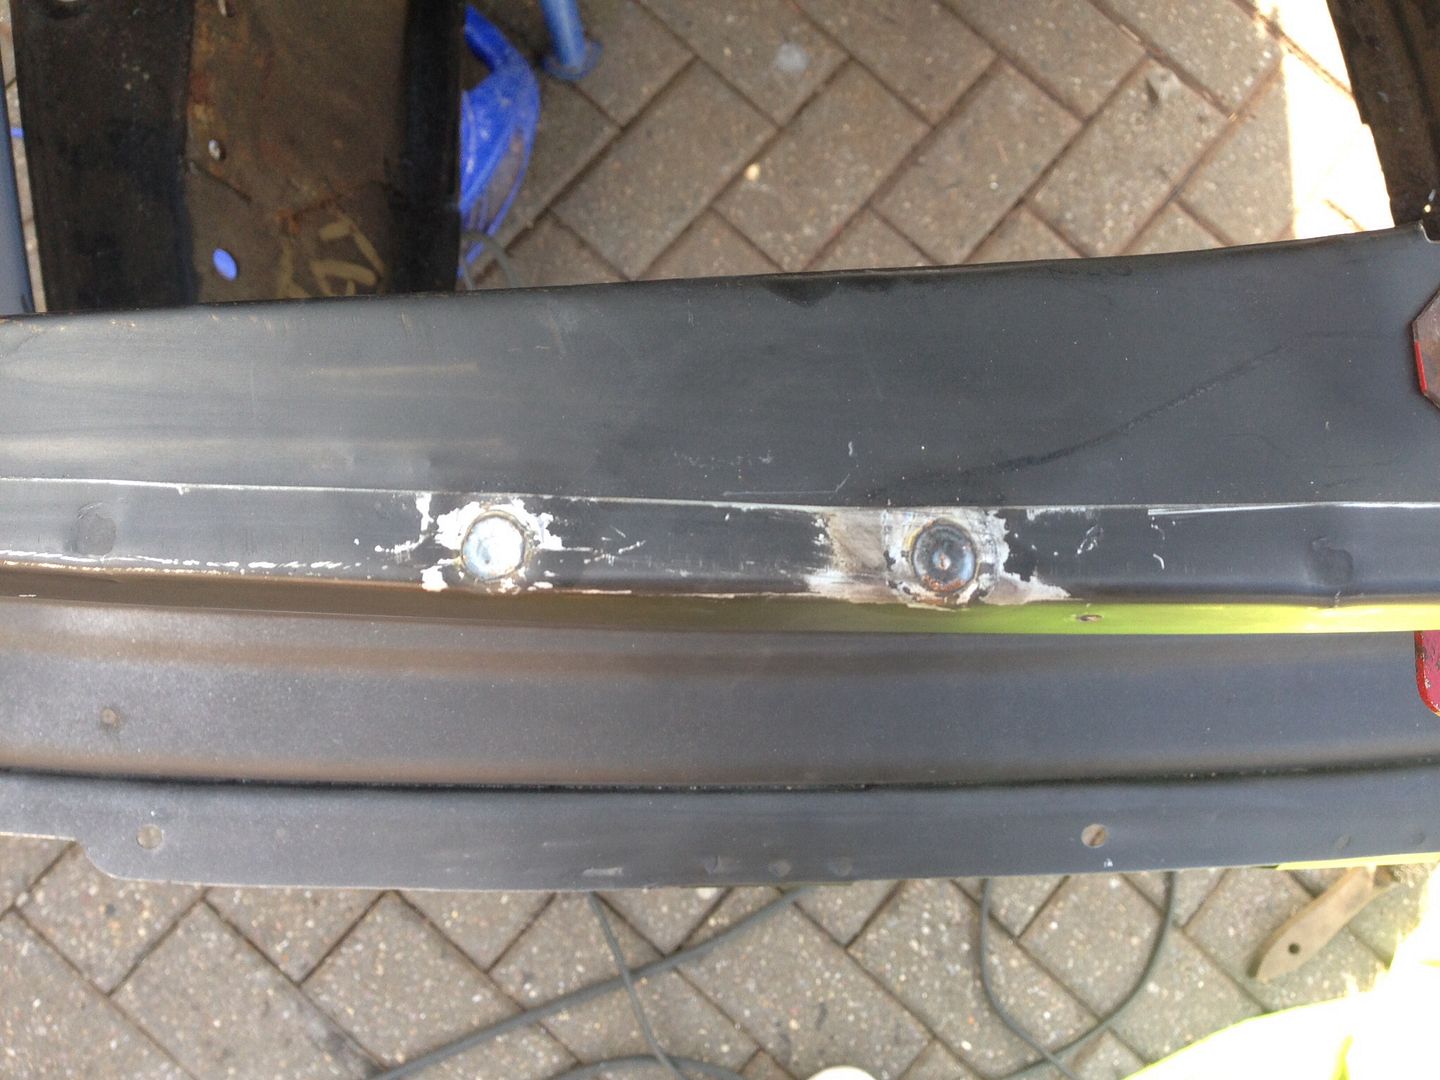
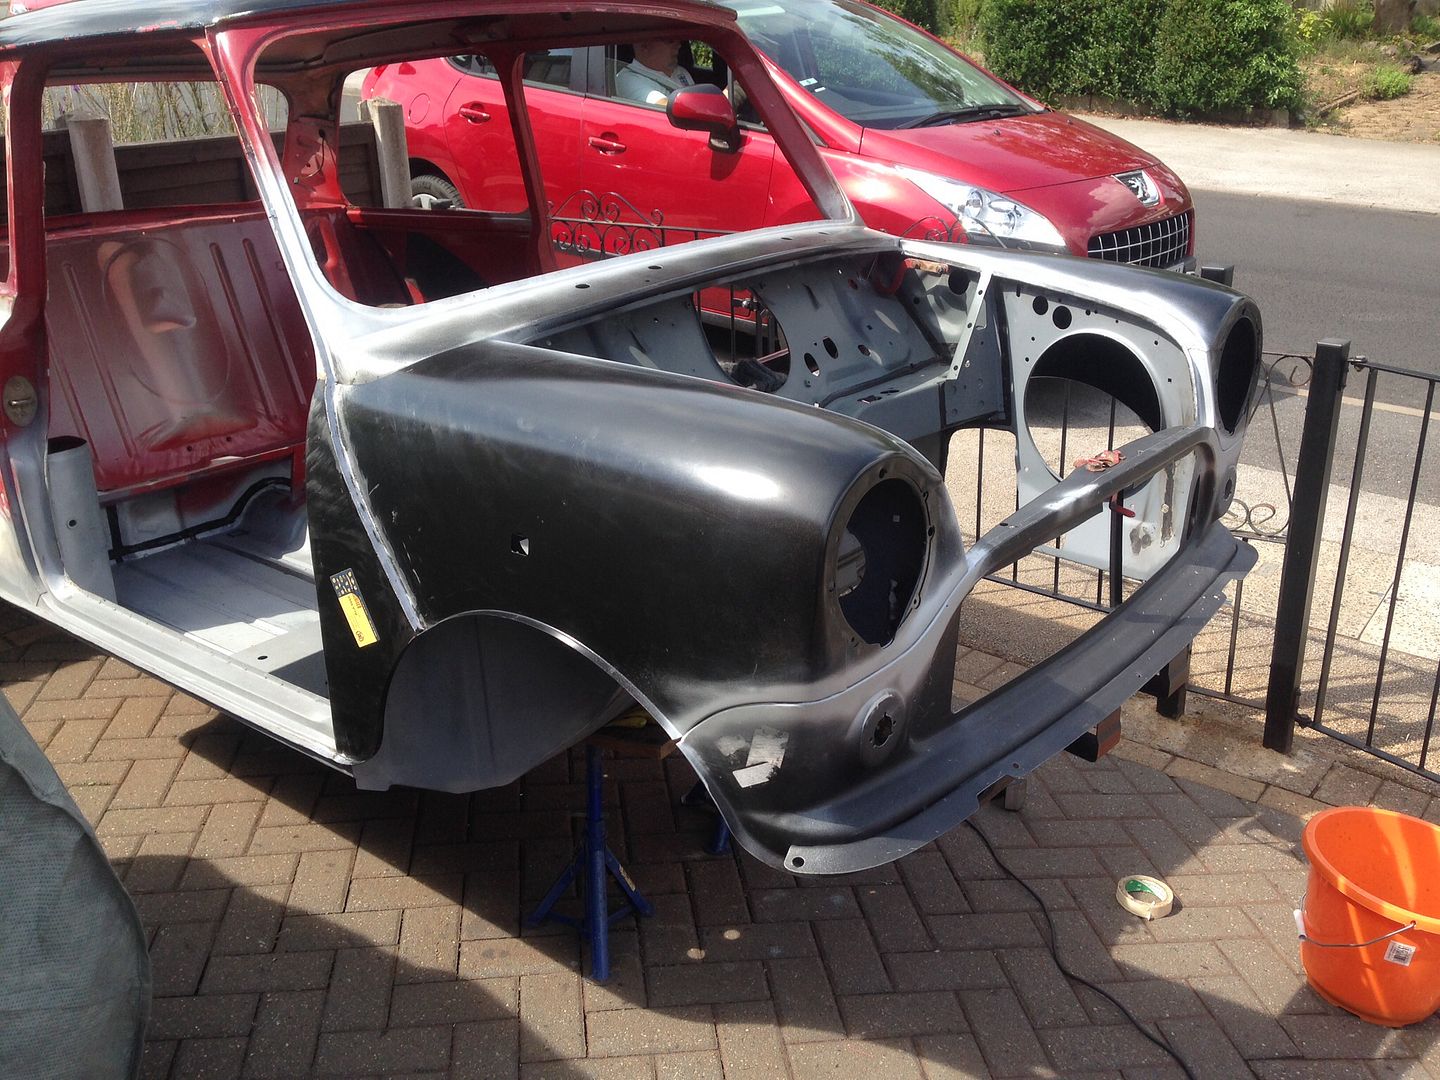
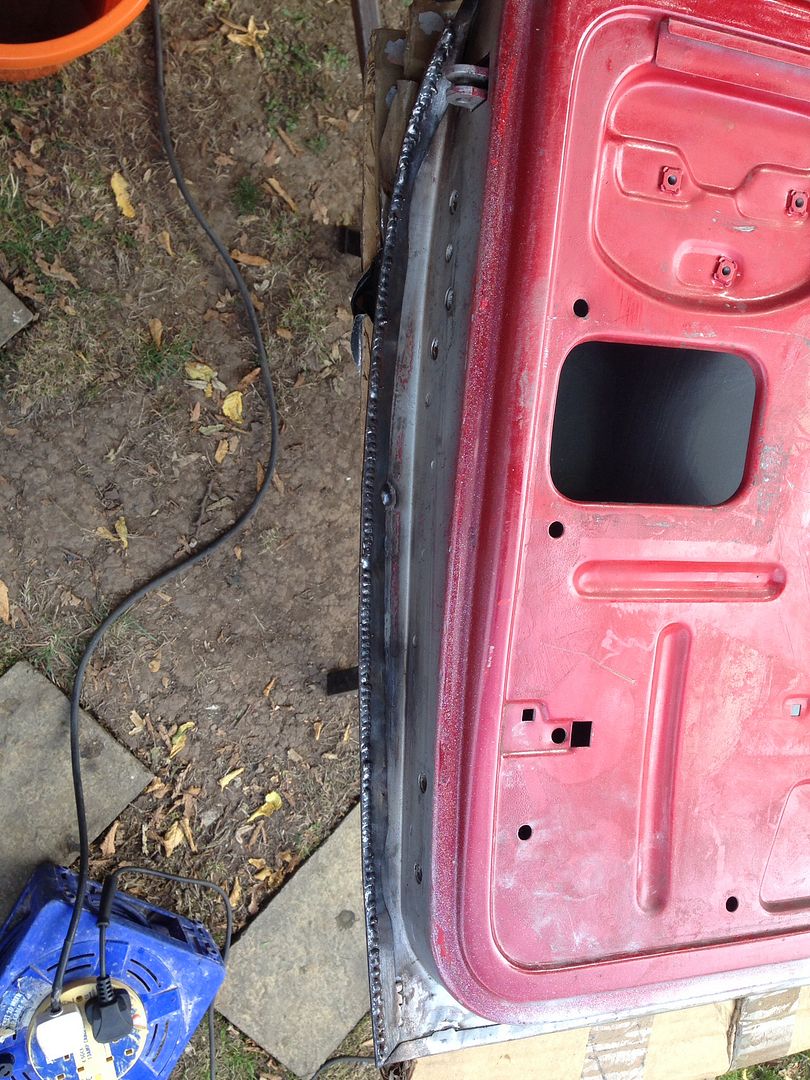
Lots of sealing done underneath the wings -
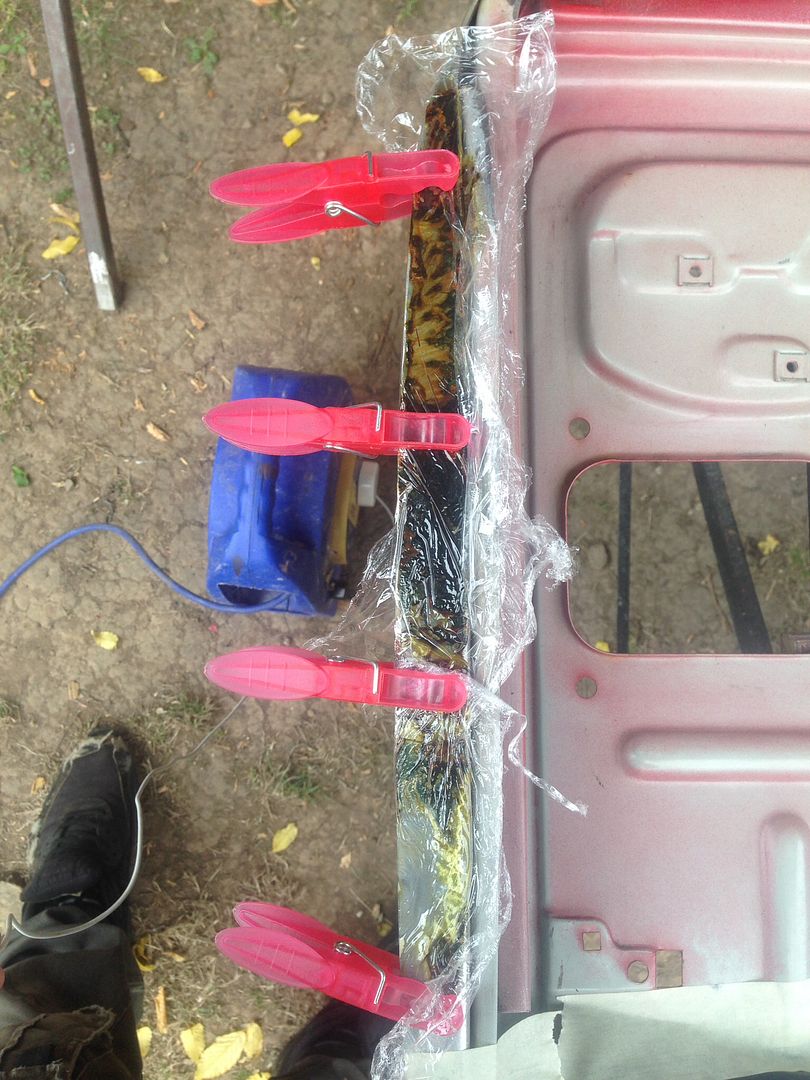
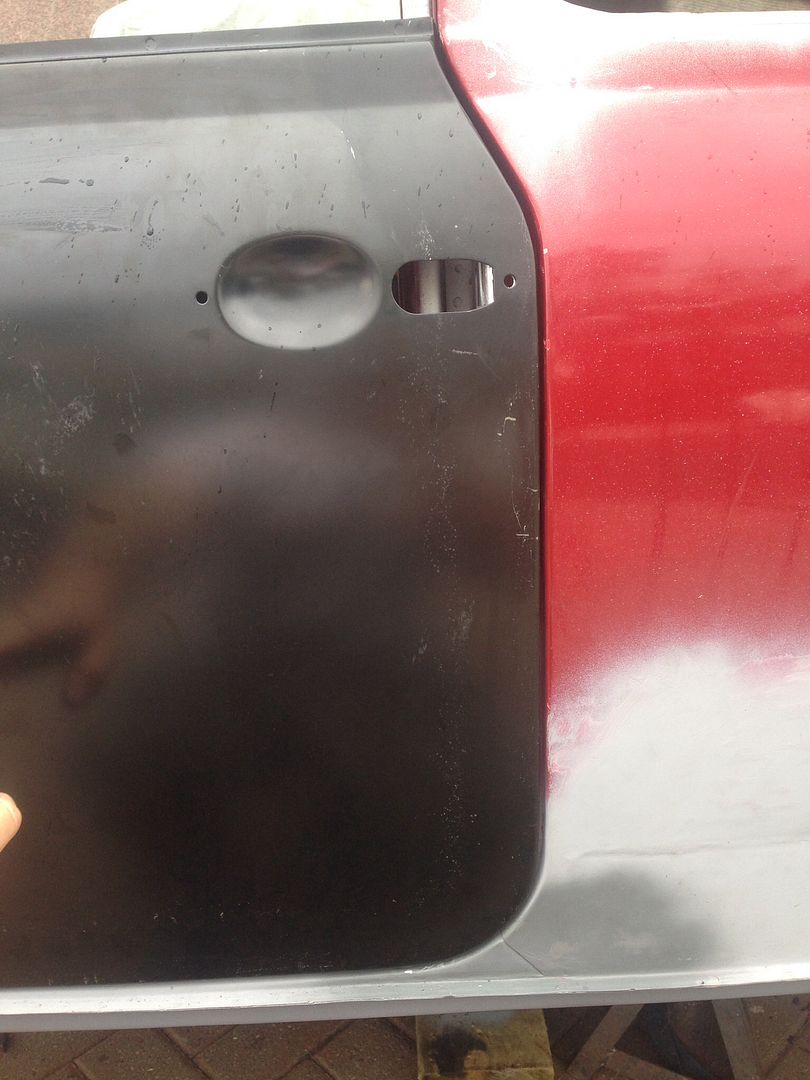
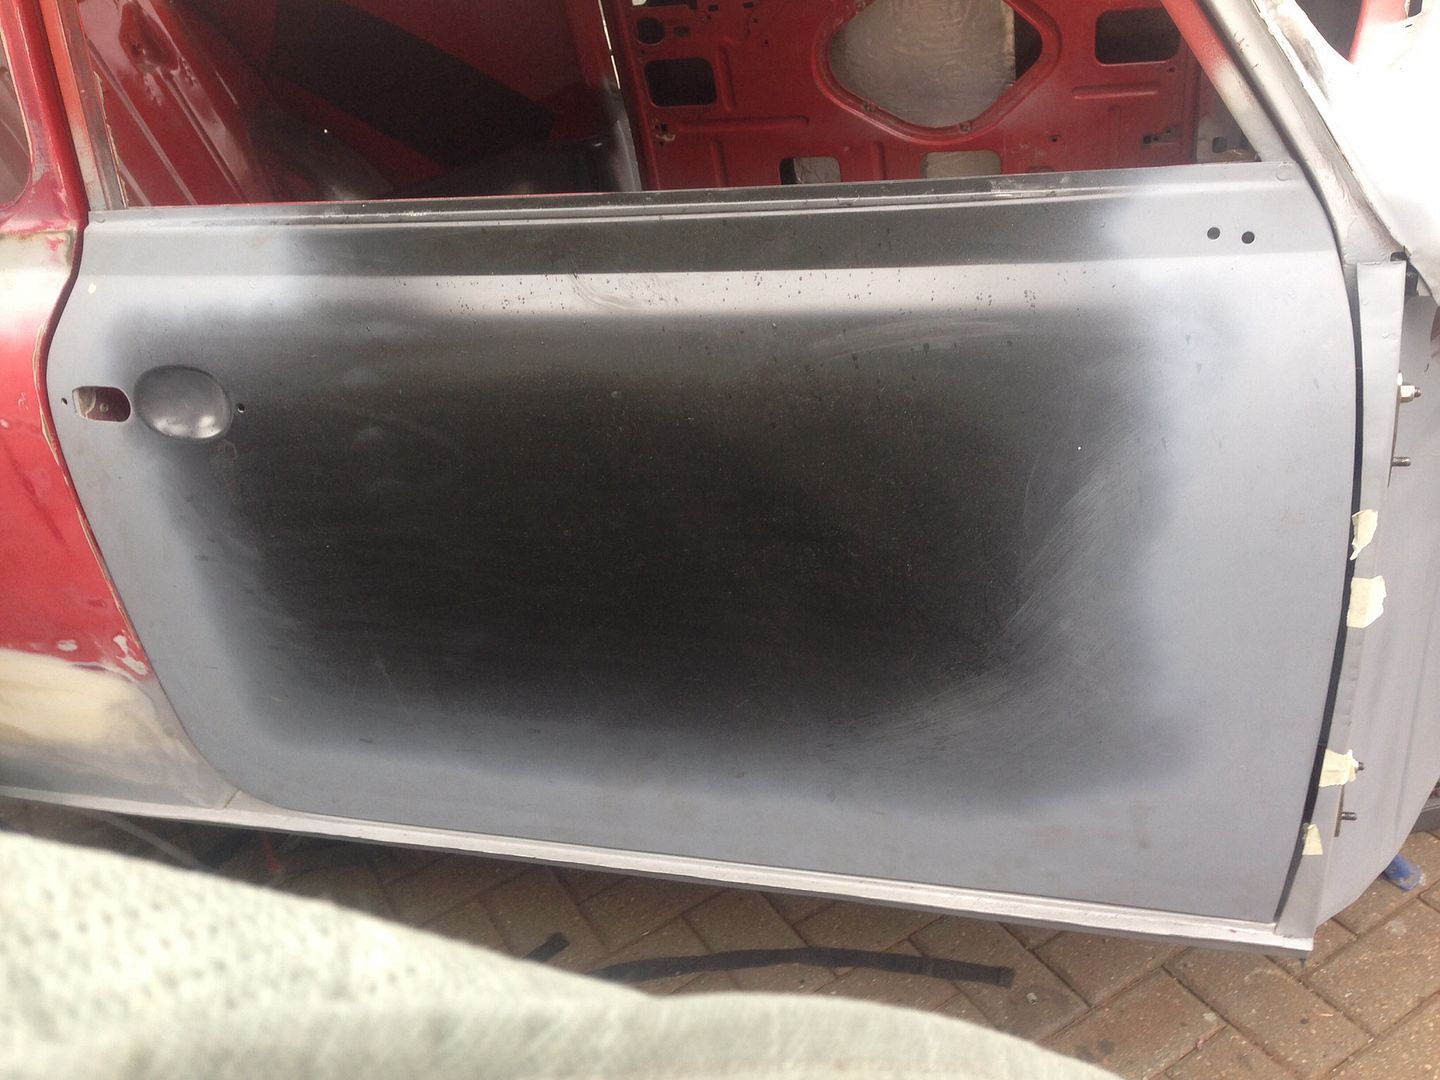
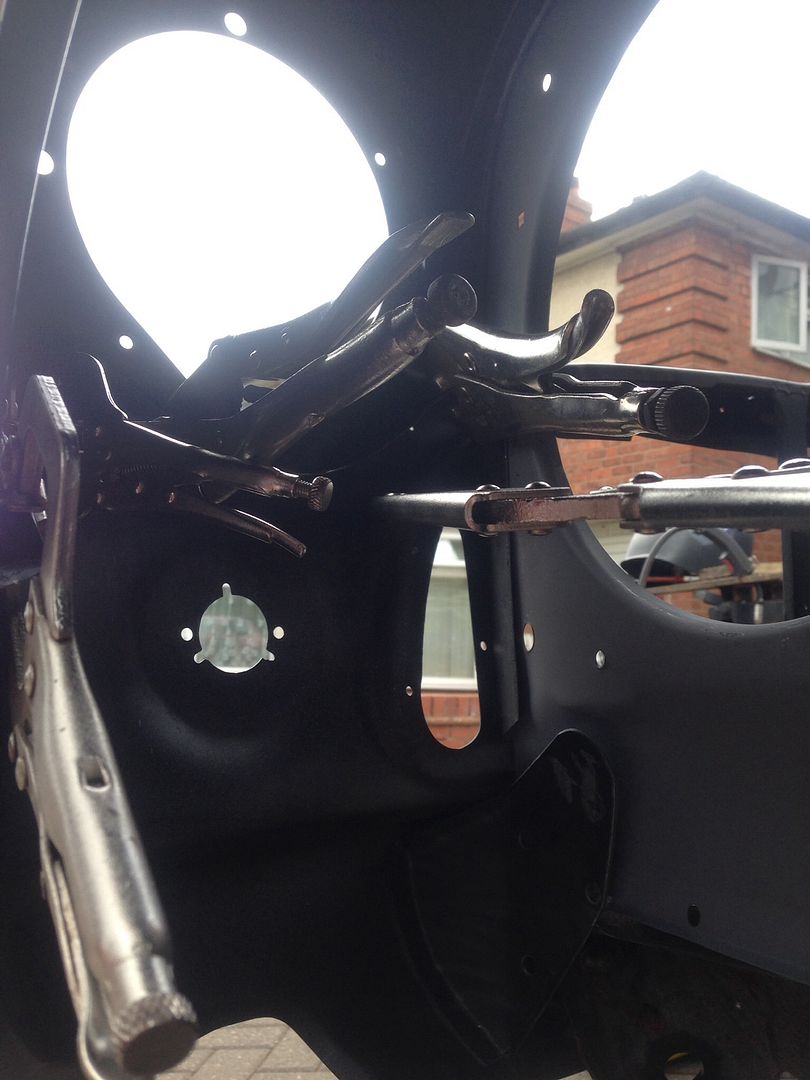
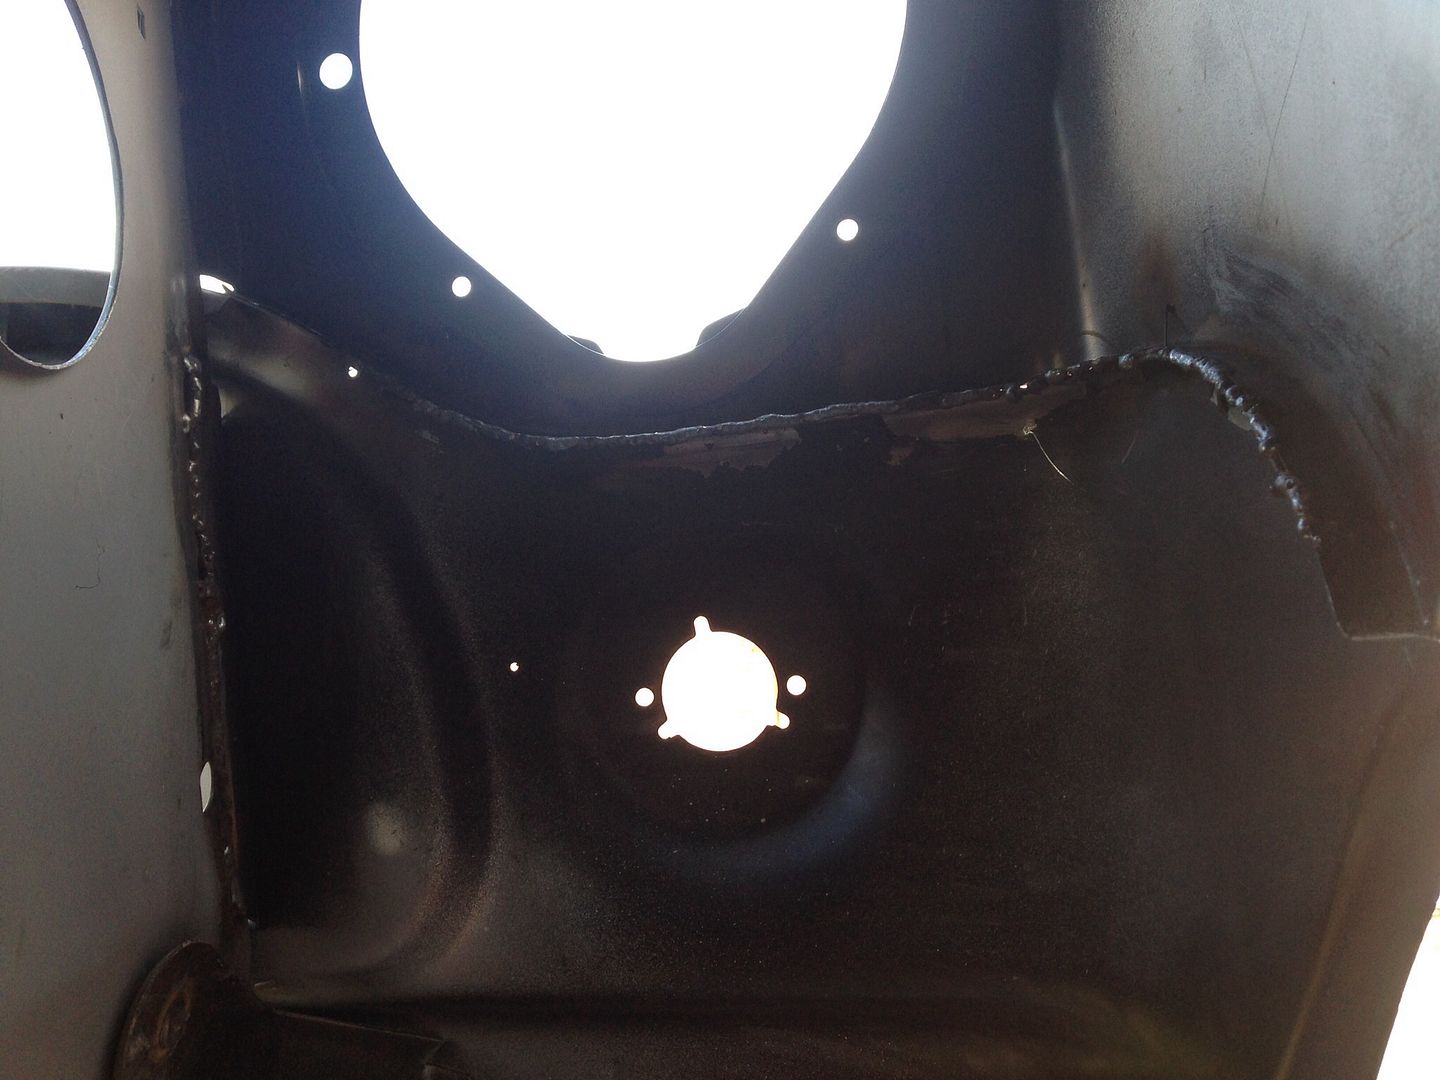
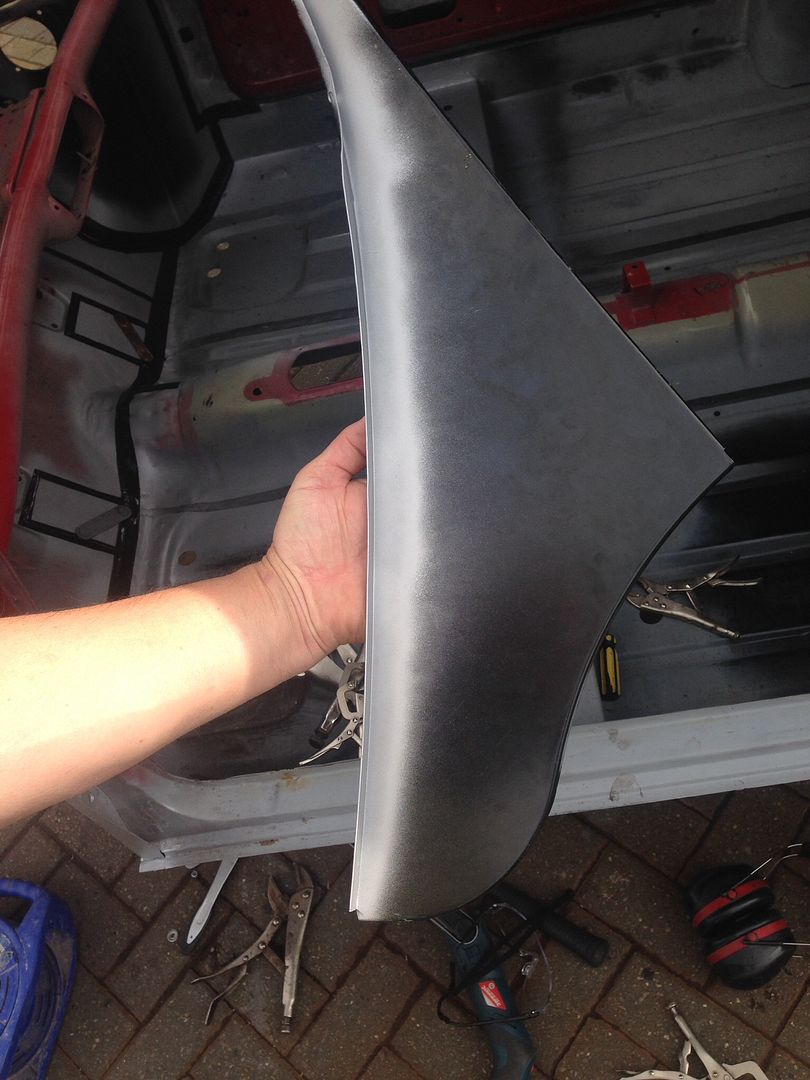
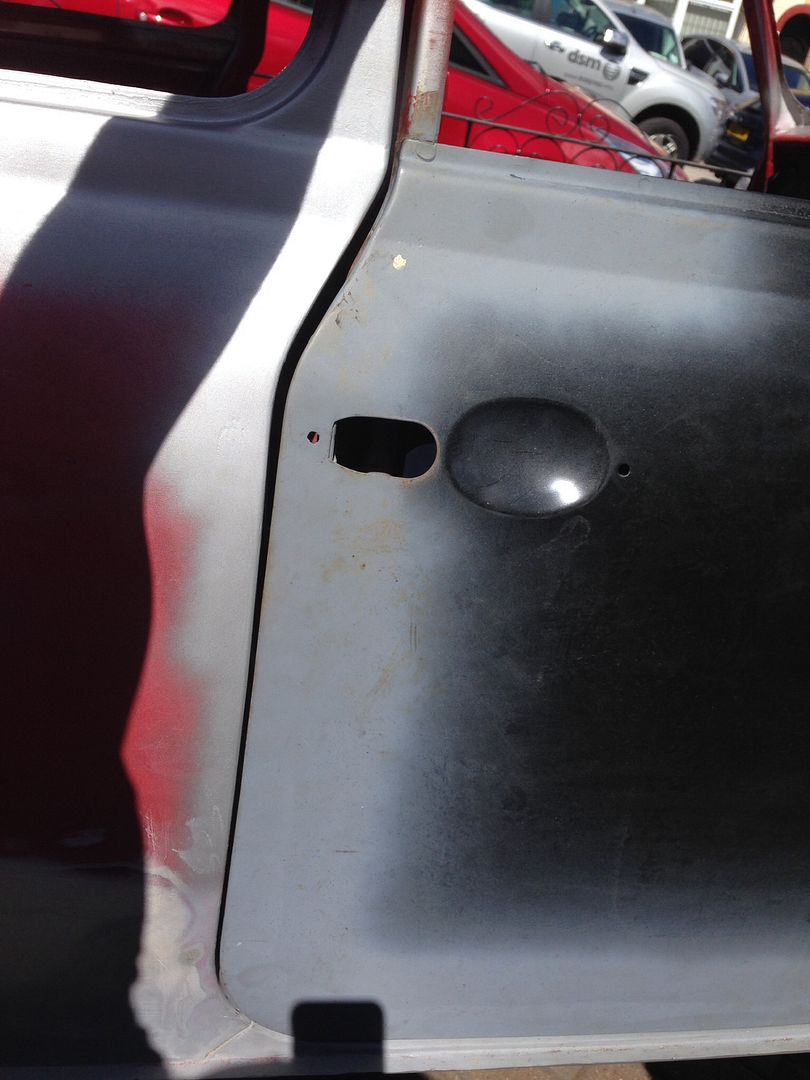
Same was done for the other side, that's just a small portion of what we've been doing, but as I said, it's not very interesting so I haven't been taking too many pictures. Still got more sealing to do tomorrow so will put some more pictures of that up when I've done it. I've also been doing more work on the door gaps, I should get that finished tomorrow so they'll be some pictures of that too.
Now onto something a little bit more interesting, I bought some new hinges from Minispares recently but I found them to be pretty poor if I'm honest, so I decided not to use them and to try and get my original ones repaired, as they had a fair amount of play in them.
So we went down to our local engineering shop to see about getting them reamed and having new pins put in.
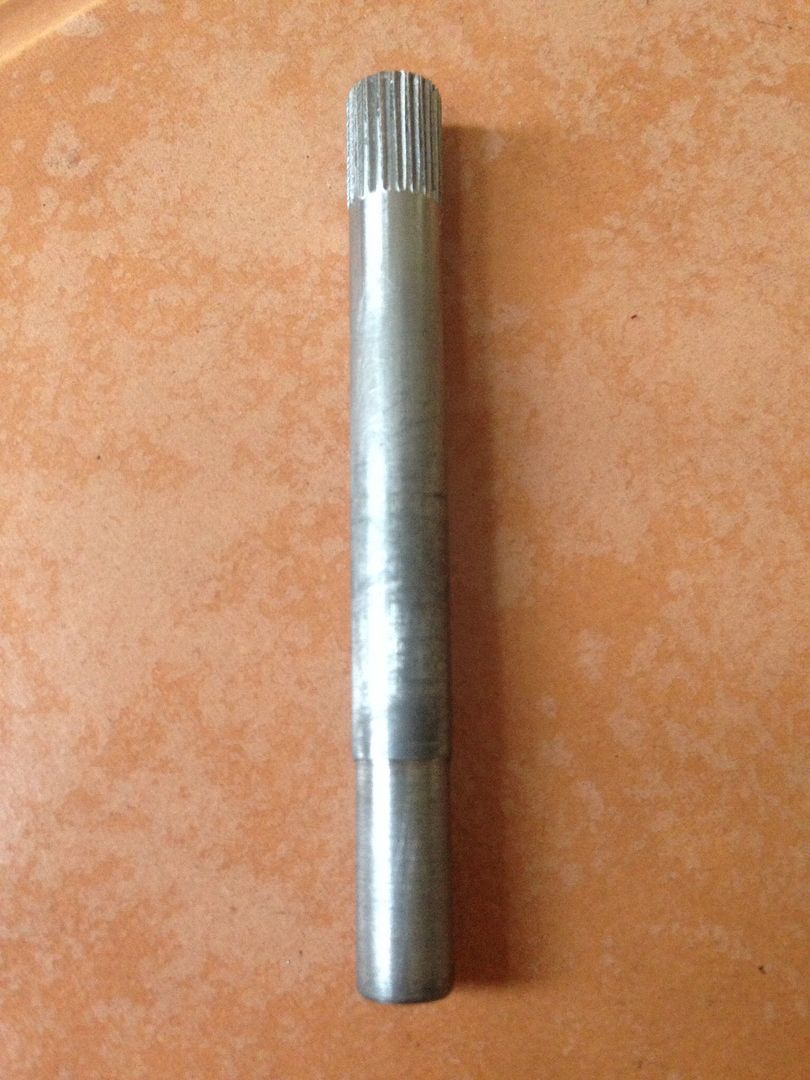
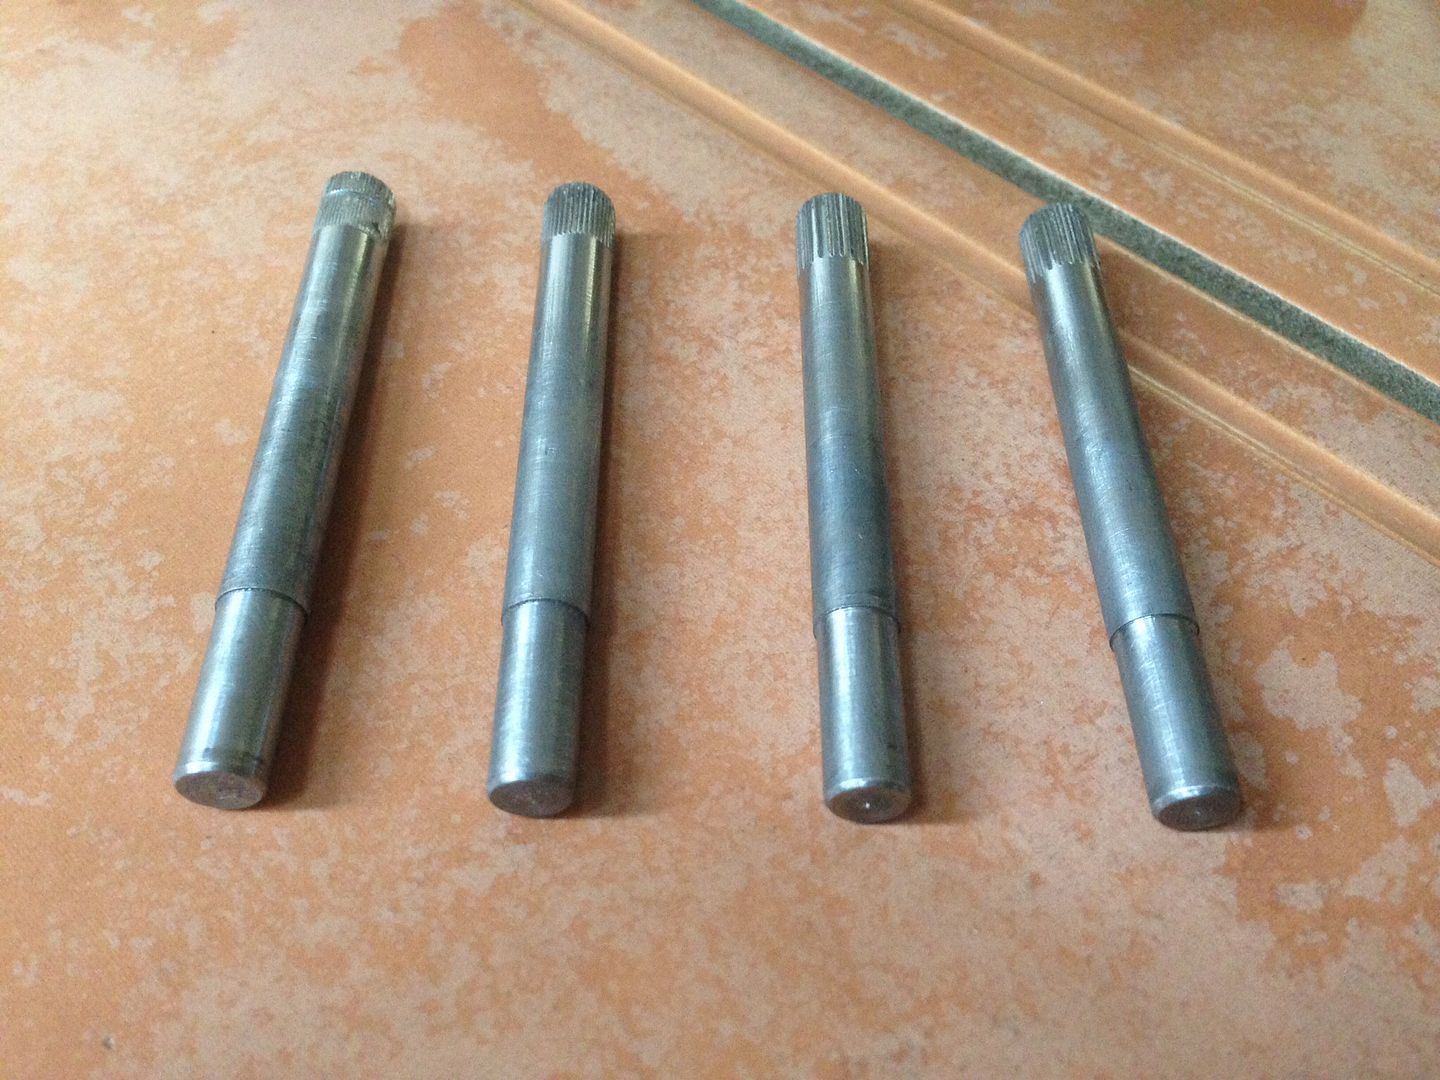
I had the holes widened to 7mm to eradicate the wear in the hinge, bar the last section which was left at 6mm to ensure that the pin would not drop through as it wears. Then I had some new pins made from solid hardened steal, these where machined to 7mm, with a 6mm taper at one end and a rolled edge at the other so it will grip tightly when pressed into position.
Here's a few pictures to better explain.
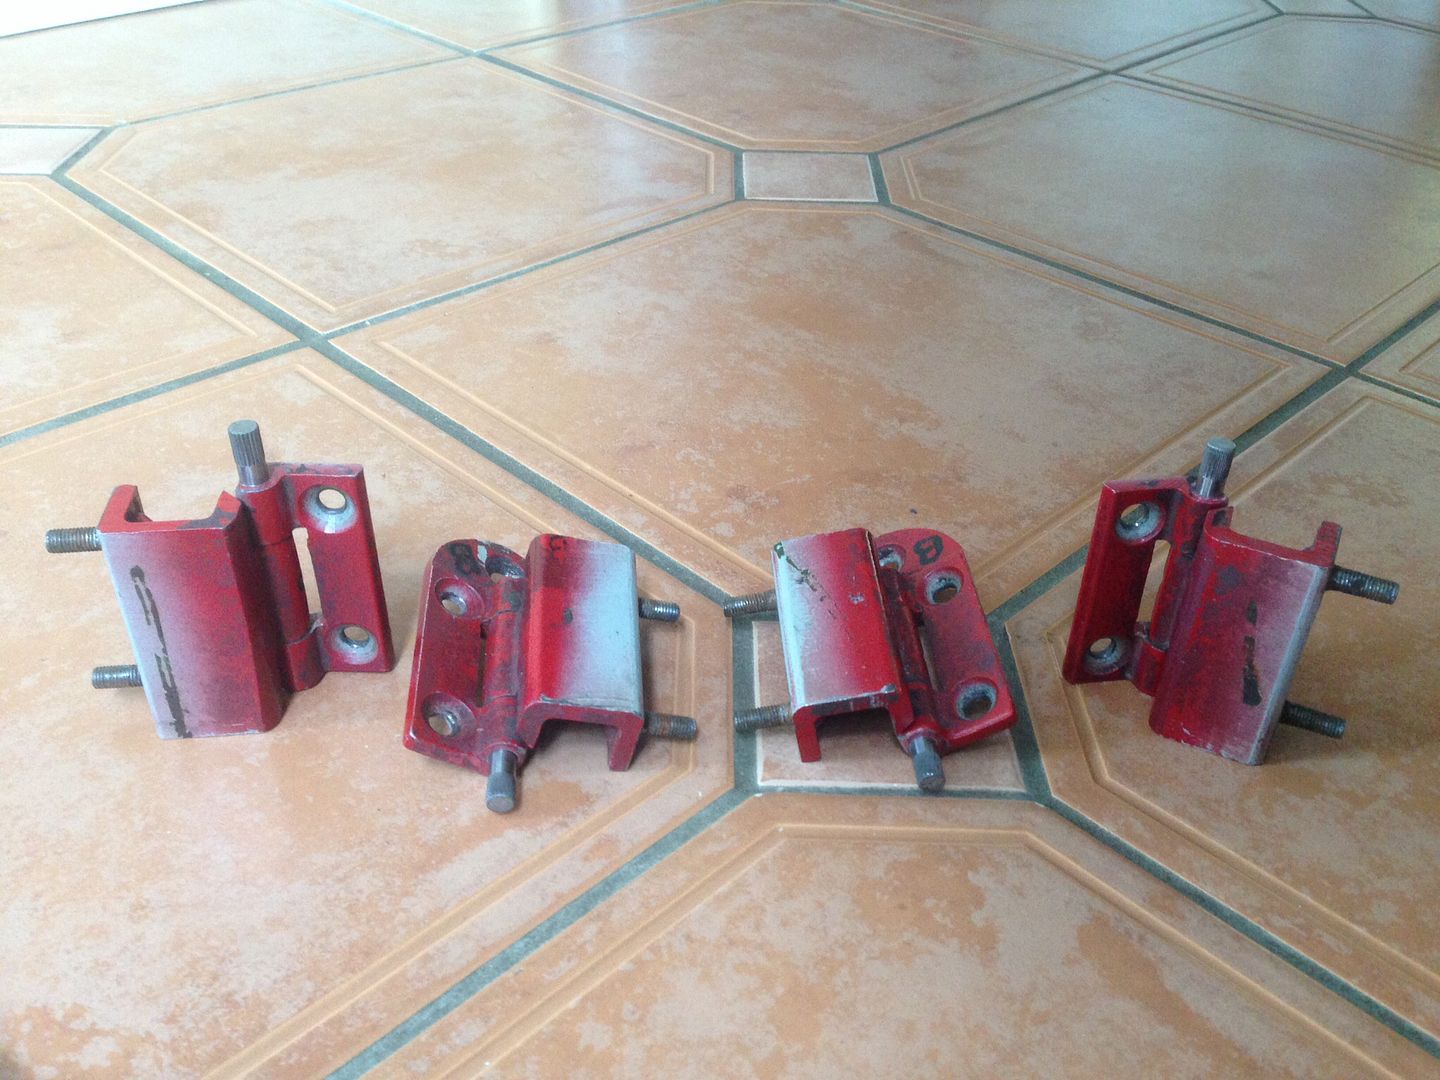
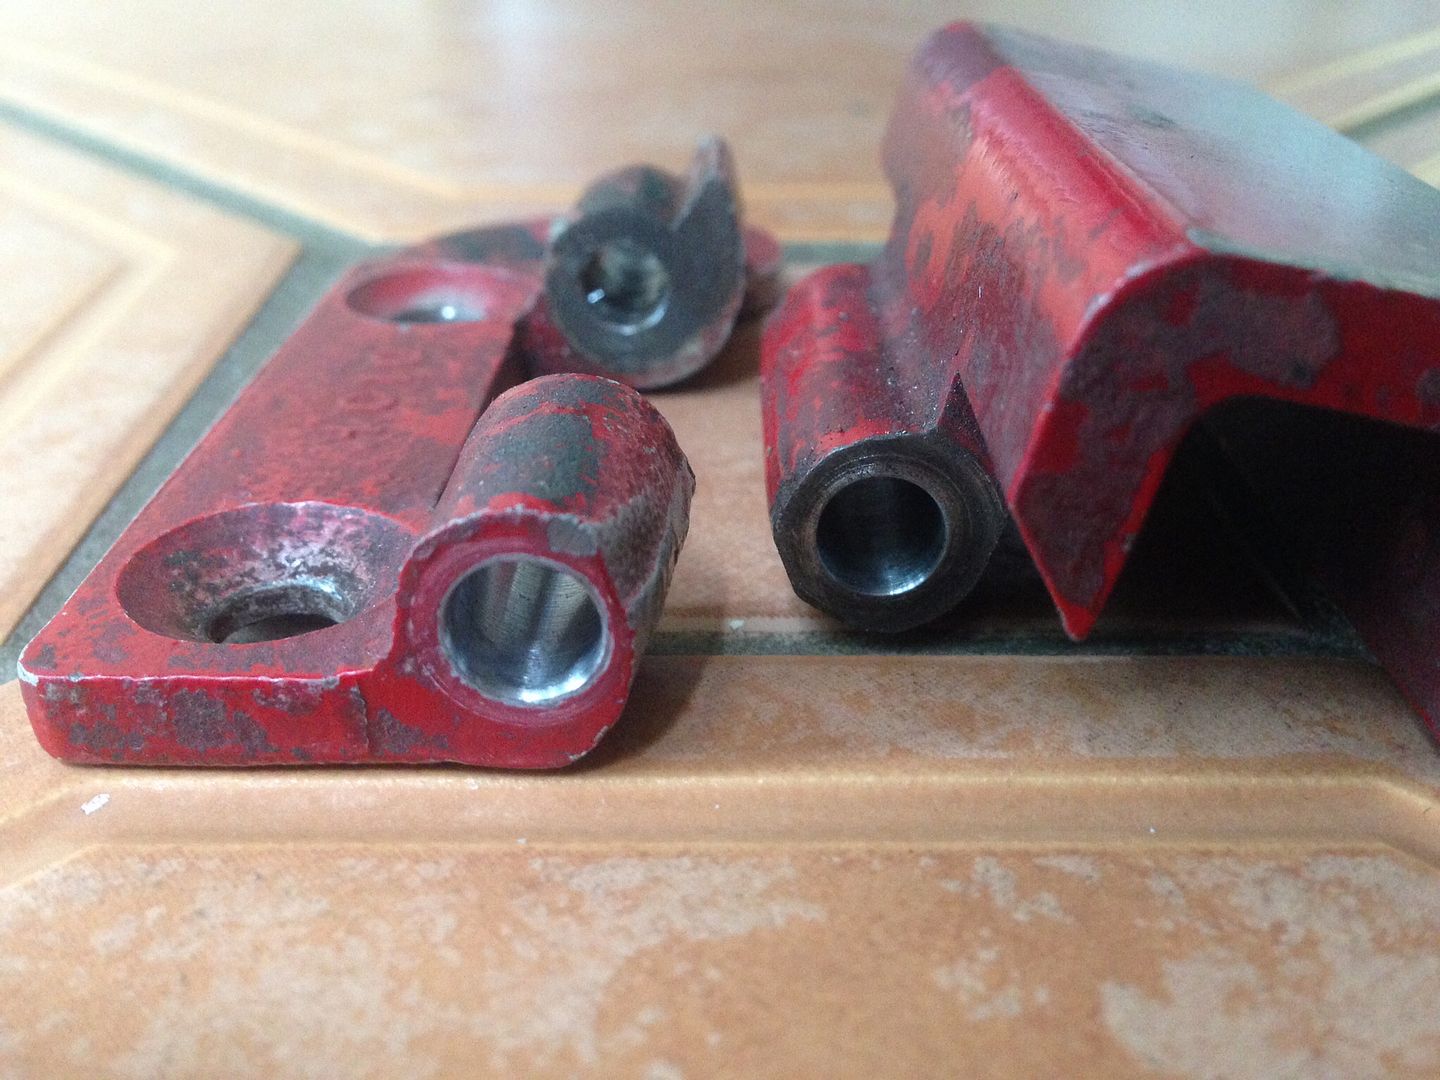
As you can see, the bottom hole, of the part of the hinge that screws to the door, has been left at 6mm, the rest has been machined to 7mm -
Here is the pin, note the step at the bottom -
And a couple more pictures -
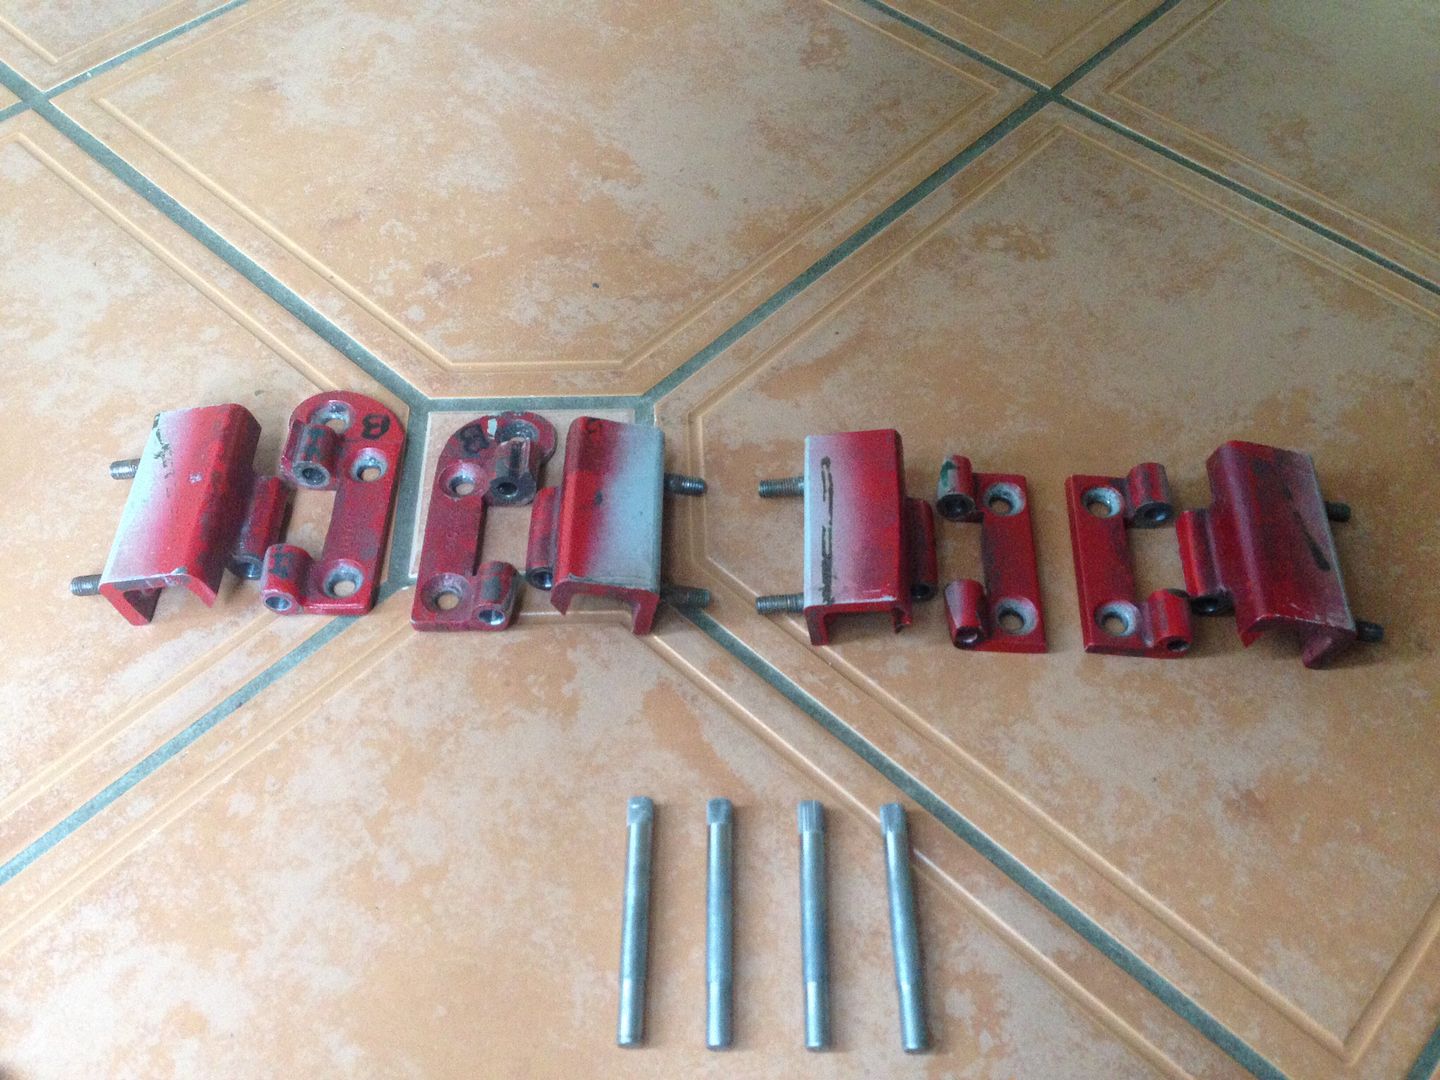
A really nice job done, obviously the pins haven't been pressed into position yet, so won't be sticking out like that when finished. I'm going to get the hinges powder coated soon, speaking of that, I've also taken a lot of things down to be blasted and powder coated, should be picking those up tomorrow so will stick a few pictures up when I've got them.
Edited by big-jay, 21 August 2014 - 09:38 PM.


 -
-