Jump to content


Photo
- - - - -

92 City, My First Rebuild.

roundnose

  • Please log in to reply
670 replies to this topic

#166 big-jay

big-jay

    Super Mini Mad

  • Members
  • PipPipPipPipPipPip
  • 518 posts
  • Location: Birmingham
  • Local Club: British Mini Club

Posted 05 July 2014 - 07:57 PM

Update,

Just to let people know, I've changed the name of this thread in case anyone was wondering.

Reason for this is because when I first started, I wasn't expecting to be doing a complete restoration, but Minis being Minis, it quickly escalated into just that. I think the new name is better suited to what we've been doing, hence the reason for the name change.

Anyway, we've got some more progress done today, I'll start off with what I bought yesterday, and the bits I fitted to my engine.

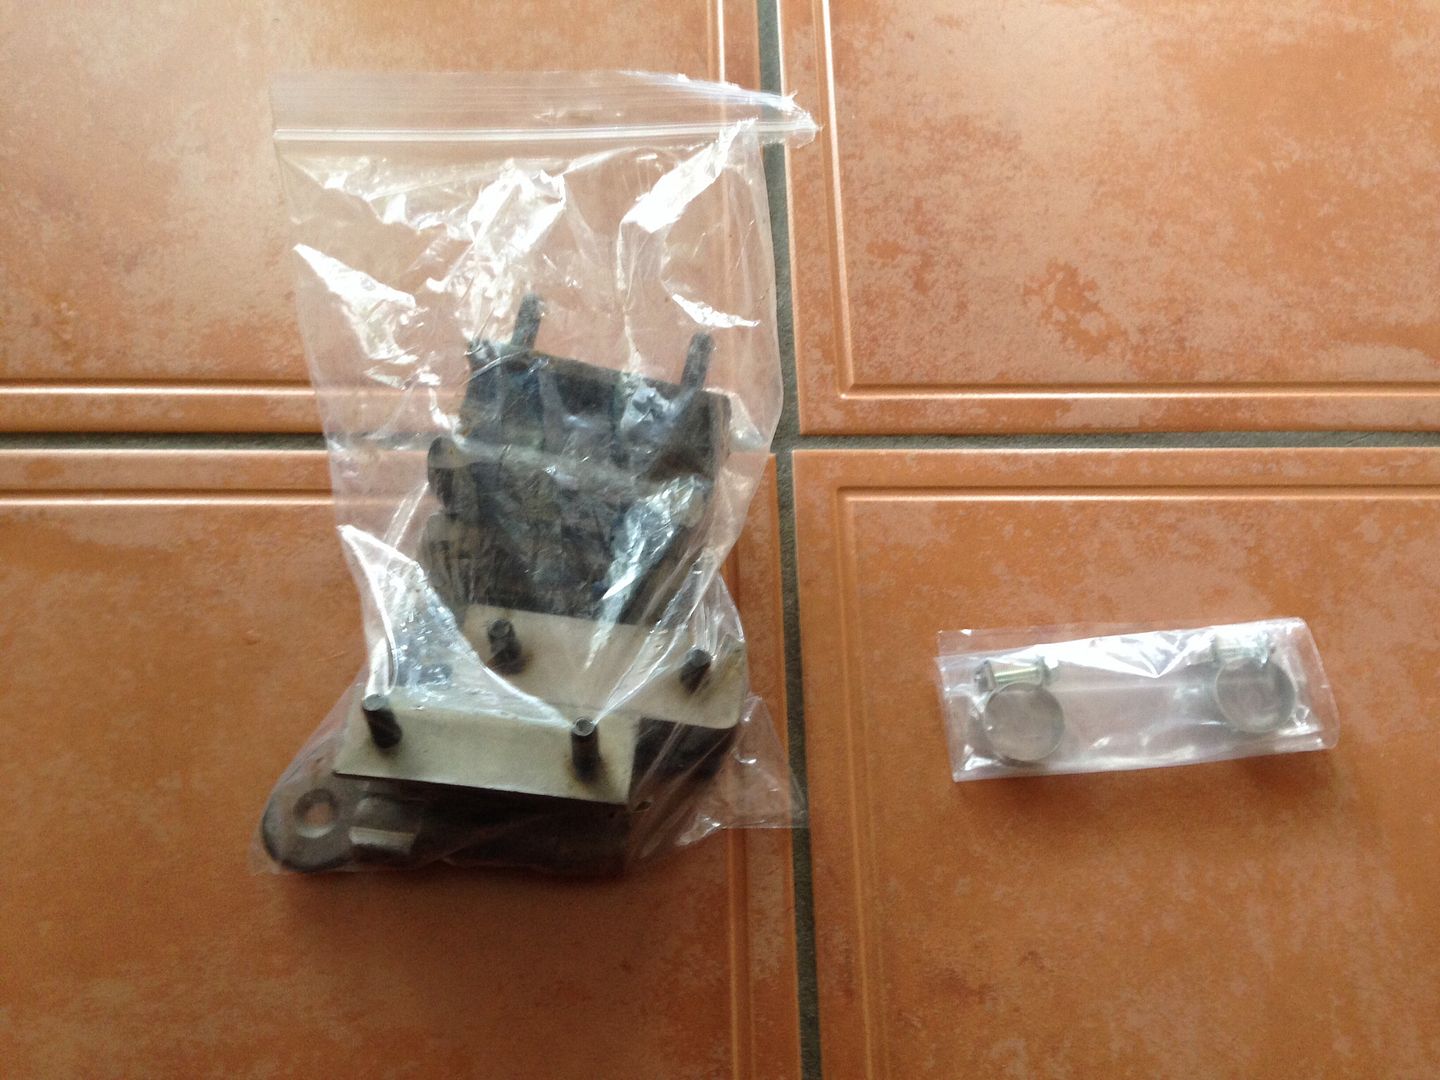
Some new door hinges, Minispares own, and some new bypass hose clamps. Heard good things about Minspares hinges so I'm hoping they'll be a good fit -

9d8dec2865adba6a9eb75e3a42cecb9d_zpsc3d3

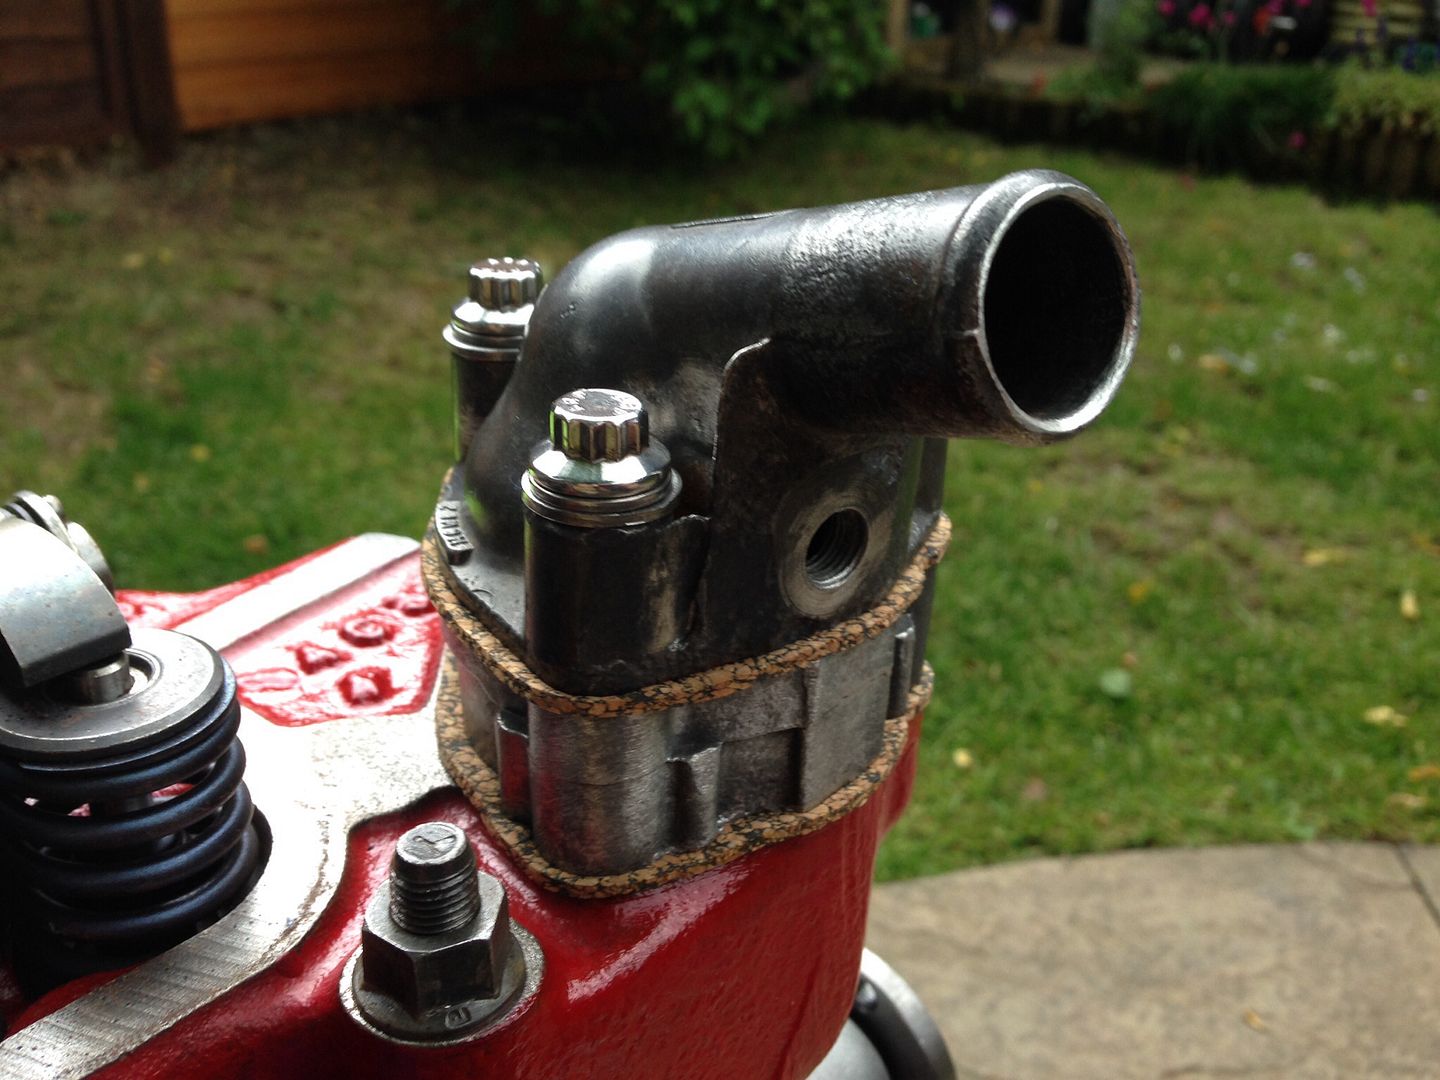
Now onto the engine. Fitted a new uprated water pump, new bypass hose and all bolted into place using a Smiffys Bits stainless fitting kit -

a857e850df12c08edaf584161f75244c_zps343a

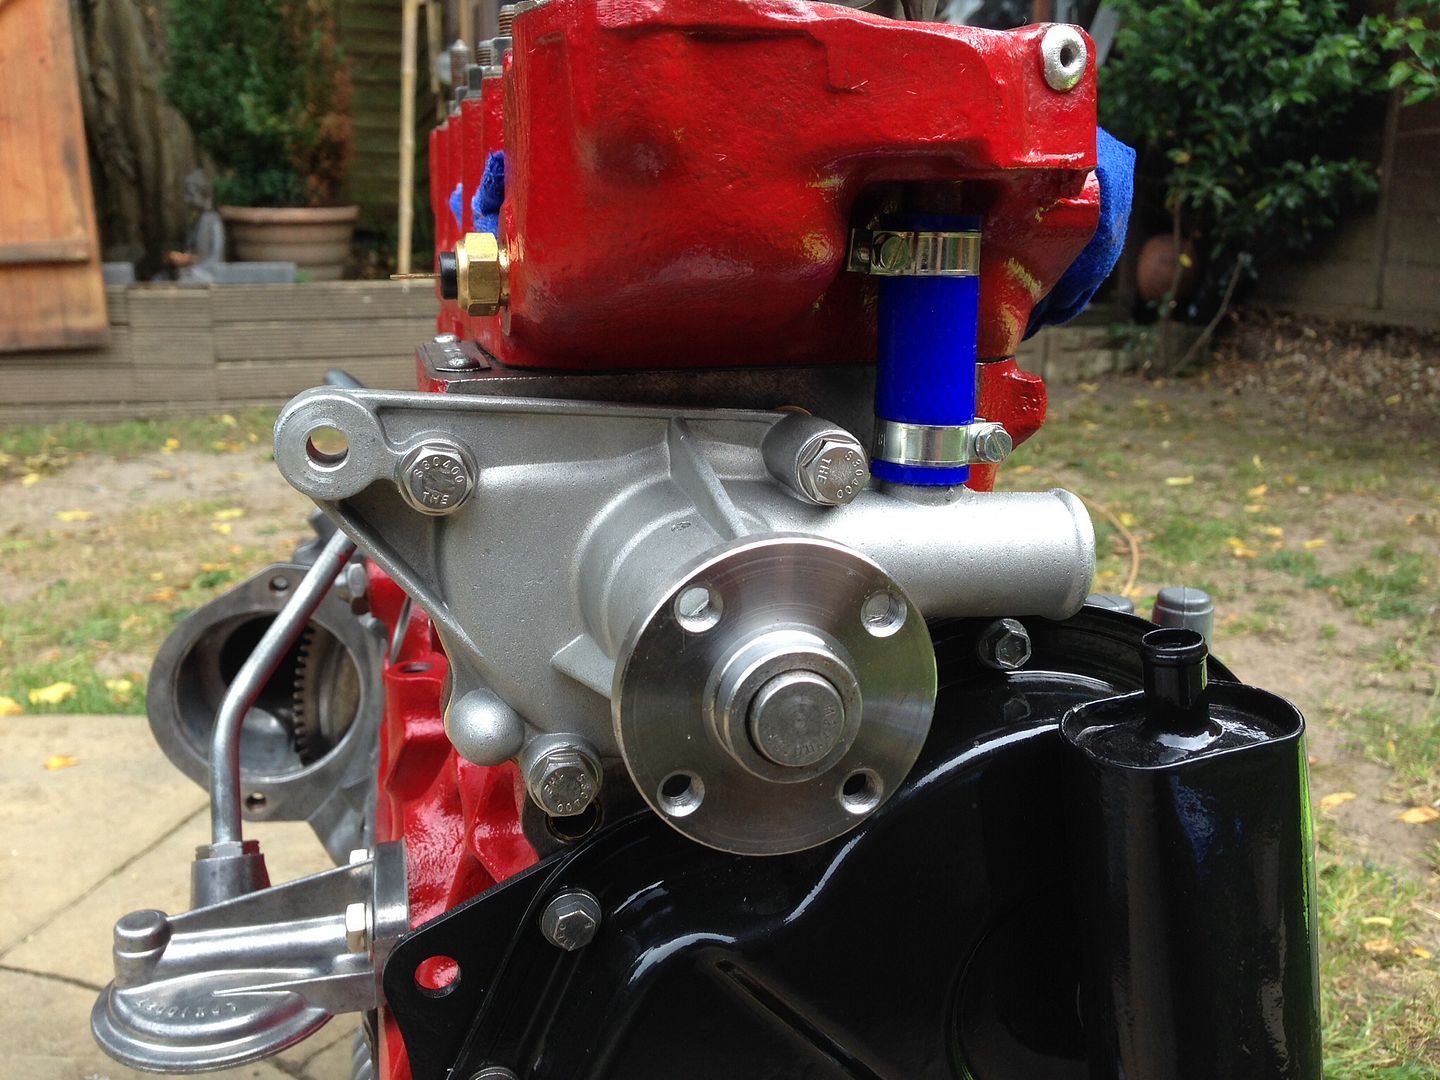
Refitted the thermostat housing. New thermostat, new gaskets and I also bought the ARP stainless bolts to fit it with -

229af0328220bd1d8d1c9a6de5ea2a50_zpsfd6d

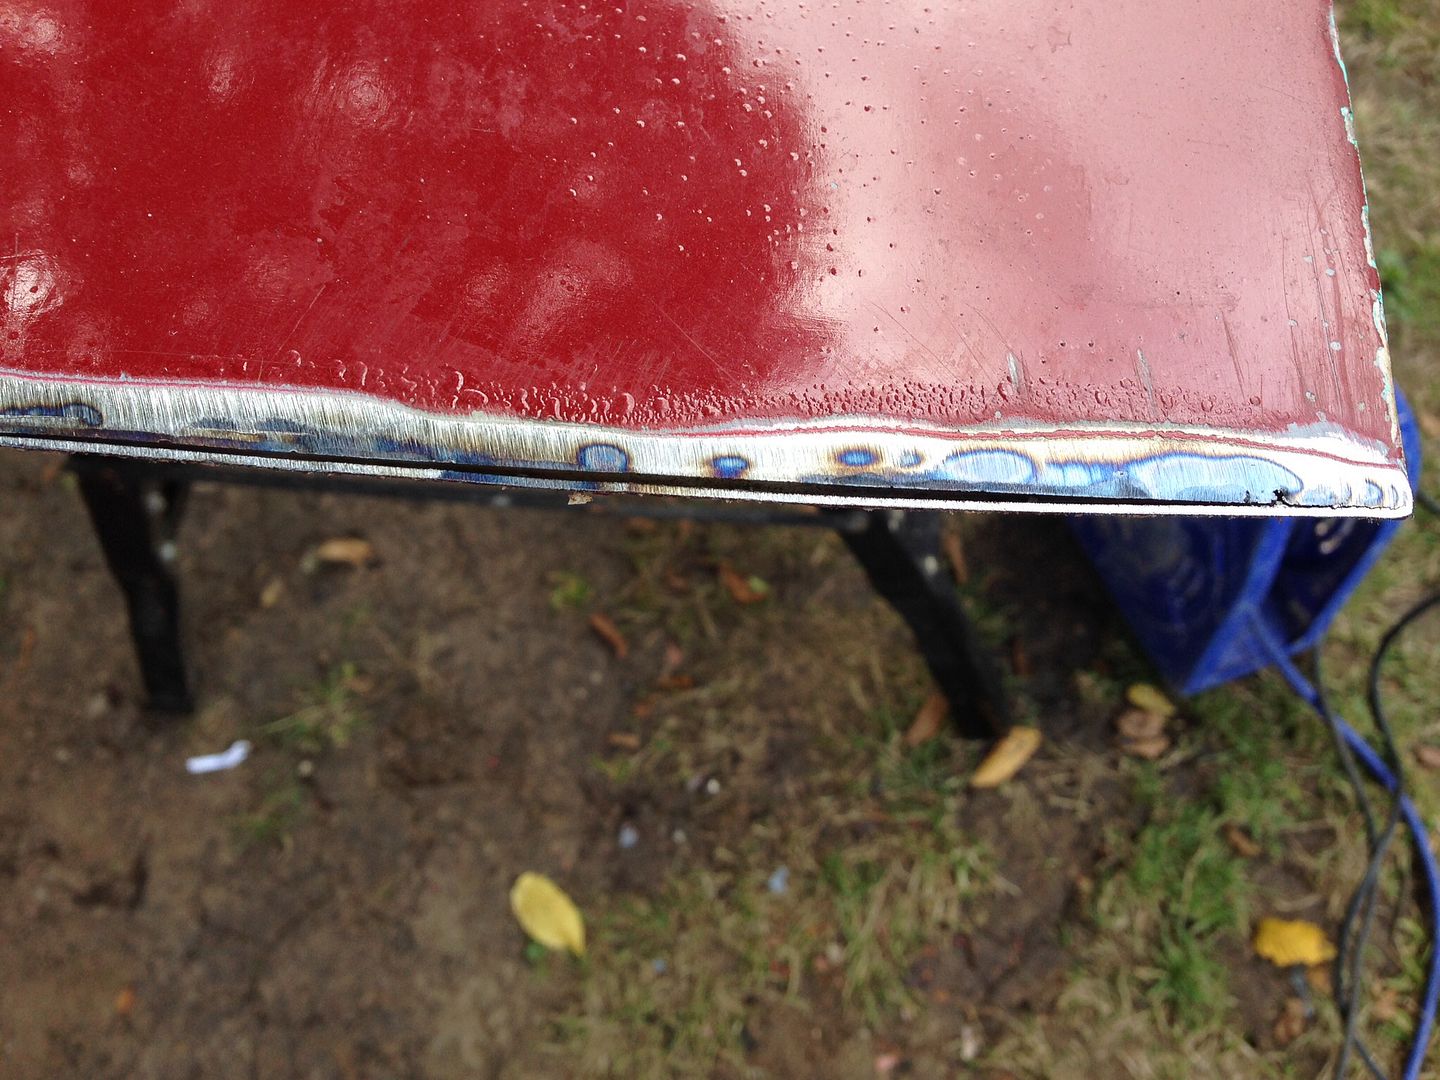
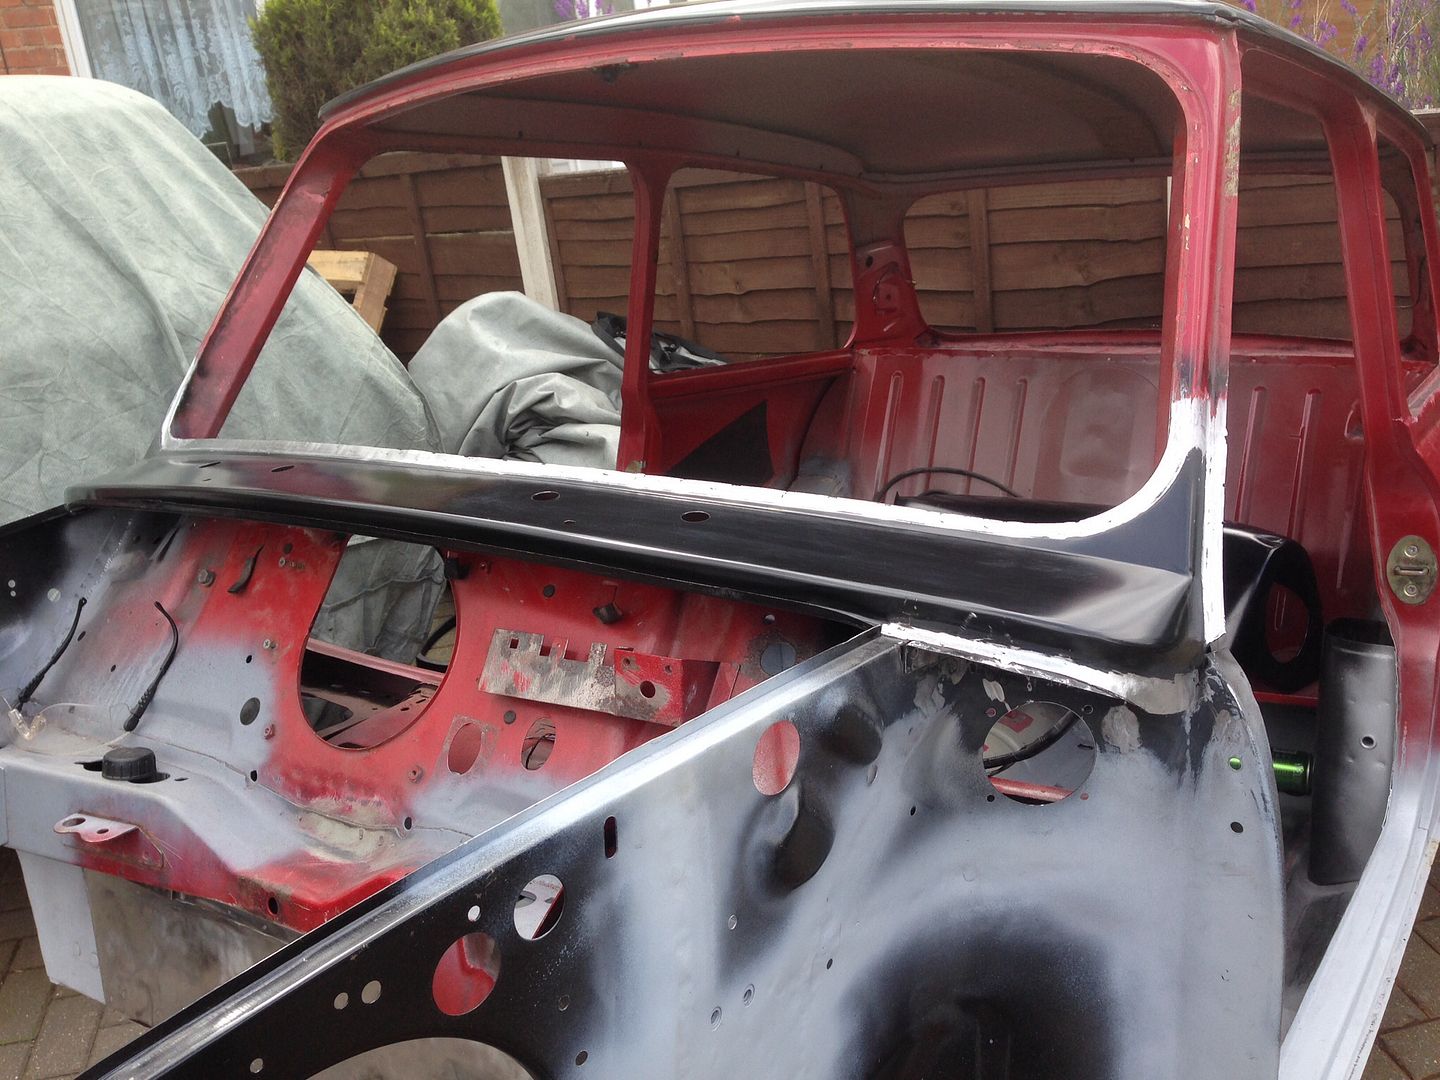
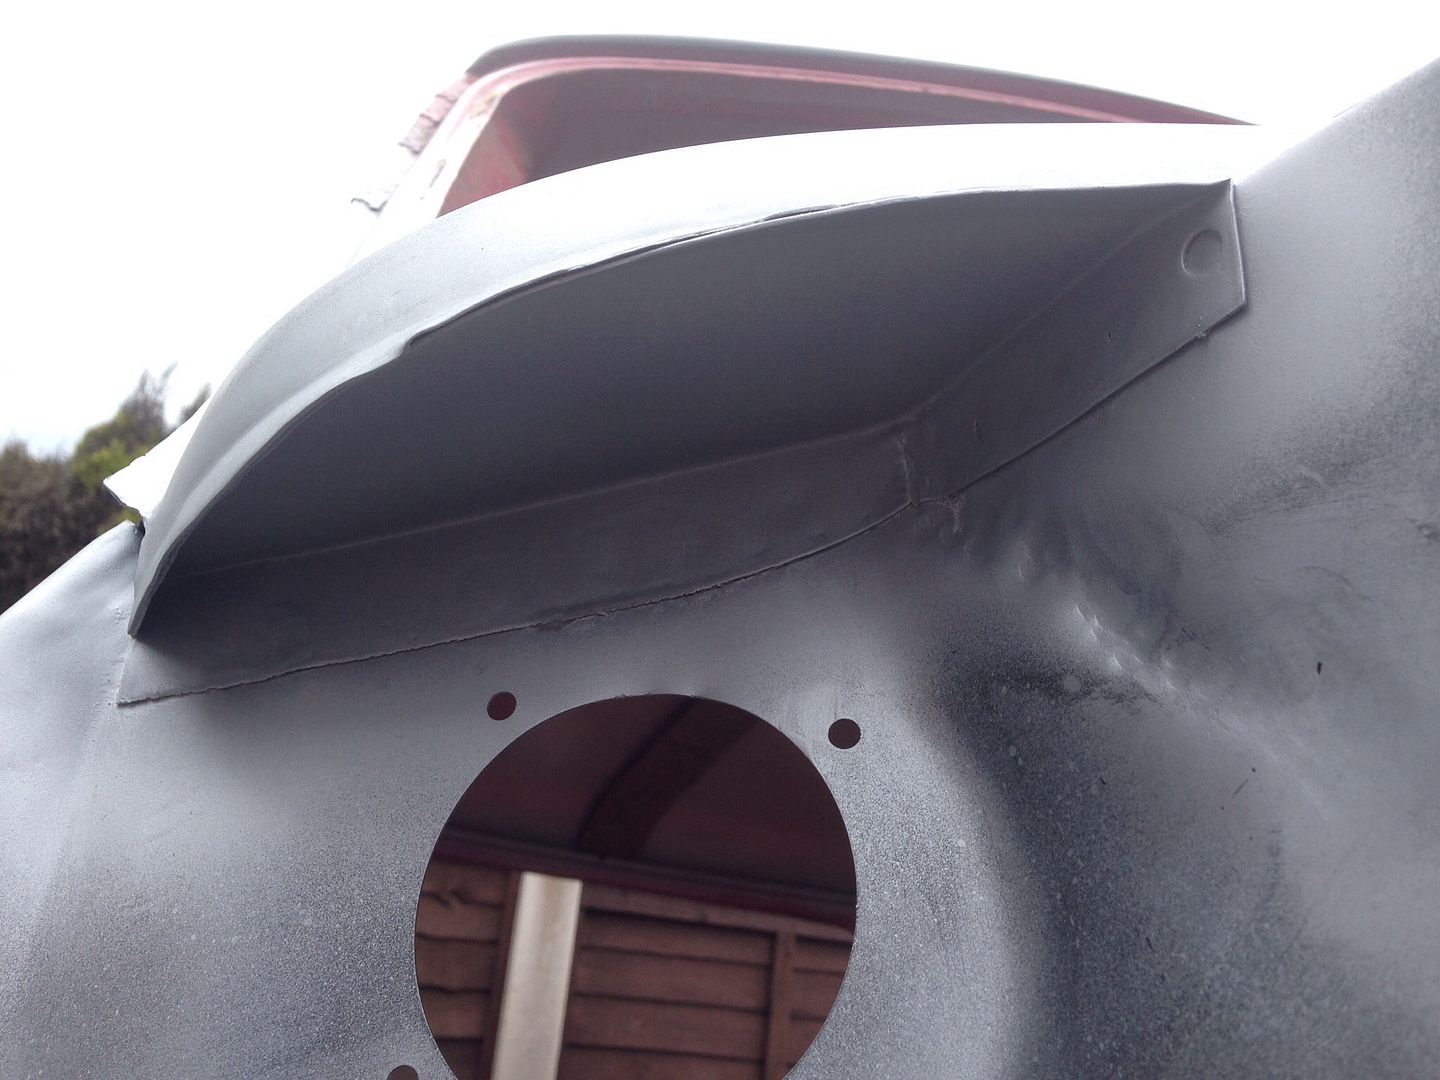
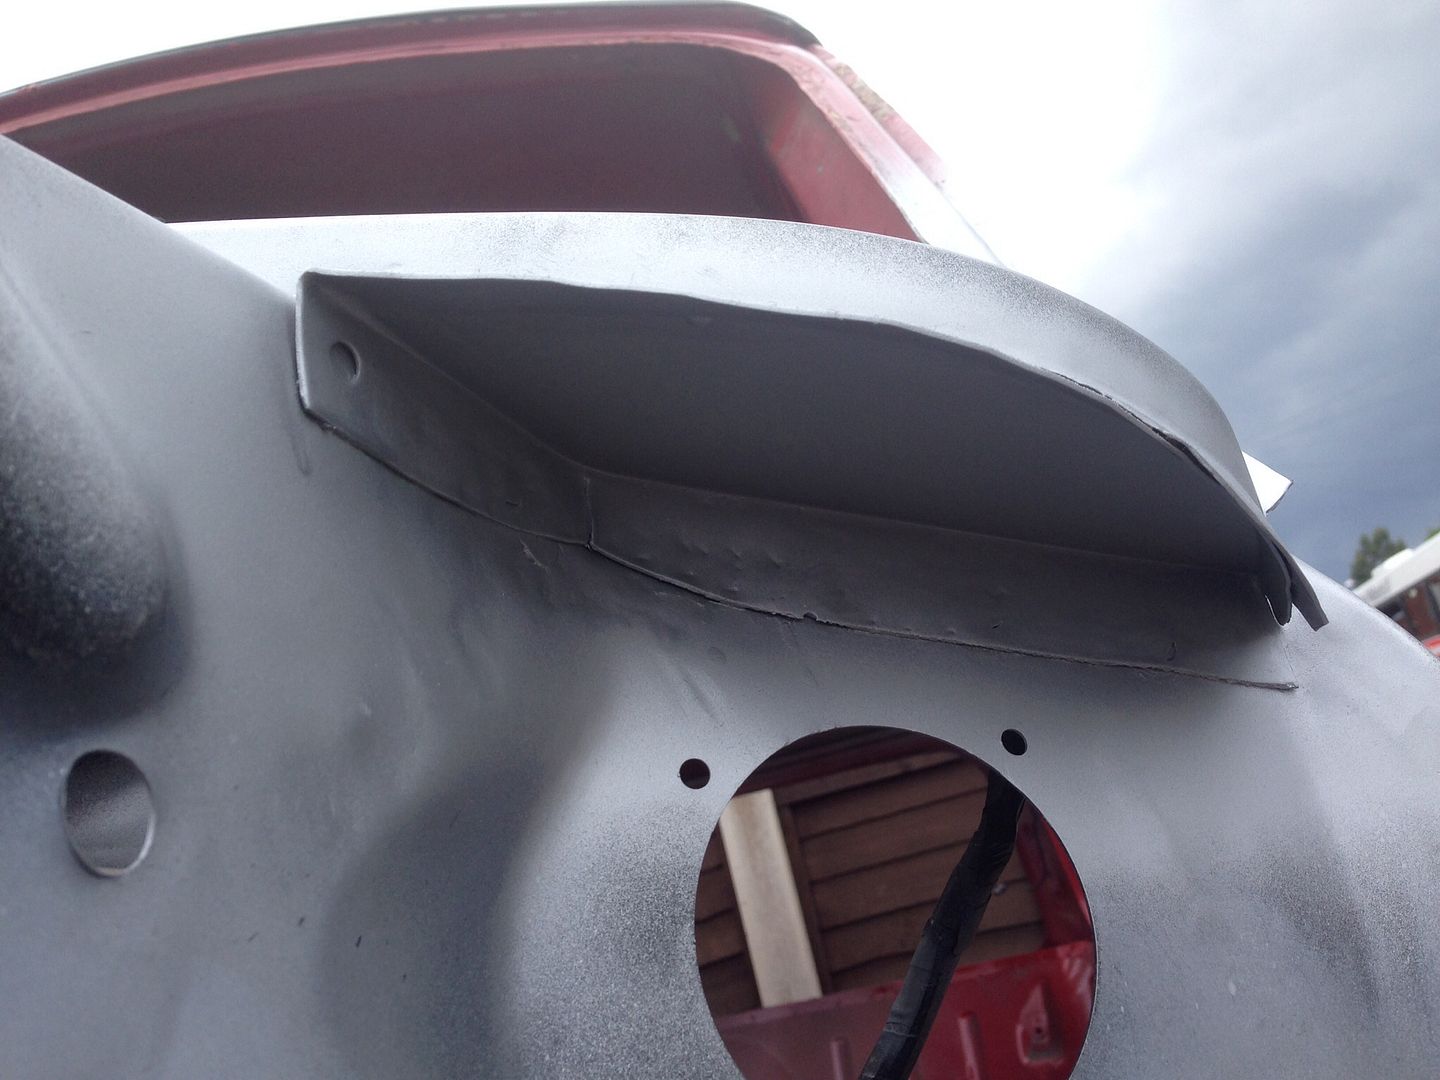
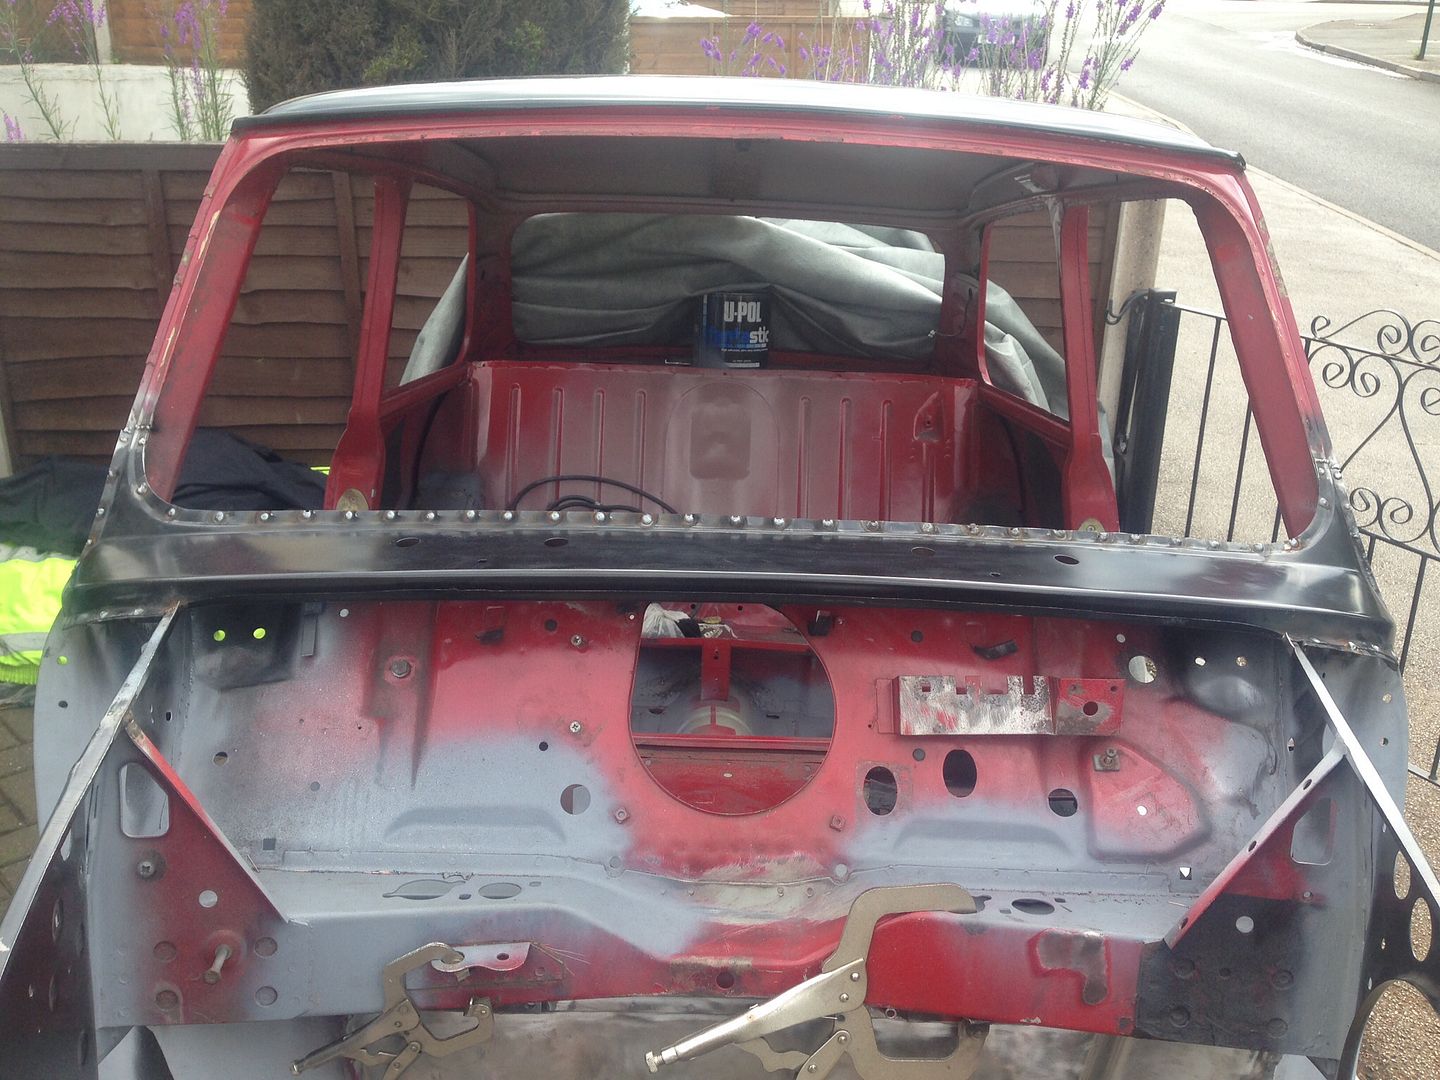
Now onto today's progress, bodywork. Got the scuttle and the scuttle closers fitted, feels like a massive milestone !

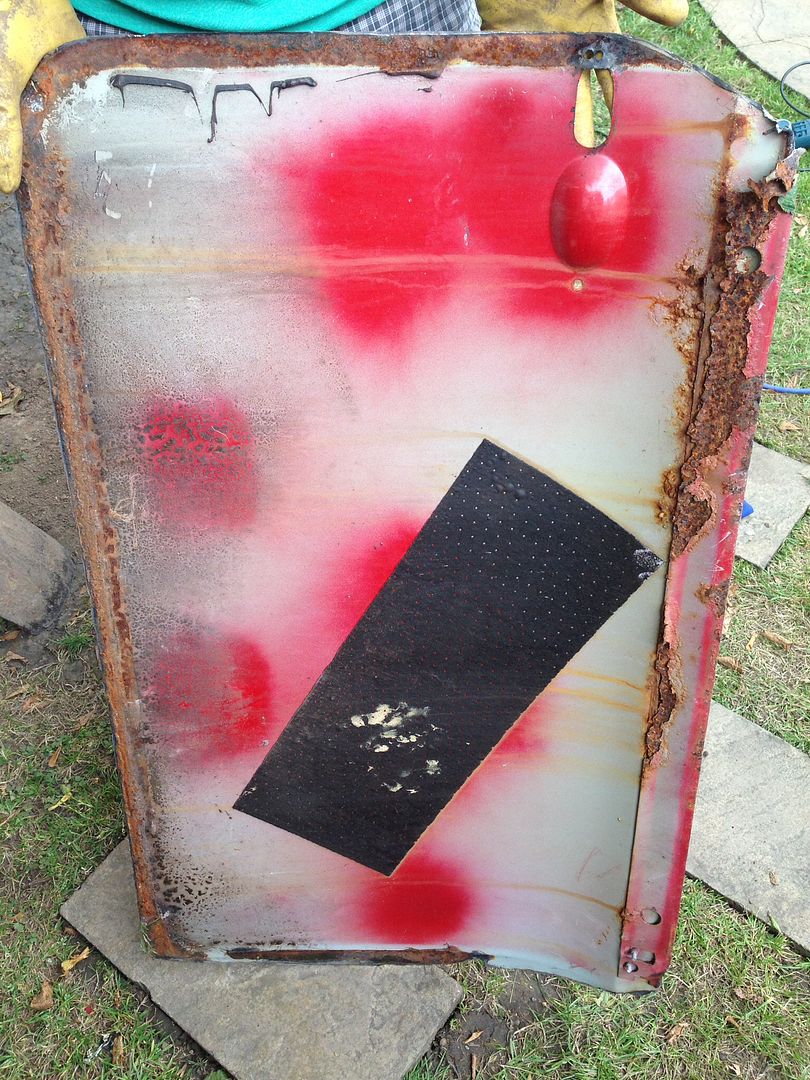
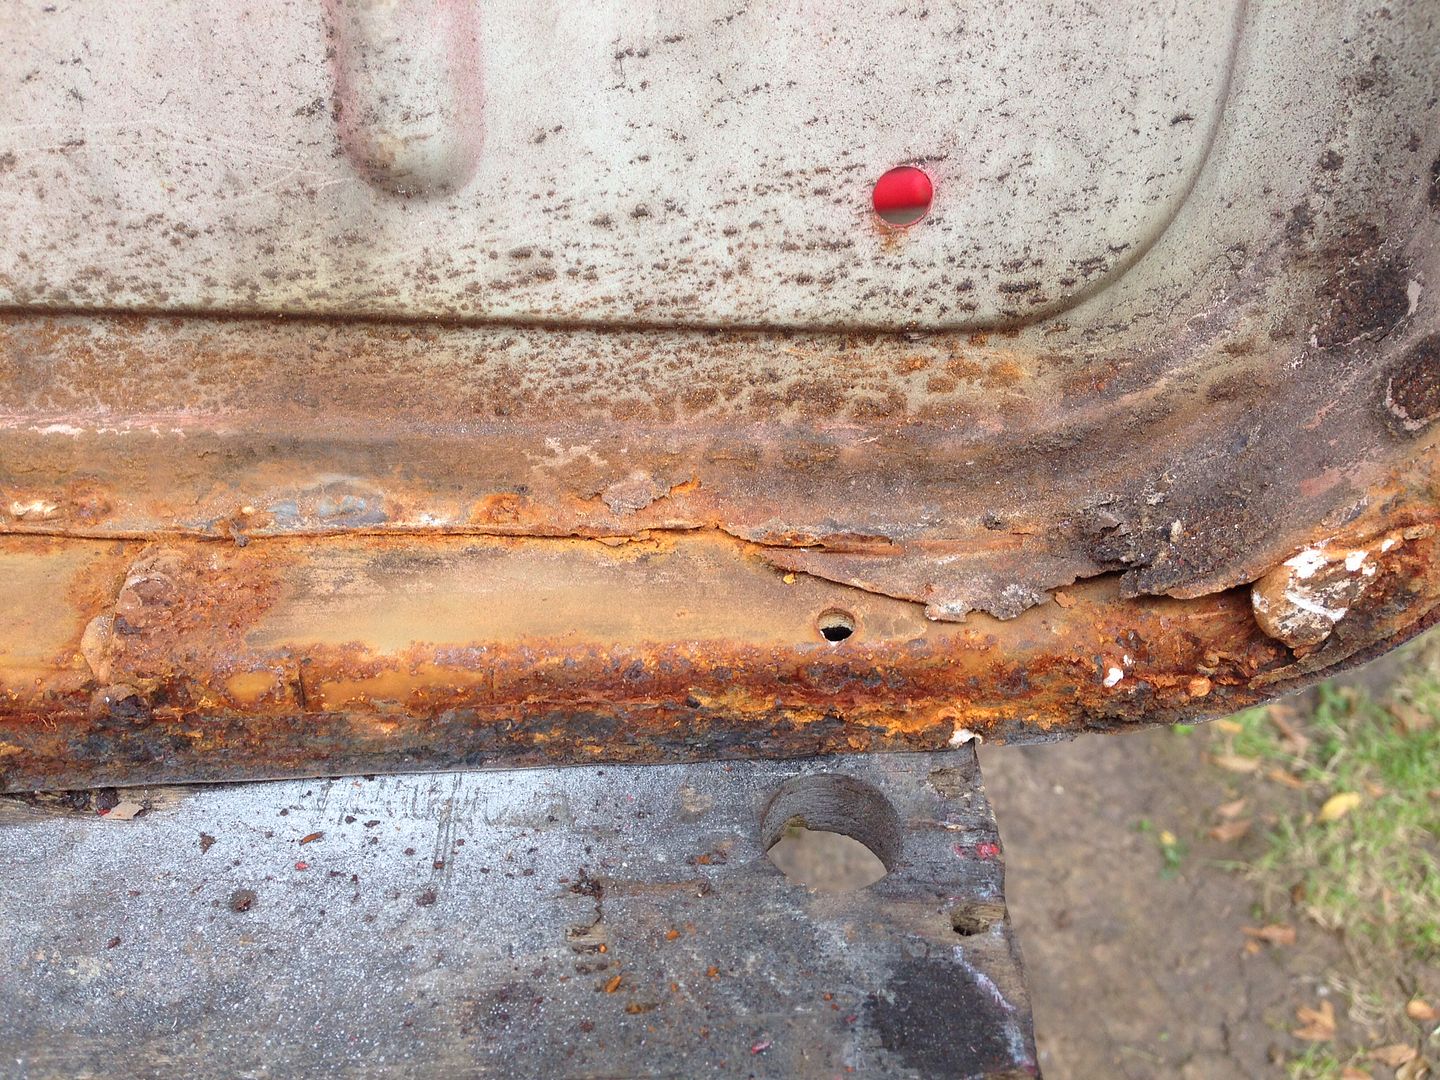
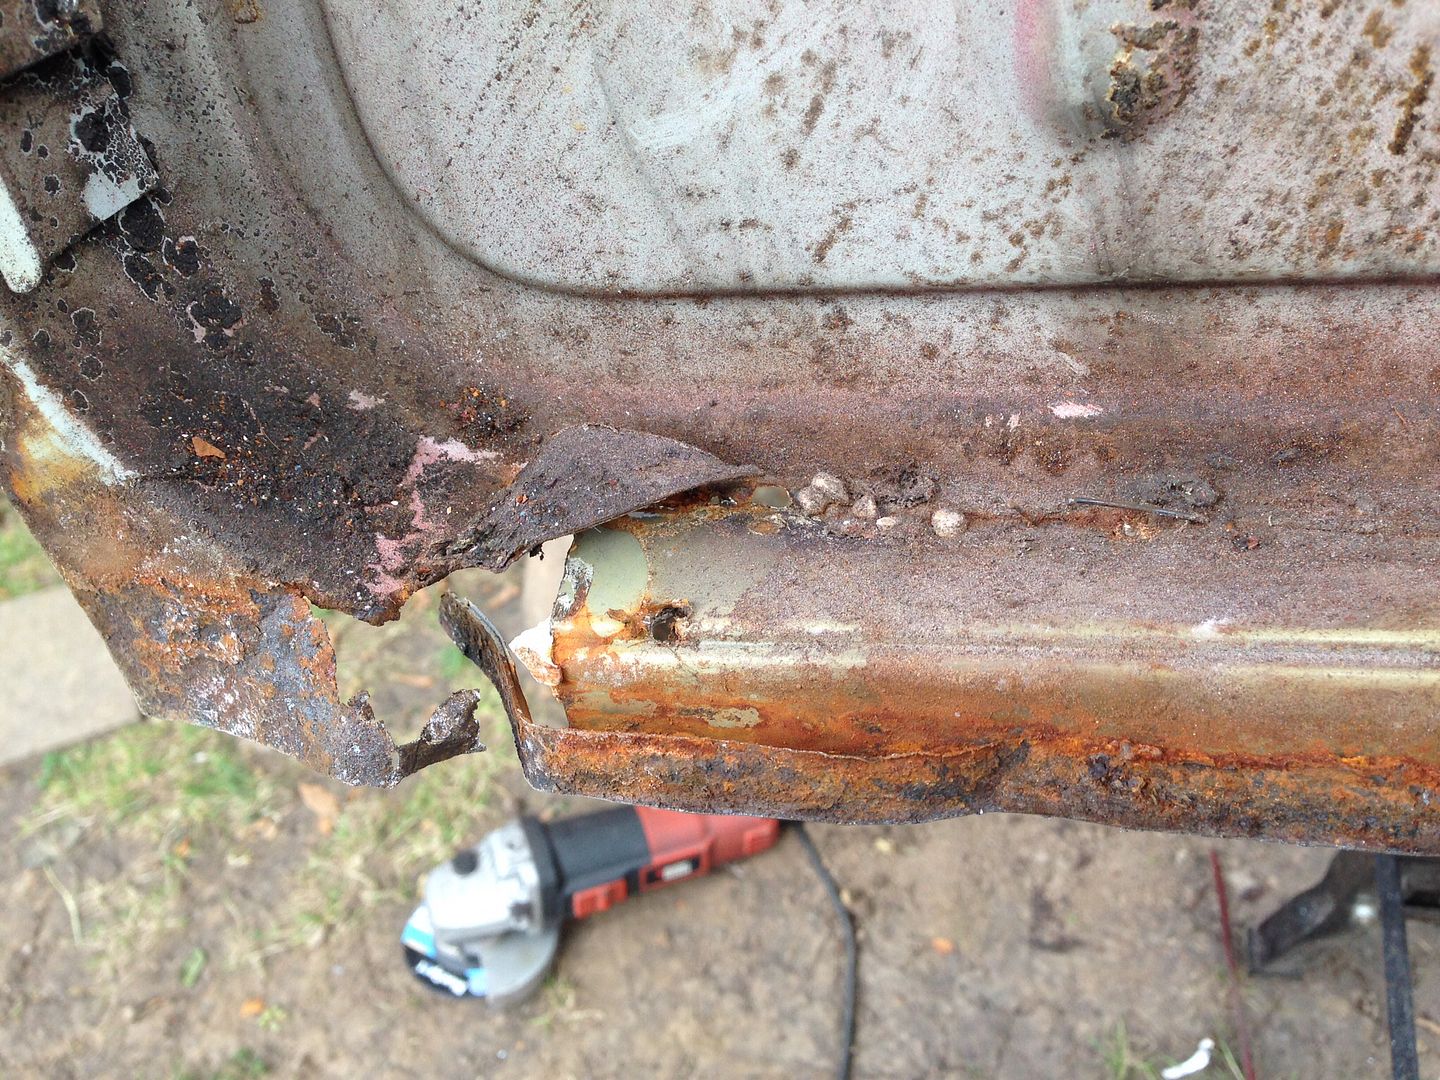
But firstly, I had to remove the bonnet hinge brackets as they are really rusty, going to clean them up and re-fit them -

7e4b768da6cdc05ec8a45ff6b9f302b8_zpsf30c

23987c0c2330eff0da9b30cea1475338_zps58c8

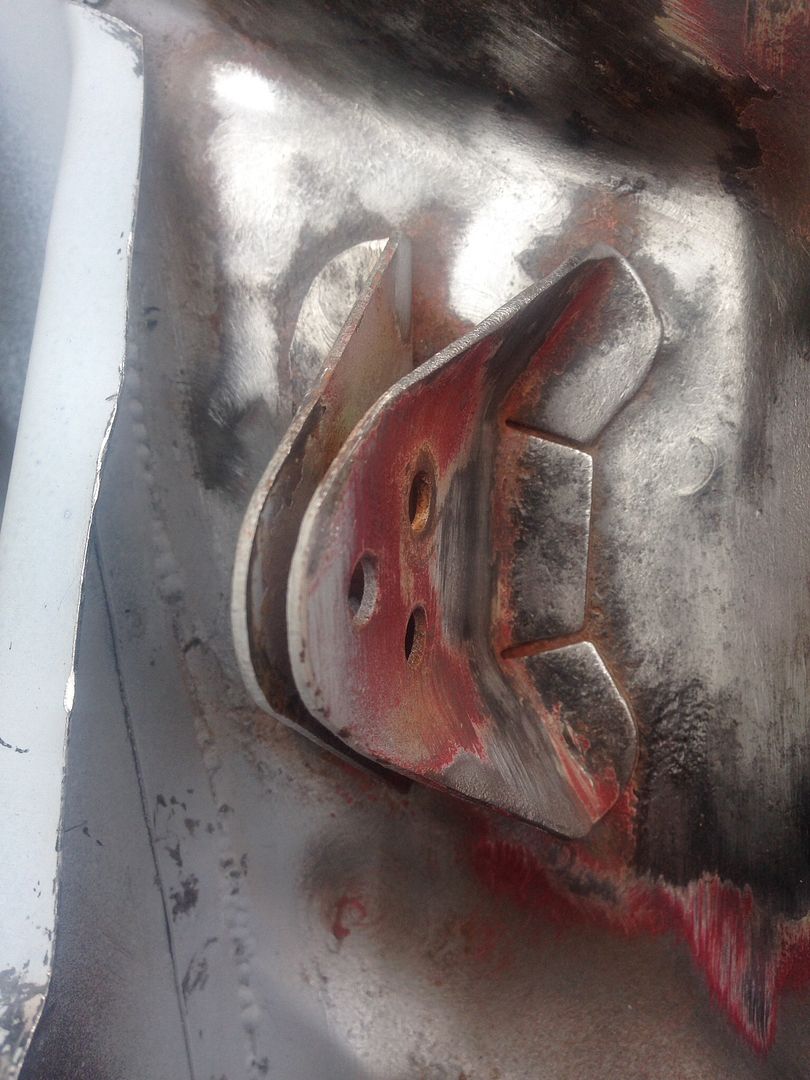
Removed, and the rust cleaned up behind. Will apply some Deox Gel tomorrow -

68d52d78c85e6d3540ca04c599d01a02_zpsff66

3f8235960cc07654cfff35f136ccf03e_zps5f6a

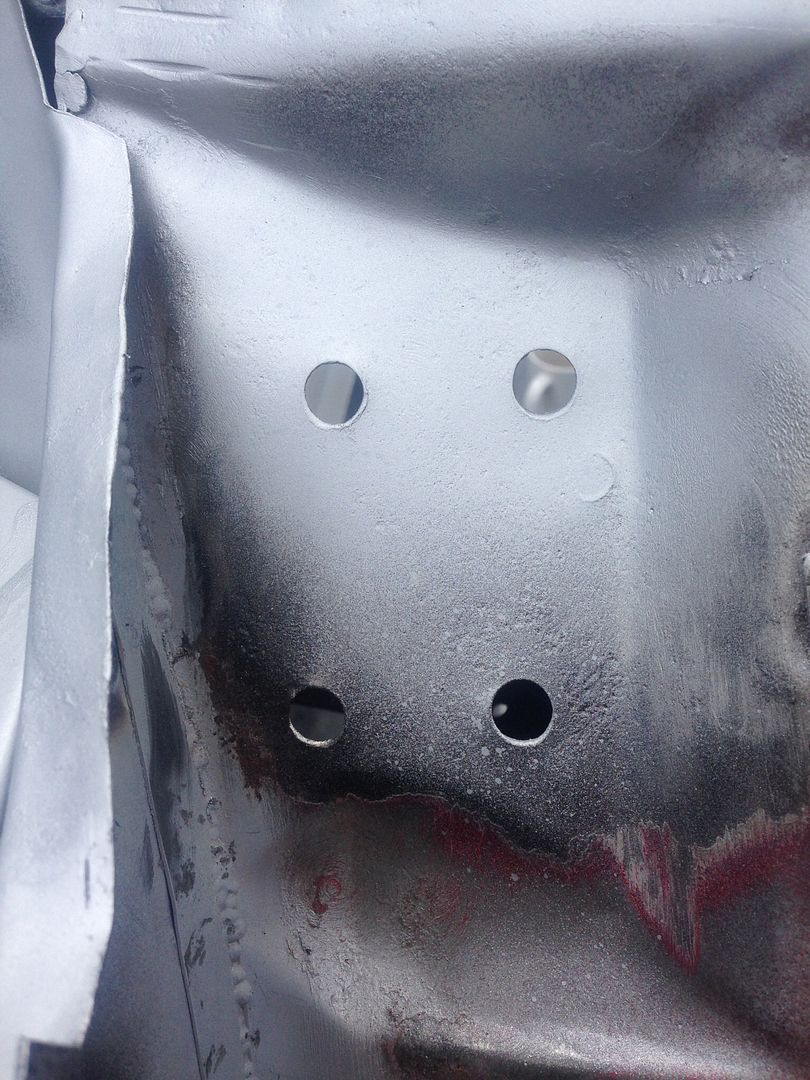
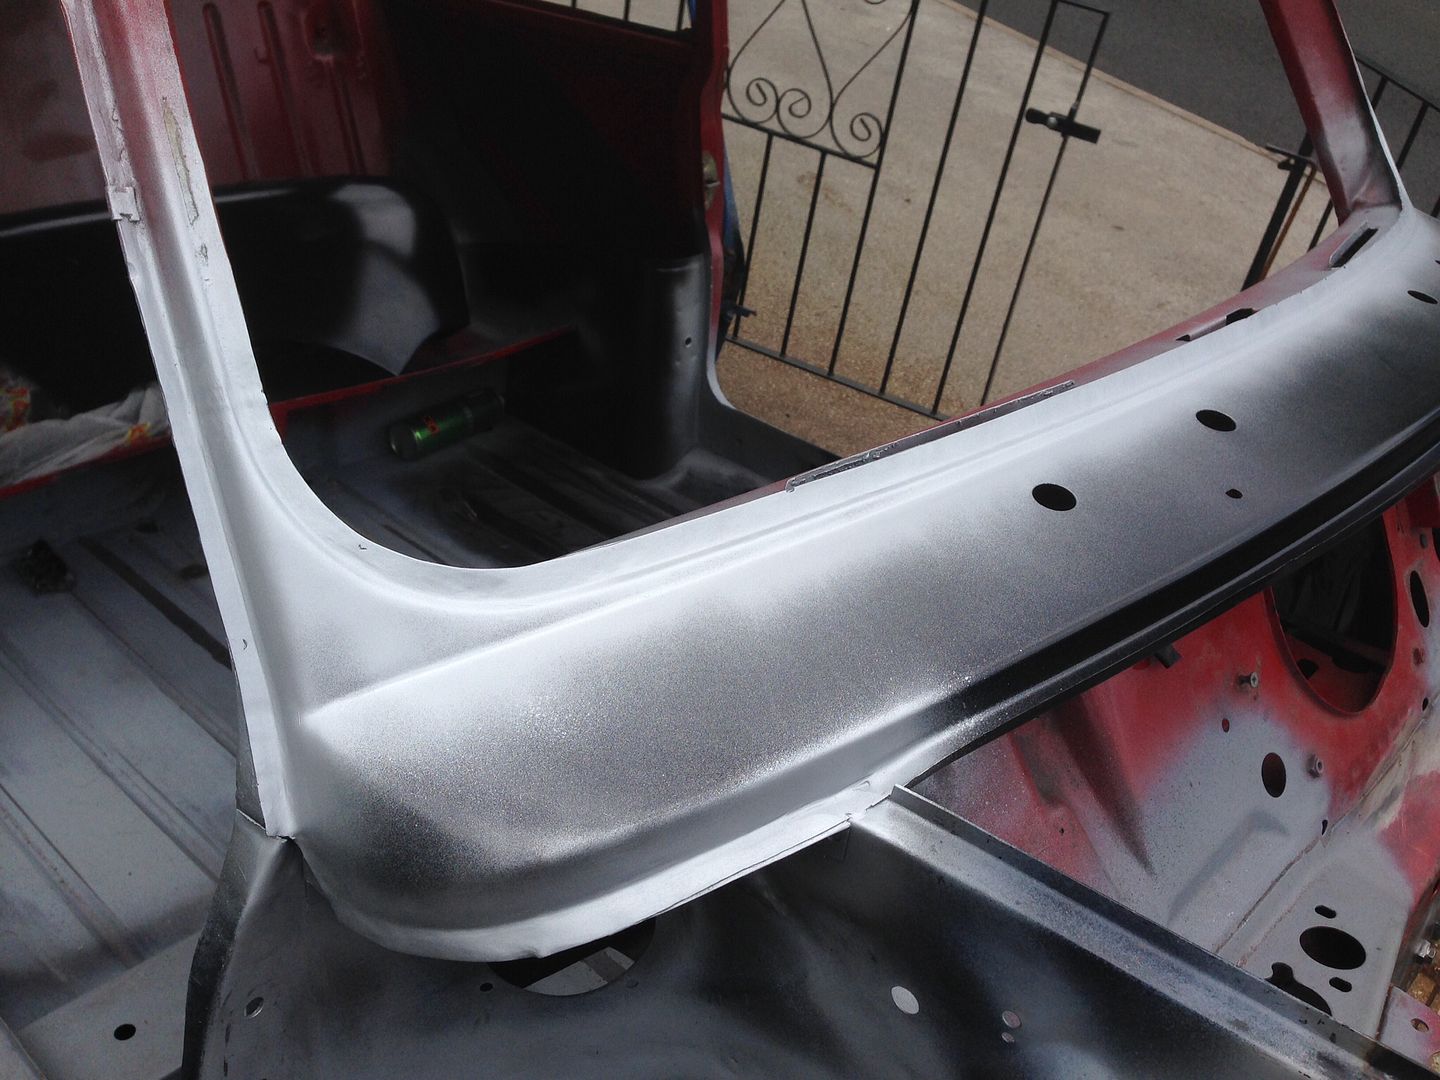
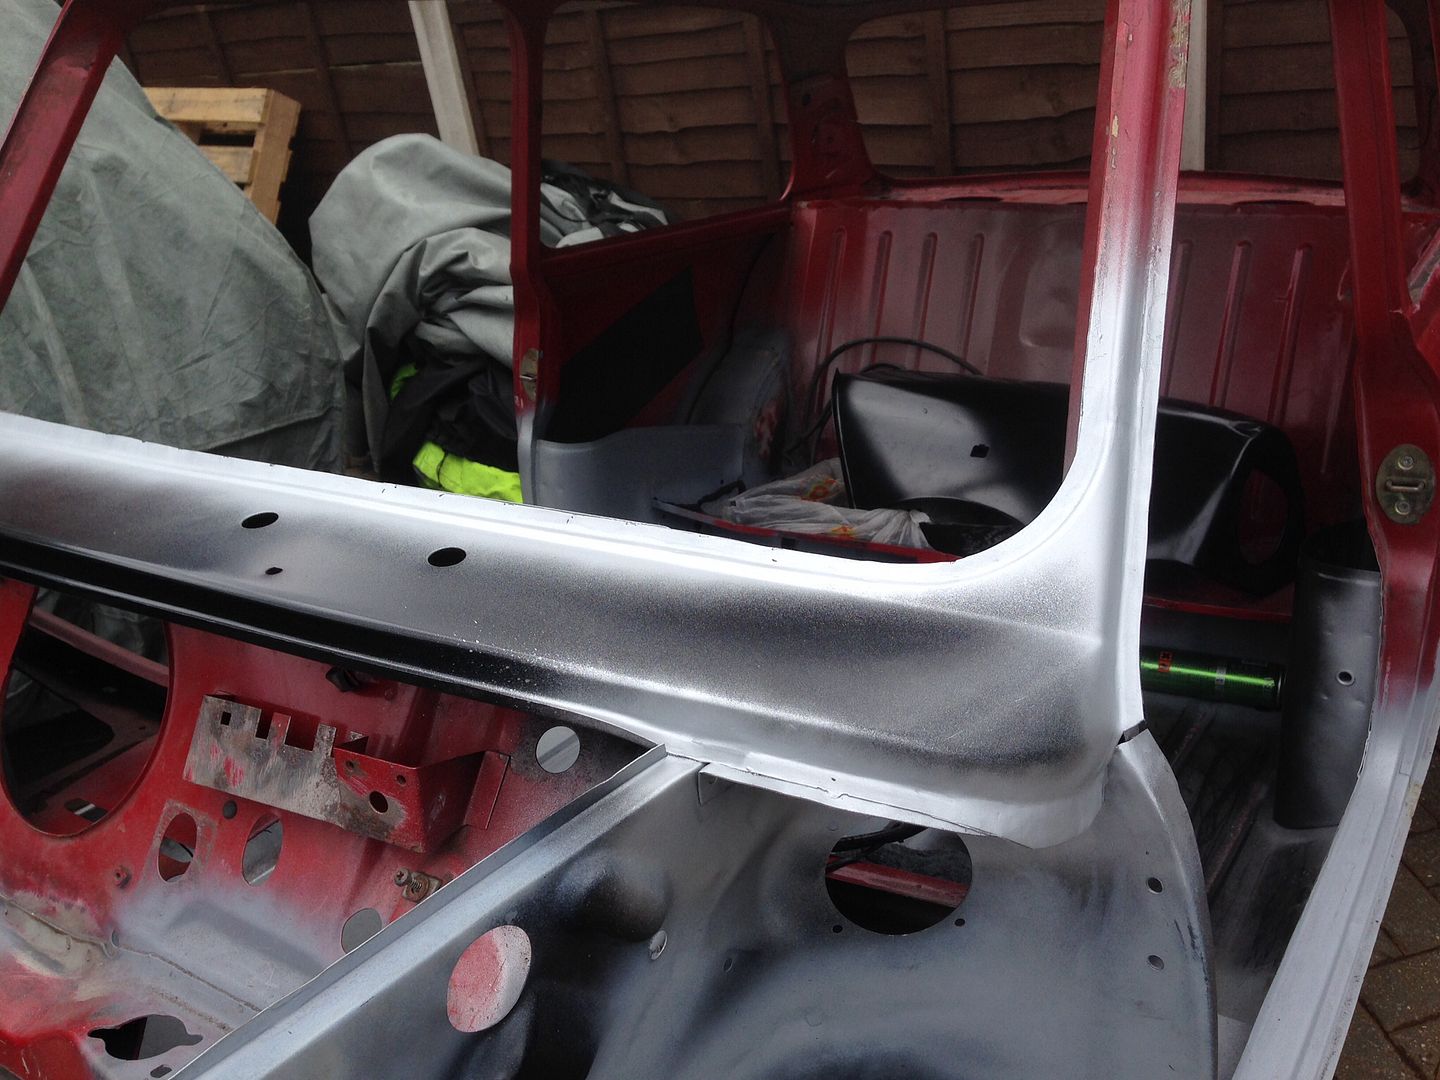
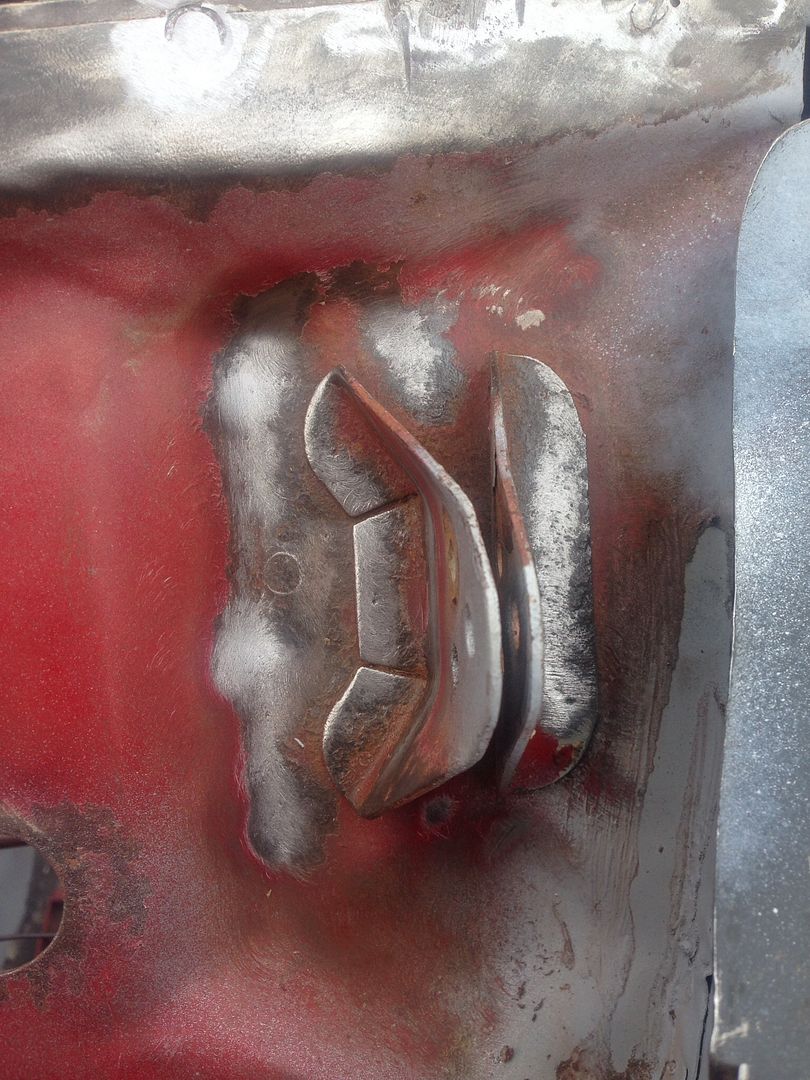
After that was sorted we moved onto the scuttle, we fitted it to the car and marked out where the closers will be sitting. Removed the scuttle, then drilled the holes in the close out panels and plug welded them into place, plenty of zinc was applied before and after -

276f628e6ac92a27c2b9554446120f63_zps4ce8

8cf776c84fb15ef172a87a3081a84eee_zpsb991

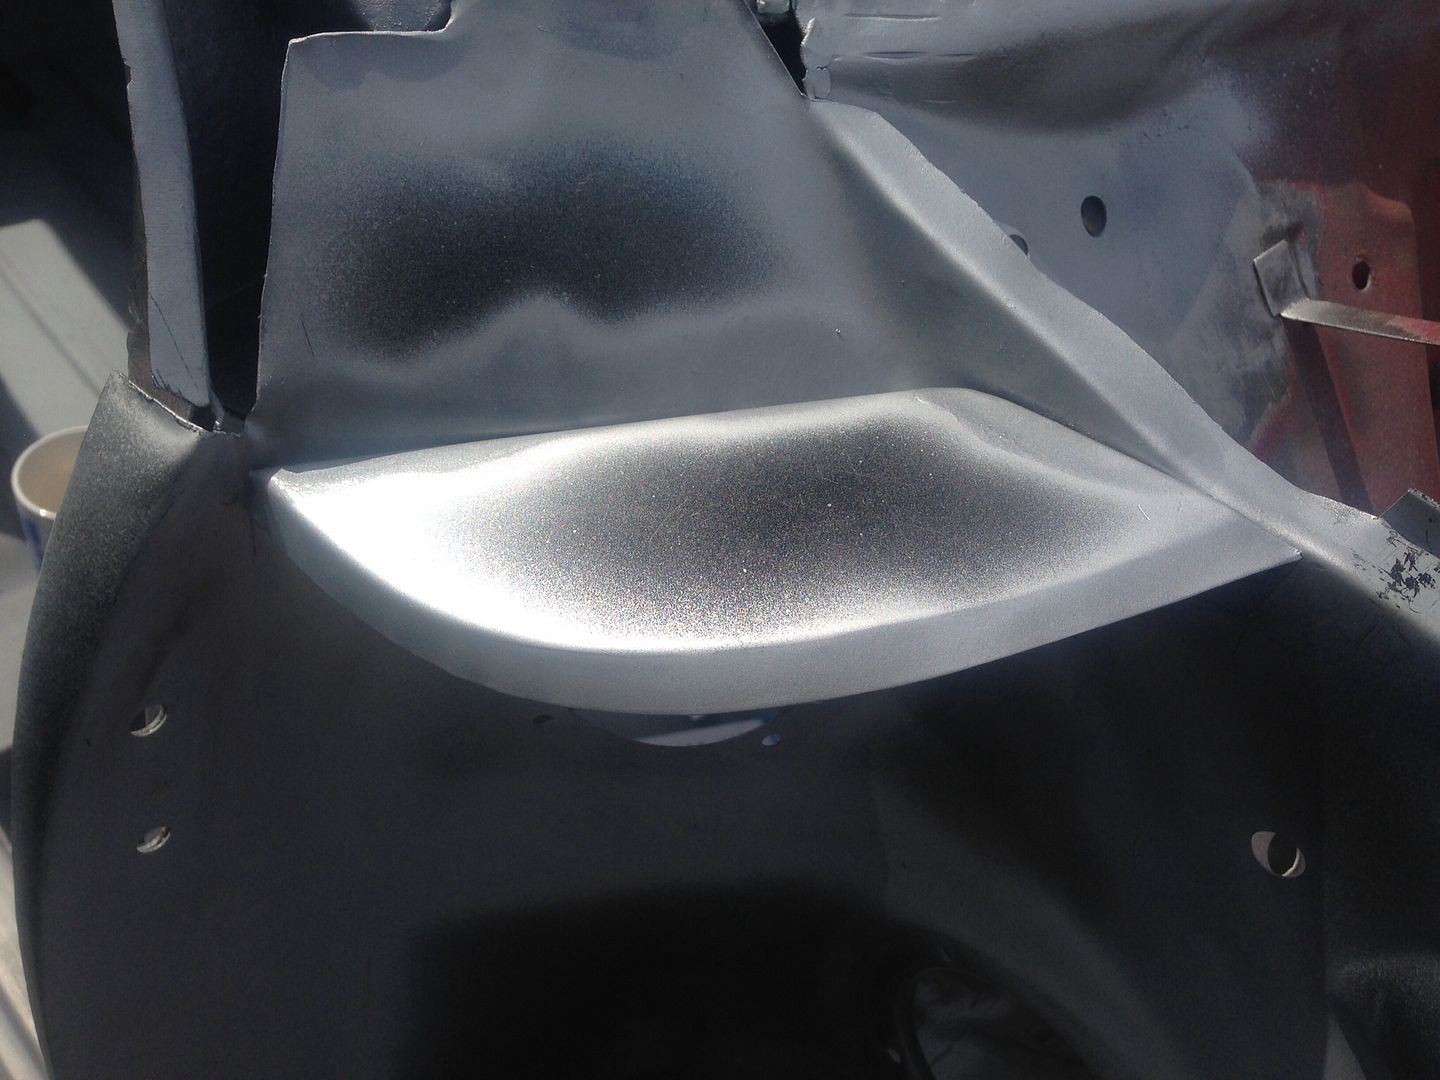
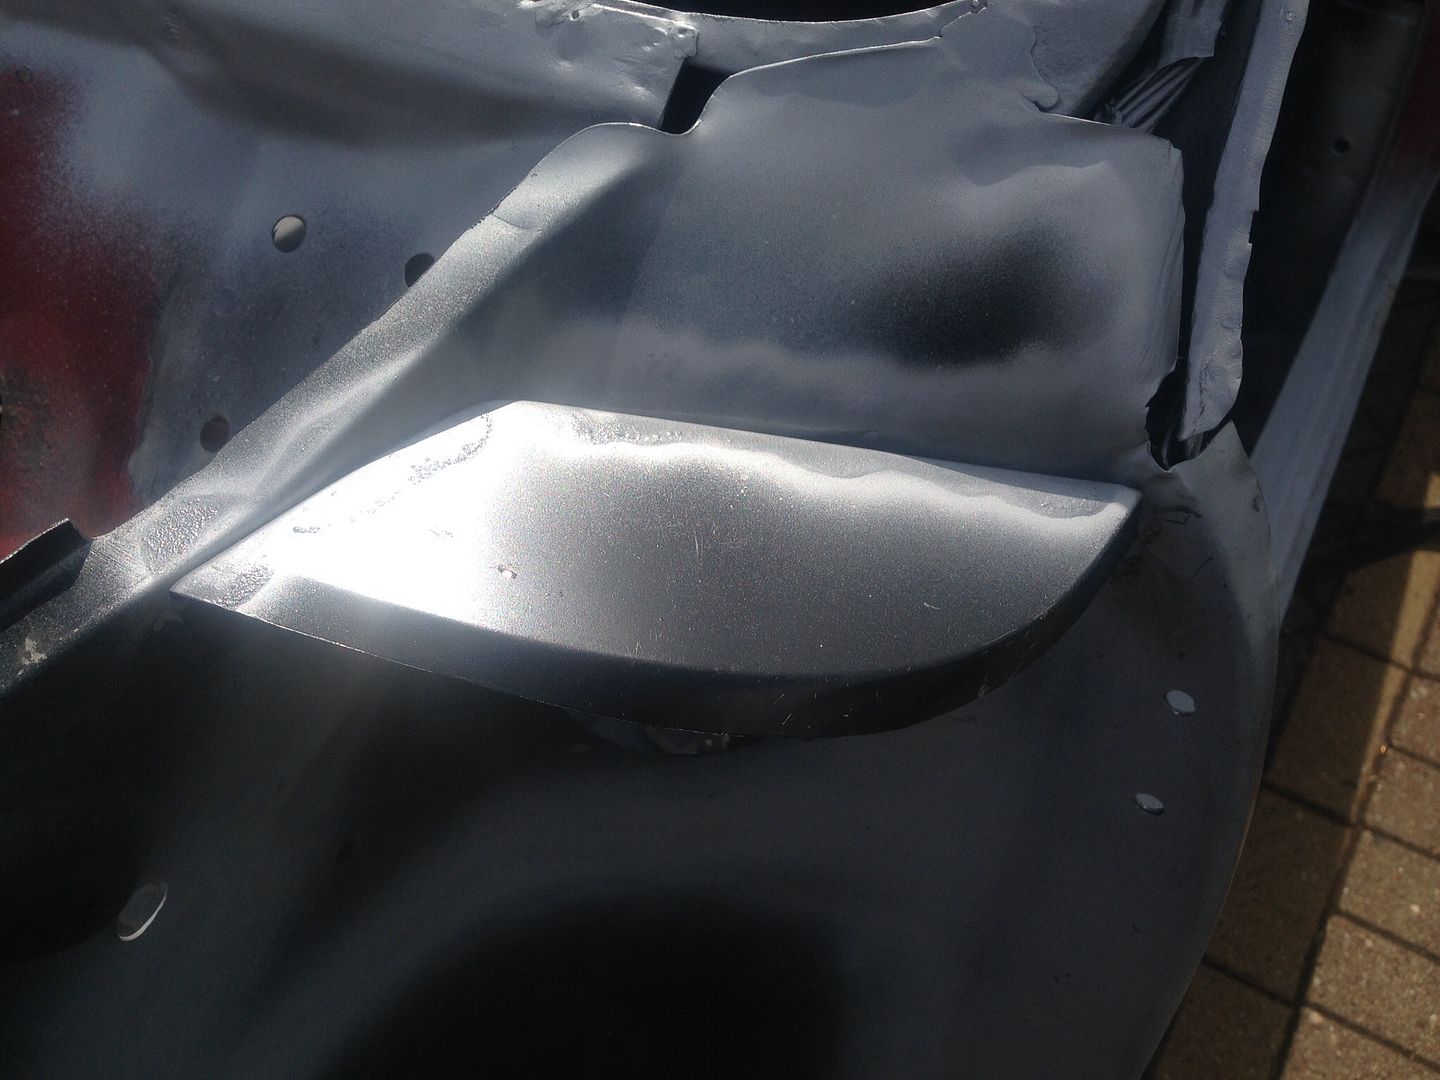
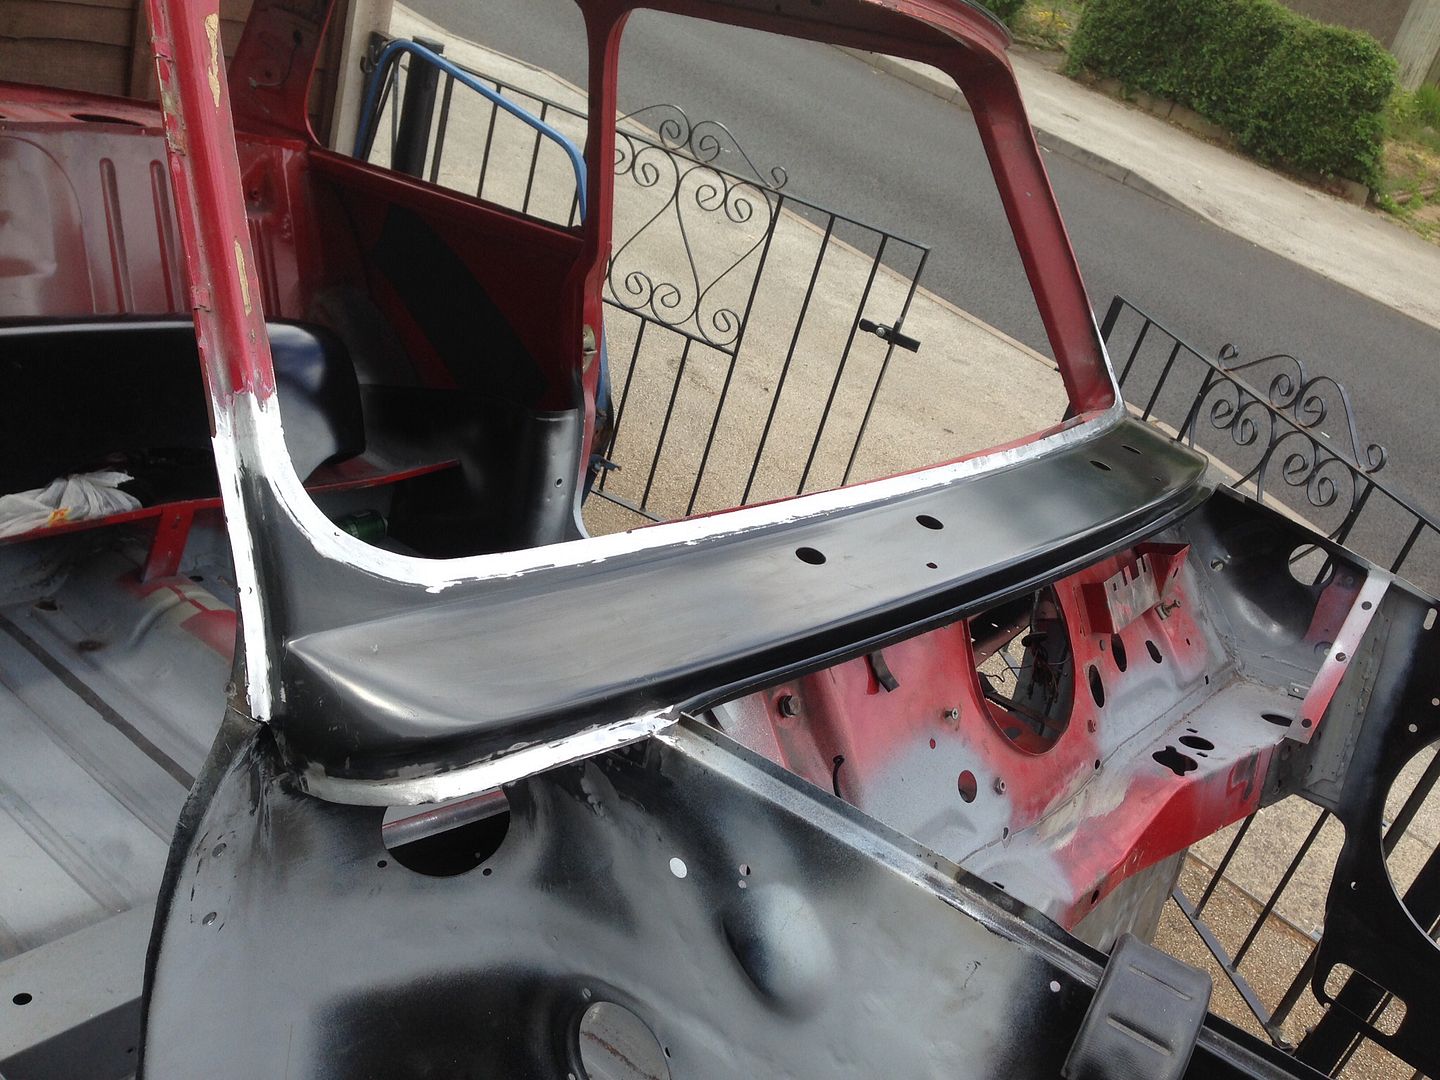
Next we drilled the holes in the scuttle and clamped that into place. We made sure to fit the windscreen at this point to be sure I'd have no problems in the future -
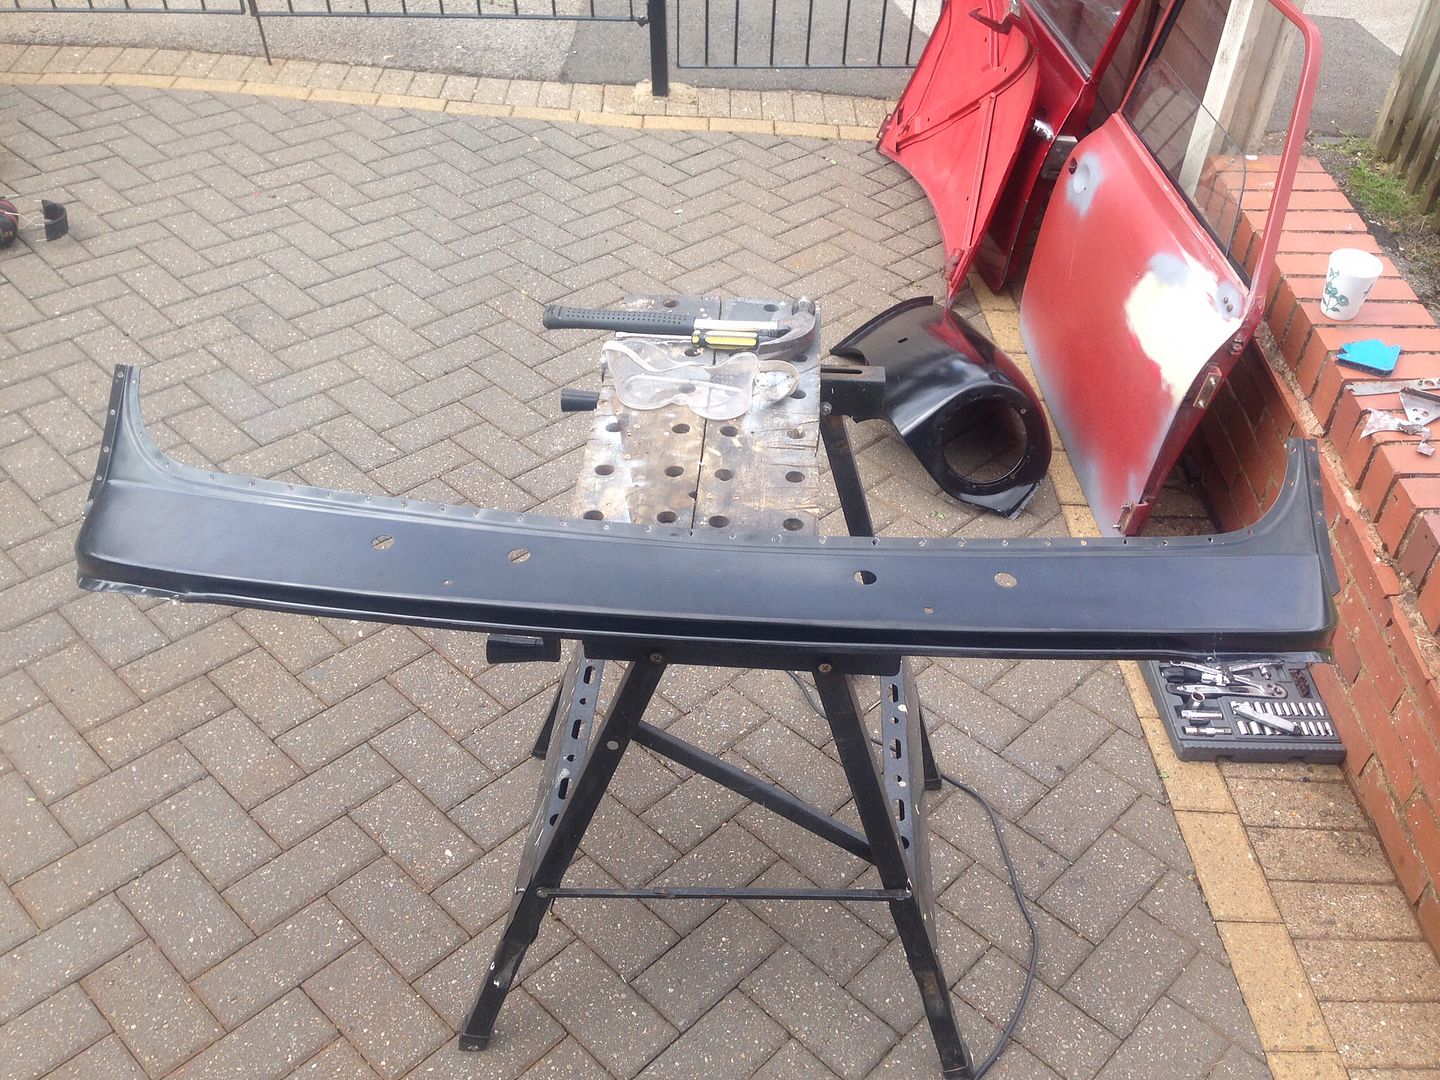
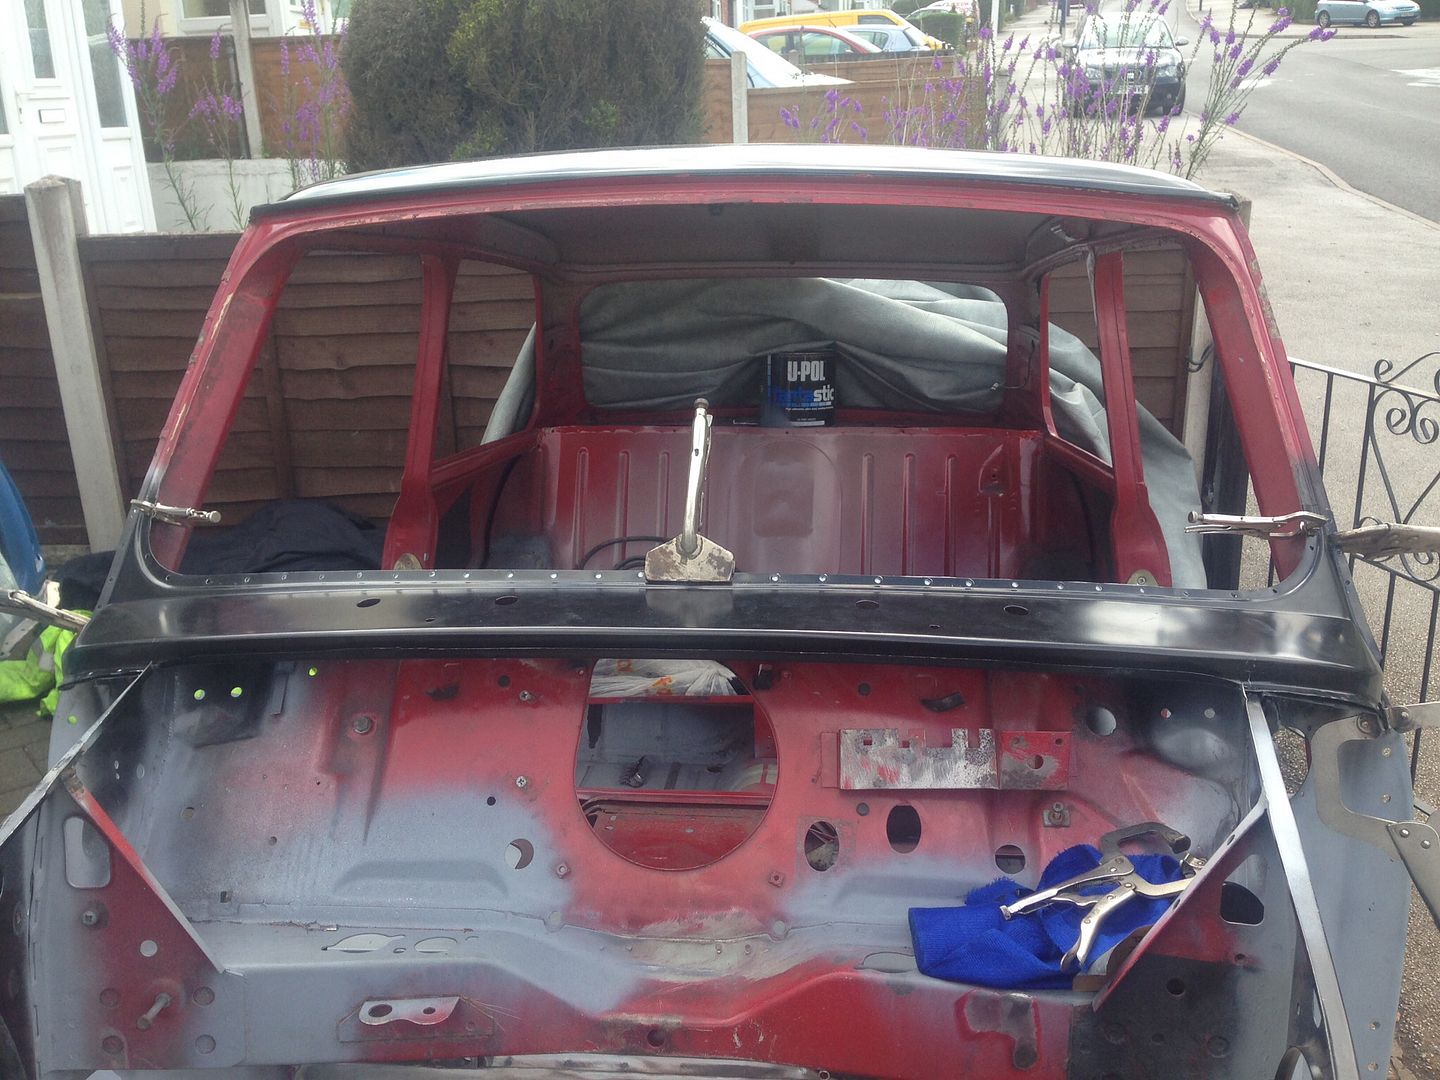
e809874979980f1ef769160715676f8c_zpse790

bbbcdb5a864f22e4091d3a9bf037a980_zps41f1

4dcc7f46a5dc450a52b3f73ebe68d8c1_zps3148

Welded into place -

4356c87429ca6e31866daac389752a1c_zpsee79

Got a load of grinding to do, but that can wait until tomorrow. Feels really good to have gotten this far, didn't think I'd ever get here when I was finding all those bodge repairs, but I can almost see the light at the end of the tunnel now :lol:

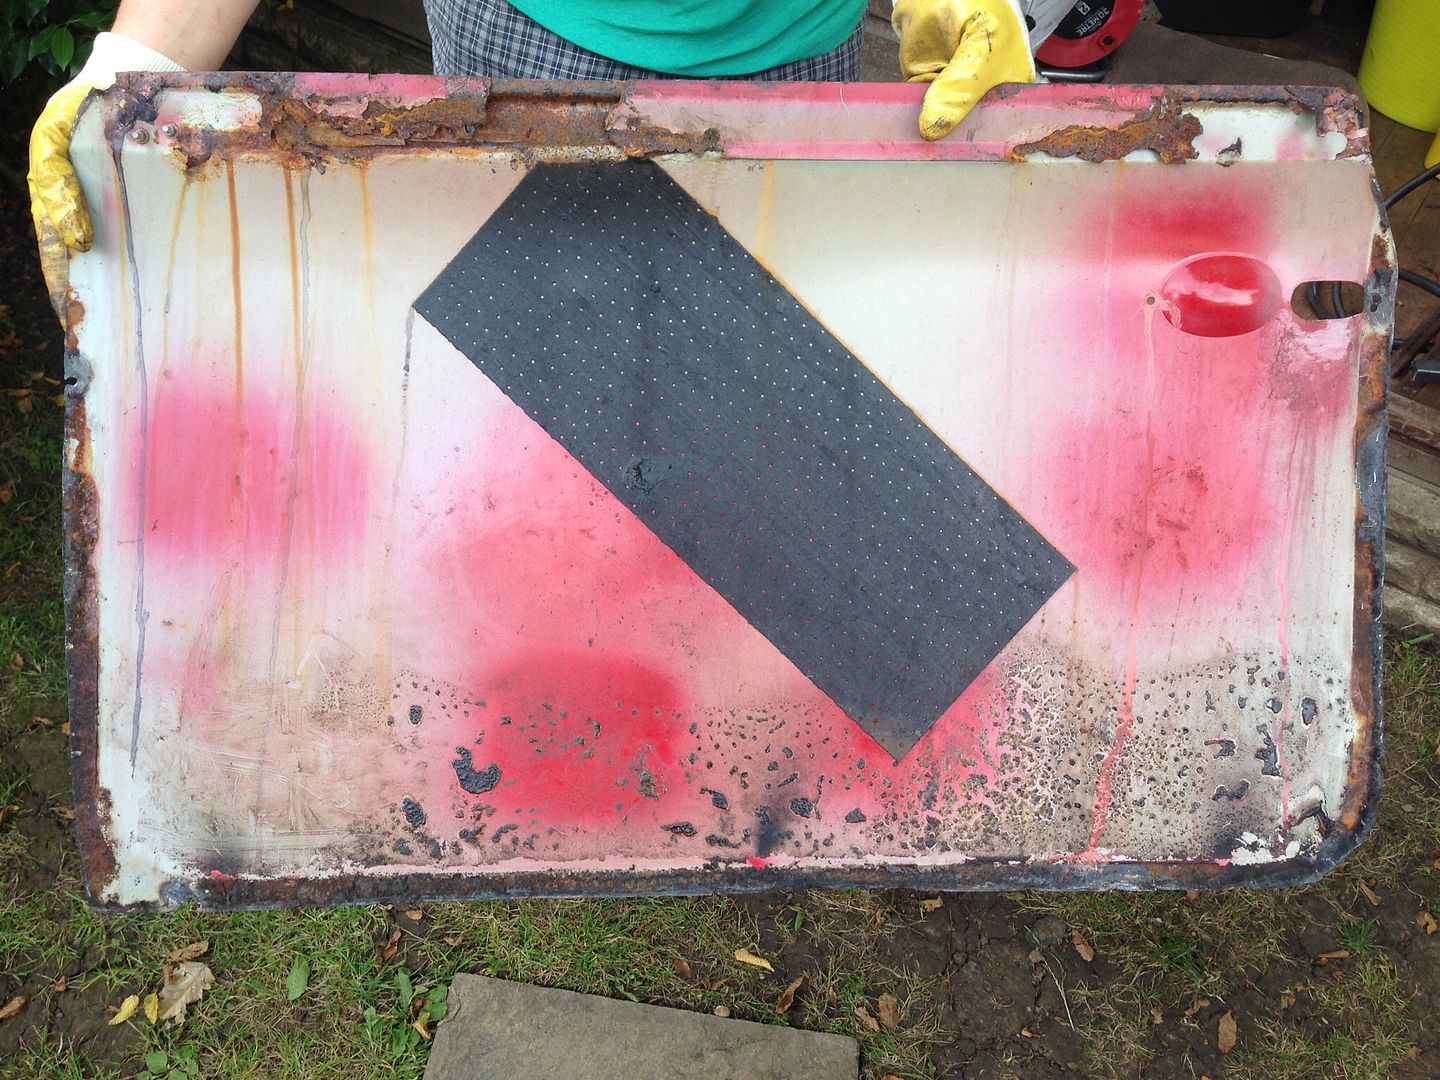
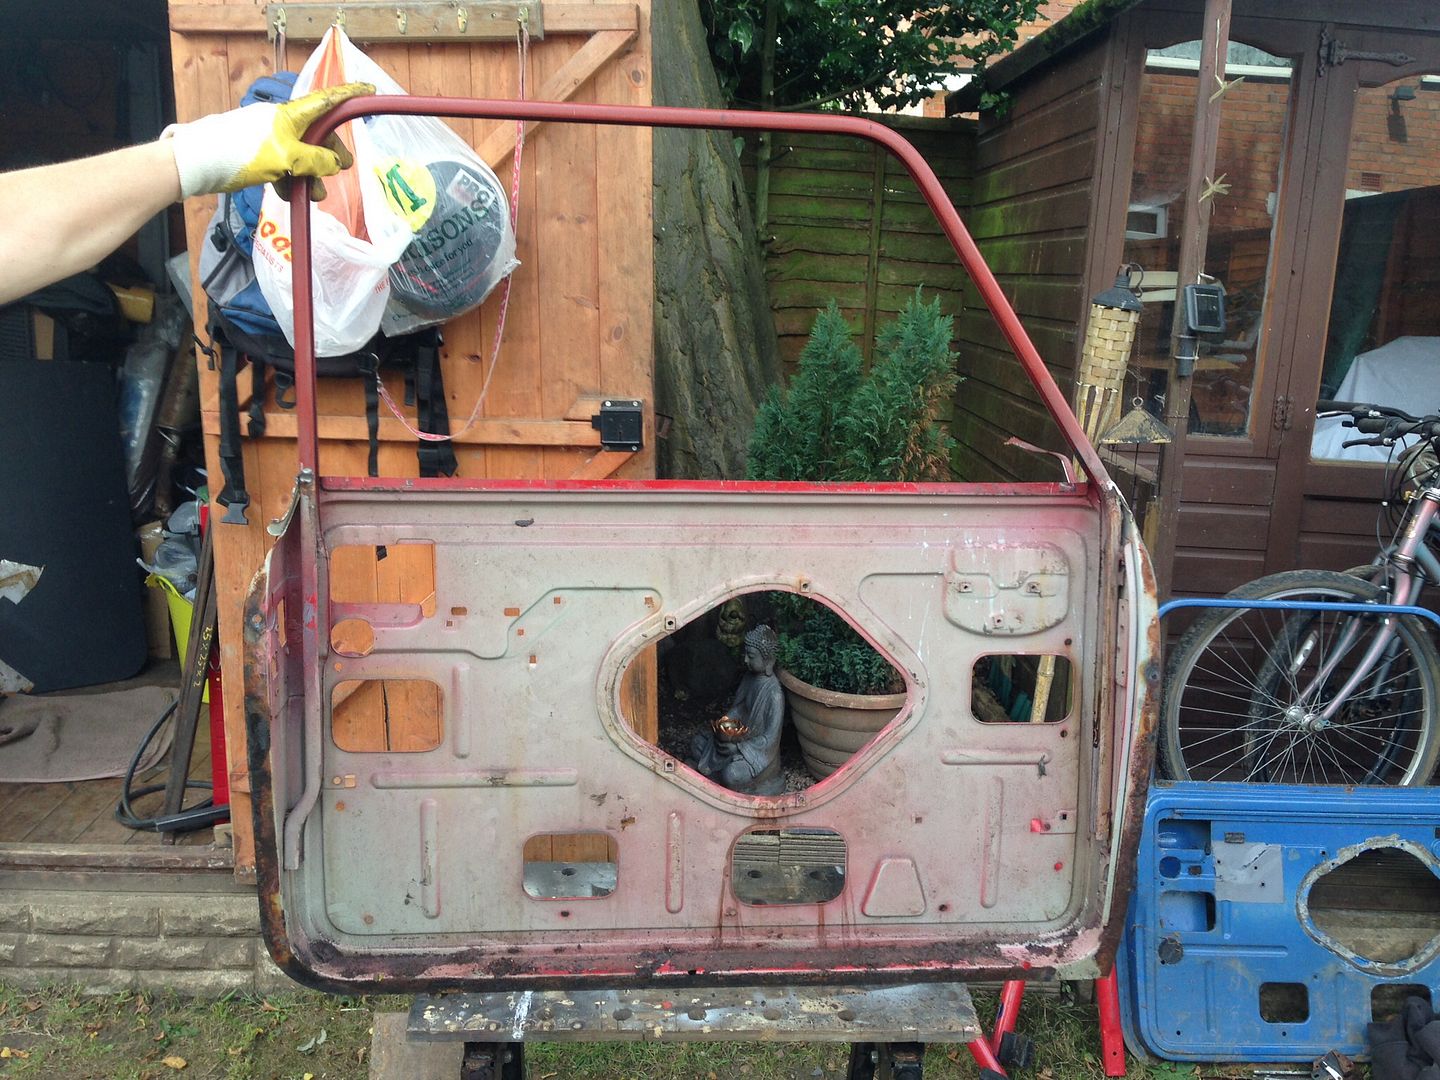
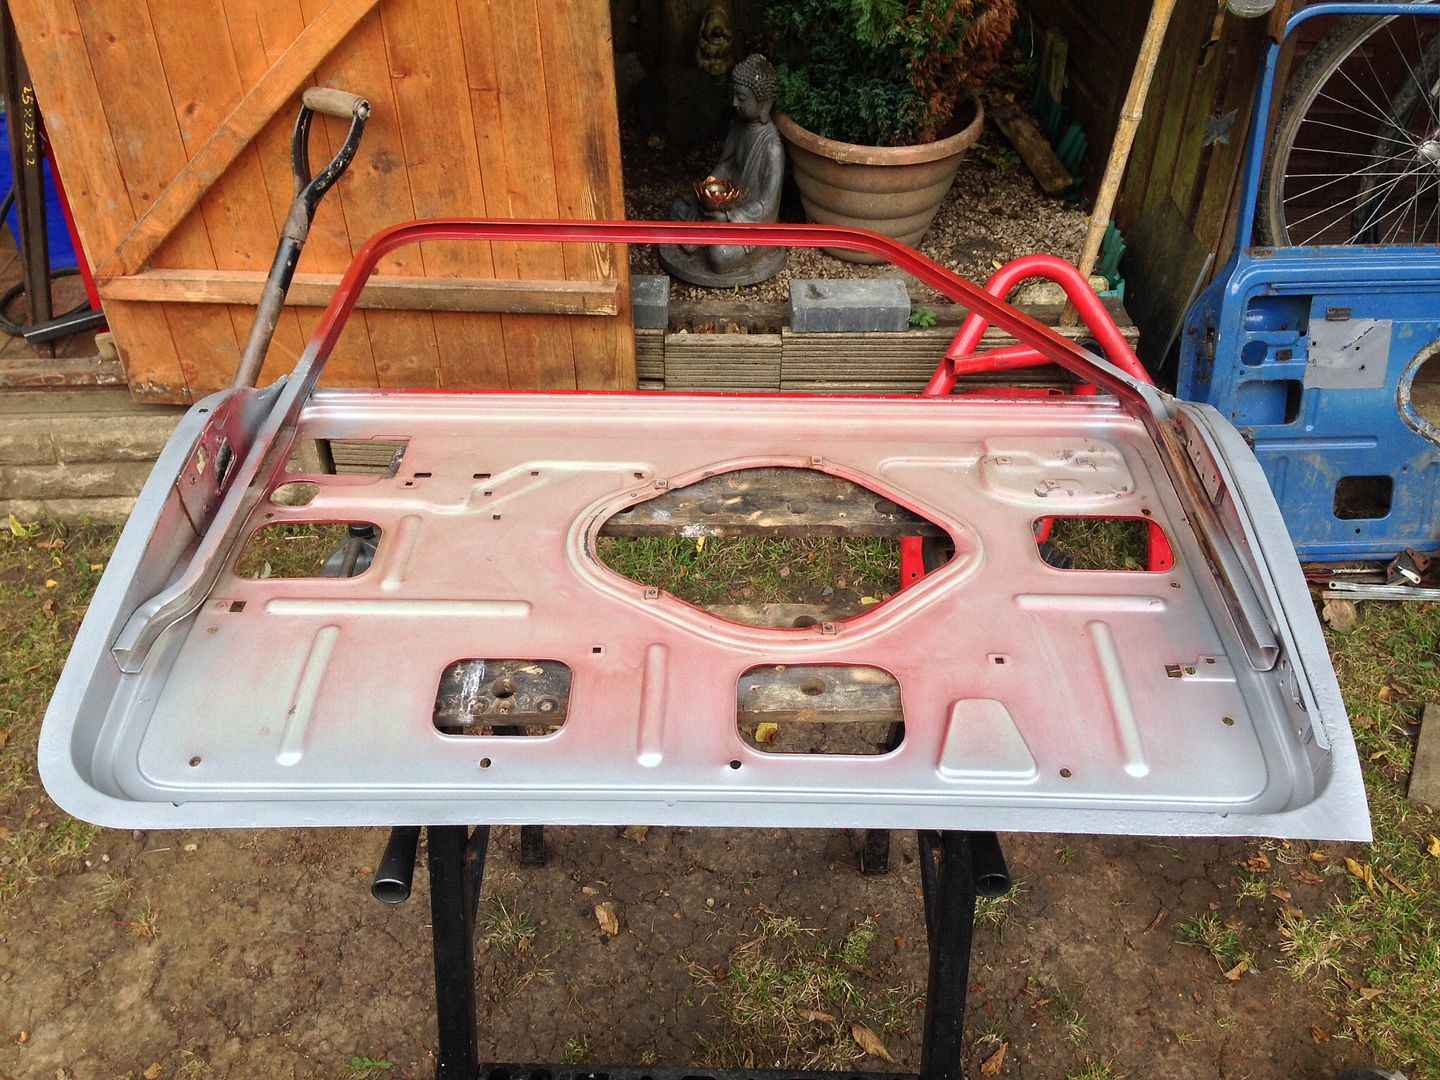
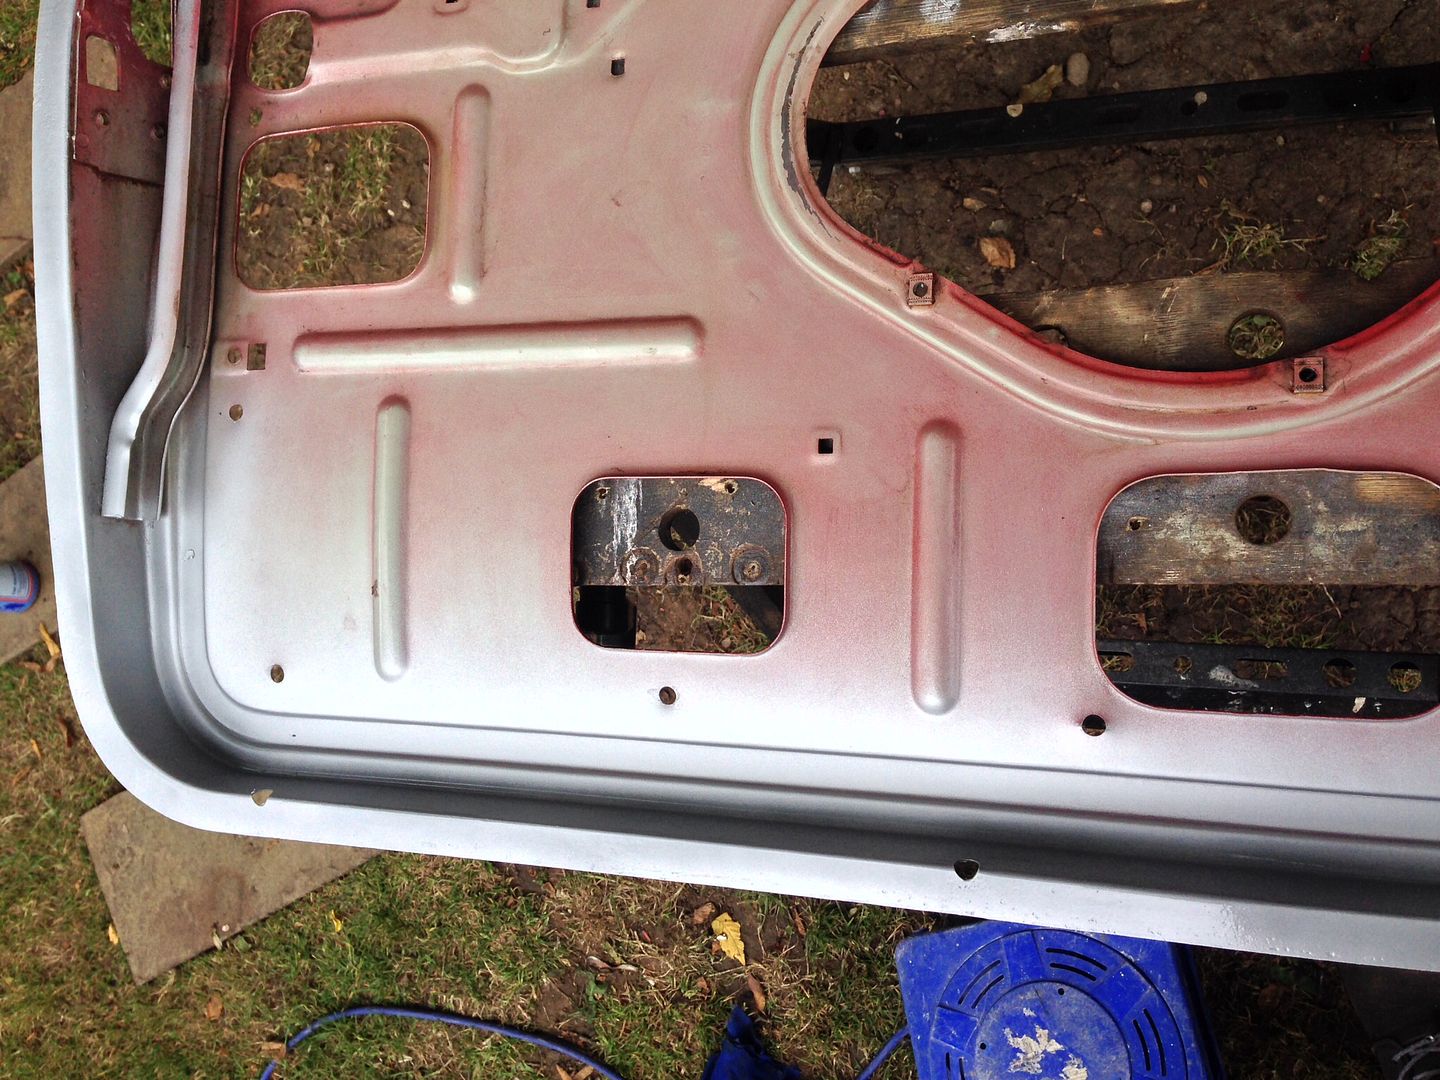
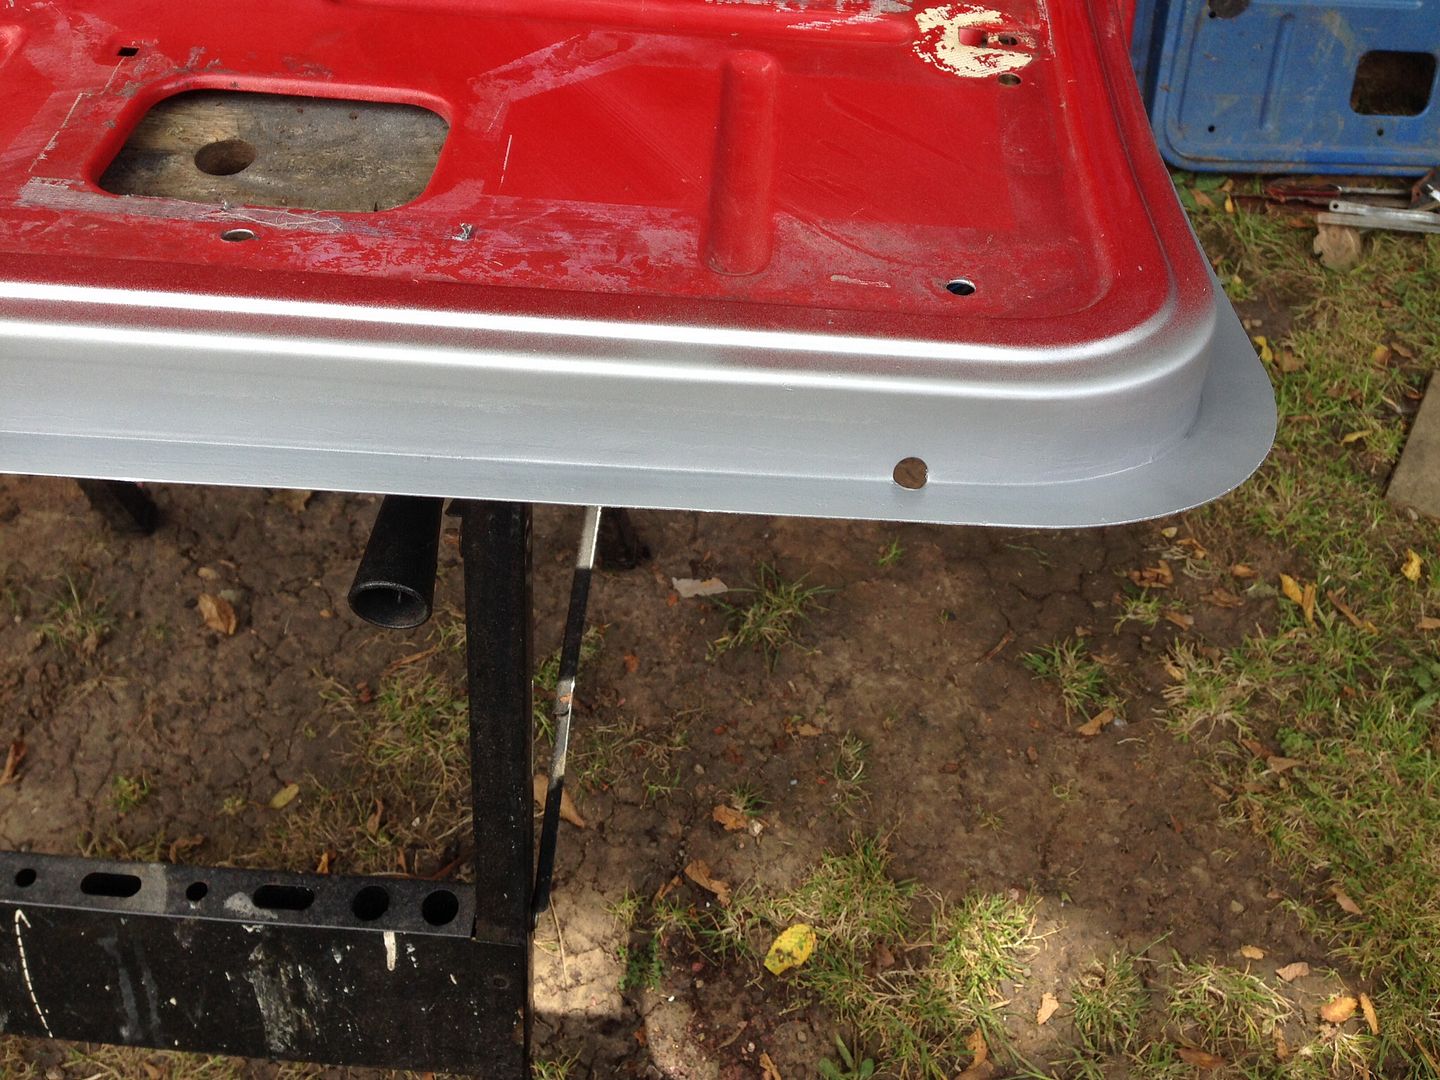
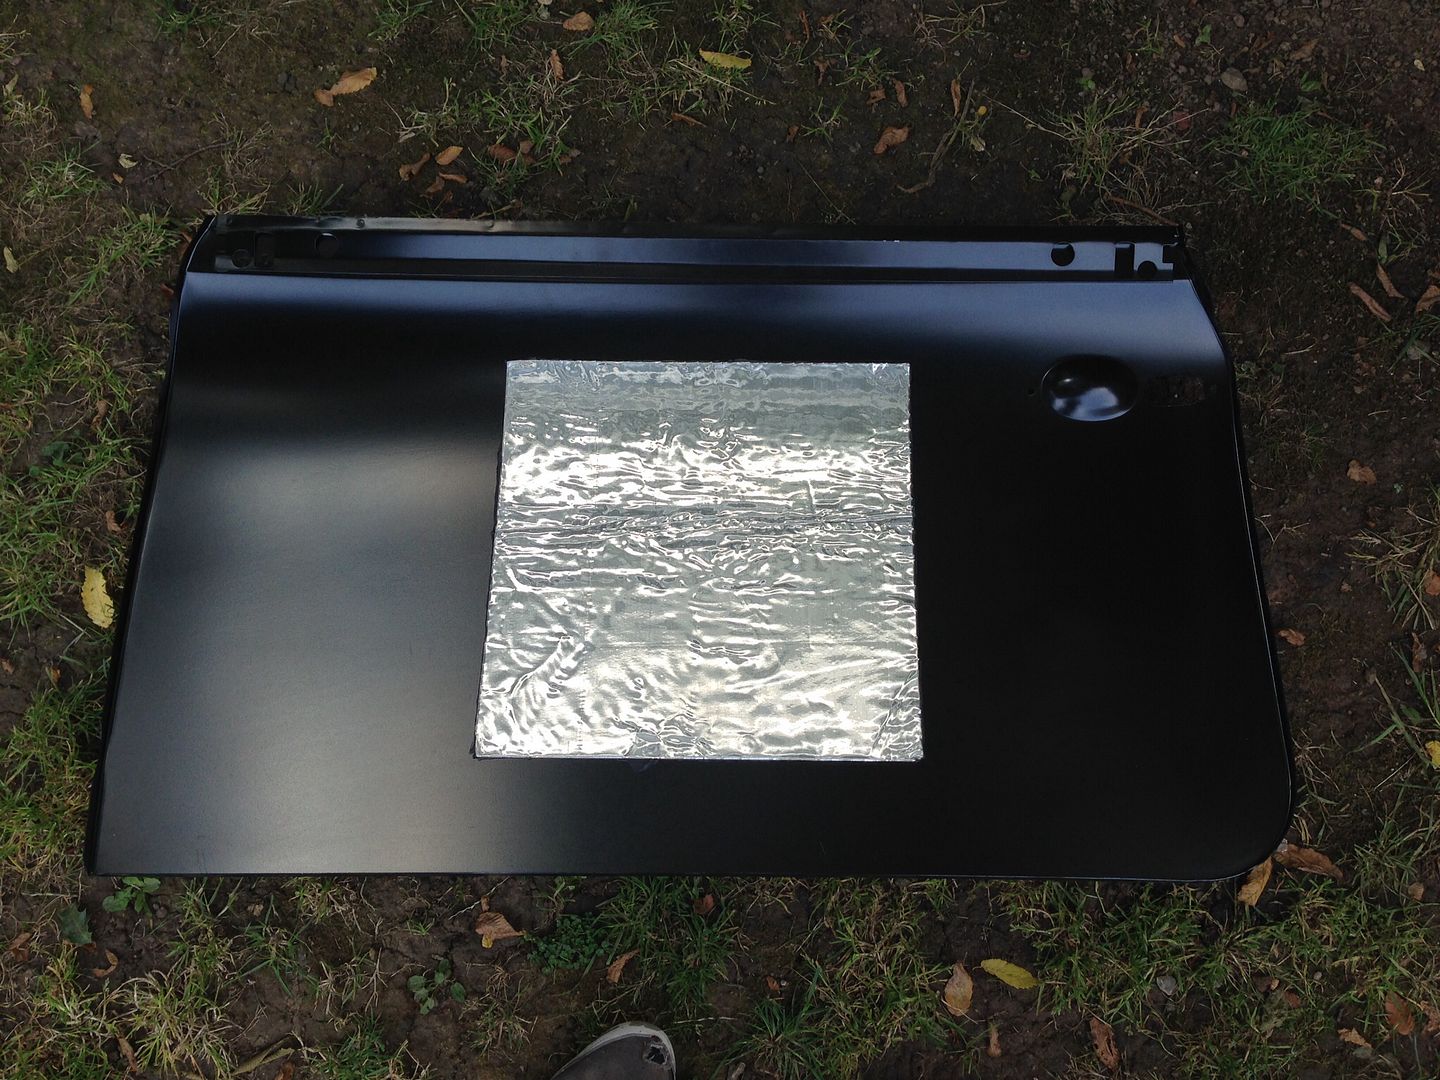
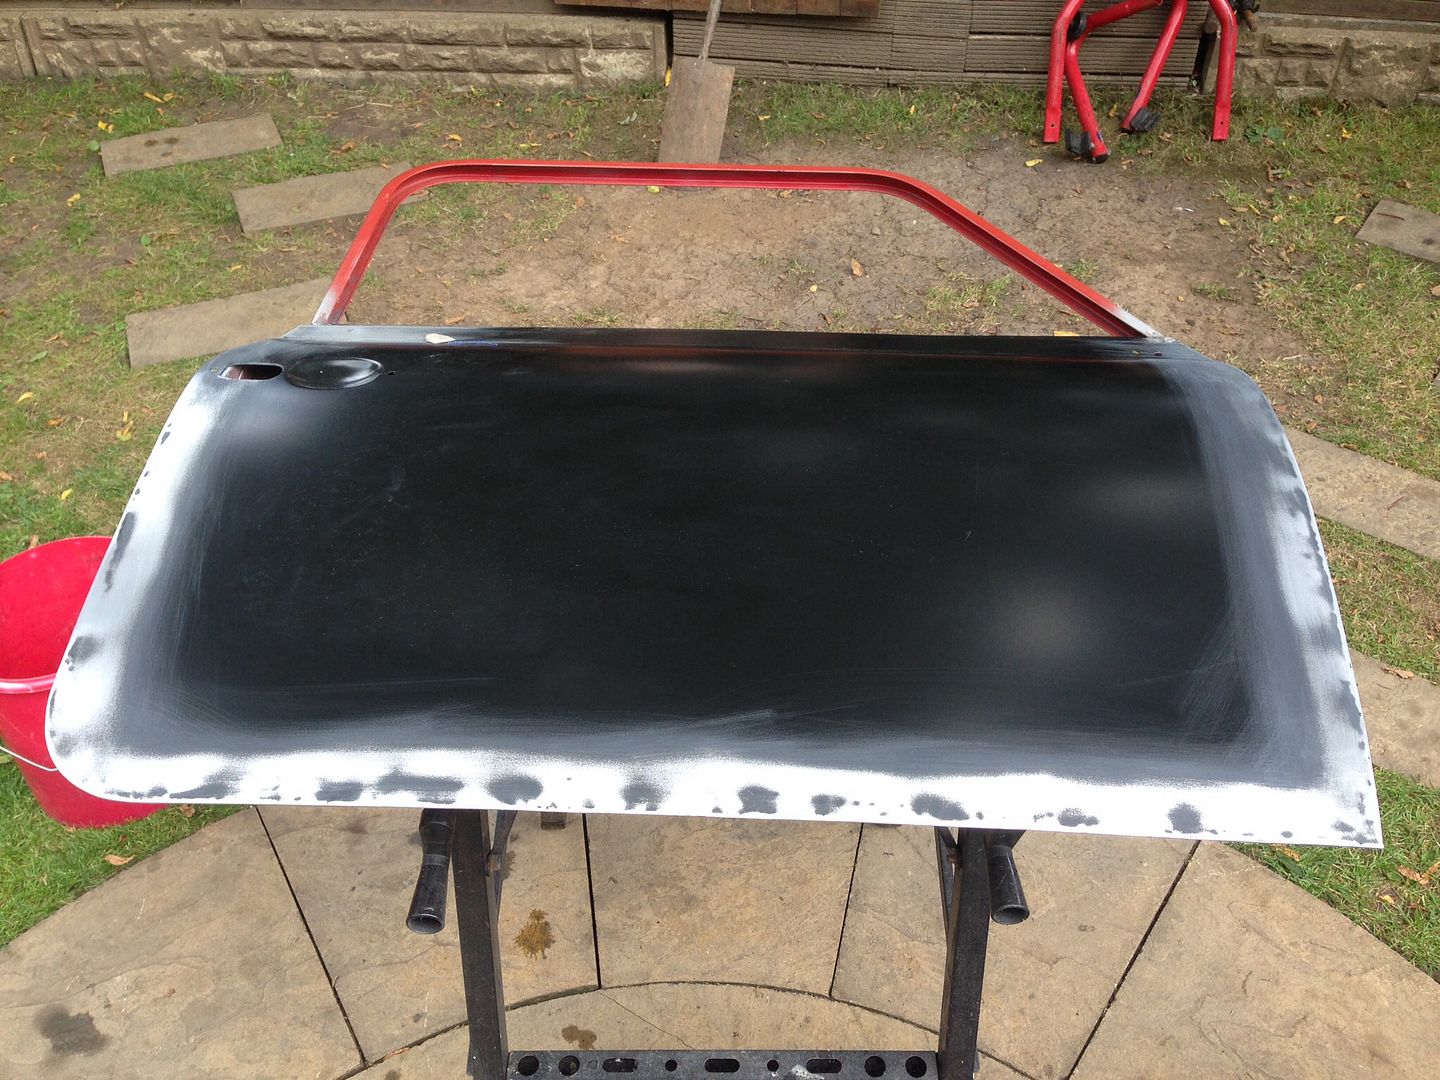
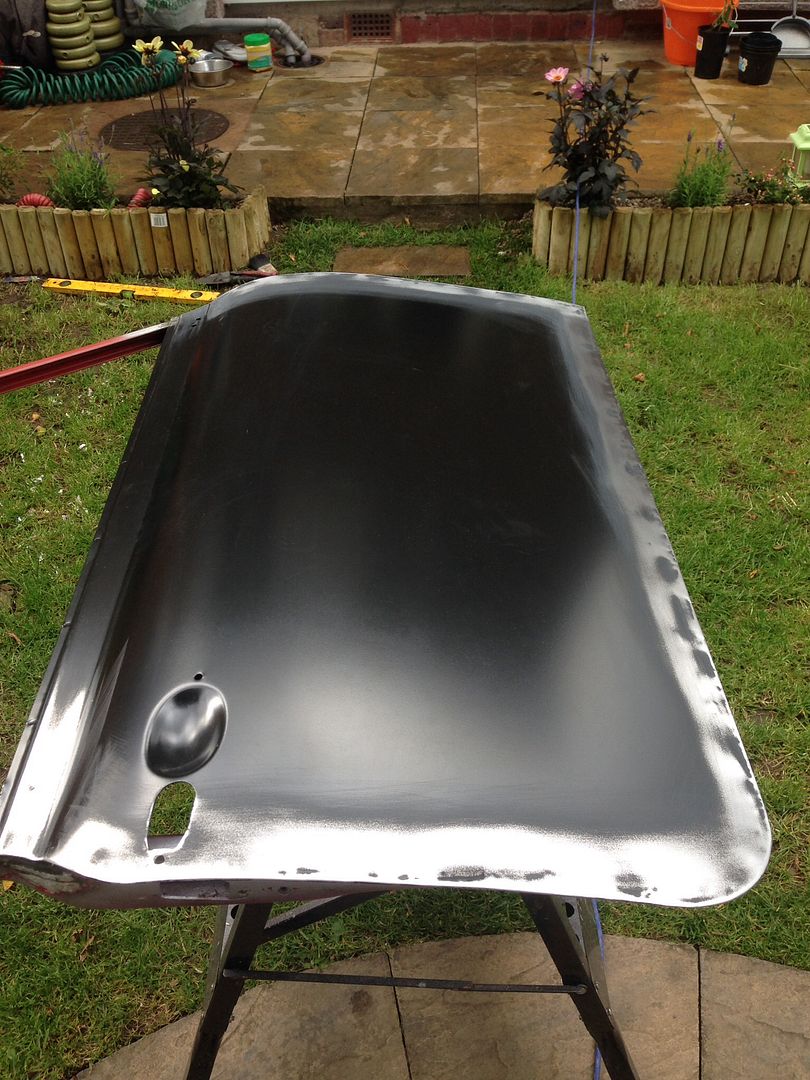
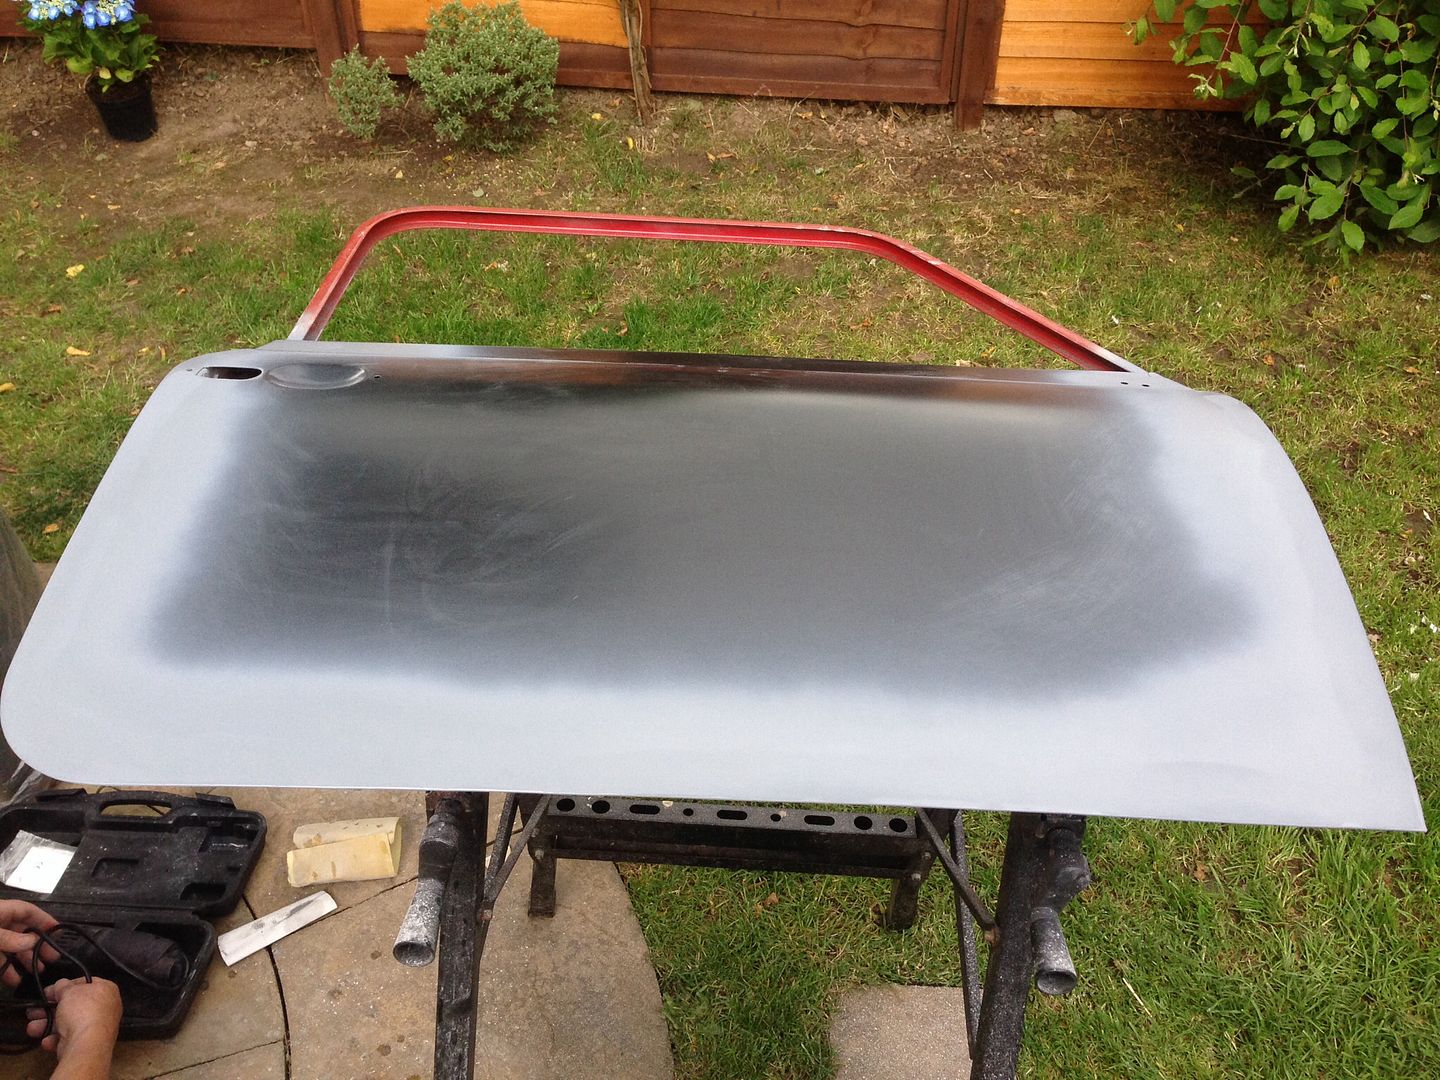
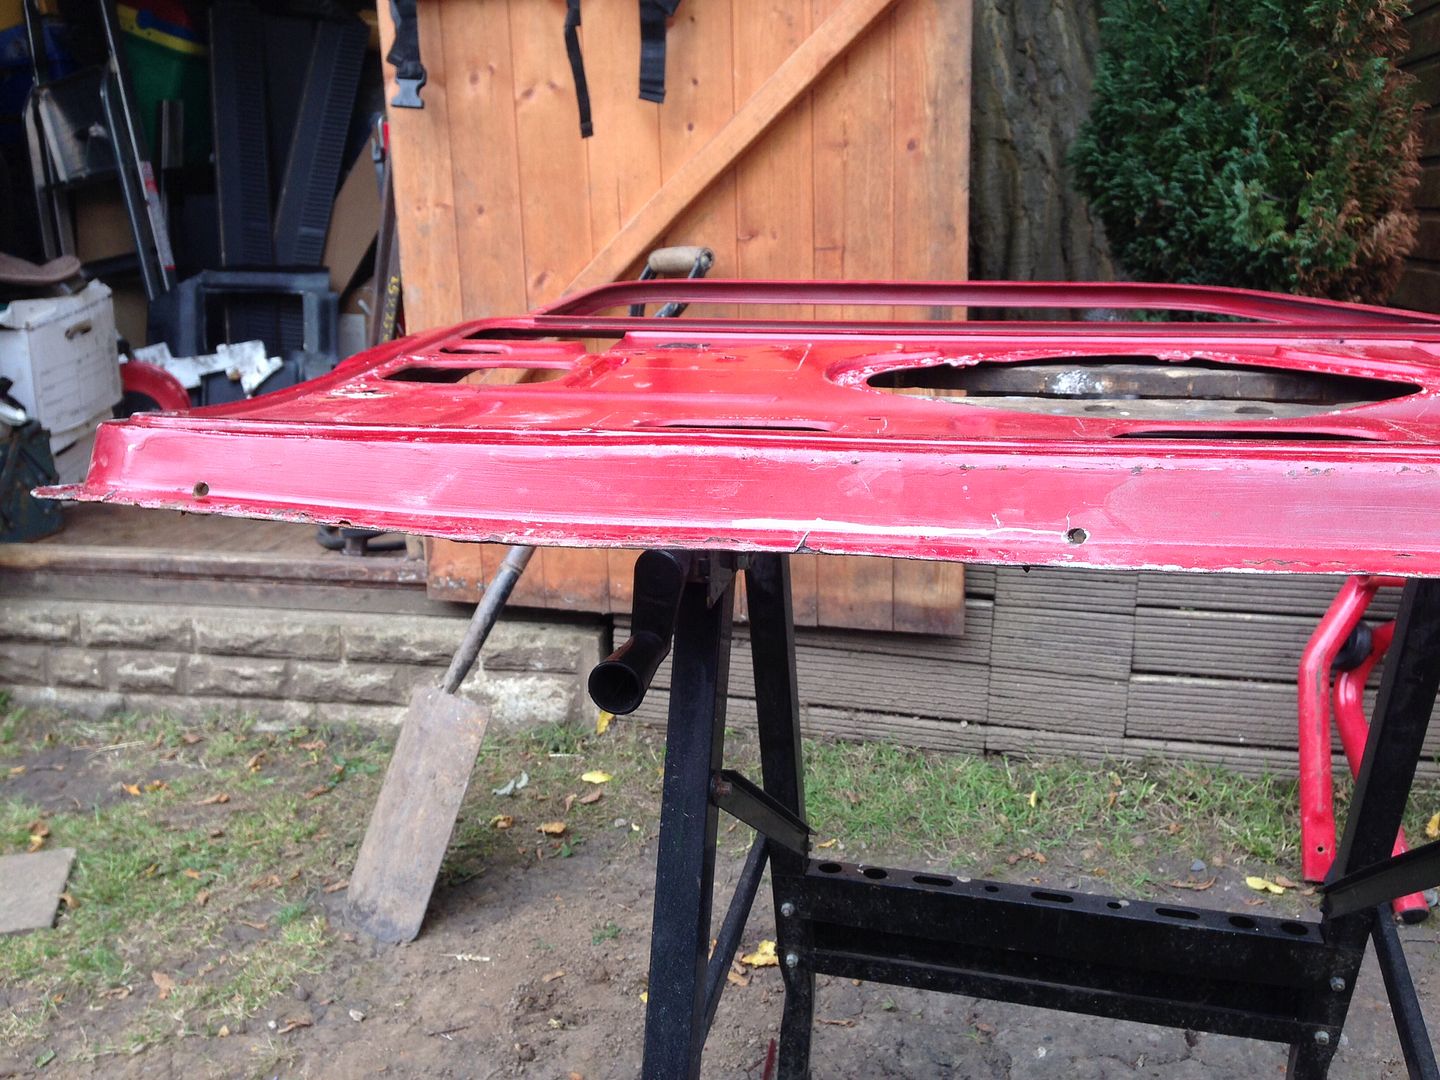
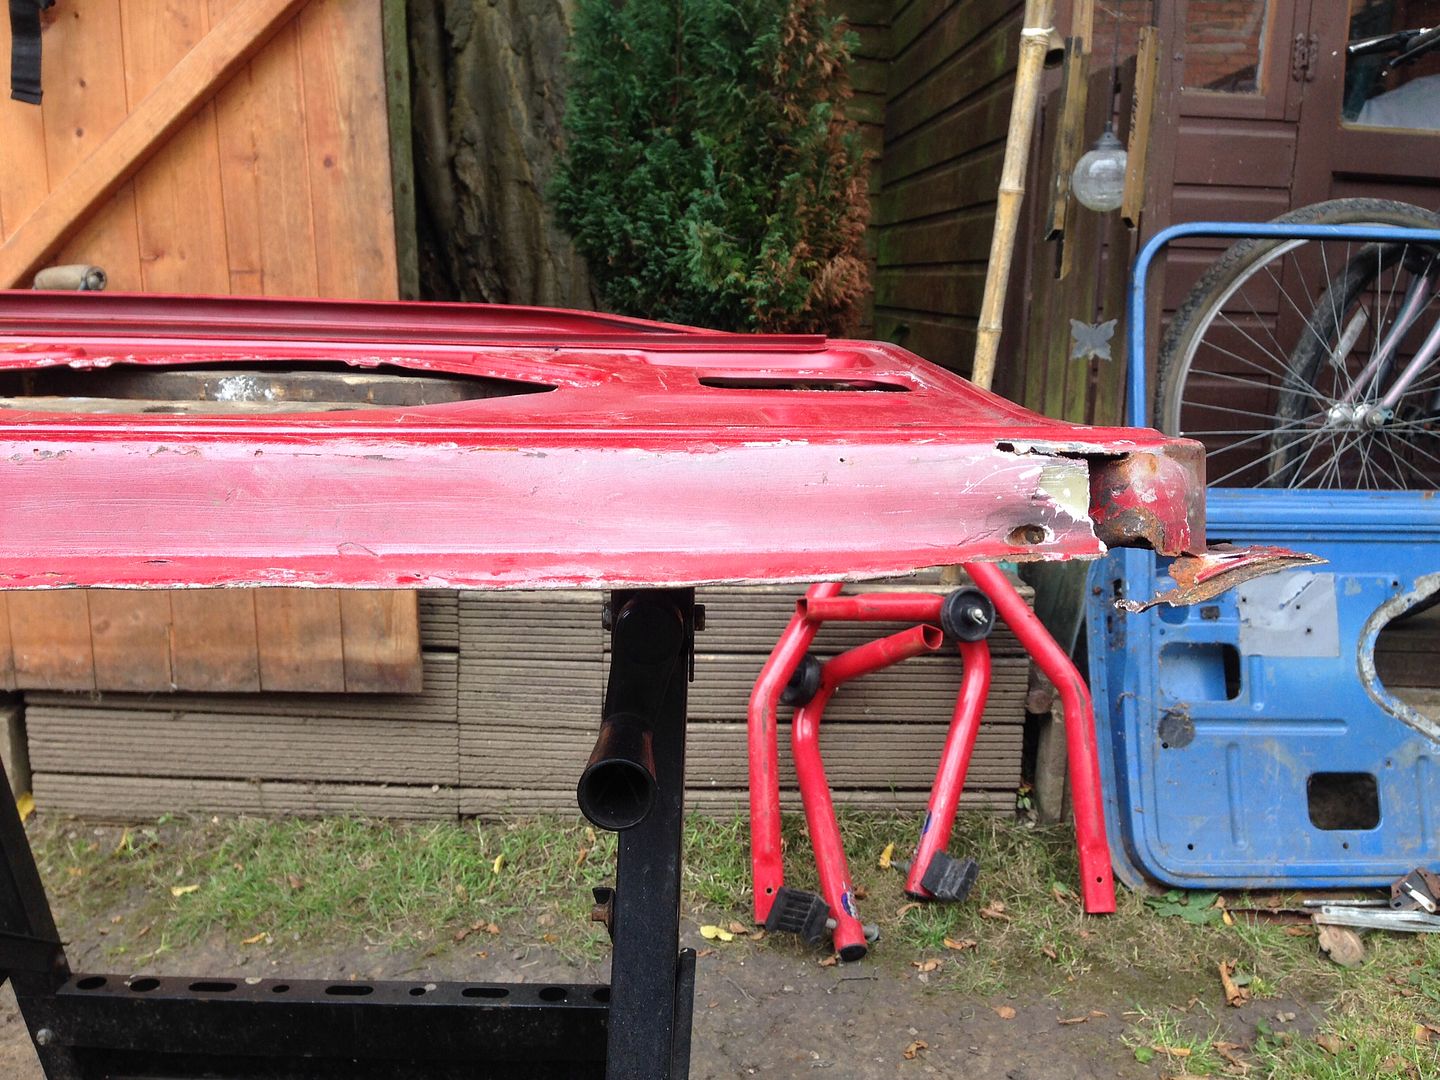
Going to make a start on the door skins tomorrow, looking forward to doing those, should be interesting !

Edited by big-jay, 05 July 2014 - 08:20 PM.


#167 Ben_O

Ben_O

    Mill Road Garage

  • Paint Doctor
  • PipPipPipPipPipPipPipPipPipPip
  • 9,794 posts
  • Location: Isle of Wight

Posted 05 July 2014 - 08:16 PM

Absolutely cracking!


#168 big-jay

big-jay

    Super Mini Mad

  • Members
  • PipPipPipPipPipPip
  • 518 posts
  • Location: Birmingham
  • Local Club: British Mini Club

Posted 05 July 2014 - 08:21 PM

Absolutely cracking!


Thanks Ben :-)

#169 big-jay

big-jay

    Super Mini Mad

  • Members
  • PipPipPipPipPipPip
  • 518 posts
  • Location: Birmingham
  • Local Club: British Mini Club

Posted 06 July 2014 - 08:07 PM

Update,

We had a crack at the door skins today, I think it went quite well considering we've never changed a panel skin before. I'll start with the drivers door.

Completely stripped the door of all the components and set it down on the workbench ready to remove the skin -

fb9d2fd3b9dc801b5ac5395ef8bf838c_zpsd7be

Went around the whole edge of the door with the grinder until it looked like this -

c2ef2f54e29ba5d1c046a69ae01b570b_zpsa512

Then just lifted the old skin off, this was the state of it -

a425459ce06029b1a050bcf6dfd85b05_zps5040

The frame on the other hand is really very good, required no repairs what so ever, just had some pitting -

403e6928faaf58566cc29ac930ca985e_zps6ca2

So I give it a quick wire brushing, then give the flanges a good coat of Deox Gel and left it for a while to do its thing -

ac5341821e8c0edfa1bb381583962827_zpsa104

After about an hour or so I gave it another going over with the wire brush on the drill, then washed it all off. Then we prepped the frame and applied a few coats of zinc primer -

efe810c4c948393d95567ad460172c07_zpsf82c

203777412537ec9e8df8c829ab620f16_zps7df9

e1061234c424298d875a0527578b81e4_zps977d

Then we applied a sound deadening mat to the inside of the door skin -

d3ec193e9db7f6d220e937da391f84ab_zps6eb5

A bit of a jump, but the door skin fitted and welded to the frame. We checked the fit on the car during this and it's pretty good, the door gaps will need some work though. Had a few high and low spots after a quick sanding but not too bad at all -

6d2b95b183c6b3587a196179953d4d74_zpsfa73

38c84d27446ffe7f57bd233e1fbca8fb_zps8e34

A bit of hammer and dolly work and a quick skim of filler later, it's looking fairly good. It's by no means the final product as it needs more work, but I'm very happy with it for now -

c9be22e0edf42f1d3aa85ef558af170d_zpsee5a

A couple of shots inside the door, looking how it should do -

cd978eab5525f312f3a09ec84f633ad1_zpsb225

75a292cb27d85f7a7c21dbf554cd46ee_zps3e33

Now onto the passenger door. Stripped the door skin off, and this was what greeted us -

0b9440eee0110847cb1b2a902cf902ba_zpsbd8c

98c54f544458d99633524aa6d8e7580e_zps4f27

b840abc939ec88c6d05d9d0296817b9b_zps4d58

f61a46520a6721aec202e3ce8a7023b3_zps73c5

04220386732763428adaaffeb16efdfb_zps5397

Looks like Captain Bodge has been here too. I knew there was some filler in this door but didn't think it would be hiding that. So it looks like I'm going to have to buy the lower door frame repair and fix this before I fit the new skin.


Anyway that's all we got done today, will be doing a bit more before work tomorrow !

#170 Ben_O

Ben_O

    Mill Road Garage

  • Paint Doctor
  • PipPipPipPipPipPipPipPipPipPip
  • 9,794 posts
  • Location: Isle of Wight

Posted 06 July 2014 - 10:28 PM

good effort with the skins mate.


Just noticed you welded on your scuttle without putting the hinge brackets back first. Hope it won't cause you a problem?


Cheers


Ben


#171 big-jay

big-jay

    Super Mini Mad

  • Members
  • PipPipPipPipPipPip
  • 518 posts
  • Location: Birmingham
  • Local Club: British Mini Club

Posted 06 July 2014 - 10:58 PM

good effort with the skins mate.
 
Just noticed you welded on your scuttle without putting the hinge brackets back first. Hope it won't cause you a problem?
 
Cheers
 
Ben


Cheers Ben,

Going to weld the hinge brackets back on to the bulkhead from inside the car, so it shouldn't be a problem.

#172 Ben_O

Ben_O

    Mill Road Garage

  • Paint Doctor
  • PipPipPipPipPipPipPipPipPipPip
  • 9,794 posts
  • Location: Isle of Wight

Posted 06 July 2014 - 11:34 PM

ah, nice one


#173 HarrysMini

HarrysMini

    I do not have short legs!!!

  • Members
  • PipPipPipPipPipPipPipPipPip
  • 3,352 posts
  • Location: .

Posted 07 July 2014 - 03:52 PM

Really like this project thread. I'm not usually a fan of red engines, but yours looks great.

Best of luck with this, can't wait to see it finished.

#174 big-jay

big-jay

    Super Mini Mad

  • Members
  • PipPipPipPipPipPip
  • 518 posts
  • Location: Birmingham
  • Local Club: British Mini Club

Posted 07 July 2014 - 04:17 PM

Really like this project thread. I'm not usually a fan of red engines, but yours looks great.
Best of luck with this, can't wait to see it finished.


Cheers bud,

Shouldn't be too long now !

#175 big-jay

big-jay

    Super Mini Mad

  • Members
  • PipPipPipPipPipPip
  • 518 posts
  • Location: Birmingham
  • Local Club: British Mini Club

Posted 07 July 2014 - 04:34 PM

Update,

I've been grinding down the welds around the scuttle today, it's came out really well. Here's a few pictures of progress.

Ground down with a 60 grit soft pad on the grinder, and then I went over the lot with the power file using a 120 grit belt to smooth it all down -

56b788fea3719dfd77d7be7ad20f603d_zpse82a

966ace68ccc08e56e1eb5e6f27a06eff_zps4426

Then I shaped the flanges properly using the power file, sanded the scuttle closers and the edges down and applied some zinc primer -

6b17a207c719afc28fc90c43ae7ae7a9_zps869f

fc5d982faee355a1cc0e4a1f6ffa46f4_zpsf6e8

cd6893ec94374ebfc44f59667d249ecf_zps258b

a3a36a4c4672533e759fc4bb56e9bb7c_zpsa457

I'm also in the process of removing all of the paint from the bulkhead. I'm up to the bulkhead crossmember now, so I'm going to finish that off tomorrow. Will treat any surface rust with Deox Gel and then zinc prime the lot, seal it up, and then apply some regular primer.

Will be picking up the last of the panels I need from Minispares tomorrow, seeing as it's an event so will be getting some discount !

Another few weeks and she'll be off for some paint (hopefully) :-)

#176 rally515

rally515

    Up Into Fourth

  • Members
  • PipPipPipPipPipPipPipPipPip
  • 3,848 posts
  • Location: ask!

Posted 07 July 2014 - 07:18 PM

It's just occured to me that you've been doing this outside!, Upmost respect for that man, nothing worse than getting all your tools in & out all the time to do stuff on the cars.


Cheers,

Cliff


#177 big-jay

big-jay

    Super Mini Mad

  • Members
  • PipPipPipPipPipPip
  • 518 posts
  • Location: Birmingham
  • Local Club: British Mini Club

Posted 07 July 2014 - 07:32 PM

It's just occured to me that you've been doing this outside!, Upmost respect for that man, nothing worse than getting all your tools in & out all the time to do stuff on the cars.
 
Cheers,
Cliff


Cheers mate,

Can be a nightmare putting all the tools away after, especially the welder. Weather can cause a few problems aswell, but you have to just battle through it. If I stop everytime it rains I'll never get it finished :lol:

#178 rally515

rally515

    Up Into Fourth

  • Members
  • PipPipPipPipPipPipPipPipPip
  • 3,848 posts
  • Location: ask!

Posted 07 July 2014 - 07:38 PM


It's just occured to me that you've been doing this outside!, Upmost respect for that man, nothing worse than getting all your tools in & out all the time to do stuff on the cars.
 
Cheers,
Cliff


Cheers mate,

Can be a nightmare putting all the tools away after, especially the welder. Weather can cause a few problems aswell, but you have to just battle through it. If I stop everytime it rains I'll never get it finished :lol:


Thats dedication for you right there! :)


Still, make sure you don't fry yourself with the welder in rain Jay, Electric and water tend to have a falling out and kinda KILL everyone around whom witnesses it :bah:


#179 Jared Mk3

Jared Mk3

    Has a small thing but it does make a difference

  • Members
  • PipPipPipPipPipPipPipPip
  • 1,974 posts
  • Location: Kokstad, South Africa
  • Local Club: MOCKZN

Posted 07 July 2014 - 07:40 PM

Very neat work, going along nicely, keep it up.


#180 big-jay

big-jay

    Super Mini Mad

  • Members
  • PipPipPipPipPipPip
  • 518 posts
  • Location: Birmingham
  • Local Club: British Mini Club

Posted 07 July 2014 - 07:45 PM

Very neat work, going along nicely, keep it up.


Thanks buddy


Also tagged with one or more of these keywords: roundnose

1 user(s) are reading this topic

0 members, 1 guests, 0 anonymous users