Jump to content


Photo
- - - - -

1971 Rally Mini


  • Please log in to reply
329 replies to this topic

#76 rally1380

rally1380

    Camshaft & Stage Two Head

  • Members
  • PipPipPipPipPipPipPipPip
  • 1,893 posts
  • Location: Cheshire

Posted 25 January 2014 - 08:33 PM

You have inspired me on how to sort out my reverse lights !! Good meeting you today ;) i might volunteer as a marshall at the TOC so should bump into each other soon.Going to make an effort tomorrow to fabricate my dashboard and sort out routing Fuel,Brake and Battery lines through the car.


No worries and nice to meet you too.  If you have any questions (doesn't matter how daft they may seem) just give me a shout....i've probably made the mistake already so will probably save you time making the same mistakes!!!  Hope you both found the HRCR day useful and it didn't put either of you off as it can be quite complicated at first glance.  Try and get at Beeston if you are marshalling....failing that, go there and watch.  Good luck with the ongoing build....you'll have it going before you know.


#77 RODZMINI71

RODZMINI71

    Mini Mad

  • Members
  • PipPipPipPip
  • 260 posts
  • Location: ST ASAPH

Posted 26 January 2014 - 08:51 PM

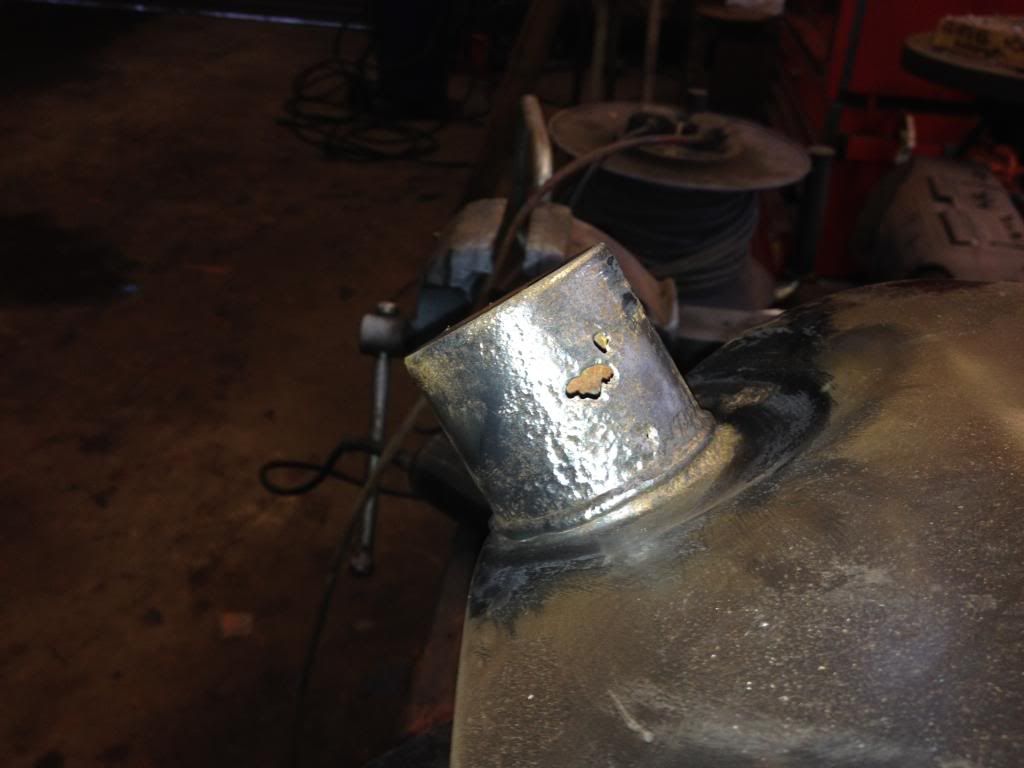
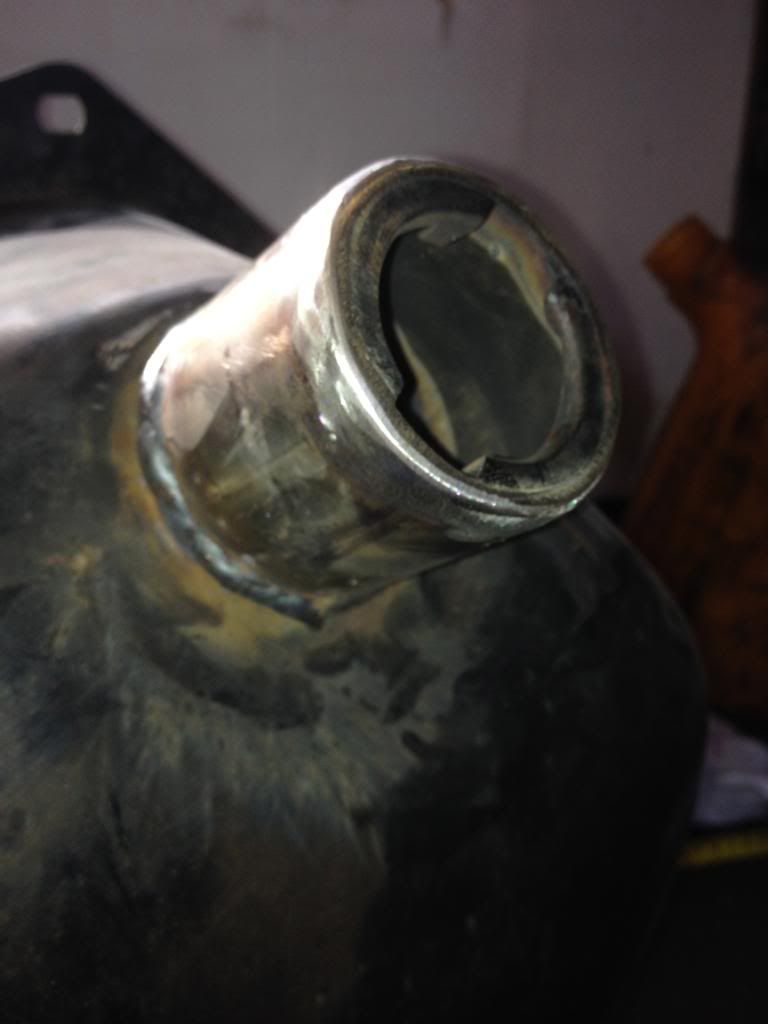
After a very informative day at the HRCR Rally School i thought id better tackle the fuel tank today as id noticed a little rust at the filler neck and wanted to weld a new fuel outlet to the bottom of the tank.

Once id cleaned the filler neck up i quickly relised it was going to be a bigger job than i first though.

IMG_1303_zpsbfed7866.jpg


I needed a new filler neck  :goaway:

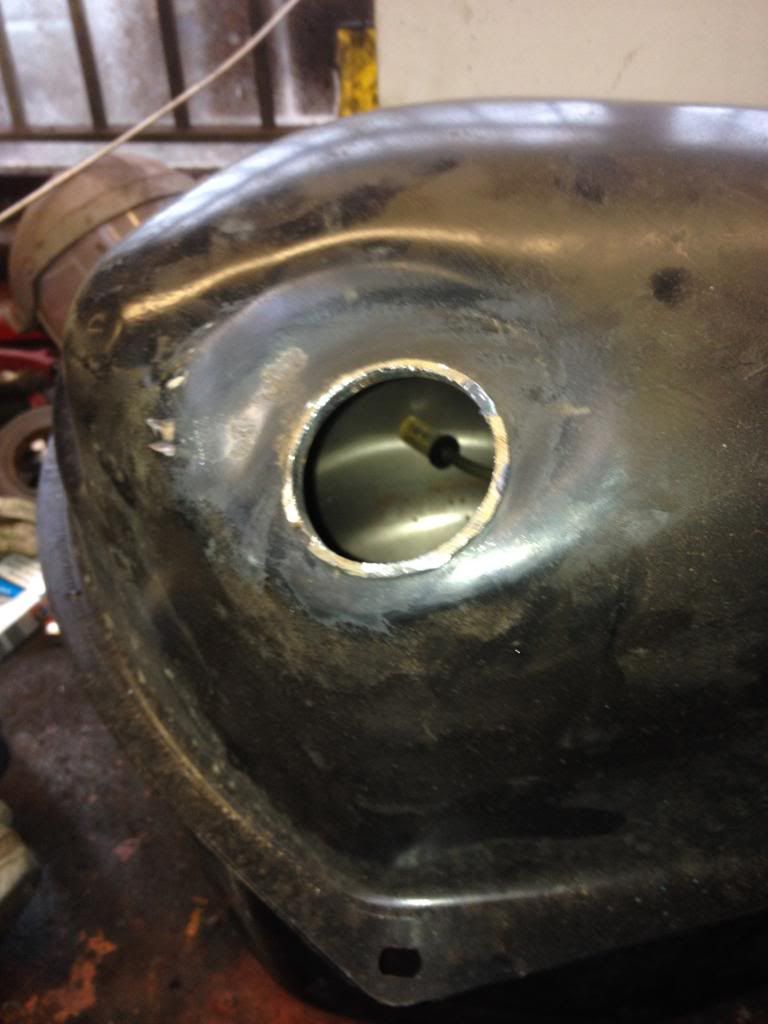
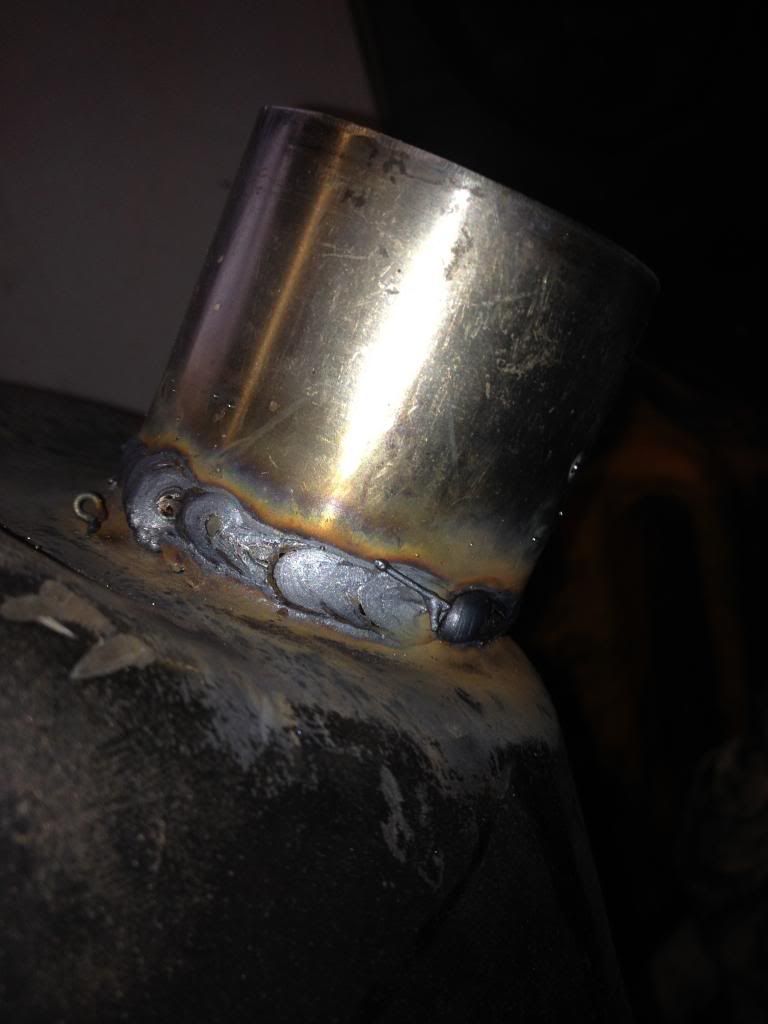
After half an hour of rooting through the scrap pile outside (Stuff too good to weigh in) i found a lovely pice of Stainless Steel Tube that would sort out my little problem.

IMG_1304_zpsd6e2be12.jpg

IMG_1307_zps9c908e12.jpg


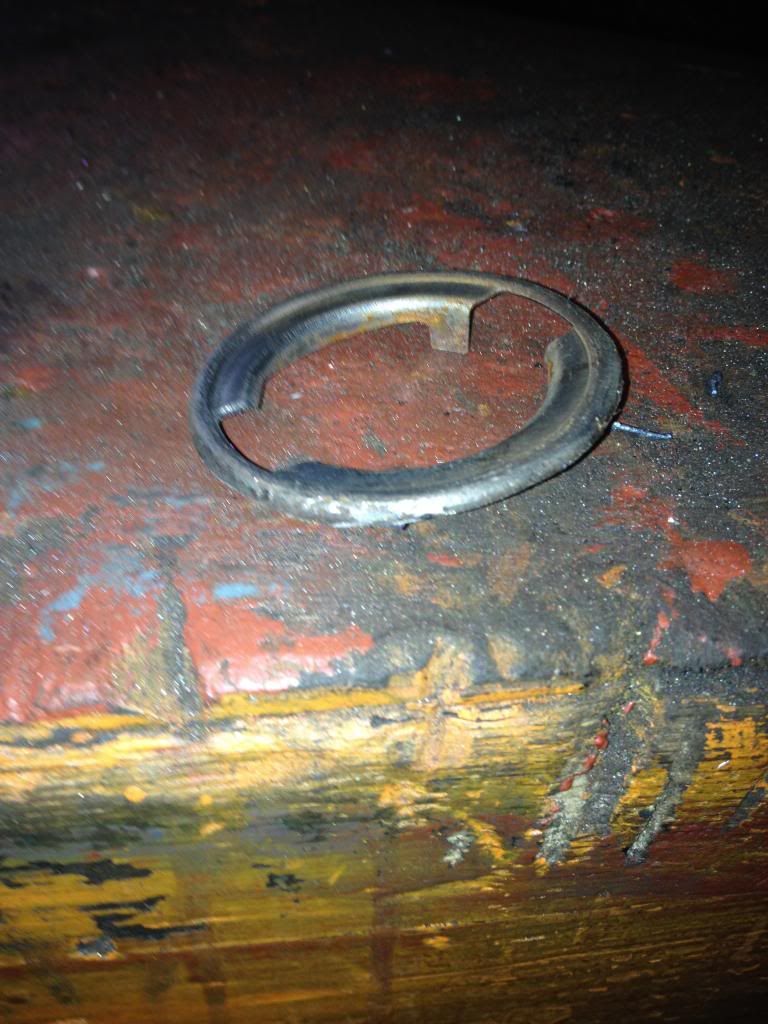
Once id welded the new neck  on i set about cutting the old locking flange off the old filler neck and weld it on to the new one.


IMG_1308_zps6bb30d08.jpg


IMG_1310_zps45cd374f.jpg


I'm pretty happy with how it turned out as i had not planned on having to do it.  ;D


Edited by RODZMINI71, 26 January 2014 - 08:55 PM.


#78 RODZMINI71

RODZMINI71

    Mini Mad

  • Members
  • PipPipPipPip
  • 260 posts
  • Location: ST ASAPH

Posted 27 January 2014 - 09:27 AM

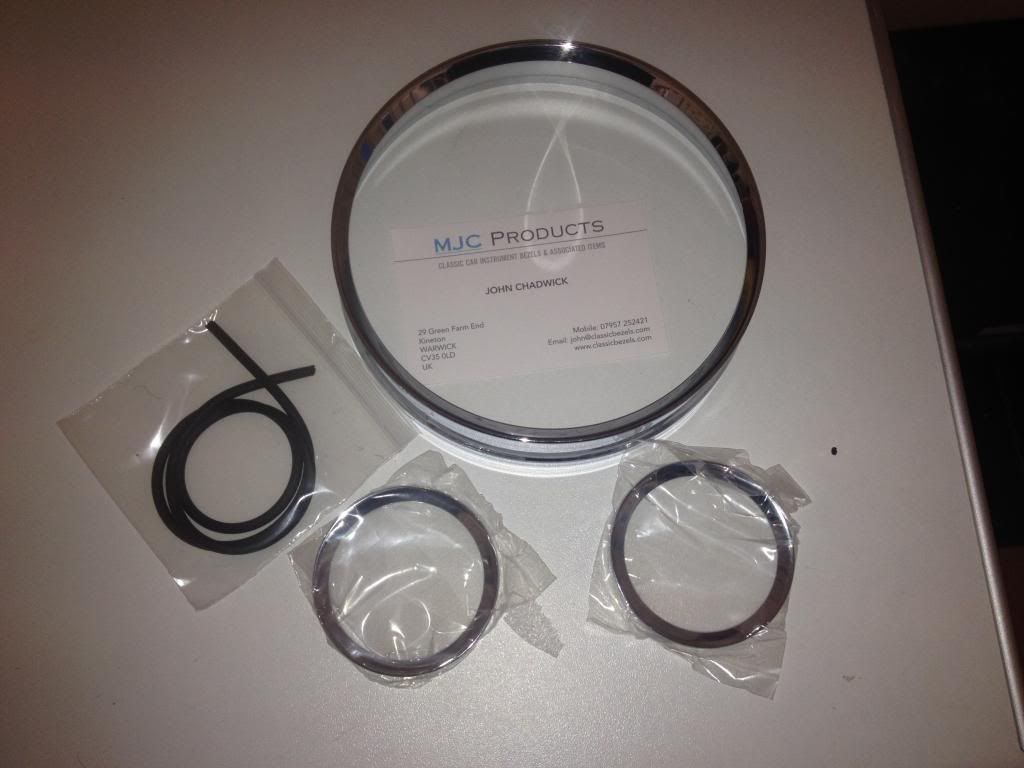
Look at what was waiting for me at work this morning !  :D


RANDOMS27-01-14030_zpsae1be8b7.jpg


They look Great ! 


#79 RODZMINI71

RODZMINI71

    Mini Mad

  • Members
  • PipPipPipPip
  • 260 posts
  • Location: ST ASAPH

Posted 09 February 2014 - 10:24 AM

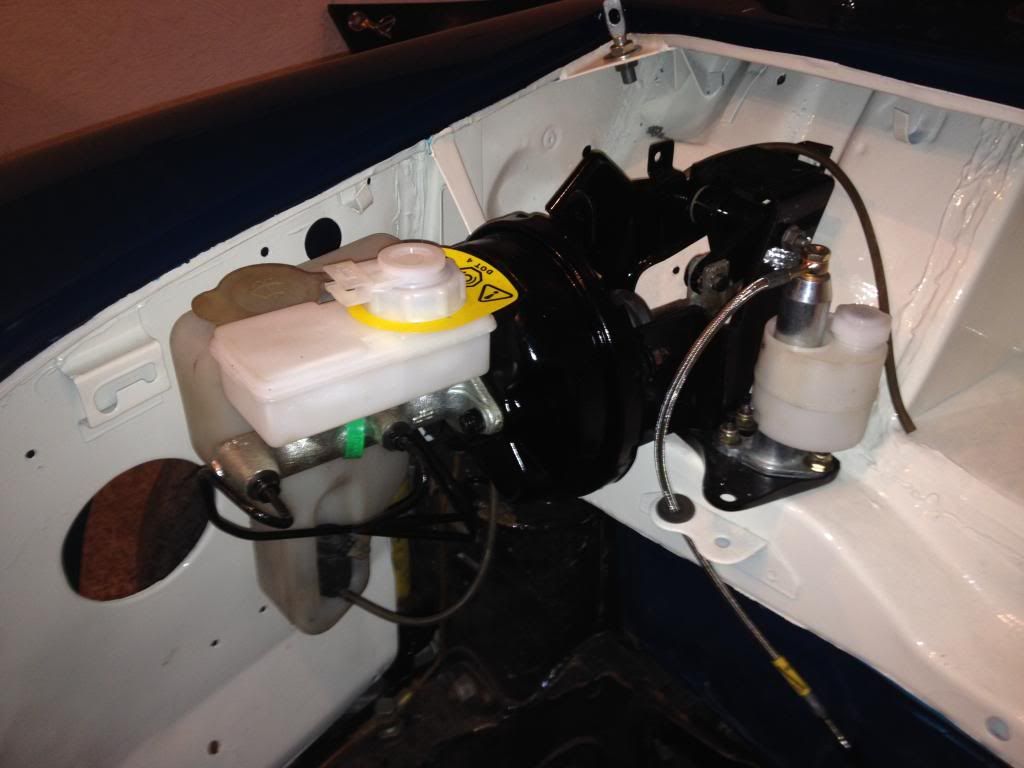
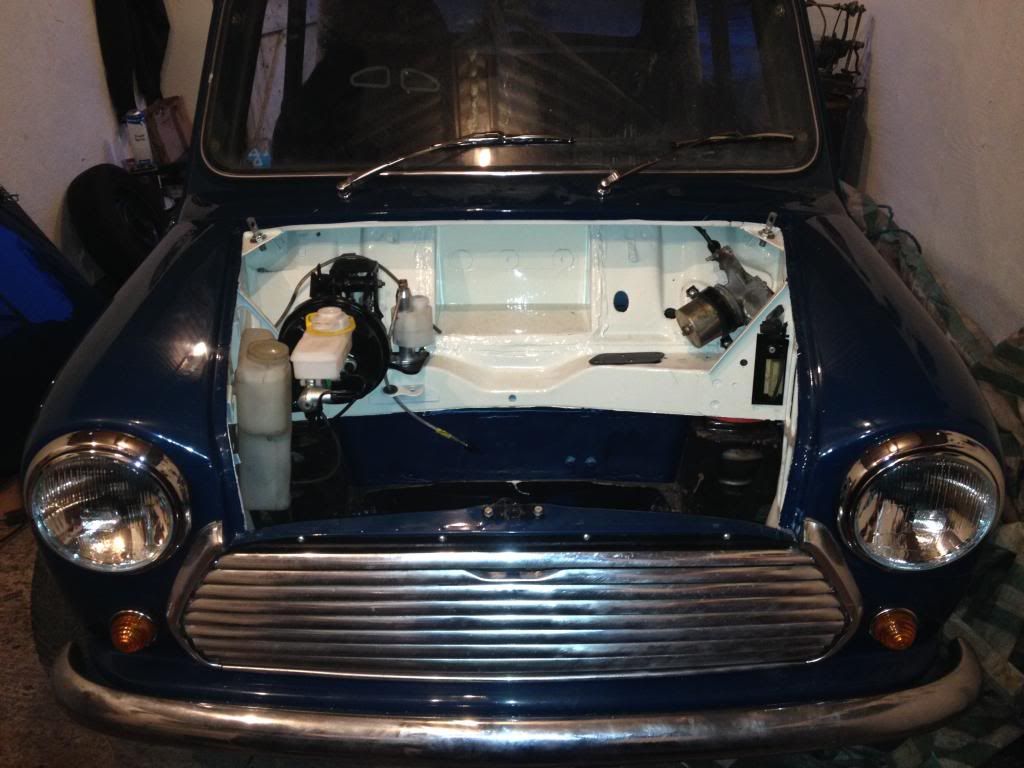
The mini is taking shape ! Unable to do anything to the car today as i have woken up with Man Flu ;( So as I'm parked up i thought i might update my thread. Hope you like ;)


IMG_1332_zps4933ebf4.jpg


IMG_1330_zps5b5f23ef.jpg


#80 RODZMINI71

RODZMINI71

    Mini Mad

  • Members
  • PipPipPipPip
  • 260 posts
  • Location: ST ASAPH

Posted 09 February 2014 - 11:29 AM

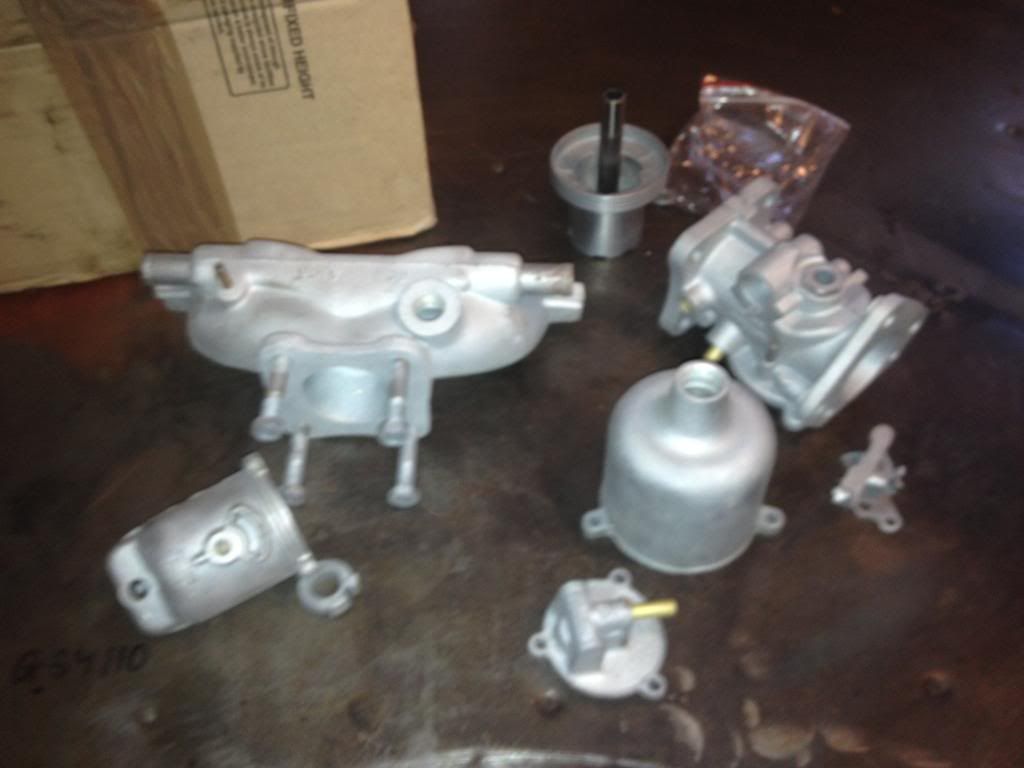
I sent one of my HS6 Carbs to be soda blasted along with the manifold. Very happy with the result ;) 


Still not sure which carb to fit tho ??????? I'm getting mixed views on fitting my 45 Weber. Iv been told they can be a little sluggish on pick up and the SU would work better on a rally Car. Is it the webber or had it been badly set up i wonder ????


IMG_1338_zpsfa9de28c.jpg


#81 RODZMINI71

RODZMINI71

    Mini Mad

  • Members
  • PipPipPipPip
  • 260 posts
  • Location: ST ASAPH

Posted 09 February 2014 - 11:44 AM

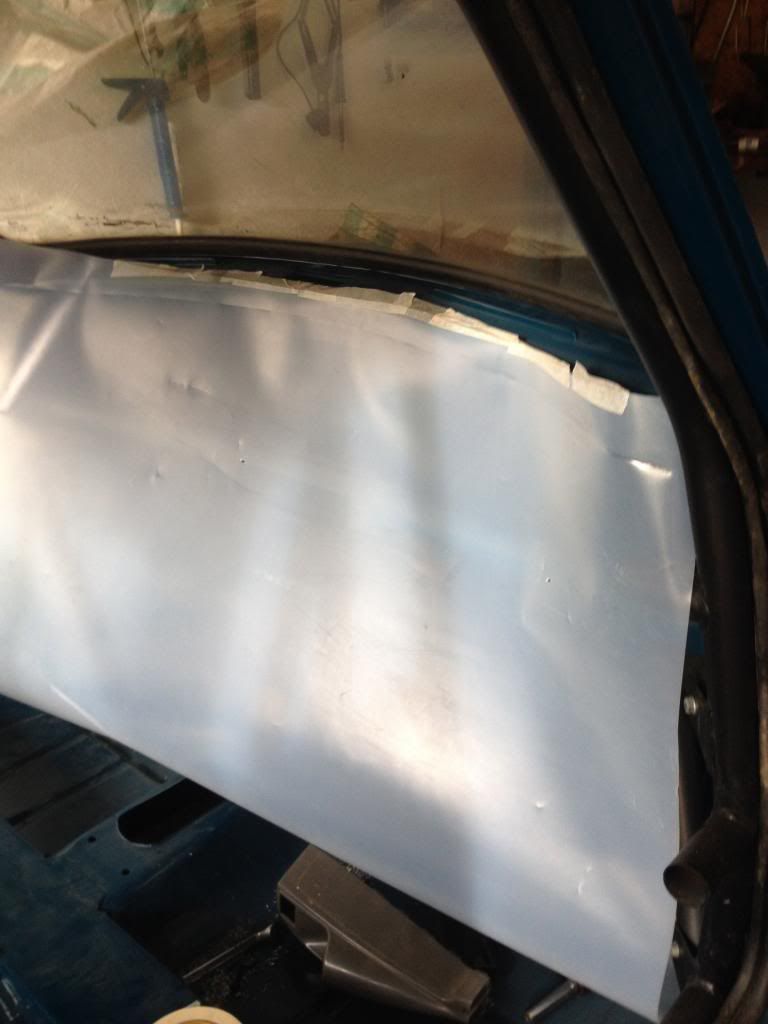
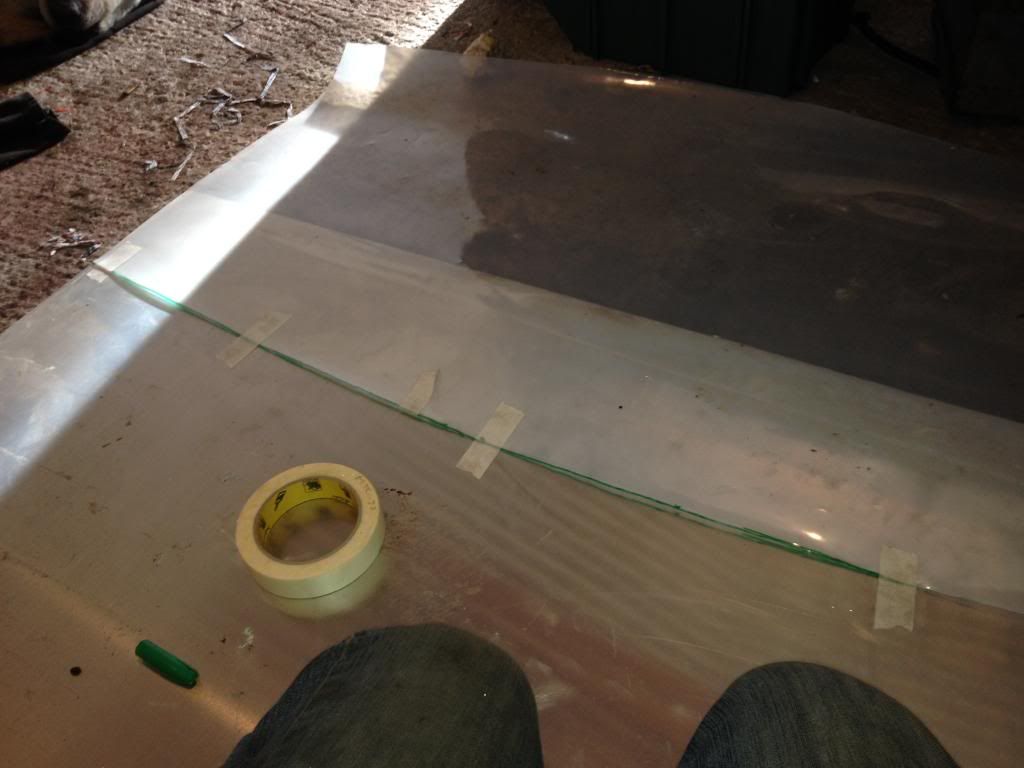
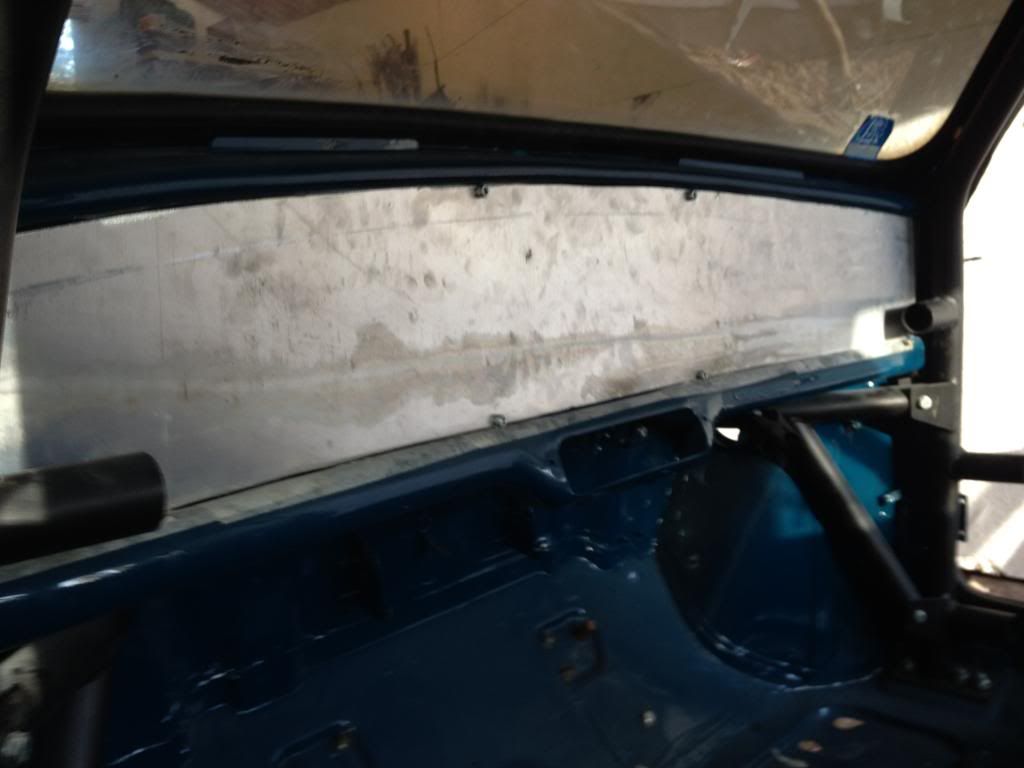
I had a go at fabricating my first Mini Dashboard. This one will only be a temporary joby as i would like to build something a little bit more elaborate but as i have not yet built a Sheet Folder this attempt will have to do for now. My father in law gave me some thin clear plastic which made making the template much easier .

IMG_1316_zps8fbffd19.jpg

IMG_1317_zpse9e05fae.jpg

IMG_1318_zps017bb013.jpg


My plans on fitting The Large Speedo Clock has been put on hold until i get round to building the final dash board as there is very little room behind this one thanks to the Weber Air Box.


Really ! Really ! just want to get the car on the road now. Don't want to do every little Mod now or once built won't have an excuse to tinker in the garage ;)

IMG_1323_zps3c8f5ac7.jpg


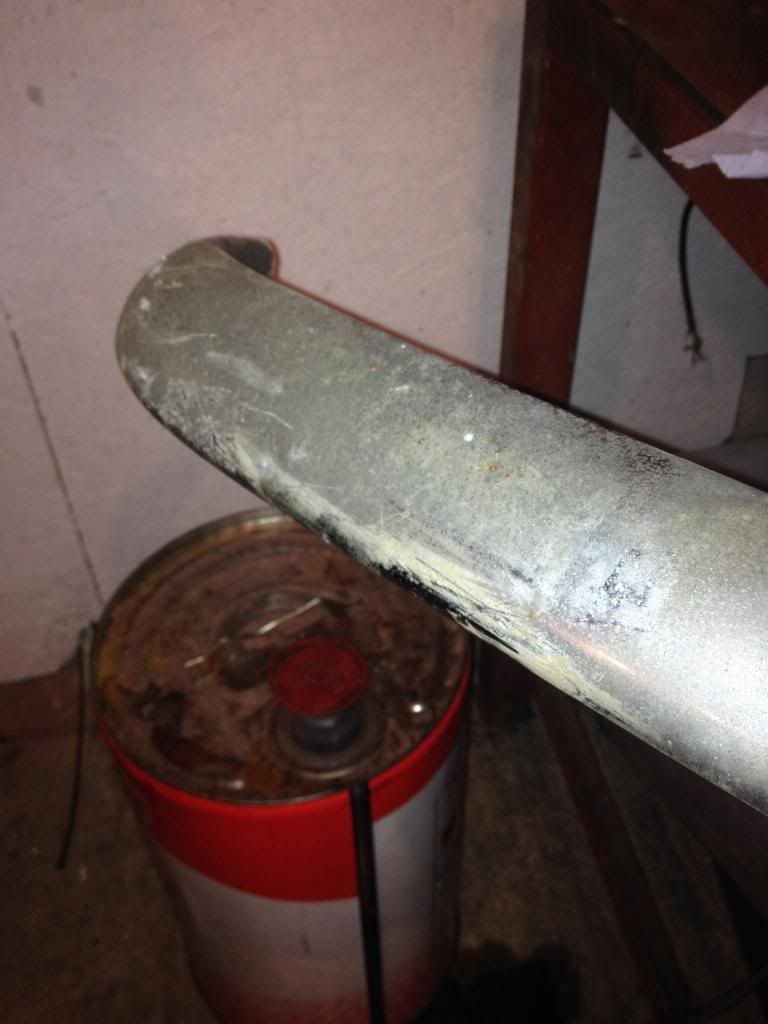
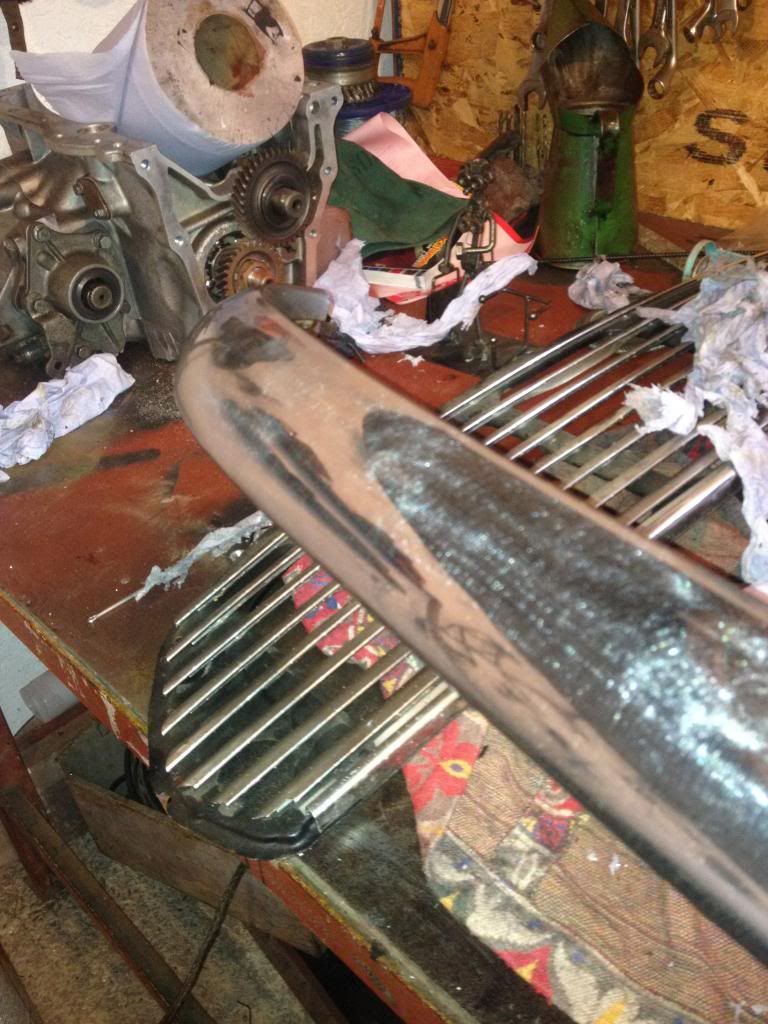
Thought i might have a go at polishing an old bumper i had to see if it would do once cleaned up a little.

IMG_1324_zps9330ac6f.jpg


Not too shabby !! Will defiantly do for this type of build.


#82 RODZMINI71

RODZMINI71

    Mini Mad

  • Members
  • PipPipPipPip
  • 260 posts
  • Location: ST ASAPH

Posted 09 February 2014 - 12:31 PM

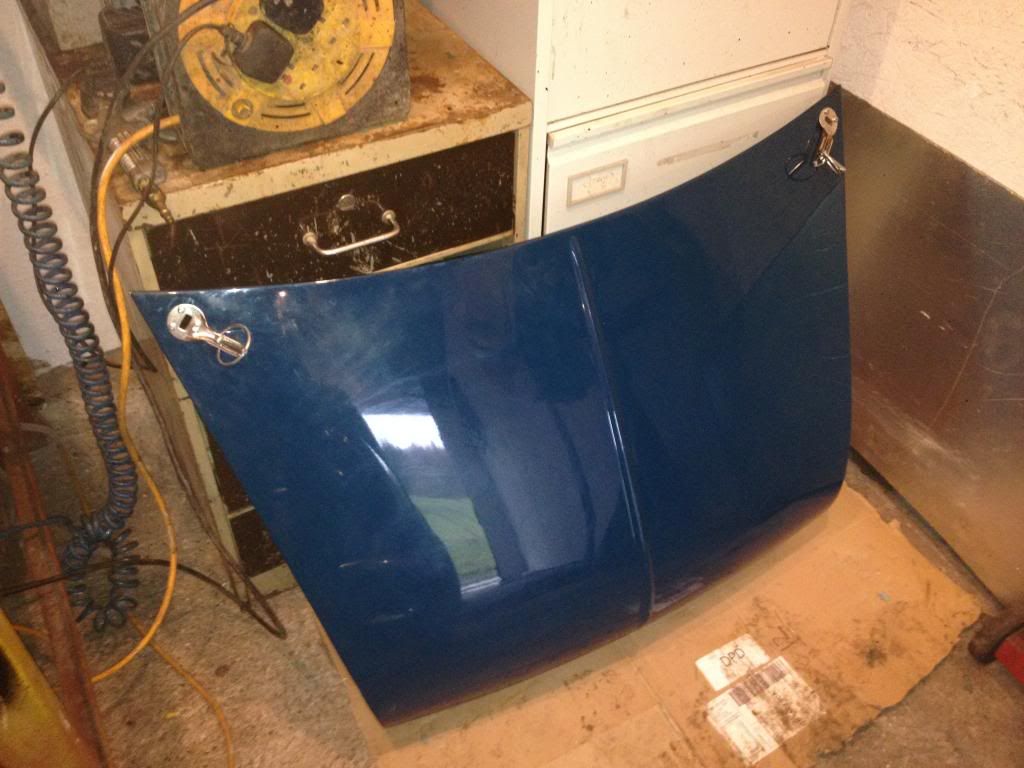
5 Minute job i thought fitting the Bonnet Pins !!  NOT  !!!   


I should of looked underneath before drilling Grrrrrrrrrrrrrrrr ;(


The final result looks Pretty Good tho 

IMG_1339_zps3017496c.jpg


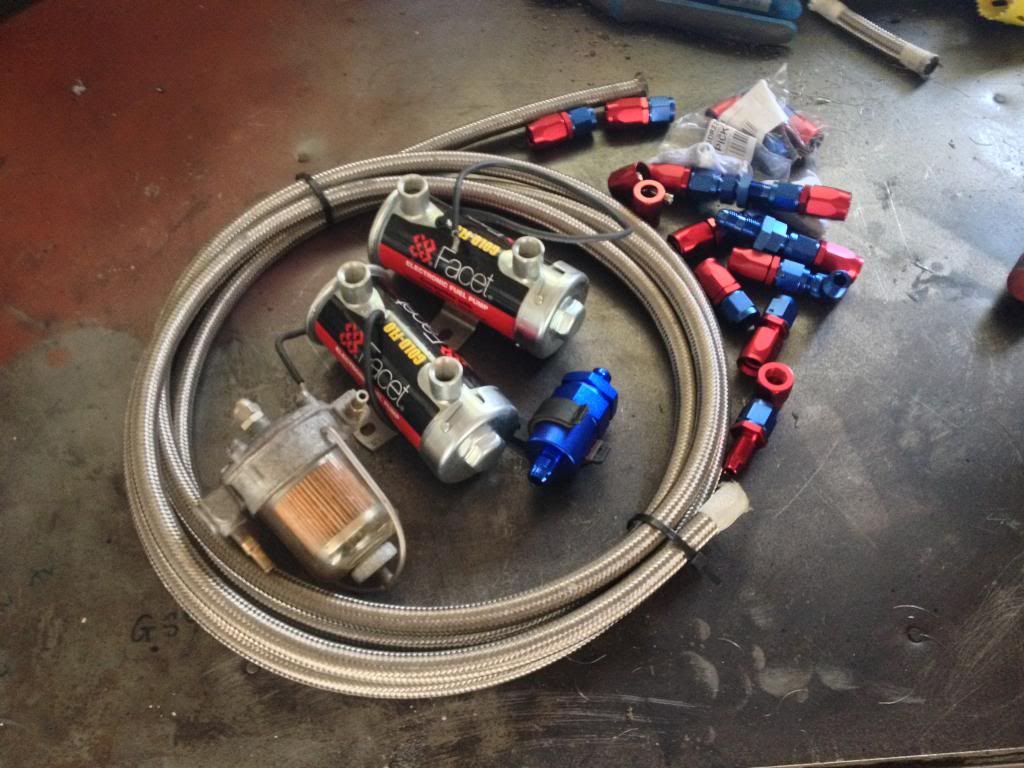
Once This Man Flu Clears the next job is to fit This Lot to the Sub Frame (Not the F/P Regulator) 

IMG_1346_zps0fc0691d.jpg


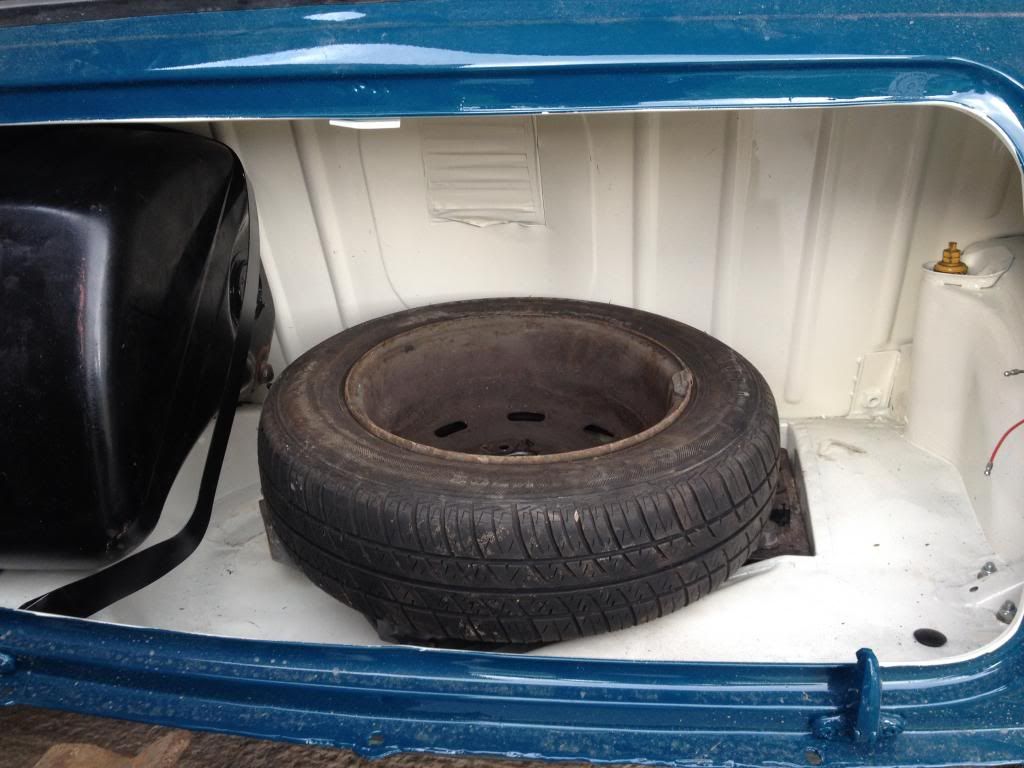
I was trying to avoid fitting the pumps to the Sub Frame but there doesn't seem to be anywhere els suitable as i need boot space for a spare tyre and tools, maybe even two spare tyres !!


#83 danny1

danny1

    In the navy you can sail 7 peas

  • Members
  • PipPipPipPipPipPipPip
  • 1,321 posts
  • Local Club: bumpstart

Posted 09 February 2014 - 01:06 PM

What about putting the spare wheels inside the car it's self on the rear fire wall?

#84 RODZMINI71

RODZMINI71

    Mini Mad

  • Members
  • PipPipPipPip
  • 260 posts
  • Location: ST ASAPH

Posted 09 February 2014 - 01:15 PM

I had thought of that pal but with having fixed Bucket Seats and a Huge Big Diagonal Brace id struggle to Access the back let  alone fix a tyre there ;)


Keep thinking tho ! you might come up with something iv not yet thought of yet :)


#85 danny1

danny1

    In the navy you can sail 7 peas

  • Members
  • PipPipPipPipPipPipPip
  • 1,321 posts
  • Local Club: bumpstart

Posted 09 February 2014 - 01:24 PM

Unless you mounted them in the boot floor kept your tools in a secure tool bag in the spare wheel slot, and then fitted a boot board which could be fastened down with quick release R clips and then secured 2 spare wheels to that ?

#86 RODZMINI71

RODZMINI71

    Mini Mad

  • Members
  • PipPipPipPip
  • 260 posts
  • Location: ST ASAPH

Posted 09 February 2014 - 01:33 PM

Mmmmmmmmmmmmmm Interesting Idea ! But as the rear Bulkhead tapers back would there be enough depth to accommodate the spare wheel at a higher level ? 


Right I'm going to drag my poor strength less body to the garage to test your Idea as I'm very curious ;) 


#87 RODZMINI71

RODZMINI71

    Mini Mad

  • Members
  • PipPipPipPip
  • 260 posts
  • Location: ST ASAPH

Posted 09 February 2014 - 01:34 PM

But before i do !! whisky filled hot Toddy is needed ;)


#88 danny1

danny1

    In the navy you can sail 7 peas

  • Members
  • PipPipPipPipPipPipPip
  • 1,321 posts
  • Local Club: bumpstart

Posted 09 February 2014 - 01:35 PM

I'm not sure but it's an idea which might work, could be worth looking into

#89 RODZMINI71

RODZMINI71

    Mini Mad

  • Members
  • PipPipPipPip
  • 260 posts
  • Location: ST ASAPH

Posted 09 February 2014 - 02:17 PM

By Jo !  I think you might me on to something ;)


IMG_1347_zps393115d7.jpg


Plenty of room :) 


#90 RODZMINI71

RODZMINI71

    Mini Mad

  • Members
  • PipPipPipPip
  • 260 posts
  • Location: ST ASAPH

Posted 09 February 2014 - 02:22 PM

As long as i fit a inercia switch can't really see a problem.


1 user(s) are reading this topic

0 members, 1 guests, 0 anonymous users