Hi all,
Been a busy week, finished the driprail on the left side, and my new daily driver keeps breaking down so have to work on that too. Also received two care packages from minispares and smiffy's bits, with lots of suspension parts and stainless steel.
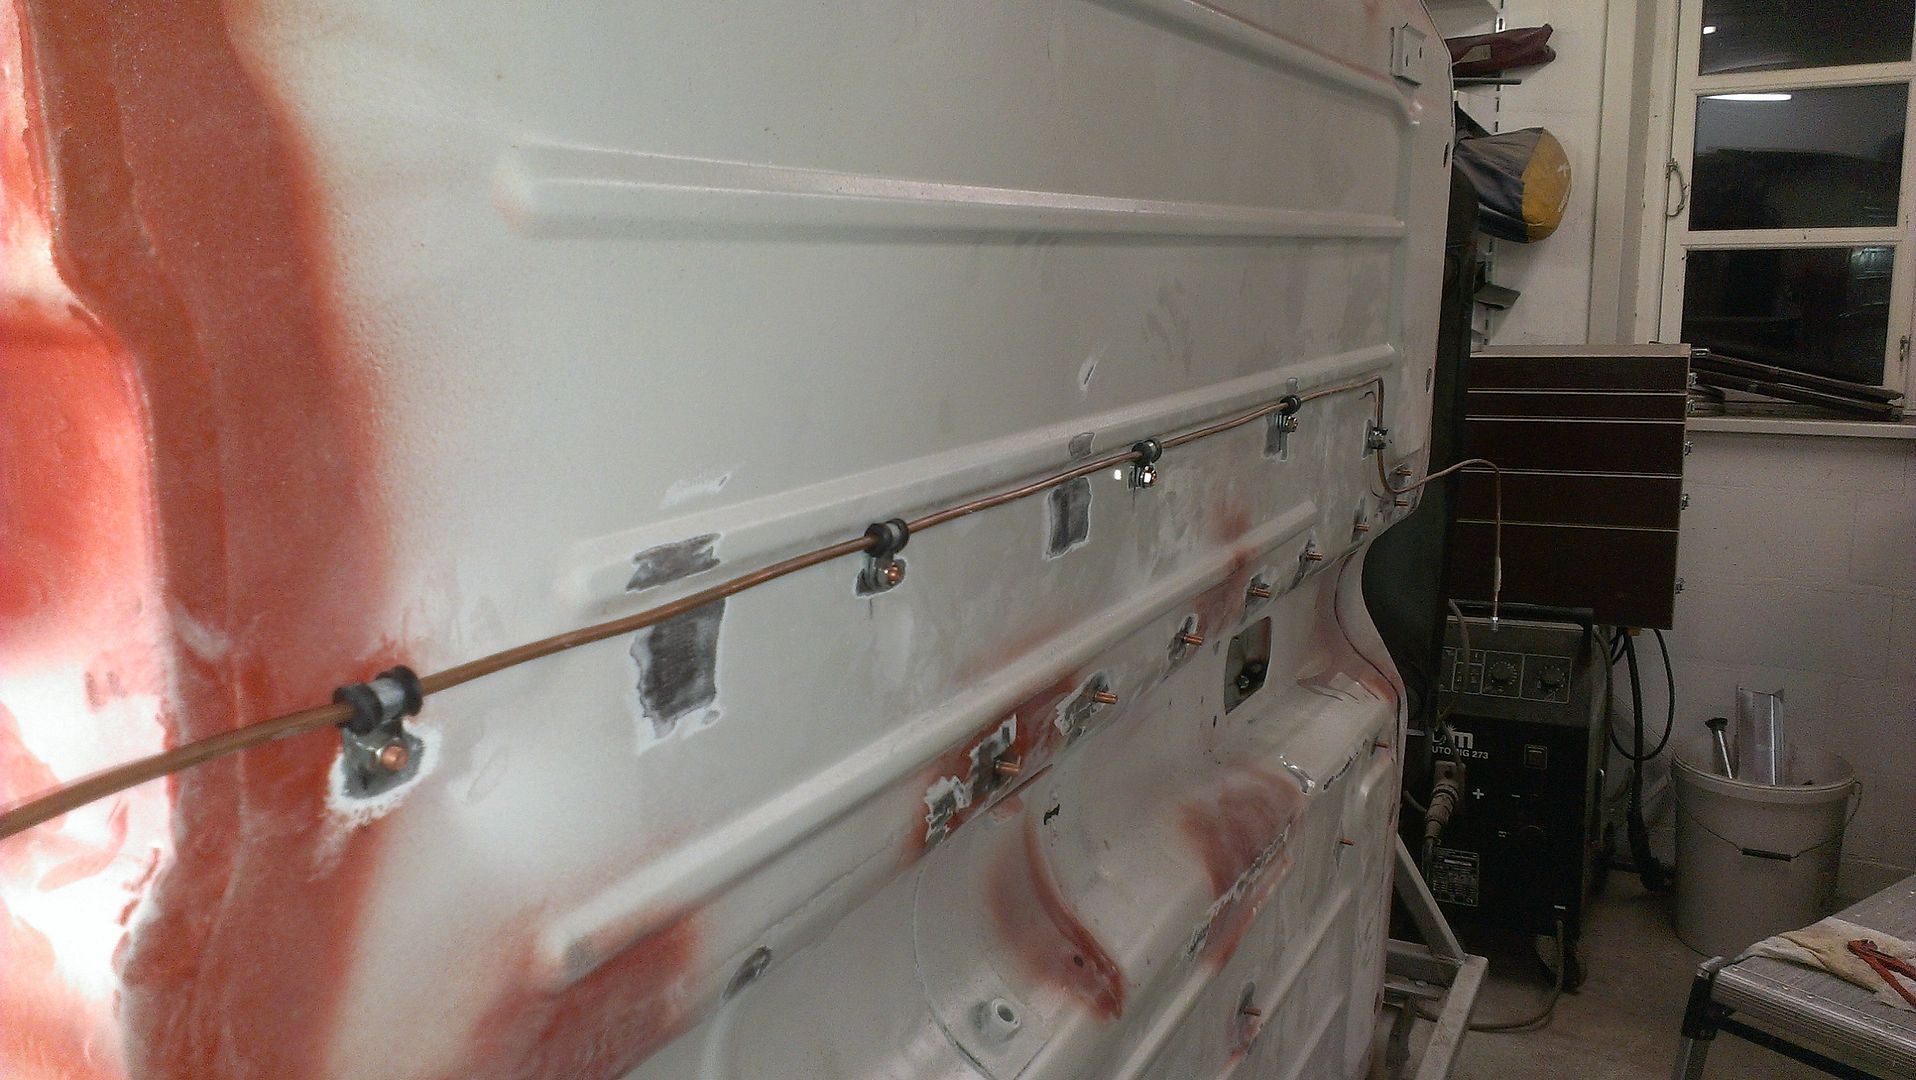
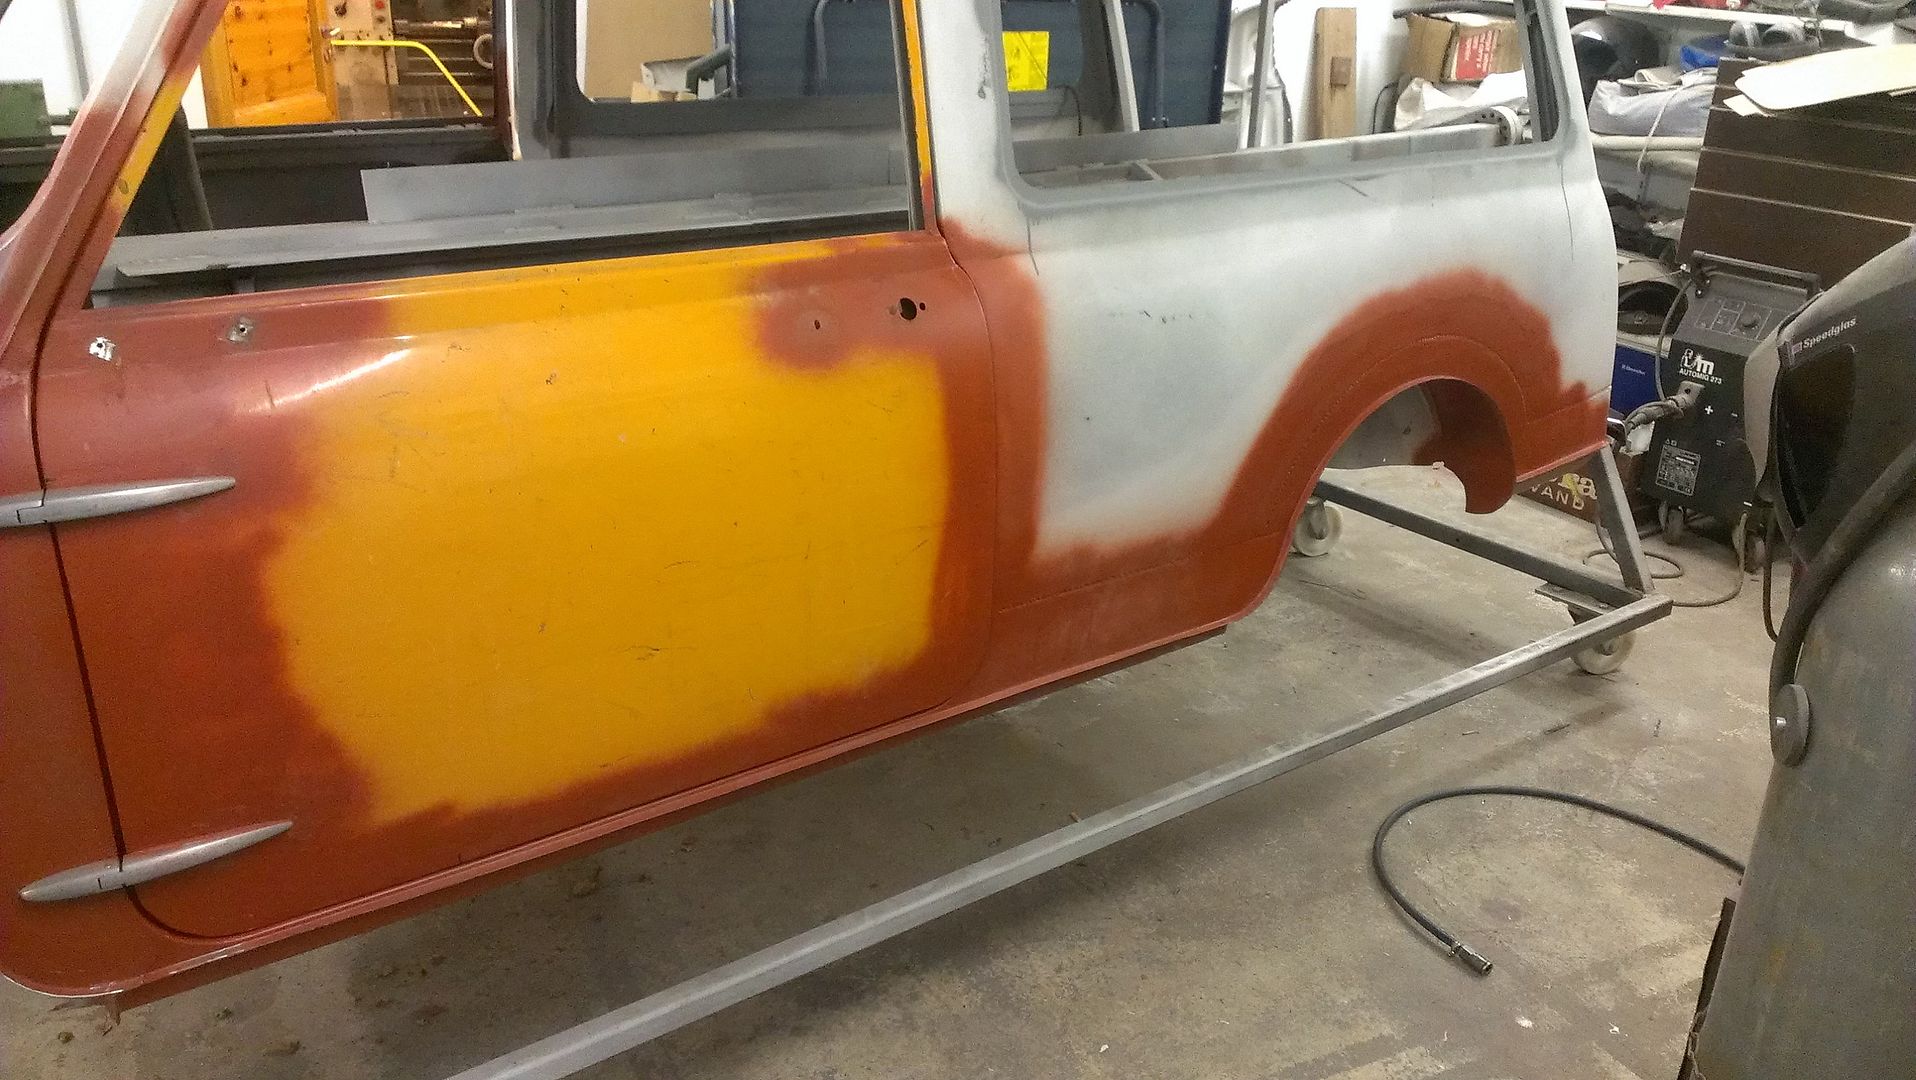
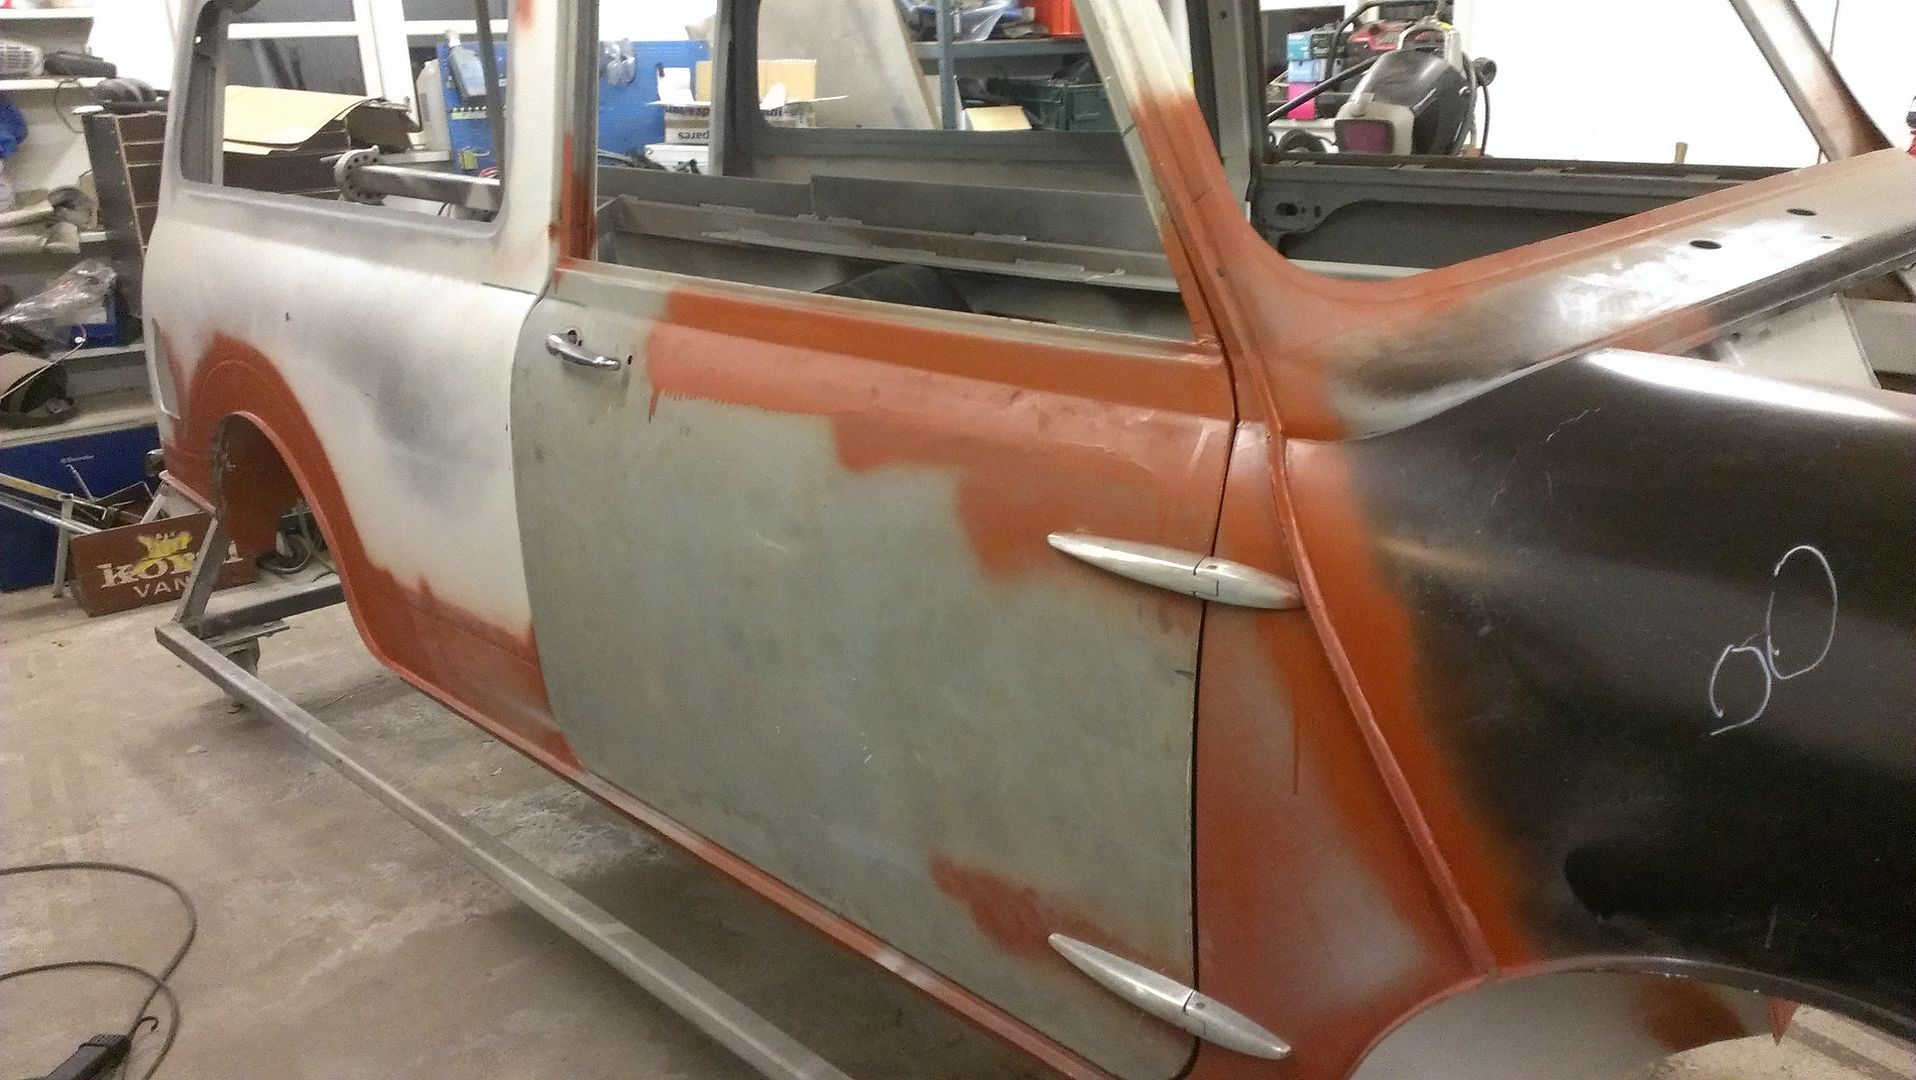
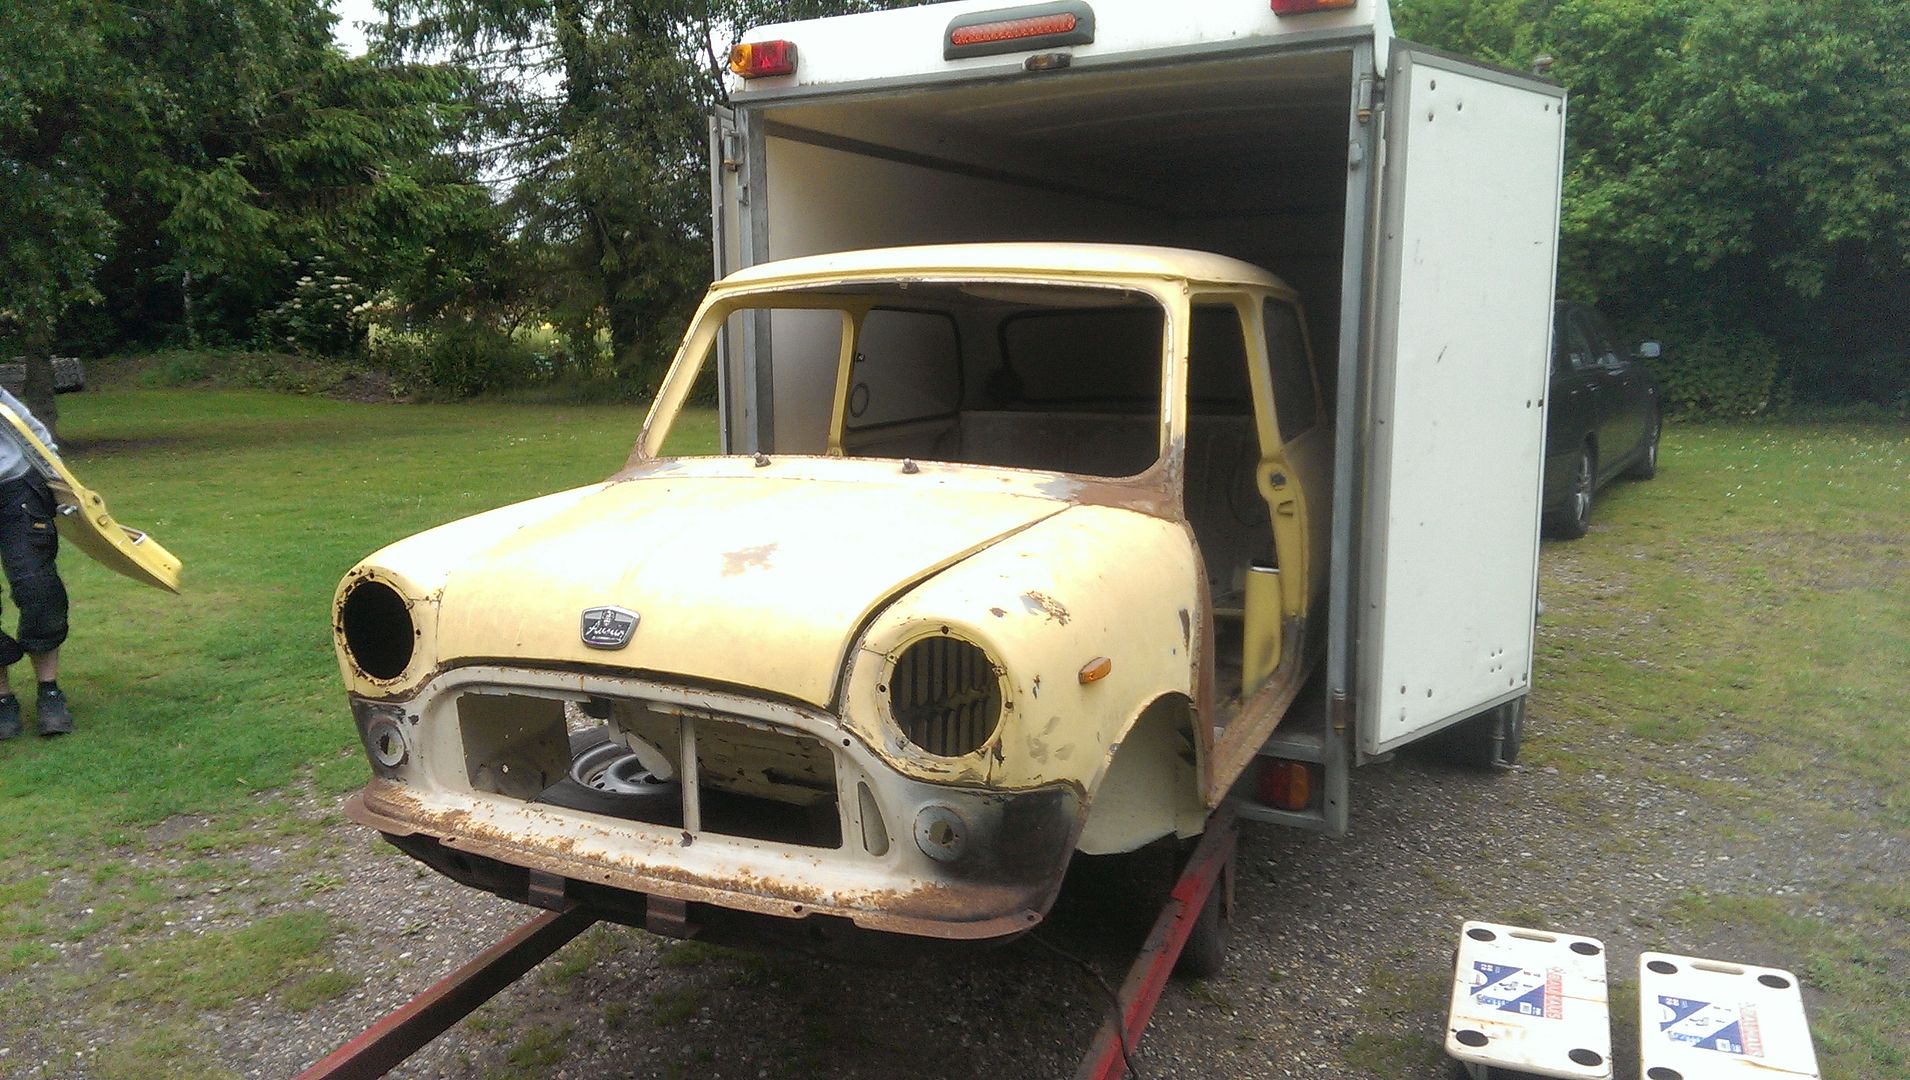
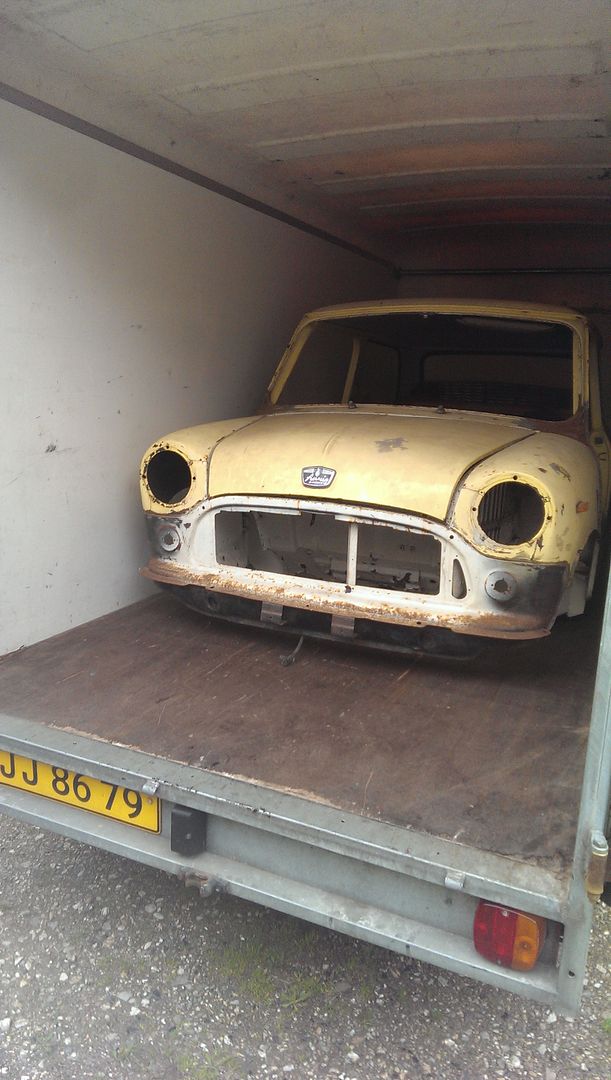
Today we started on something we've been talking about for years, a inside window frame to give some rigidity to the sides of the van. With the windows cut out and side support removed (probably done by importer, and not very well) the sides get very flexible and probably noisy too, but i dont now i have never driven this car  .
.
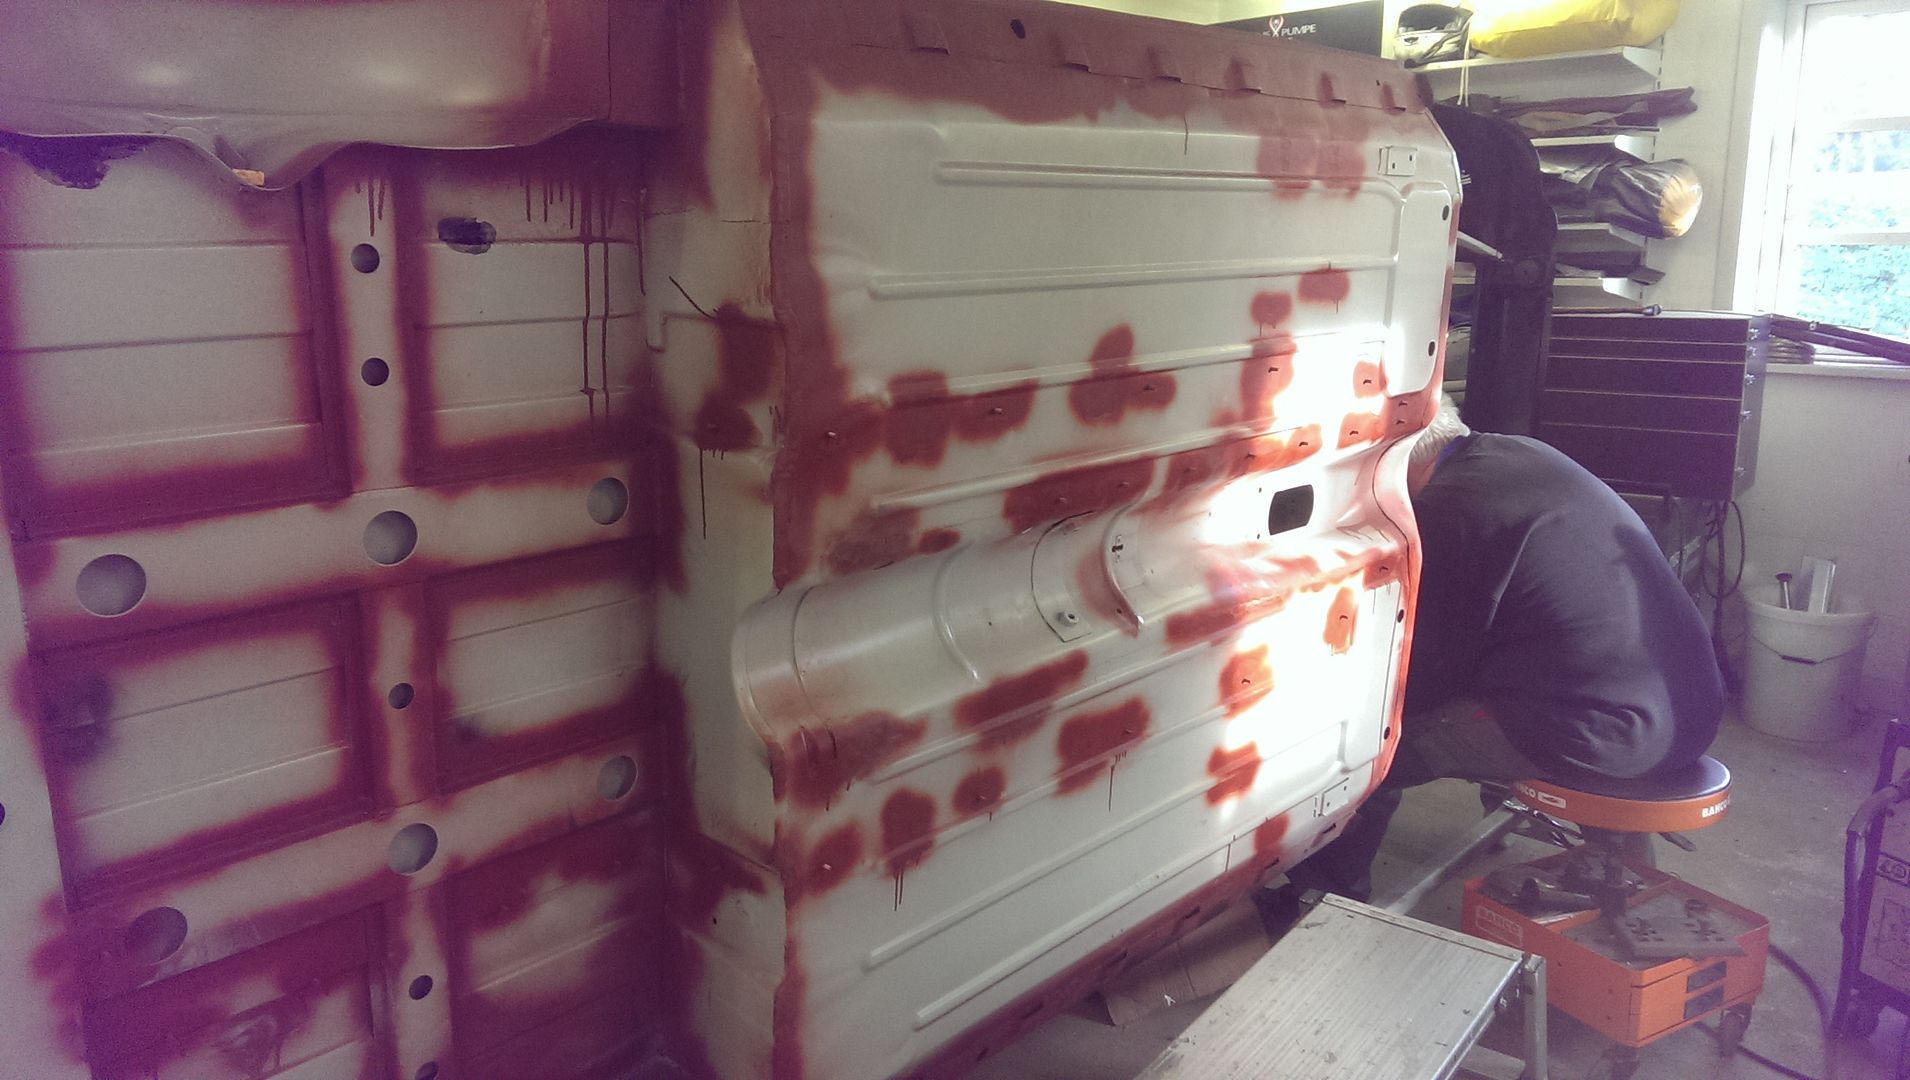
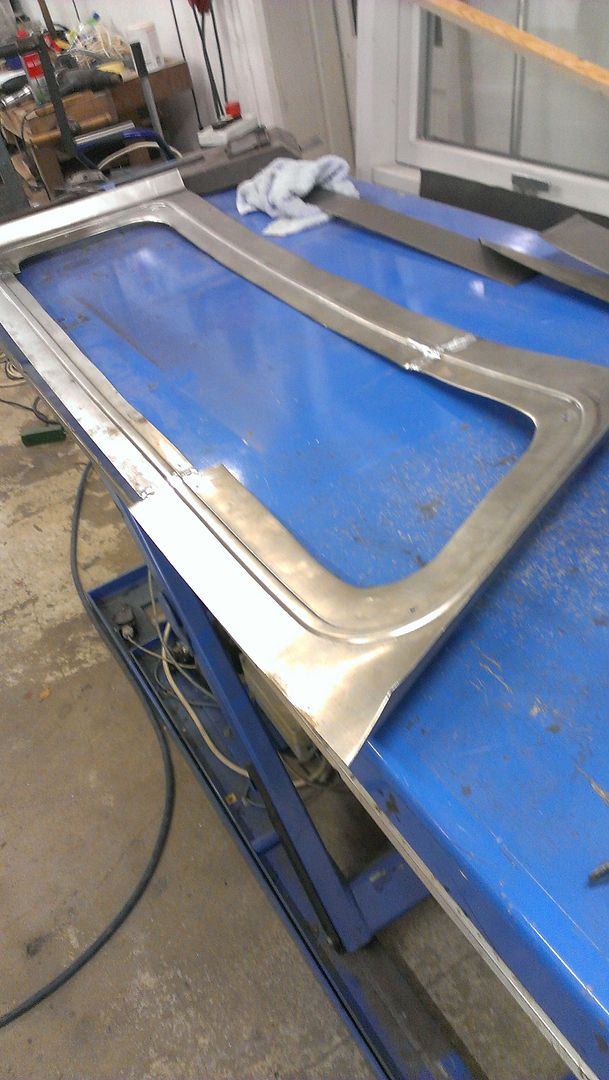
We've spend a lot of hours making small pieces and trying different techniques the past weeks and today we finally started. We wanted to make it in the swager but we dont have much experience with it and the result wasn't straight, but luckily i had cut two sheets before we started  .
.
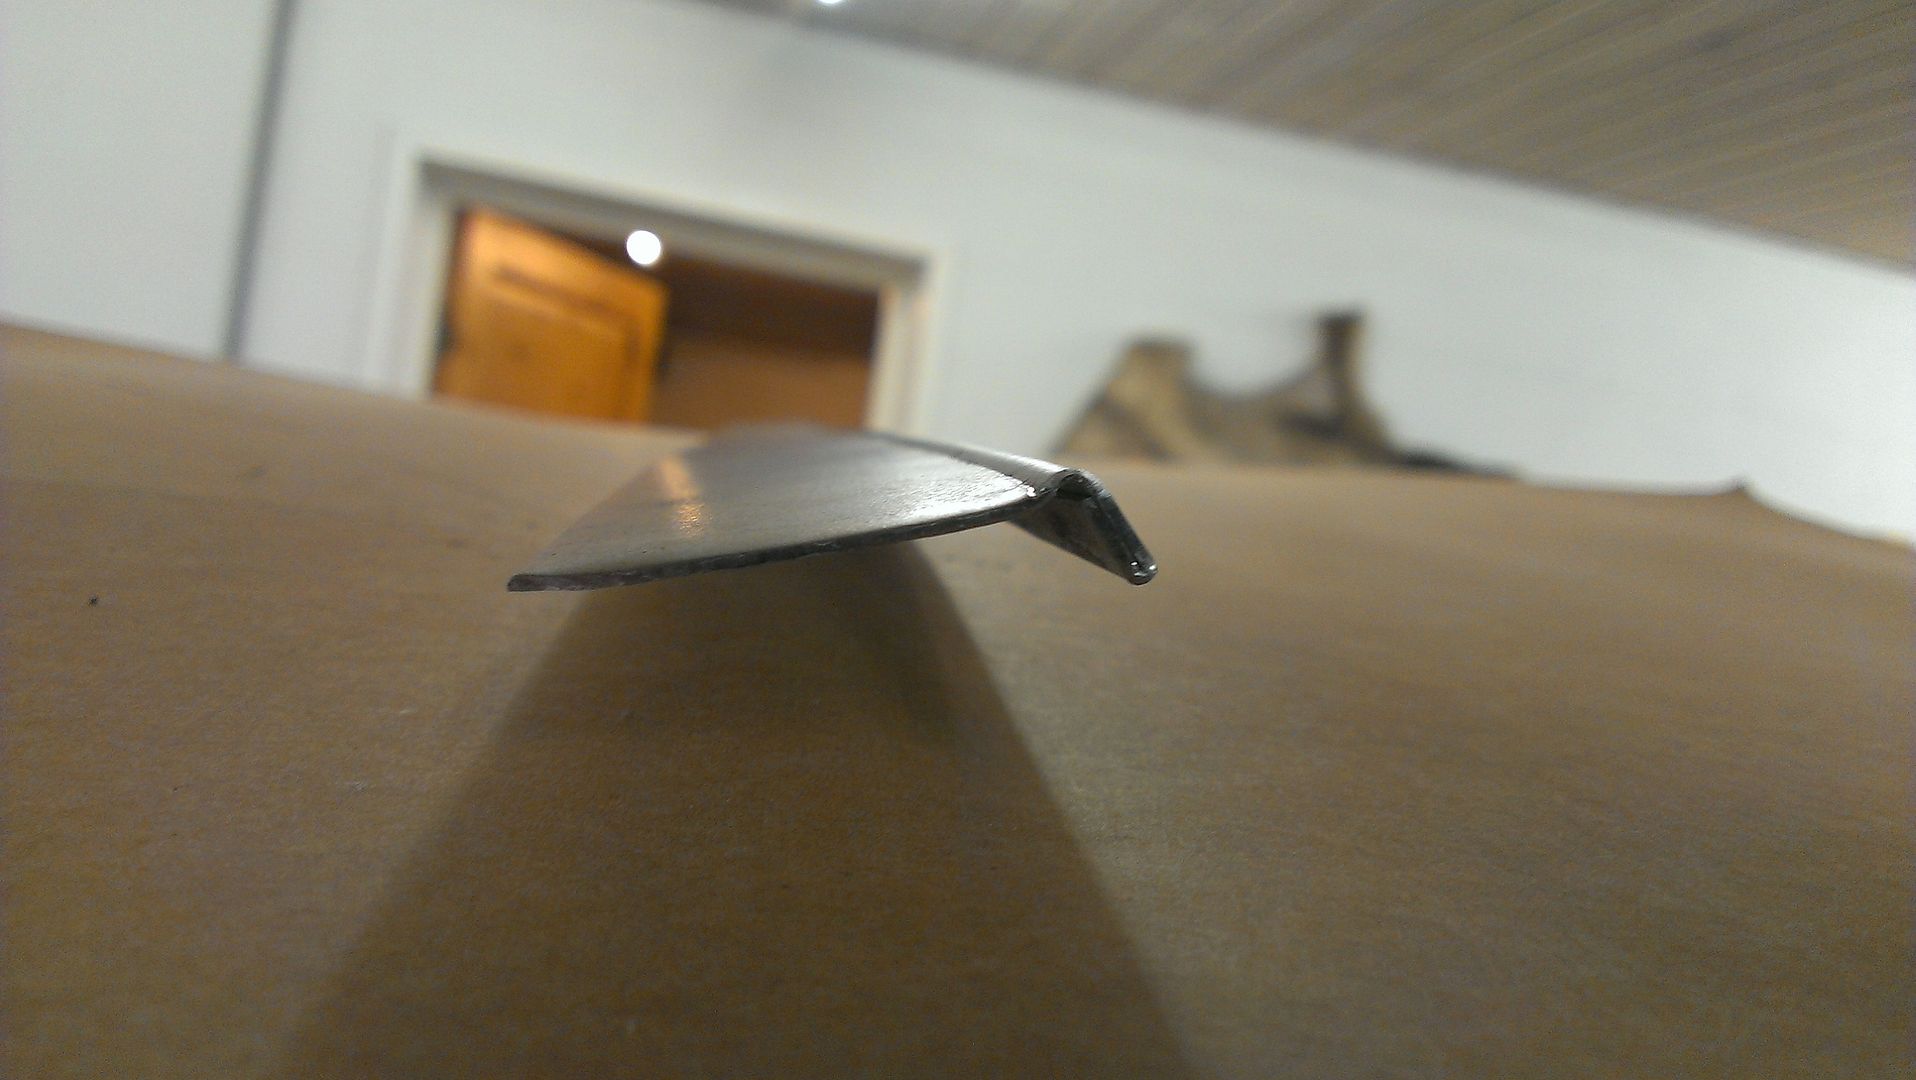
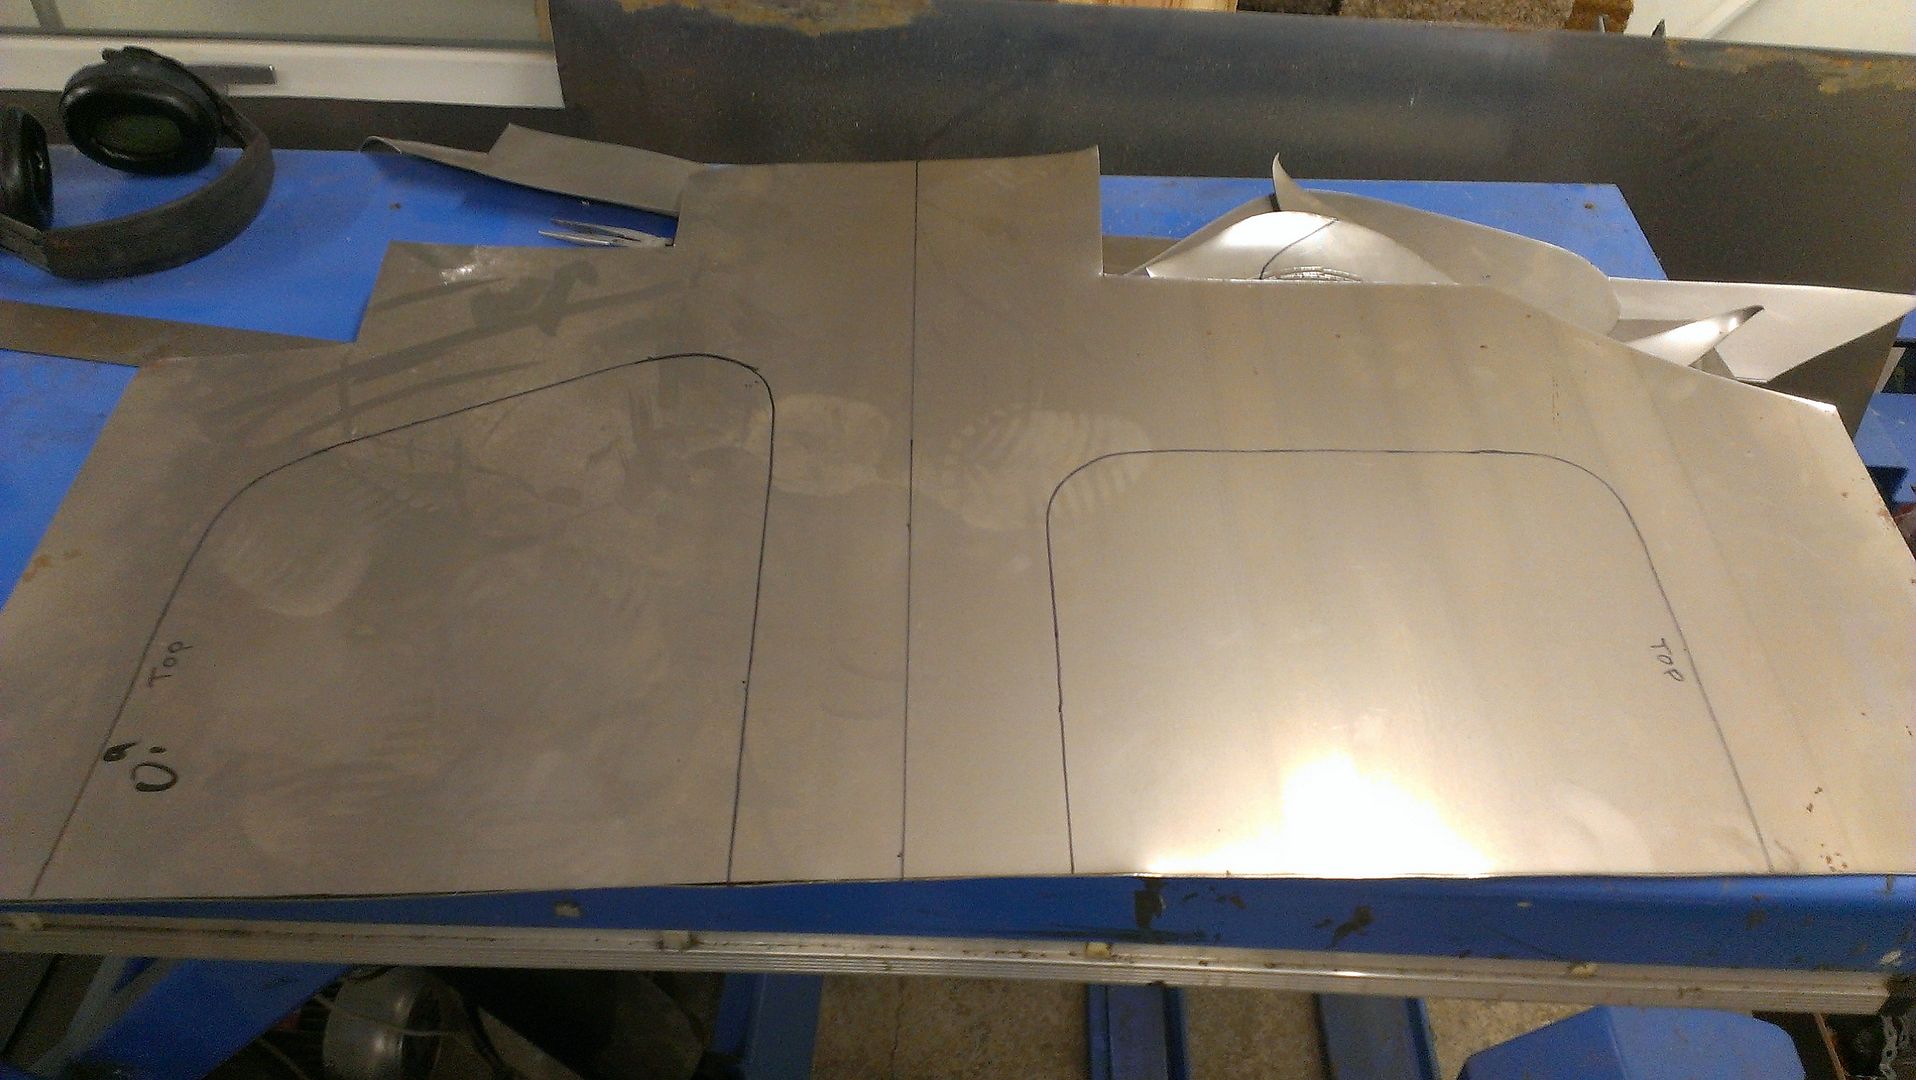
First try:
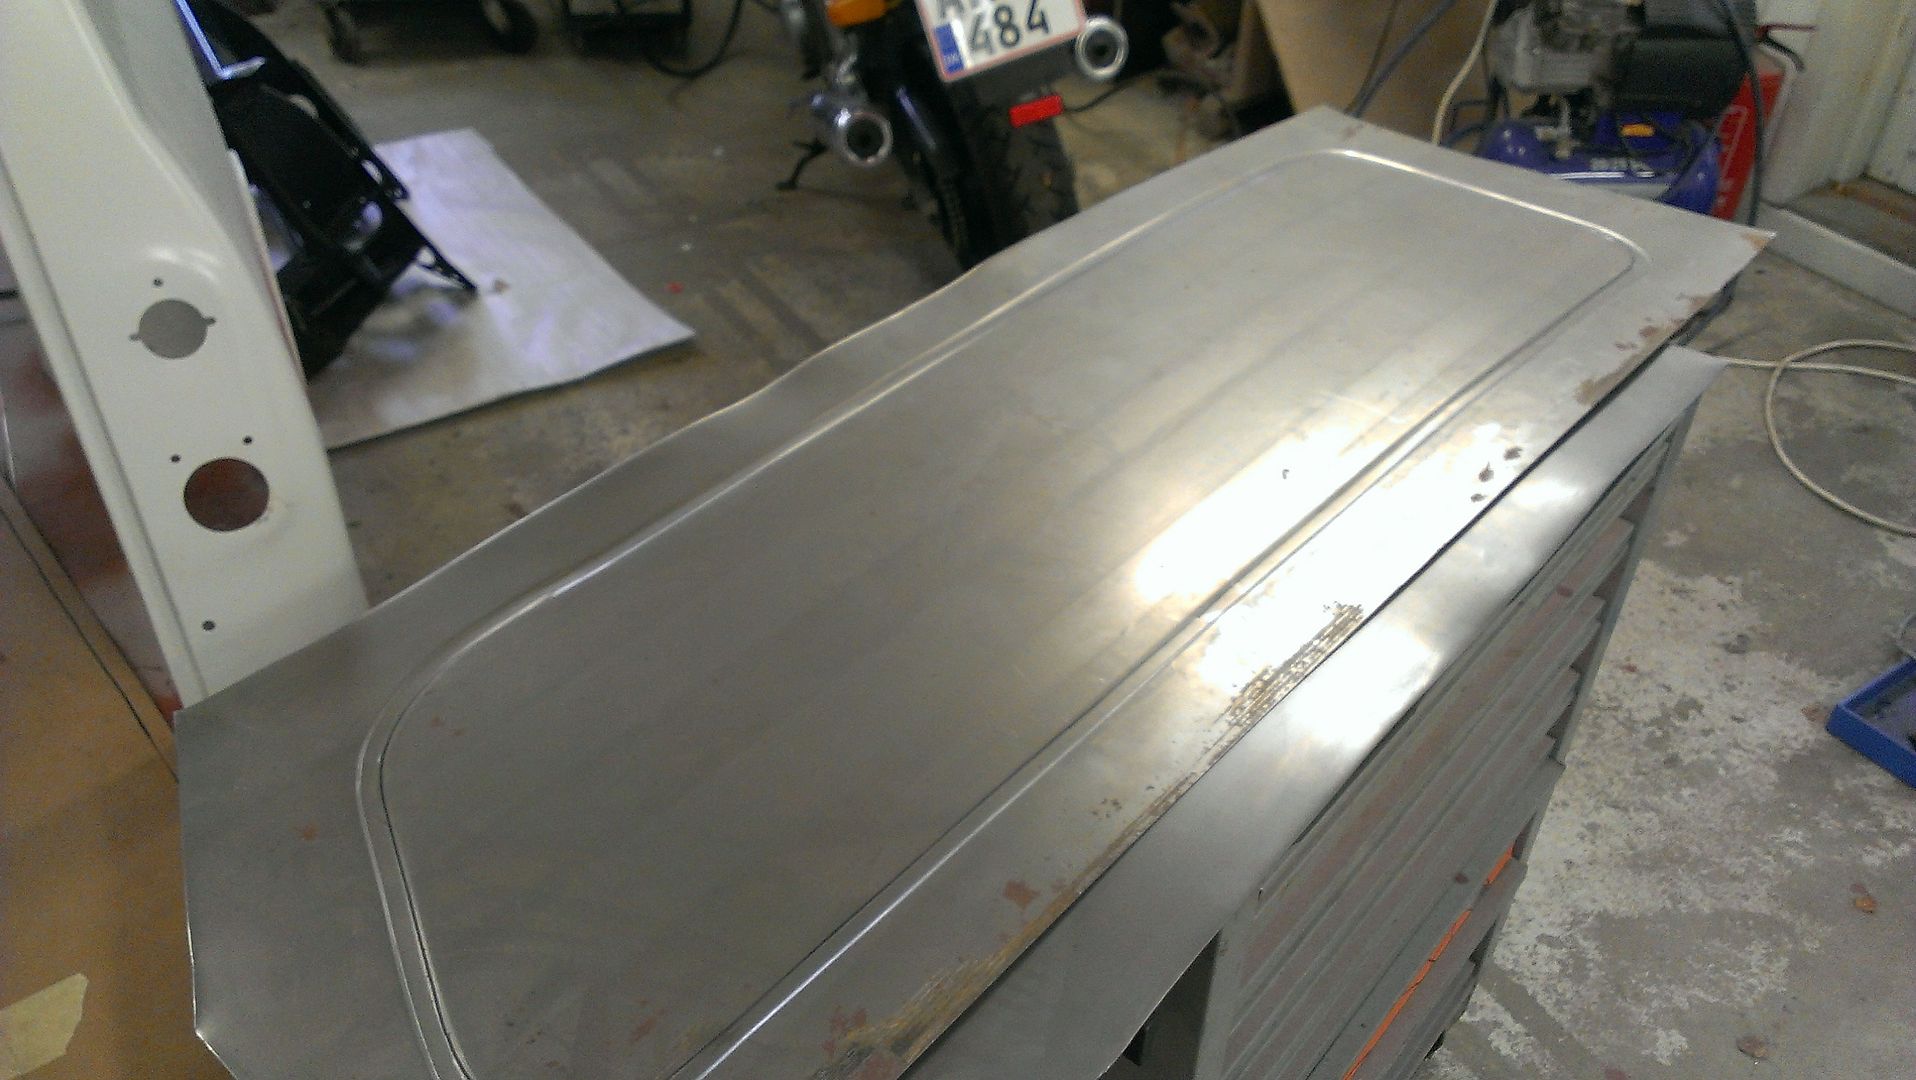
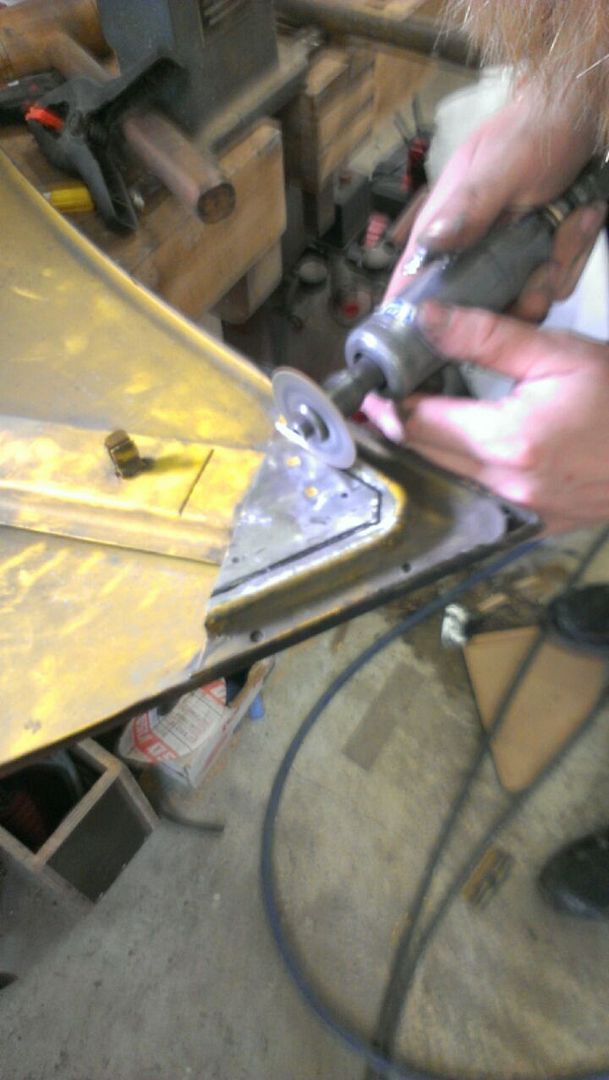
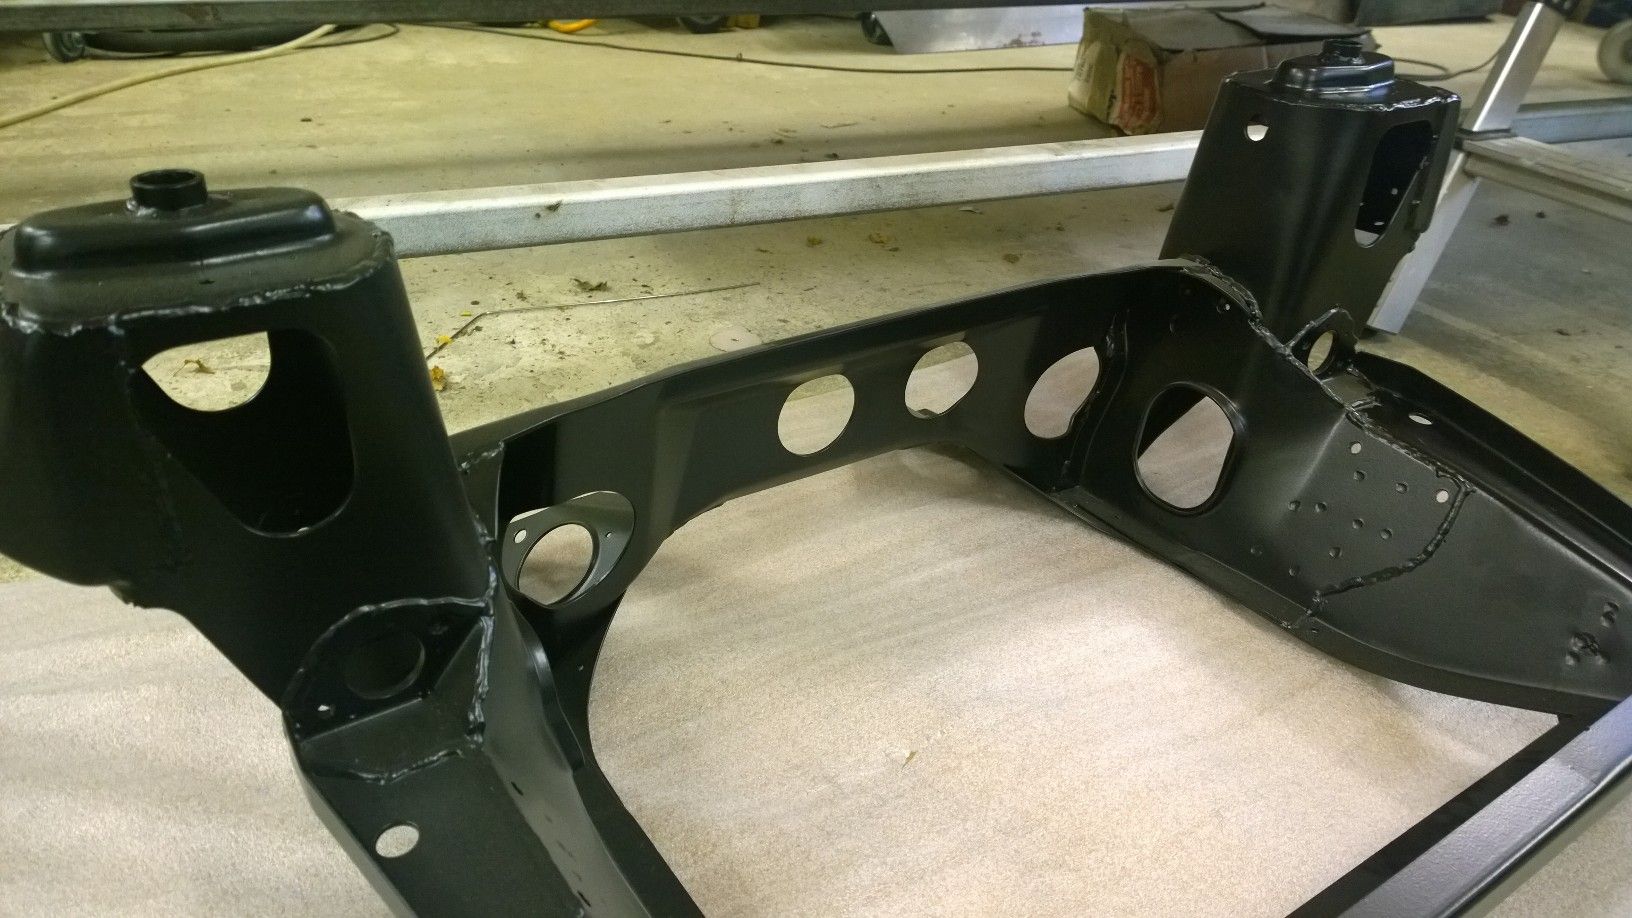
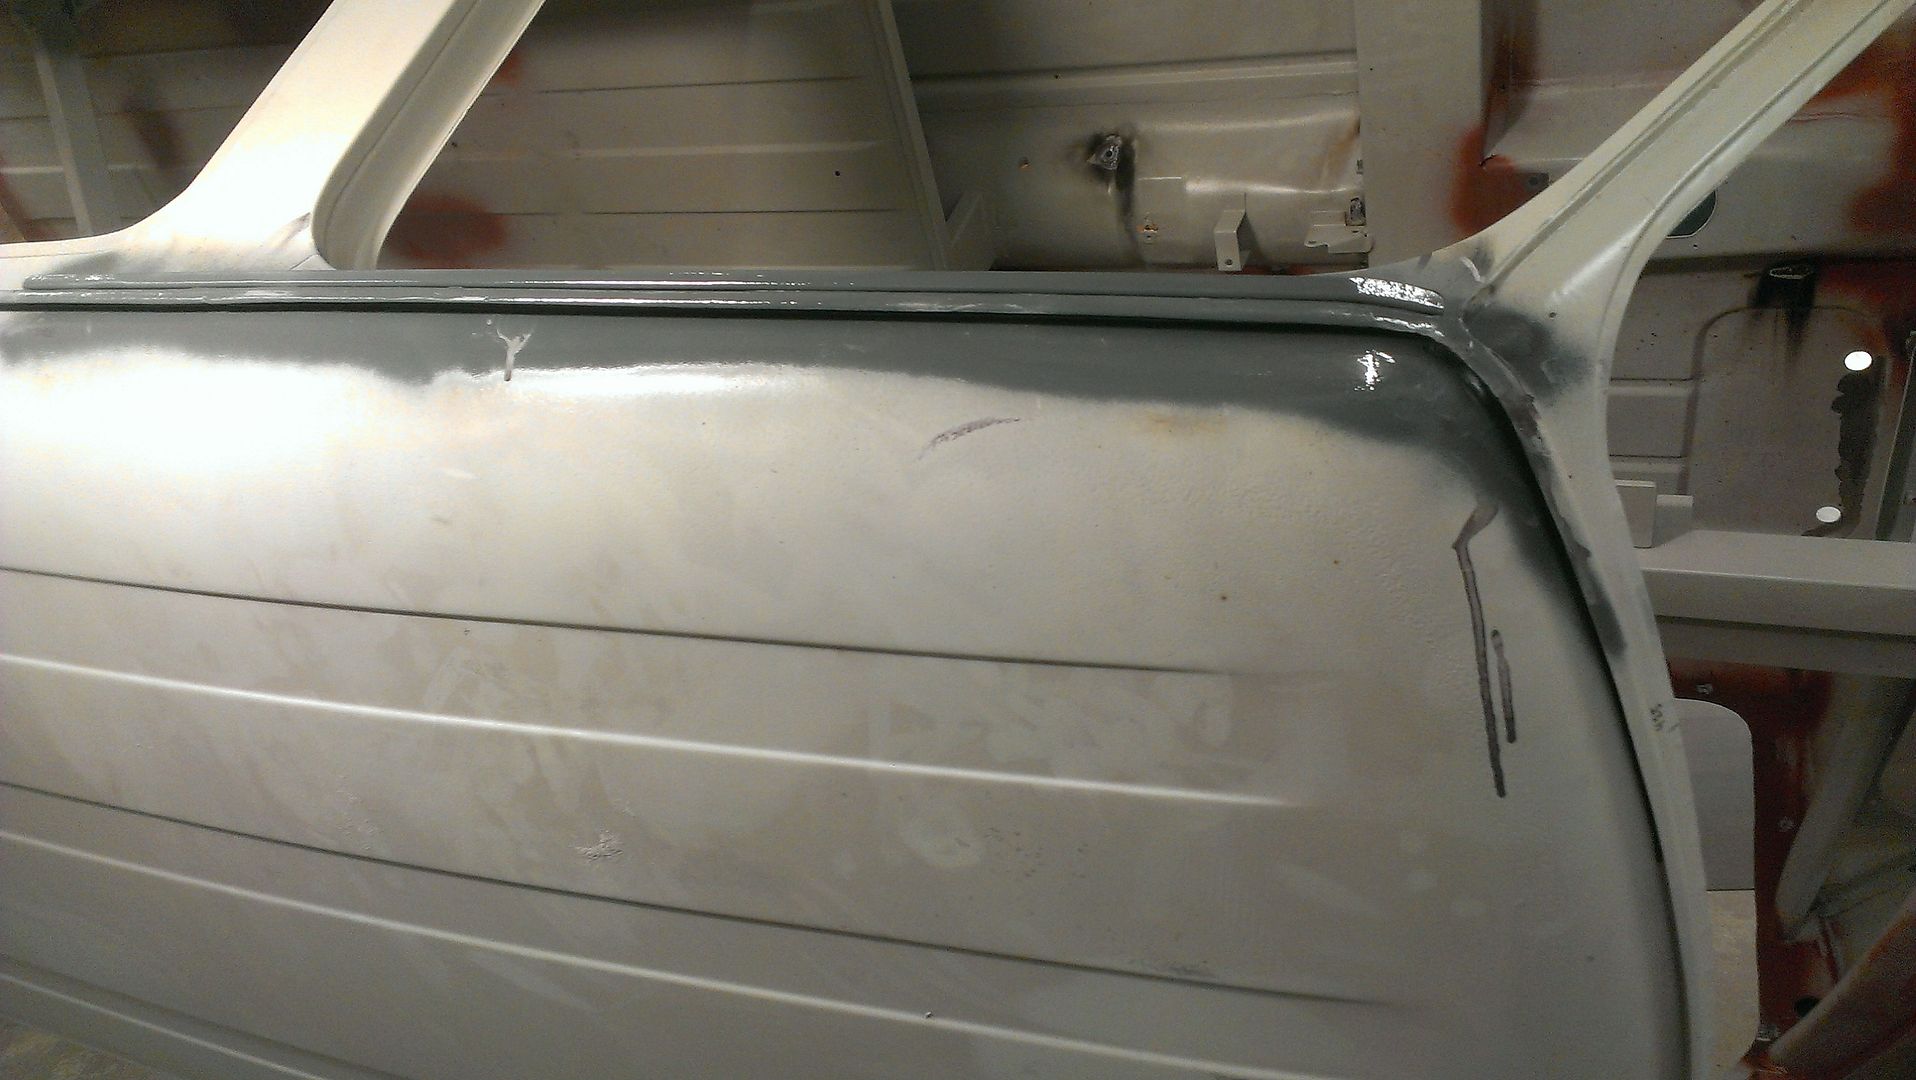
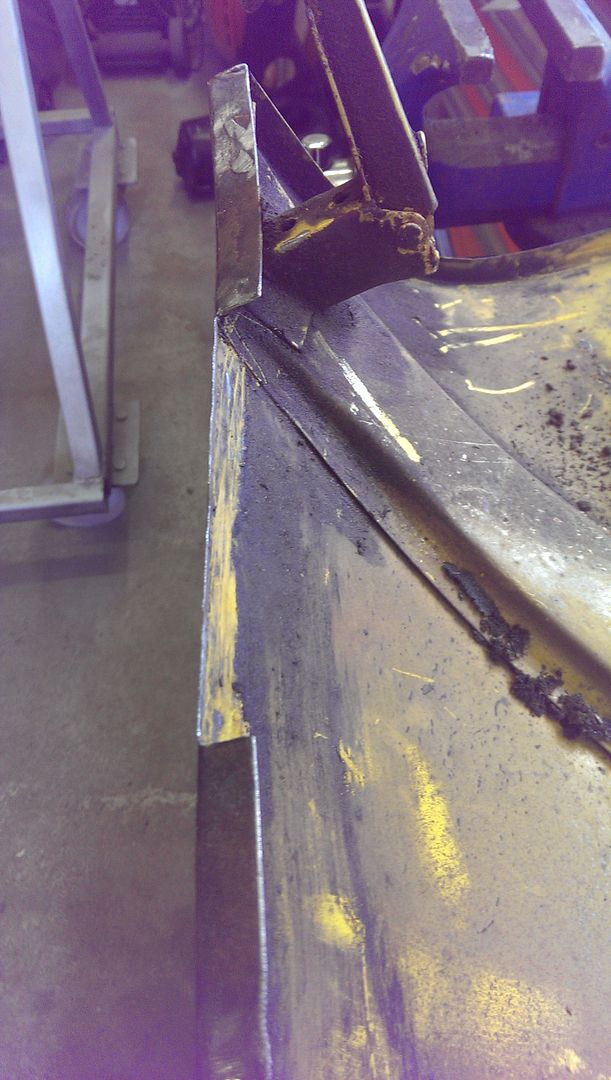
Second try, the corners where good but the straights still wasn't good enough so we cut it into pieces and made some new straights and welded together.
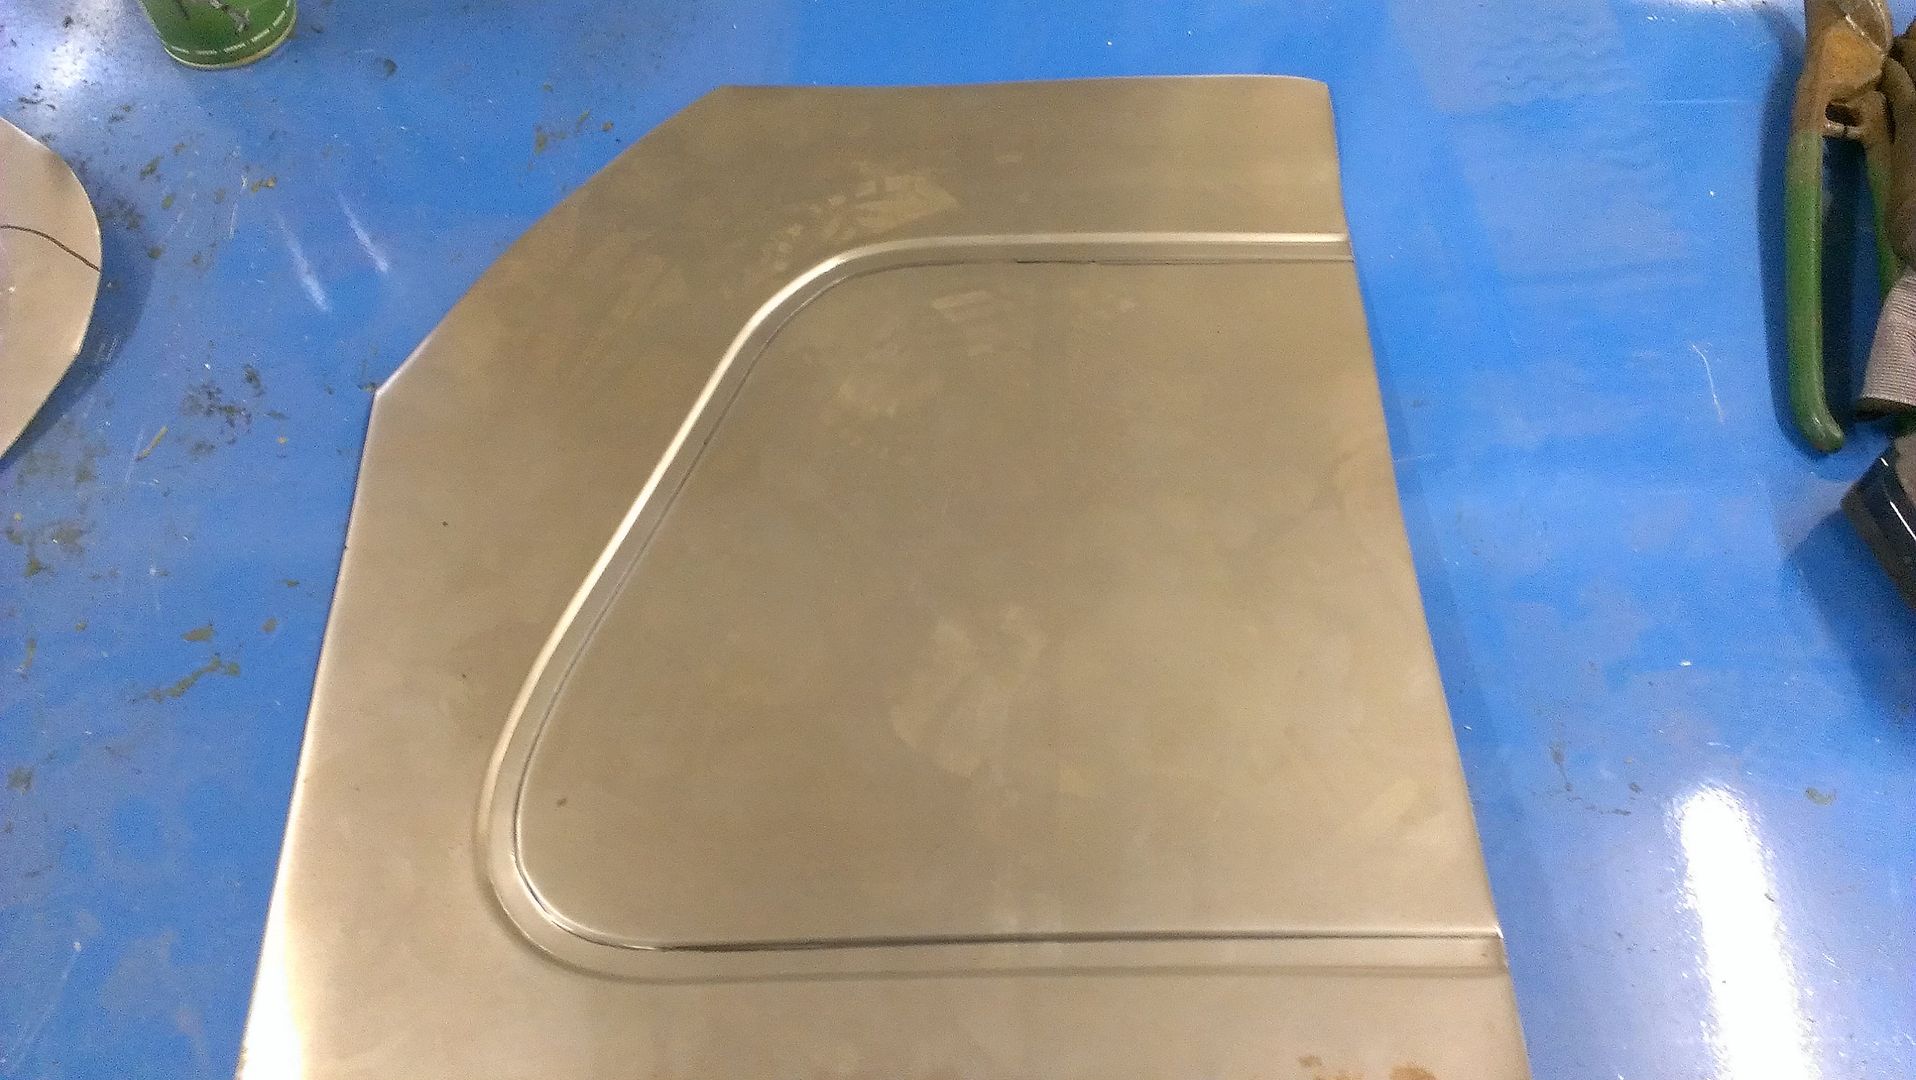
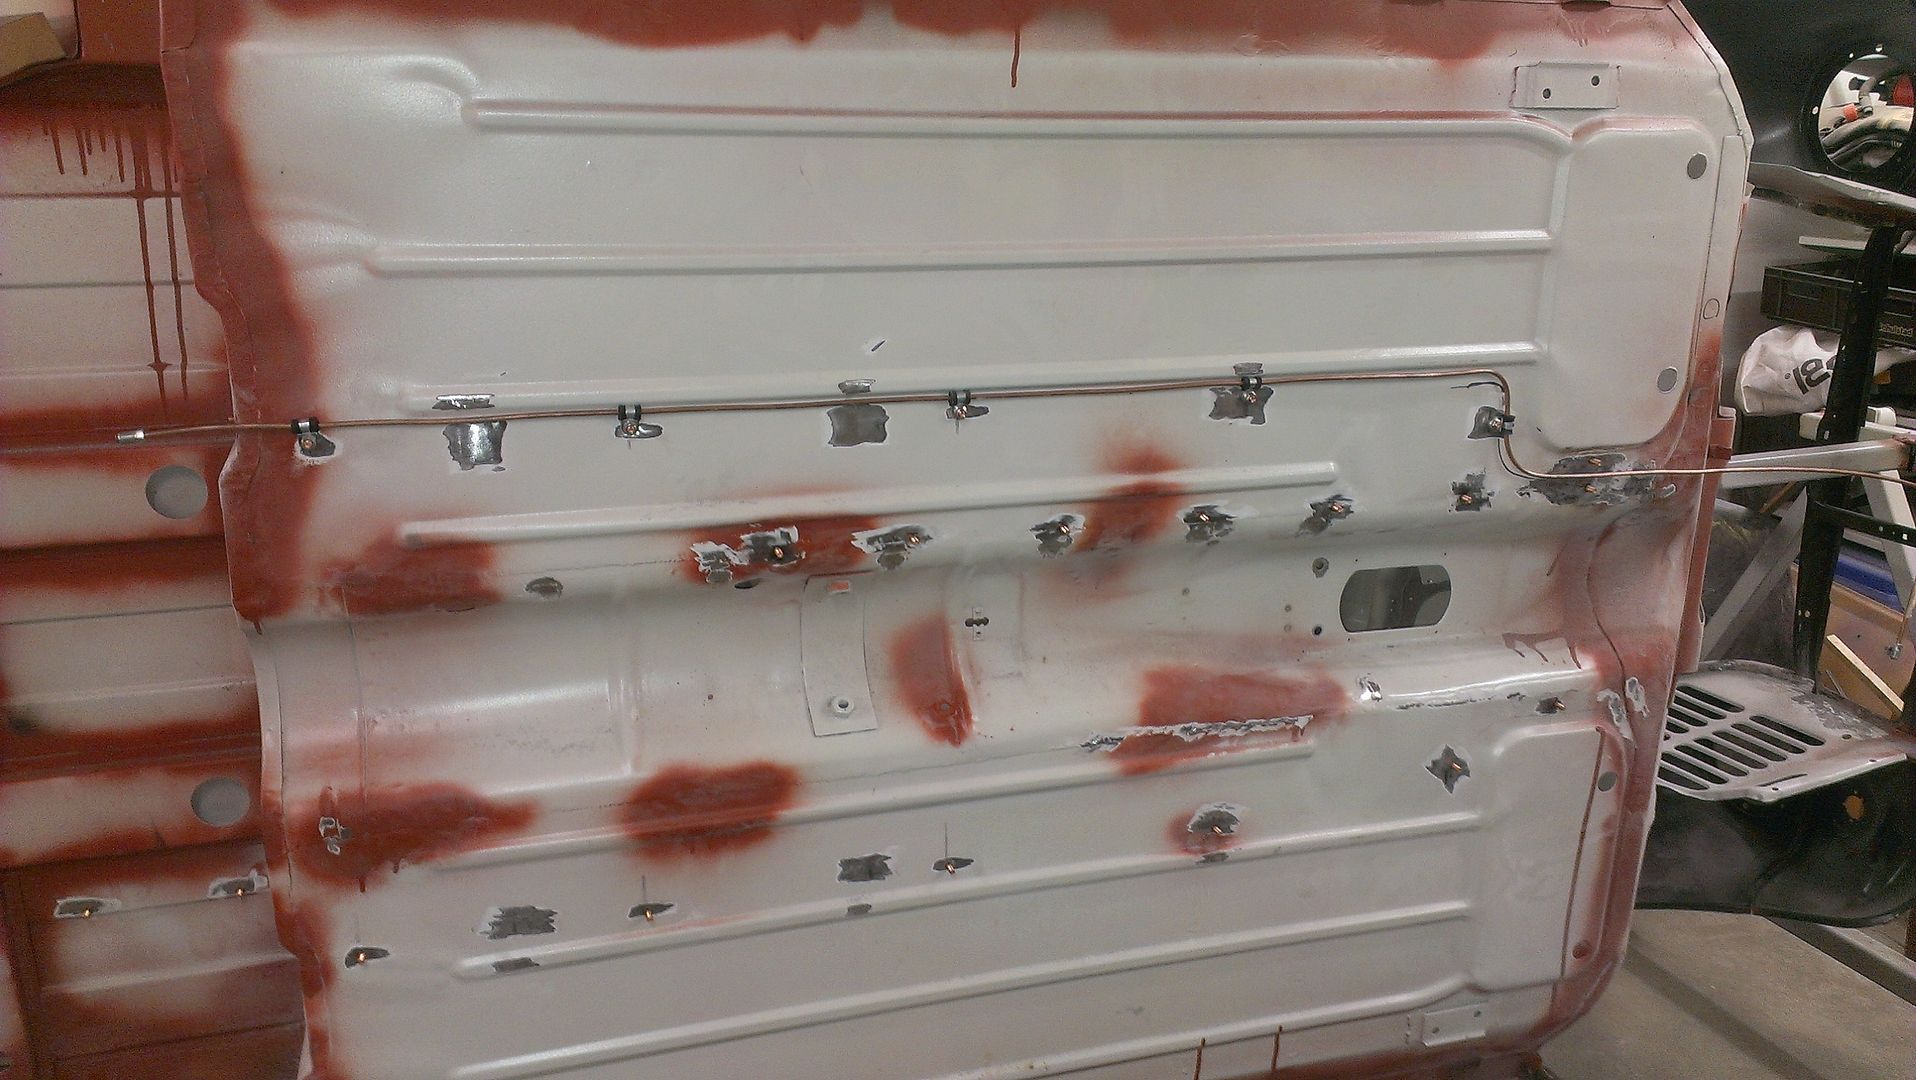
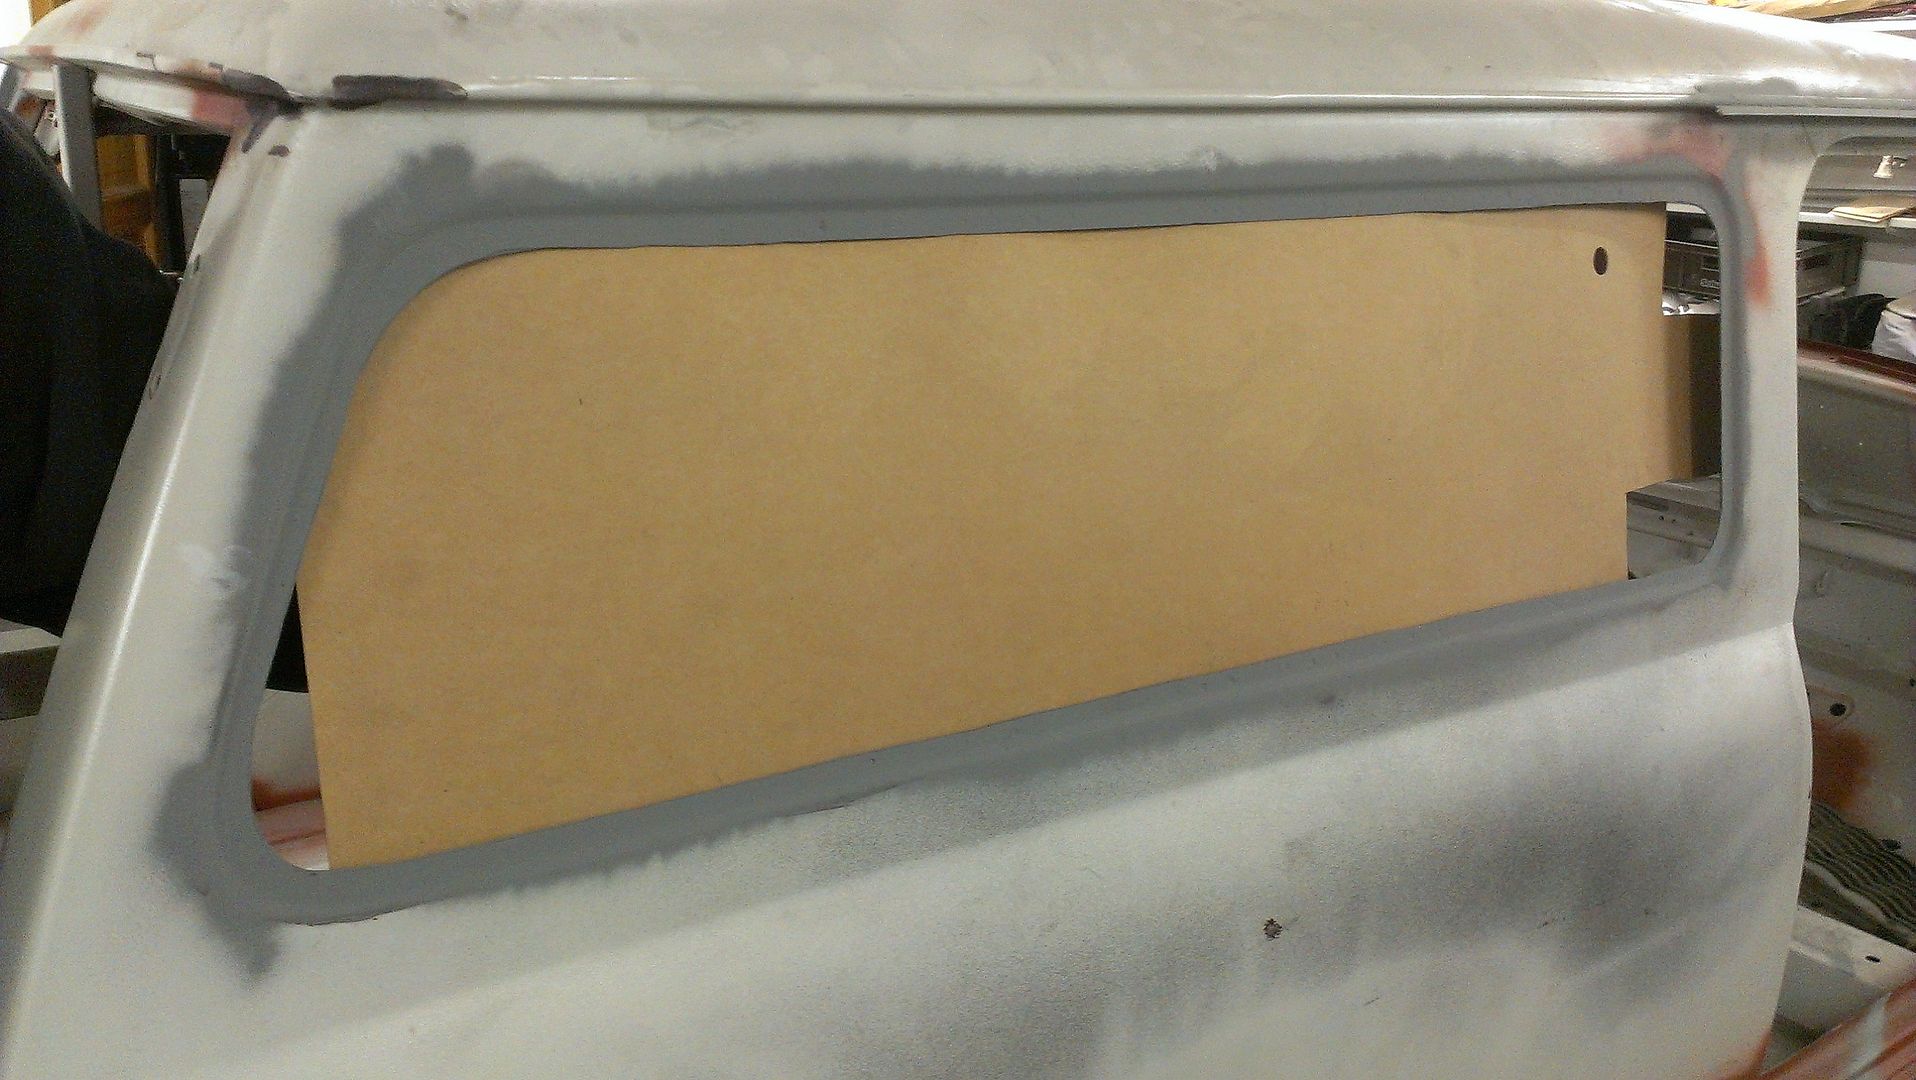
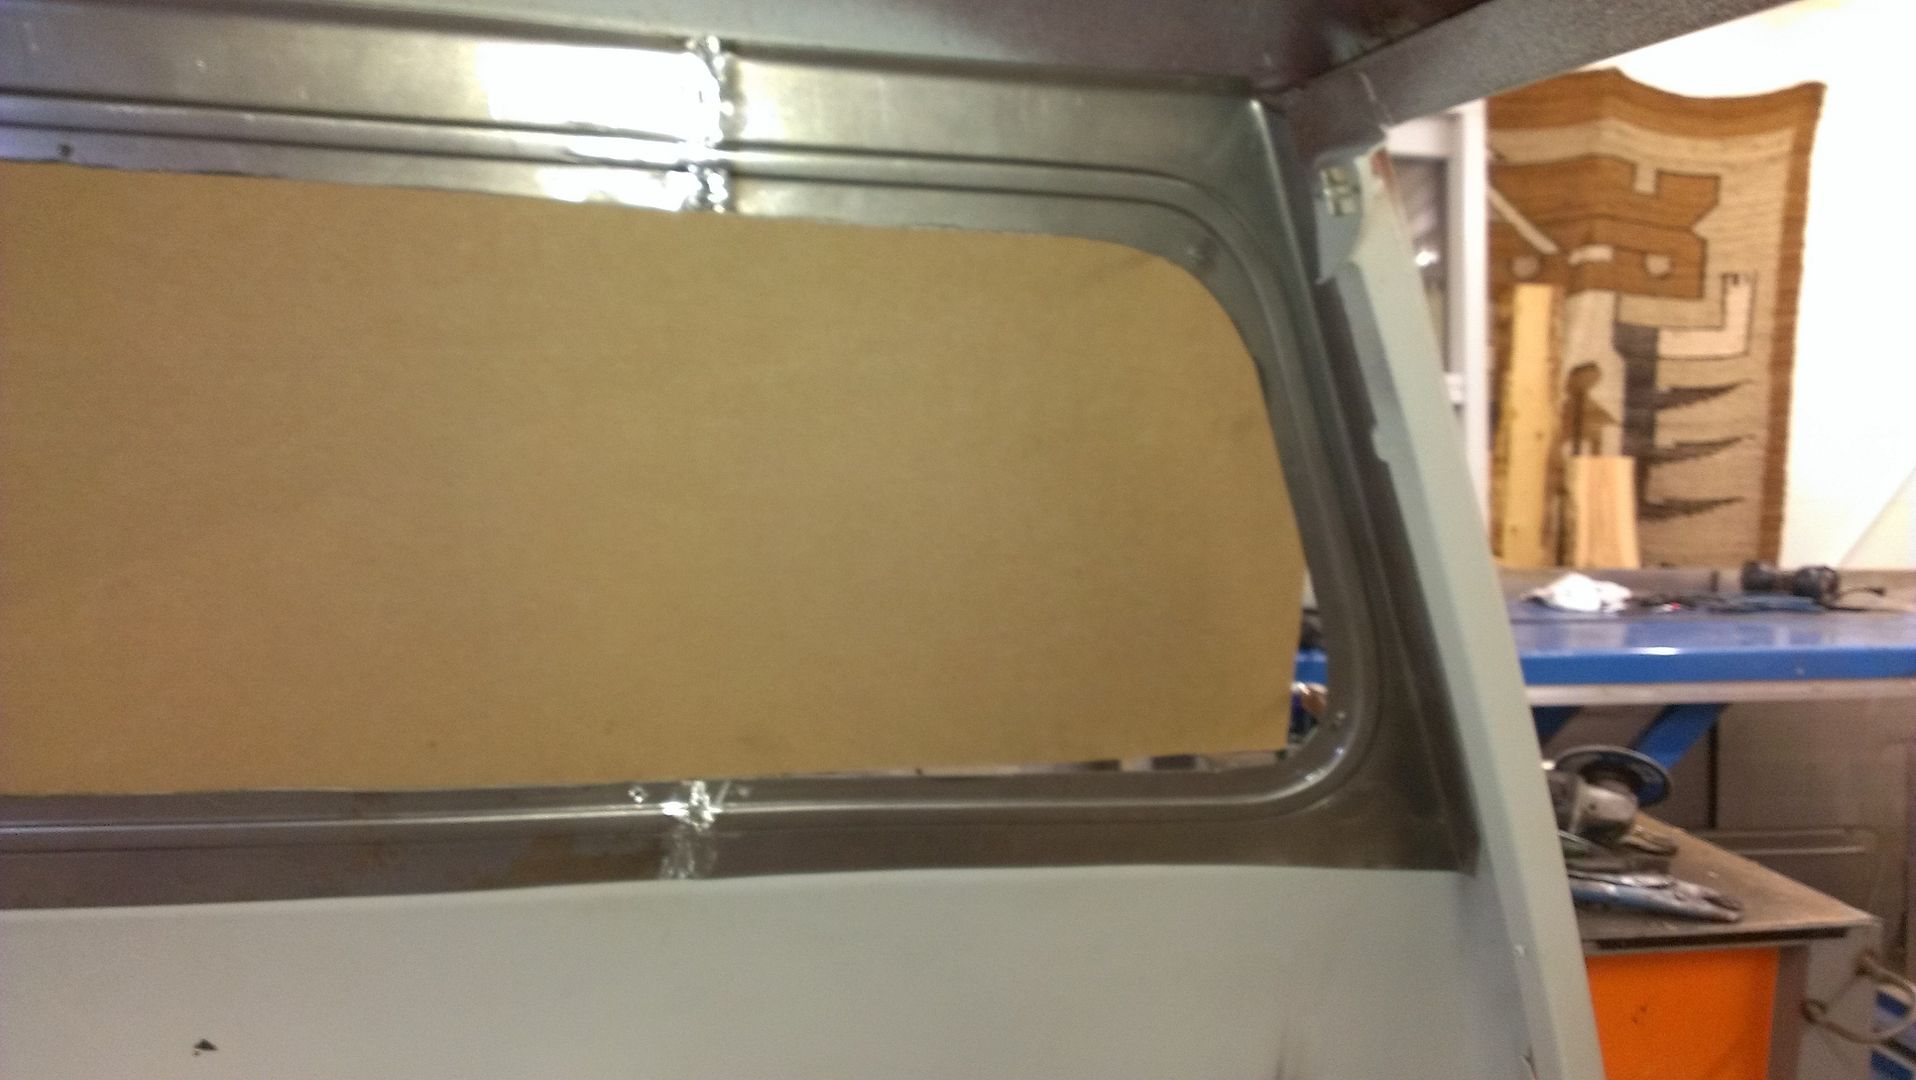
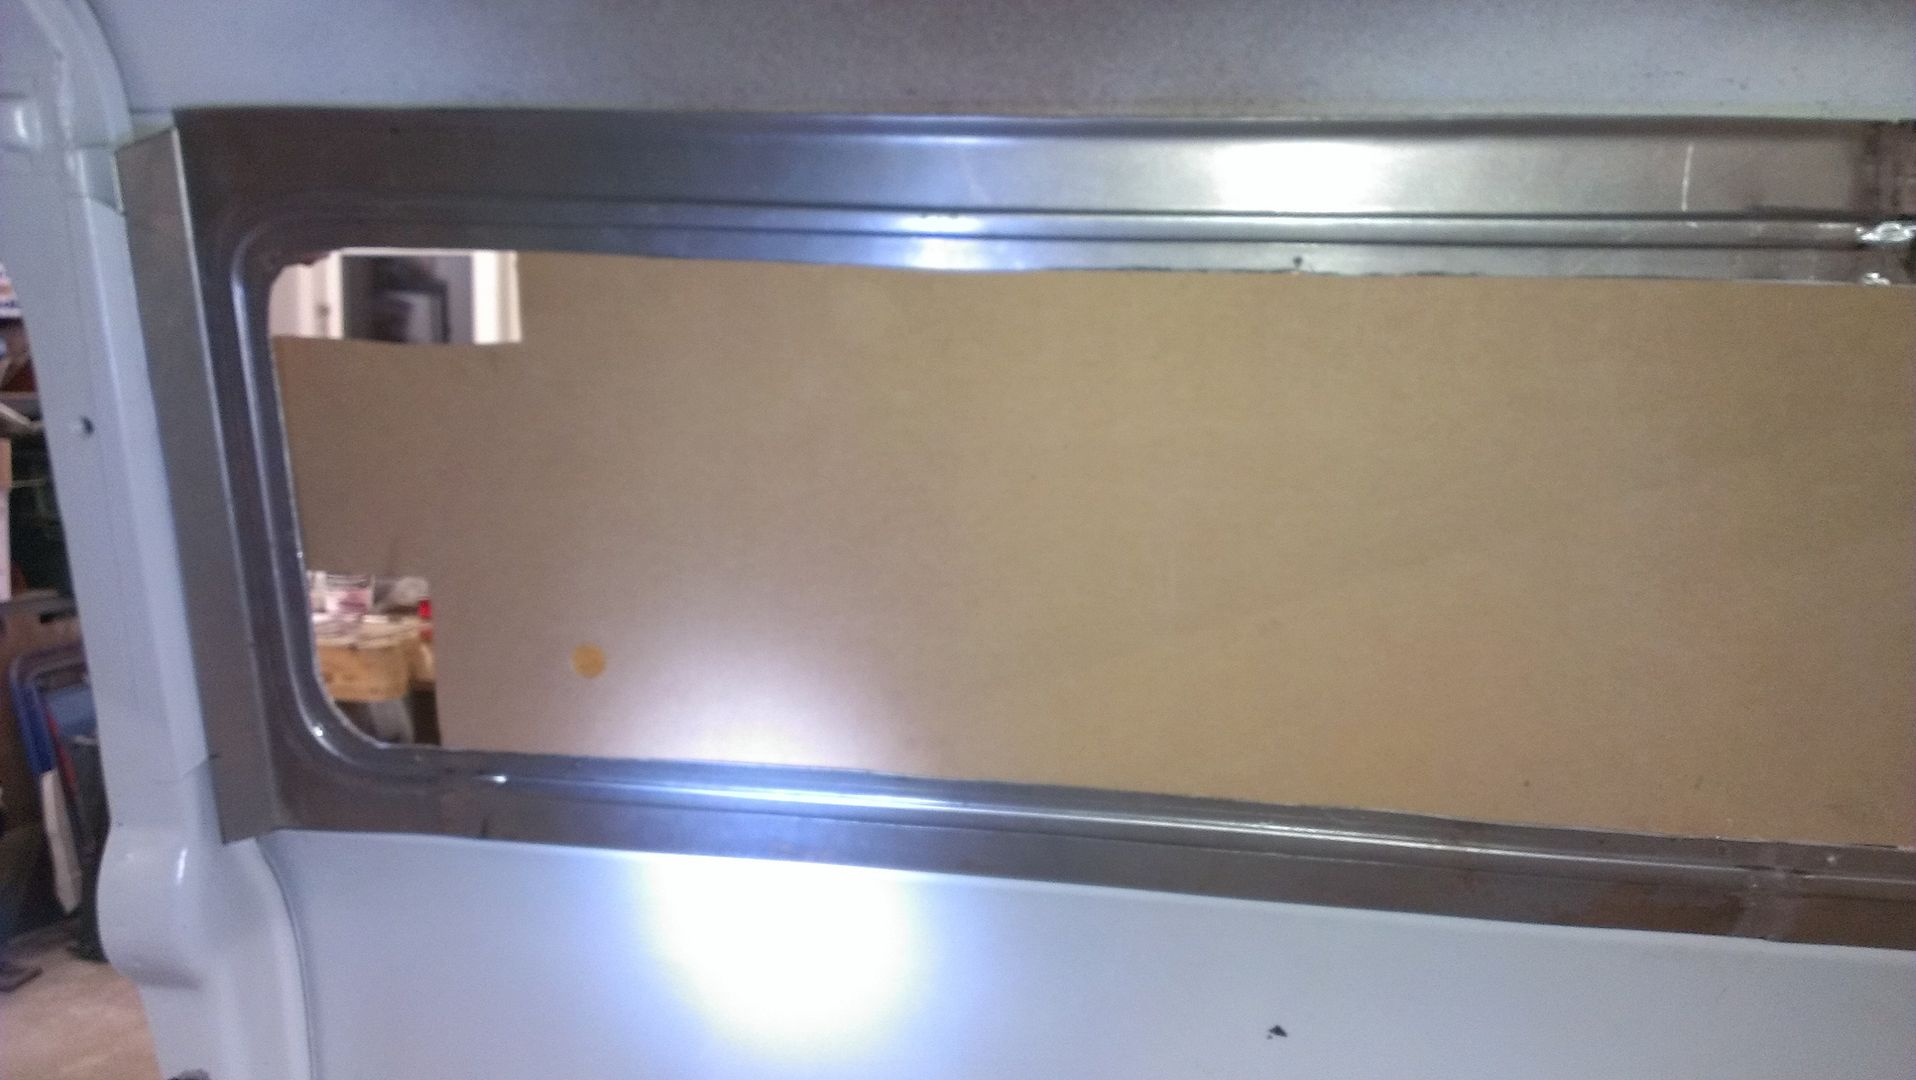
still need to cut off excess material but it fits very well.
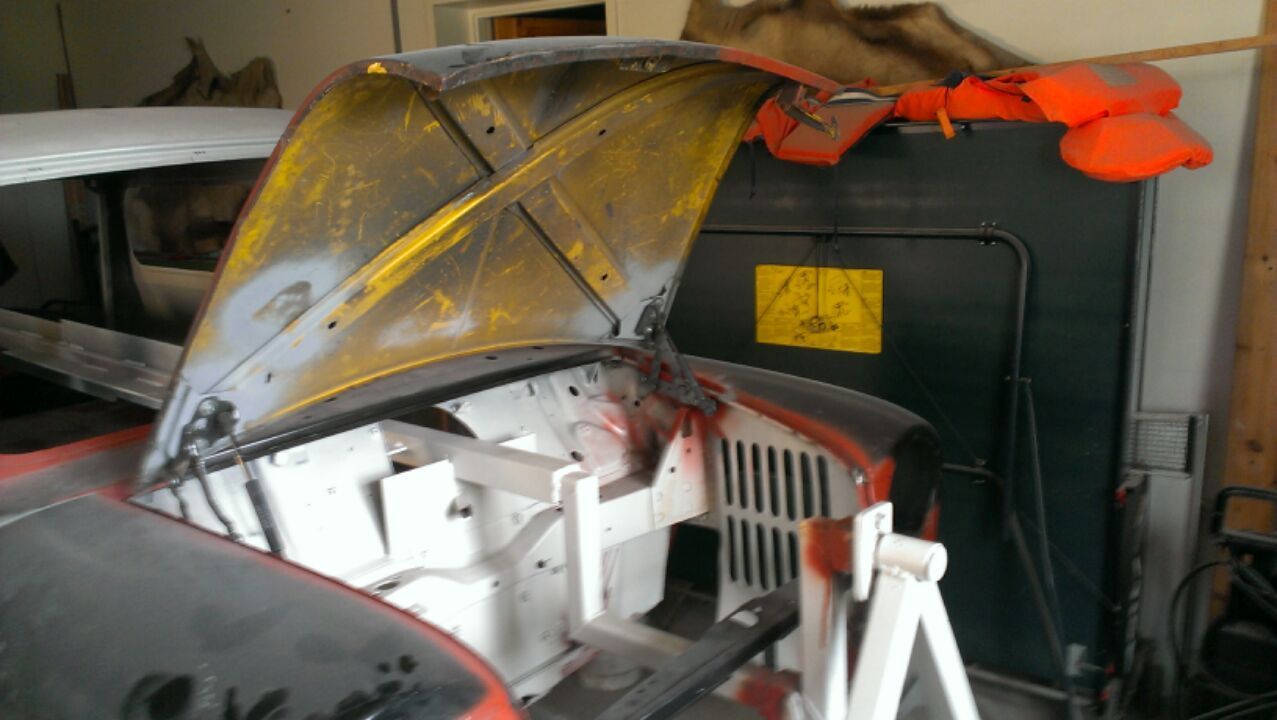
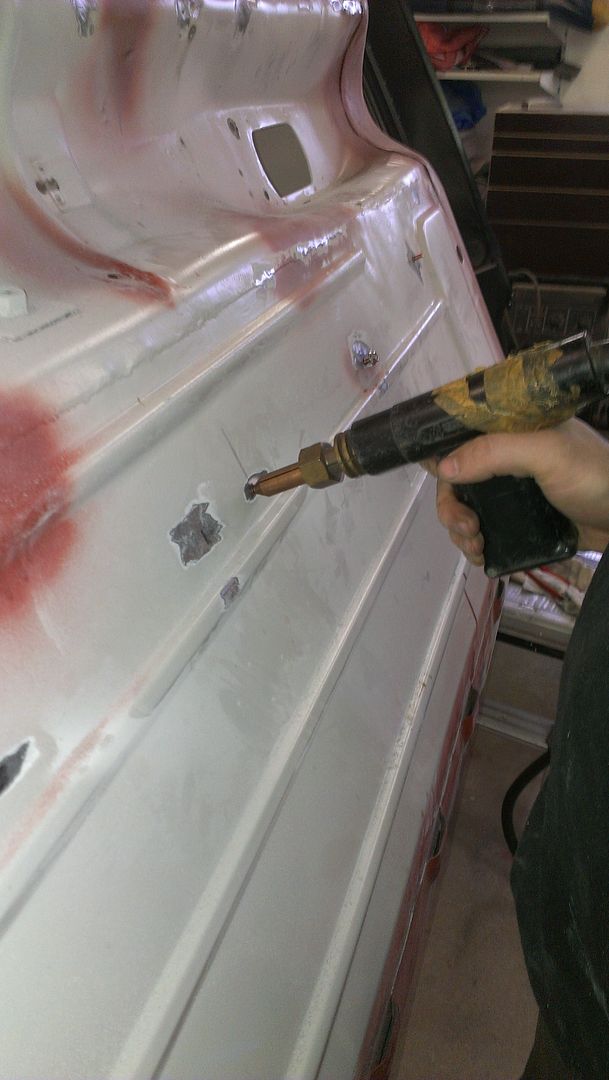
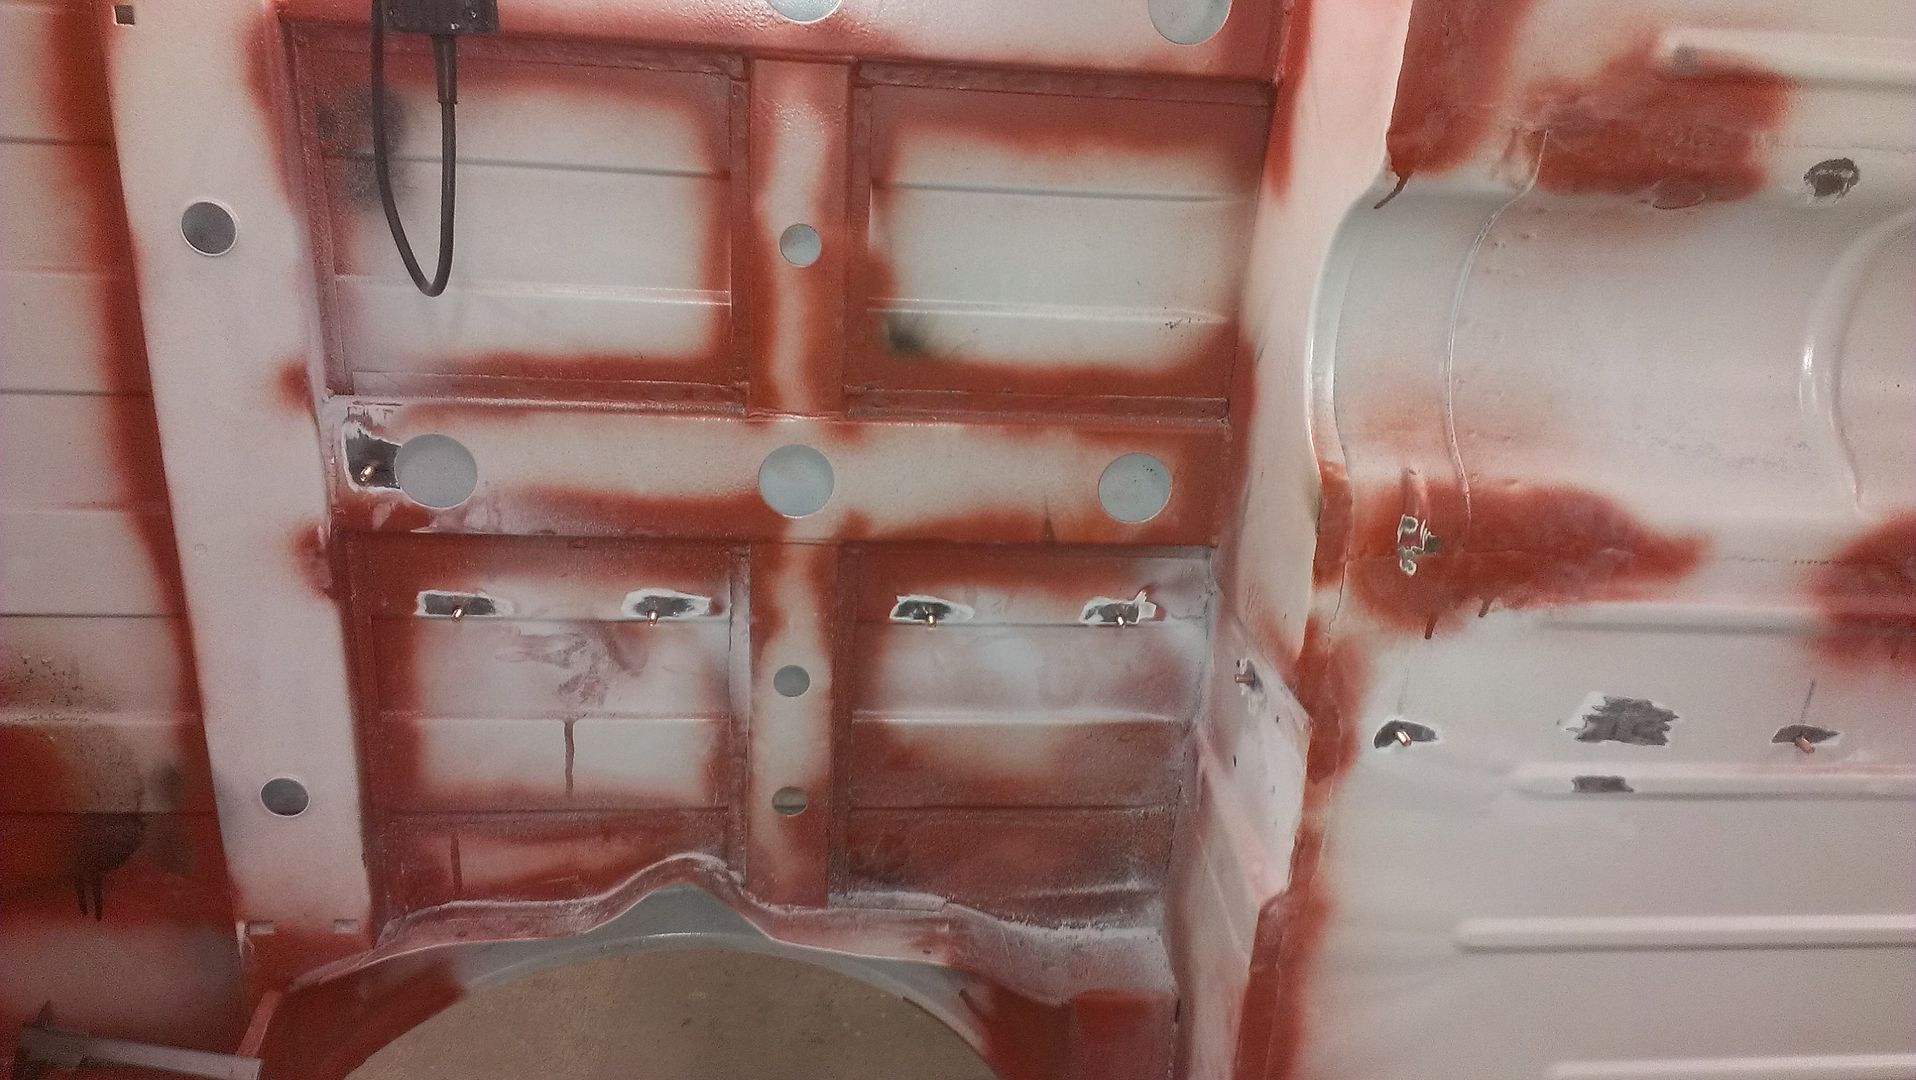
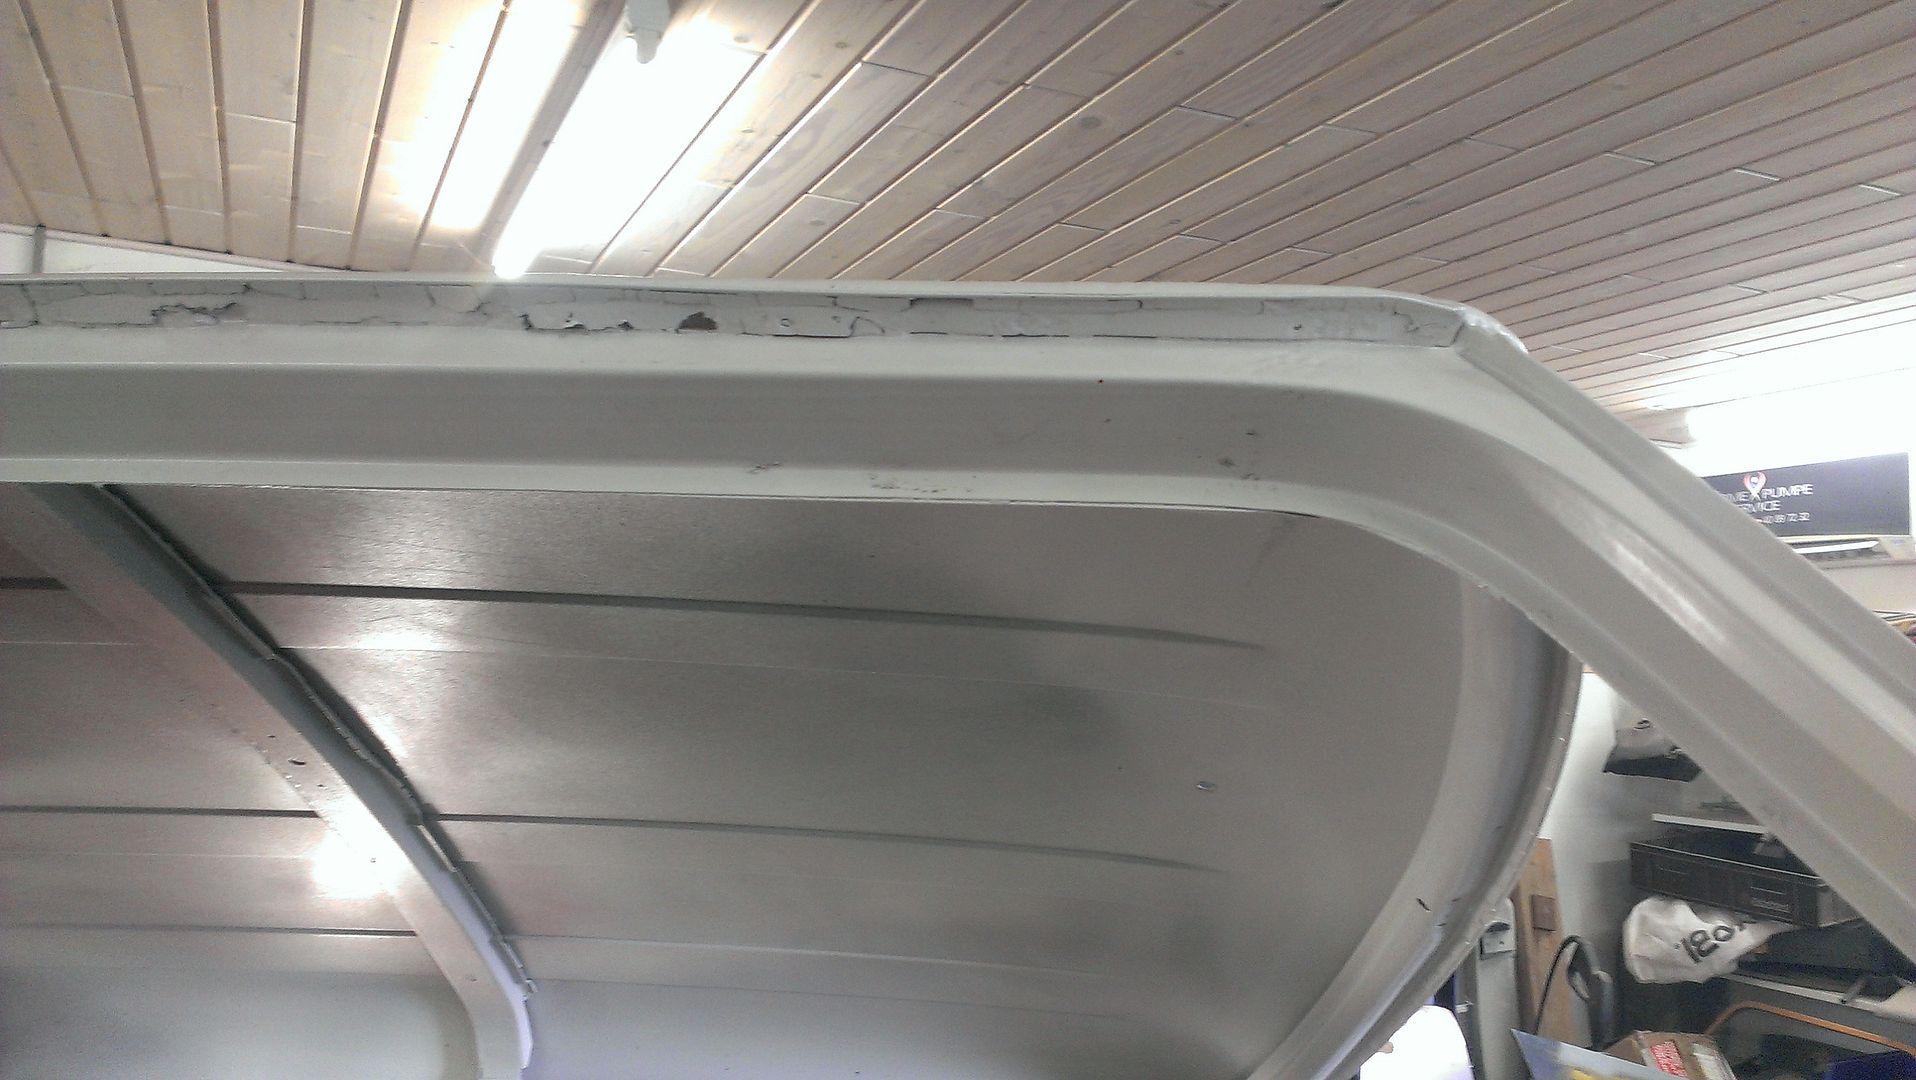
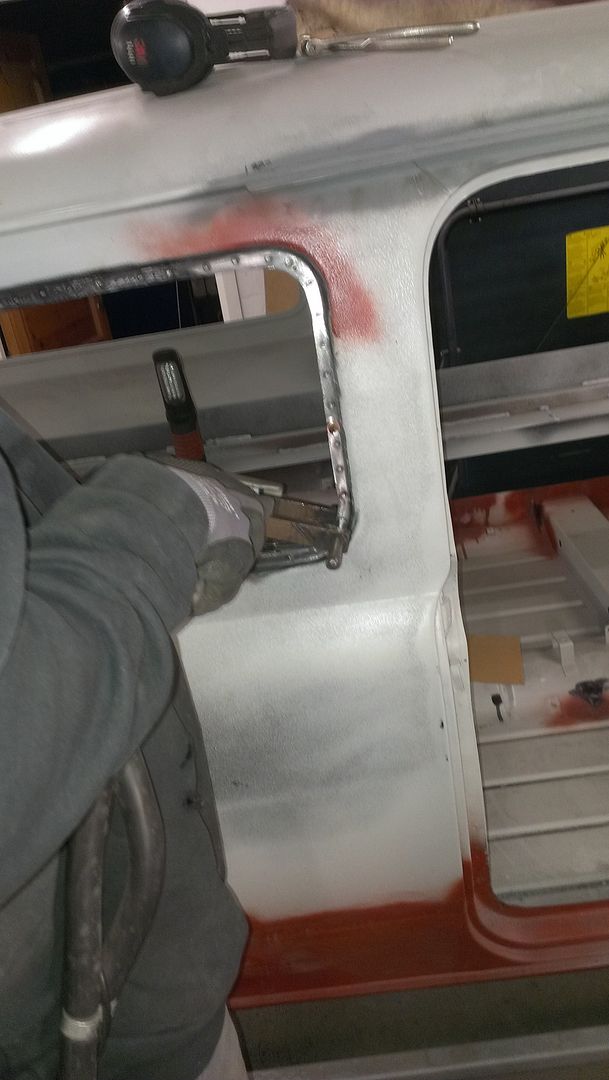
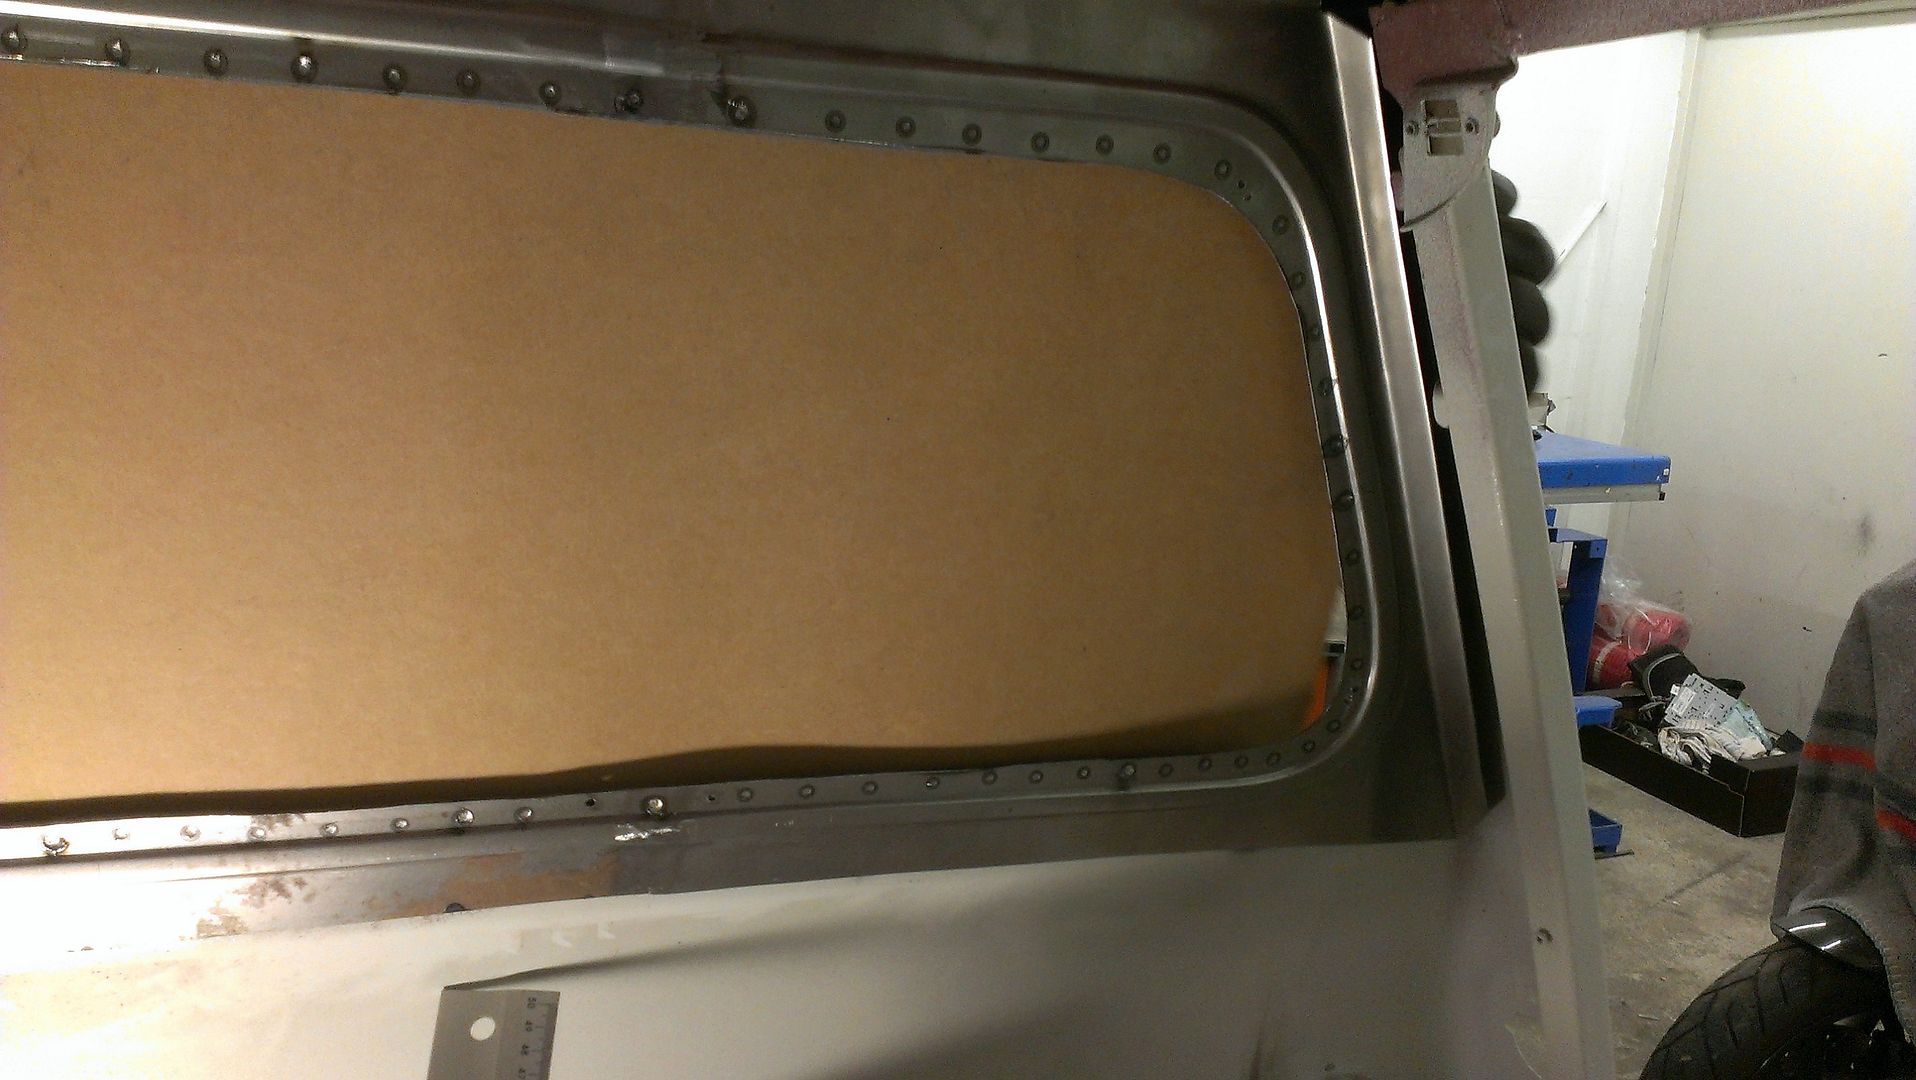
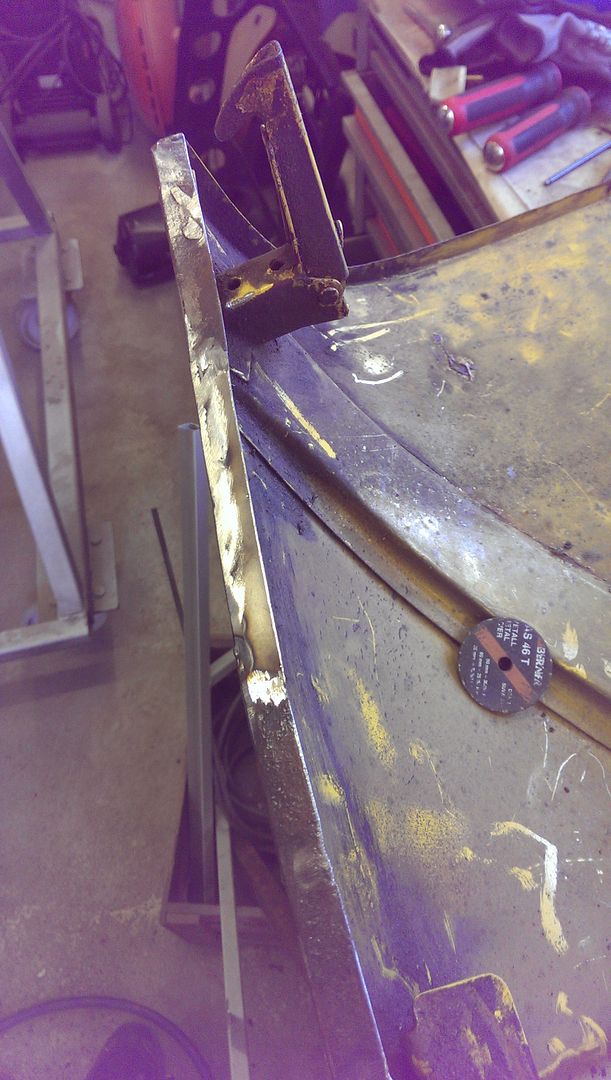
Inside pictures with a piece of cardboard in the back so its easier to see. its currently only hold in place with cleco clamps so its flexing a little, i will be spot welded which will straighten it up further.
Hoping to get it finished in a couple of days and get the other made too.
Thats all folks 
Edited by Cavazzi, 24 November 2015 - 07:45 PM.


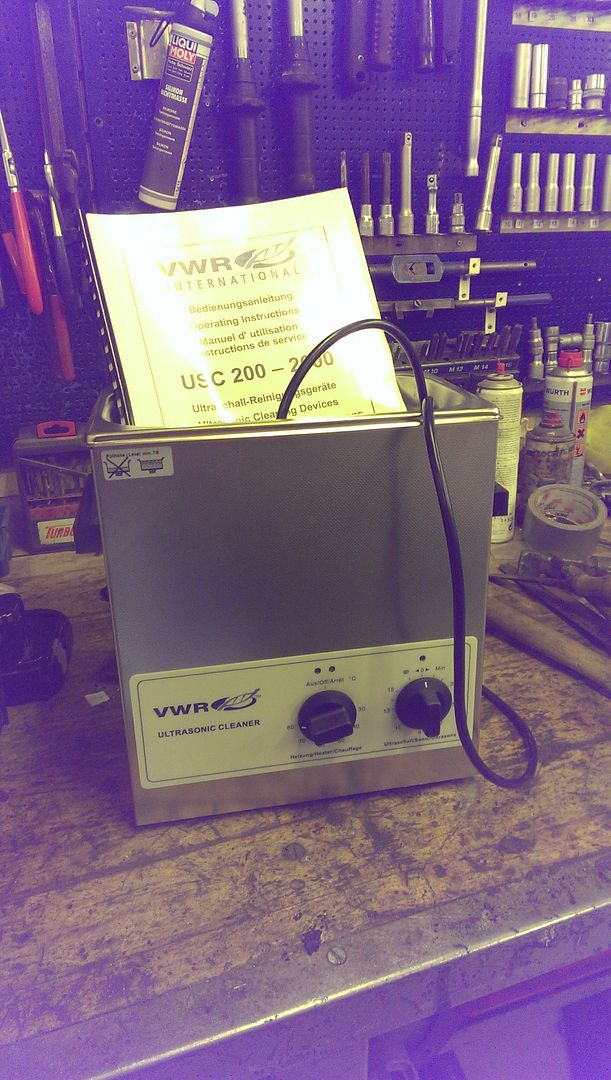
 A ultrasonic cleaner
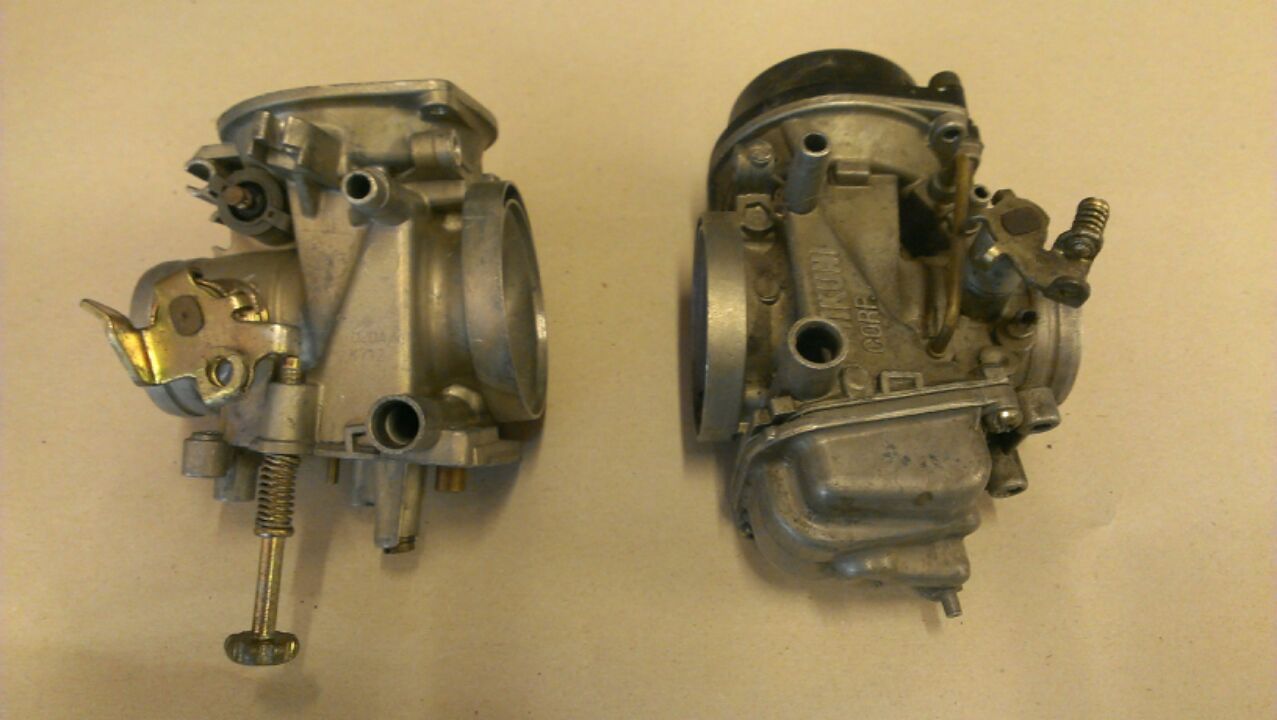
  It cleans parts so well that we dont know how to stop again, already cleaned 6 bike carbs