They're looking really good. What silver paint did you use for these? High temp engine enamel?
Thanks Vinay, it's VHT high temp engine enamel. It probably doesn't need to be high temp but that's what I have and it's worked well in the past.

Posted 25 November 2018 - 09:39 AM
They're looking really good. What silver paint did you use for these? High temp engine enamel?
Thanks Vinay, it's VHT high temp engine enamel. It probably doesn't need to be high temp but that's what I have and it's worked well in the past.
Posted 07 December 2018 - 10:06 AM
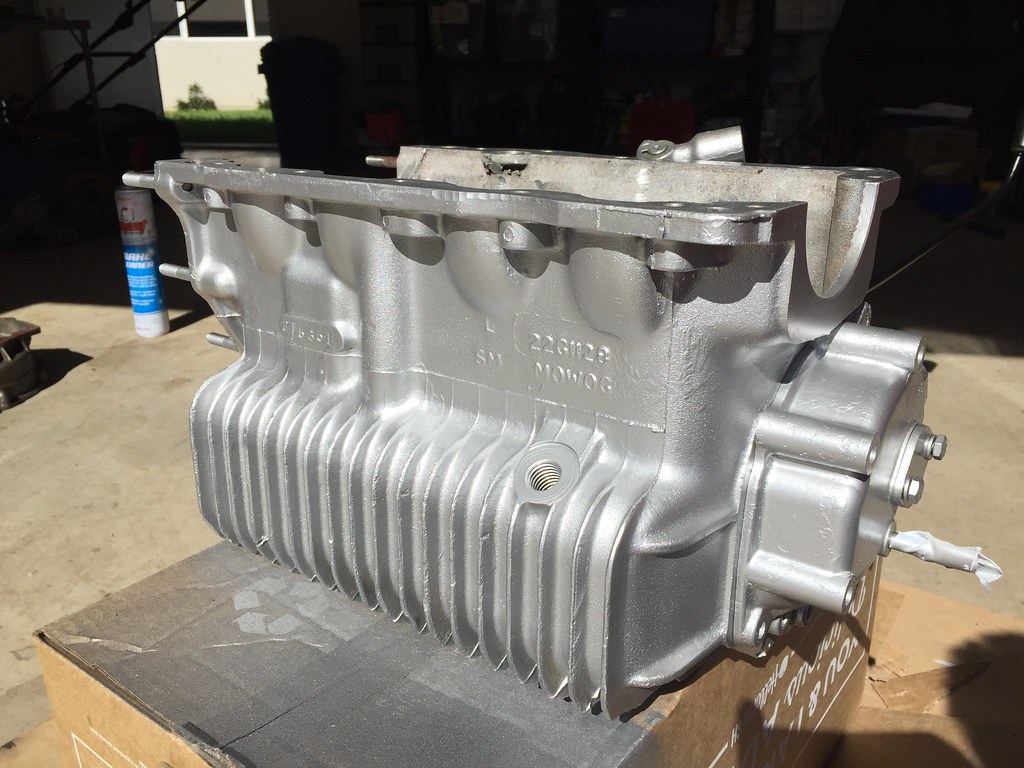
I painted the outside of the gearbox case
I started watching the video here on how to reassemble a remote gearbox and decided to get started. I now have the reverse gear and the shift levers installed.
https://youtu.be/BYoM33pWEmA
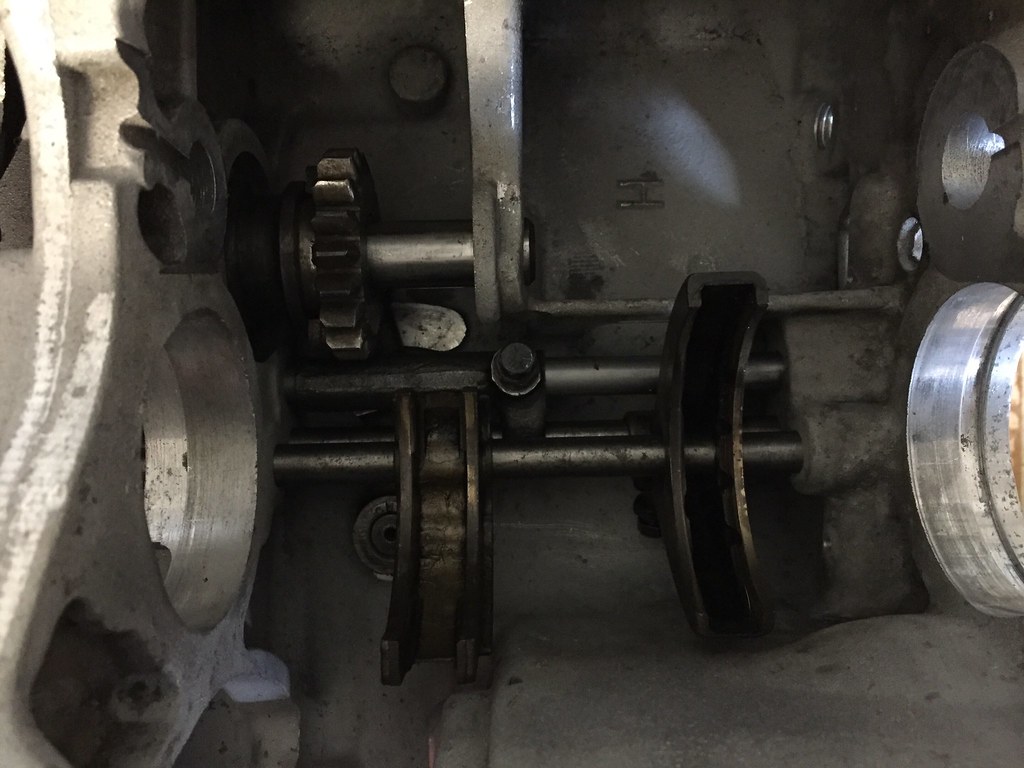
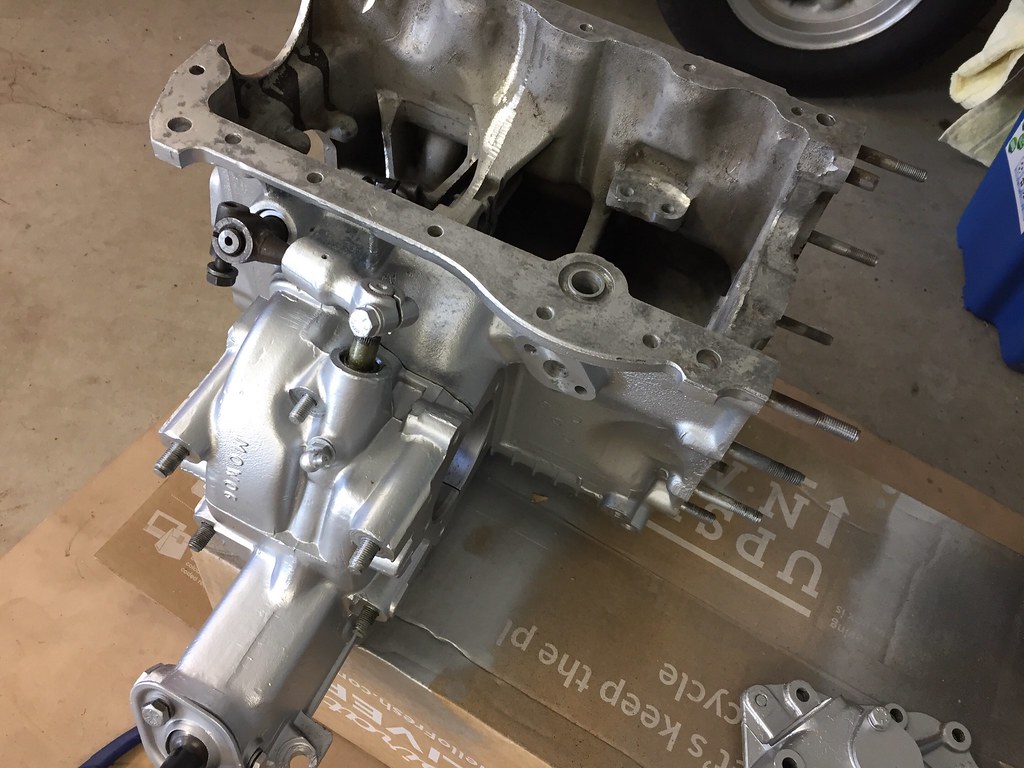
Finally I put the shifter housing on and I was able to move through all the gear positions. Next up is to sort out the main gear cluster
Posted 07 December 2018 - 12:03 PM
It's looking good! Will it be getting new bearings, seals, synchros or are the original parts in good condition?
Posted 07 December 2018 - 10:31 PM
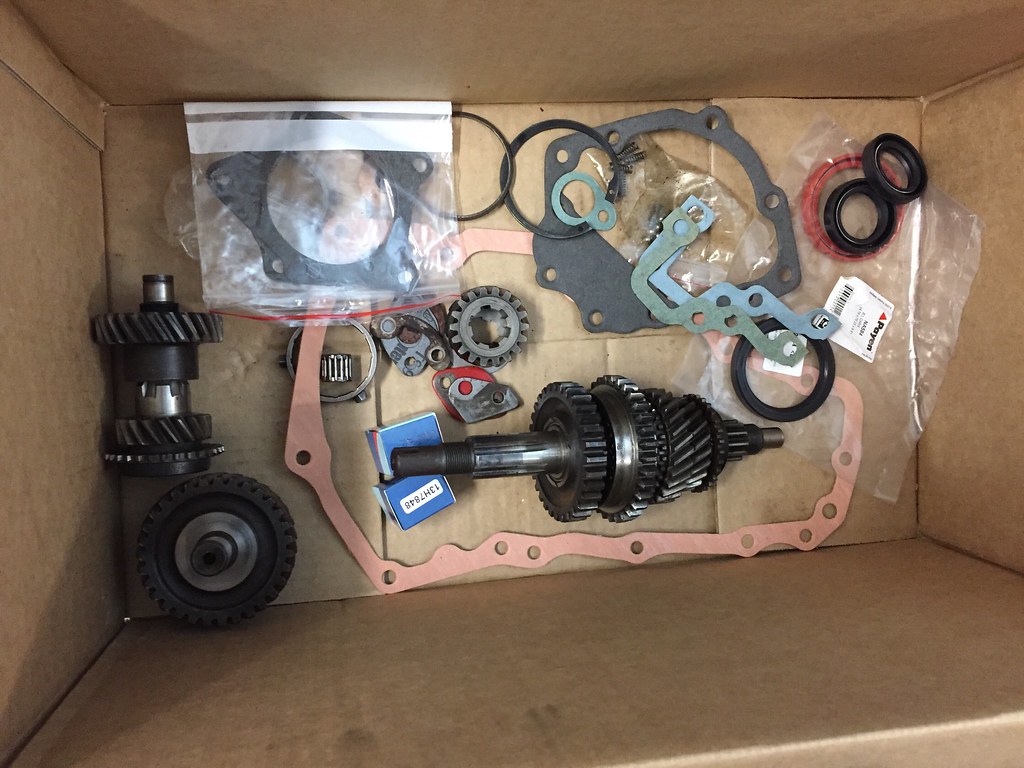
The gears will be good condition used parts, the baulk/synchro rings are used factory ones which are supposed to last better. Most of the bearings will be new, with the roller bearings inside 1st ,2nd & 3rd gears being reused. I bought a new gasket/seal kit for everything else (hopefully).

Posted 13 January 2019 - 09:11 AM
I've been away on holidays for a couple of weeks so I haven't been in the garage much. The last thing I got up to was checking the gear selection and trial fitting the laygear. The brand new layshaft seems to be faulty as I can't install the needle bearings and get the layer to rotate properly. I also can't rotate the layshaft inside the gearbox case to line it up with the retaining plate. It seems to be slightly bent when you roll it on a smooth surface. Hopefully I can get it sorted with the supplier despite it being 2 years since I bought it.
The gear selection is pretty good overall, there is less slop in the system than my current remote shift and it seems easy to find the right gear.
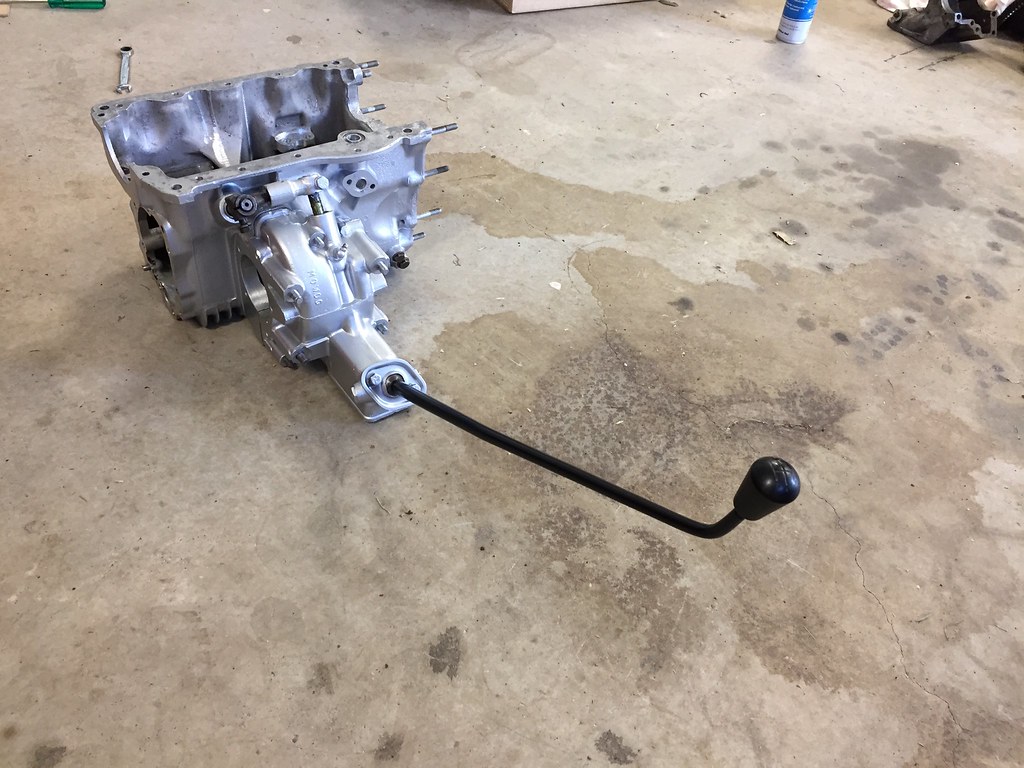
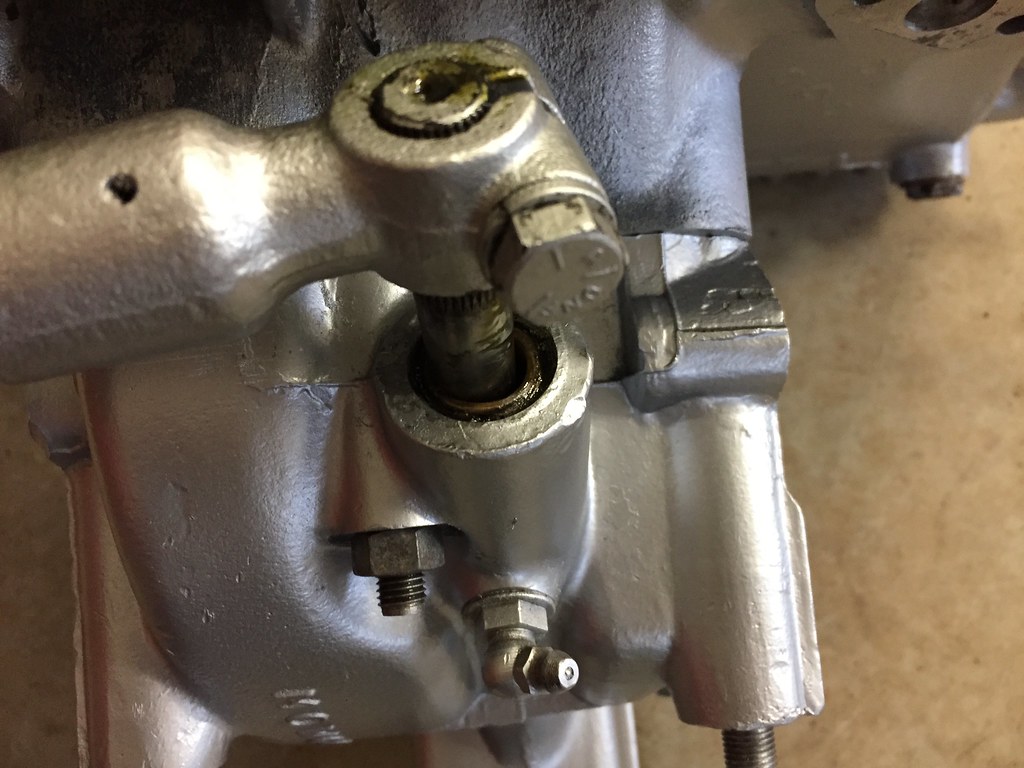
There is a lot of wear on the two bushes in the diff cover so they will need to be replaced. The shaft is still in good condition, which is good because I don't think they are available anymore.
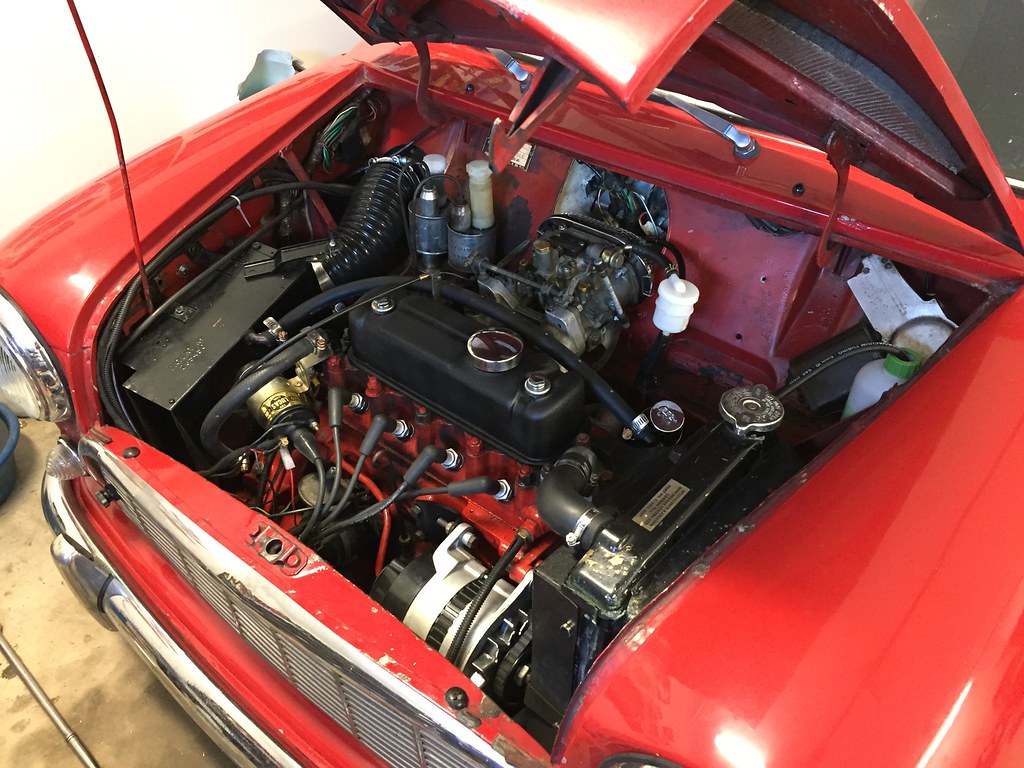
The engine started right up after sitting for a couple of weeks, and its nice to be back behind the wheel again!
Posted 02 February 2019 - 02:44 AM
I had a holiday over Christmas and came back in January full of energy to get the gearbox sorted. Luckily Justin who lives local to me was able to sort me out. He is able to press the new bushings into the diff housing and has helped me to source the parts to get everything done!
The laygear was trial fitted using a perfect secondhand shaft and shimmed with the thrust washers. It now spins freely, which is a bonus!

Lots of fun times ahead!
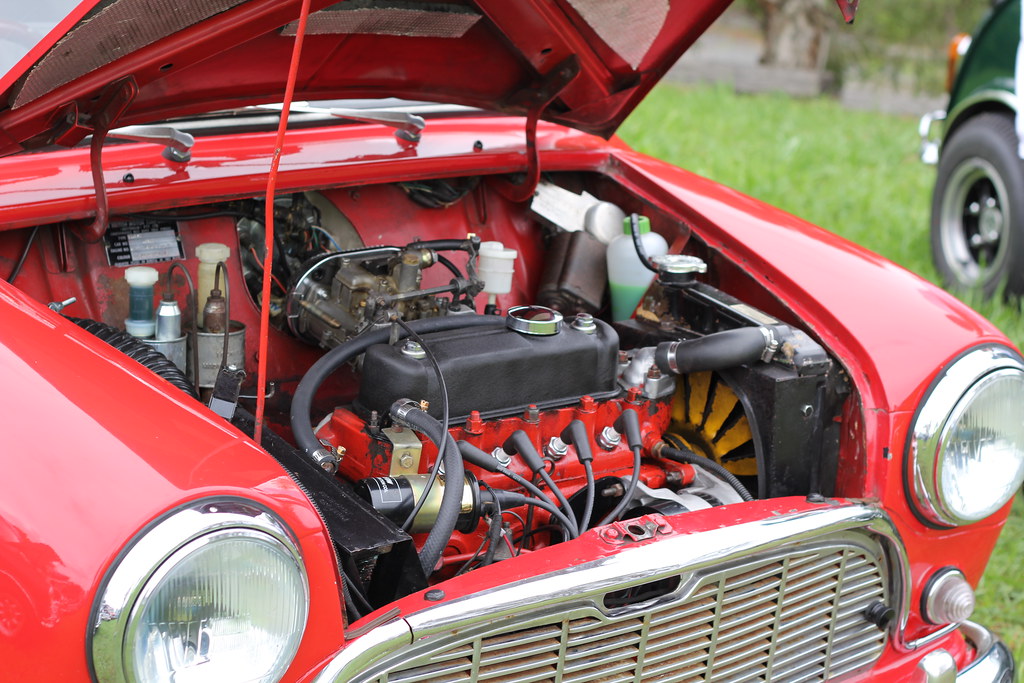
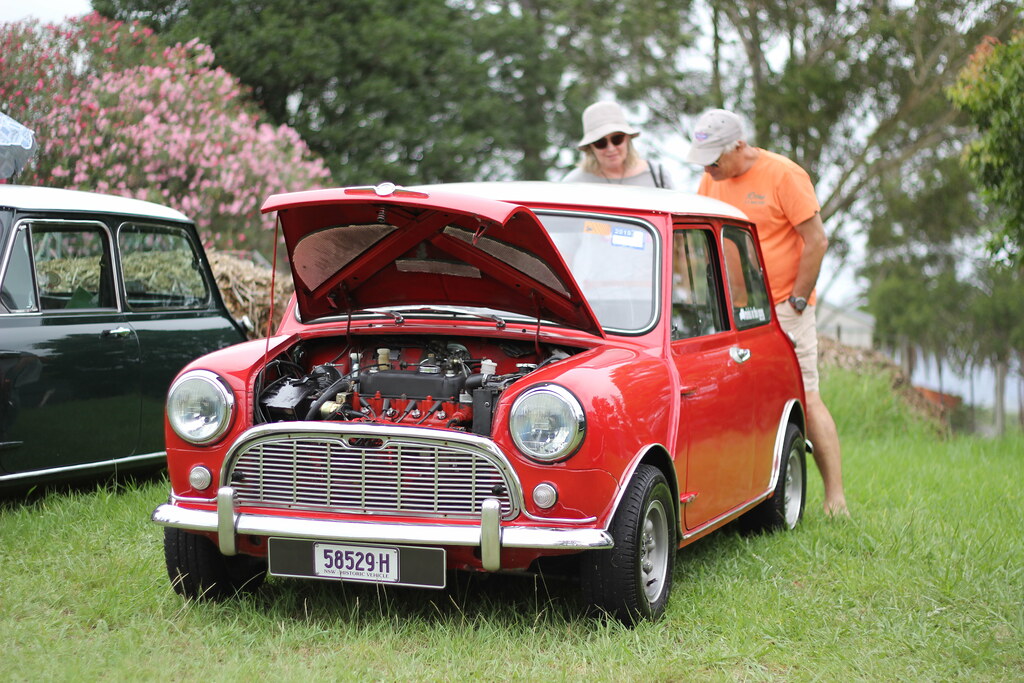
I made it to the annual Minis In the Gong show in late January for the 6th year. I even cleaned inside the engine bay and opened the bonnet which is a first for me!

Posted 02 February 2019 - 08:34 AM
This afternoon was very productive, as Justin had brought back the re-bushed diff cover and a couple of parts that I was missing. A couple of hours later the main assembly was all complete!
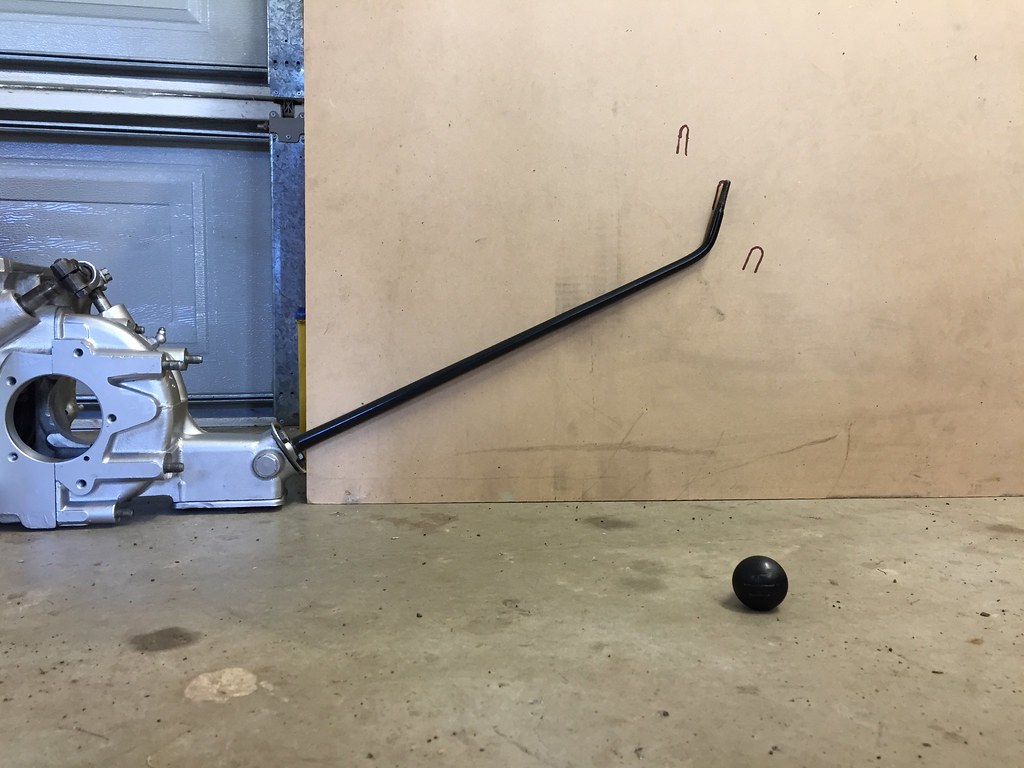
The magic wand shift is really nice too, very little slop and very easy to select all the gears!
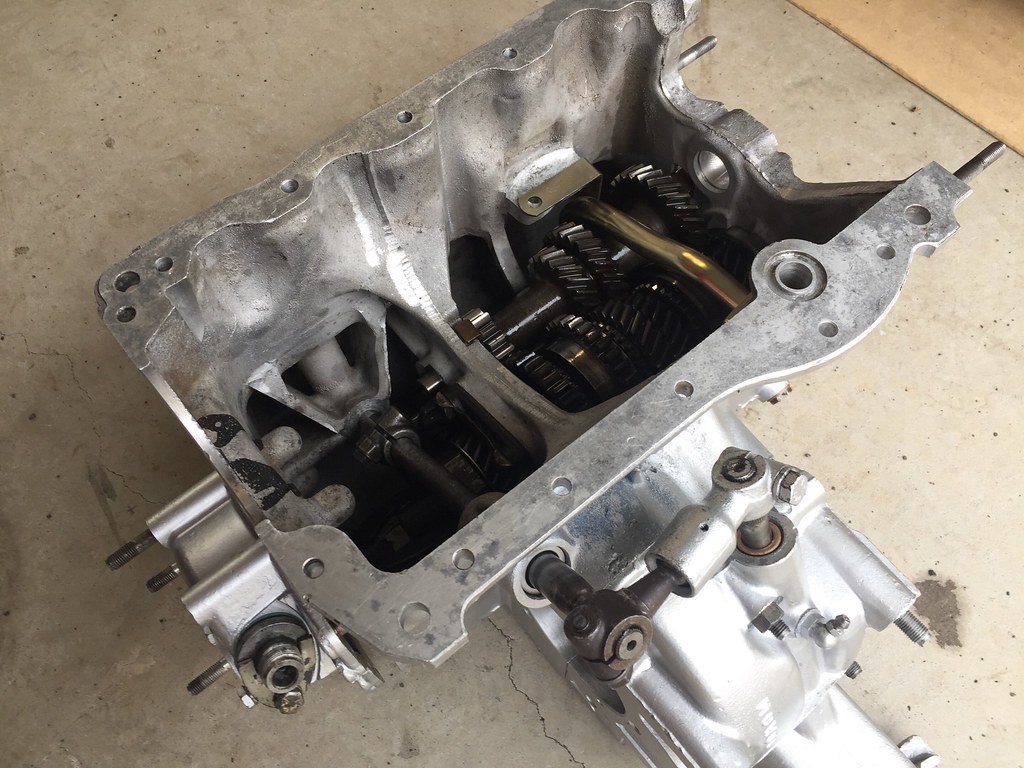


Left to go is:
Speedo drive cover to be bolted on when I find the studs
Diff to assemble and install
Centre oil pickup to be bolted in
Clean up flywheel housing + drill and tap for breather
Install idler gear bearings + check the end float
Posted 02 February 2019 - 10:27 AM
Posted 02 February 2019 - 11:50 AM
This is stunning! Great job, Tim!
Posted 11 February 2019 - 04:53 AM
Posted 11 March 2019 - 06:07 AM

Posted 11 March 2019 - 08:34 PM
How much difference in noise do you find between having the bulkhead sound deadening or not?
Posted 11 March 2019 - 11:51 PM
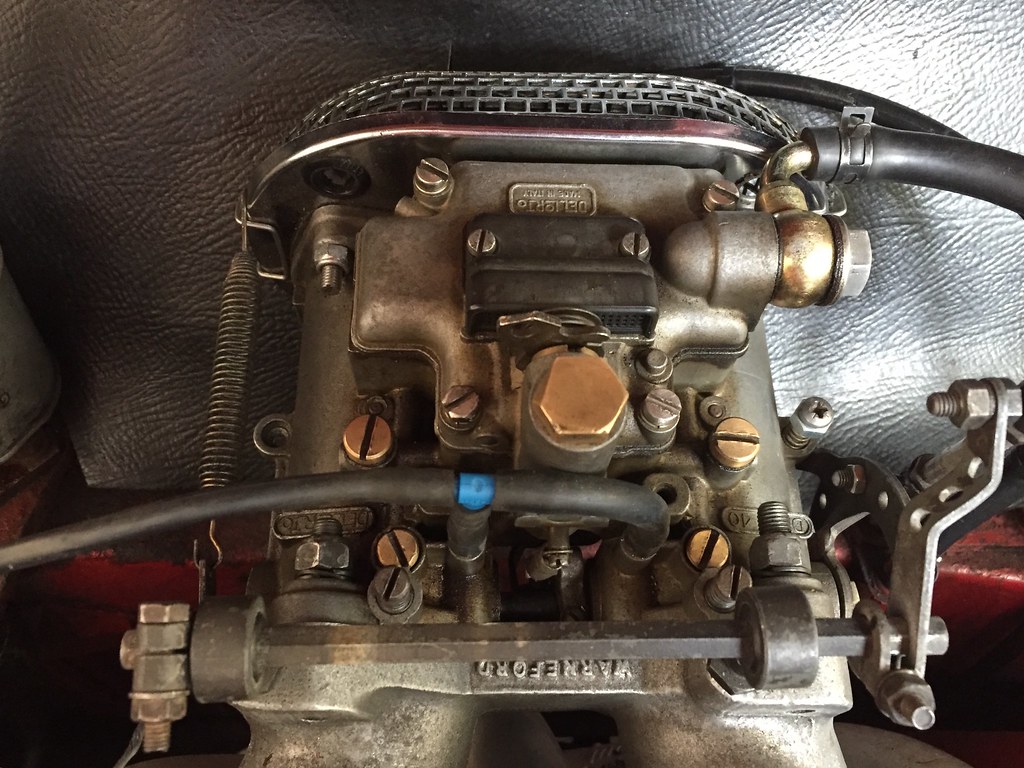
It’s an unbelievable difference! I like having it off most of the time as the Dellorto sound through the speedo hole is really addictive. I put it back on for the weekend as I was bringing my wife along. This insulation blanket is nice and thick, textured vinyl on the front and foam on the back. It’s also fairly heavy and makes the firewall look a bit tidierHow much difference in noise do you find between having the bulkhead sound deadening or not?
Posted 12 March 2019 - 01:42 PM
Did you make your own or buy one? - I think I'll see how loud my new engine is then decide what soundproofing I need.
Posted 13 March 2019 - 01:41 AM
I bought it pre-made from a mini supplier here in Australia.Did you make your own or buy one? - I think I'll see how loud my new engine is then decide what soundproofing I need.
0 members, 1 guests, 0 anonymous users