just had a good read thru this, (with a nice brew n hobnob or 4) very nice clubby mate and good choice of wheels. keep up the good work.
thanks dude though 


 1 votes
Up Into Fourth

Posted 03 November 2013 - 07:35 PM
just had a good read thru this, (with a nice brew n hobnob or 4) very nice clubby mate and good choice of wheels. keep up the good work.
thanks dude though
Passed Test

Posted 04 November 2013 - 01:22 AM
Following!
One Carb Or Two?

Posted 04 November 2013 - 07:45 PM
Looks great!
Up Into Fourth
Posted 11 November 2013 - 09:26 PM
As you can see my thread stopped completely long ago because my laptop broke! i will finish it! theres so much stuff that needs to go in there! lol
So the time has come for THIS>>
OK guys its officially happened, the vtec starts here!
My plan is to do a conversion for less than 2K.
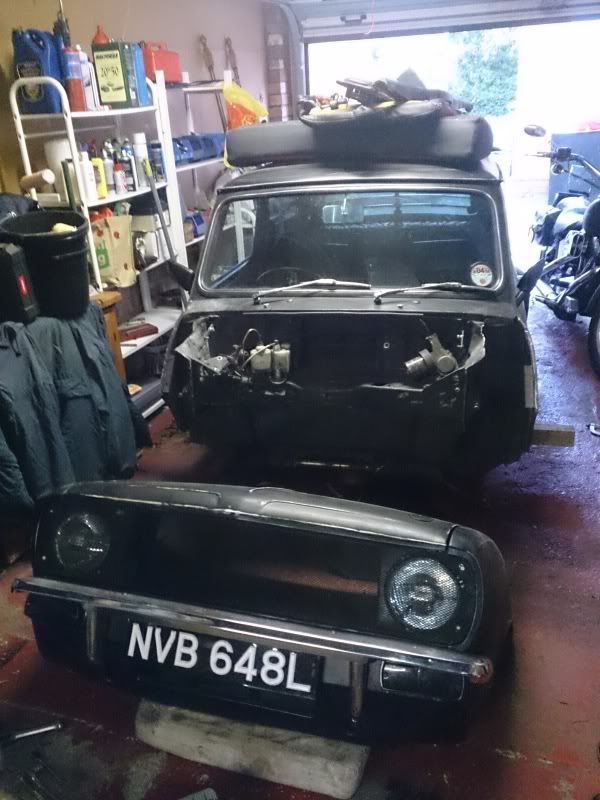
I have bought another twin point subframe as mine looked like this -
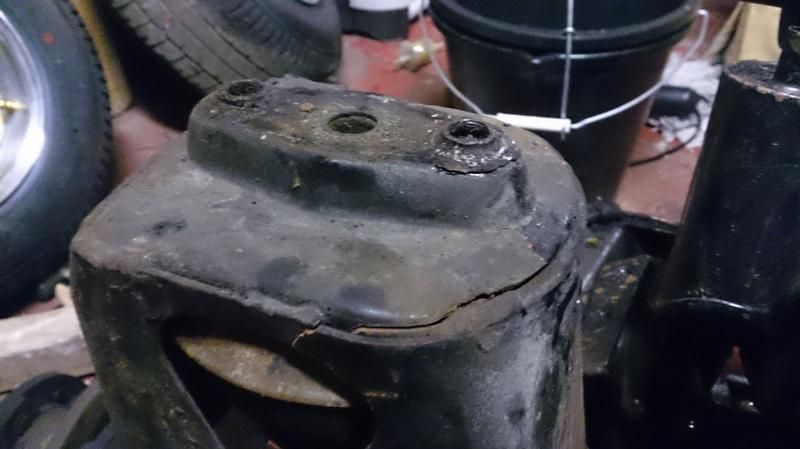
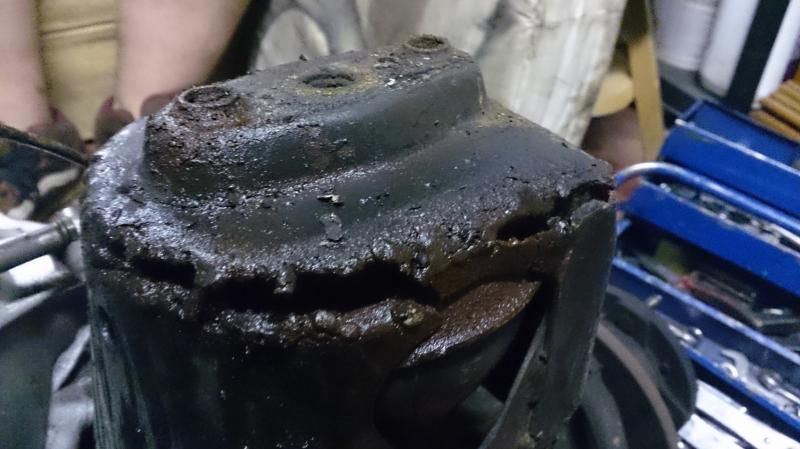
fubard! i think is the word! 
so I had a hunt for one, turns out these are hard to find I eventually got hold of one which is being fabricated this week by Kieren at KJB fabrications along with the HD driveshafts.
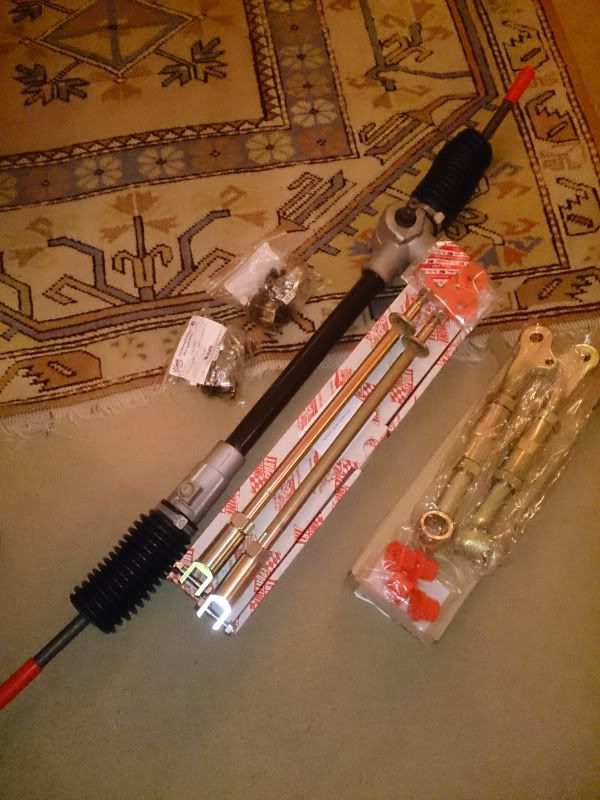
I have engine wiring, engine, radiator, MPI petrol tank, new steering rack, adjustable tie rods, adjustable lower arms, polly bushes for rods and bottom arms, a ceramic T304 stainless manifold and in the process of getting a skunk 2 or edelbrock Victor X inlet for it.
i have a few other things to get like gauges which im going to use the s2000 gauge if everything goes right which i know is going to be hard from what ive heard. also ive heard that you need to get them re-calibrated or something. this is what ive been reading -
http://honda-tech.co...2148453&page=95
theres some great information in there, also states i may need this
http://www.ebay.com/...ke/310723574436
there must be an easier way though surely, here it is anyway :)
http://www.ebay.co.u...=item27d9f4e811
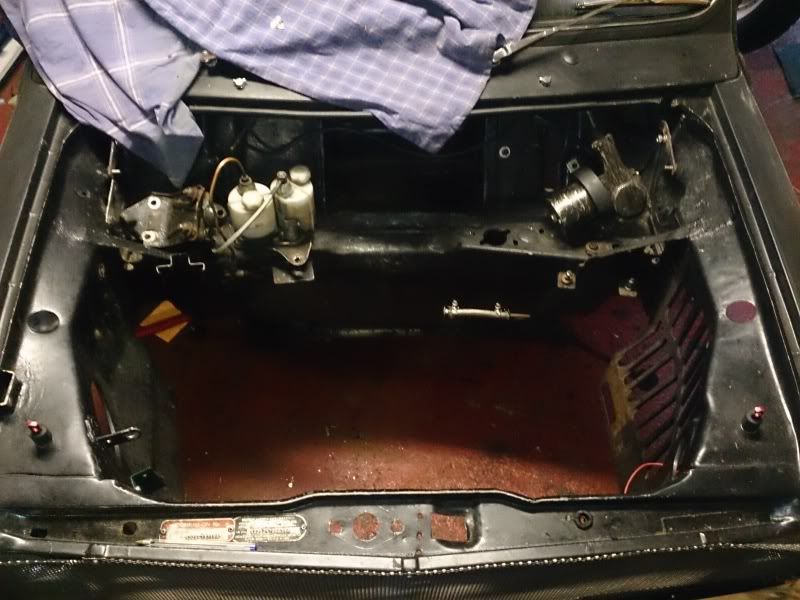
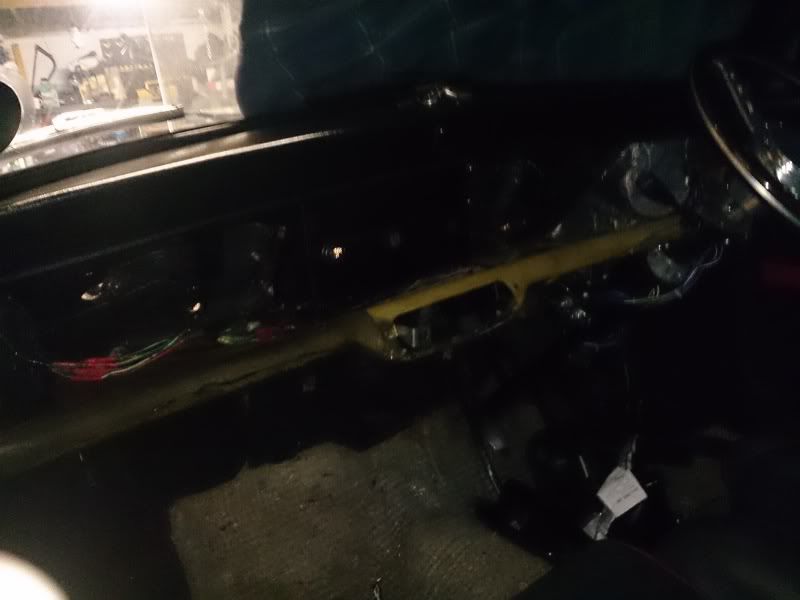
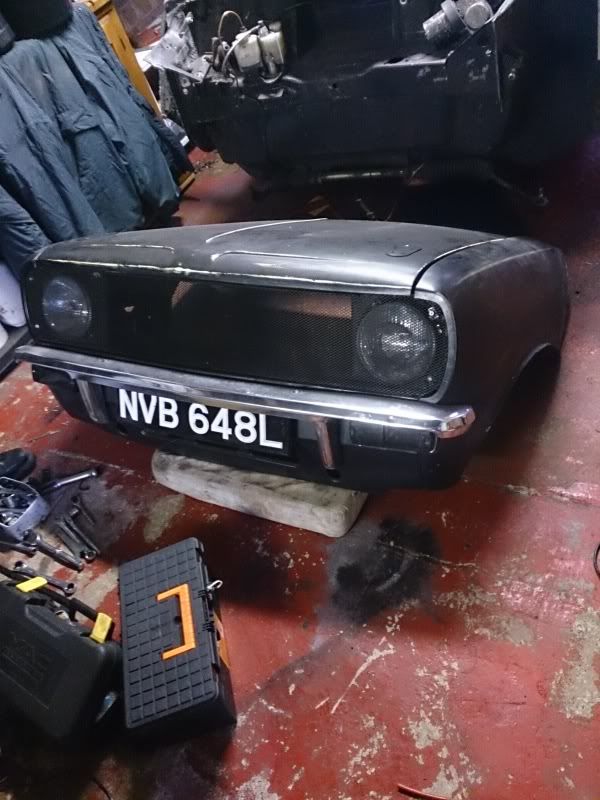
So far removed the 1340 and subframe, and with help cut of the front of the car as it will be a flip front upwards. taken of the steering rack ready for the new one and stripped the loom out apart from the rear part of the car.
I will be putting up for sale soon in the sale section my miglia arches, single coil rev limiter, steering rack, min sport non adjustable tie rods and adjustable lower arms which i already had.
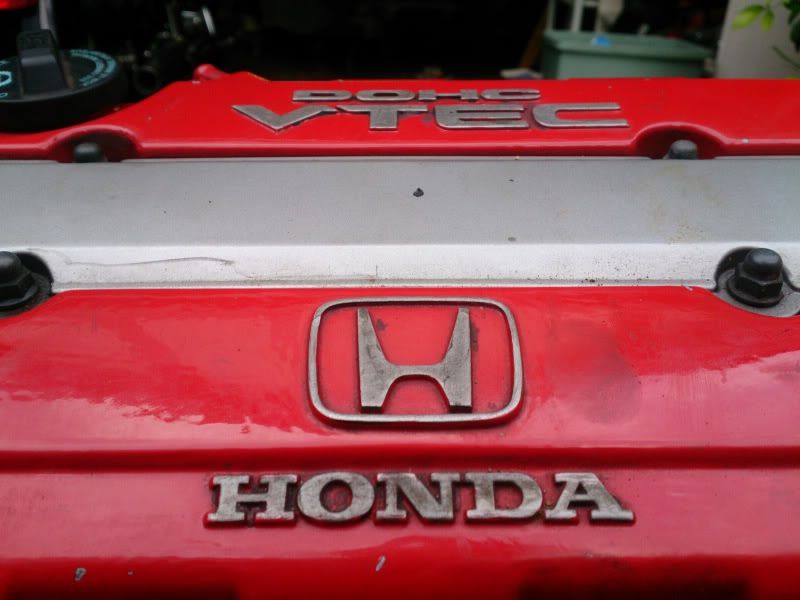
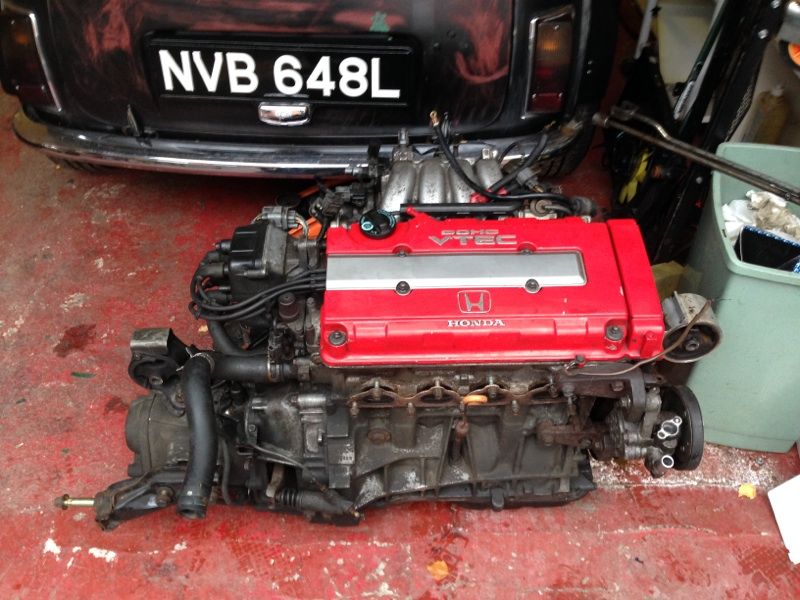
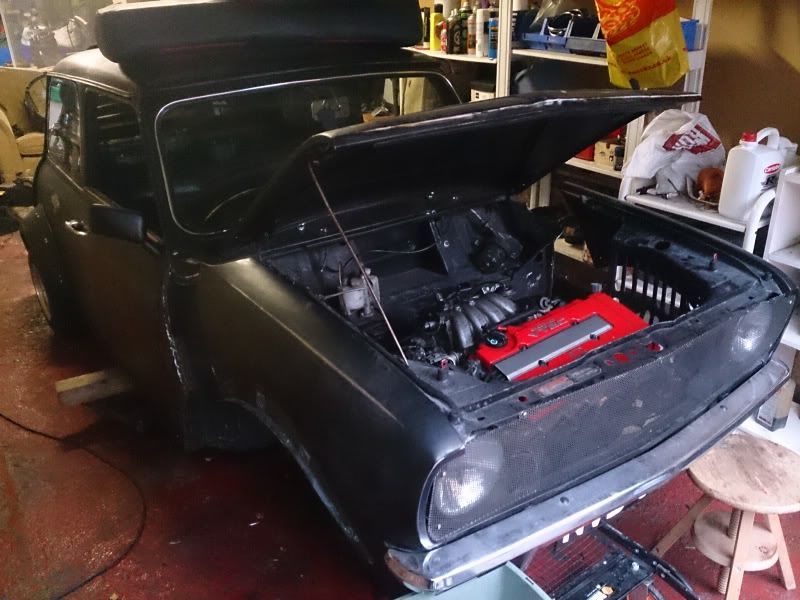
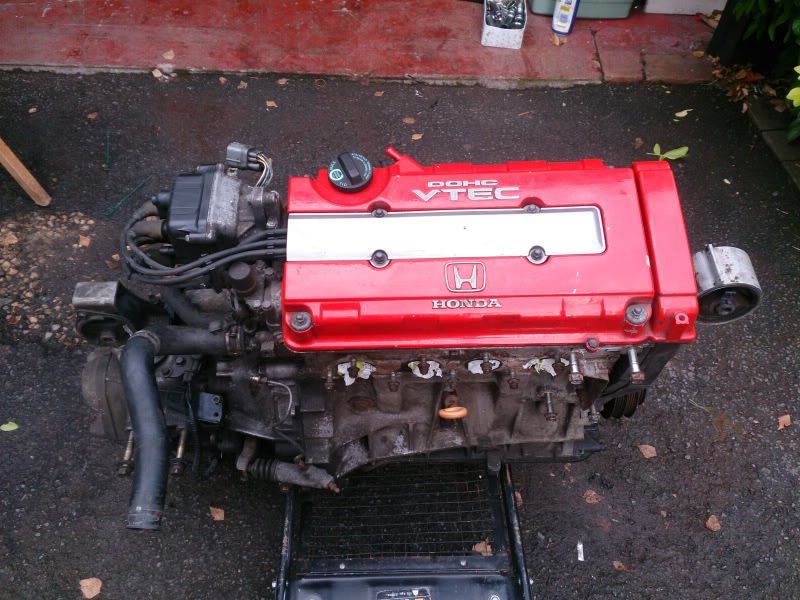
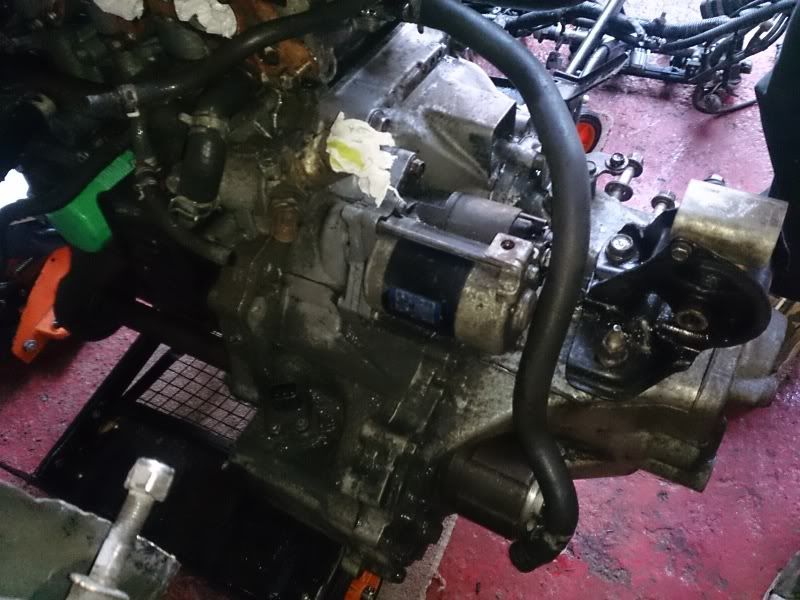
This is the engine, its a b18c4 with LSD as standard.
Some pictures for you peeps to come...
Up Into Fourth
Posted 11 November 2013 - 09:35 PM
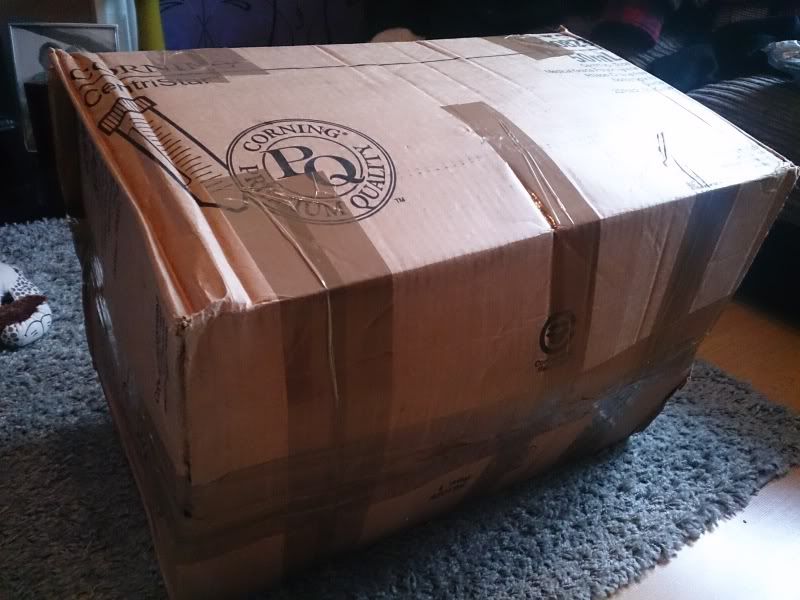
delivery! new stuff....mmmm
first stripped out the loom
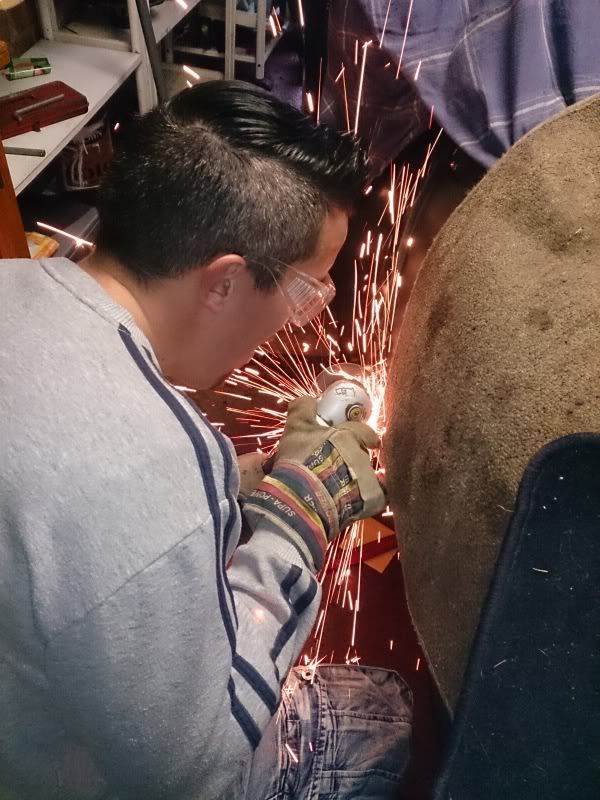
and a quick trim by James and his handy angle
and voila!..
and of course the money shot!
" I AM THE SPECIAL ONE"

Posted 11 November 2013 - 09:46 PM
Up Into Fourth
Posted 11 November 2013 - 10:00 PM
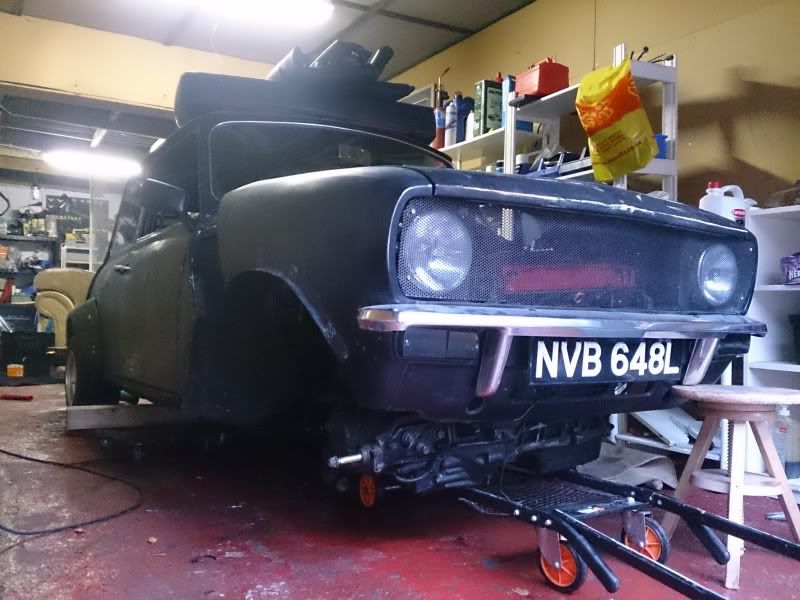
That's in there a bit wonky bud!!!;)
ahaha rear engine bottom was still on, car was too high and i need to change the inlet over to the skunk
but i just had to see! so exciting!
One Carb Or Two?

Posted 11 November 2013 - 10:00 PM
Crack on there dude, can't wait to see this done...#BruceTec!! 
Nathan
Up Into Fourth
Posted 12 November 2013 - 02:01 AM
Will do! Just need the subframe then I shouldn't take too long:-DCrack on there dude, can't wait to see this done...#BruceTec!!
Nathan
Up Into Fourth
Posted 12 November 2013 - 09:22 PM
UPDATE! So today was a bit slow i thought as im recovering from a bad migraine i had the other day grrr
anyway.
i starting of by taking of the fuel rail,wiring, manifold, throttle body, alternator and holder and power steering pump.
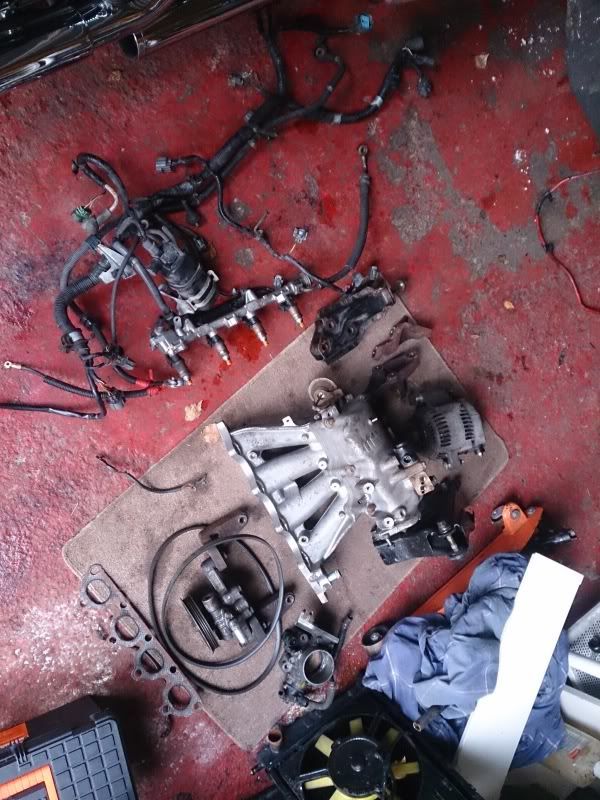
the standard manifold of the c4, i need to make sure i dont need to take anything else of it that i havnt already, here it is


this is what i was left with after blocking up the all the wholes with plastic bags lol
then i got the gunk out hehe
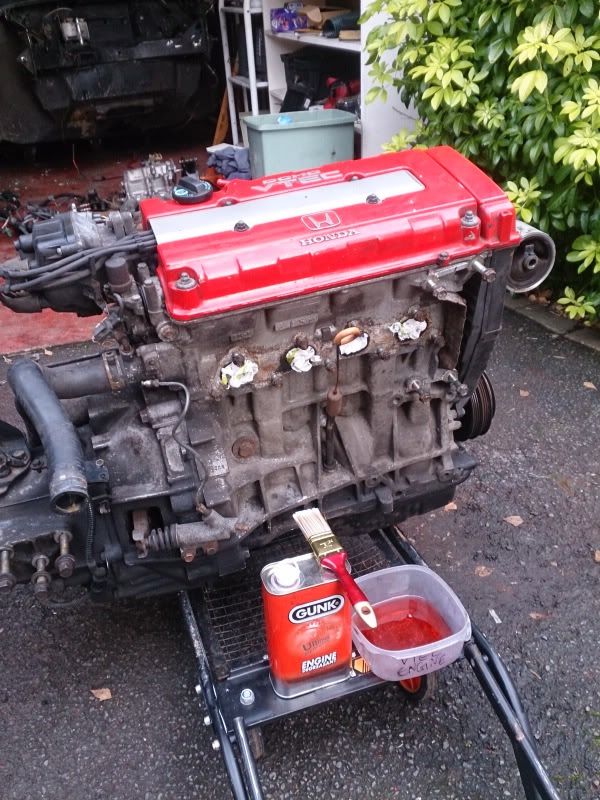
and waited lol
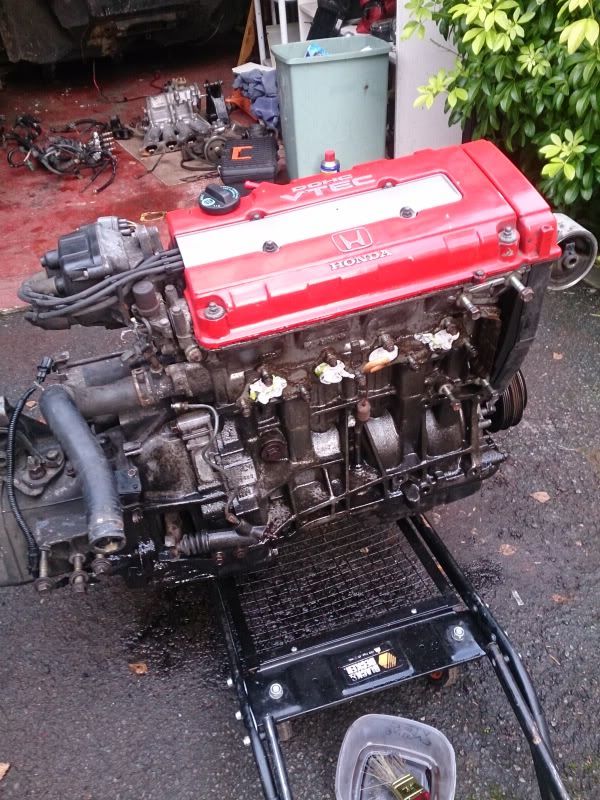
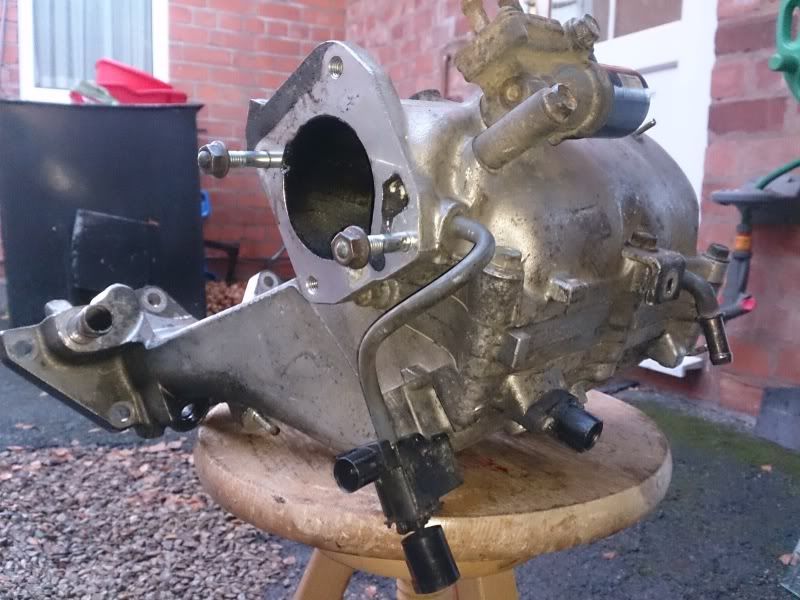
i went at it for about and hour and a half, and ive decided it needs a wiring cloth on it, all the grunge has gone but no where near how clean i want it to be
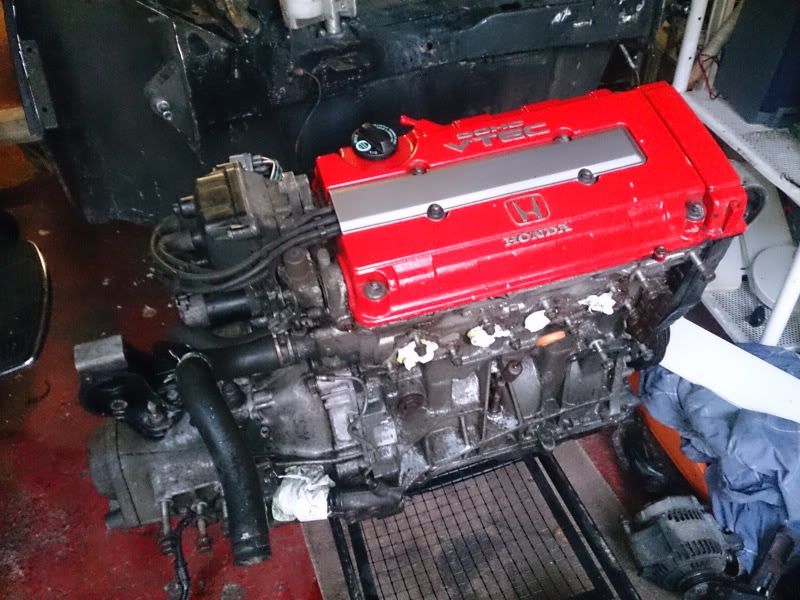
until i have the subframe in my hands i can only clean the engine which is a bummer. but its going to look nice when its clean and painted :)
I will be next welding some plates in to re-inforce the bottom subframe mounts, redressing the engine bay in some nice new paint and leaving the bulkhead how it is until ive made sure the inlet fits properly. i have a battery box in there at the moment so hopefully I only have to cut into the bottom bit of the firewall and not have to alter the box
Up Into Fourth
Posted 13 November 2013 - 12:01 PM
mmmm just found these, the both look awesome leaning towards the red one though its not just the colour! honest!
http://www.funkypowe...id_product=4261
http://www.funkypowe...id_product=5790
http://www.h-tune.co...ic-integra.html
and im going to use these for the front flip upwards that one of my mates has used.
http://www.ebay.co.u...ff13=80&ff14=83
beats spending 200 quid with mini tec!
http://www.ebay.co.u...ff13=80&ff14=83
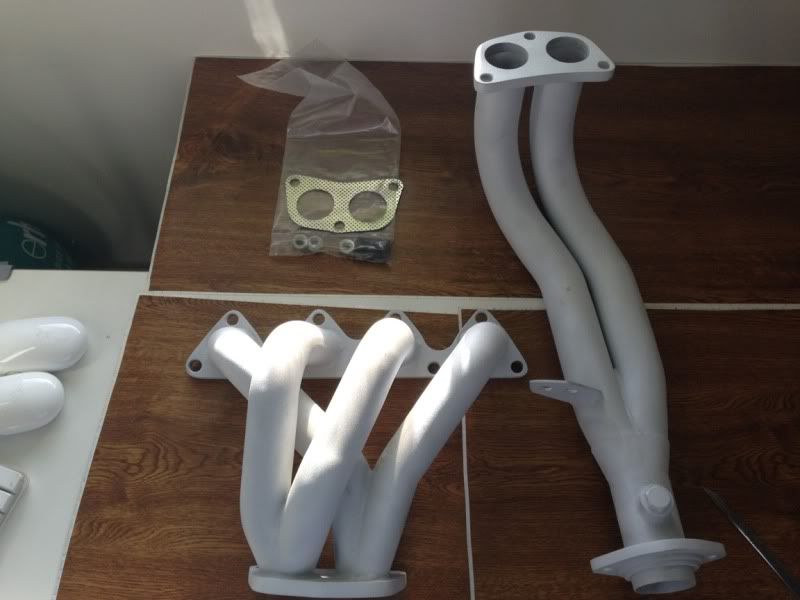
and another thing i will be doing which i havnt seen done on a mini specifically, its a exhaust cut out which a lot of you may of heard of before, but as some people may know of TMF i am prone to change exhausts quite a lot. usually because of wanting to be quite, then loud, then quite etc etc etc. this will give me the best of both worlds :)
http://www.jegs.com/.../11529/10002/-1
as far as i can see i need these gaskets are these correct?
http://www.funkypowe...id_product=5560
http://www.ebay.co.u...=item27da15ad2c
Up Into Fourth
Posted 13 November 2013 - 01:28 PM
Up Into Fourth
Posted 13 November 2013 - 03:10 PM

Straight to the Point

Posted 13 November 2013 - 08:12 PM
Hello mate
I've been tracking this one just haven't had the time to reply, glad you finally got sorted, now the fun begins!
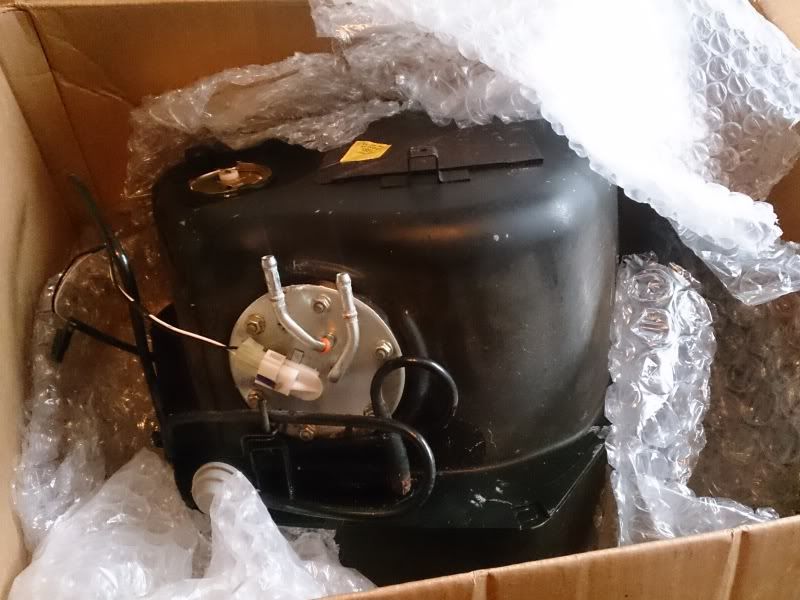
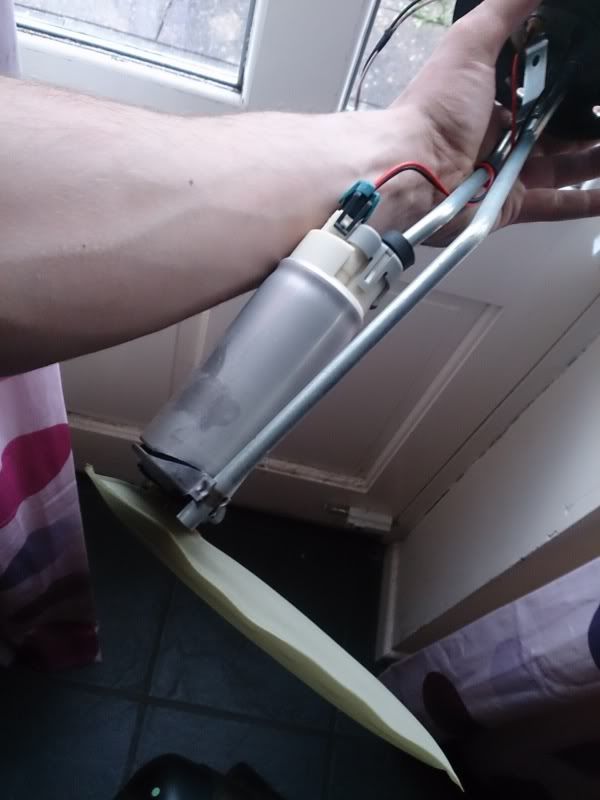
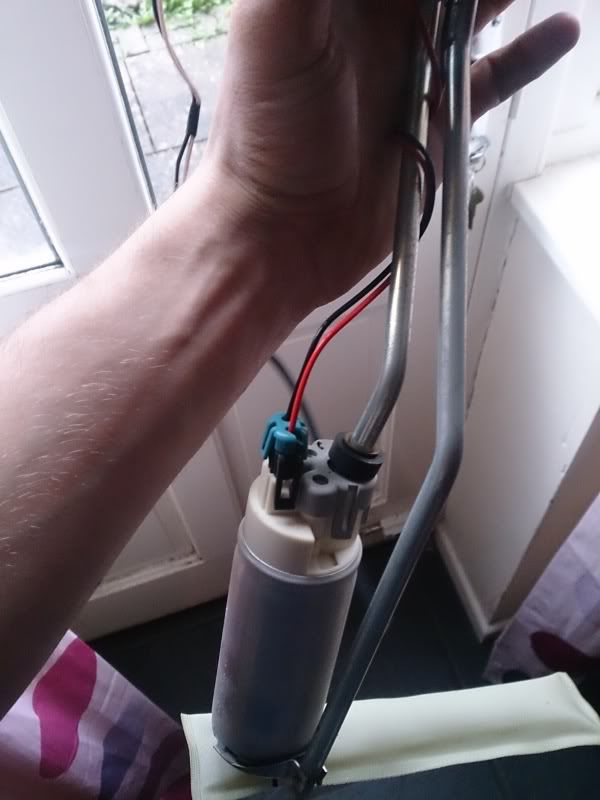
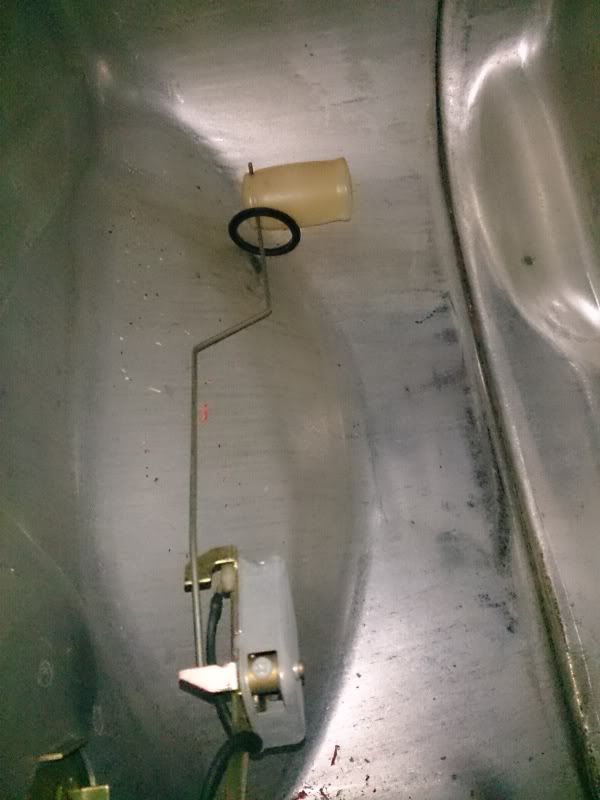
Yep that rubber ring goes around the centre of the float of the fuel sender
You got a fuel pump ready to replace that one you got there?
Up Into Fourth
Posted 13 November 2013 - 08:20 PM
Hello mate
I've been tracking this one just haven't had the time to reply, glad you finally got sorted, now the fun begins!
Yep that rubber ring goes around the centre of the float of the fuel sender
You got a fuel pump ready to replace that one you got there?
:) hey!
yes the fun is ahead of me for sure :) i thought yours was excellent, very nice to see one unmolested when doing the conversion :)
i haven't got a fuel pump to replace it know im looking for one at the moment
not having much luck with it ha!
what did you use to clean your engine mate?


0 members, 1 guests, 0 anonymous users


