Good to see some progress. What made you cut the floor for the linkage instead of cutting the linkage?
Oh, and just a little note, the ecu output for the fuel pump is an earth not +'ve (it should earth a relay which gives power to the pump). Just finished my wiring this evening. ;)

 1 votes
Bruce the clubman 1972
Started by
Hegnirst
, May 09 2012 04:31 PM
362 replies to this topic
#286

DangerousDave17
-
- Noobies
-

- 76 posts
Stage One Kit Fitted
- Location: Redcar
Posted 12 May 2014 - 09:20 PM
#287
Hegnirst
-
- TMF+ Member
-
- 3,496 posts
Up Into Fourth
- Location: UK
- Local Club: Hilltop Minis
Posted 12 May 2014 - 09:29 PM
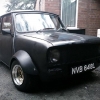
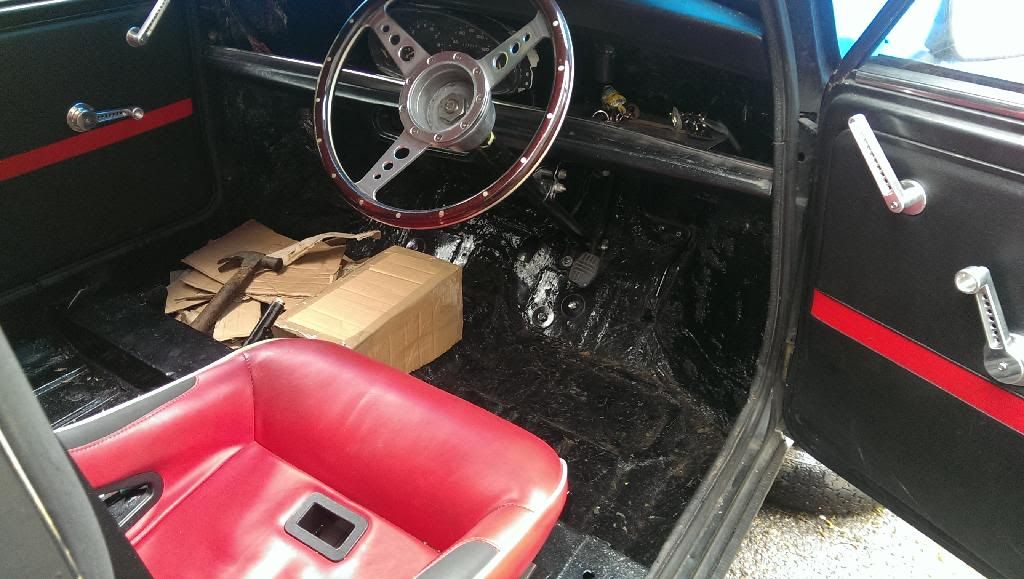
i then started figuring out where i wanted my seat and mocking up the gear stick box
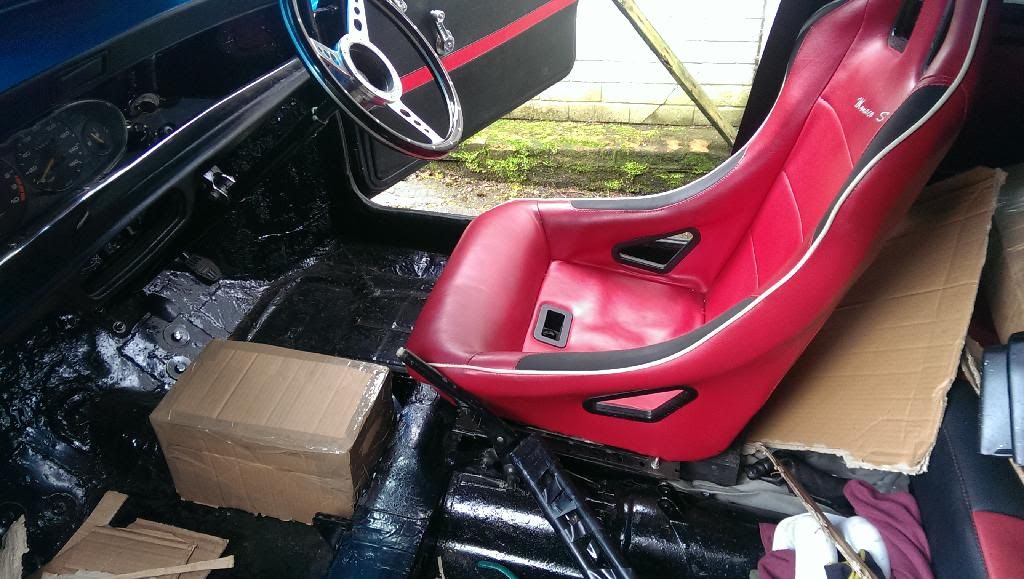
now what i always wanted to do is make a seat that lent back rather than being flat because your weight holds you in better and i thinks more comfortable. so thats to come XD
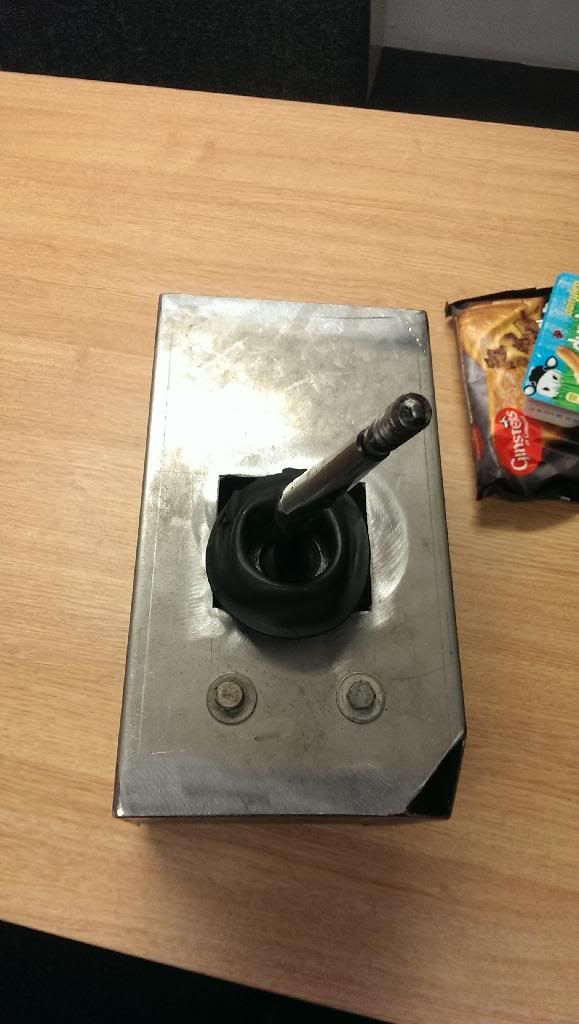
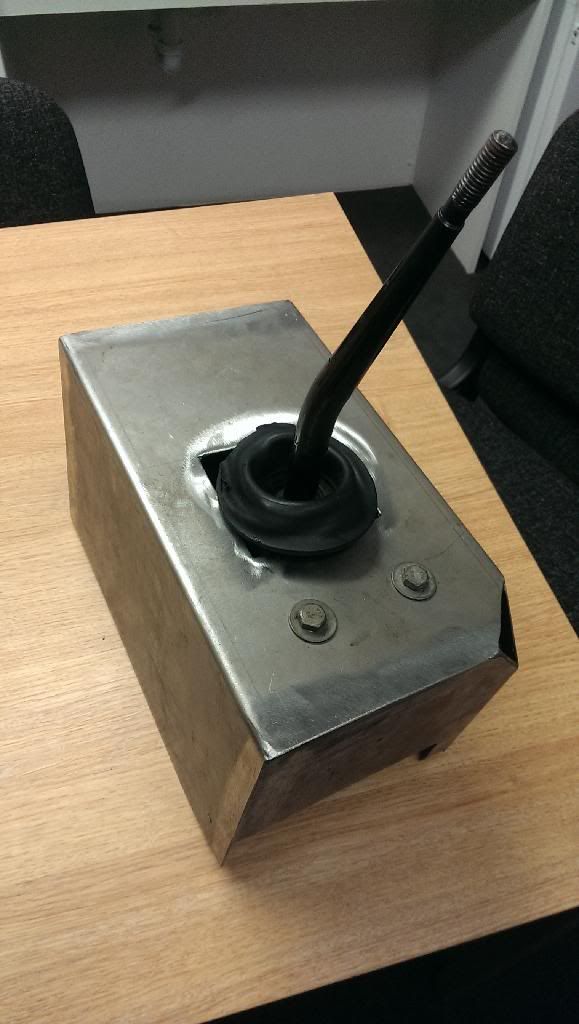
the box i templated went to a fabricator down the road because i only just started welding  reason i want to raise it, is because i wanted the throw to be as normal and i wanted to make it a short shifter (kinda) more to come on this...
reason i want to raise it, is because i wanted the throw to be as normal and i wanted to make it a short shifter (kinda) more to come on this...and as it stands
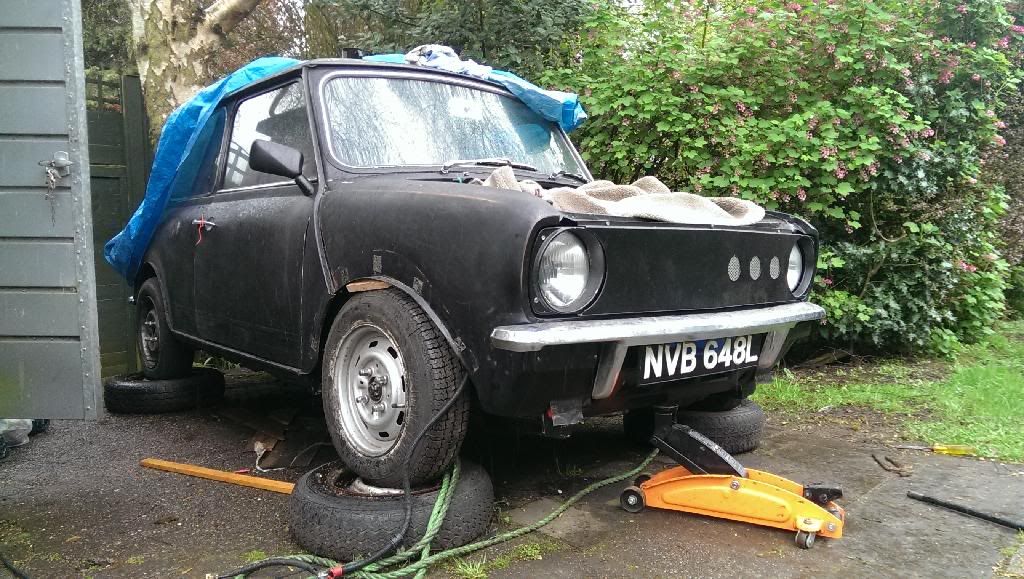
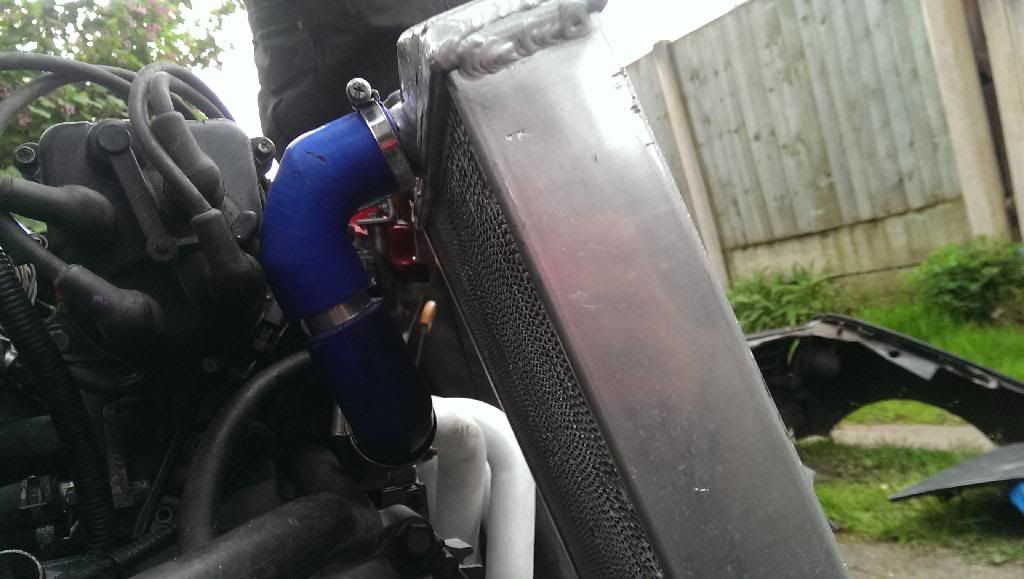
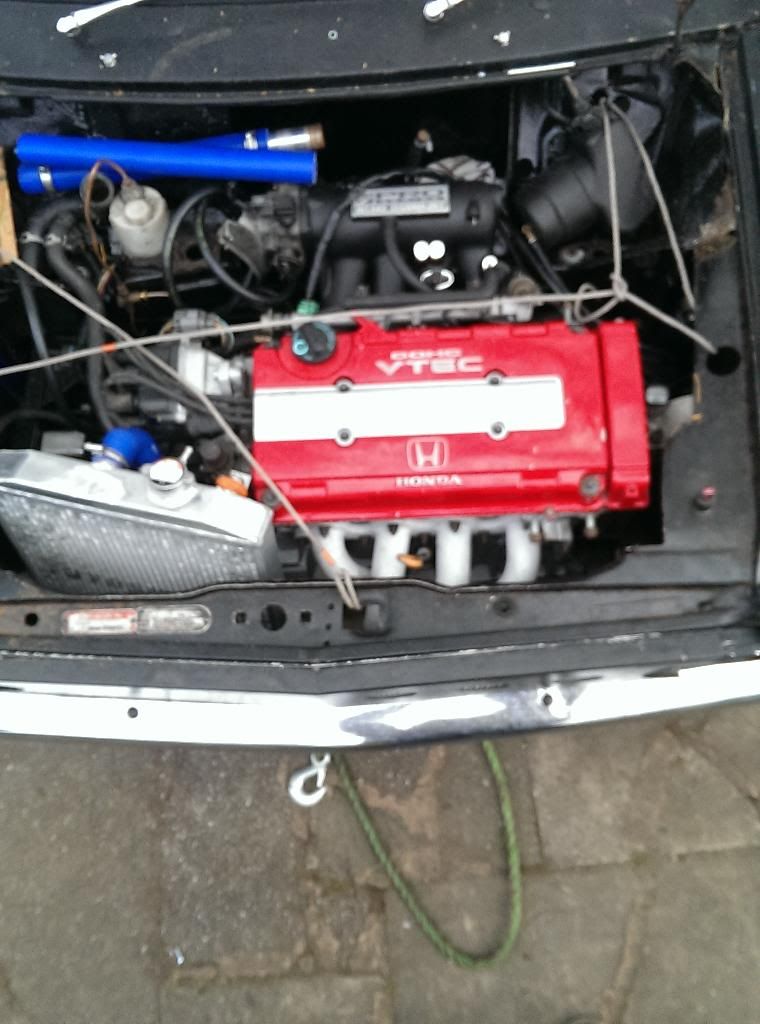
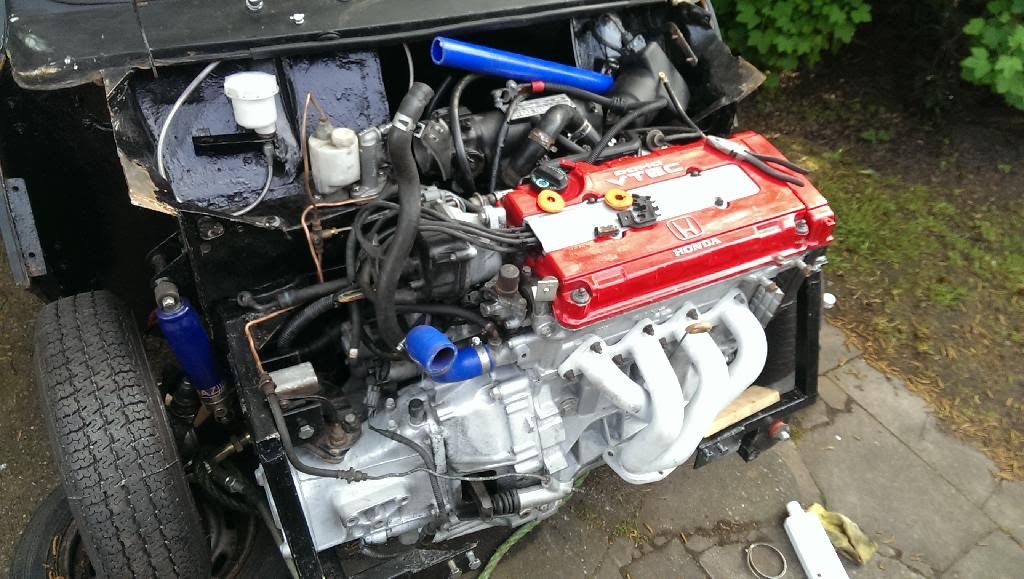
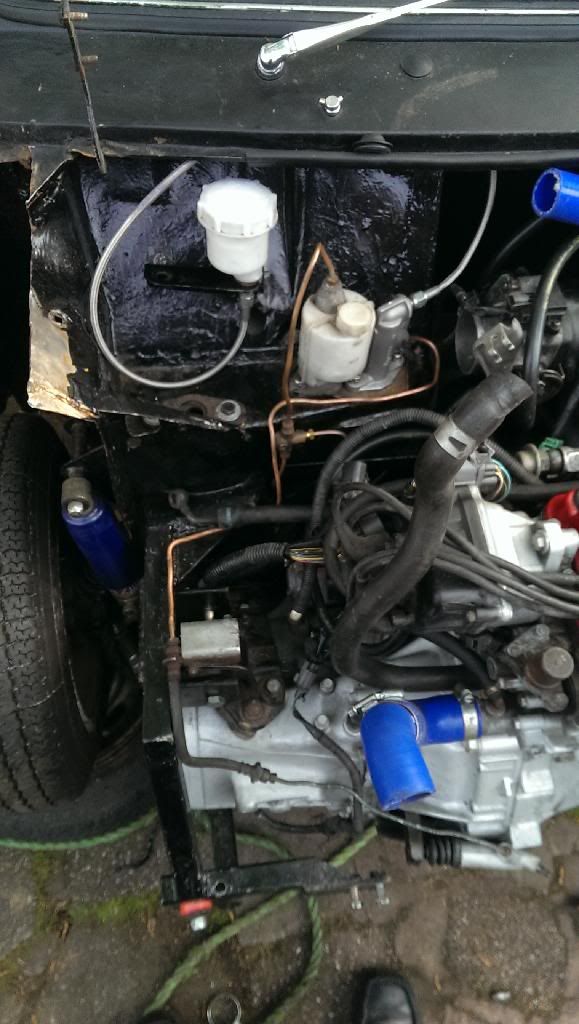
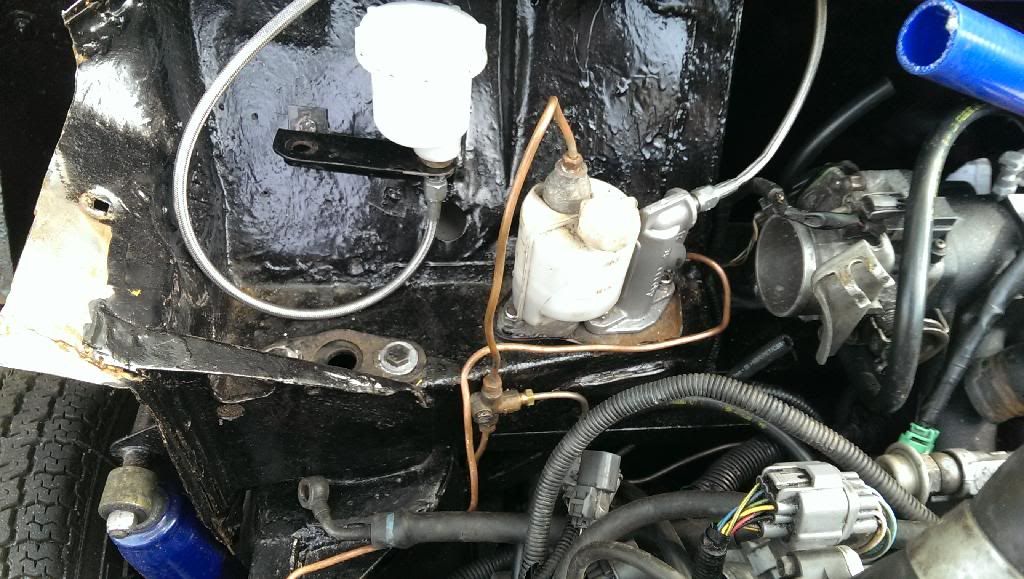
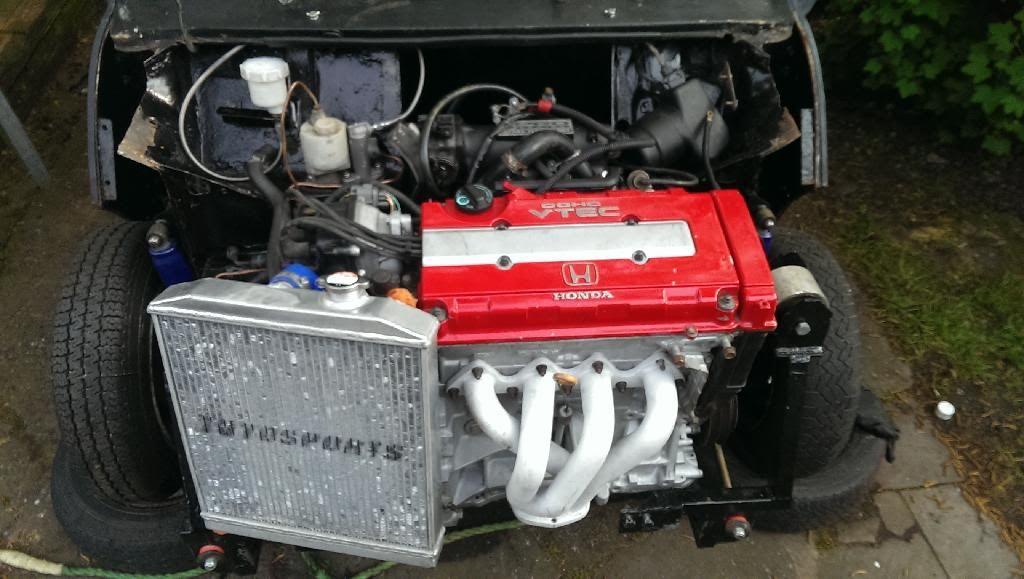
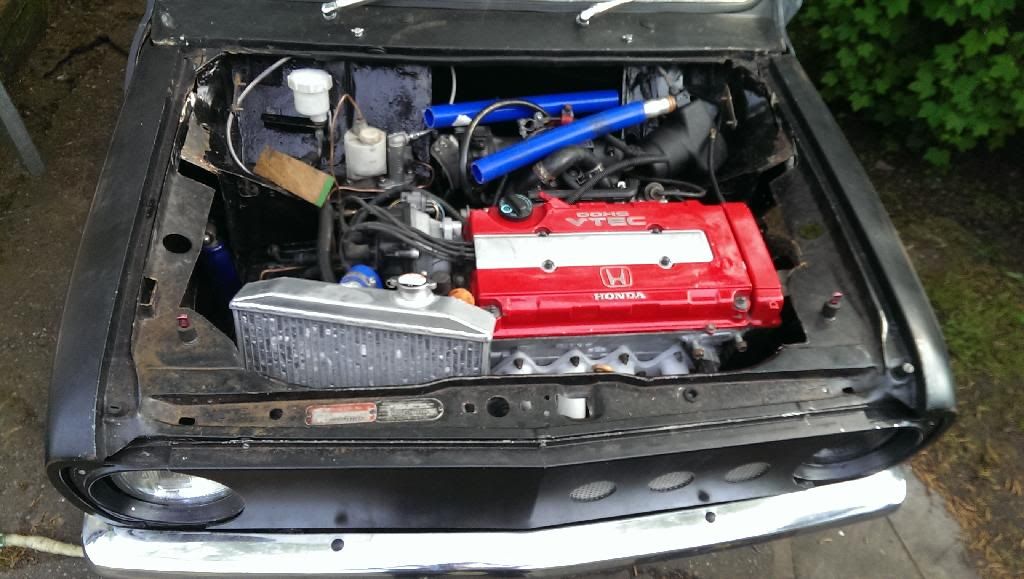
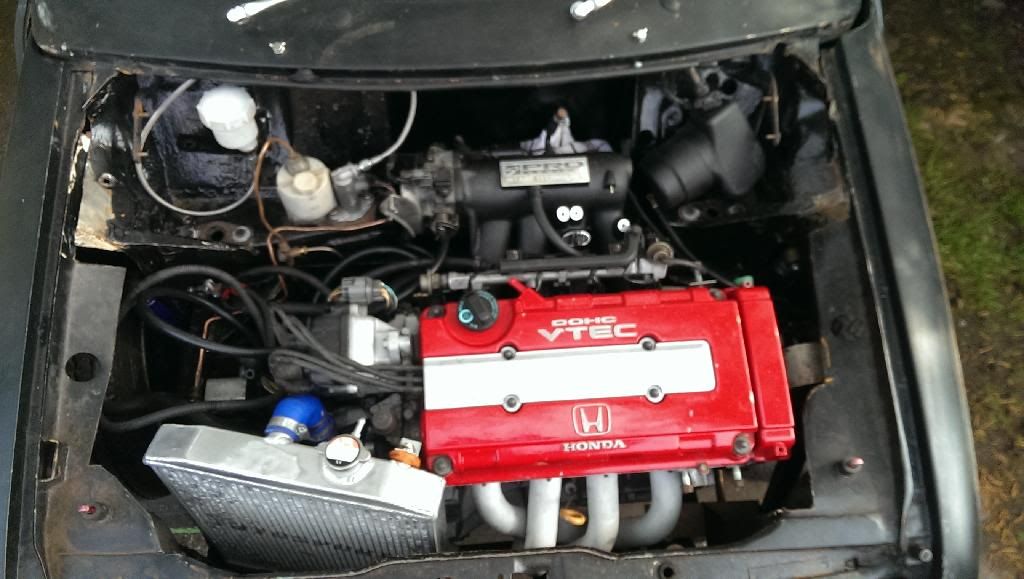
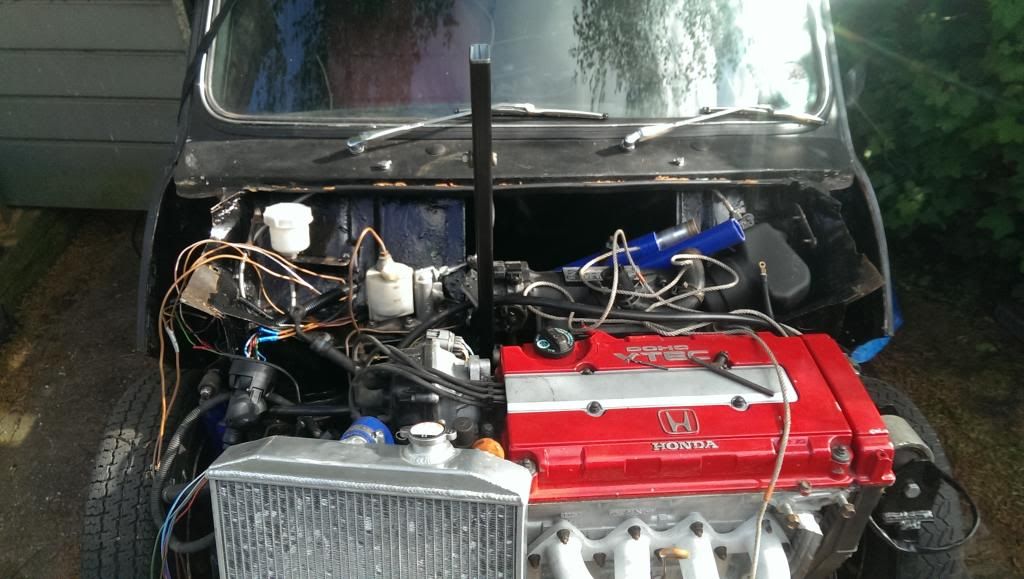
then started to figure out where the radiator was to go

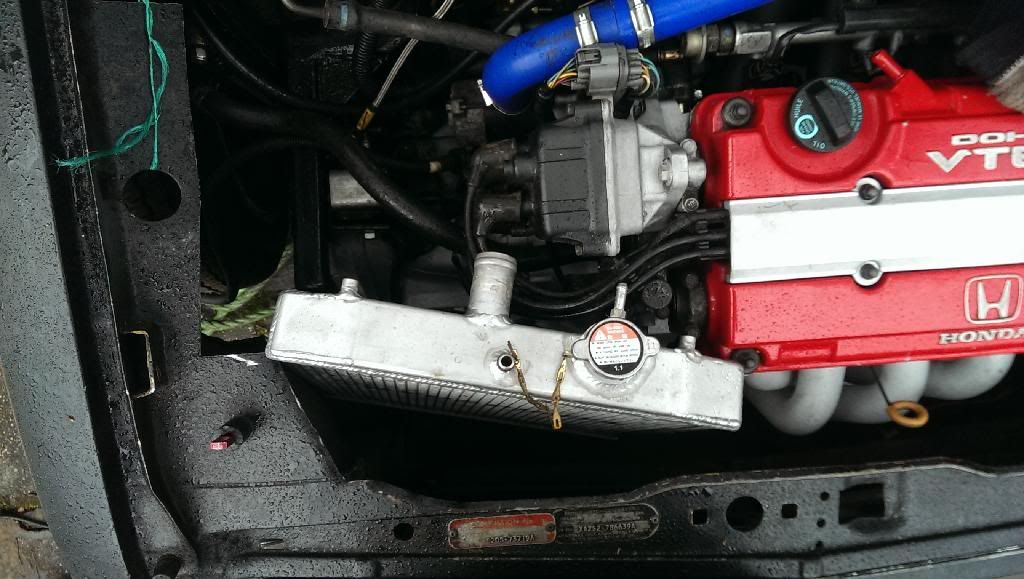
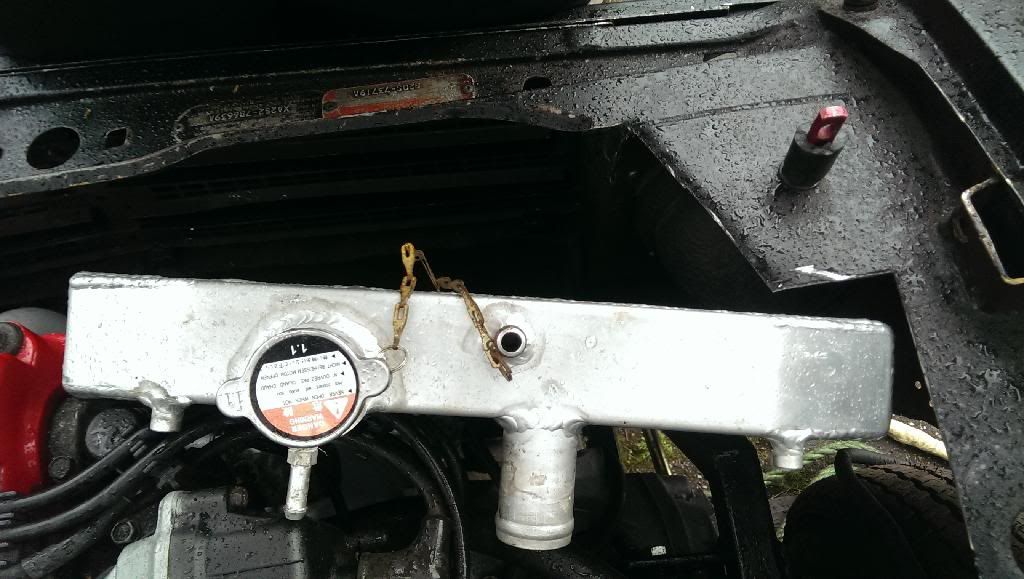
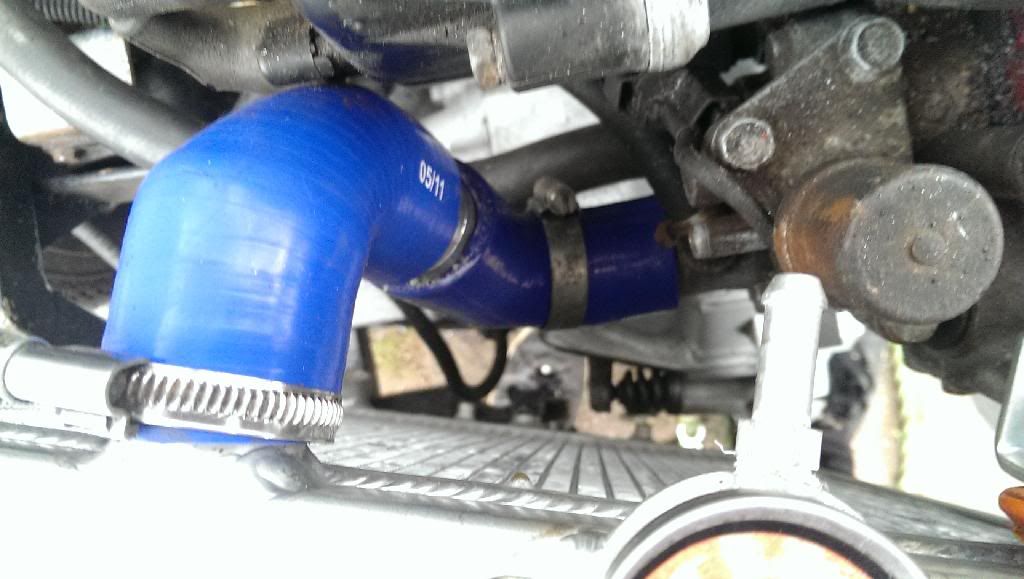
with the infamous bottom hose in the way lol
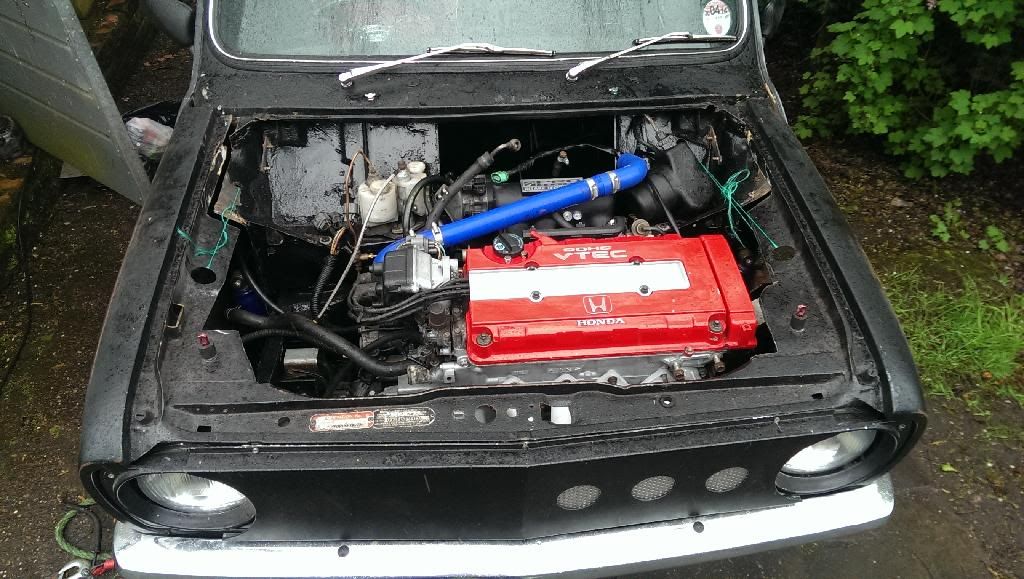
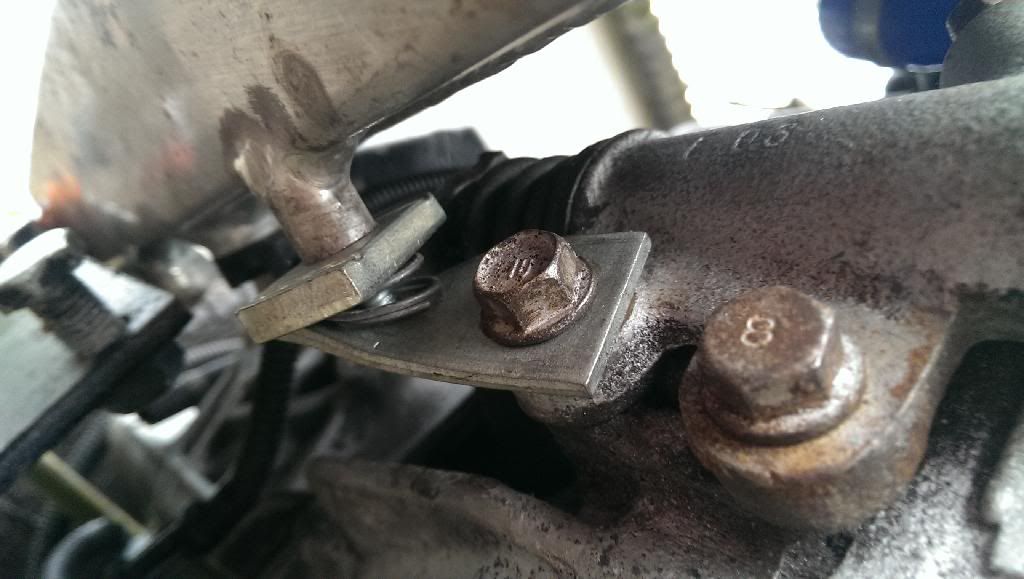
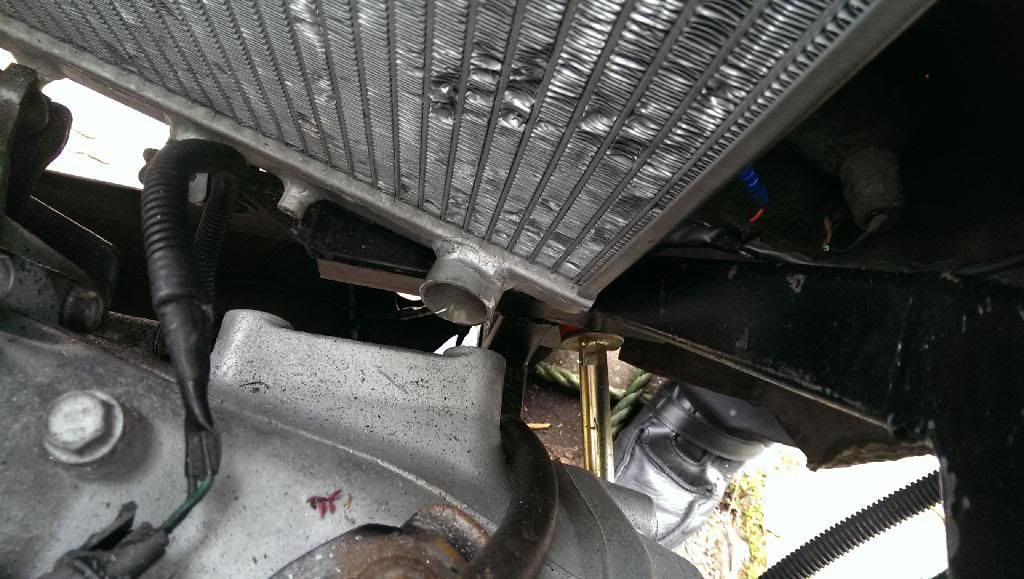
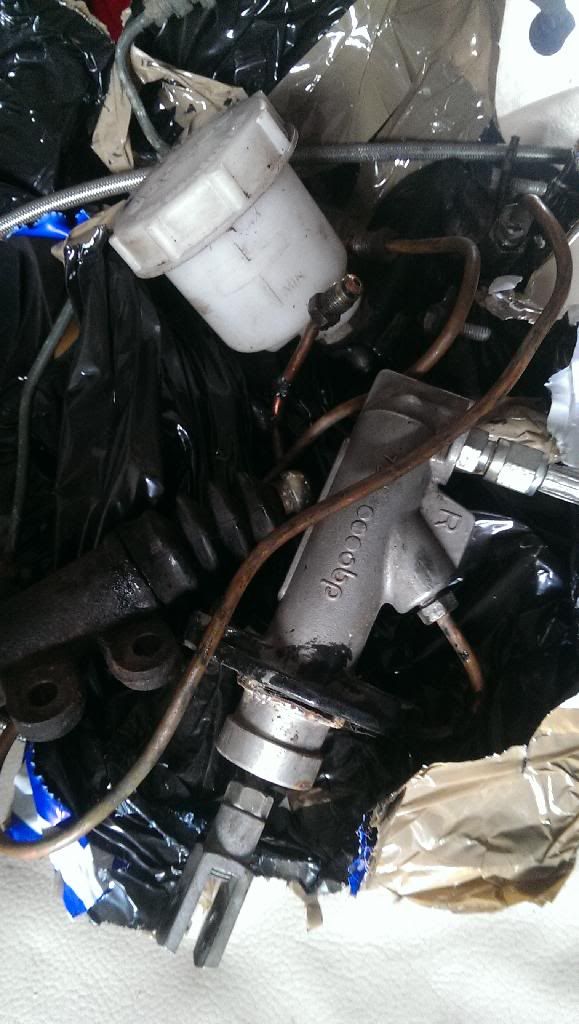
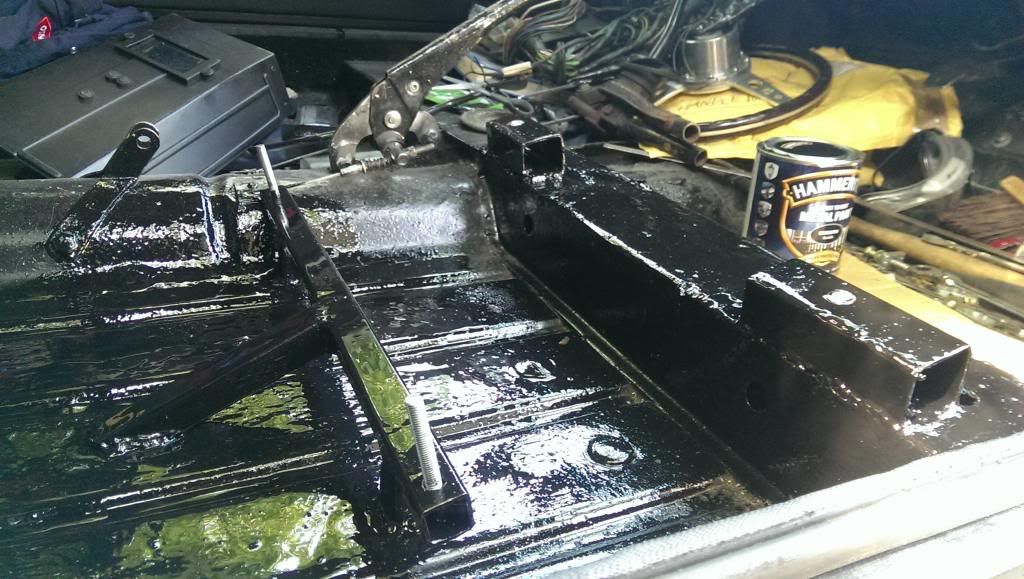
and basically cut a little bit more out, and used the subframe AND the engine to mount the radiator using rubber mounts and one of the slave cylinder bolts. and hey presto...
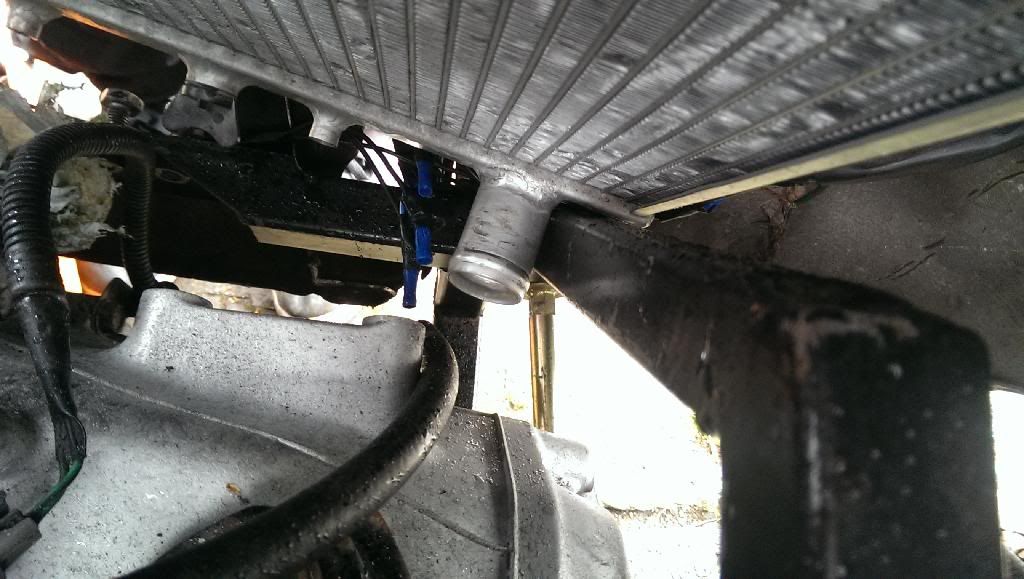
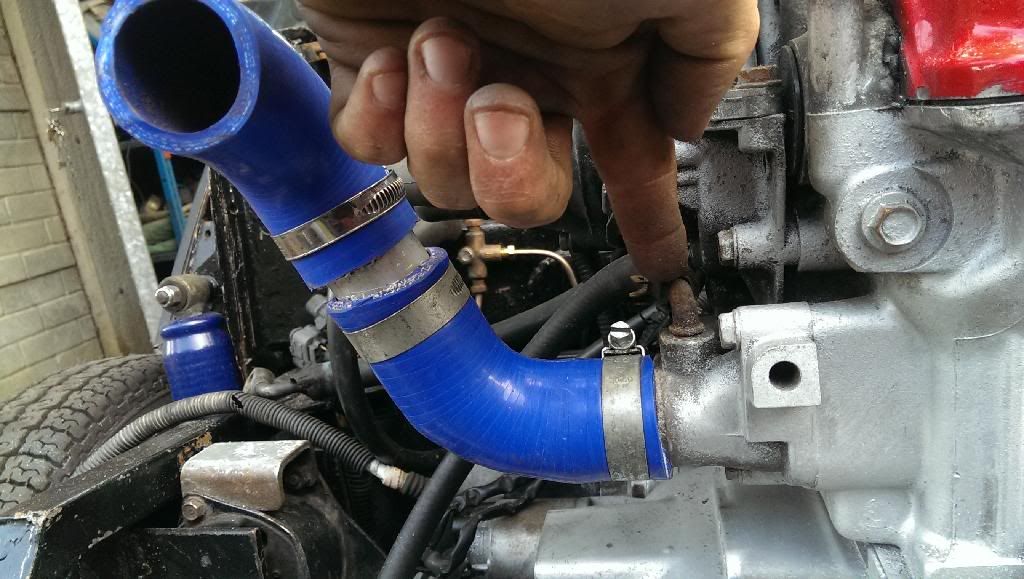
and started on the top hose.....hose lol
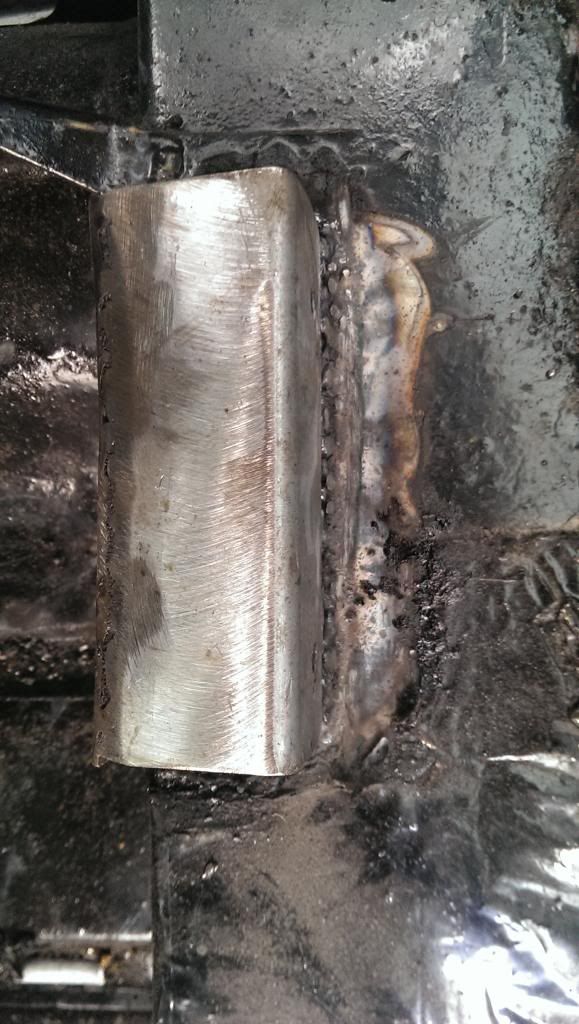
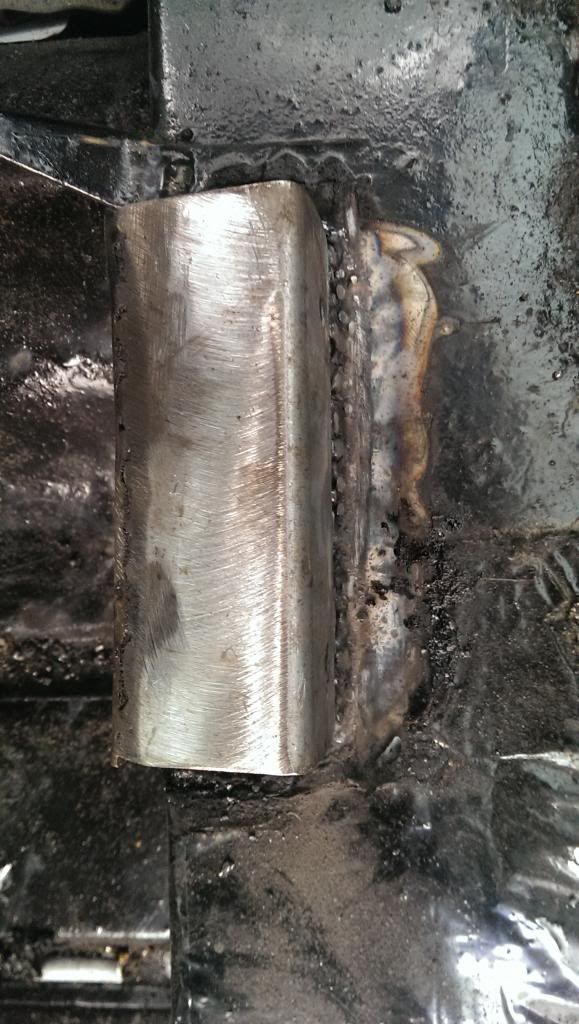
picture of the bottom mount on the subframe
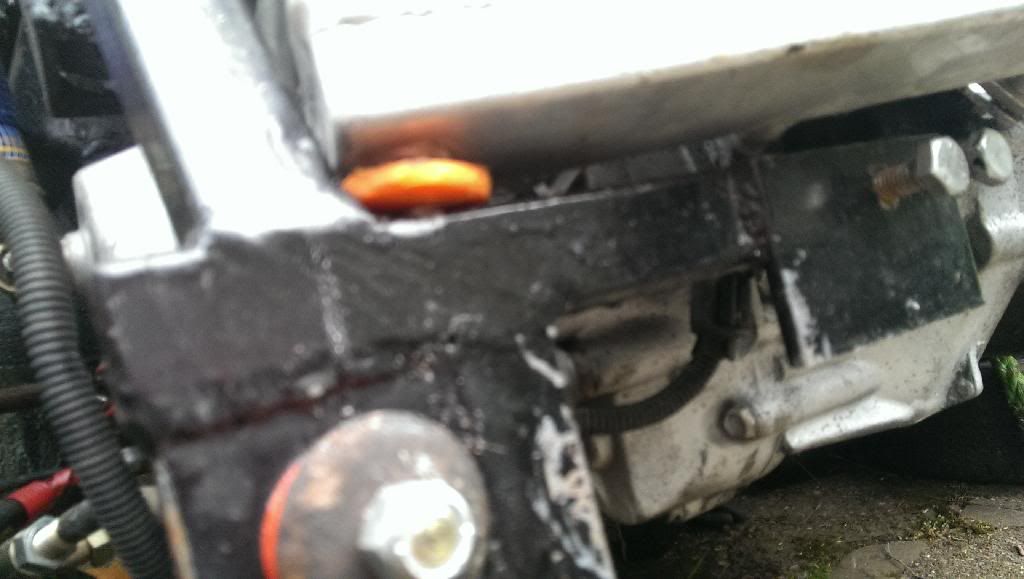
a rubber steady bush with the radiator mounted loosely in a hole to help to not brake anything :)
and looked like this
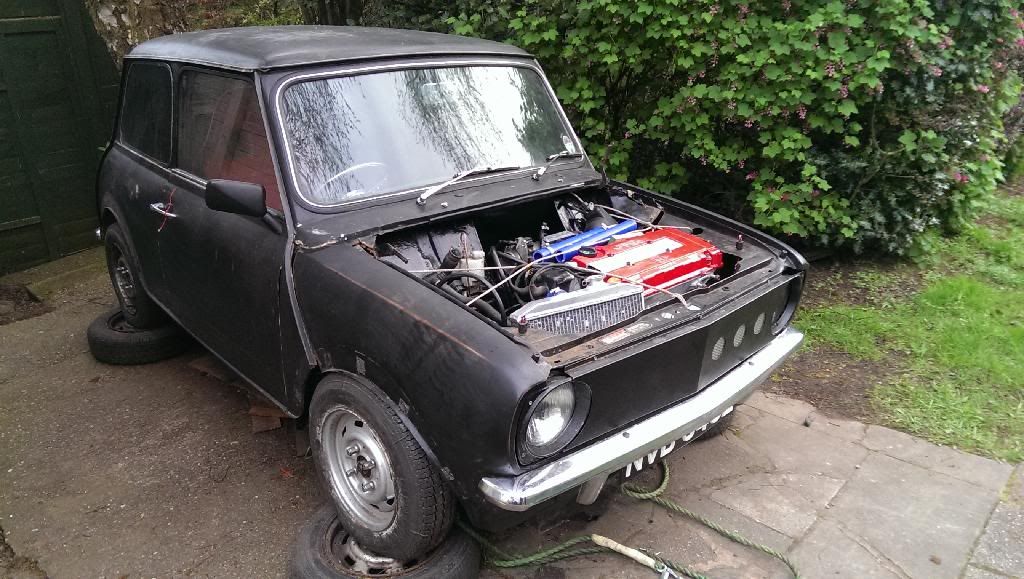
happy with it :)
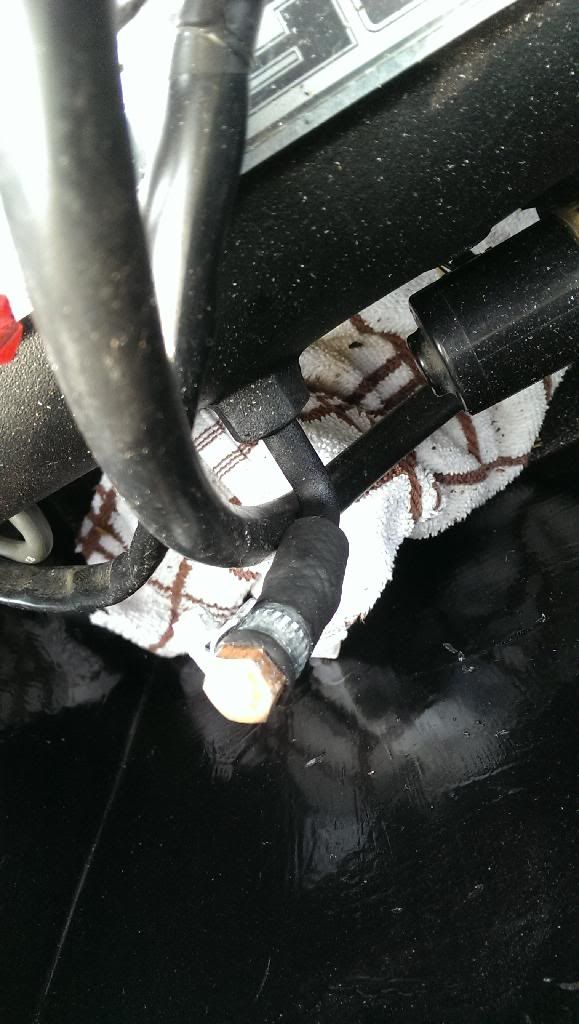
and cut that pipe off! hehehe
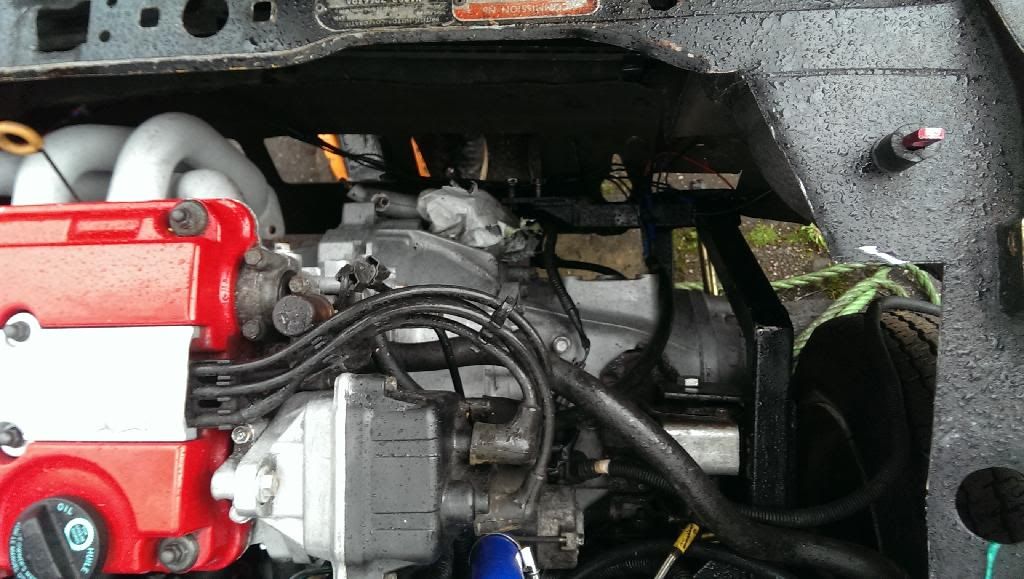
got some clutch stuff of someone braking a vtec'd mini....
i wasn't keen on this though a bit rubbish, but it works i guess
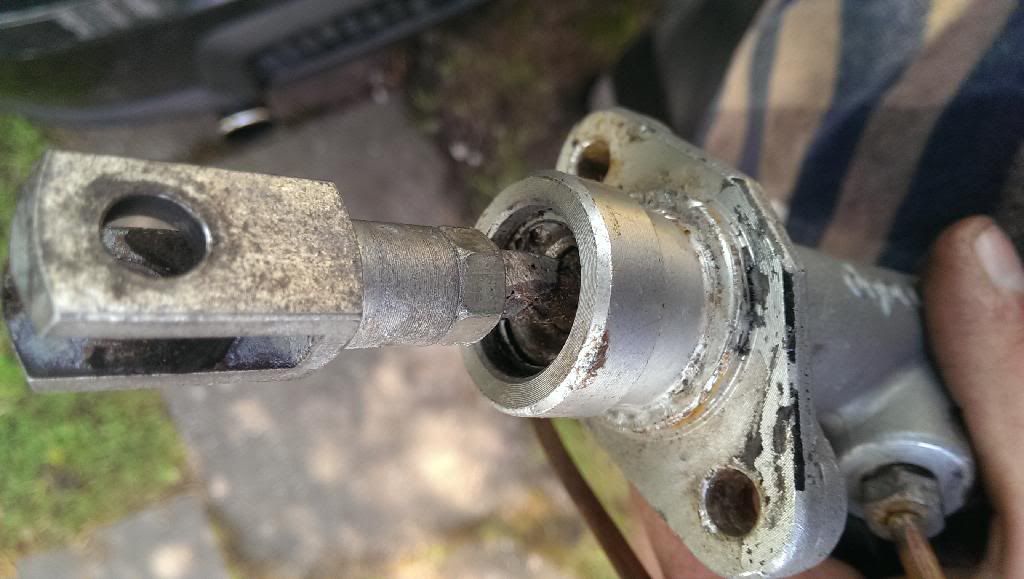
and i have no idea whether this came of it either! so i need to know if something is missing from the bottom of that.
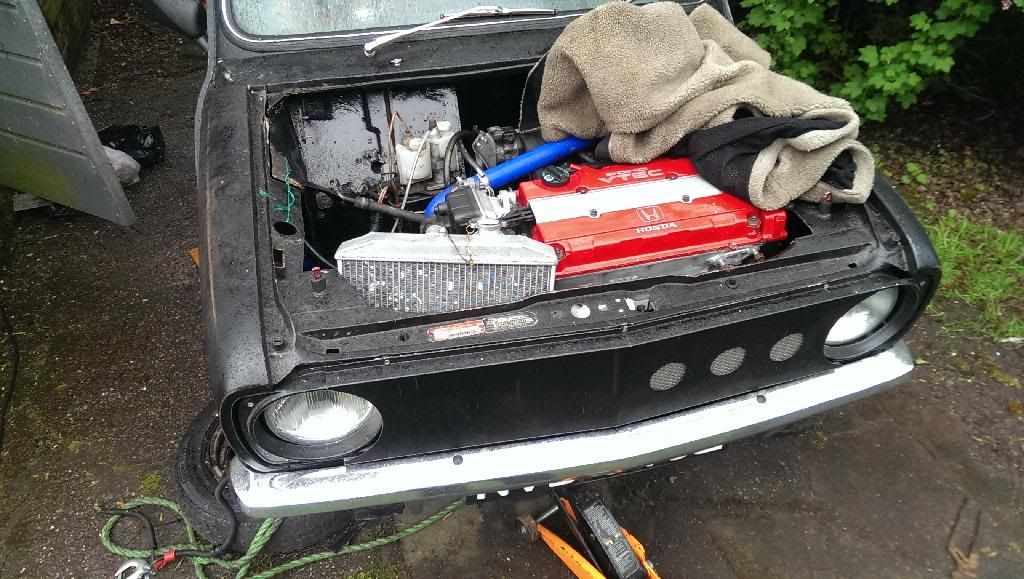
carried on with the top hose..
and took some photos for my reference


#288
Hegnirst
-
- TMF+ Member
-
- 3,496 posts
Up Into Fourth
- Location: UK
- Local Club: Hilltop Minis
Posted 12 May 2014 - 09:30 PM
Good to see some progress. What made you cut the floor for the linkage instead of cutting the linkage?
Oh, and just a little note, the ecu output for the fuel pump is an earth not +'ve (it should earth a relay which gives power to the pump). Just finished my wiring this evening. ;)
thanks mate, got loads to go yet!! lol got another 6 pages on photo bucket ahha
#289
RossKnight
-

- Members
-
- 2,539 posts
One heck of a member
- Location: Hampshire or Surrey
- Local Club: JKSA MOC
Posted 12 May 2014 - 09:33 PM
Keep them 10's!
#290
Hegnirst
-
- TMF+ Member
-
- 3,496 posts
Up Into Fourth
- Location: UK
- Local Club: Hilltop Minis
Posted 12 May 2014 - 09:44 PM
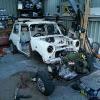
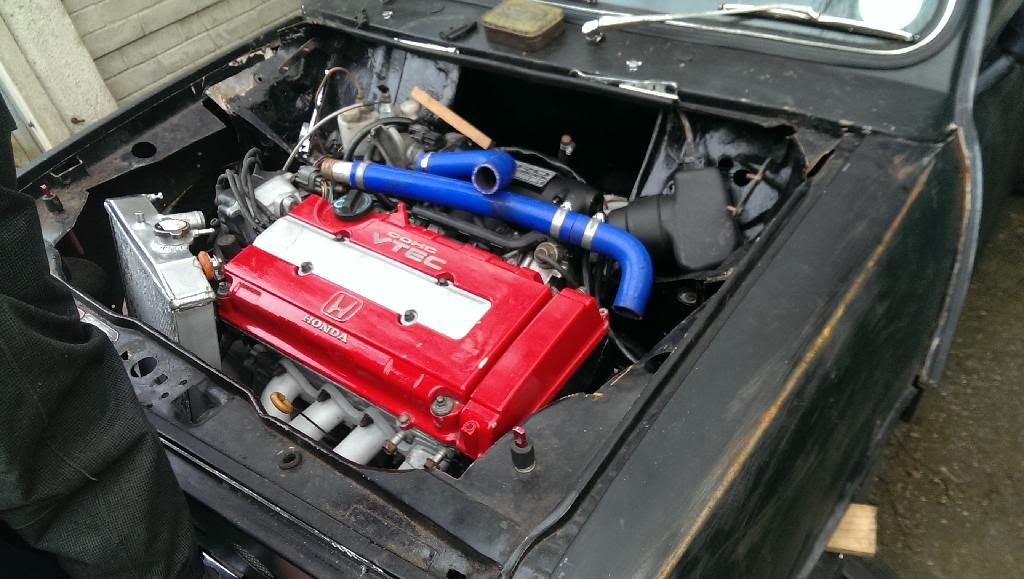
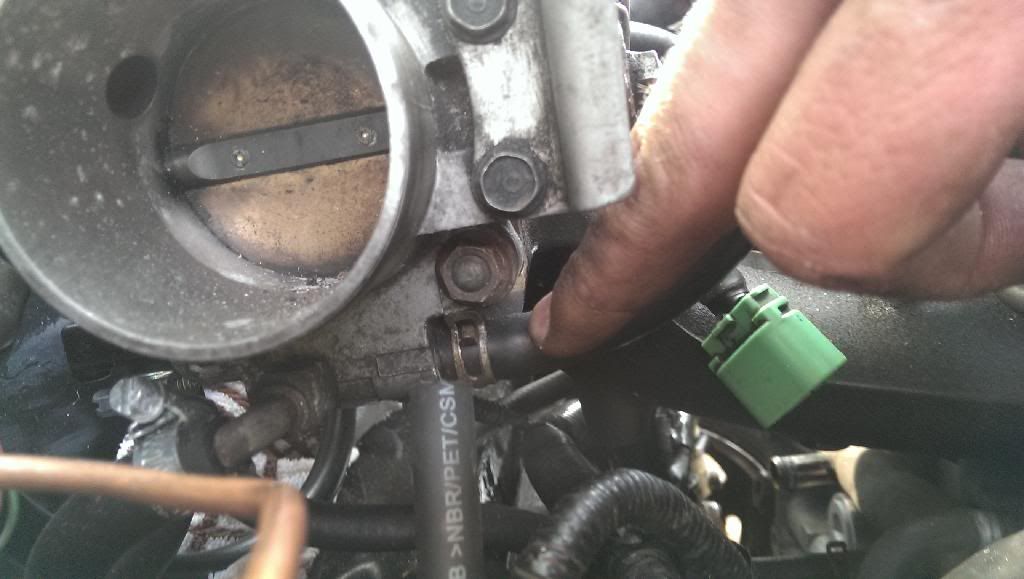
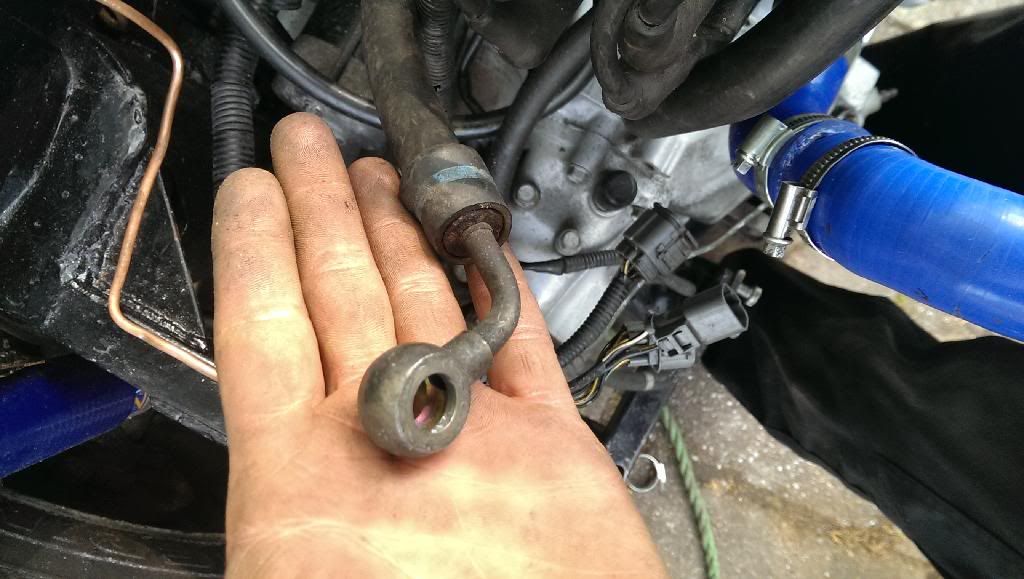
proceeded to finish the clutch plumbing
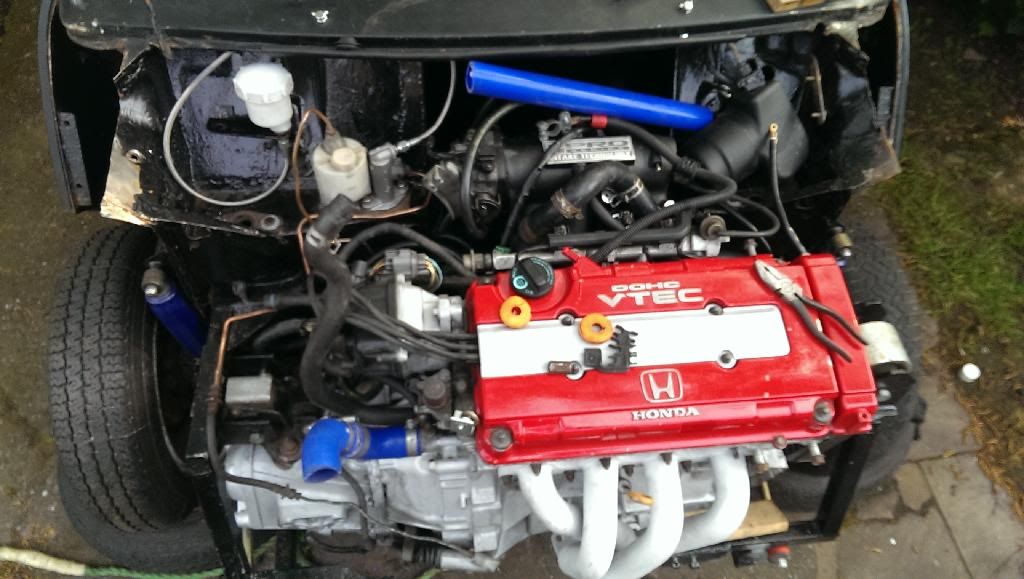
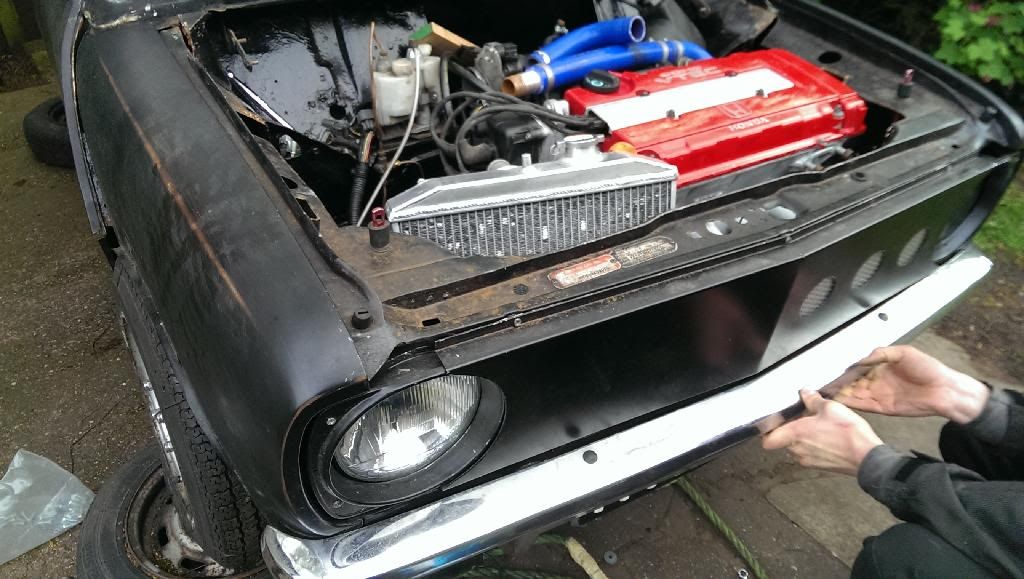
and how it was sitting with the rad and front off..
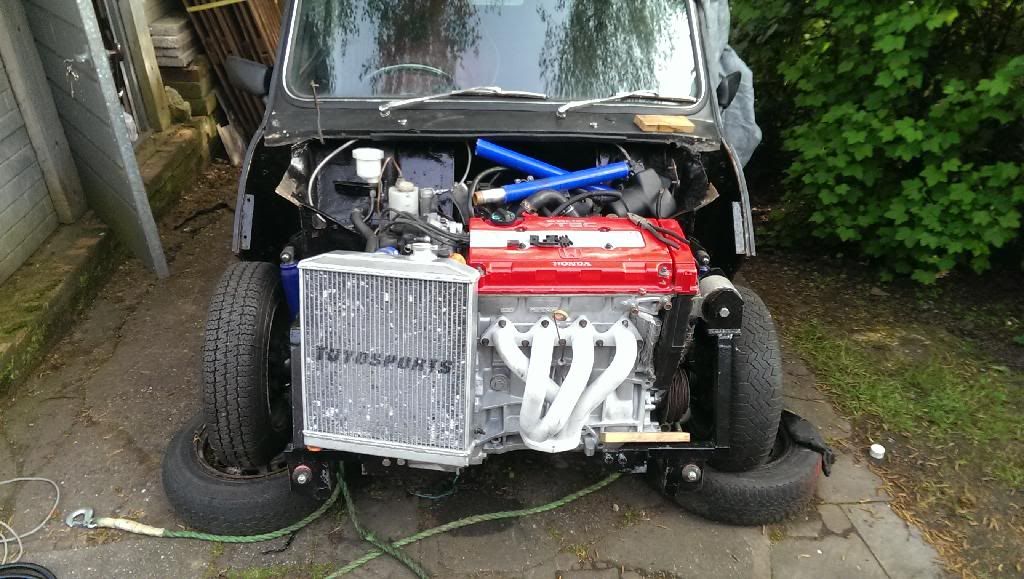
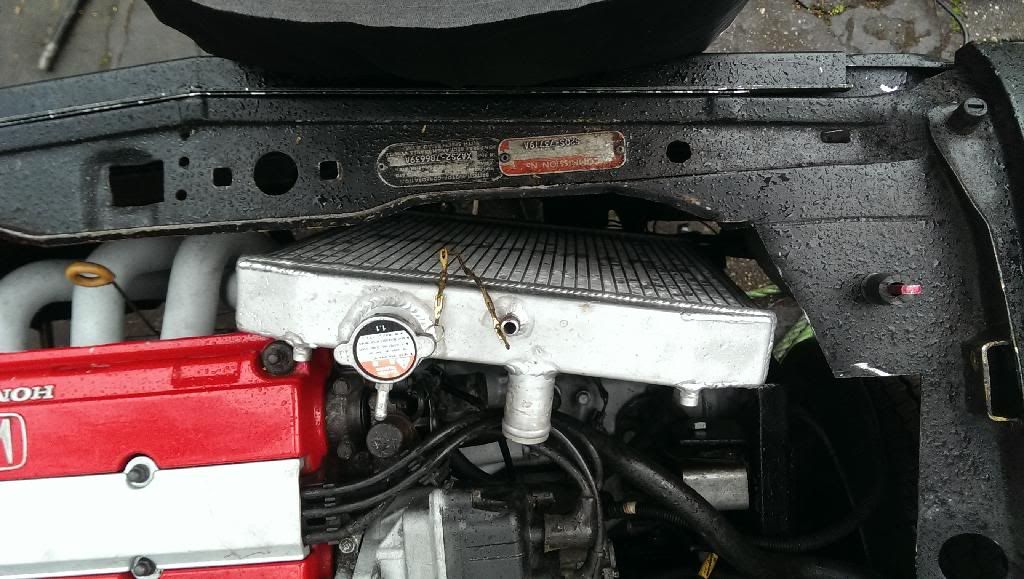
and finished the top hose
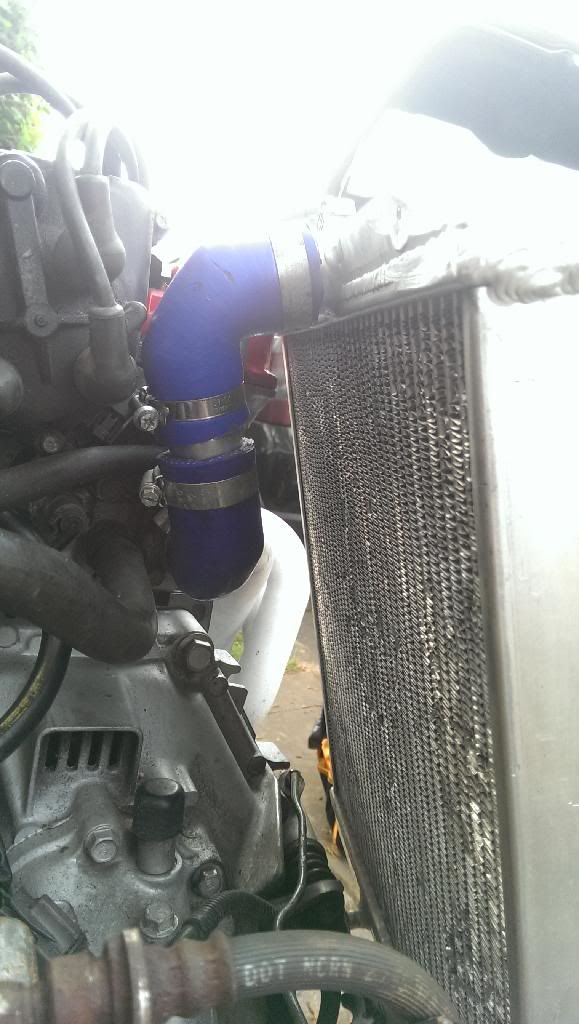
with the front on.....
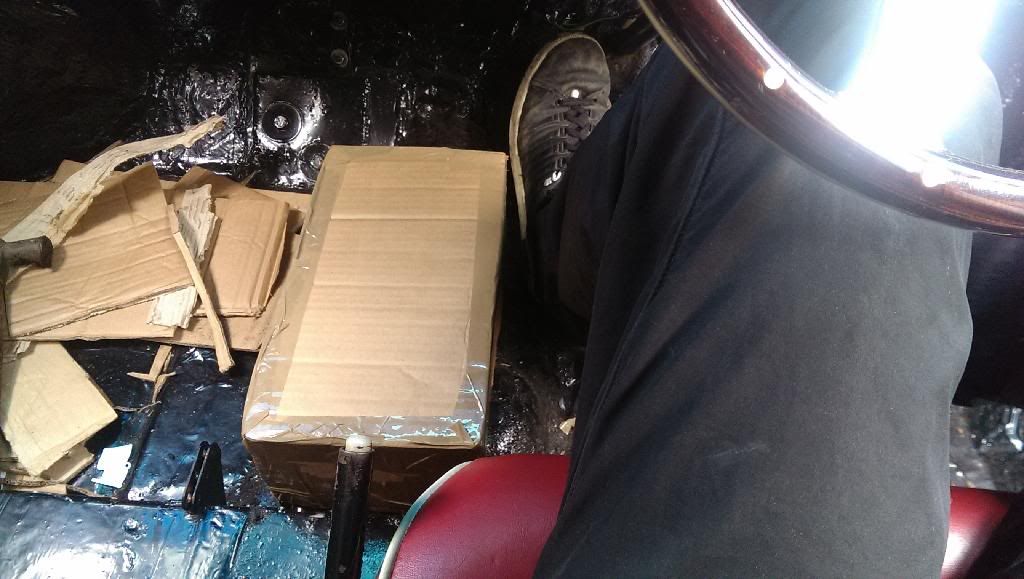
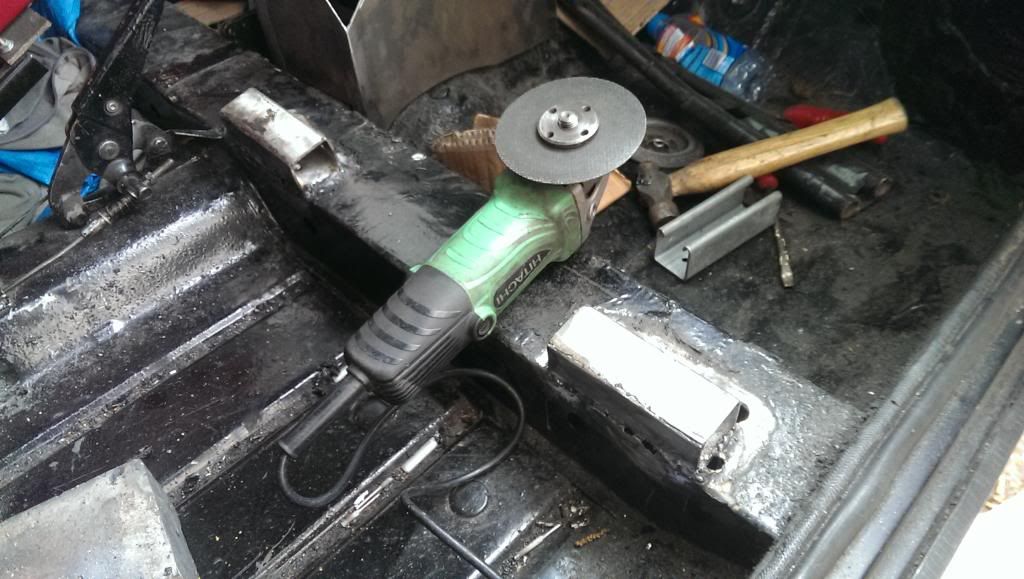
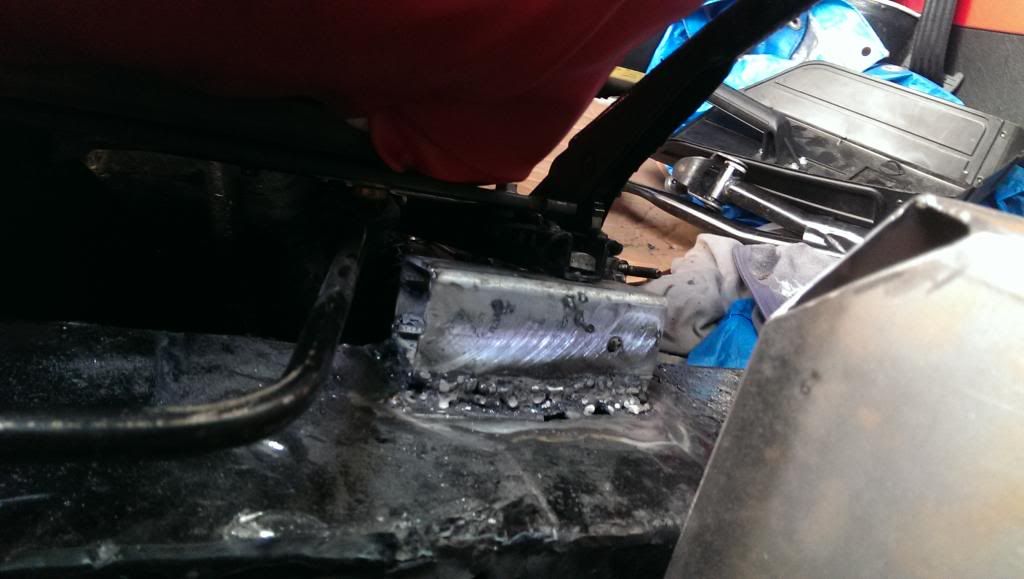
i then got the box back from the fab's and celebrated by cutting a hole in it and drilling two smaller ones for the linkage hehe
and then a corner so i didn't hit my knee or seat on it
NOW don't laugh when i post this because i had never welded before with an arc so different to mig (much better now!!!)
SO decided to do the seat mounts :) or try at least lollol and thought of using these kinda LOL....
then i started to cut one side of and weld it on the other side to make it stronger...
and did my first attempt (on the car)
as you can see i blew through a bit
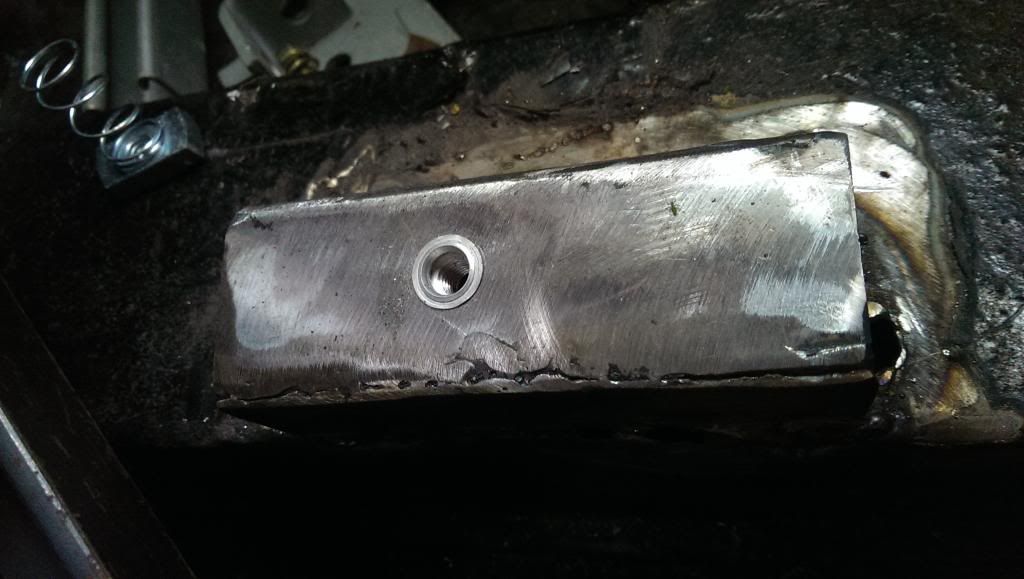
i then cut to a bit of the subframe
to clear for the mounts
i then drilled two wholes and put some rivet threads in :)
used these and took the spring off
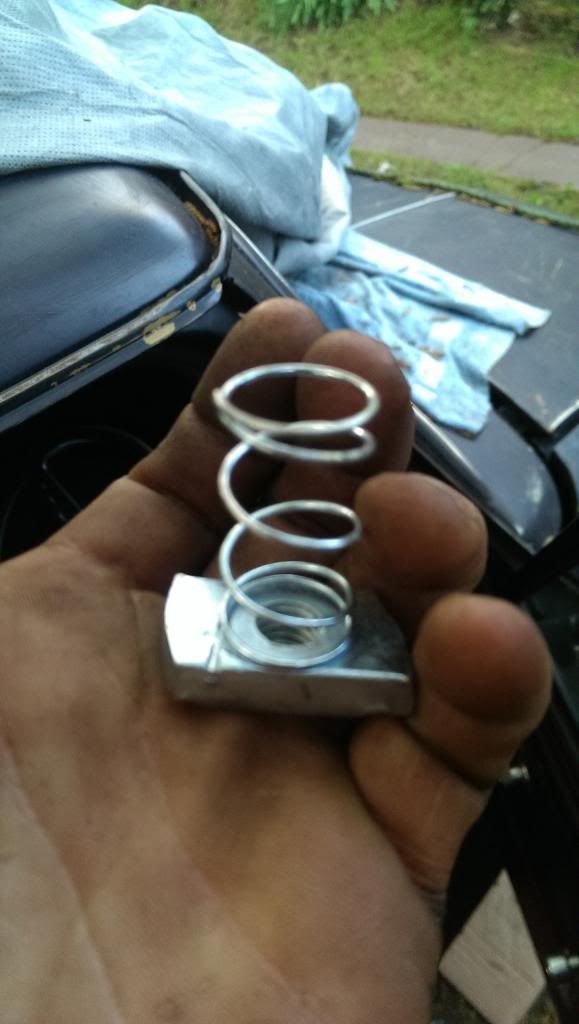
and hey presto..
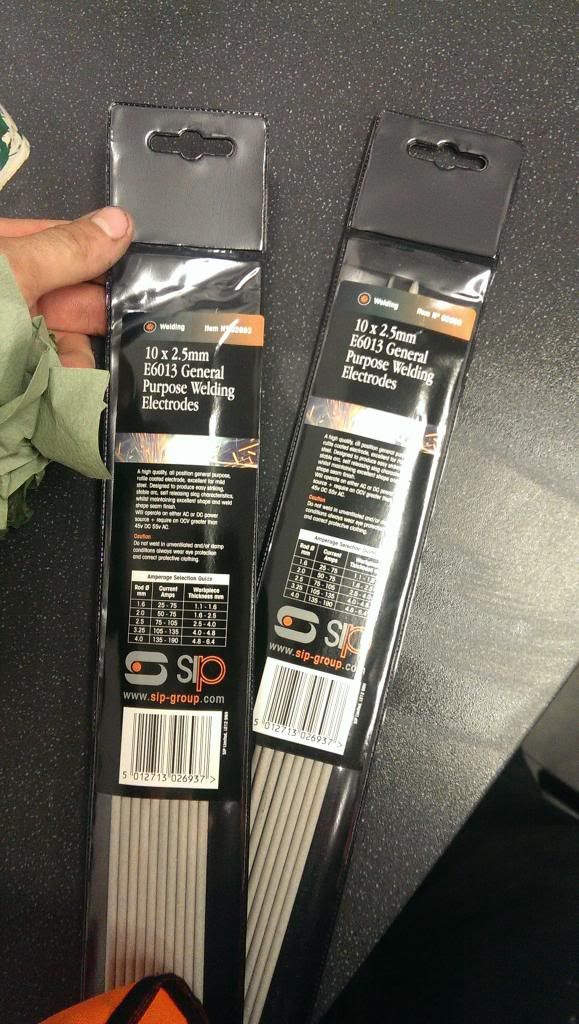
got some more sticks..
and tidied up those nasty holes
and used this measure what angle and height i wanted the rear one to
and as i don't have a welding mask (not a hand held one) i tried this bad boy lol
an idiot, glasses some tape and a weld screen and what do ya get?!.......

OH MY....
#291
Hegnirst
-
- TMF+ Member
-
- 3,496 posts
Up Into Fourth
- Location: UK
- Local Club: Hilltop Minis
Posted 12 May 2014 - 09:45 PM
Keep them 10's!
i probably will dude 
#292
DangerousDave17
-
- Noobies
-
- 76 posts
Stage One Kit Fitted
- Location: Redcar
Posted 12 May 2014 - 09:56 PM
Interesting to see how youve done things compared to mine. Have you got enough clerance for your air intake with that clutch set up? Mine is very similar and very tight, ordered some 70mm ducting for it today.
Keep the updates coming.
Keep the updates coming.
#293
Hegnirst
-
- TMF+ Member
-
- 3,496 posts
Up Into Fourth
- Location: UK
- Local Club: Hilltop Minis
Posted 12 May 2014 - 09:56 PM
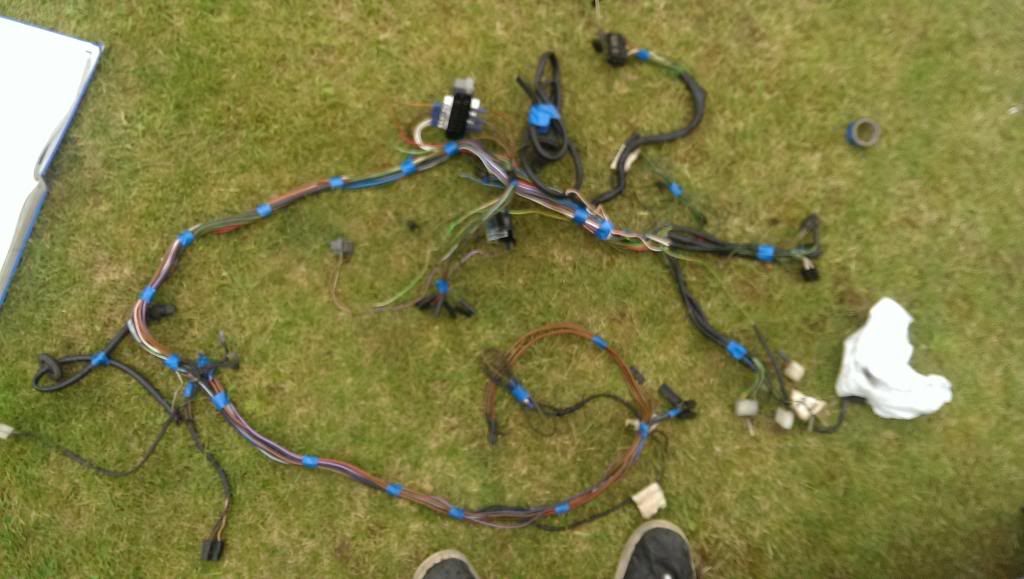
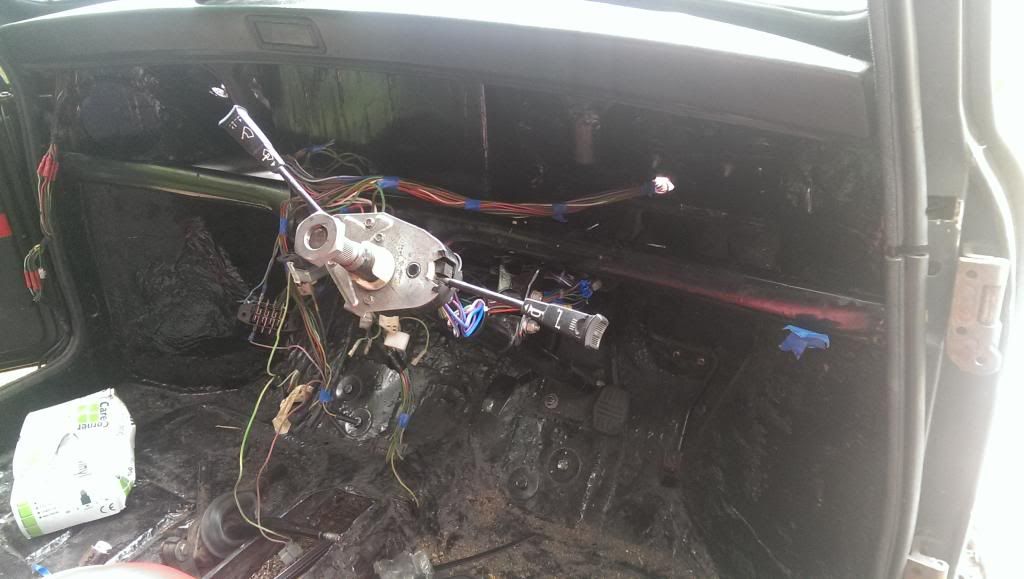
I then FINALLY got a wiring loom
but again this was a terrible loom
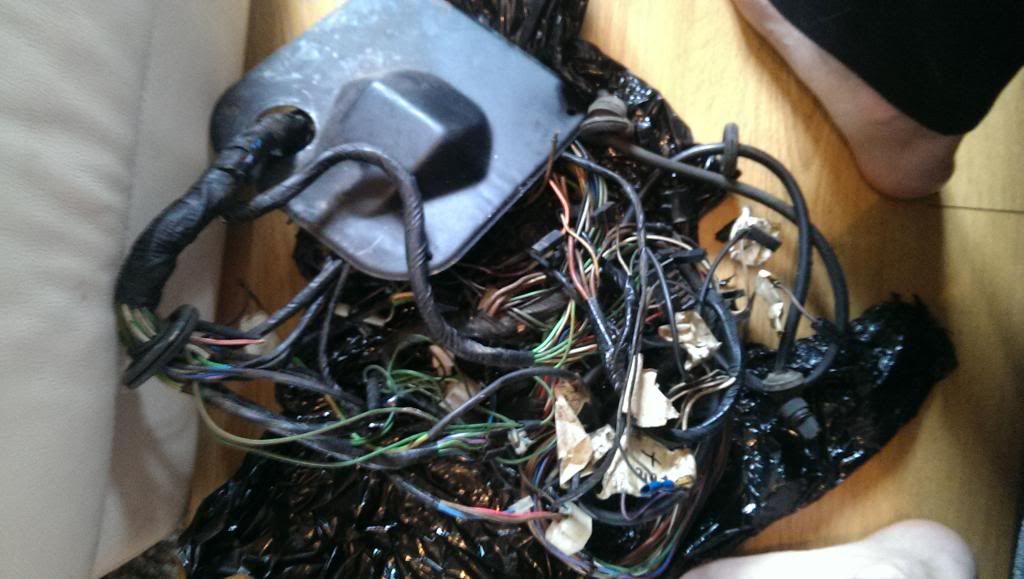
what is with everyone selling garbage?!
burnt and bodged everywhere! cut wires randomly and everything!
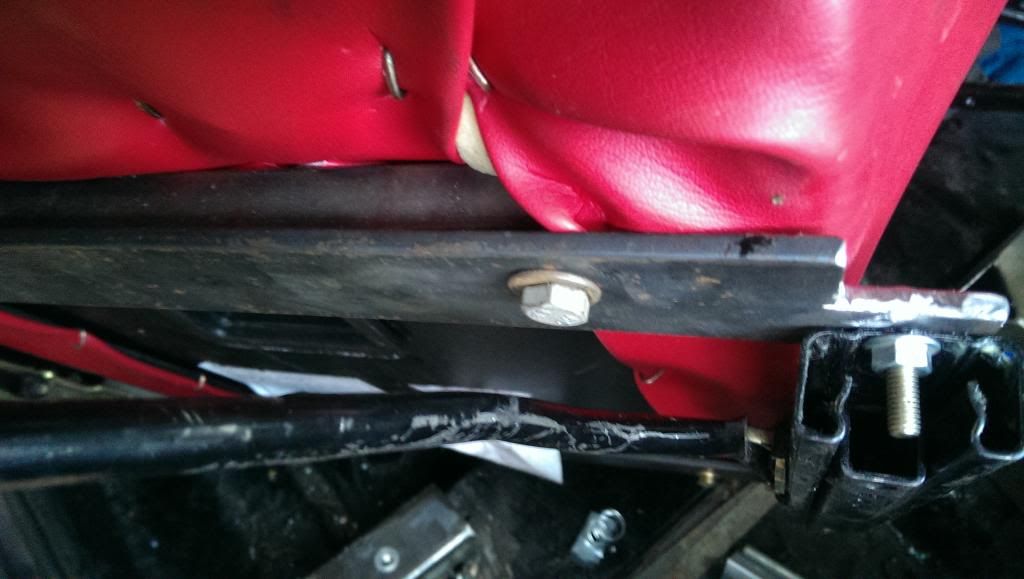
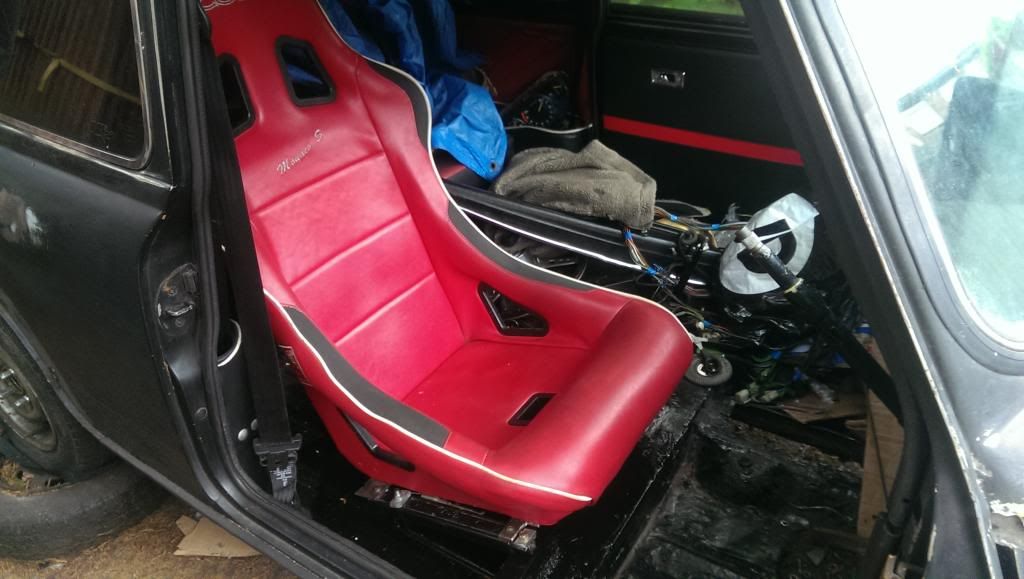
and carried on with the seat frame
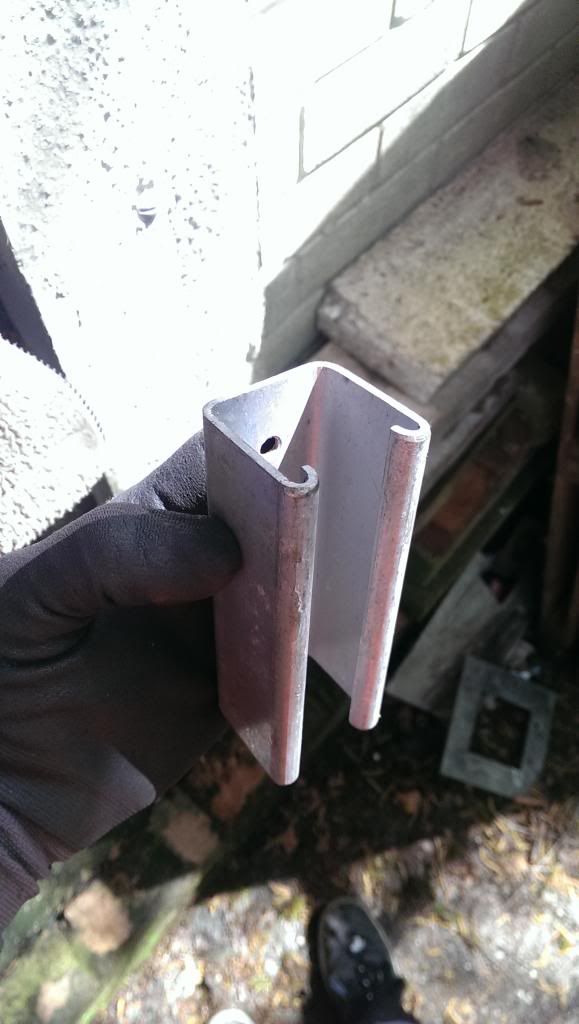
so can up with this with a steel box section
the one side is to clear the tunnel....
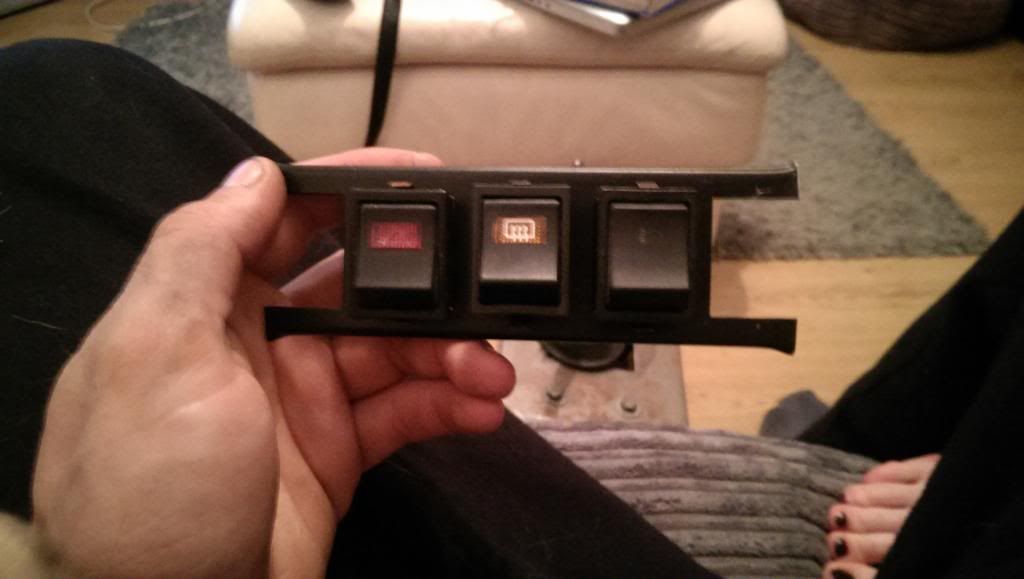
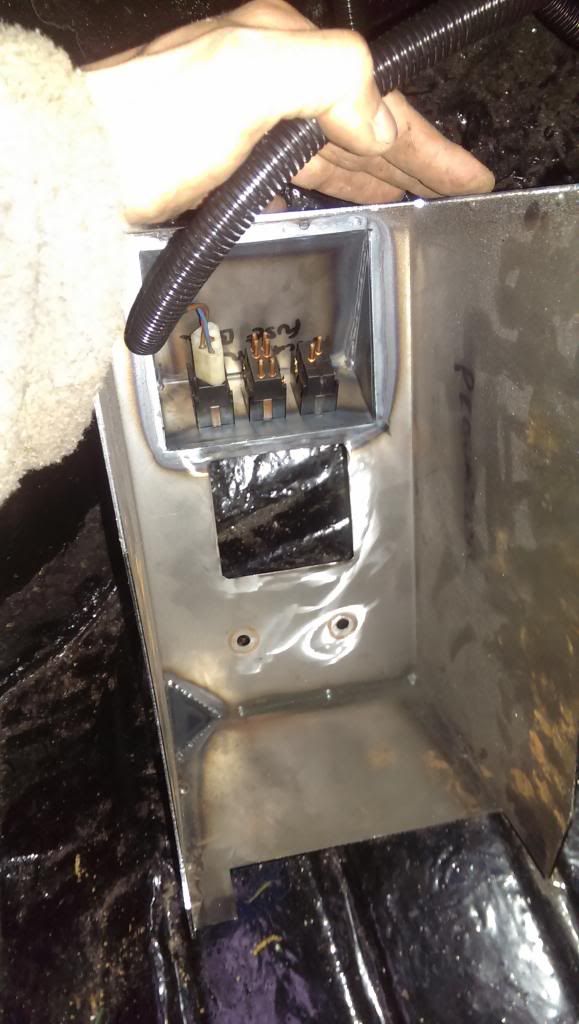
in the mean time i mocked up the three switches ide be using and mod to the gear stick box
it had to be an angle to clear the gear linkage and leave room for the plugs

and carried on with the seat frame lol......
oh wait no i walked into a firkin piece of wood facing towards me instead LOL
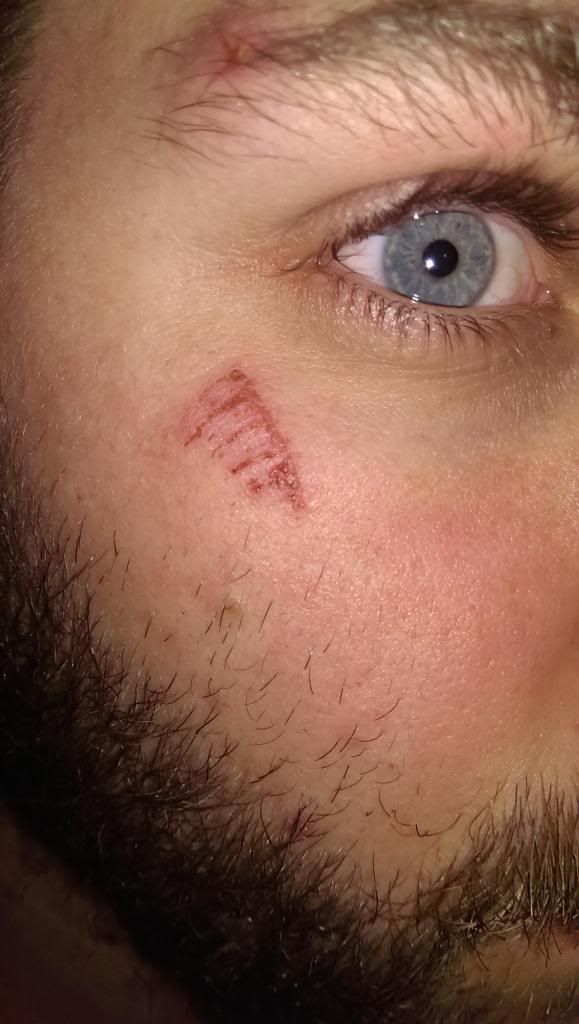
awesome scar i thinK!!!
now back to the seat frame....
so its going to fit like this...
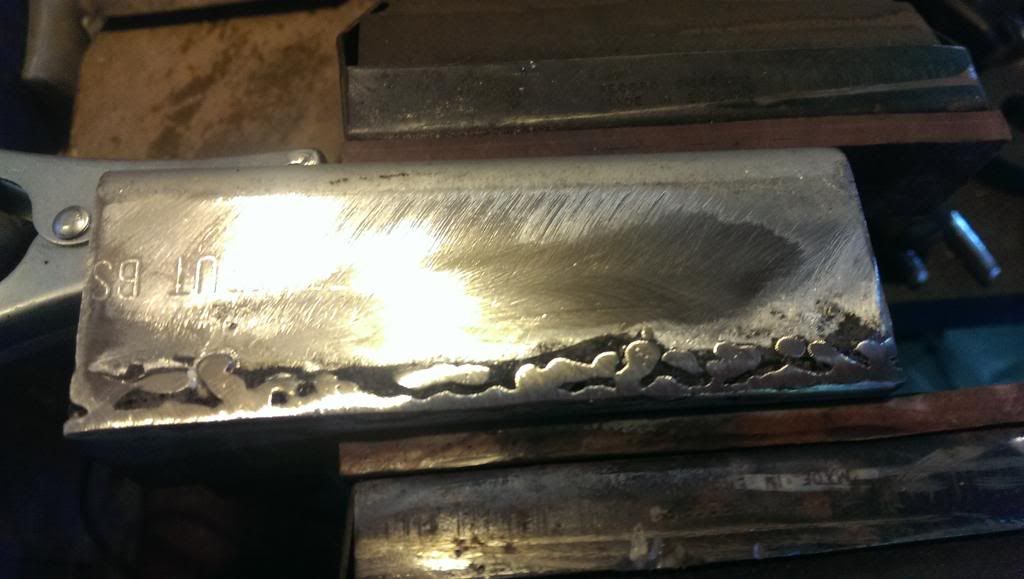
welded that all together and put two bolts through a hole that i drilled and welded in...
and as that was going so well, i decided to weld the bolts in the wrong place! even though i marked out and everything! grrr so did it again...it went well i think and had a look what it looked like on the floor and made a strengthening bracket for the backward forces...
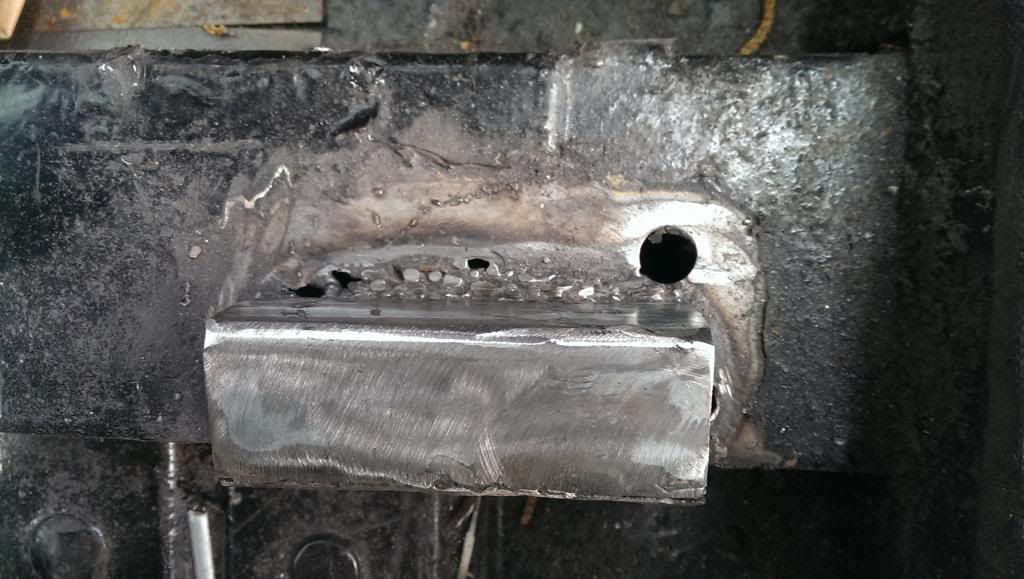
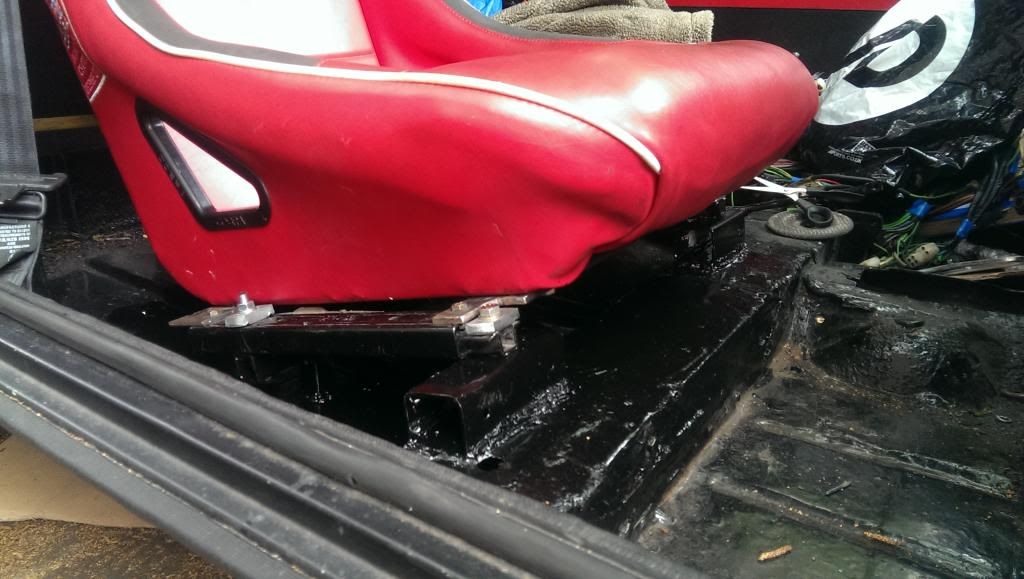
so after that chucked the seat on top of it, bolted the front on, and put the frame in place and tack welded it on (as much as i could to make sure it didn't move when i took the seat of and out)
and then welded properly, grounded down the painted up!
very very happy with my self everything fits so welL!!!!
#294
Hegnirst
-
- TMF+ Member
-
- 3,496 posts
Up Into Fourth
- Location: UK
- Local Club: Hilltop Minis
Posted 12 May 2014 - 09:57 PM
Interesting to see how youve done things compared to mine. Have you got enough clerance for your air intake with that clutch set up? Mine is very similar and very tight, ordered some 70mm ducting for it today.
Keep the updates coming.
i love seeing the differences in peoples build! last thing on my mind thought hehe but we'll see, i have something in mind anyway :)
#295
Hegnirst
-
- TMF+ Member
-
- 3,496 posts
Up Into Fourth
- Location: UK
- Local Club: Hilltop Minis
Posted 12 May 2014 - 10:10 PM
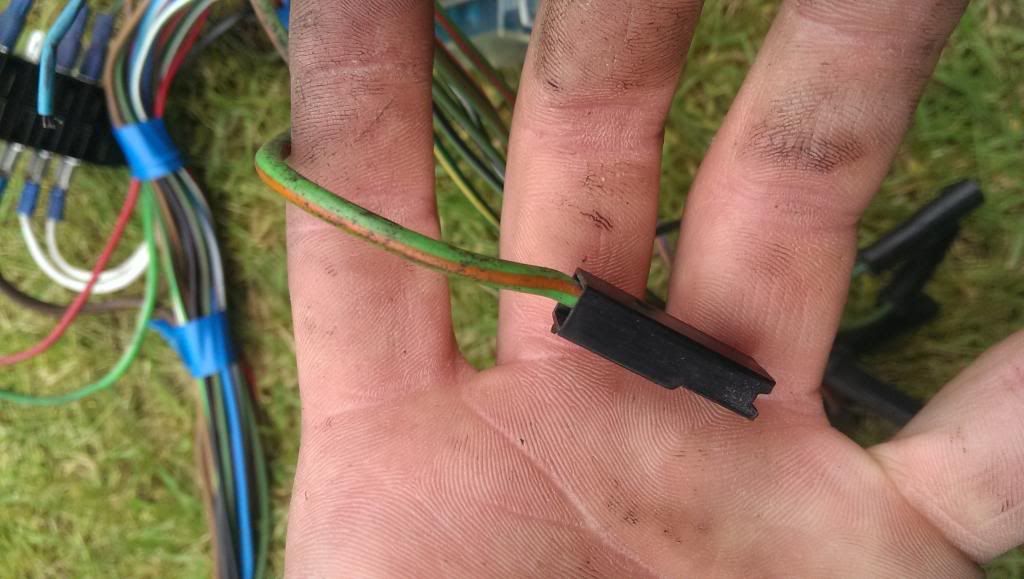
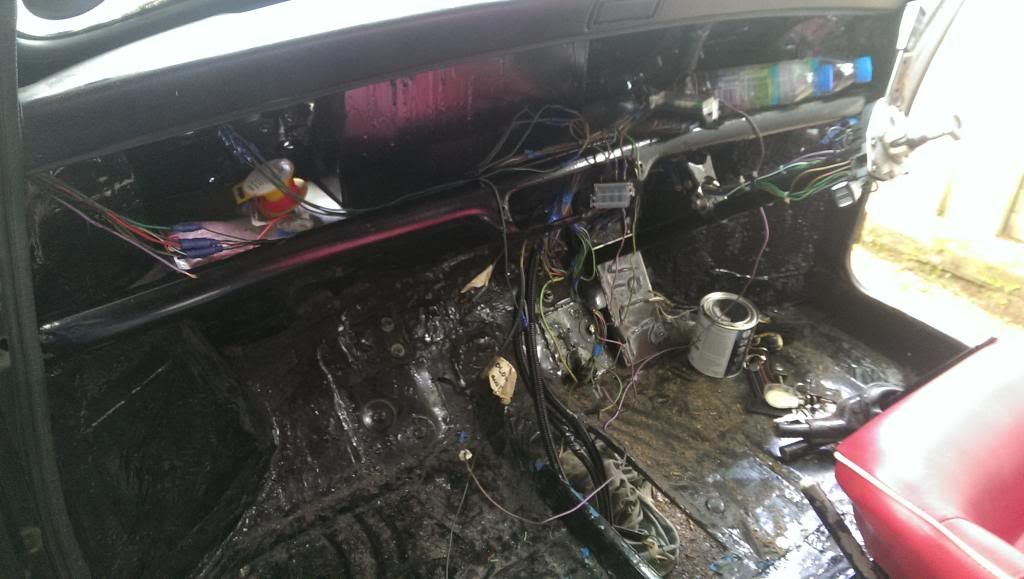
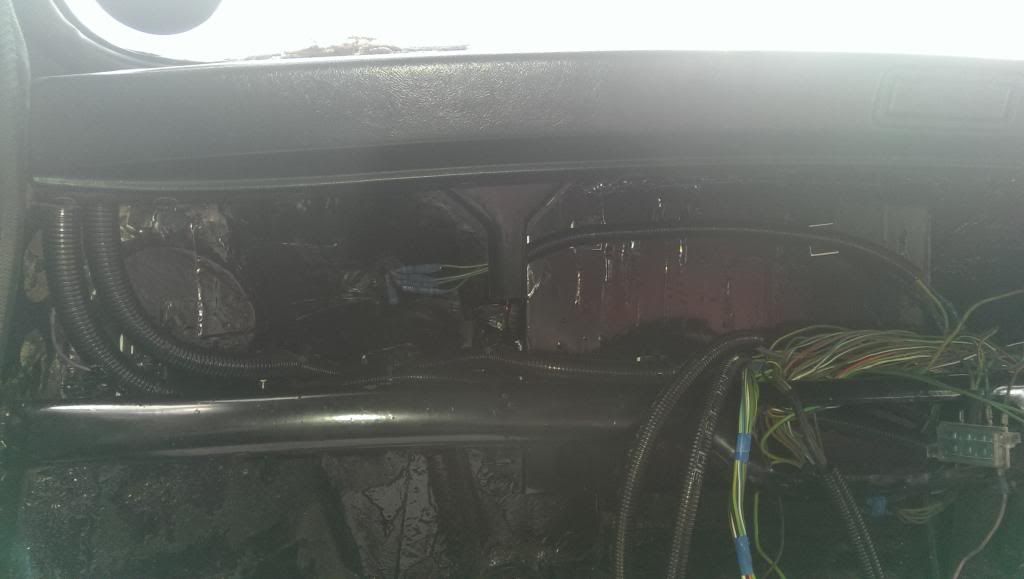
sooooo spent a nice day on the lawn (warning wiring pics)
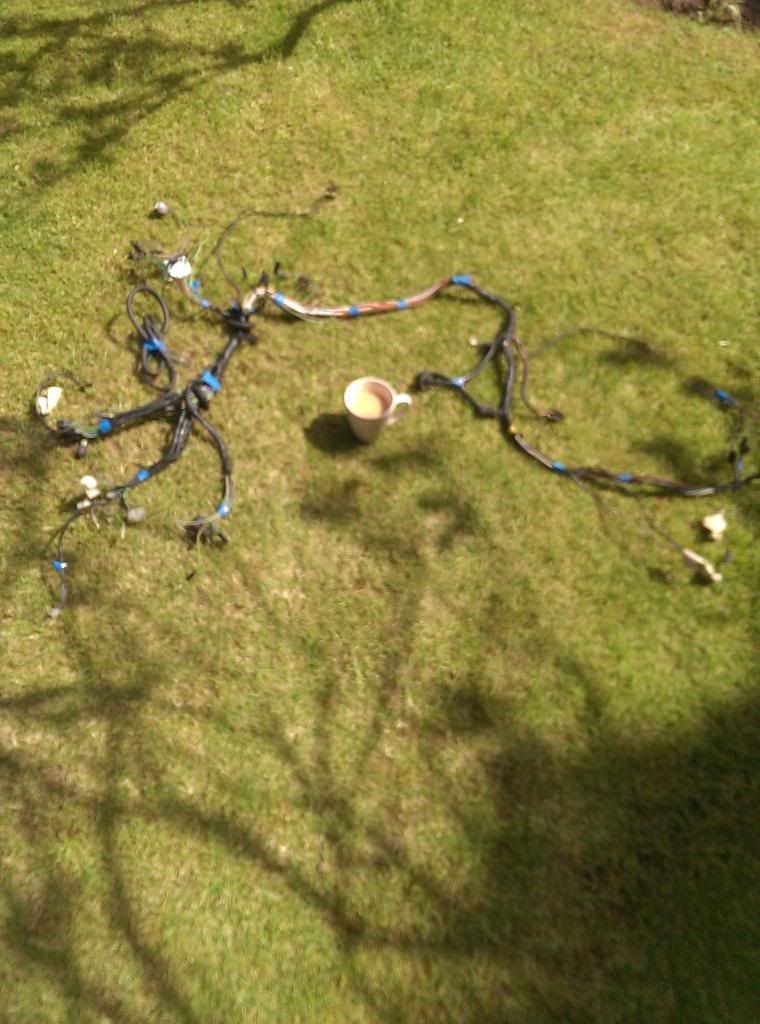
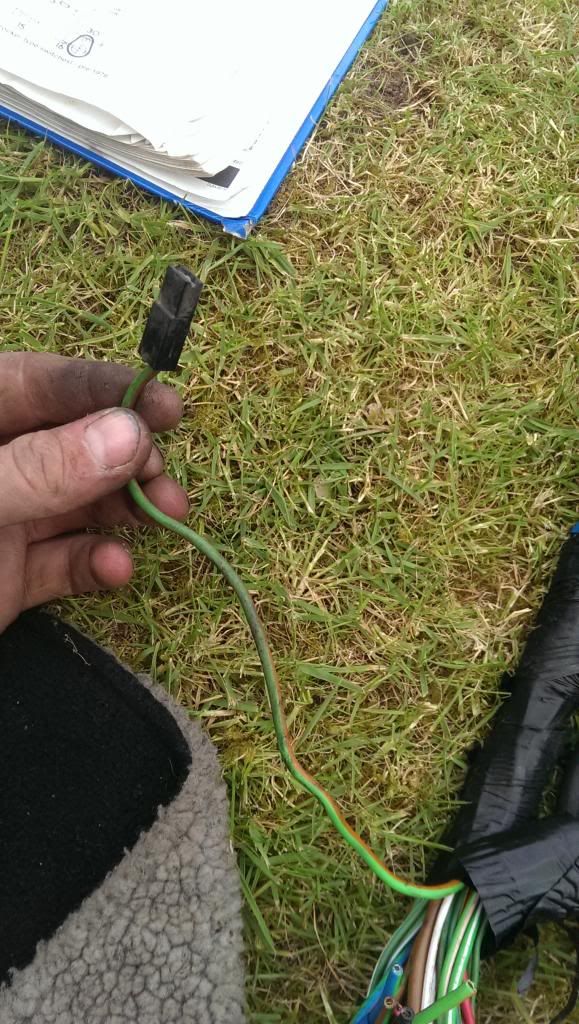
I KNOW THESE ARE WRONG lol
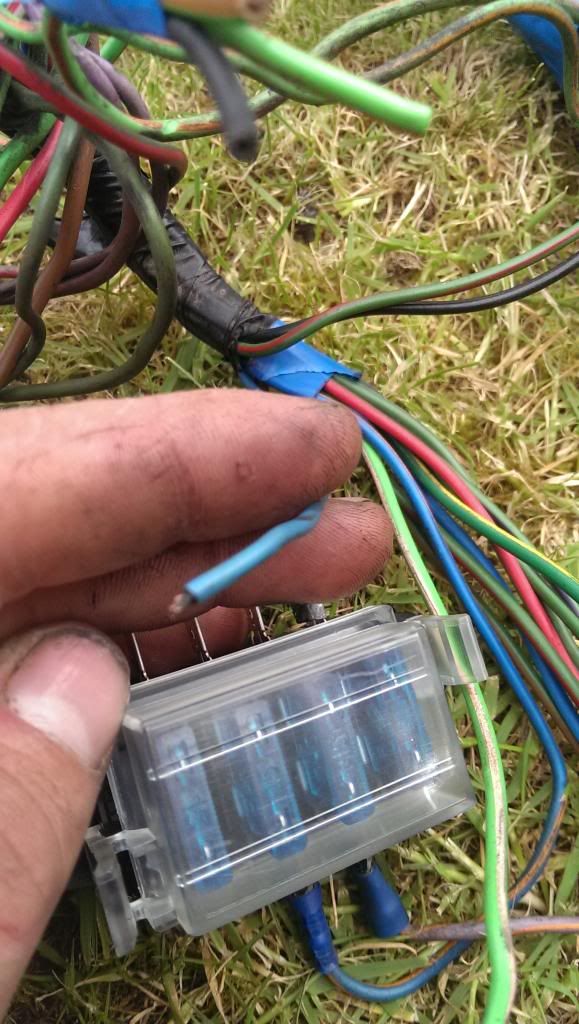
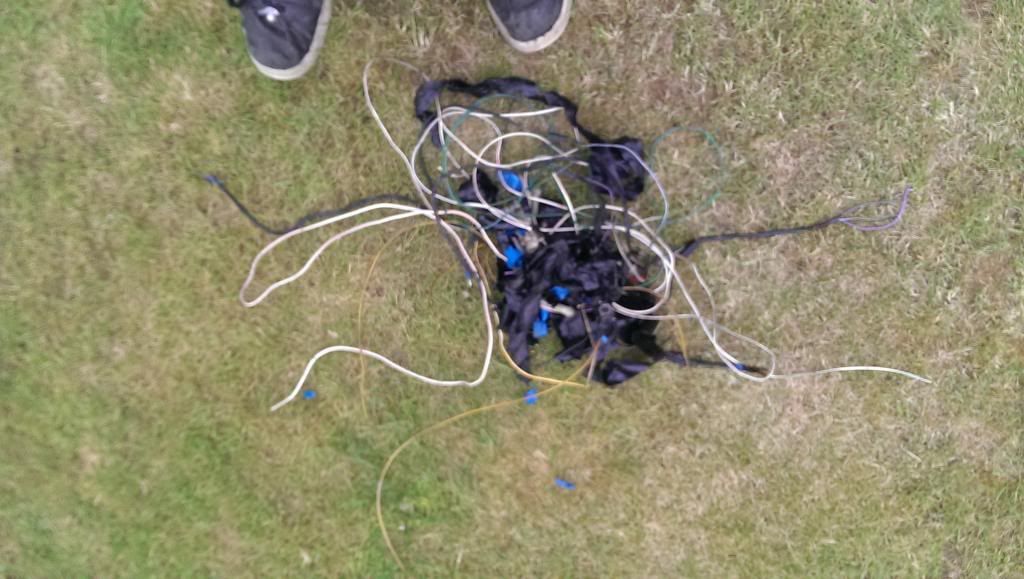
finished stripping
cut out this..
and then saw a moron!!!
and sat back and enjoyed LITERALLY lol
started putting the wiring in anyway....
XD
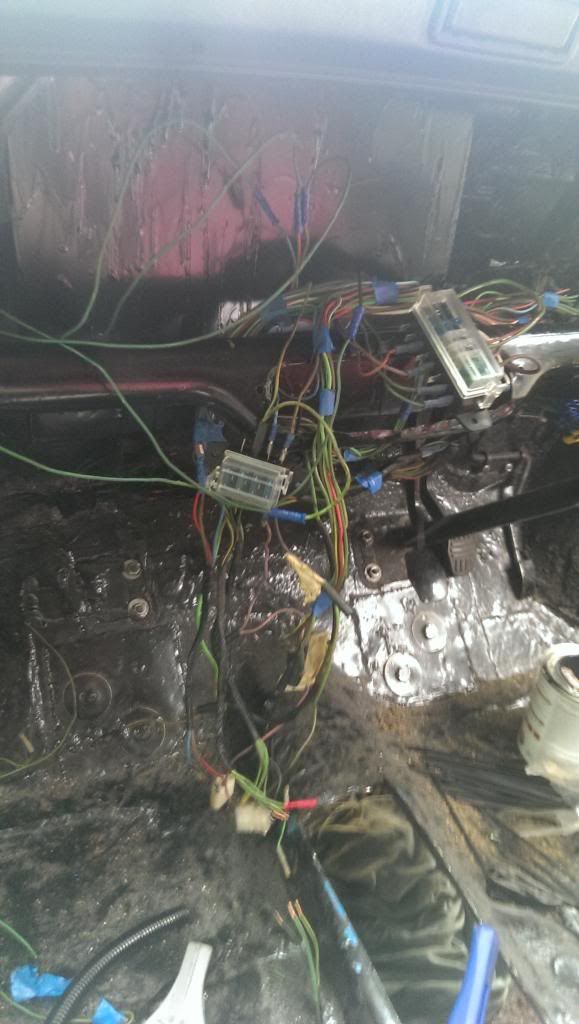
extended the rockers...
#296
Hegnirst
-
- TMF+ Member
-
- 3,496 posts
Up Into Fourth
- Location: UK
- Local Club: Hilltop Minis
Posted 12 May 2014 - 10:10 PM
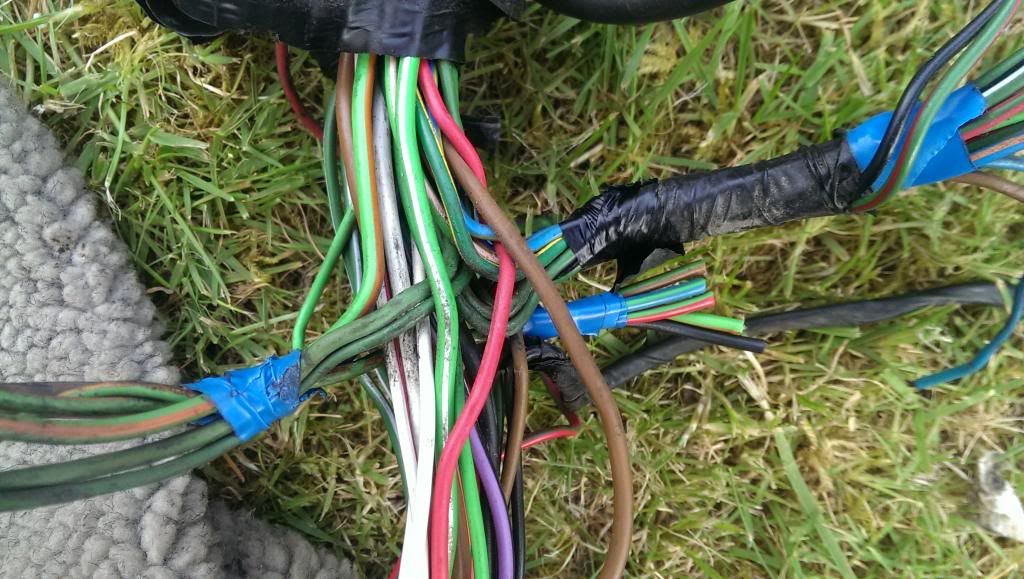
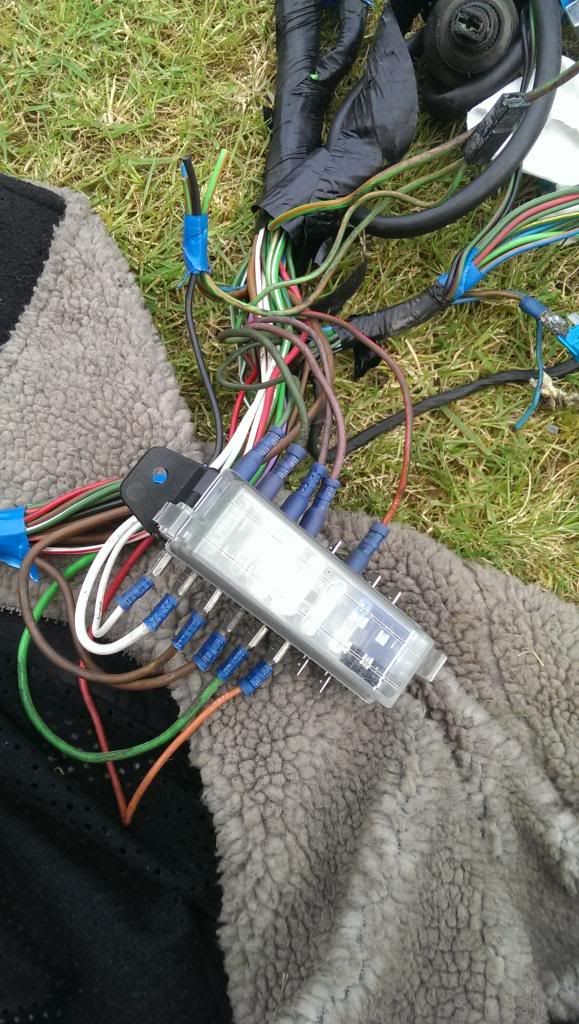
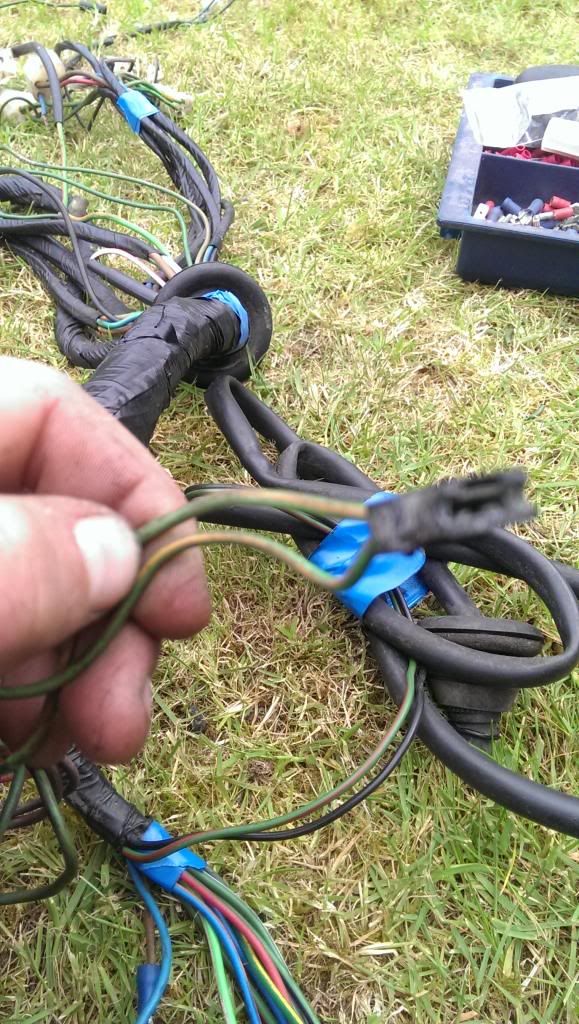
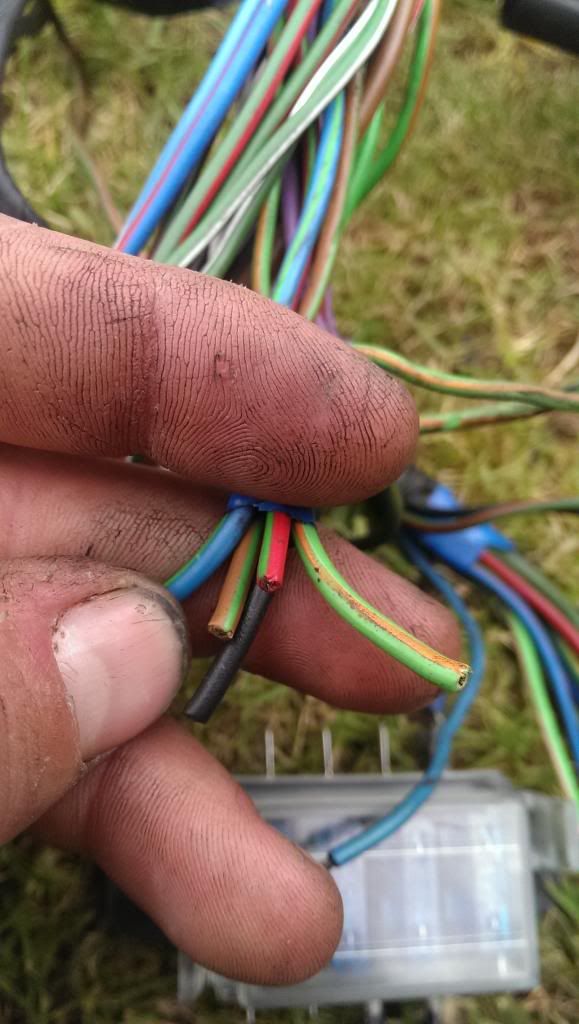
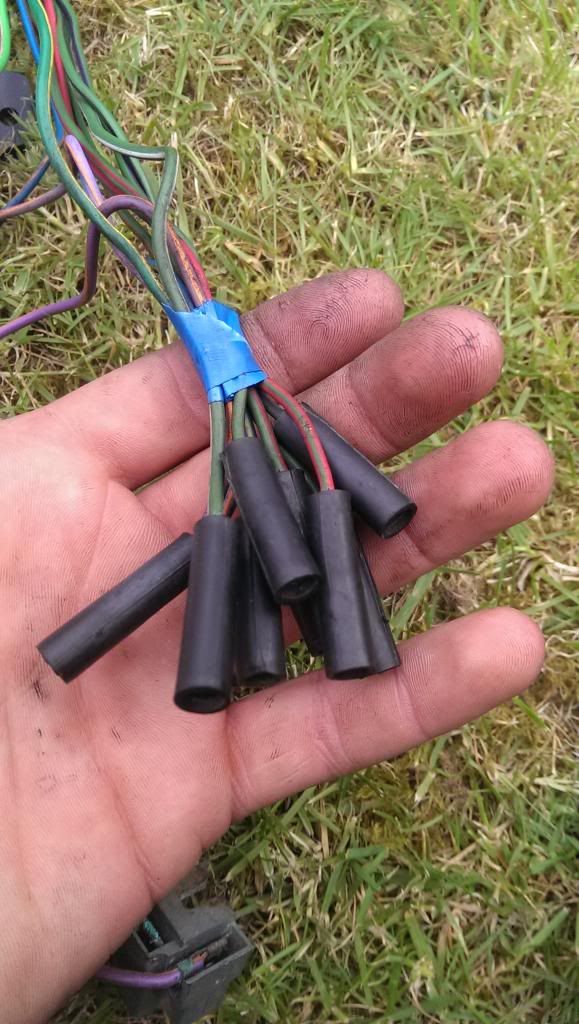
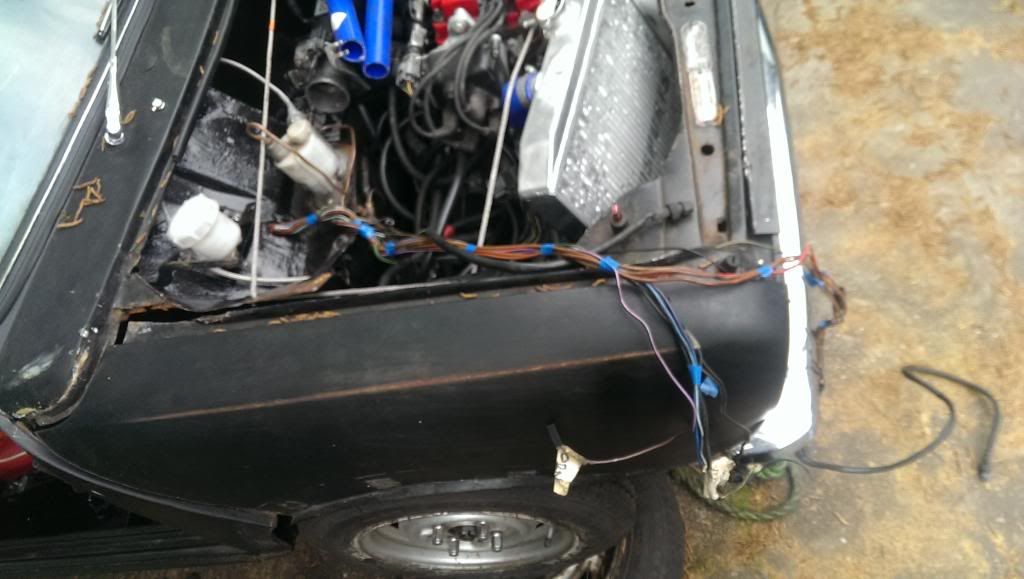
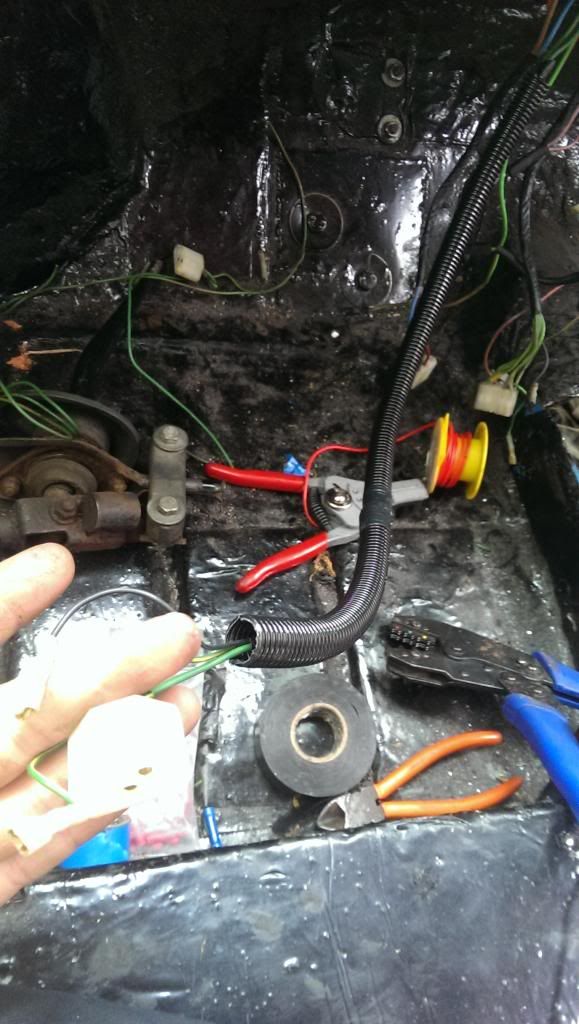
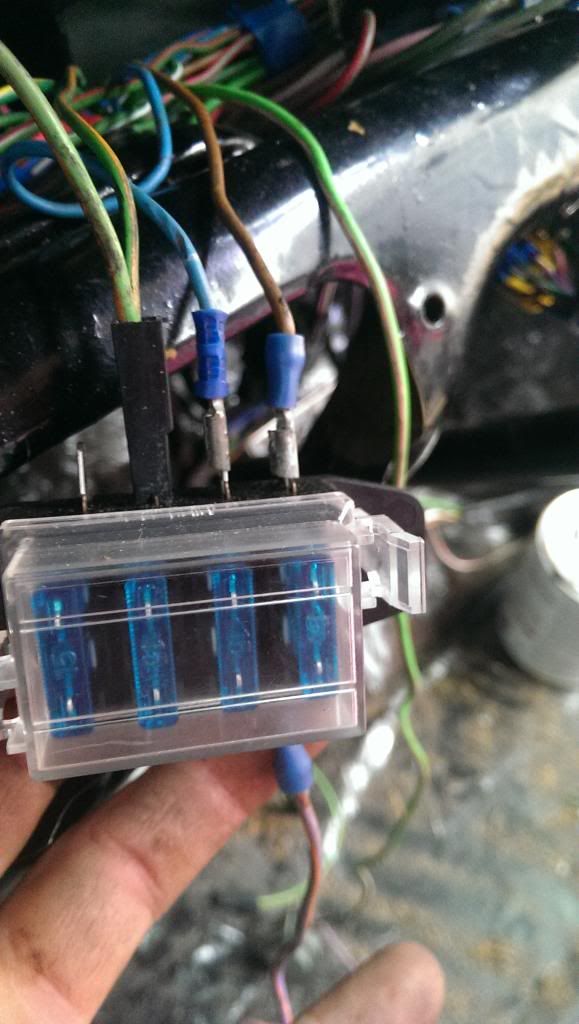
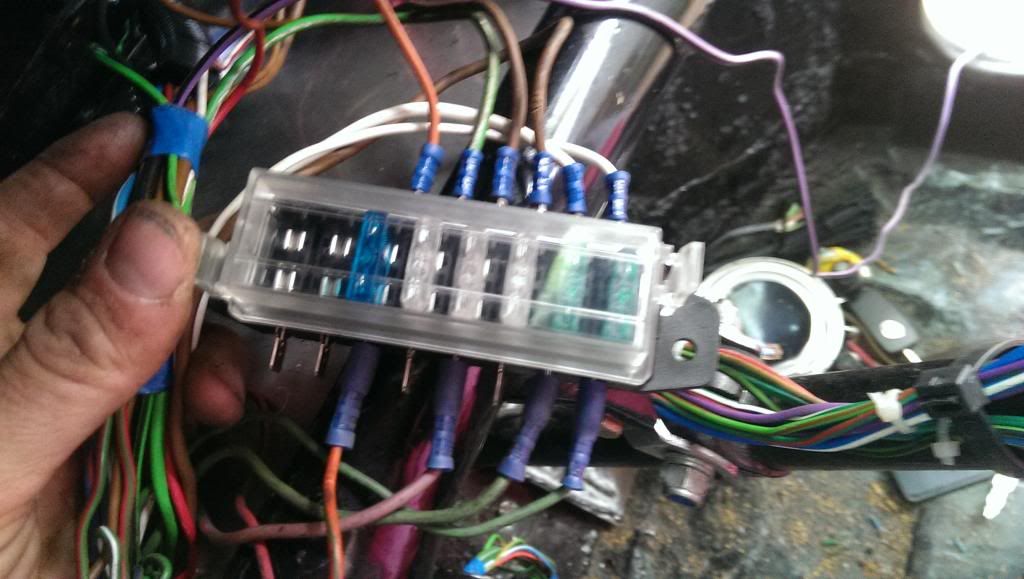
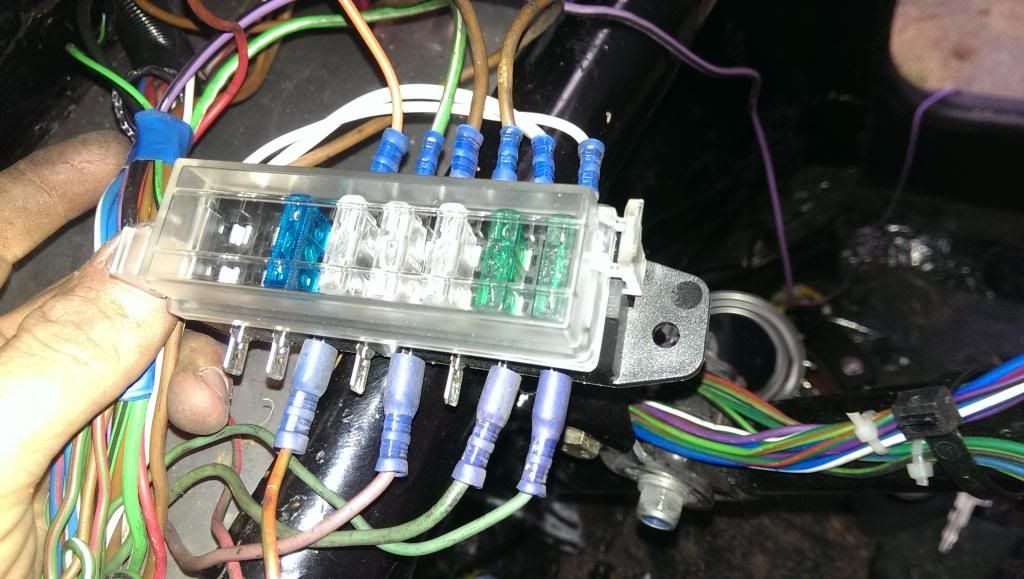
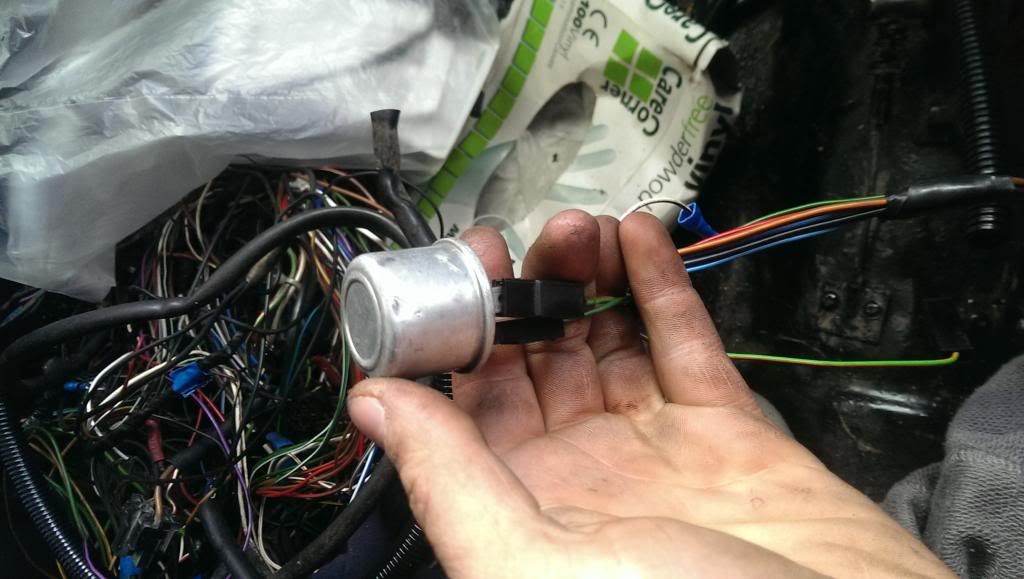
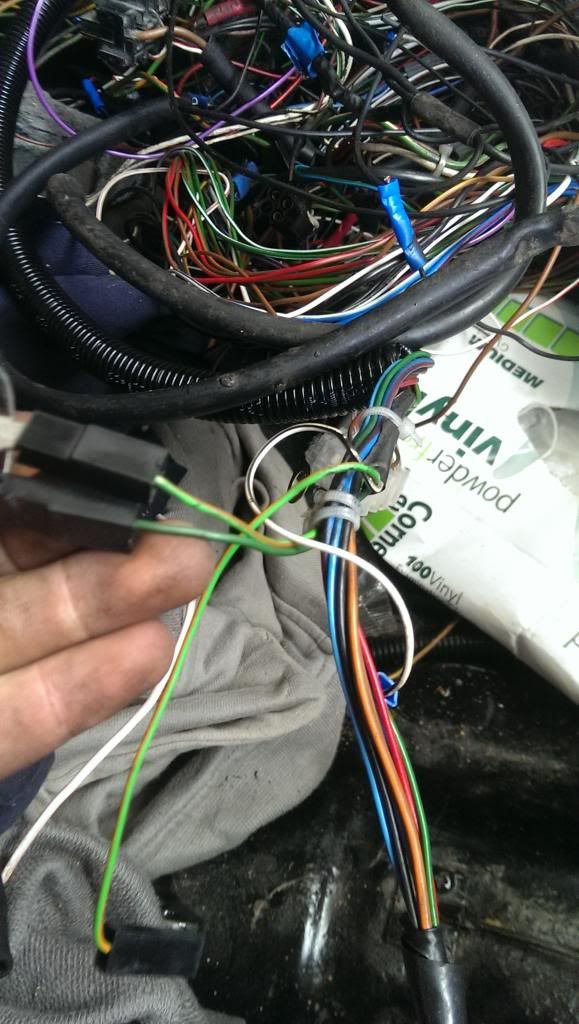
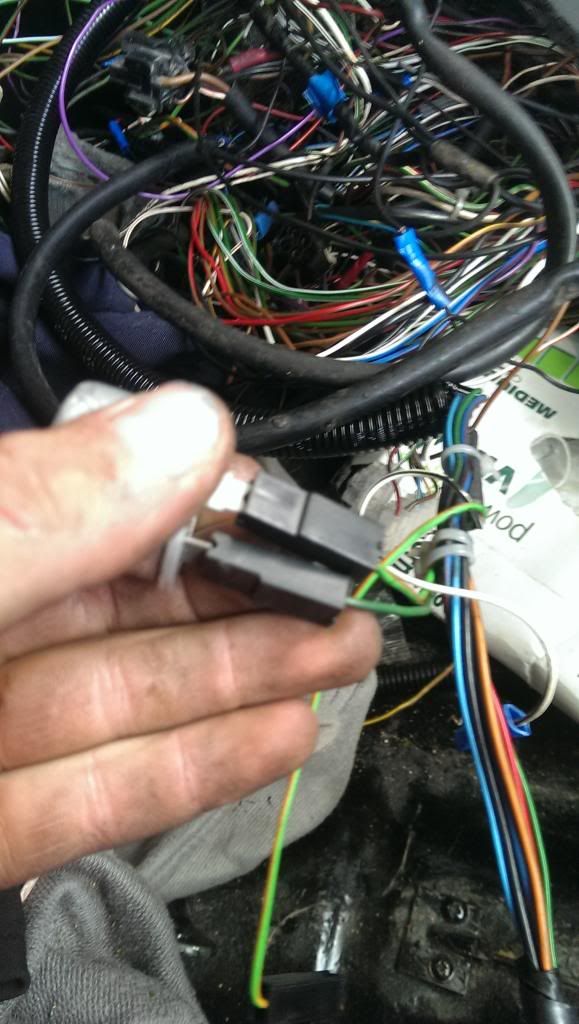
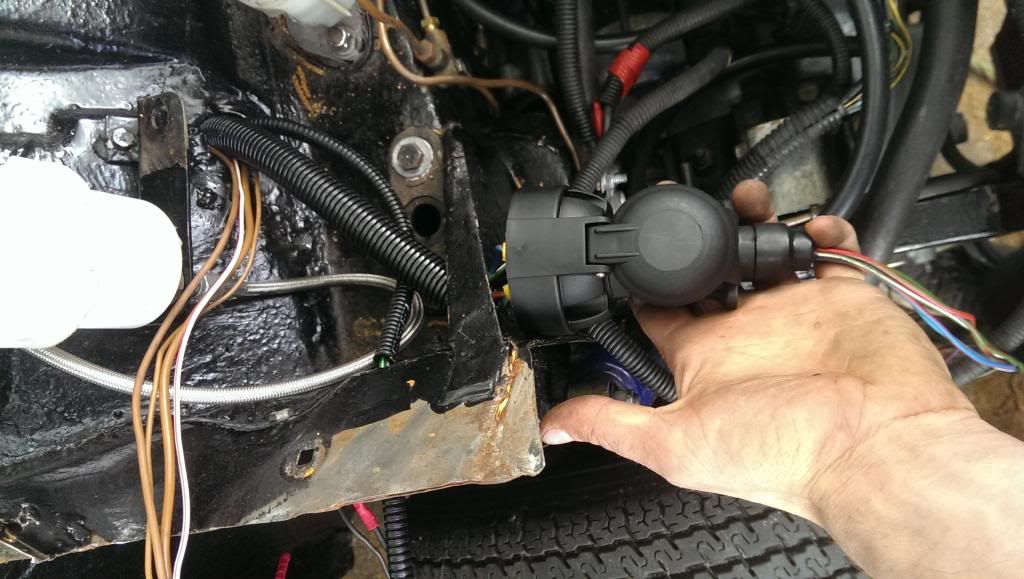
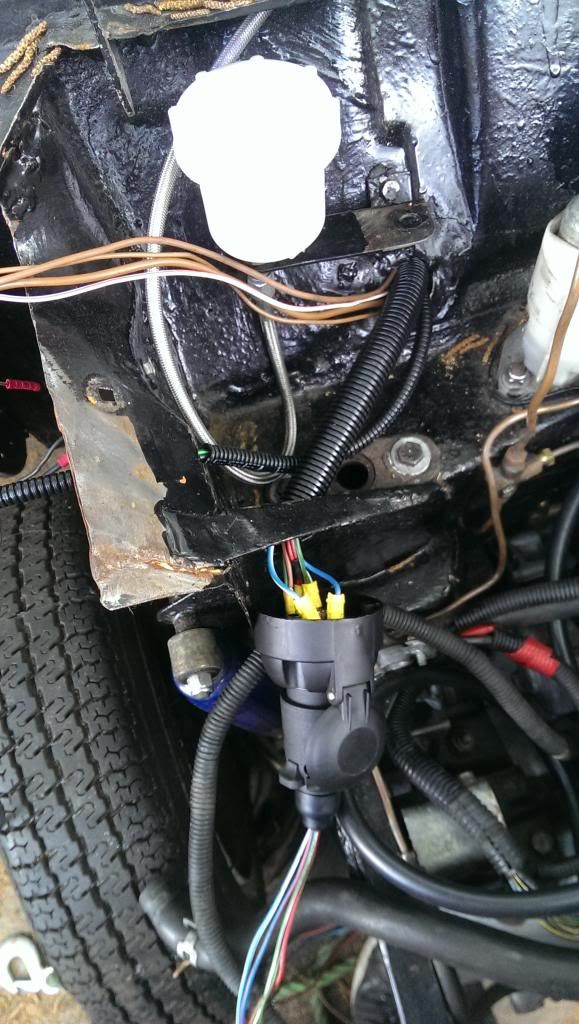
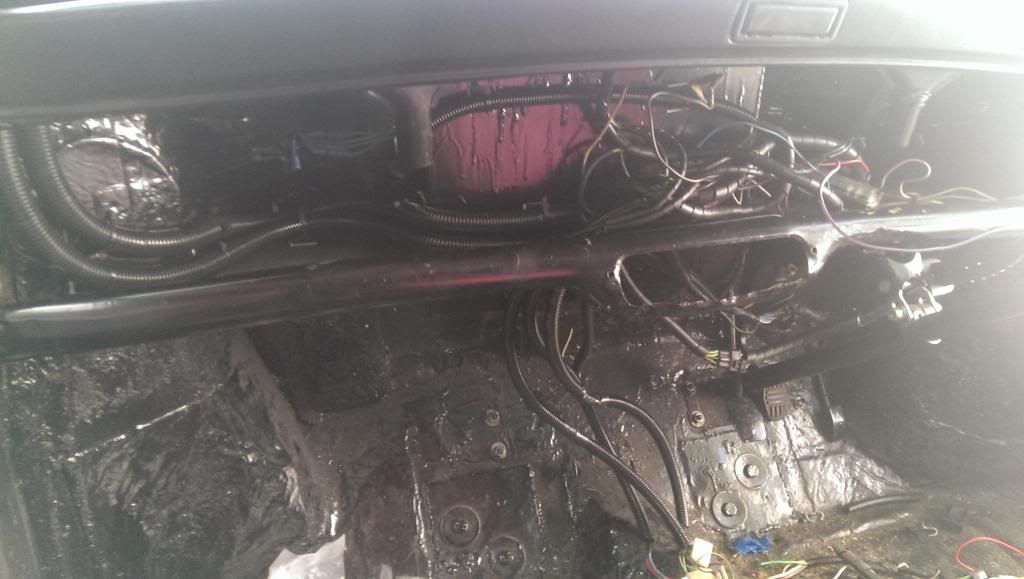
and started making loom for the front
using a caravan lighting plug
finished the extension for the wiper motor
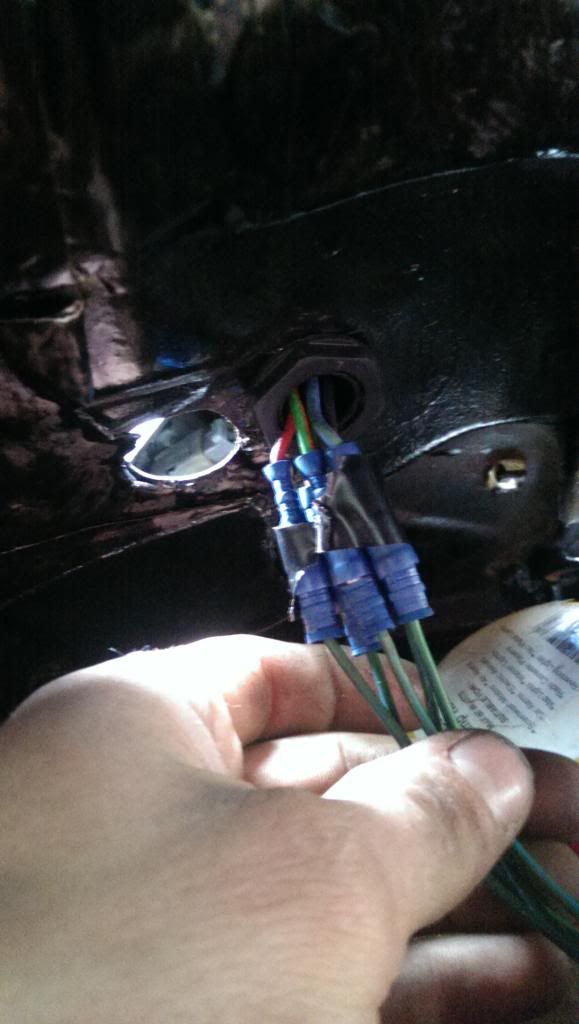
and rear wires...
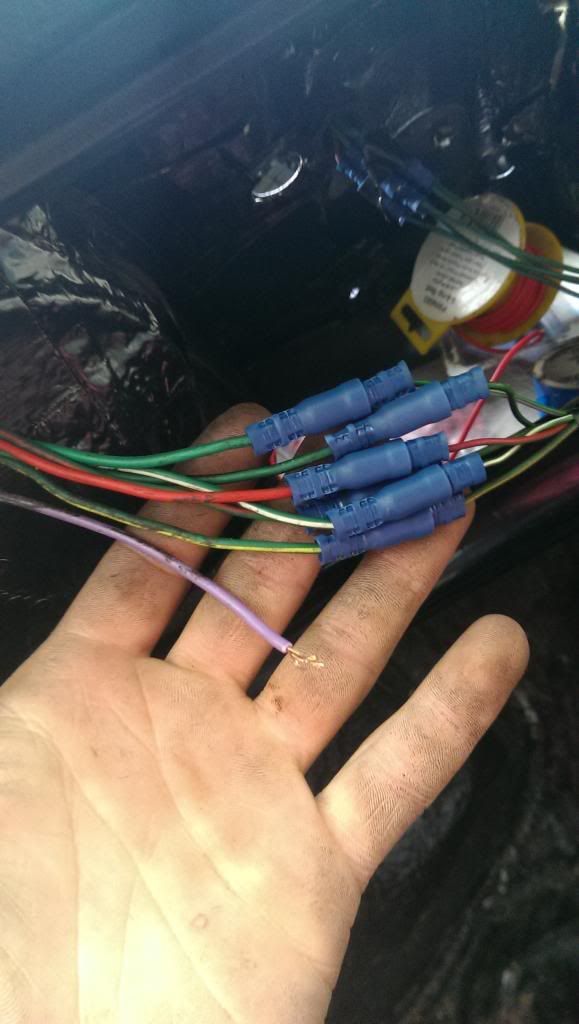
what the hell is the purple wire for though! the interior light?
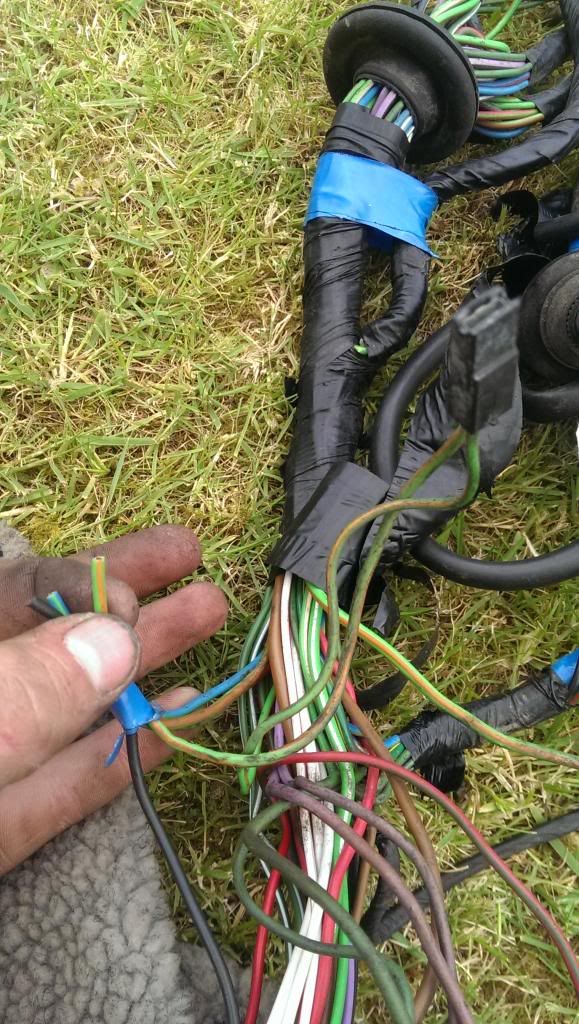
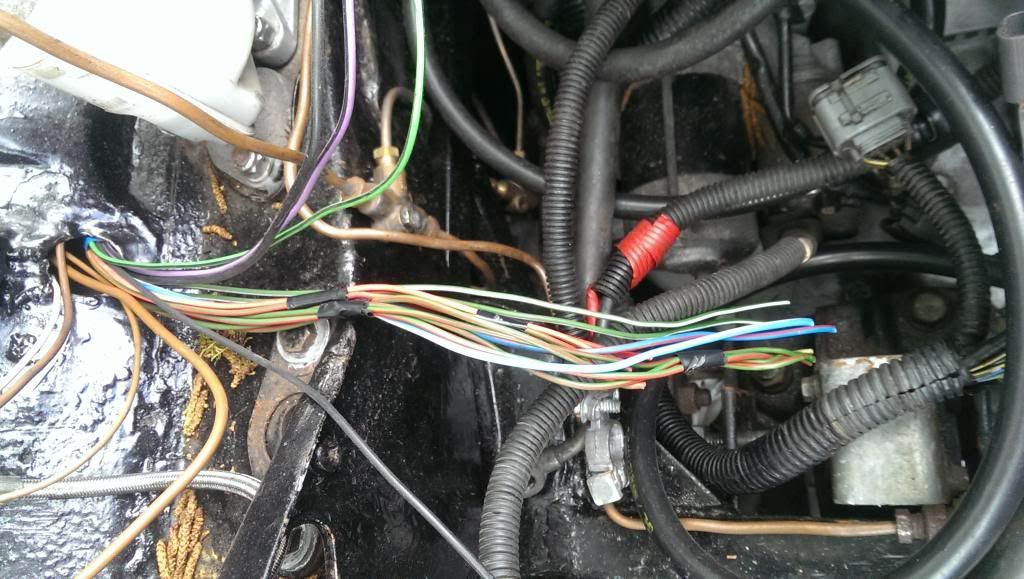
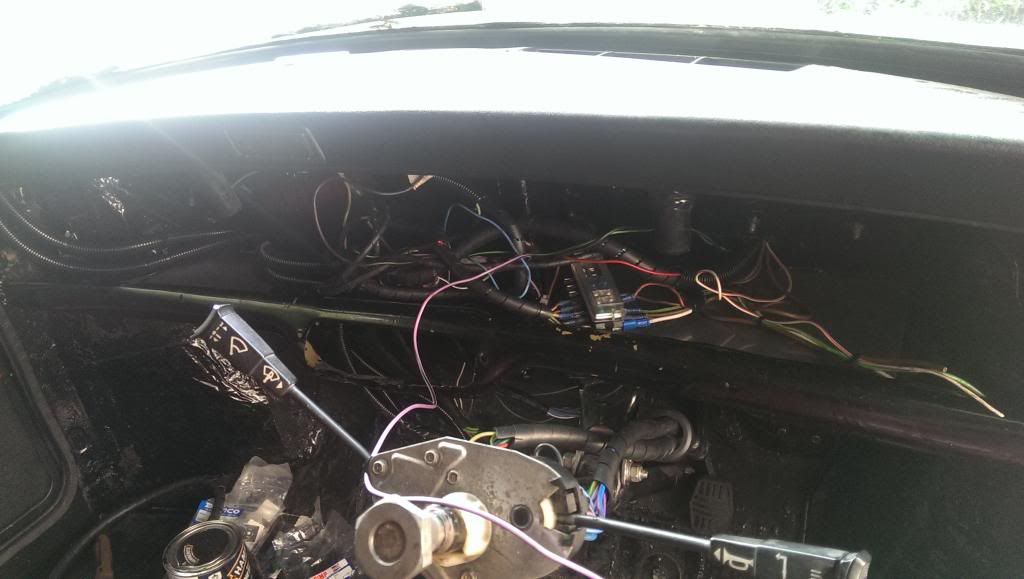
.... Just for my reference (i know its right )

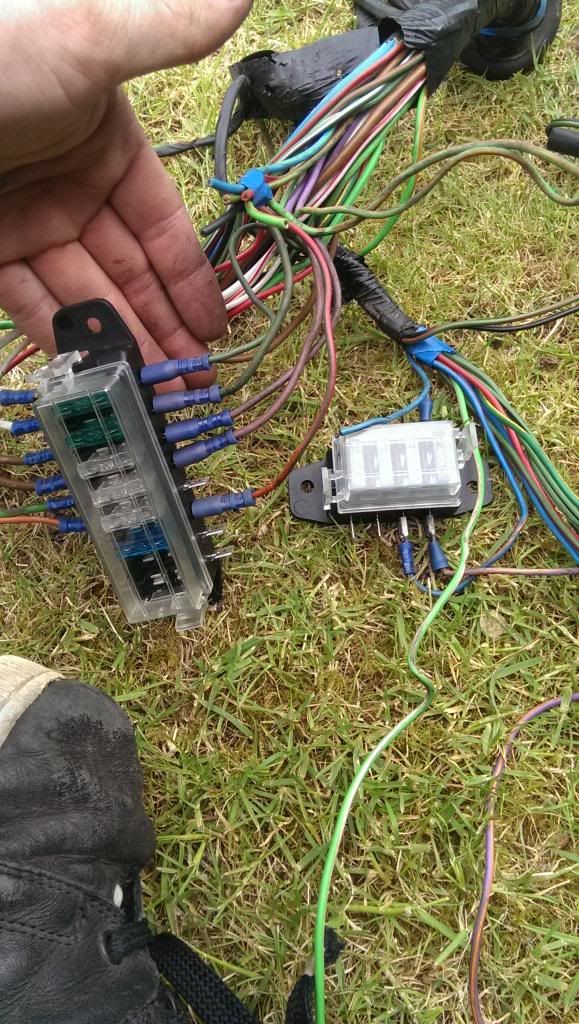
half way through lol
half way through that lol
(this has changed loads)
and from the top...
and finished ......... nearly lol

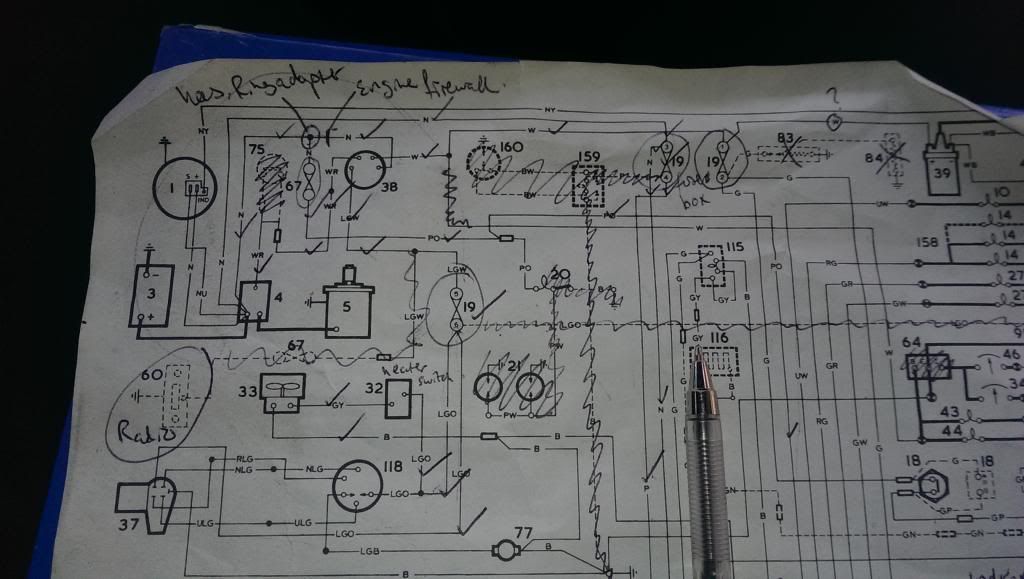
and my schematics lololol
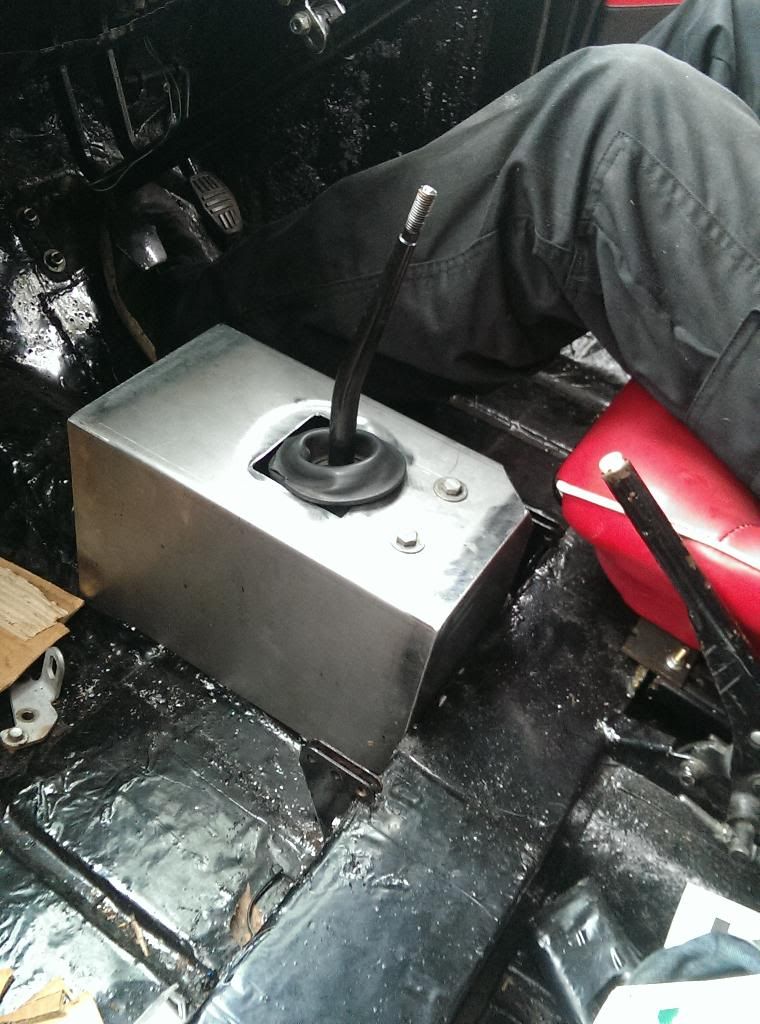
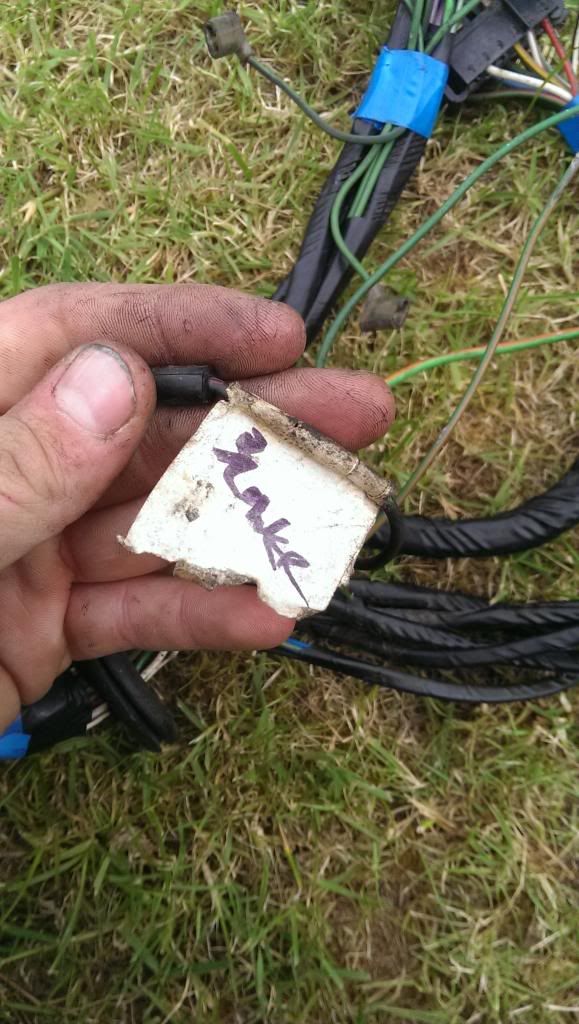
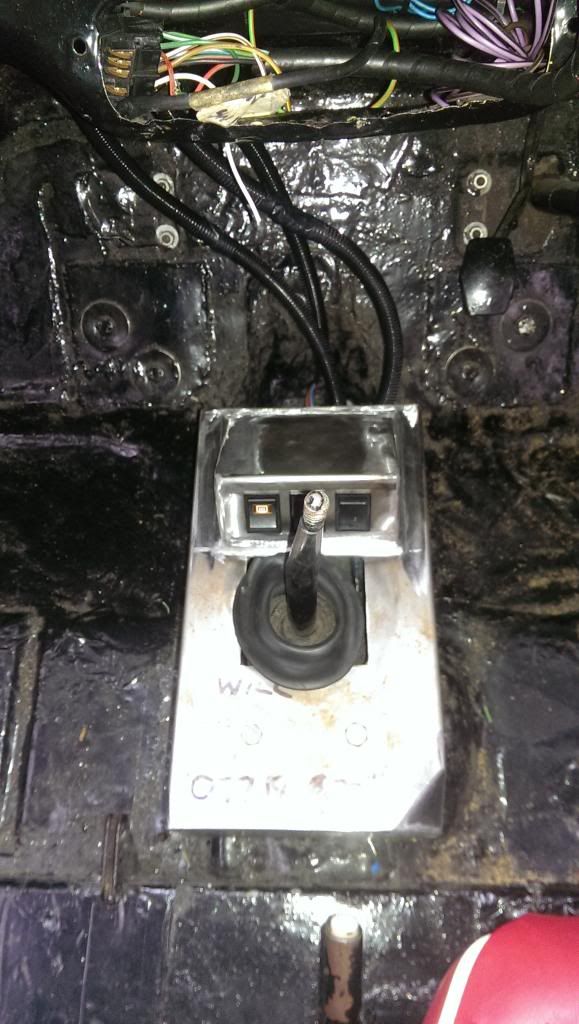
got my box back from the fabs again

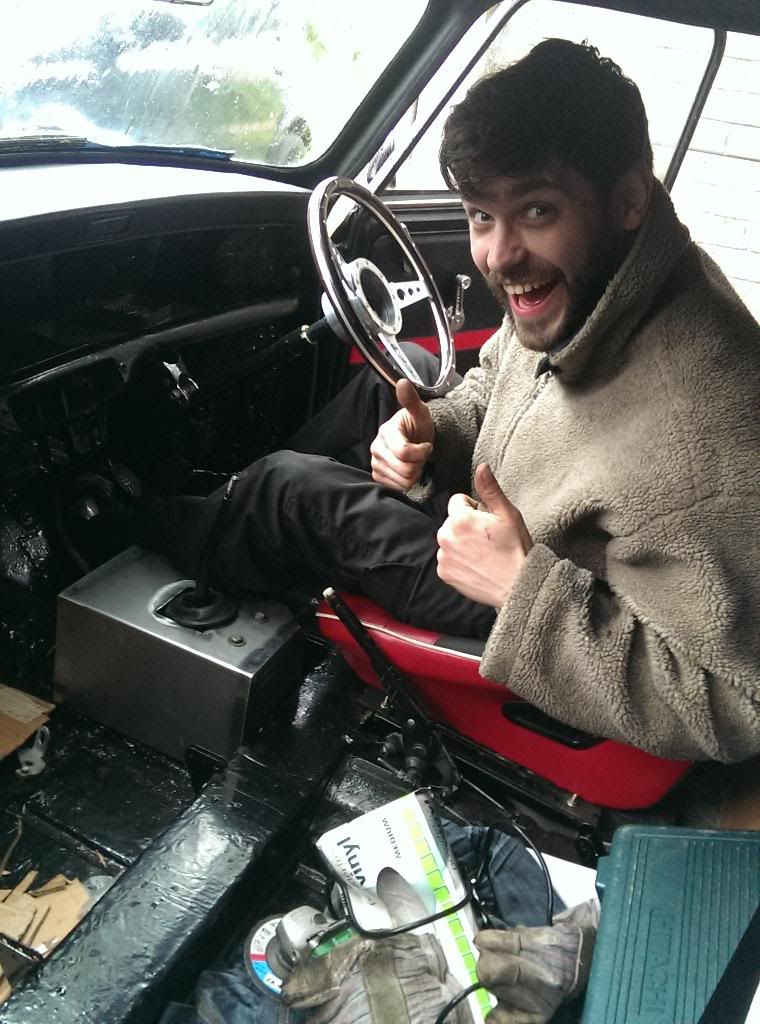
oh wait... let me take selfie....
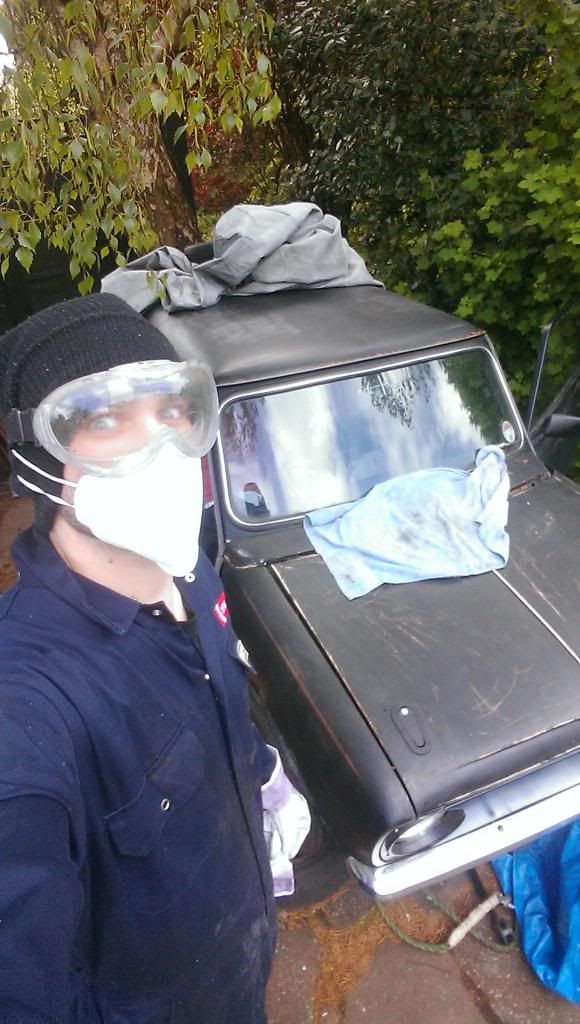
i had to!!!
#297
Hegnirst
-
- TMF+ Member
-
- 3,496 posts
Up Into Fourth
- Location: UK
- Local Club: Hilltop Minis
Posted 12 May 2014 - 10:17 PM
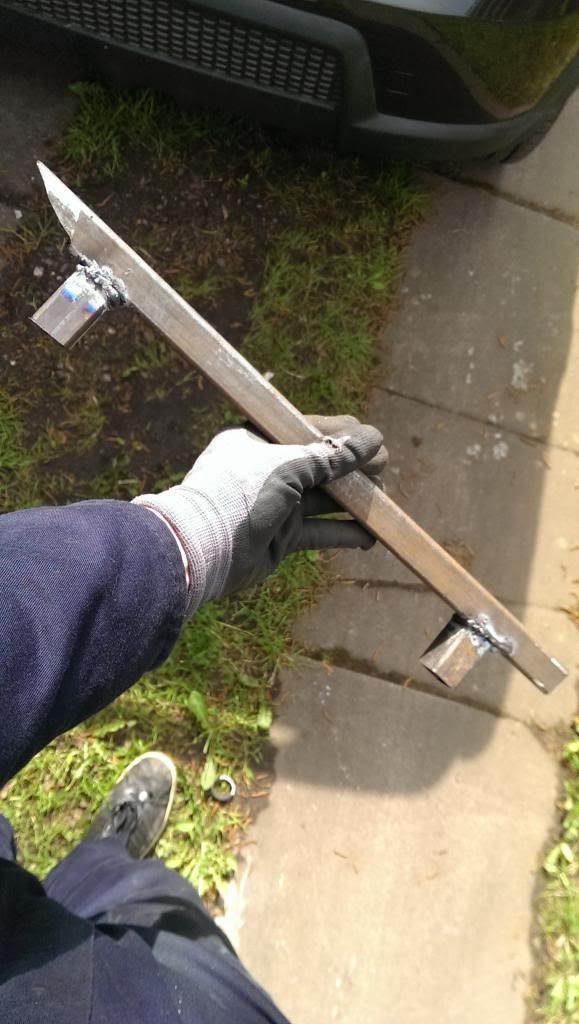
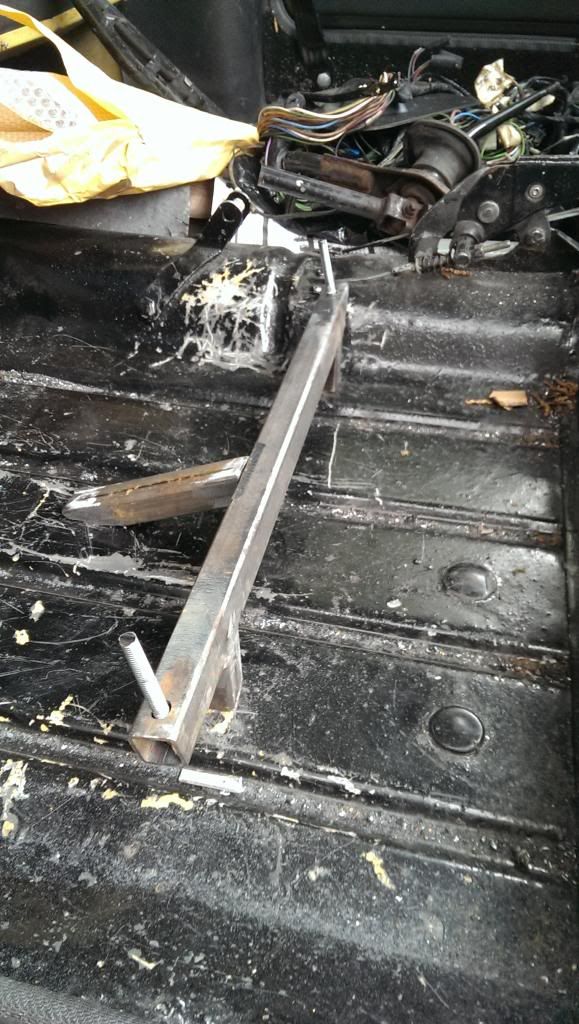
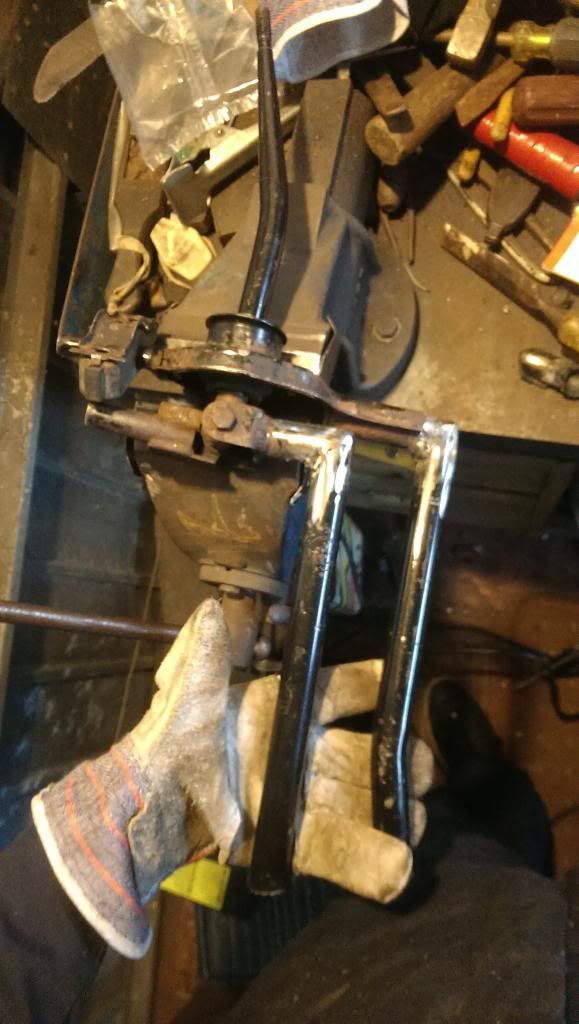
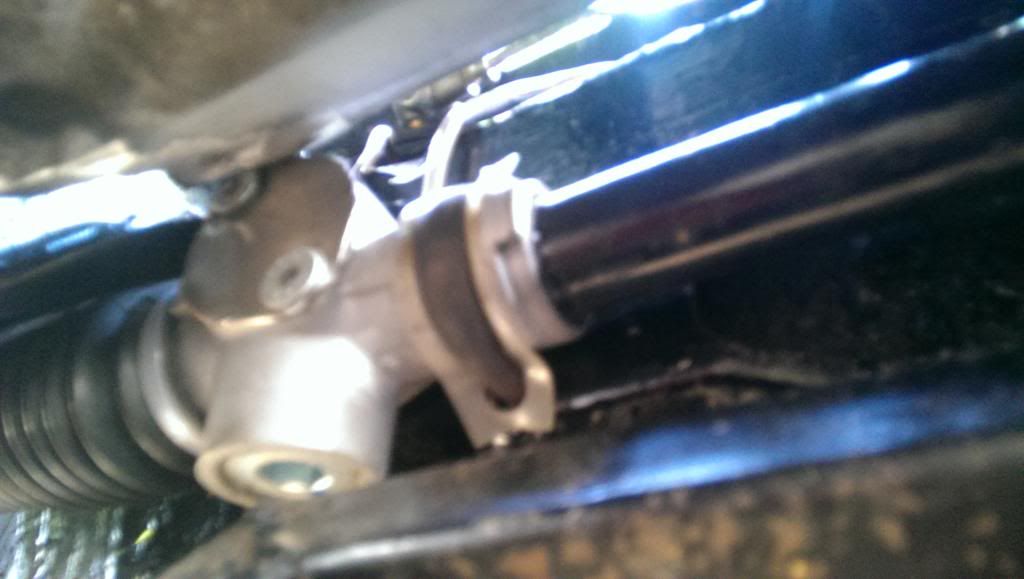
then i proceeded to mock the gear linkage up (i know many of you won't think it will work)
but hey ho... it will change a couple of ways.....
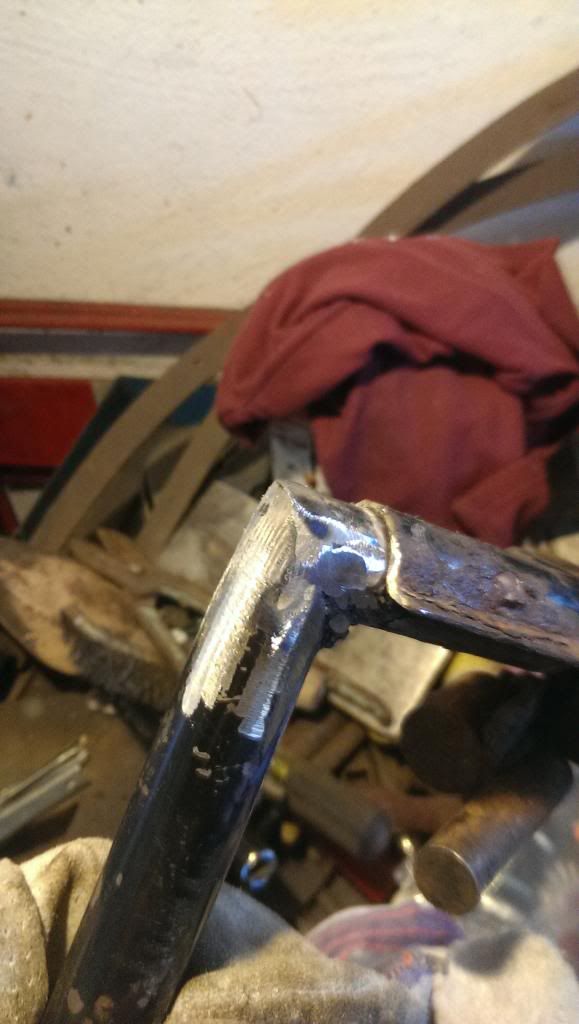
and welded
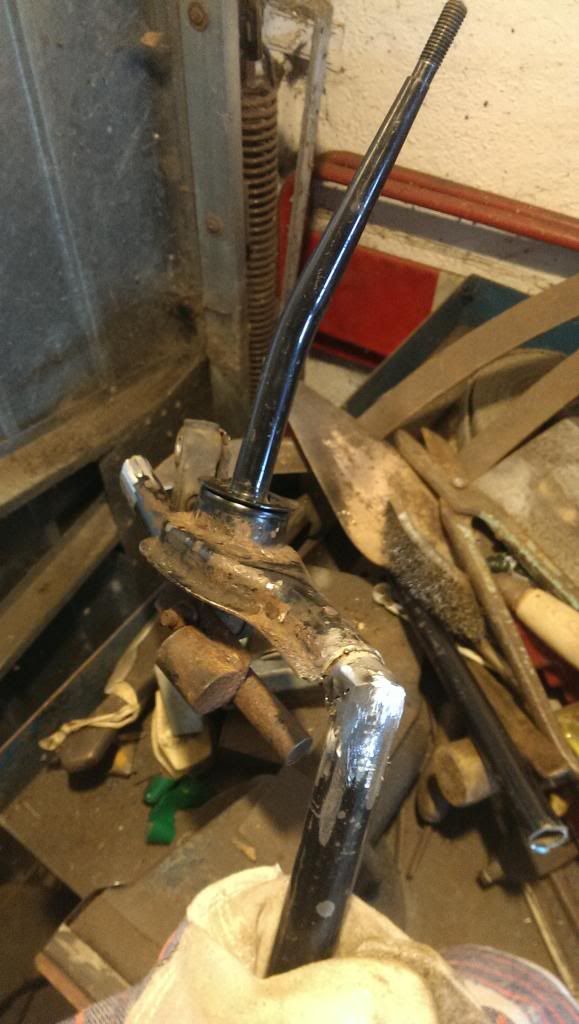
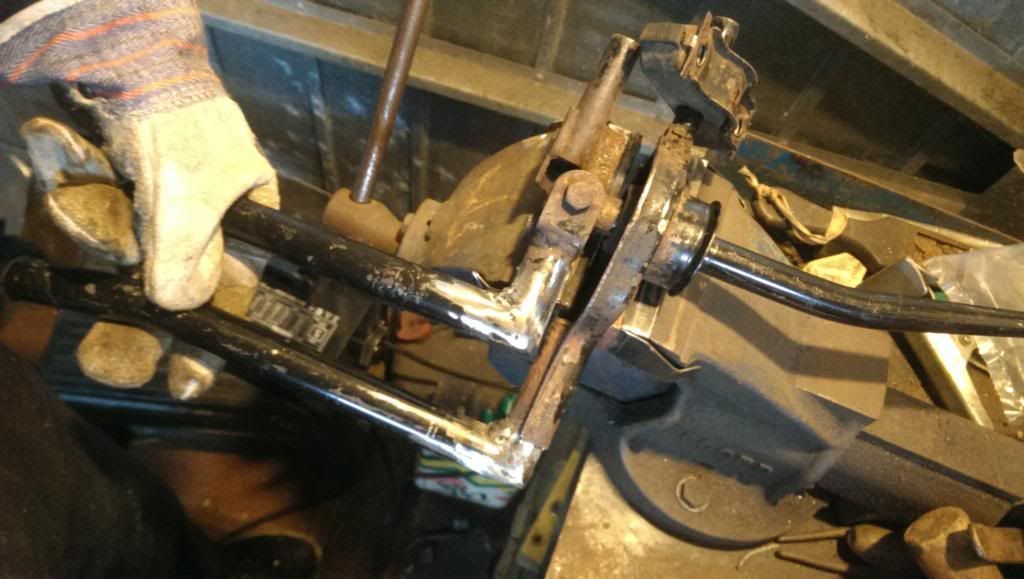
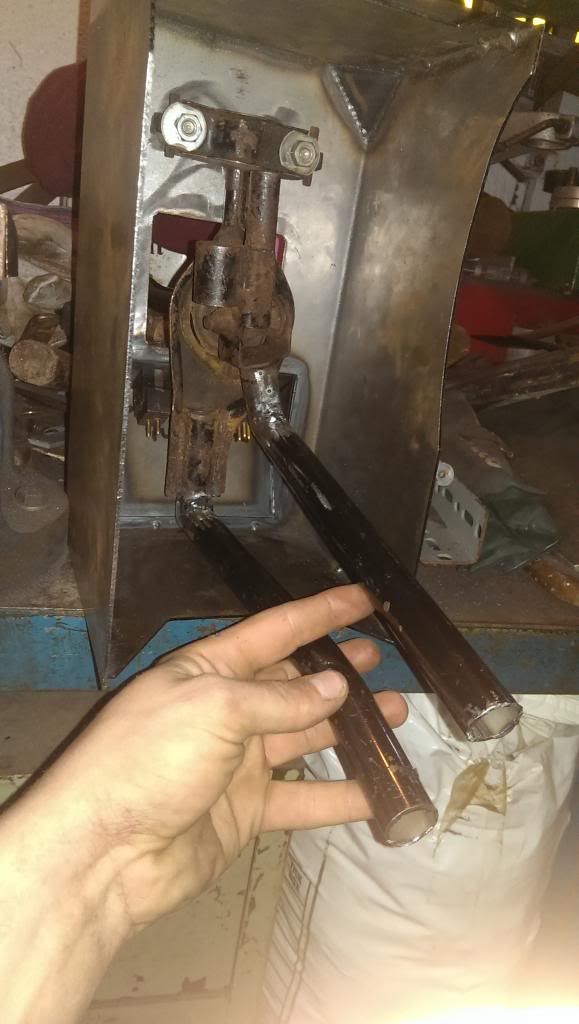
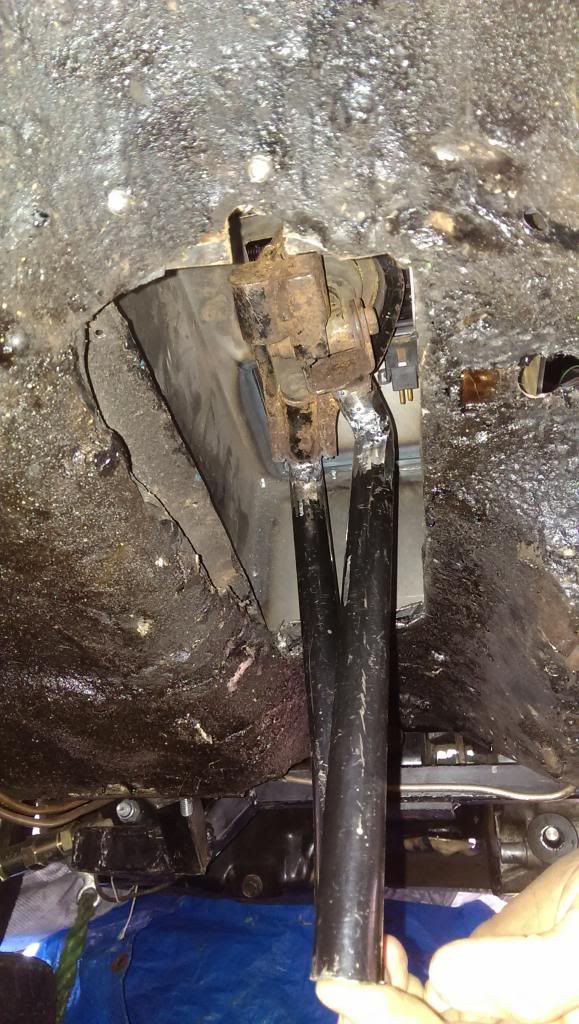
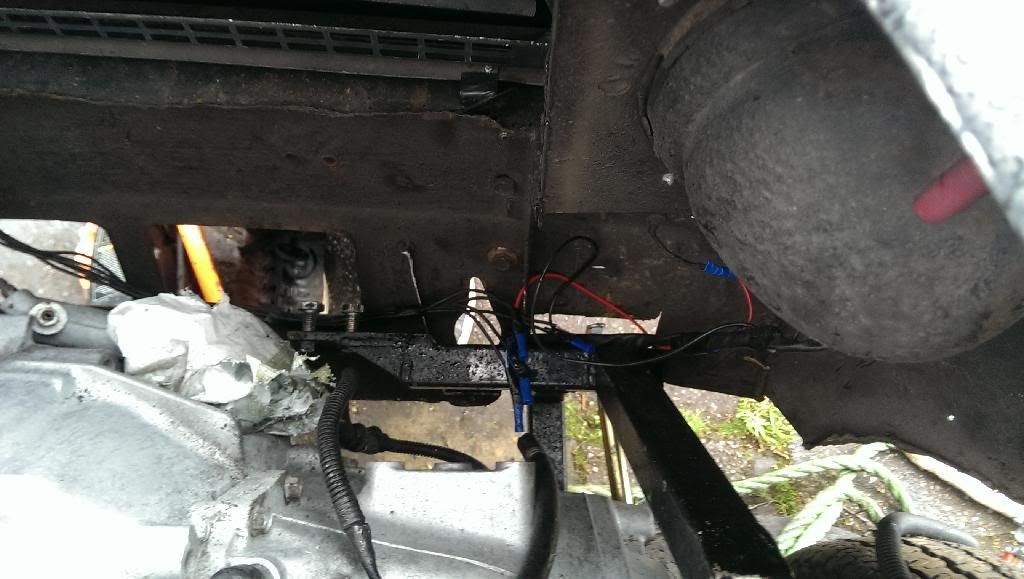
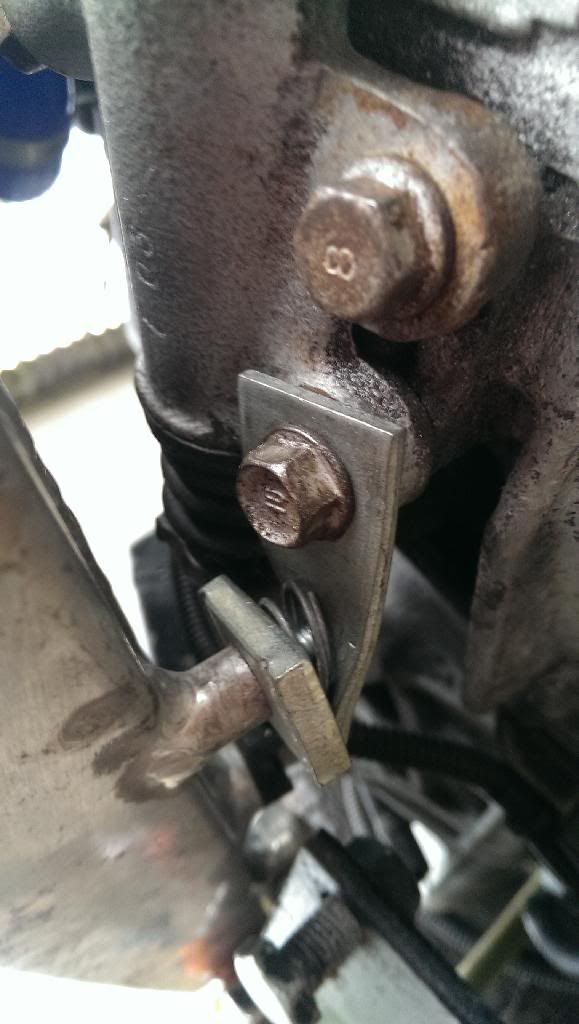
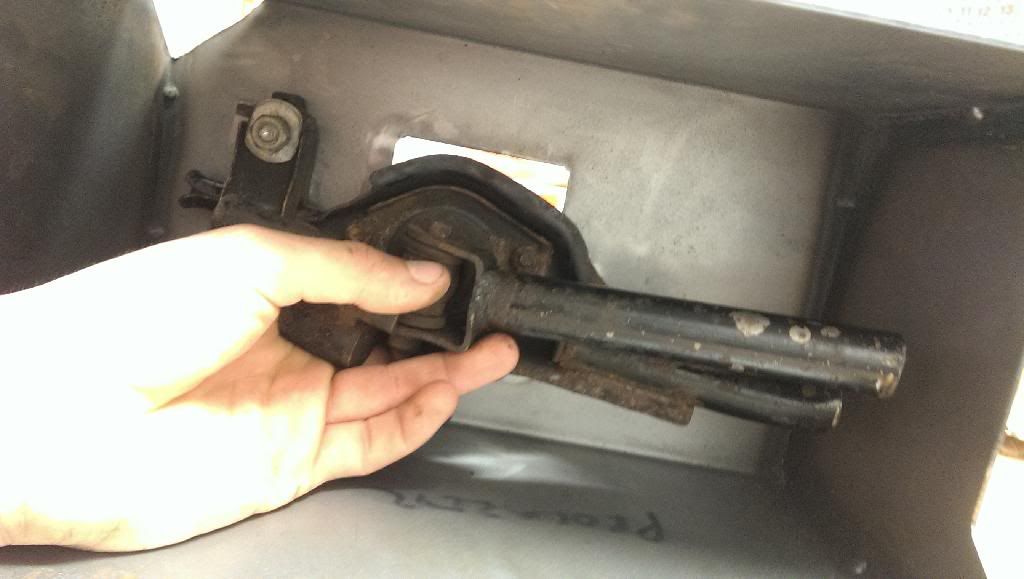
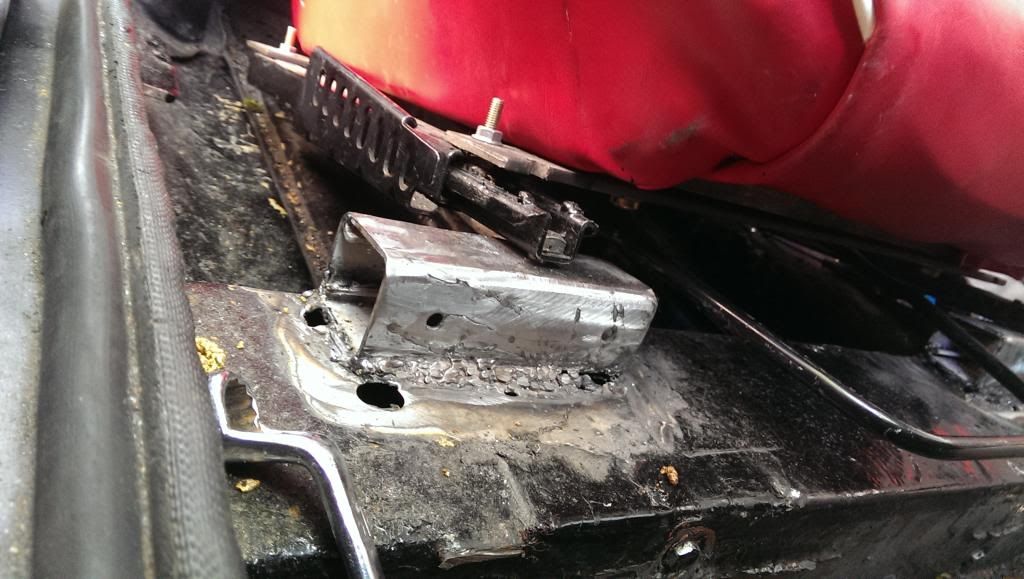
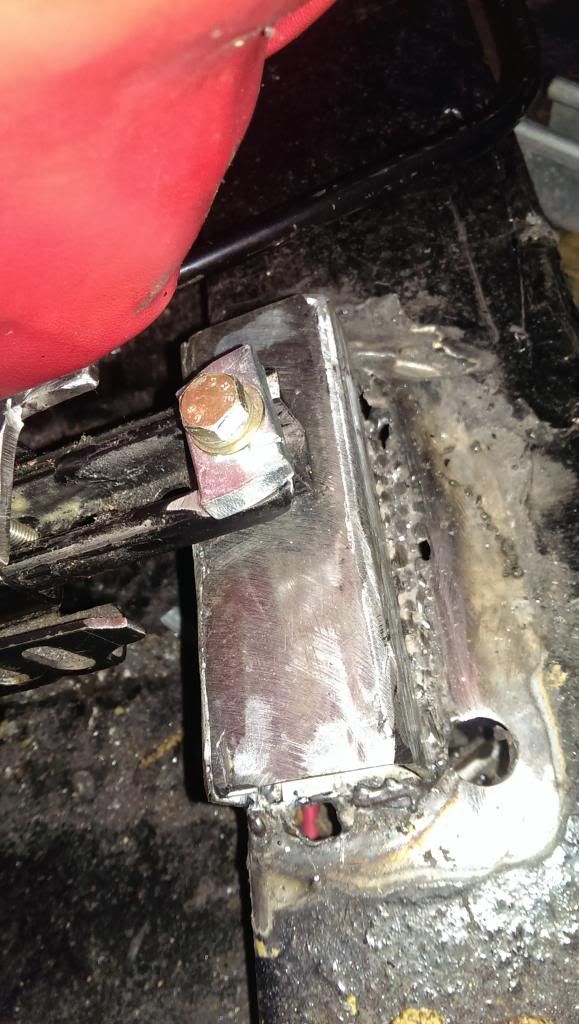
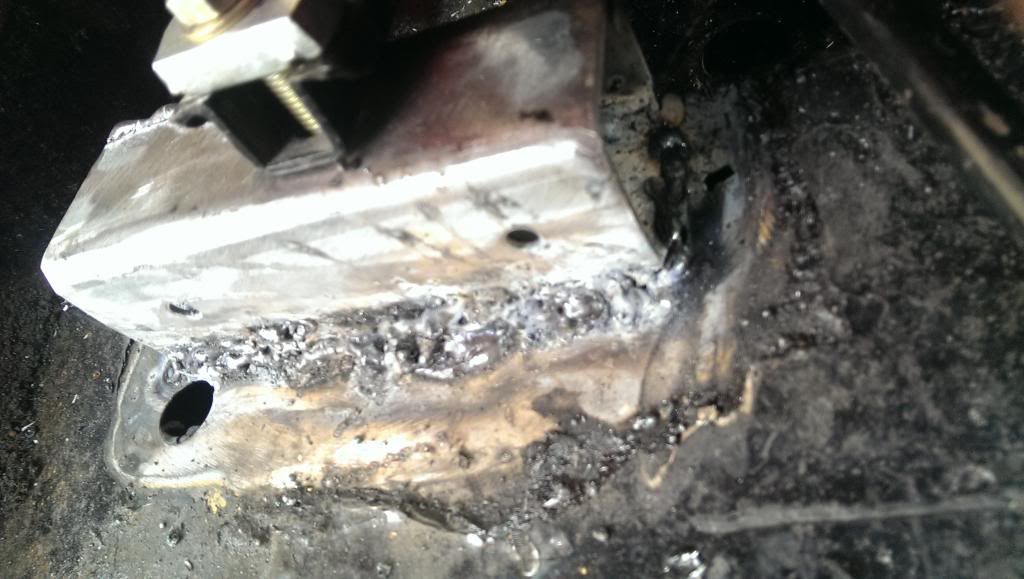
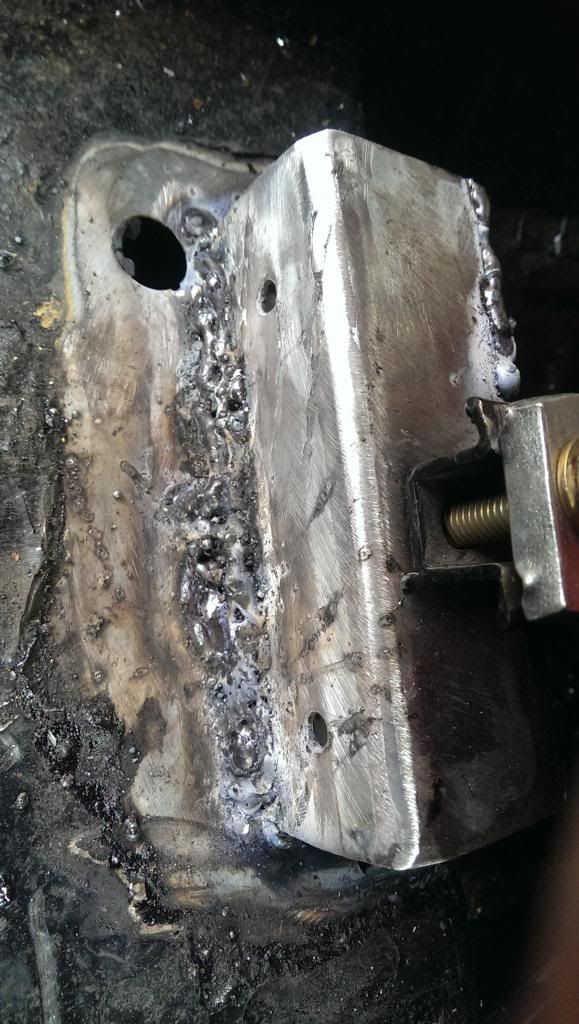
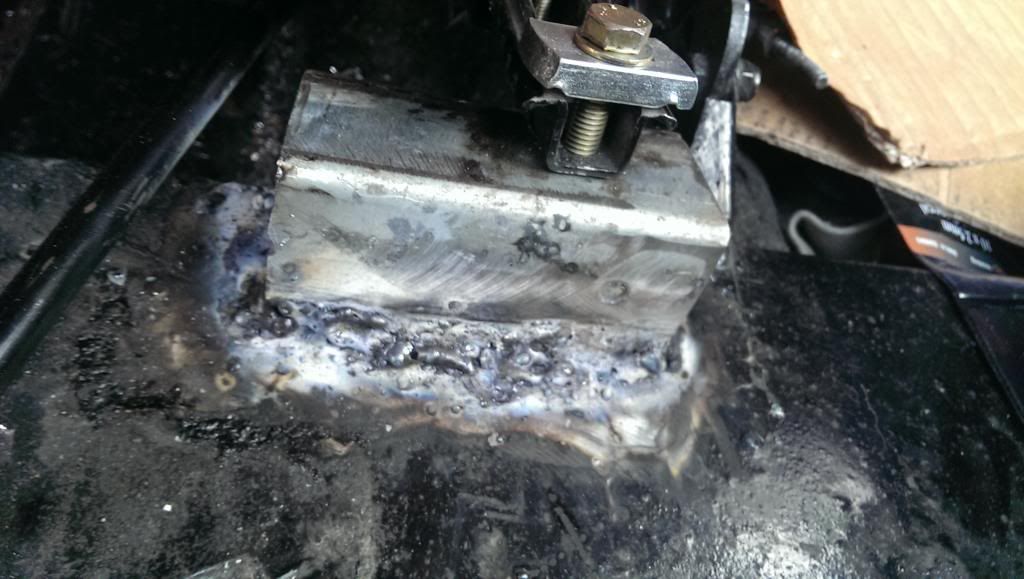
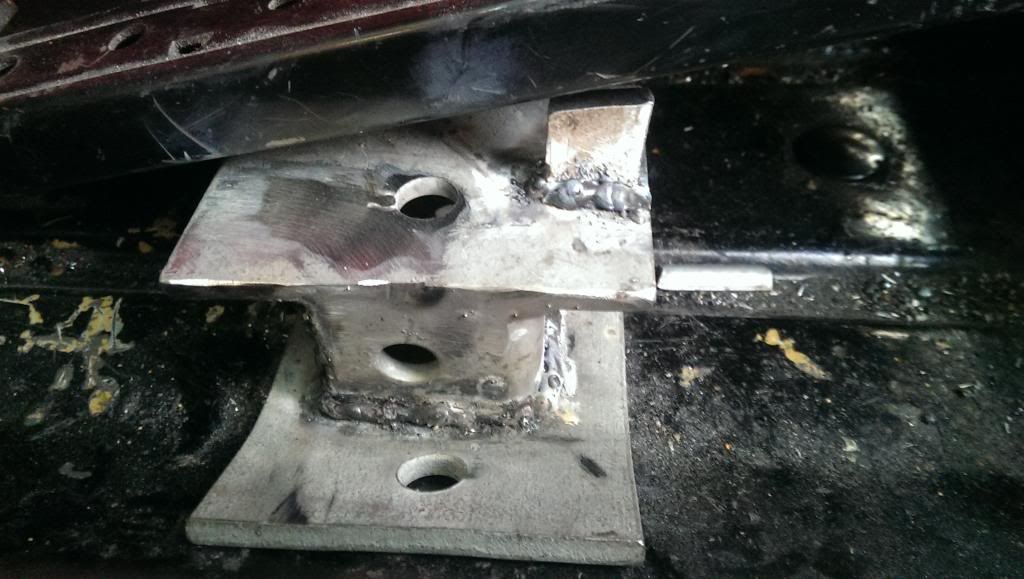
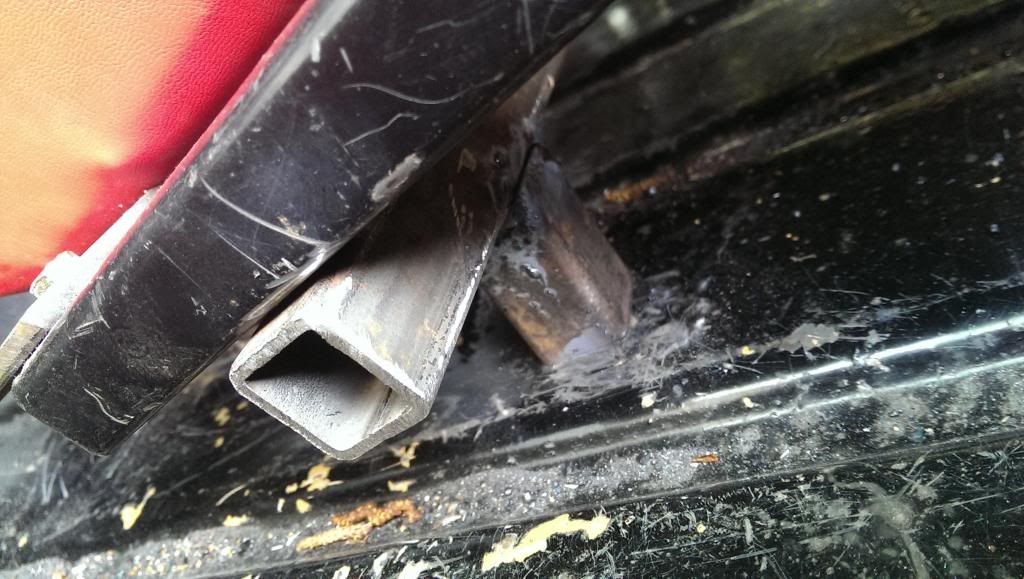
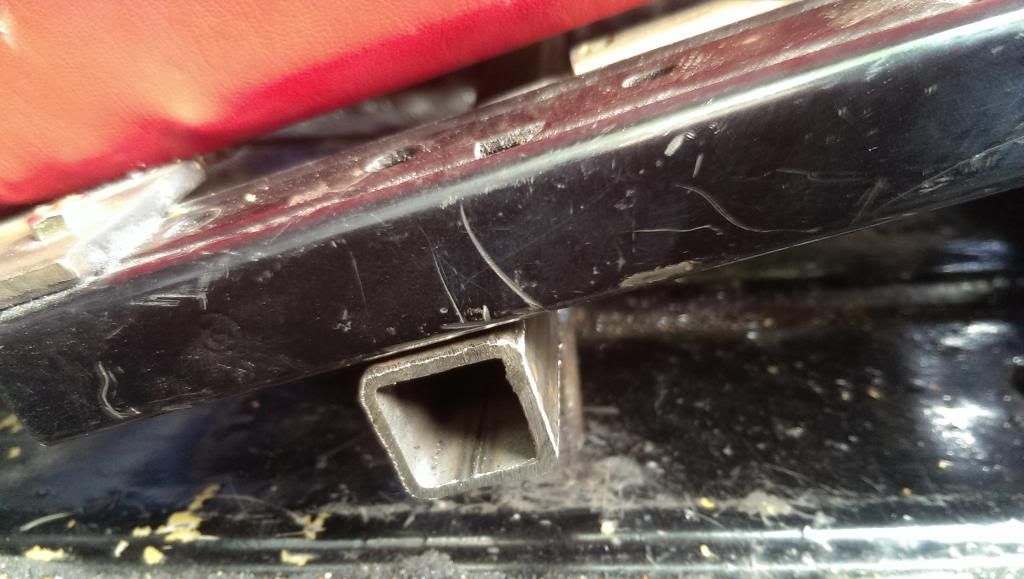
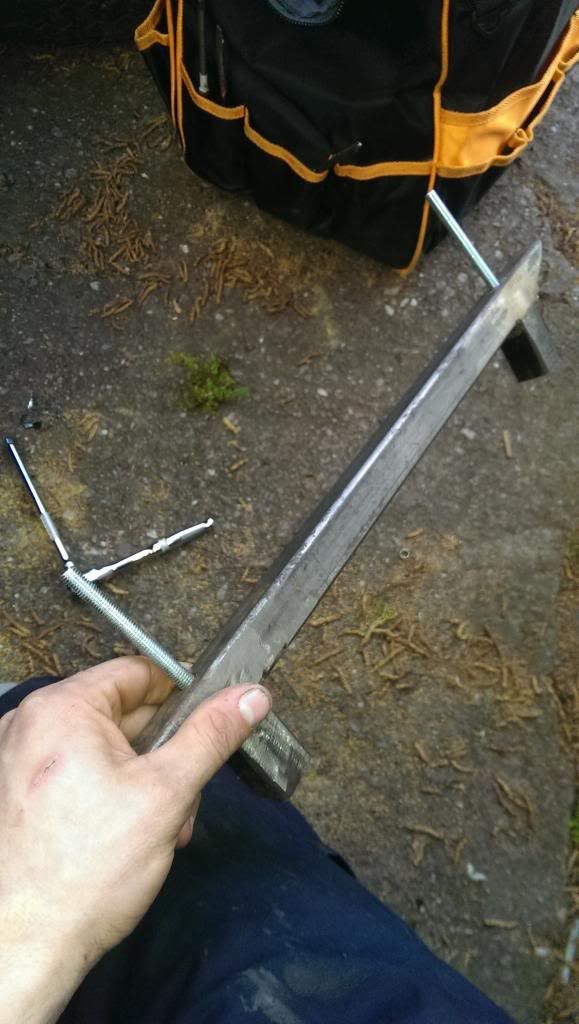
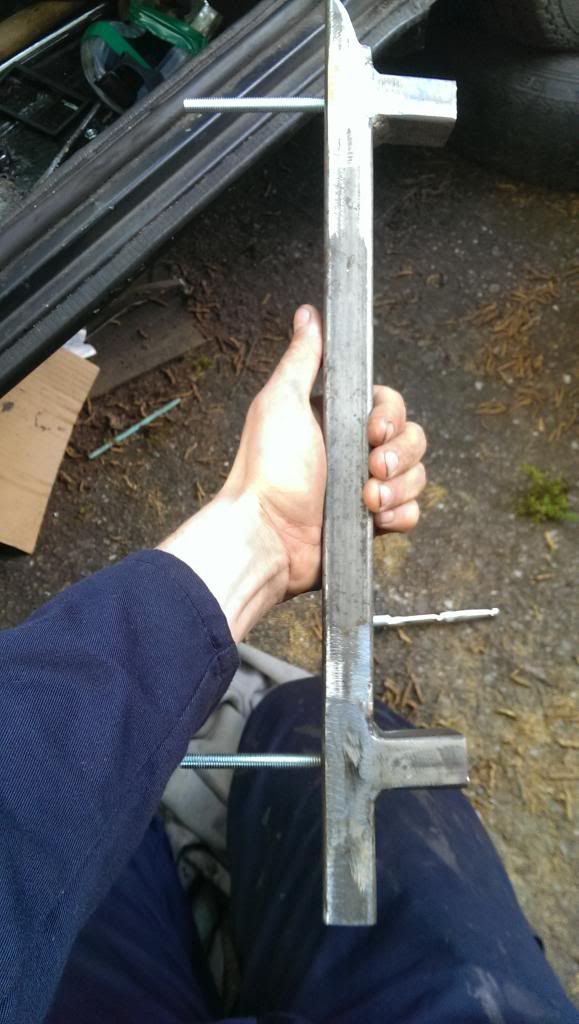
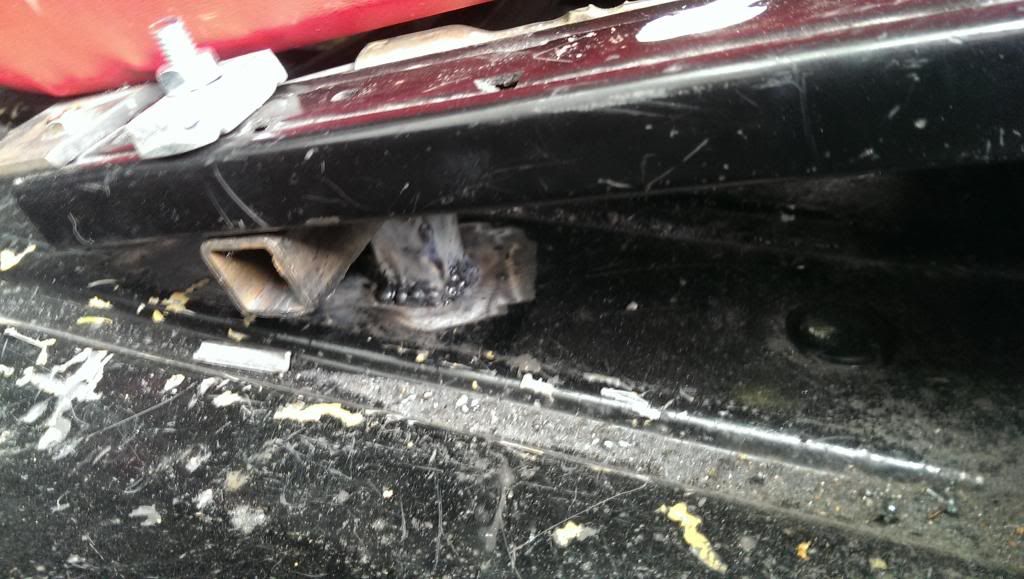
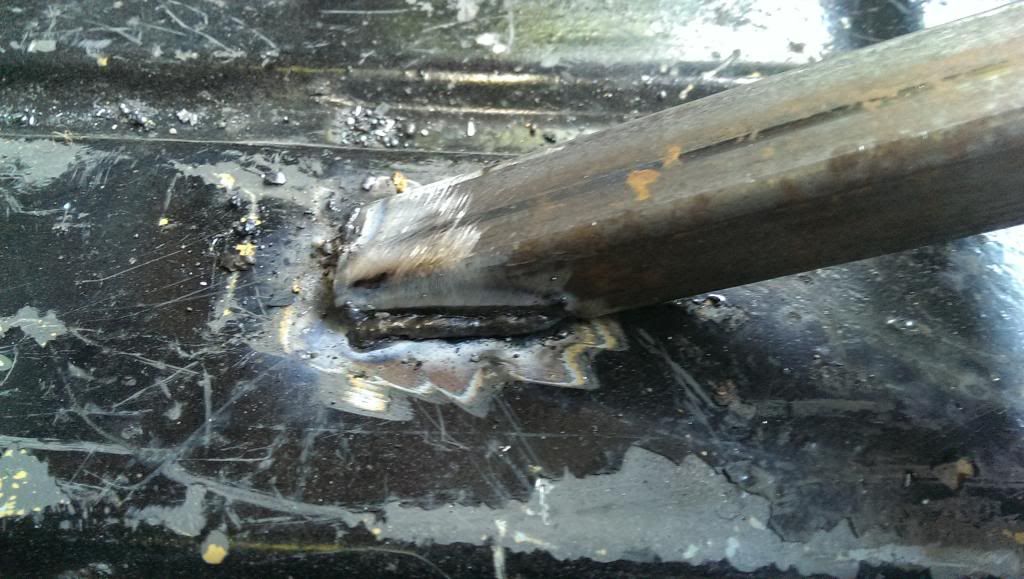
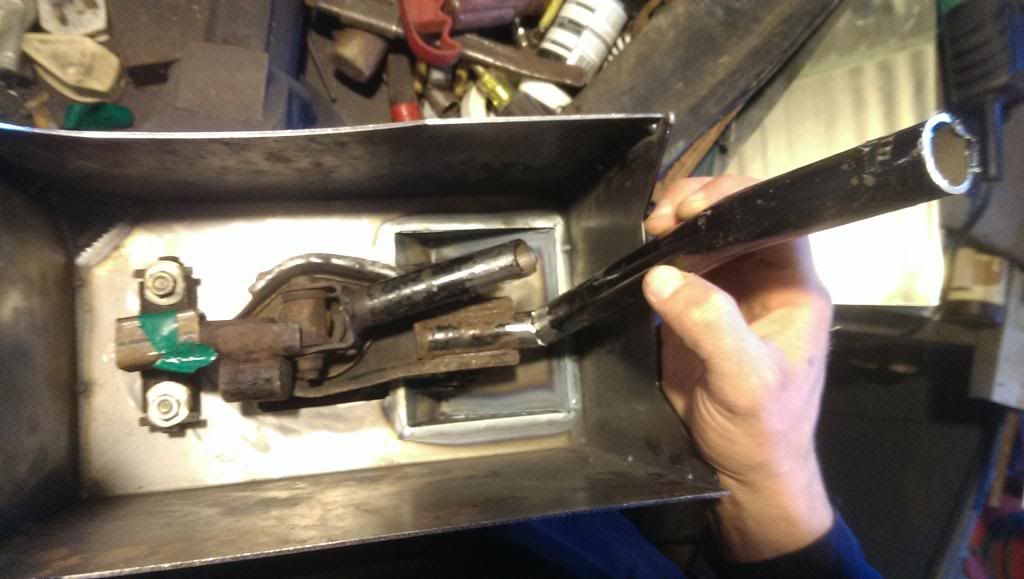
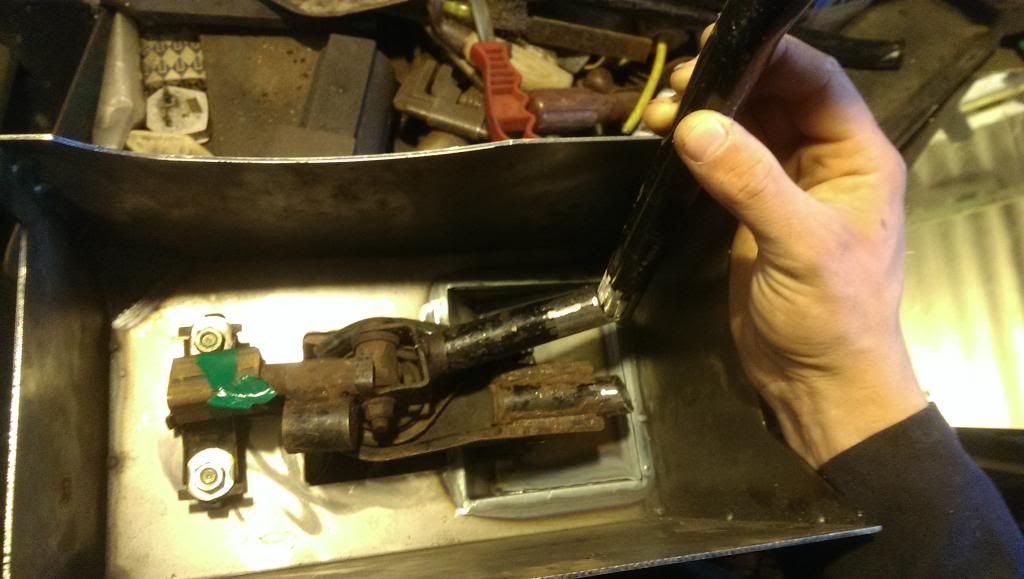
and then i decided to tackle what I've been meaning to do for a long long time, that bottom mount!!! didn't think ide do it on my own but managed lol using two roof bar, bars lol bent one and got another stuck ahahaha
i had to drill a whole out a nut and bolt through and wack it! pretty stupid but it happened ahahaha
pretty stupid but it happened ahahaha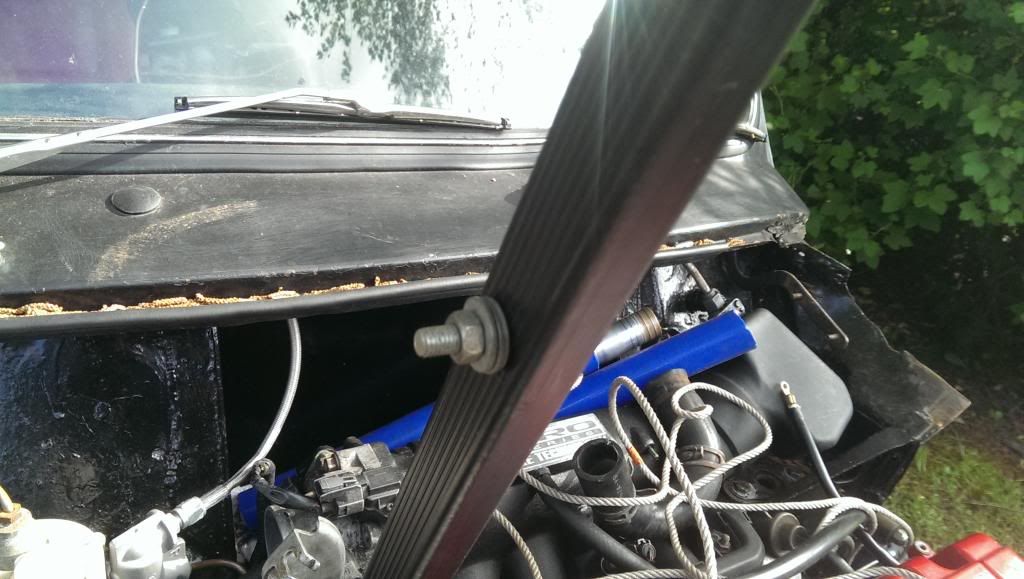
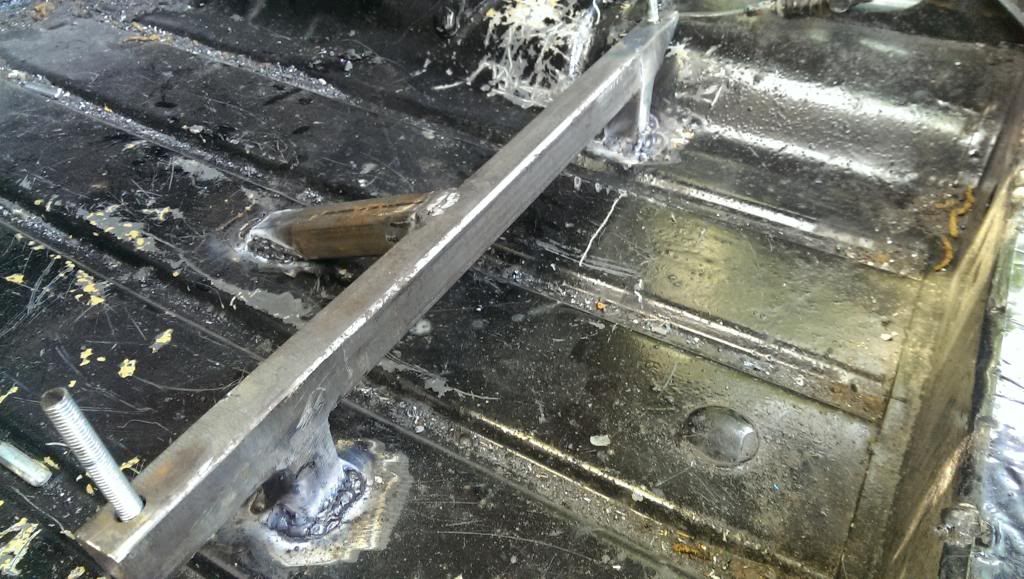
and there it is :)
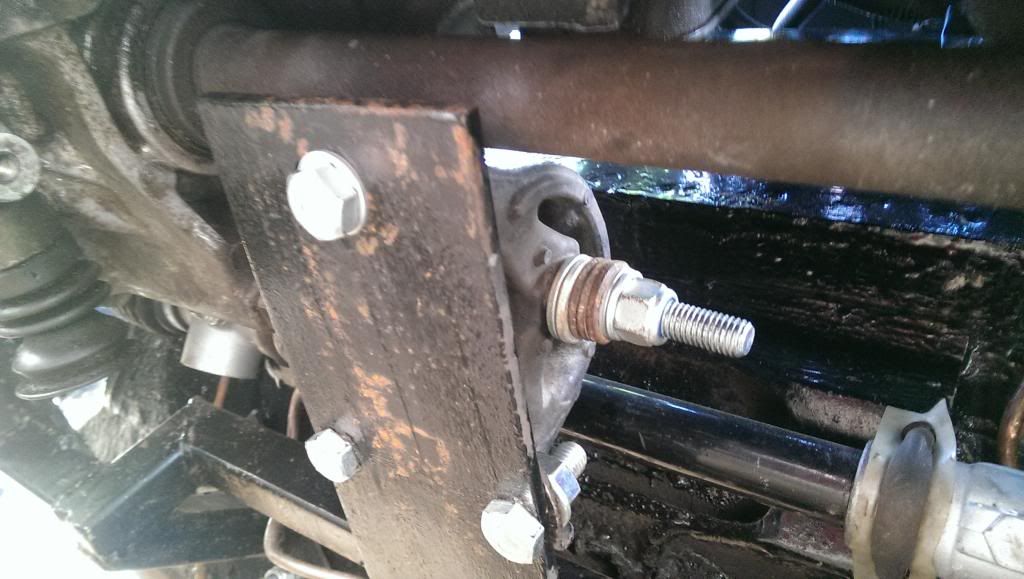
and there is some room between as well :)
happy with it
the car was raised today with a little help so i can now do the linkage properly! :)
shout out to tony! and daps for the ignition barrel :)
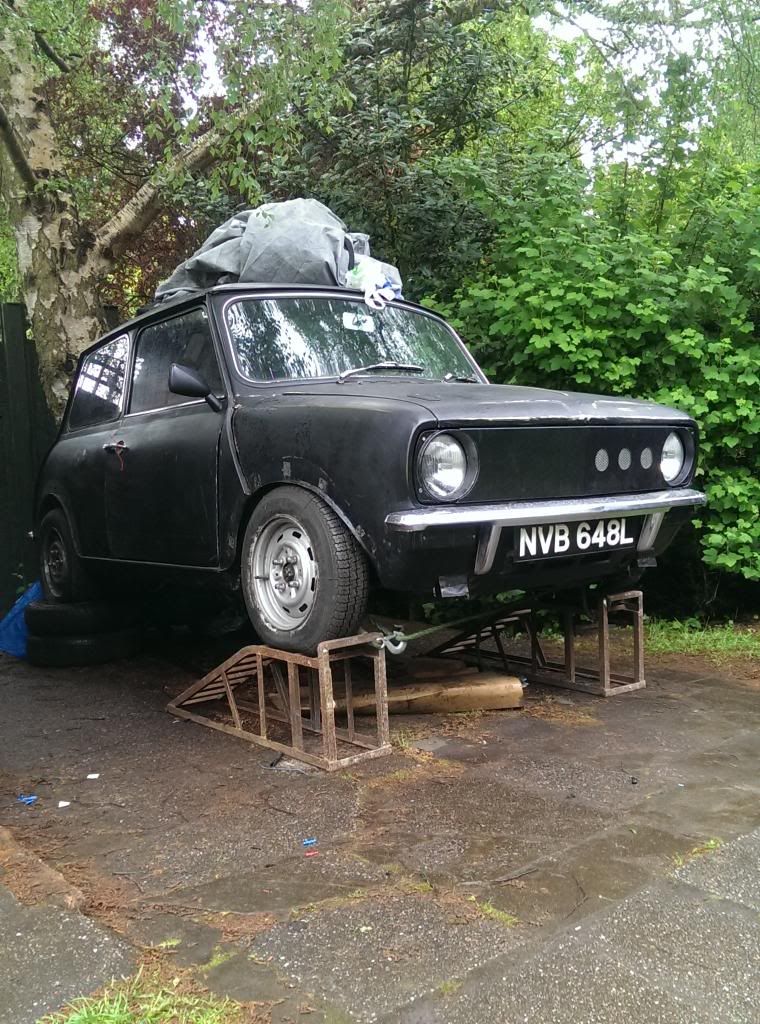
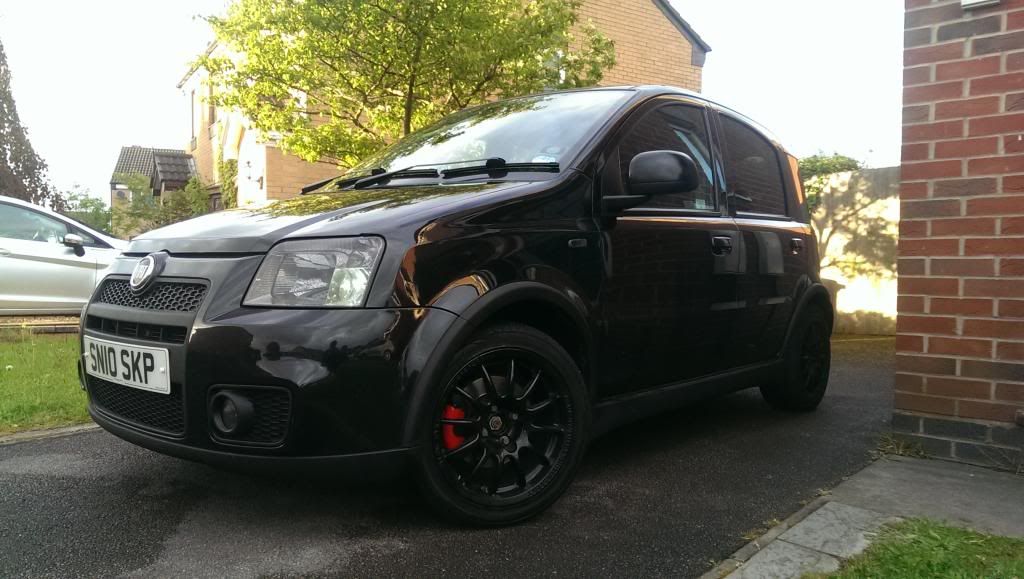
and just to share my beloved panda for the tool and supply slugger :)
thats all till tomorrow!!!
#298
Hegnirst
-
- TMF+ Member
-
- 3,496 posts
Up Into Fourth
- Location: UK
- Local Club: Hilltop Minis
Posted 12 May 2014 - 10:21 PM
(just to share i used the topics and thread for help with some stuff i was doing and needed to know)
#299
rally515
-

- Members
-
- 3,848 posts
Up Into Fourth
- Location: ask!
Posted 12 May 2014 - 10:26 PM
Lovely little panda, how much was that ?
Also the DIY welding mask was classic 
 , don't see british manufacture like that anymore!!
#300
Hegnirst
-
- TMF+ Member
-
- 3,496 posts
Up Into Fourth
- Location: UK
- Local Club: Hilltop Minis
Posted 12 May 2014 - 11:05 PM
Lovely little panda, how much was that ?
Also the DIY welding mask was classic
thanks mate :)
couldn't say, but half of the 10.5 they were when they were new if you get what I'm saying ;)
ill tell you what, it worked well but it kept falling off! lol


2 user(s) are reading this topic
0 members, 2 guests, 0 anonymous users


