Jump to content


Photo
* * * * - 1 votes

Bruce the clubman 1972


  • Please log in to reply
362 replies to this topic

#226 Hegnirst

Hegnirst

    Up Into Fourth

  • TMF+ Member
  • PipPipPipPipPipPipPipPipPip
  • 3,496 posts
  • Location: UK
  • Local Club: Hilltop Minis

Posted 25 February 2014 - 11:14 PM

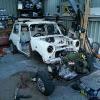
after all of that grinding etc i looked like this
 
IMAG0879.jpg
 
so i showered lol
 
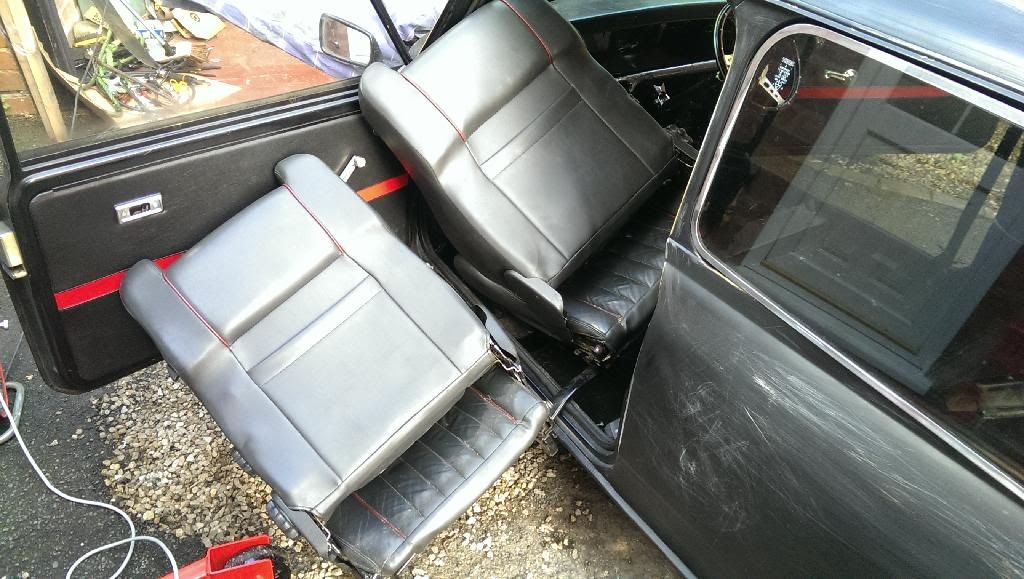
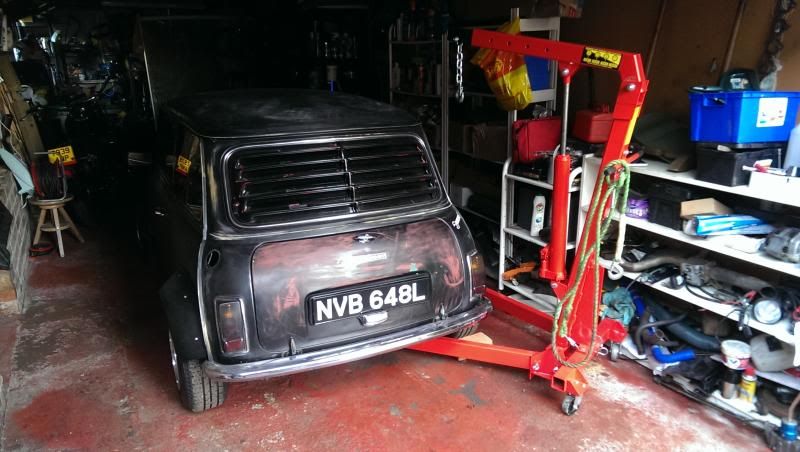
So next day, out with the seats which nearly disintegrated my back, the weight was quite uncomfortable on my own lol
 
IMAG0891.jpg
 
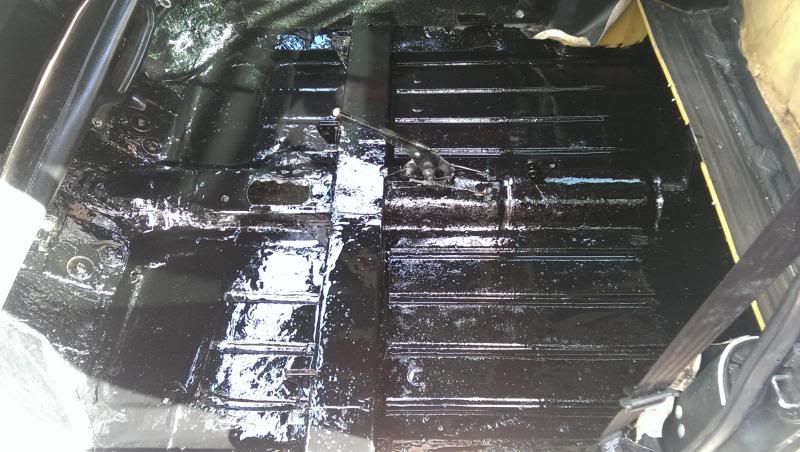
took the carpet out the back and started stripping the sound deadening out as it always made the floor lumpy lol 
 
IMAG0893.jpgIMAG0894.jpg
 
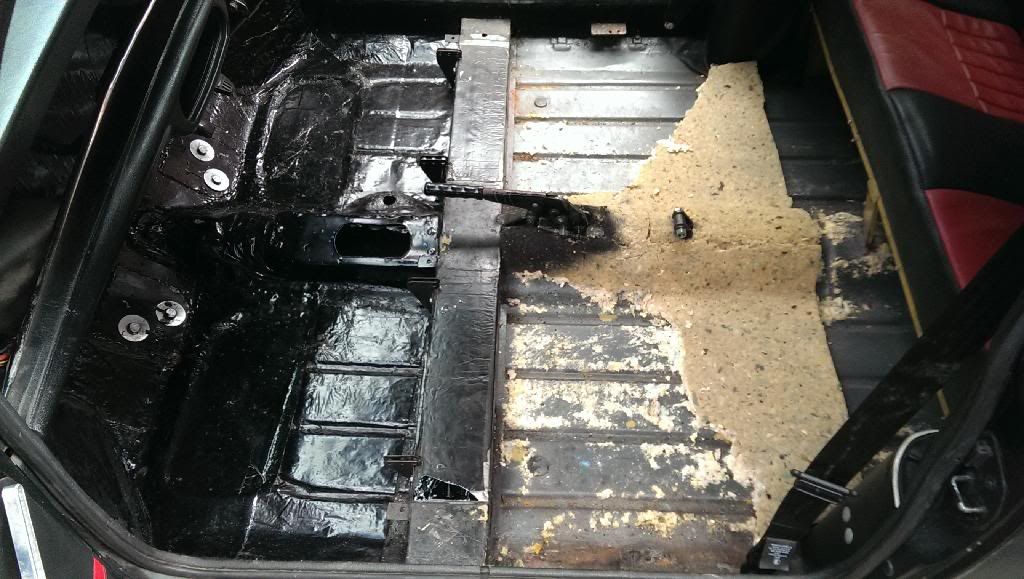
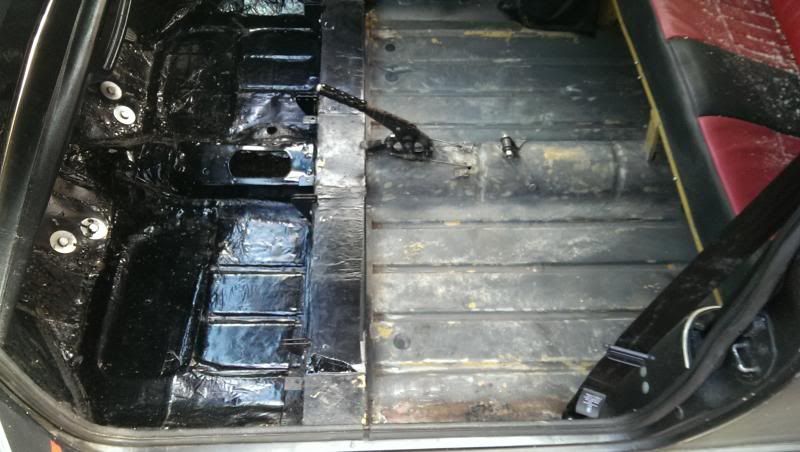
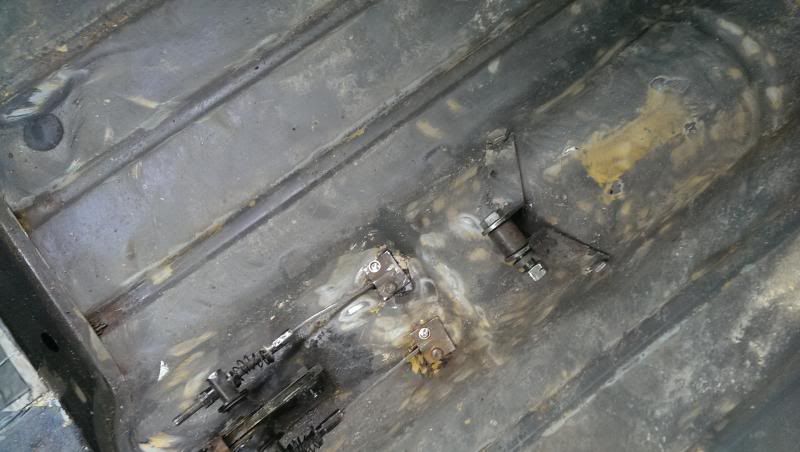
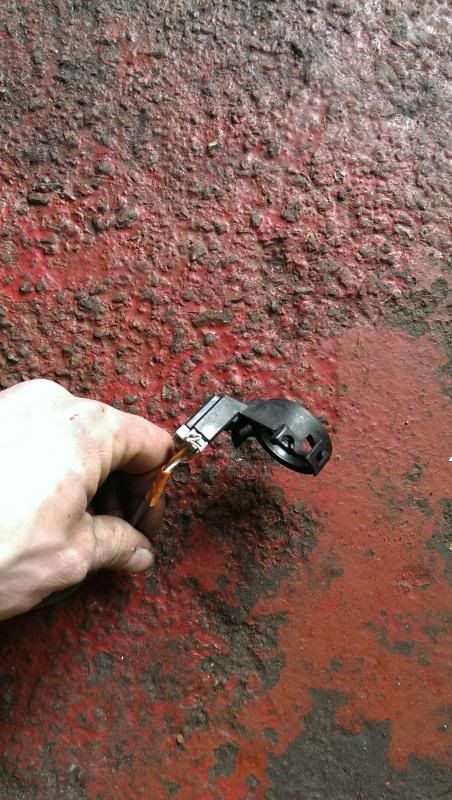
and in the process sorted out the handbrake cable feeders
 
IMAG0897.jpg
 
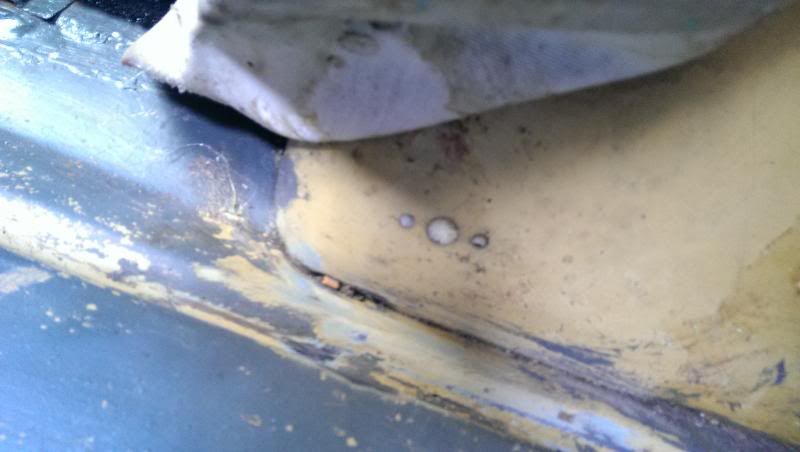
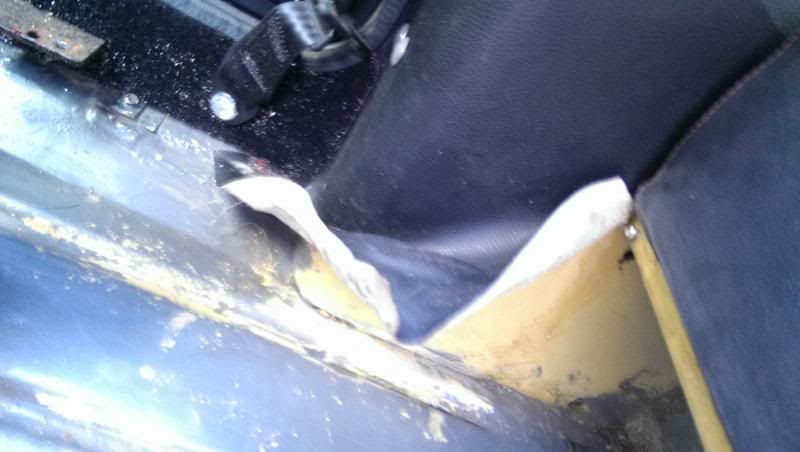
and spotted these holes, what were these for?? hmm
 
IMAG0898.jpgIMAG0899.jpg
 
and then gave it the obligatory covering in paint :)
 
IMAG0901.jpg
 
IMAG0903.jpg


#227 Hegnirst

Hegnirst

    Up Into Fourth

  • TMF+ Member
  • PipPipPipPipPipPipPipPipPip
  • 3,496 posts
  • Location: UK
  • Local Club: Hilltop Minis

Posted 25 February 2014 - 11:22 PM

WIRING PLUG sections :P
 
engine loom part, PLEASE label with numbers if you know what they are :) thank you
 
to the main loom (this i know plugs in)
 
1.
 
IMAG0881.jpg
 
2.
 
IMAG0882.jpg
 
3.
 
IMAG0883.jpg
 
4.
 
IMAG0884.jpg
 
5.
 
IMAG0885.jpg
 
6.
 
IMAG0886.jpg
 
7.
 
 
IMAG0887.jpg
 
8.
 
IMAG0888.jpg
(PIPES)
 
with this plug on the back -
 
9.
 
IMAG0890.jpg


#228 Hegnirst

Hegnirst

    Up Into Fourth

  • TMF+ Member
  • PipPipPipPipPipPipPipPipPip
  • 3,496 posts
  • Location: UK
  • Local Club: Hilltop Minis

Posted 25 February 2014 - 11:29 PM

MAIN LOOM PART
 
IMAG0912.jpg
 
1. everything there?
 
IMAG0910.jpg
IMAG0911.jpg
 
2.
 
IMAG0913.jpg
 
3.
 
IMAG0914.jpg
 
4.
 
IMAG0915.jpg
 
5.
 
IMAG0916.jpg
 
6.
 
IMAG0917.jpg
 
7.
 
IMAG0918.jpg
 
8.
 
IMAG0919.jpg
 
 
9.
 
 
IMAG0920.jpg
 
10.
 
IMAG0921.jpg
 
11.
 
IMAG0922.jpg
 
12.
 
IMAG0923.jpg
 
13.
 
everything there??
 
IMAG0924.jpg
 
14.
 
IMAG0925.jpg
 
15.
 
IMAG0926.jpg


#229 Hegnirst

Hegnirst

    Up Into Fourth

  • TMF+ Member
  • PipPipPipPipPipPipPipPipPip
  • 3,496 posts
  • Location: UK
  • Local Club: Hilltop Minis

Posted 25 February 2014 - 11:29 PM

16.
 
can't be bothered to re-number lol i posted twice lololol
 
17.
 
IMAG0929.jpg
 
18.
 
very sure this is the guage
 
IMAG0930.jpg
 
19.
 
very sure this is the guage


IMAG0931.jpg
 
20.
 
very sure this is the gauge, but the gauge has 4 plug hole and i only can see 3 plugs? hmm


IMAG0932.jpg
 
21.
 
IMAG0934.jpg
 
22.
 
IMAG0935.jpg
 
23.
 
IMAG0936.jpg
 
24.
 
IMAG0937.jpg
 
25.
 
IMAG0938.jpg
 
26.
 
IMAG0939.jpg
 
27.
 
IMAG0940.jpg
 
28.
 
IMAG0941.jpg
 
29.
 
IMAG0942.jpg
 
30.
 
IMAG0944.jpg
 
31.
 
IMAG0945.jpg
 
32.
 
IMAG0947.jpg
 
33.
 
IMAG0948.jpg
 
34.
 
IMAG0949.jpg
 
35.
 
the ecu
 
IMAG0950.jpg
IMAG0952.jpgIMAG0954.jpg
 
36.
 
IMAG0956.jpg
 
37.
 
IMAG0957.jpg
 
38.
 
IMAG0958.jpg
 
39.
 
IMAG0959.jpg


#230 Hegnirst

Hegnirst

    Up Into Fourth

  • TMF+ Member
  • PipPipPipPipPipPipPipPipPip
  • 3,496 posts
  • Location: UK
  • Local Club: Hilltop Minis

Posted 25 February 2014 - 11:31 PM

and left him like this ...
 
IMAG0960.jpg


#231 GreaseMonkey

GreaseMonkey

    Has Ratchet, Will Make Noises

  • Members
  • PipPipPipPipPipPipPipPipPip
  • 3,663 posts

Posted 26 February 2014 - 12:07 AM

Dammit lookin at this makes me regret taking my Vtec to bits and selling :-(


#232 Hegnirst

Hegnirst

    Up Into Fourth

  • TMF+ Member
  • PipPipPipPipPipPipPipPipPip
  • 3,496 posts
  • Location: UK
  • Local Club: Hilltop Minis

Posted 26 February 2014 - 12:51 AM

Dammit lookin at this makes me regret taking my Vtec to bits and selling :-(


aww :( i regret it for you, although i hate having to wait to drive the damned thing lol


#233 KieranB

KieranB

    Speeding Along Now

  • Members
  • PipPipPipPipPip
  • 360 posts
  • Location: Skipton
  • Local Club: S.U.N.M.C

Posted 26 February 2014 - 08:23 AM

Hello Hegnirst


Build is coming together nicely, i wish the most amount of luck heading forwards. Shouldnt be long now with the pace your setting


Regarding your wiring labelling I've tried to figure out as many as I can, I didnt use the main interier loom, aslong as you can trace where the wires go from the engine to the ecu, relays and fuses then you should be fine.


1. Passenger side connectors, 4 pin one is for injectors


2. Earth for somewhere, possibly rocker cover


3. Lambda Sensor


4. Idle Air Control Valve (back of inlet)


5. Possibly knock sensor


6. Throttle Position Sensor, MAP, Speed sensor


Next post


2. Passenger side connectors


3. All orange plugs are ABS


27. Dizzy connectors


Links:


http://www.16vminicl...read.php?t=8081


http://www.16vminicl...ead.php?t=28430


Hope this helps


Regards


Kieran


#234 alex-95

alex-95

    I am THE CLAMP MAKER

  • Members
  • PipPipPipPipPipPipPipPipPipPip
  • 6,025 posts
  • Location: l

Posted 26 February 2014 - 07:54 PM

Great work mate, have you decided on the color for it yet? :highfive:


#235 Hegnirst

Hegnirst

    Up Into Fourth

  • TMF+ Member
  • PipPipPipPipPipPipPipPipPip
  • 3,496 posts
  • Location: UK
  • Local Club: Hilltop Minis

Posted 26 February 2014 - 10:29 PM

Hello Hegnirst


Build is coming together nicely, i wish the most amount of luck heading forwards. Shouldnt be long now with the pace your setting


Regarding your wiring labelling I've tried to figure out as many as I can, I didnt use the main interier loom, aslong as you can trace where the wires go from the engine to the ecu, relays and fuses then you should be fine.


1. Passenger side connectors, 4 pin one is for injectors


2. Earth for somewhere, possibly rocker cover


3. Lambda Sensor


4. Idle Air Control Valve (back of inlet)


5. Possibly knock sensor


6. Throttle Position Sensor, MAP, Speed sensor


Next post


2. Passenger side connectors


3. All orange plugs are ABS


27. Dizzy connectors


Links:


http://www.16vminicl...read.php?t=8081


http://www.16vminicl...ead.php?t=28430


Hope this helps


Regards


Kieran


wow!

thats awesome mate, when i have some time after work i will go through that list properly, just been so tired in the last day lol ill get back to you tomorrow to complement you on your wiring name skills no doubt again lol 

and thanks by the way for your time :) very nice of you. I hope that my pace keeps going, as soon as i get the car moved there will be updates every night lol


#236 Hegnirst

Hegnirst

    Up Into Fourth

  • TMF+ Member
  • PipPipPipPipPipPipPipPipPip
  • 3,496 posts
  • Location: UK
  • Local Club: Hilltop Minis

Posted 26 February 2014 - 10:30 PM

Great work mate, have you decided on the color for it yet? :highfive:


ooof now thats a long answer lol ill get back to you on that tomorrow after a good sleep lols


#237 RossKnight

RossKnight

    One heck of a member

  • Members
  • PipPipPipPipPipPipPipPipPip
  • 2,539 posts
  • Location: Hampshire or Surrey
  • Local Club: JKSA MOC

Posted 26 February 2014 - 11:43 PM

Biggest update everr! haha


amazing though


#238 DangerousDave17

DangerousDave17

    Stage One Kit Fitted

  • Noobies
  • PipPipPip
  • 76 posts
  • Location: Redcar

Posted 27 February 2014 - 07:17 PM

Hiya, I started my wiring last night (waiting for subframe), found this very helpful.

2014-02-22%2021.31.01.jpg

#239 Hegnirst

Hegnirst

    Up Into Fourth

  • TMF+ Member
  • PipPipPipPipPipPipPipPipPip
  • 3,496 posts
  • Location: UK
  • Local Club: Hilltop Minis

Posted 28 February 2014 - 10:09 PM

Hello Hegnirst


Build is coming together nicely, i wish the most amount of luck heading forwards. Shouldnt be long now with the pace your setting


Regarding your wiring labelling I've tried to figure out as many as I can, I didnt use the main interier loom, aslong as you can trace where the wires go from the engine to the ecu, relays and fuses then you should be fine.


1. Passenger side connectors, 4 pin one is for injectors


2. Earth for somewhere, possibly rocker cover


3. Lambda Sensor


4. Idle Air Control Valve (back of inlet)


5. Possibly knock sensor


6. Throttle Position Sensor, MAP, Speed sensor


Next post


2. Passenger side connectors


3. All orange plugs are ABS


27. Dizzy connectors


Links:


http://www.16vminicl...read.php?t=8081


http://www.16vminicl...ead.php?t=28430


Hope this helps


Regards


Kieran


right i had proper look lol

my only problem is, 

my new manifold has no connection on the back of it and i don't know what a knock sensor. :'( I'm not bad with wiring BUT its the fact i don't what to bug it up and have to get another loom or something for when i get rid of all the stuff i don't need! :P


#240 Hegnirst

Hegnirst

    Up Into Fourth

  • TMF+ Member
  • PipPipPipPipPipPipPipPipPip
  • 3,496 posts
  • Location: UK
  • Local Club: Hilltop Minis

Posted 28 February 2014 - 10:09 PM

Biggest update everr! haha


amazing though


i know right! took me ages, nearly killing me lol


1 user(s) are reading this topic

0 members, 1 guests, 0 anonymous users