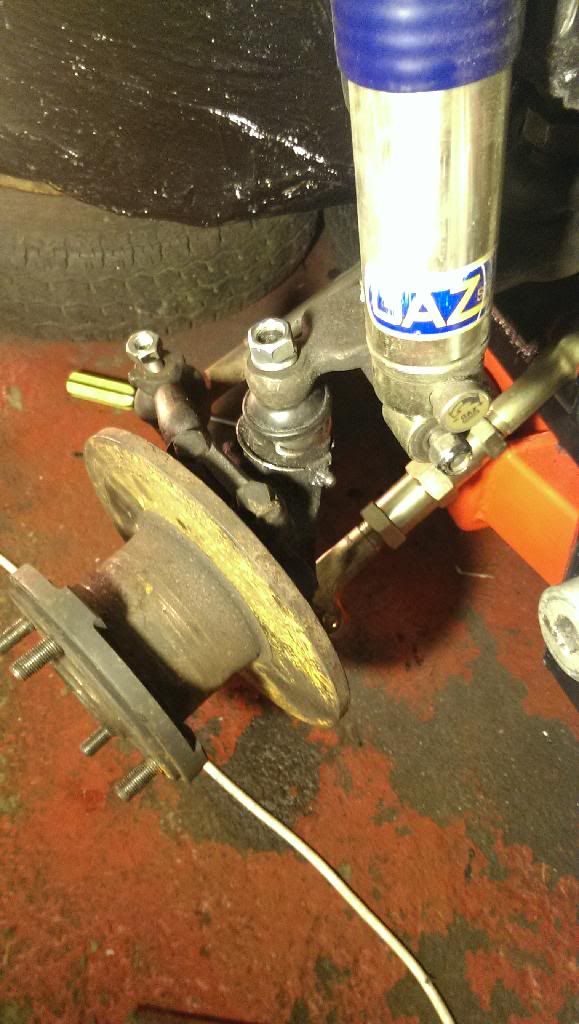
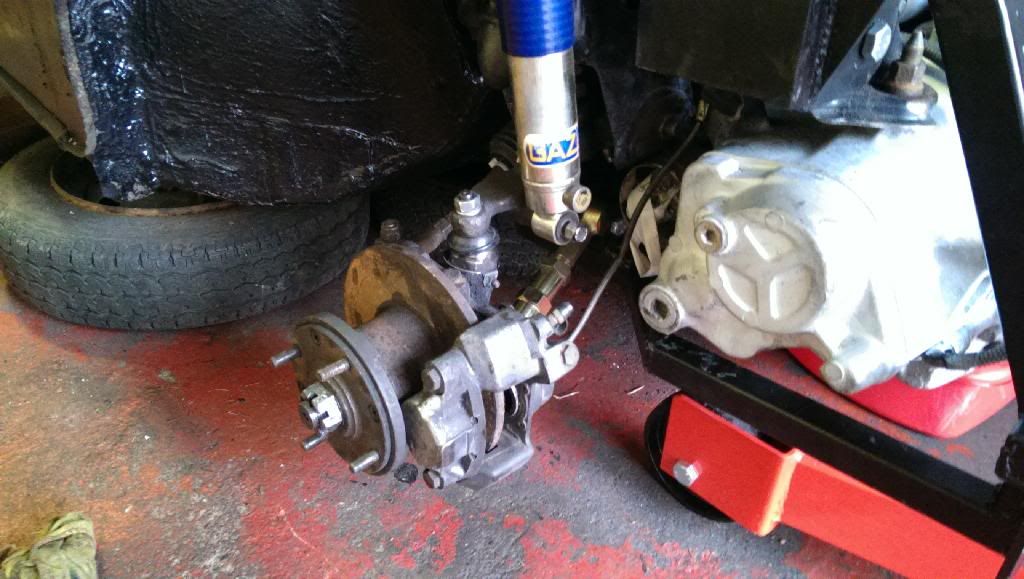
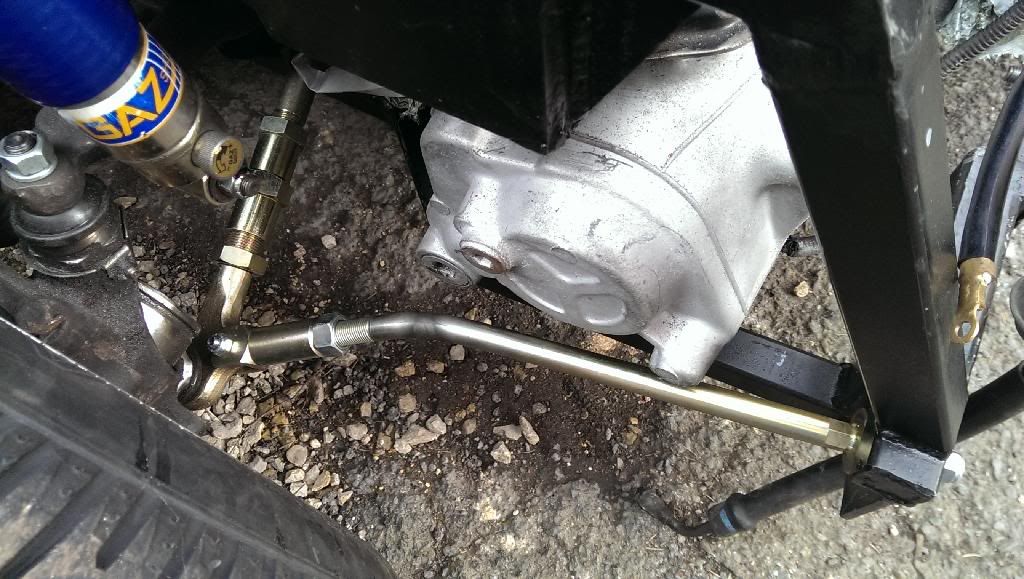
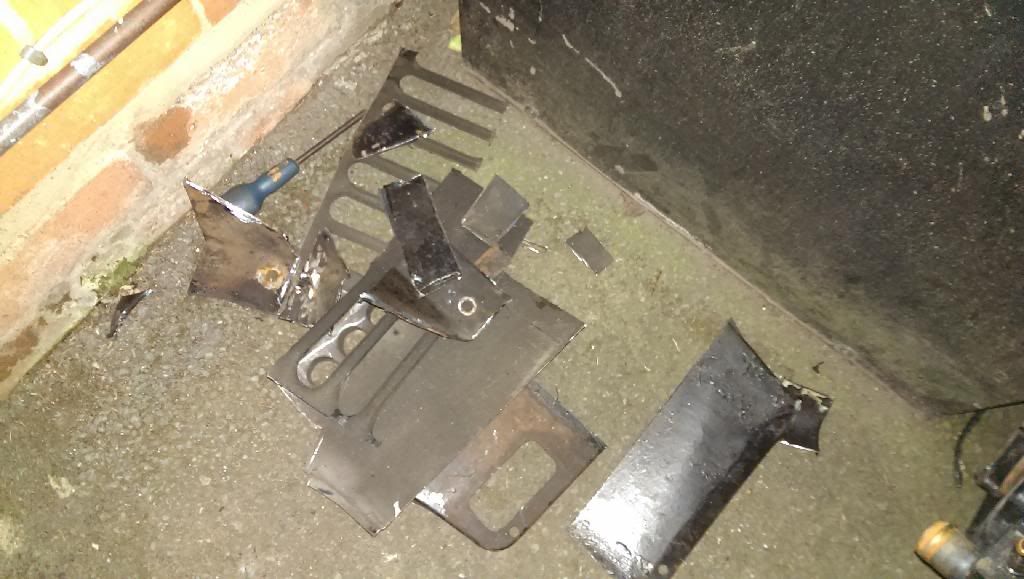
the next day, i set around to these tie rods that needing modding and test fitting hubs etc
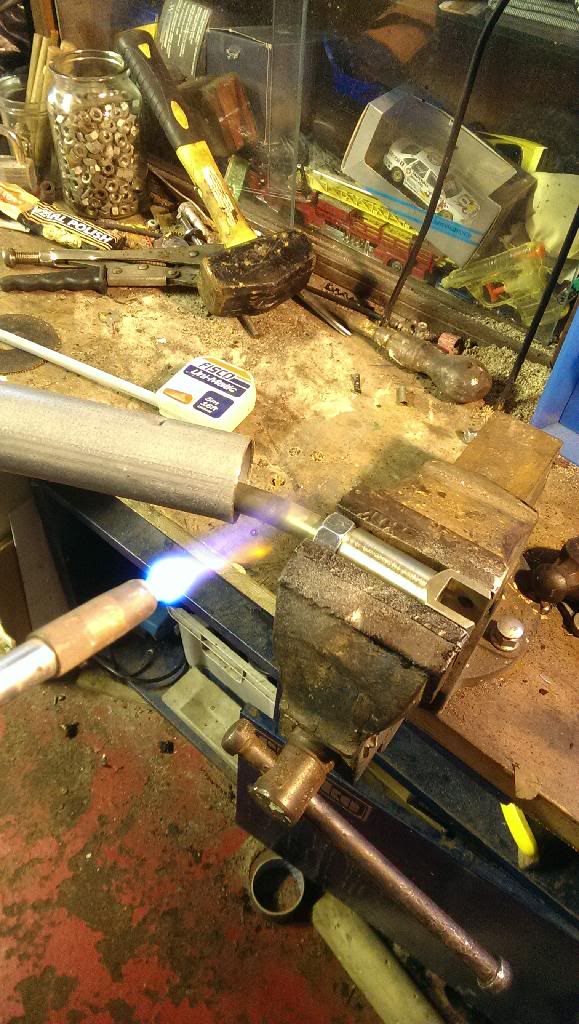
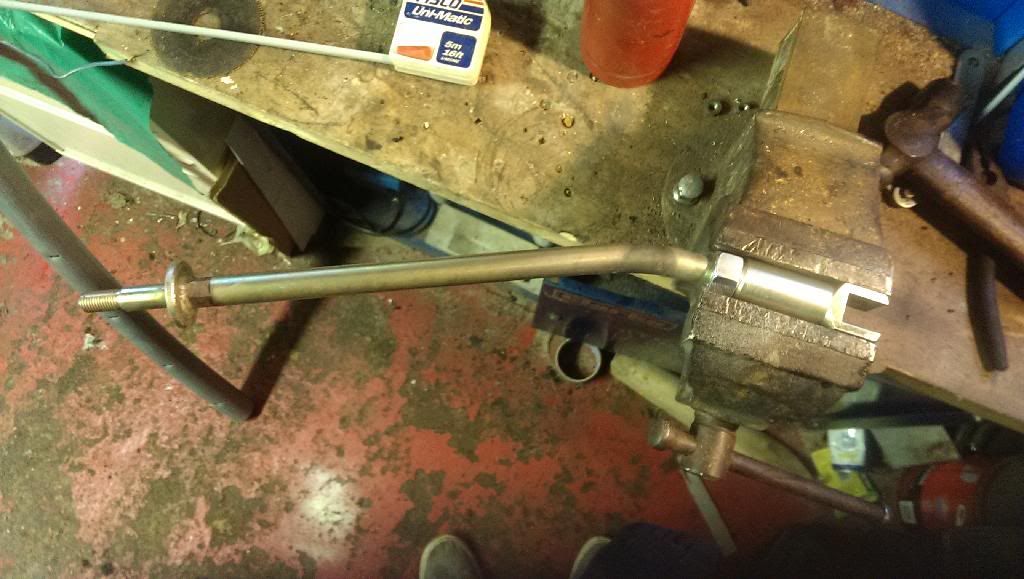
and heating and bending rods
i broke one tie rod, because i let it cool down and then heated it and tried to bend it woooooooops, so only one was on for now, just the one shoe!
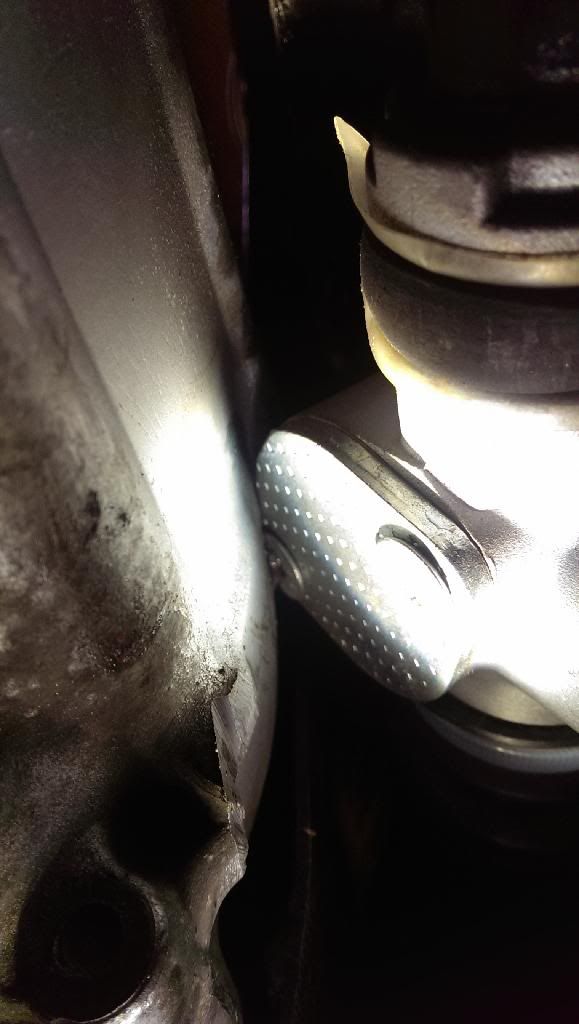
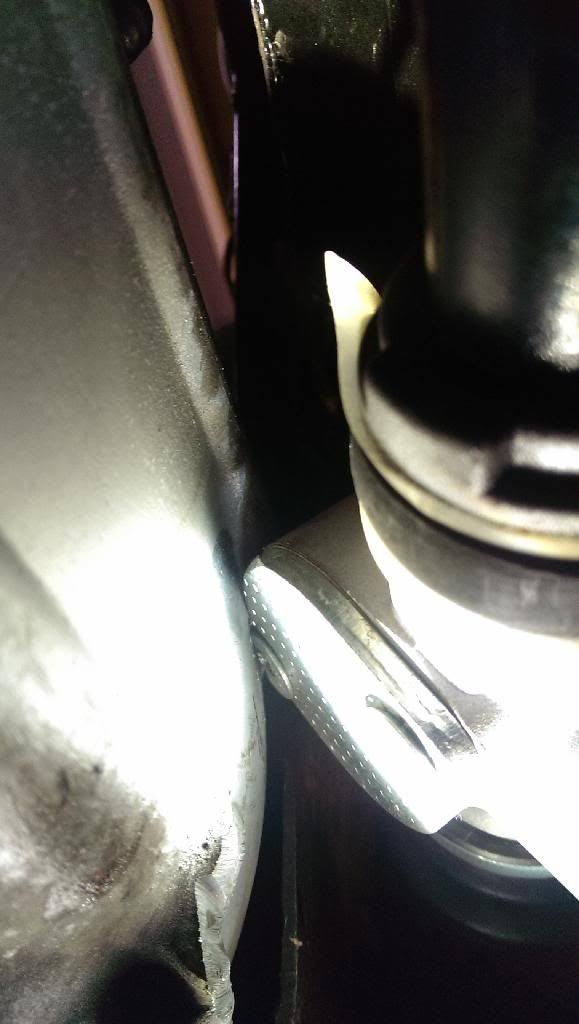
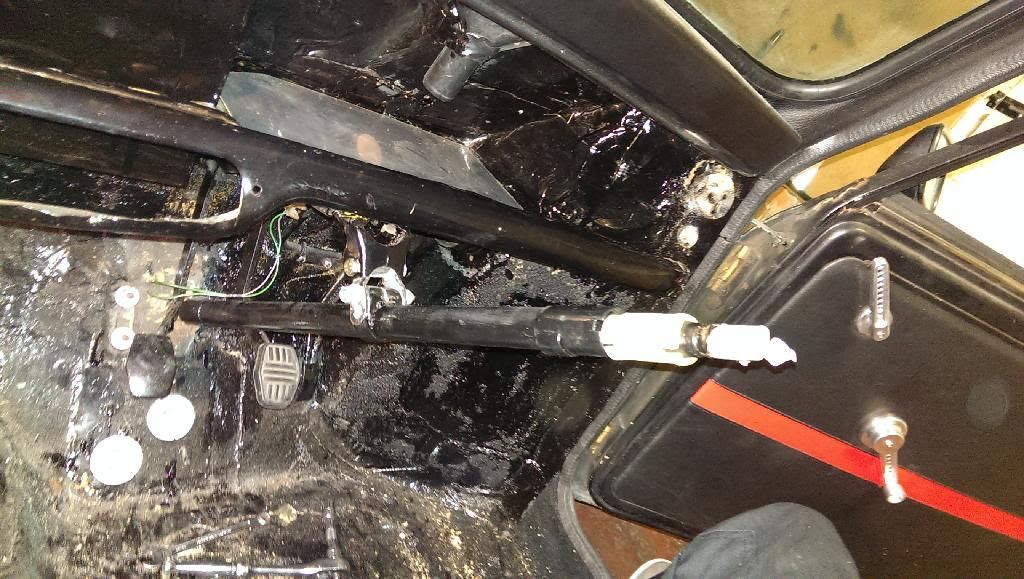
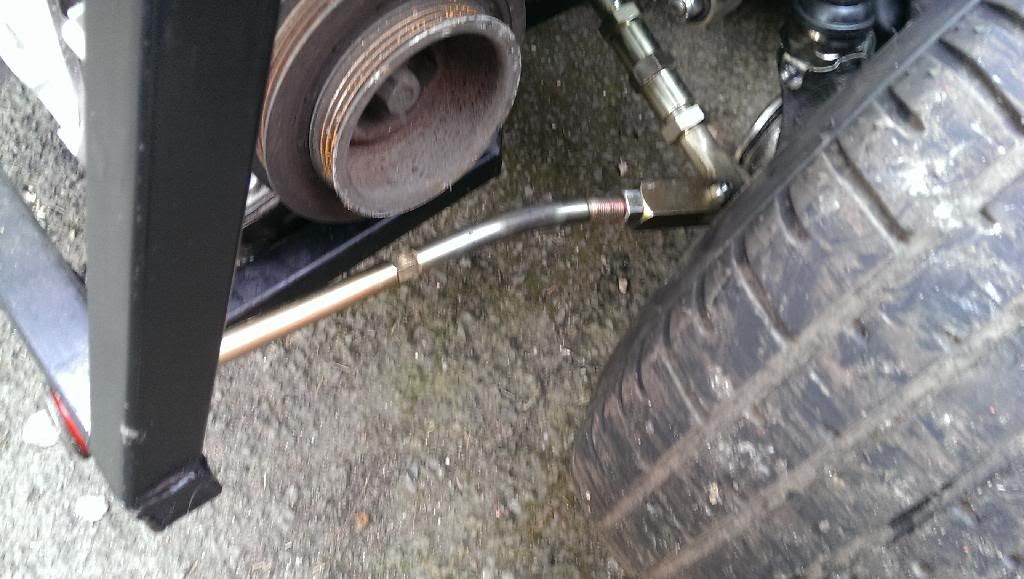
steering rack fouled as per,
ive shimmed both box and rack, need about 2mm more i reckon and then i should be fine :)
and with the limp on
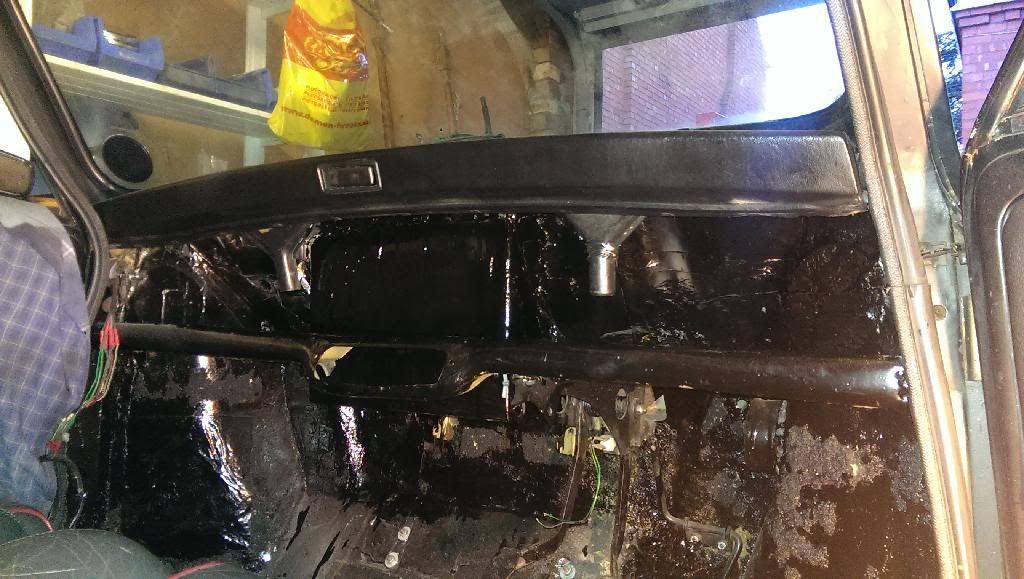
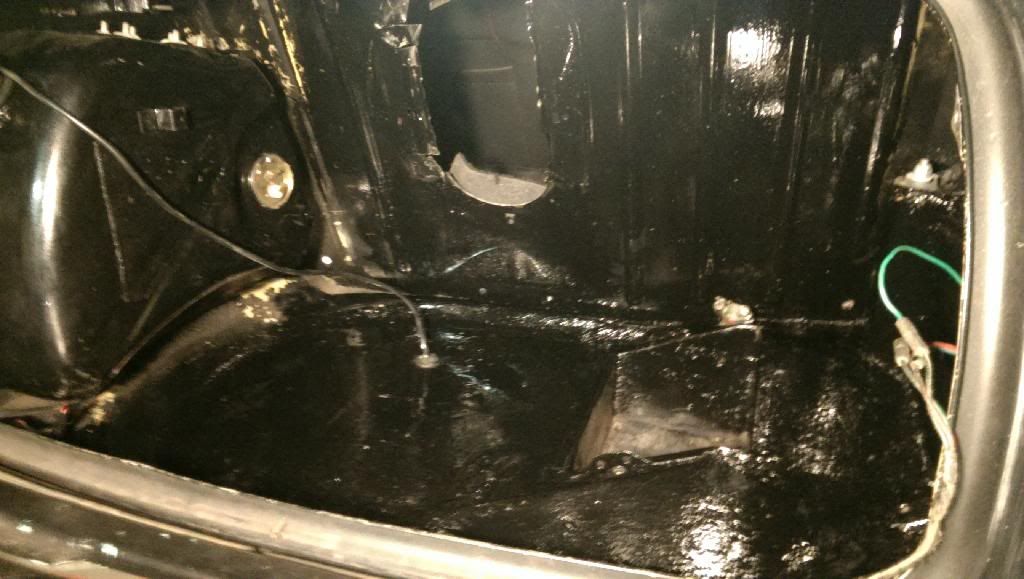
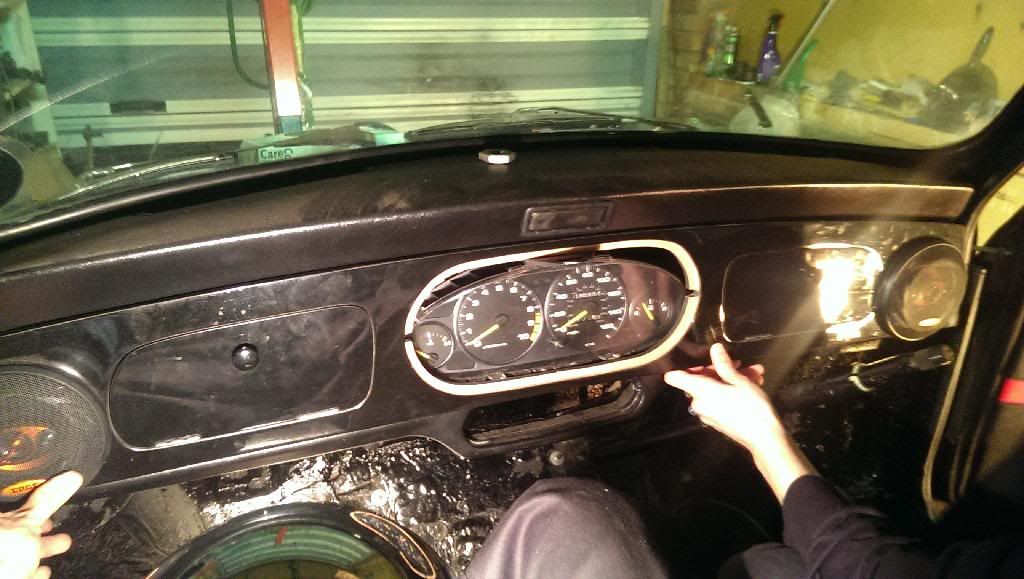
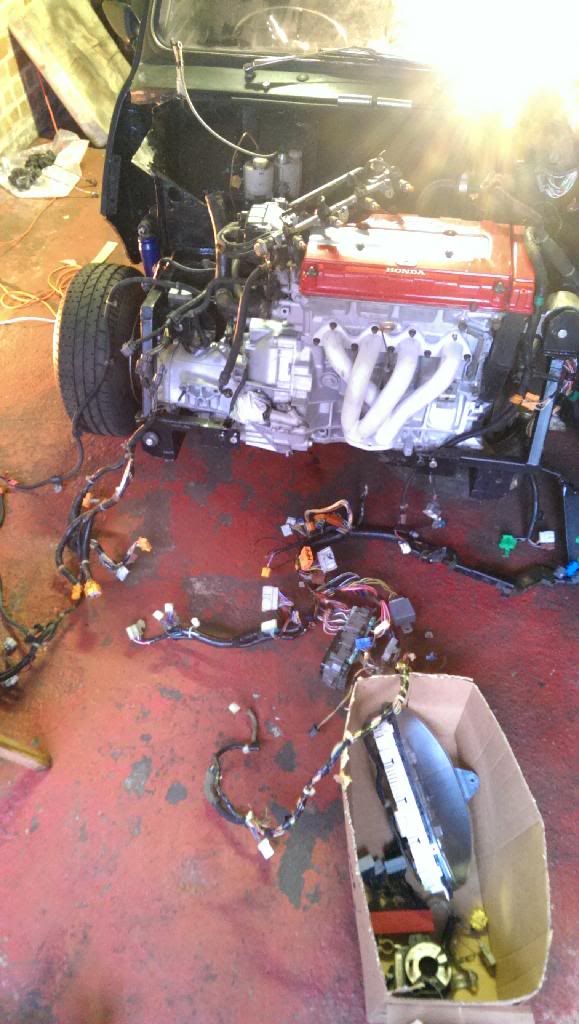
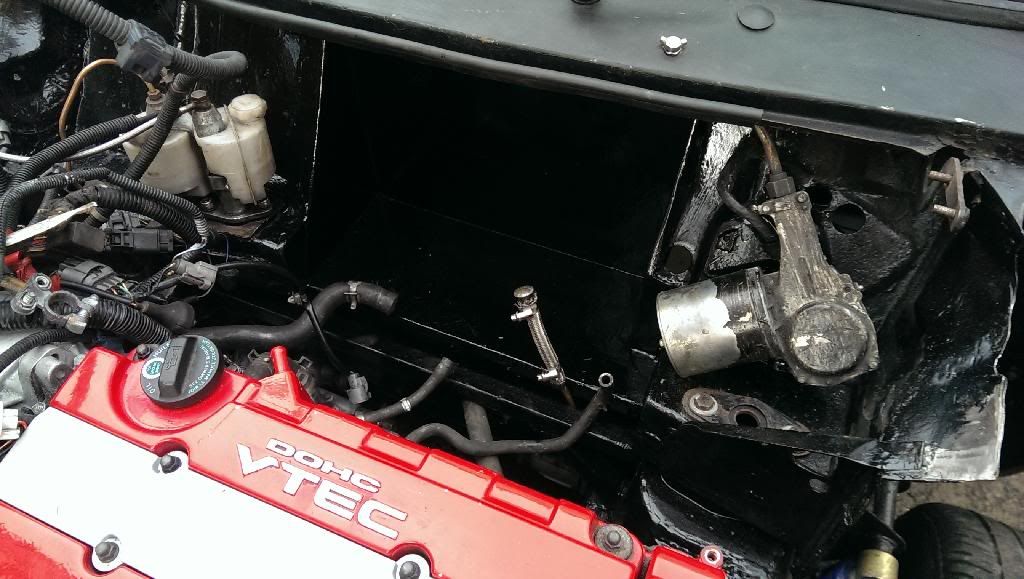
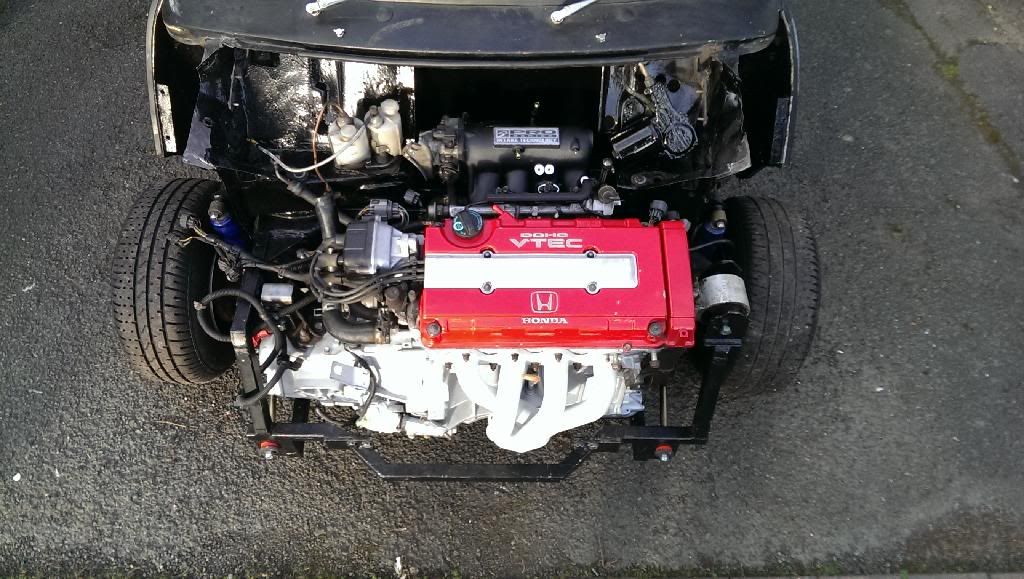
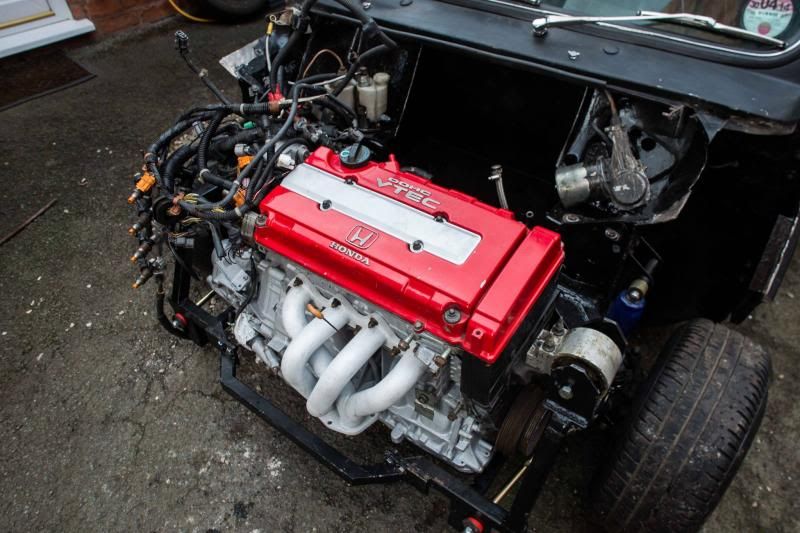
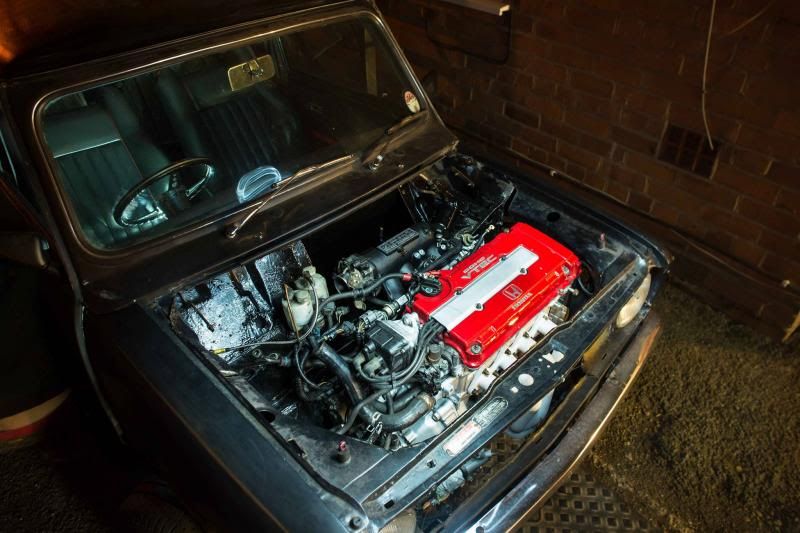
then i started on electrics :)
which you'll see later how i got on, I've taken a picture of al the plugs, as i can only manage plugging 7 into the engine loom lol
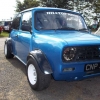
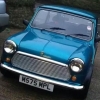
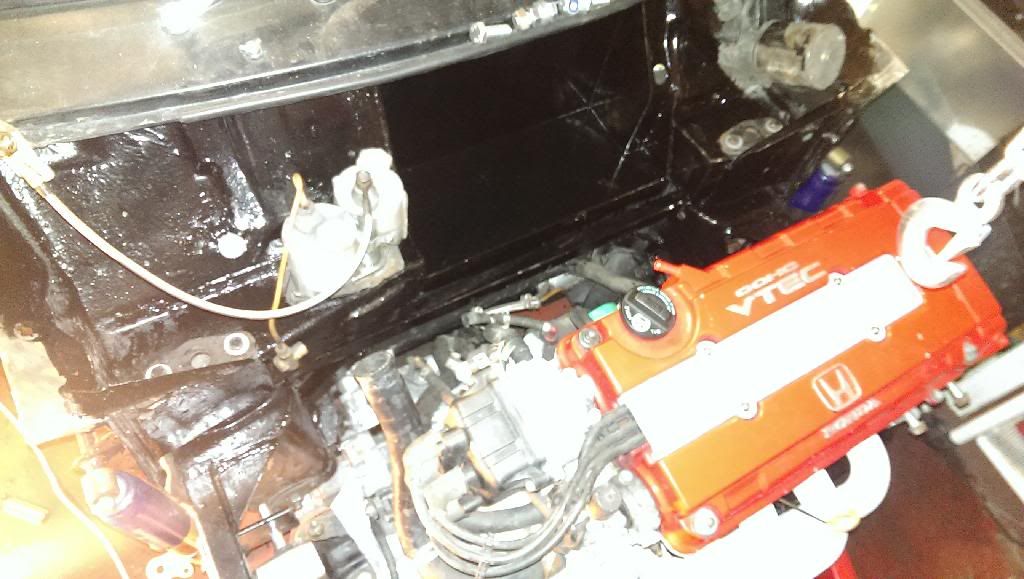
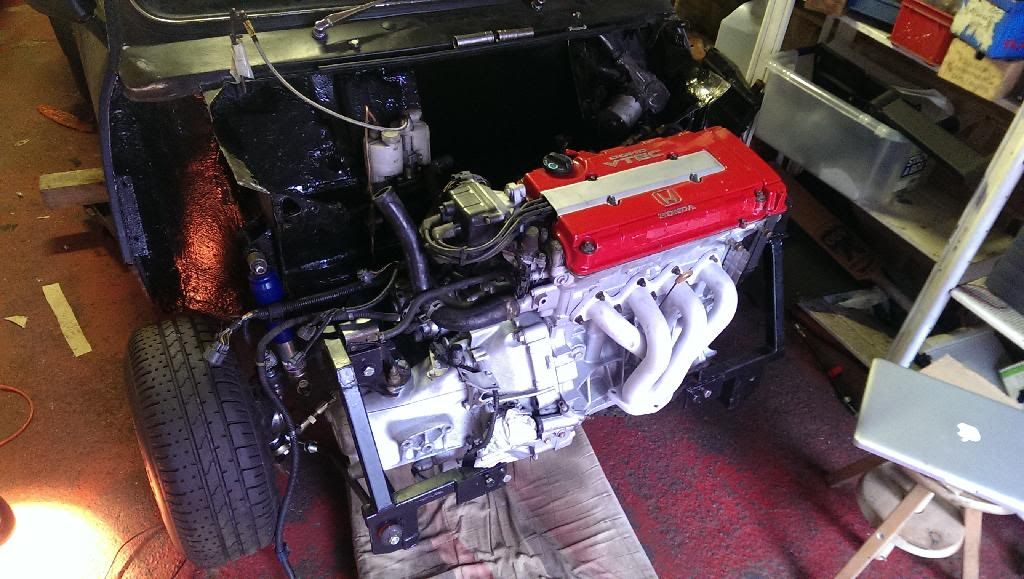
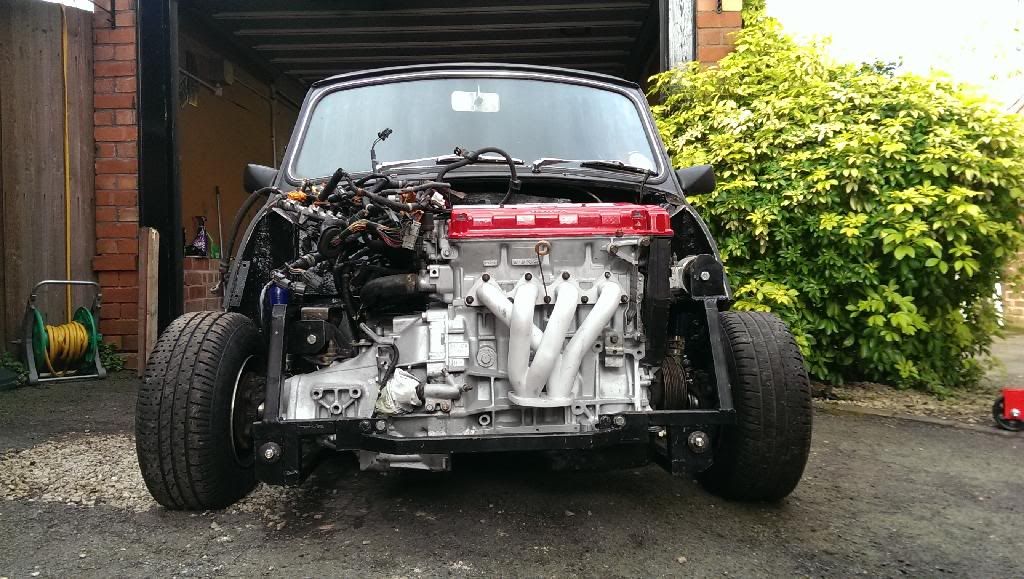
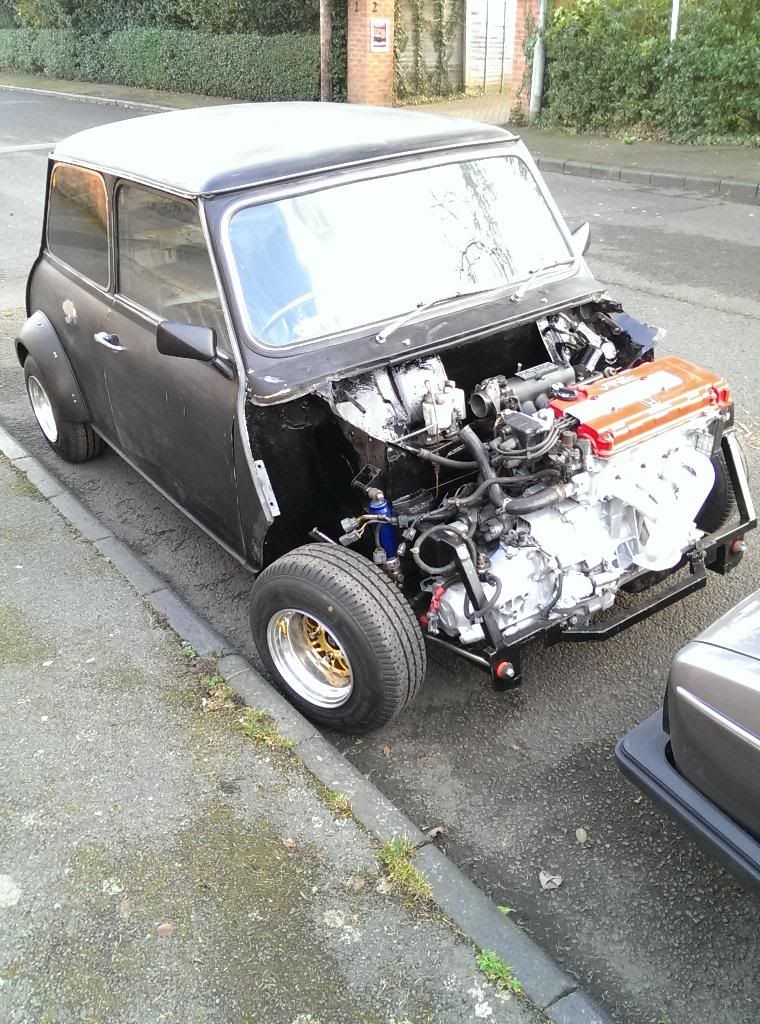
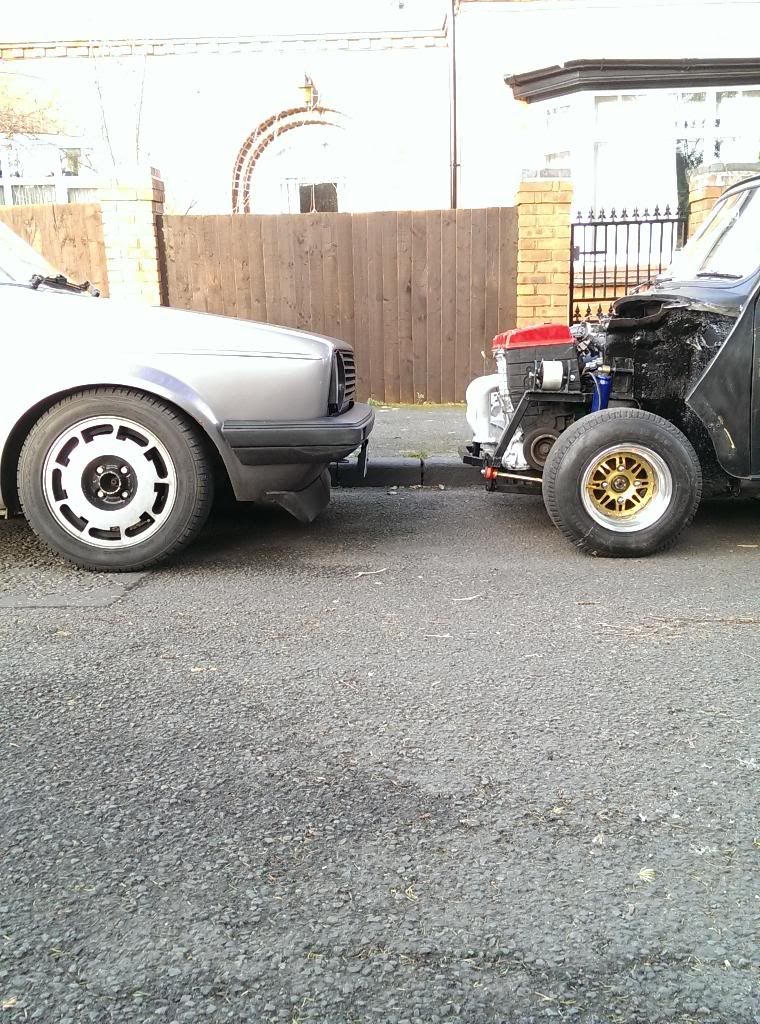
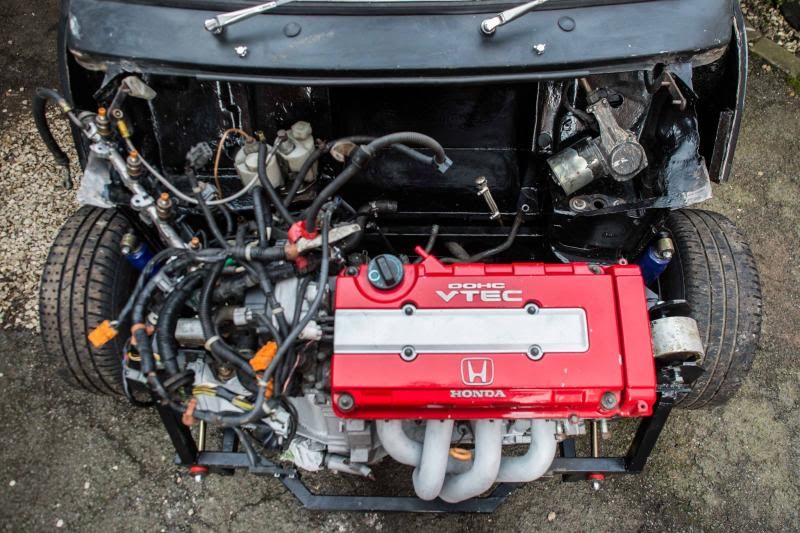
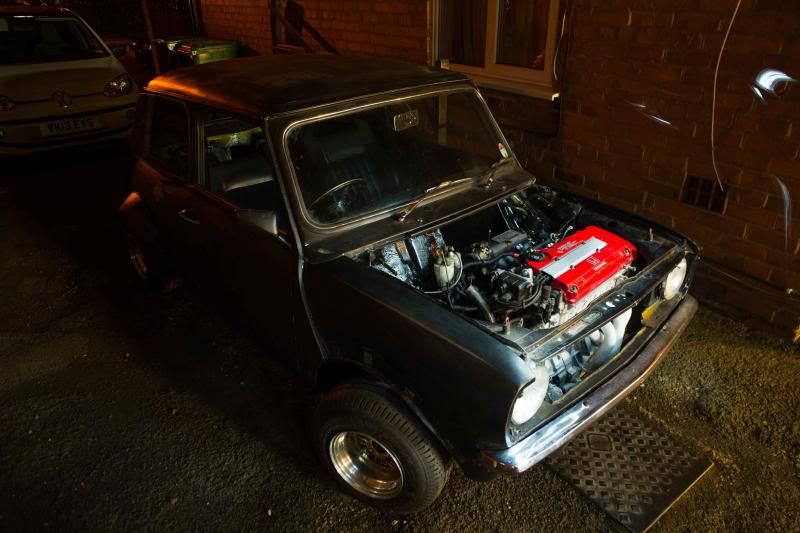
NEXT is the front

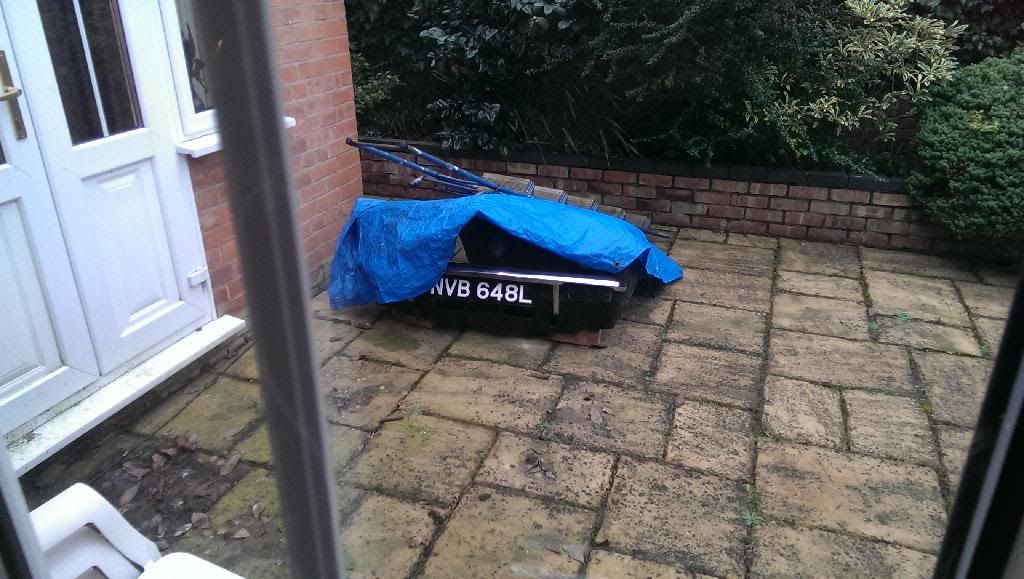
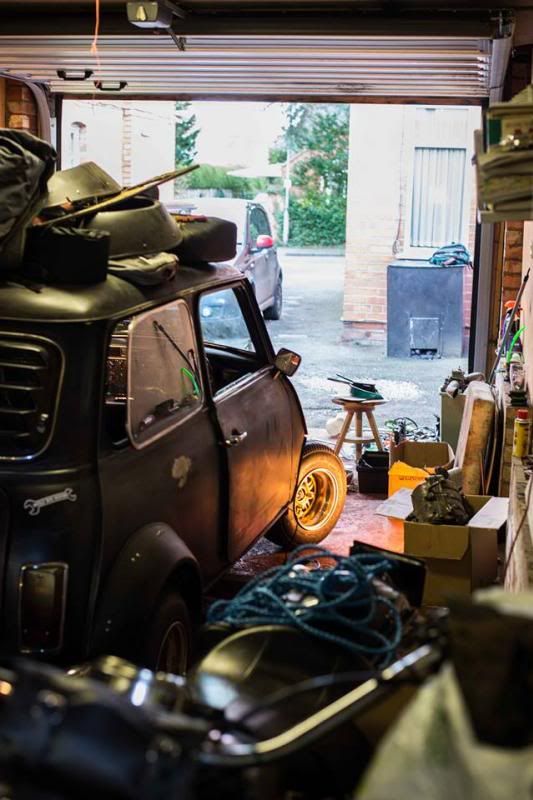
he's hiding lol
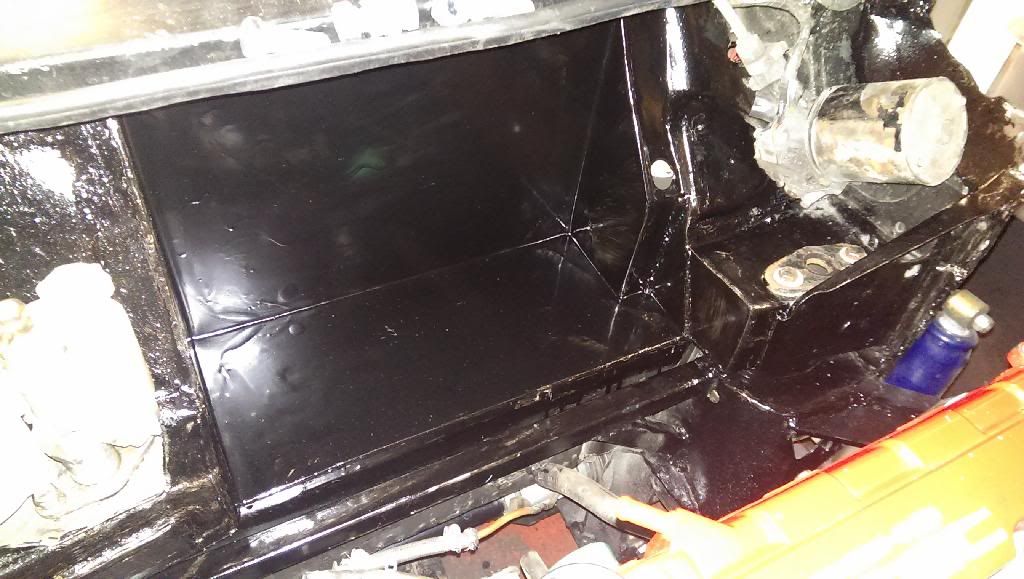
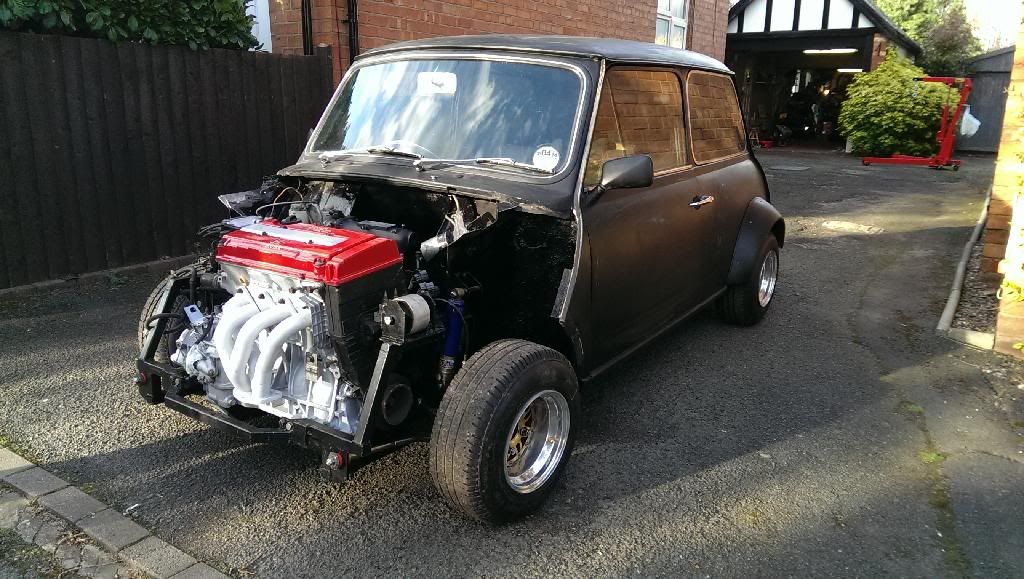
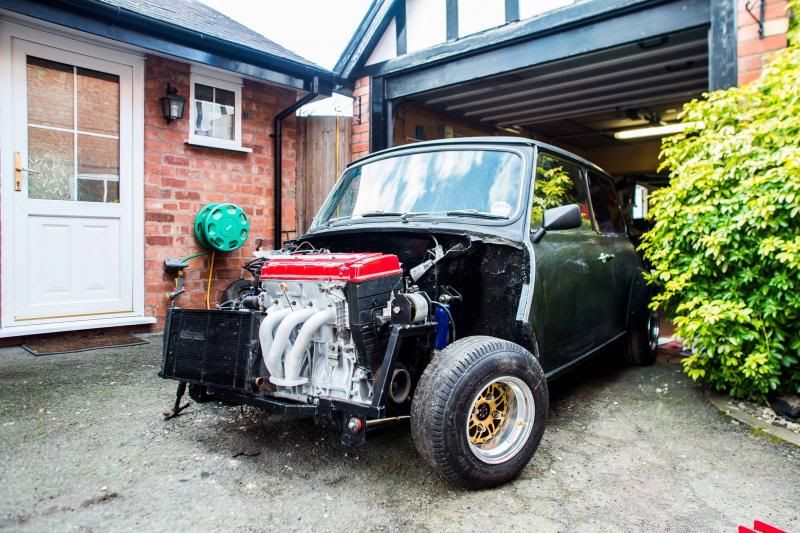
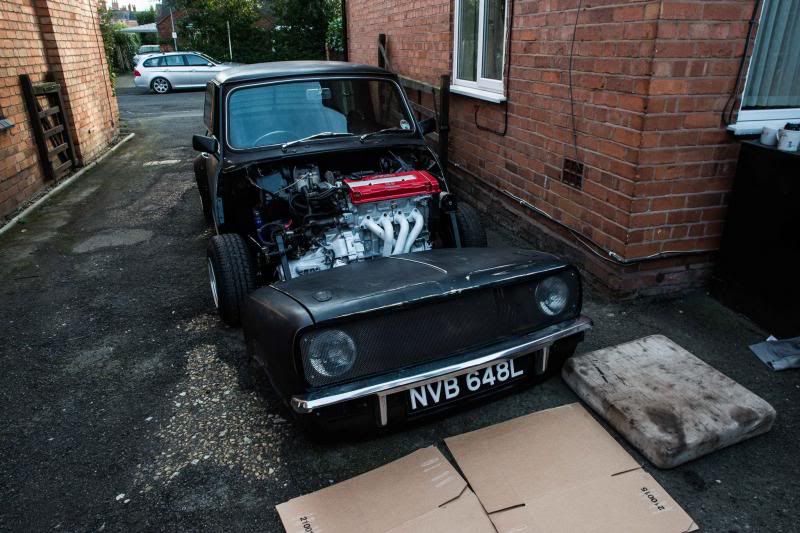
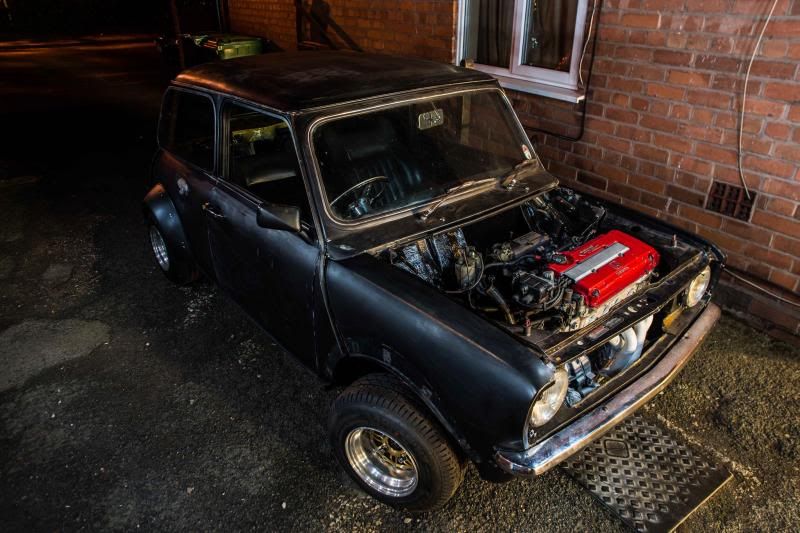
much better with the second layer of paint :)
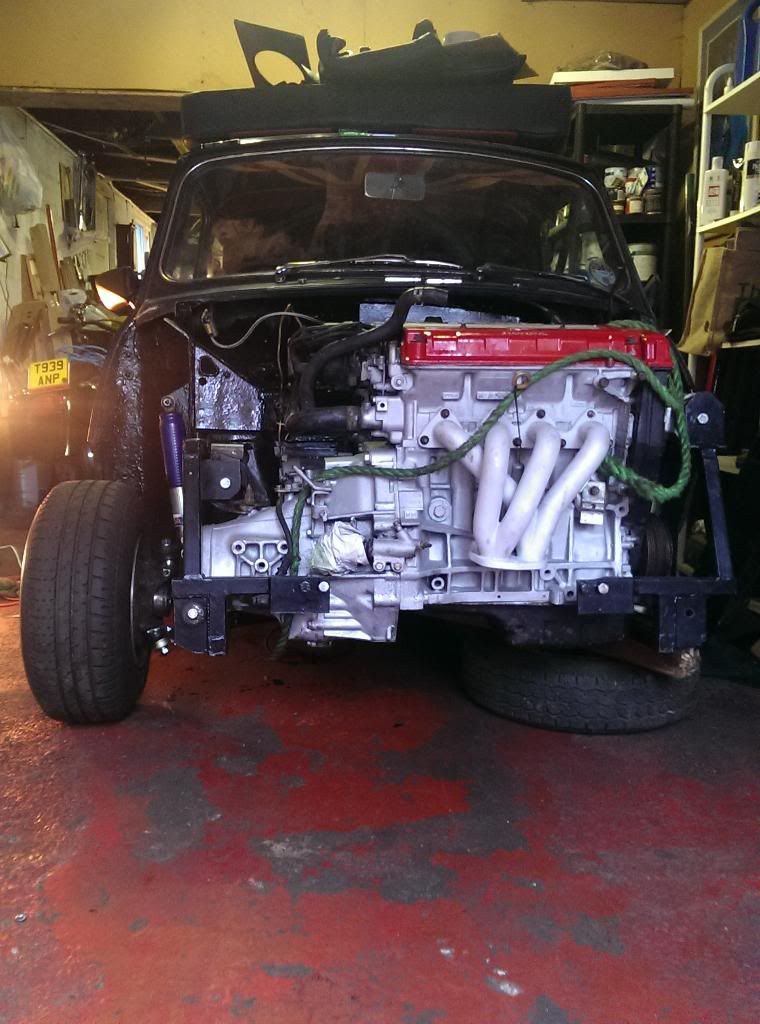
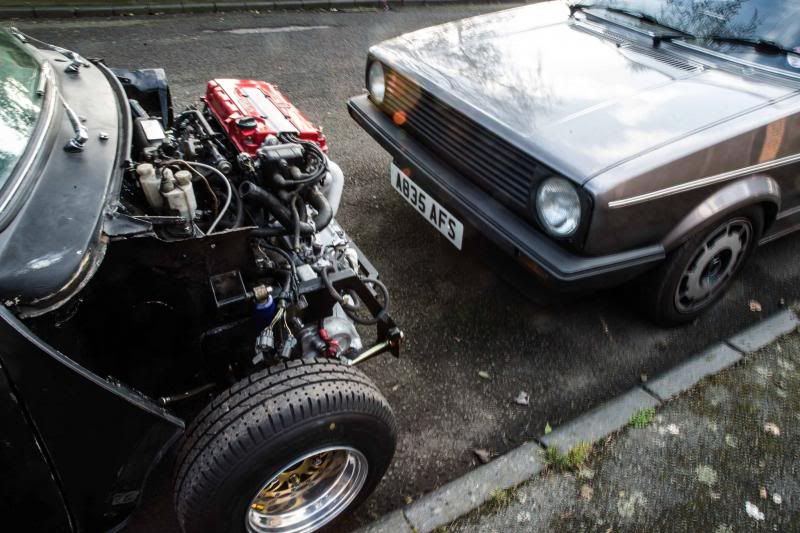
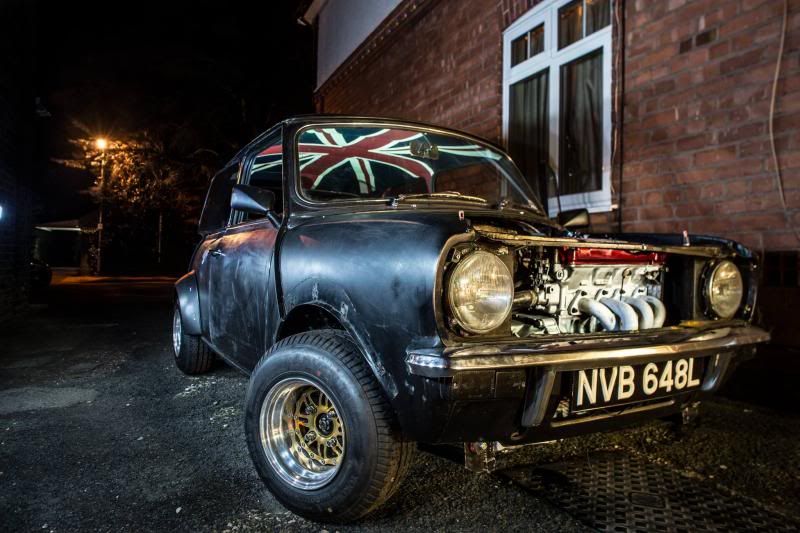
so i picked up some more tie rods (annoyingly sold in pairs) and the more annoyingly i forgot that i bought of mini sport, so i had one side from mini sport and the other from mini spares lololol i bend the one from mini spares and put that on, as you can see, pretty much perfect i would say, well happy!
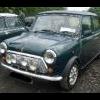
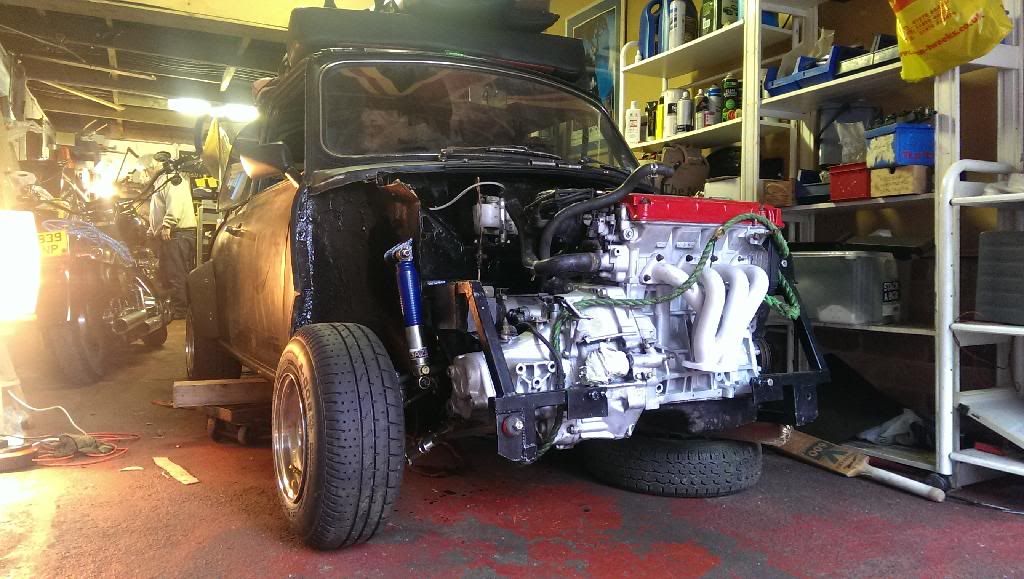
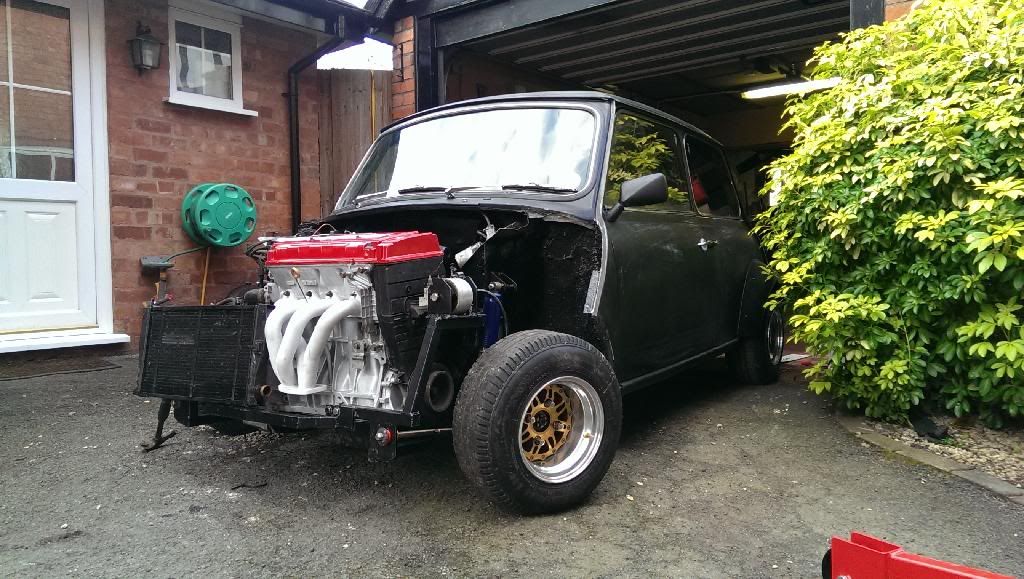
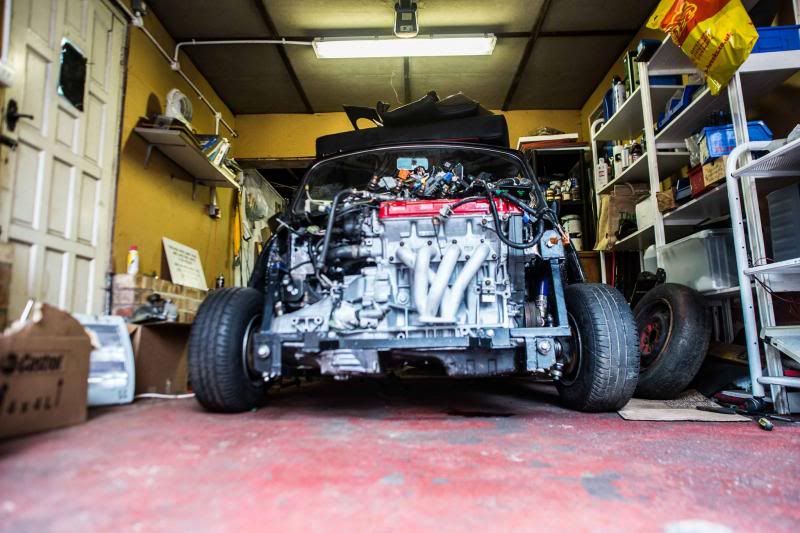
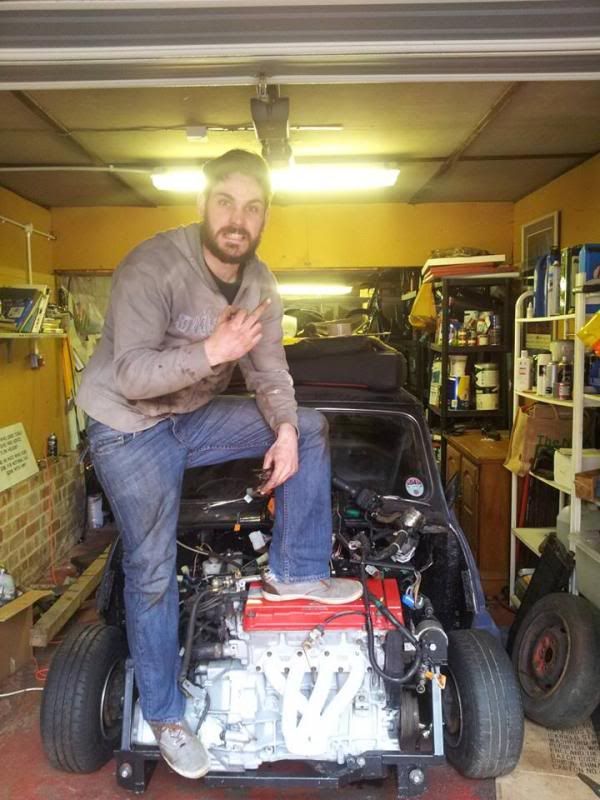
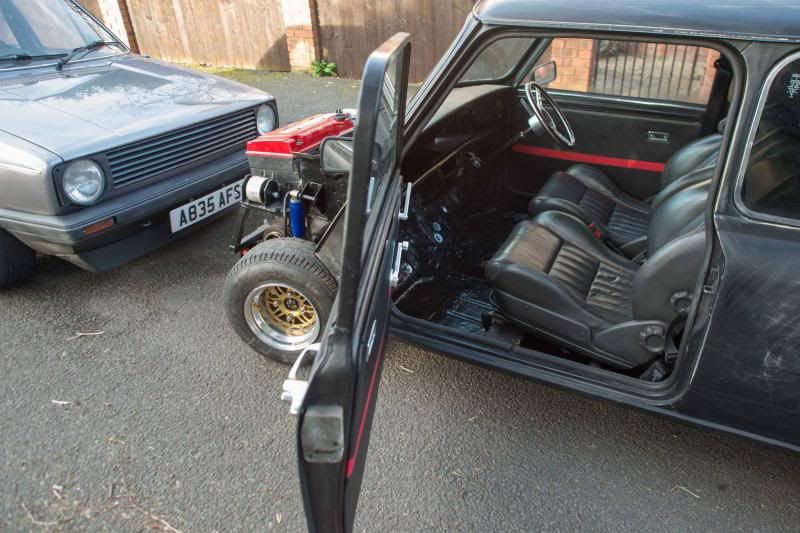
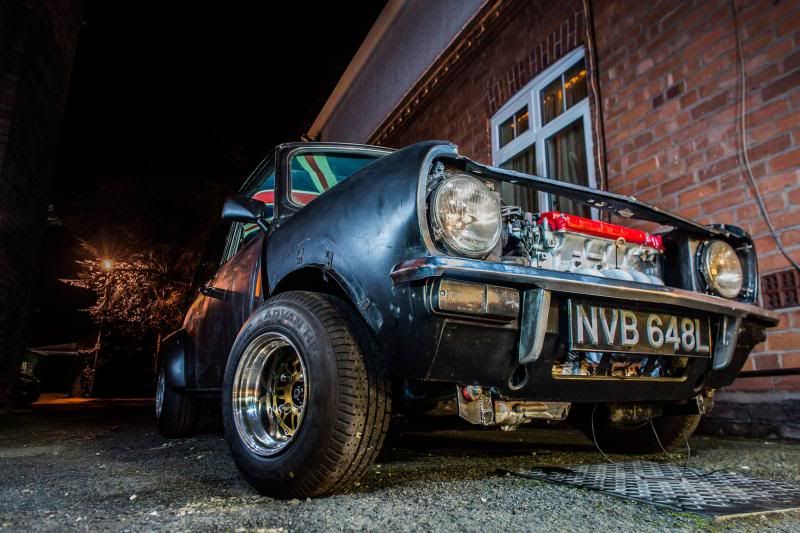
and on its all fours! cue the pictures! lol
also forgot to mention my mate Matt is an excellent photographer so he tools some pictures as well :)
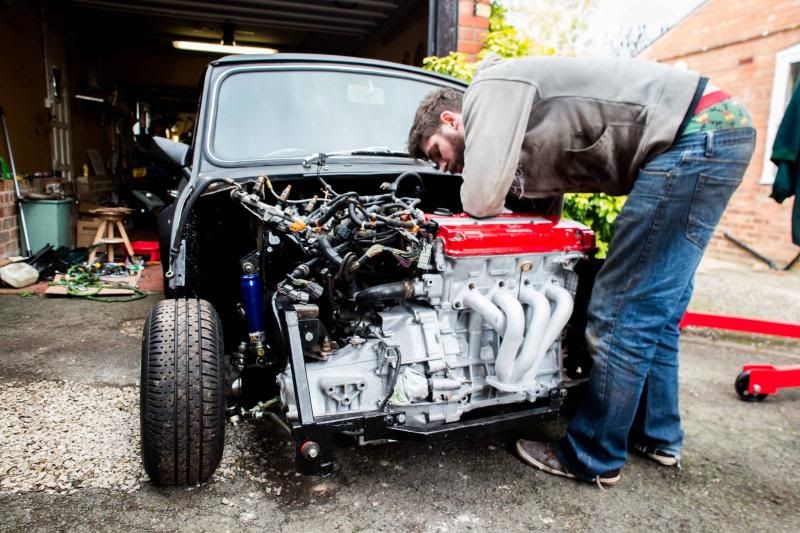
me fettling lol
and then it was time for the front.....