Jump to content


Photo
* * * * - 1 votes

Bruce the clubman 1972


  • Please log in to reply
362 replies to this topic

#196 Hegnirst

Hegnirst

    Up Into Fourth

  • TMF+ Member
  • PipPipPipPipPipPipPipPipPip
  • 3,496 posts
  • Location: UK
  • Local Club: Hilltop Minis

Posted 05 January 2014 - 10:18 PM

Why are you using the honda stalks? Surely using the mini electrics for the lights and stuff would be simpler, the only thing i can think of what may be a problem with that though is linking the mini stalks up to the honda dials (for indicators,hazards and full beam...) hmm...


because the honda stalks are a lot better made and the wiring will last longer, as you rightly said it will all just connect up. ide rather adapt the cars wiring than the looms if that makes sense lol


#197 Hegnirst

Hegnirst

    Up Into Fourth

  • TMF+ Member
  • PipPipPipPipPipPipPipPipPip
  • 3,496 posts
  • Location: UK
  • Local Club: Hilltop Minis

Posted 06 January 2014 - 09:26 PM

ok so i got some other pictures on my phone which is dead lol apart from that pretty good update from todays work :)
 
a list of jobs i got done,
 
steering rack brackets cleaned and rack is on, steering rack bolts have all been tapered properly and are flat
 
IMG_1480.jpg
 
cleaned and re tapped top subframe bolts, bottom passenger side 3mm plate for the subframe is cut, drilled and on. final cuts made on the bulk head for the inlets. cones in, hi lows in,  top arms in, lower arms in and shocks are in.
 
IMG_1475.jpg
IMG_1474.jpg
 
 the rear subframe mount is assembled with correct bolts but i need to know whether to put it on the subframe or the engine side first and also in the photos you'll see the assembly so if its wrong tell me for the love of god! 
 
IMG_1473.jpg
 
lol im going to work on getting the hubs painted and finished with the correct spacers on the top and bottom points so its all ready for next time I'm working on the car. as i can then put the wheels on and move the car up to me so i can start the wiring :)
 
the passenger side mount has also been turned 180 degrees  and i have grinded the fin of it so there is now a space between the frame and the mount so if fits properly :) but i still need to know how much gap there needs to be in between the mounts so it sits properly.
 
IMG_1478.jpg
IMG_1479.jpg
 
as soon as i have mocked up the bulkhead the better, as it needs to go in really badly before i can put the engine in finally. well i say finally, but what i mean until it needs to come back out for some stupid reason.
 
also my father took a picture of me being a weirdo when he got home lol
 
IMG_1476.jpg
 
tomorrow i cant unfortunately work on the car because the golf has decided not work so ill be fixing that tomorrow oh joy of joys grrr
 
i need to know before putting the engine (after the bulkhead box is in) what i should make sure is done so it doesnt have to come out again, for example clearance on the steering rack bolts.
 
left garage with it looking like this, quite happy with my progress today :)
 
IMG_1481.jpg
 
thanks guys!


#198 megamini_jb

megamini_jb

    Crazy About Mini's

  • Members
  • PipPipPipPipPipPipPipPipPipPip
  • 5,491 posts
  • Name: Jamie
  • Location: -

Posted 16 January 2014 - 07:31 PM

Brucey update time :P

#199 Hegnirst

Hegnirst

    Up Into Fourth

  • TMF+ Member
  • PipPipPipPipPipPipPipPipPip
  • 3,496 posts
  • Location: UK
  • Local Club: Hilltop Minis

Posted 17 January 2014 - 11:09 PM

Brucey update time :P


lol my phones been acting up so i havnt been able to upload, but trying at the moment lol been looking for a new car which im hopefully picking up next week so cant wait for that. this sunday hopefully getting him on his own feel without drive shafts so i can move him.


do you think it will be ok to move with out tie rods in place?


#200 Hegnirst

Hegnirst

    Up Into Fourth

  • TMF+ Member
  • PipPipPipPipPipPipPipPipPip
  • 3,496 posts
  • Location: UK
  • Local Club: Hilltop Minis

Posted 21 January 2014 - 12:06 AM

RIGHT update time...


first of all, yea i thought so...


IMAG0556.jpg


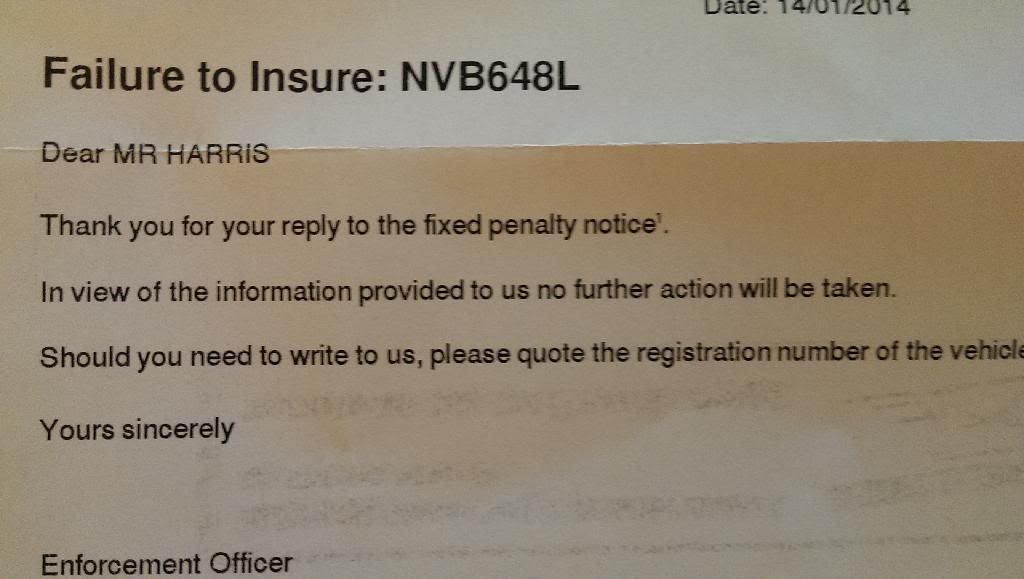
LOL you can stick your fixed penalty notice up yours :P


moving on...


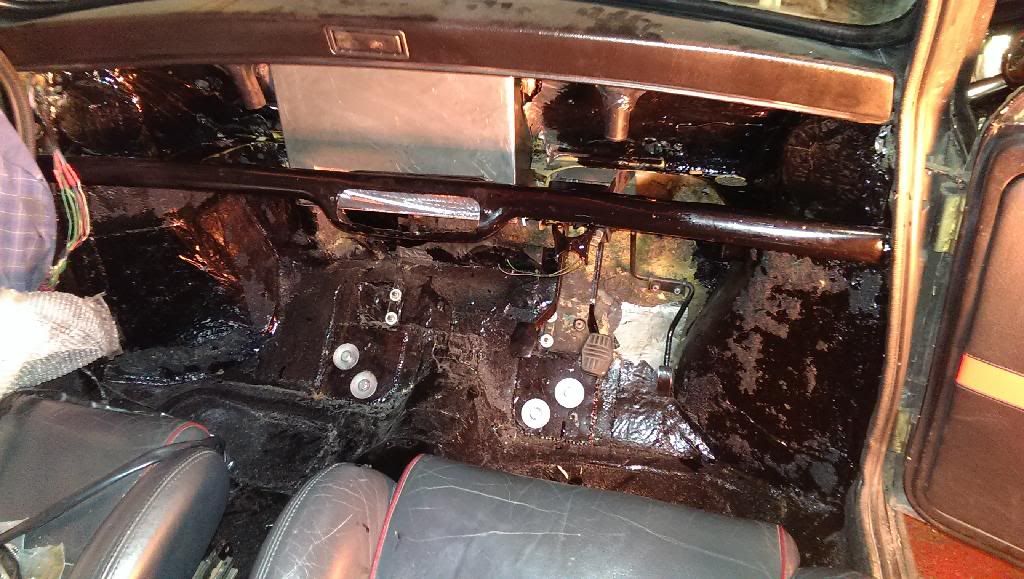
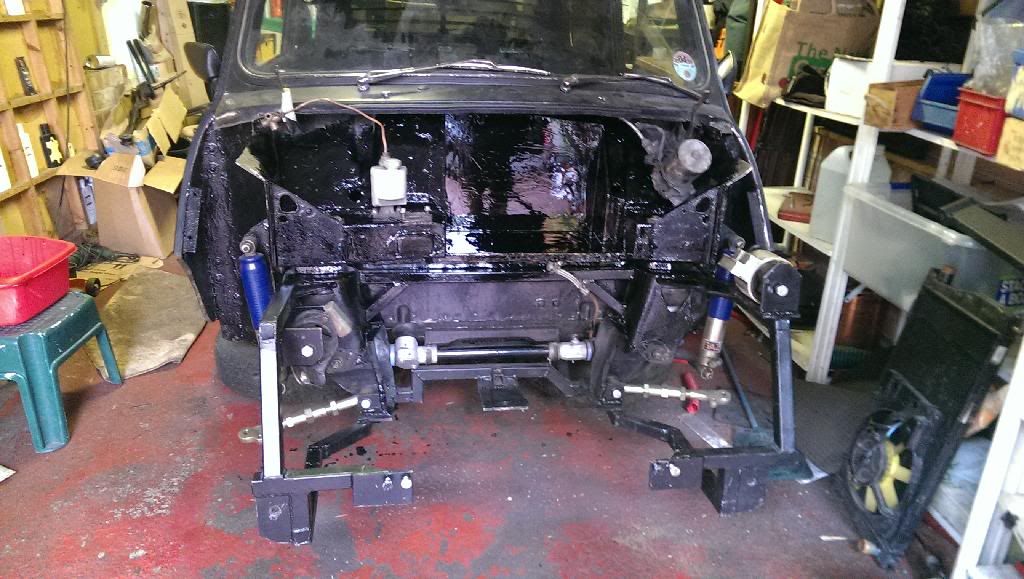
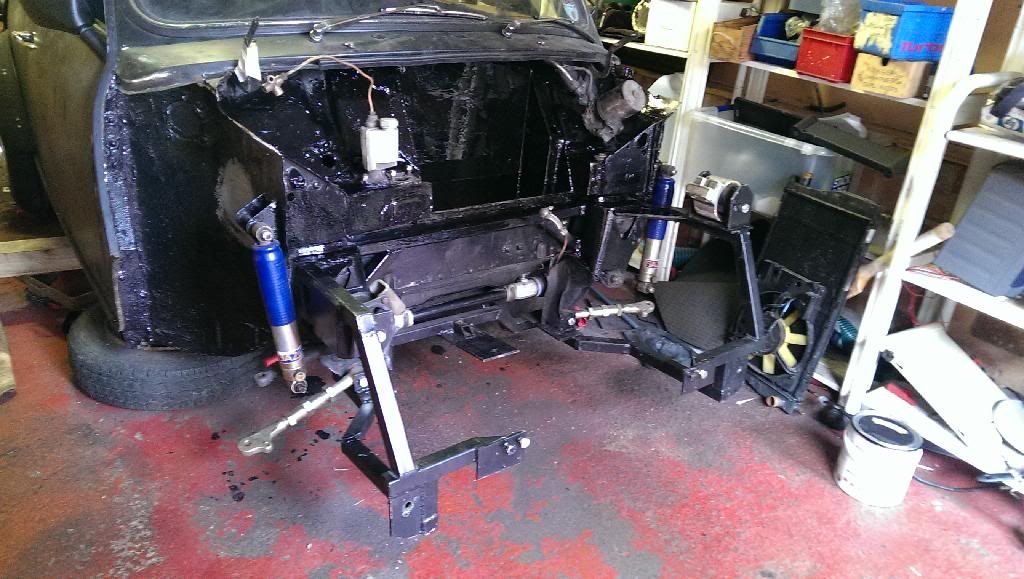
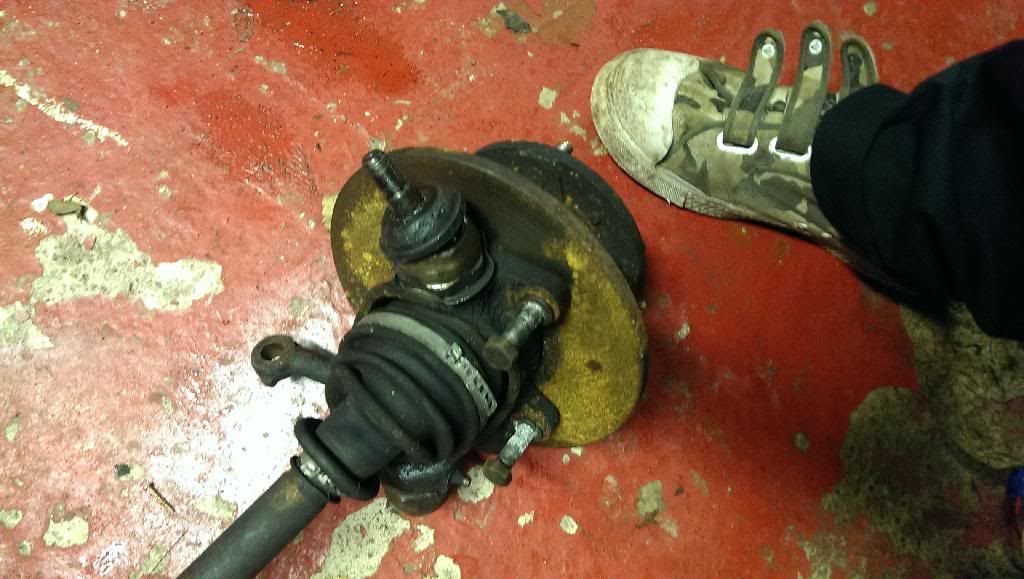
hubs and discs's etc not looking there greatest 


IMAG0495.jpg


but i couldnt get the nut of to start dissecting as i didnt have the socket lol


so moved on lol


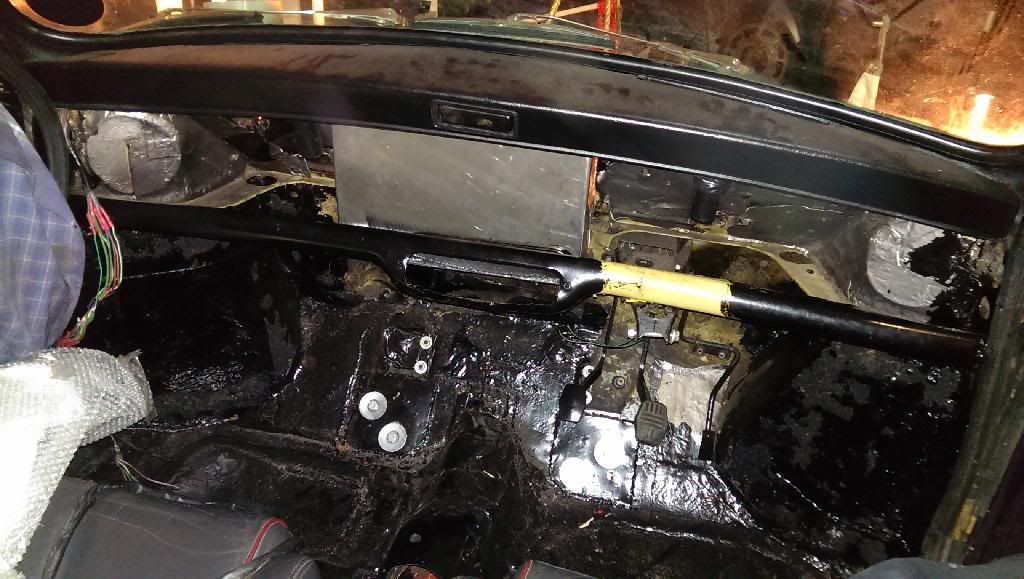
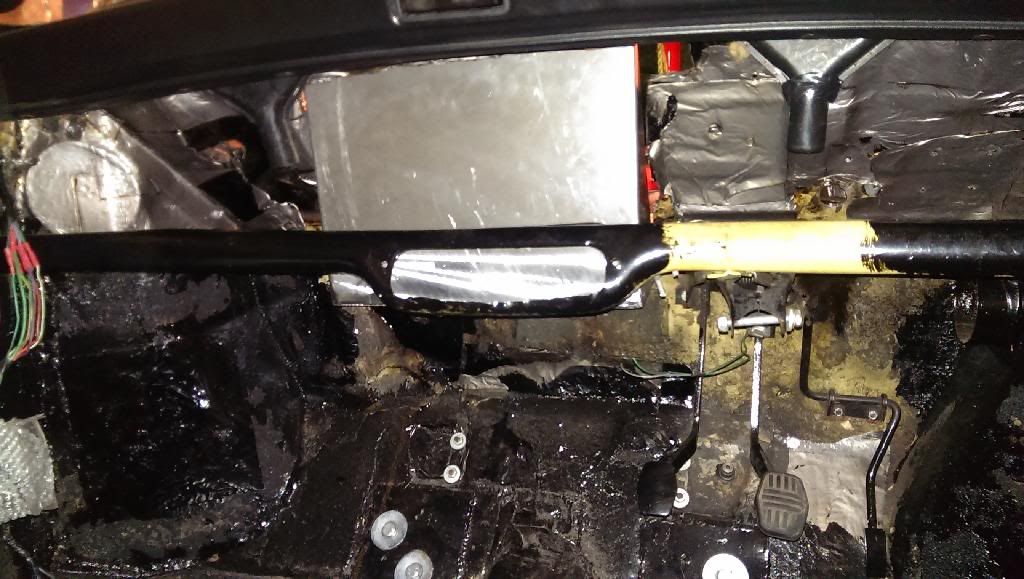
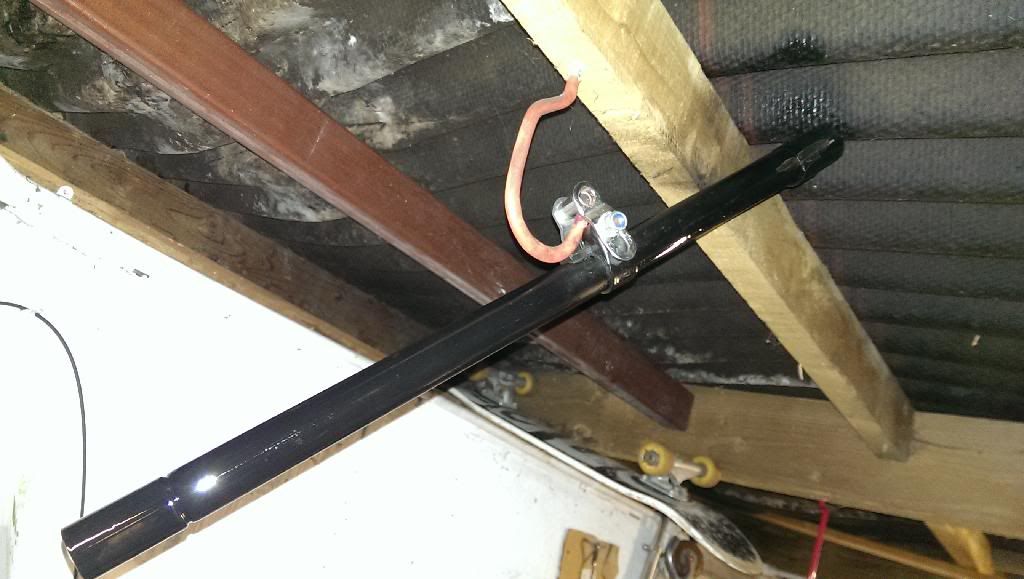
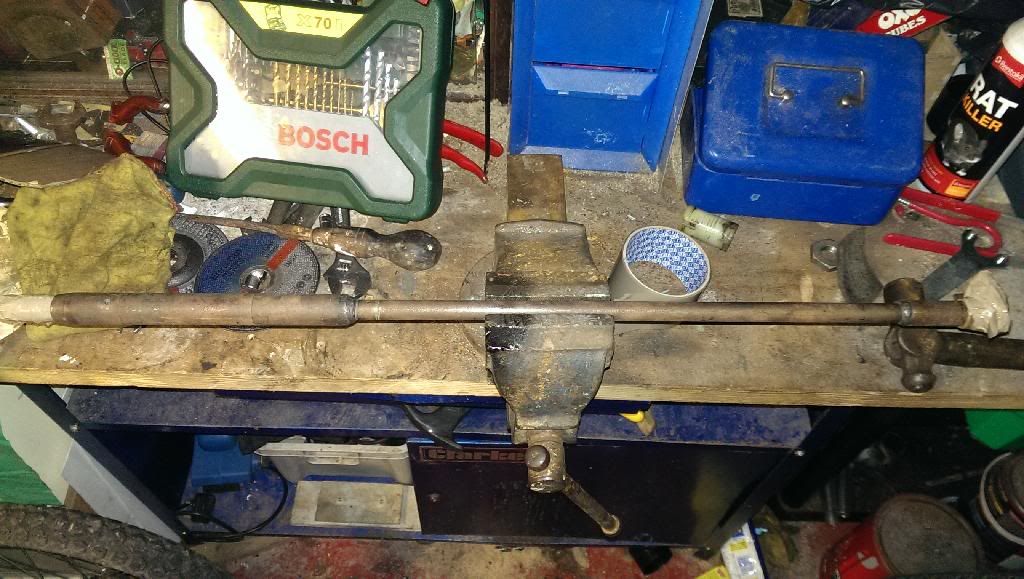
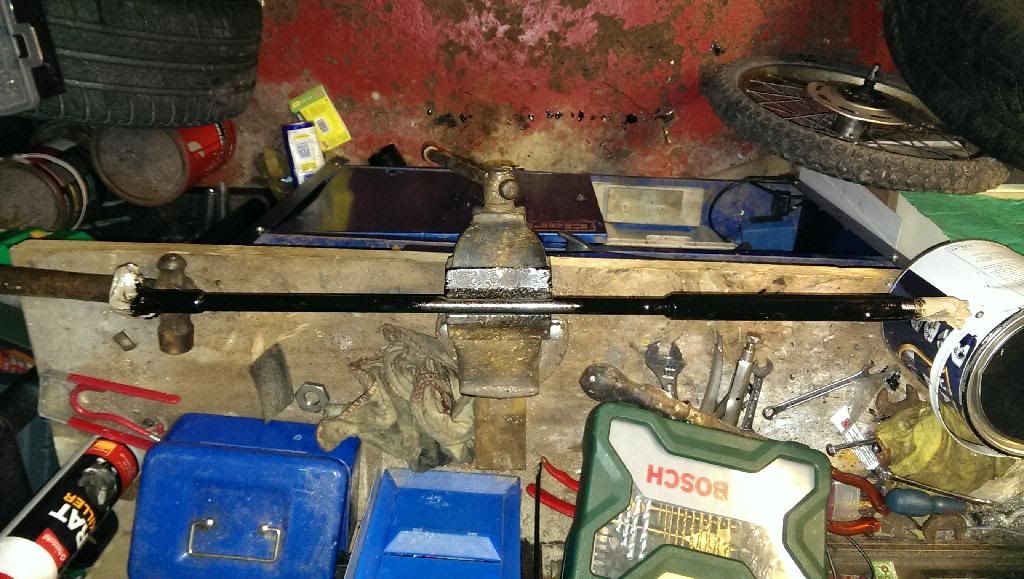
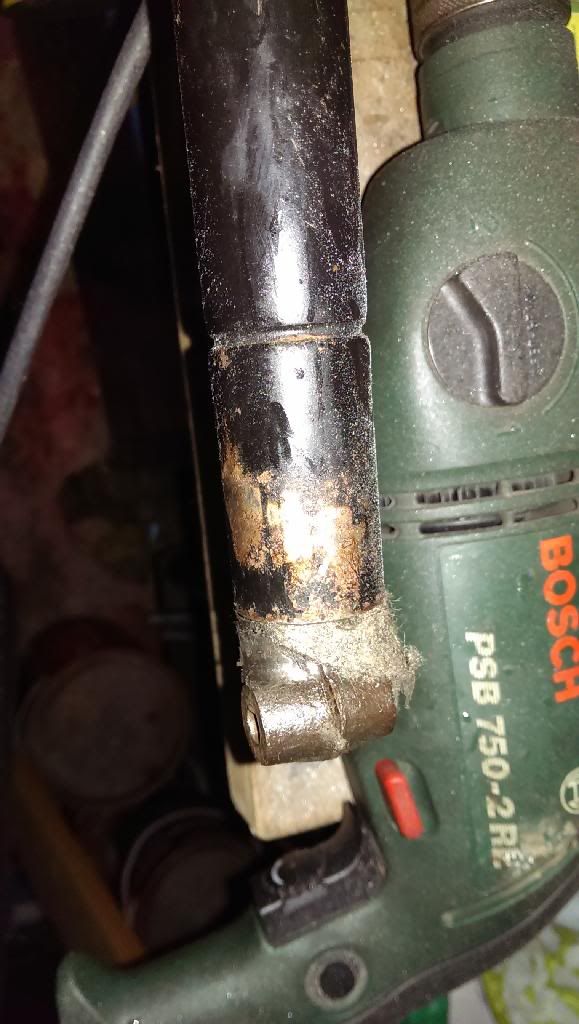
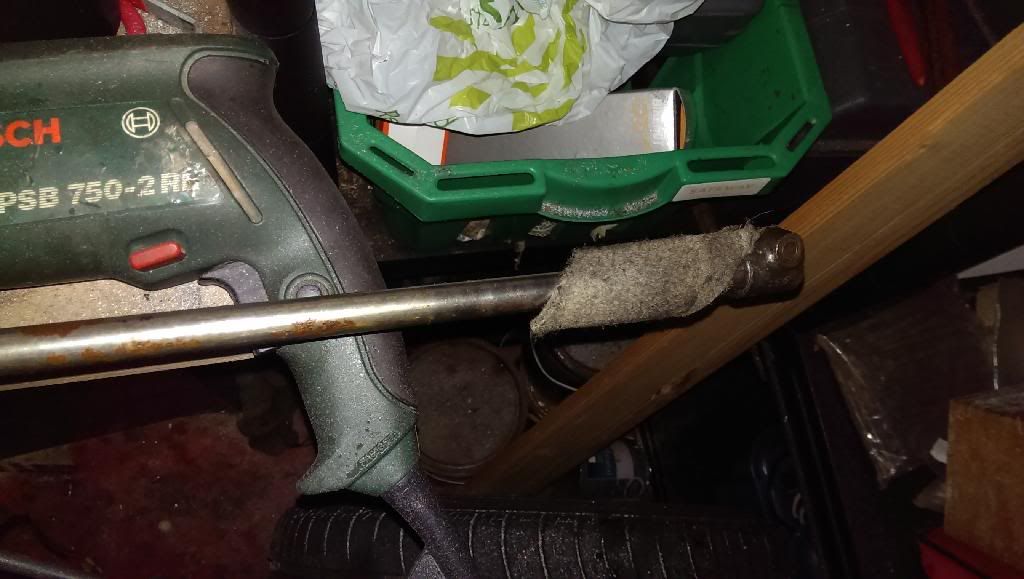
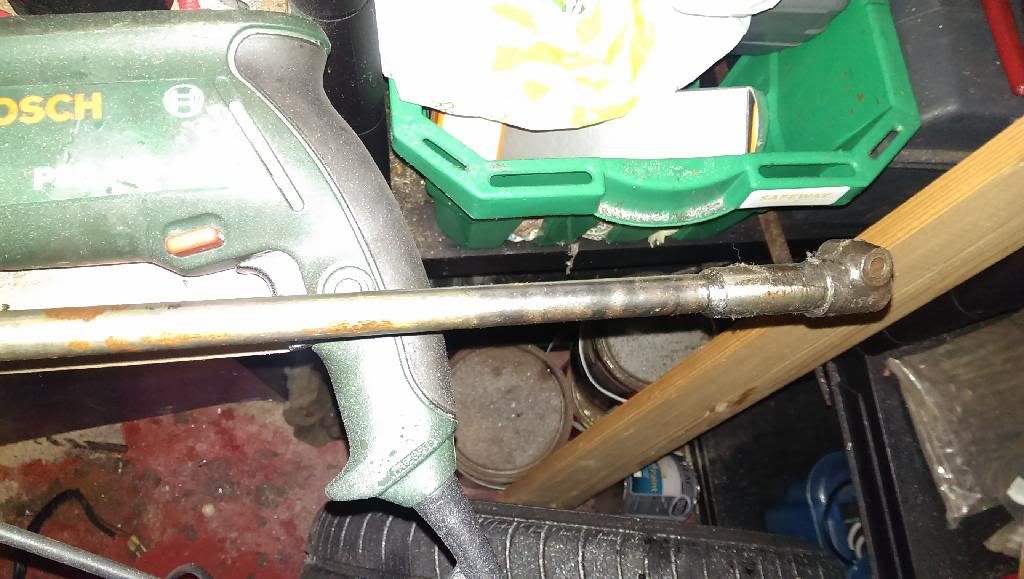
got the steering wheel off with some mole grips LOL


IMAG0497.jpg


and pulled the column out of the sheathing, my question is with this; the felt thats in there, is there only suppost to be one piece of it in there?


IMAG0498.jpg


IMAG0501.jpg

IMAG0502.jpg

IMAG0500.jpg


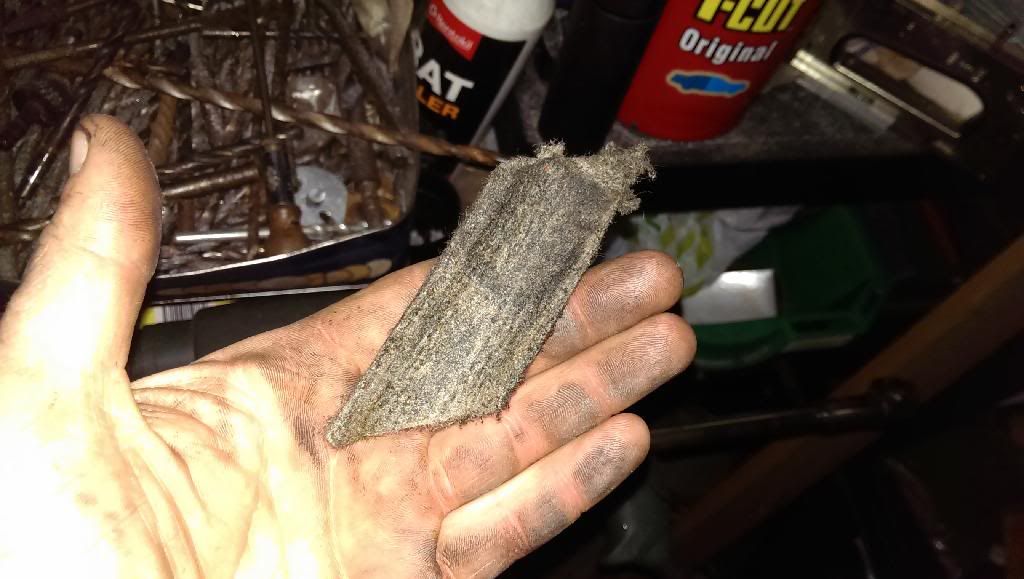
just want to make sure i put it all back in well as i have some play in the steering column last time it was on.


im thinking of a way of making the steering column a lot sterdier that it is standard as the steering column brackets ive always thought are pretty fragile especially a car with no power steering. so if any body has ideas, please shout them out lol im thinking either a simple U bracket welded to bottom rail and column bracket it self or column itself maybe? so i just life the inside out of it if i need to be? or something on those lines anyway :)
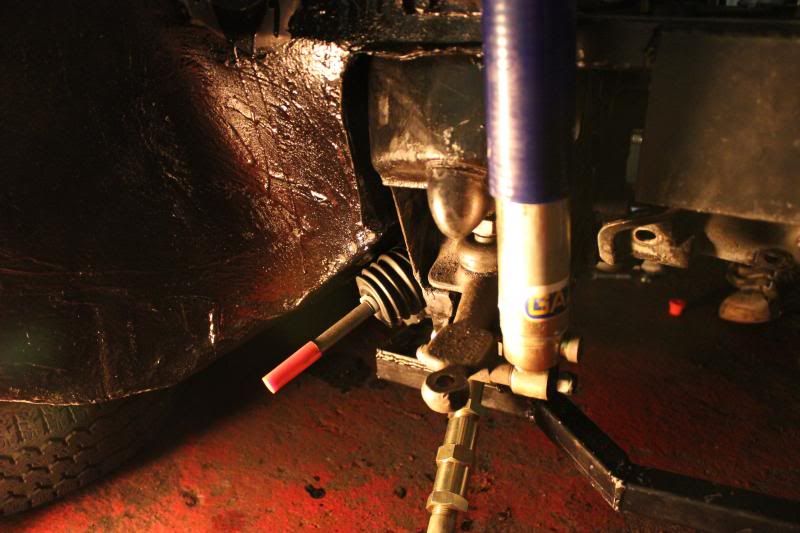
 

so onto the hubs, 


ill sum it up...bought a socket, got home, lost the socket... FAIL

so resorted to molers and a vice grip lol FINALLY got the bugger off


IMAG0553.jpg


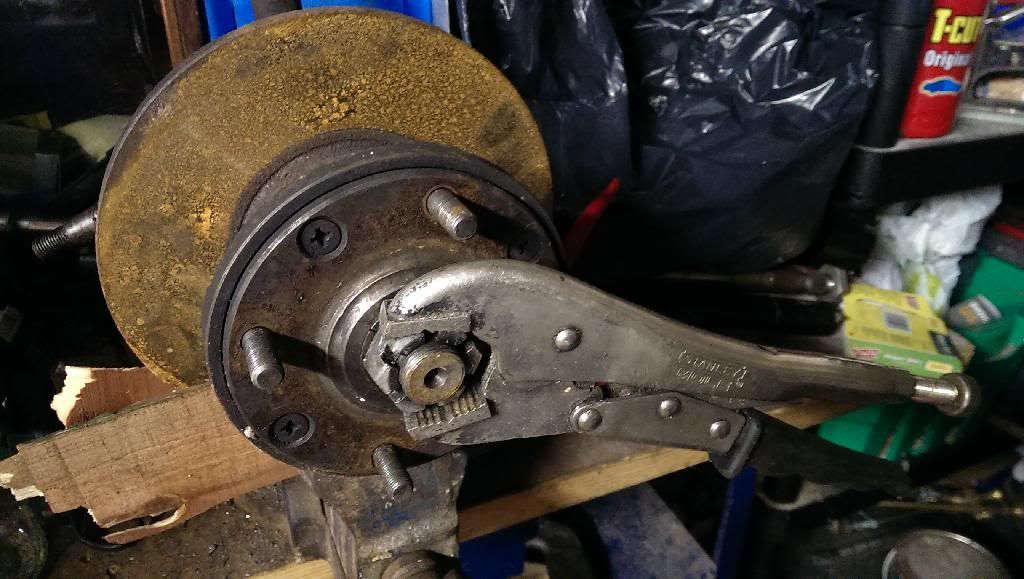
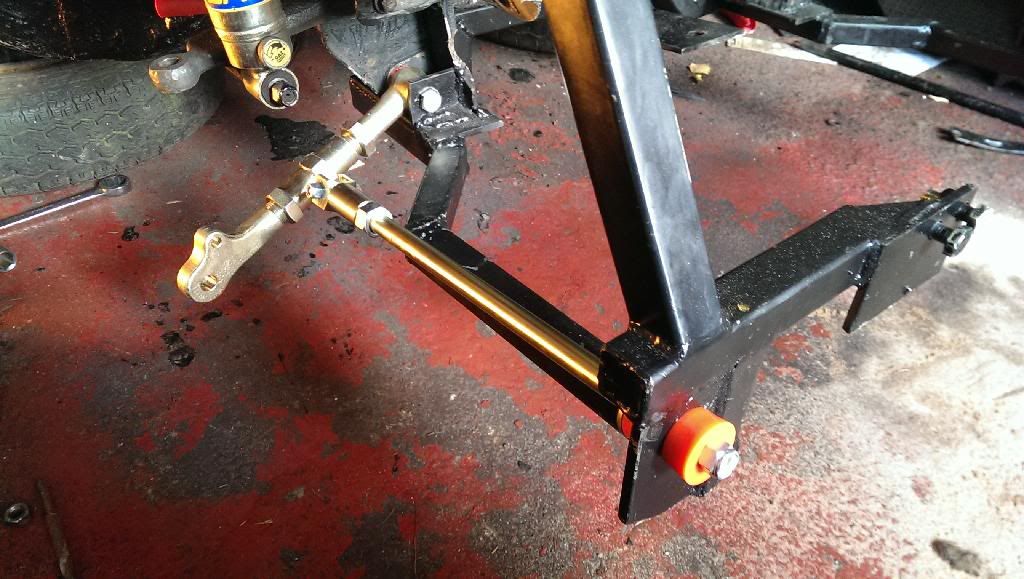
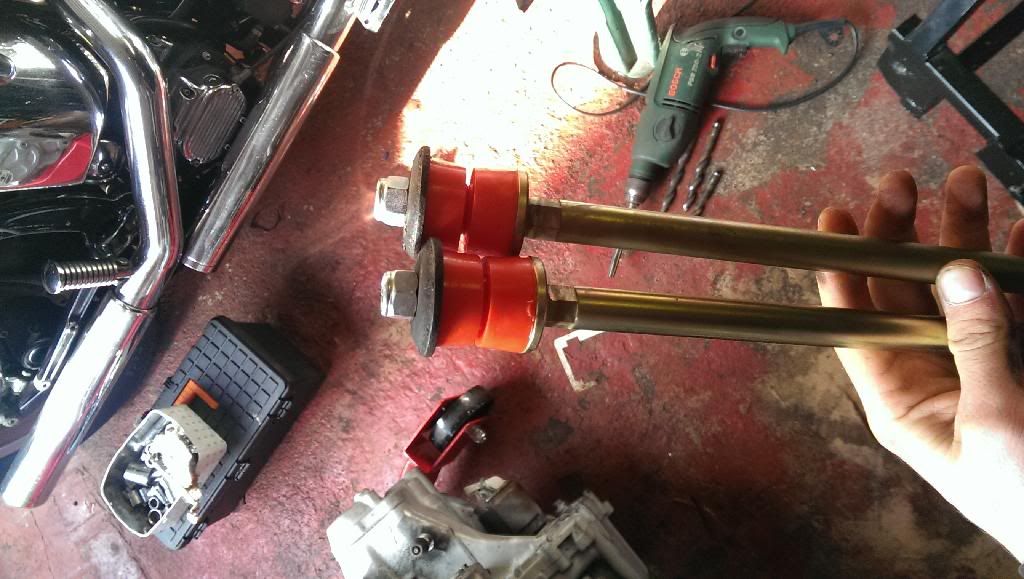
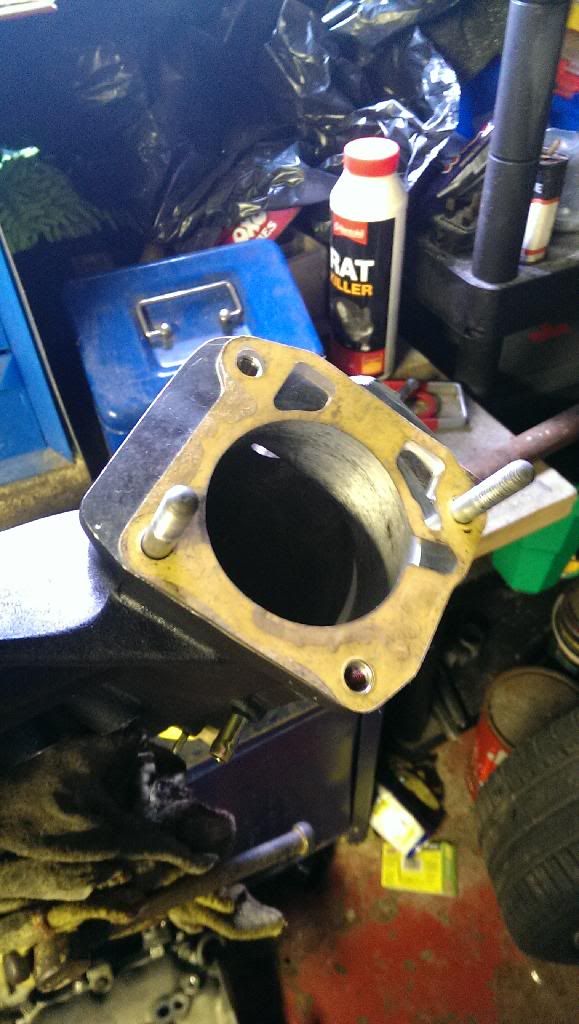
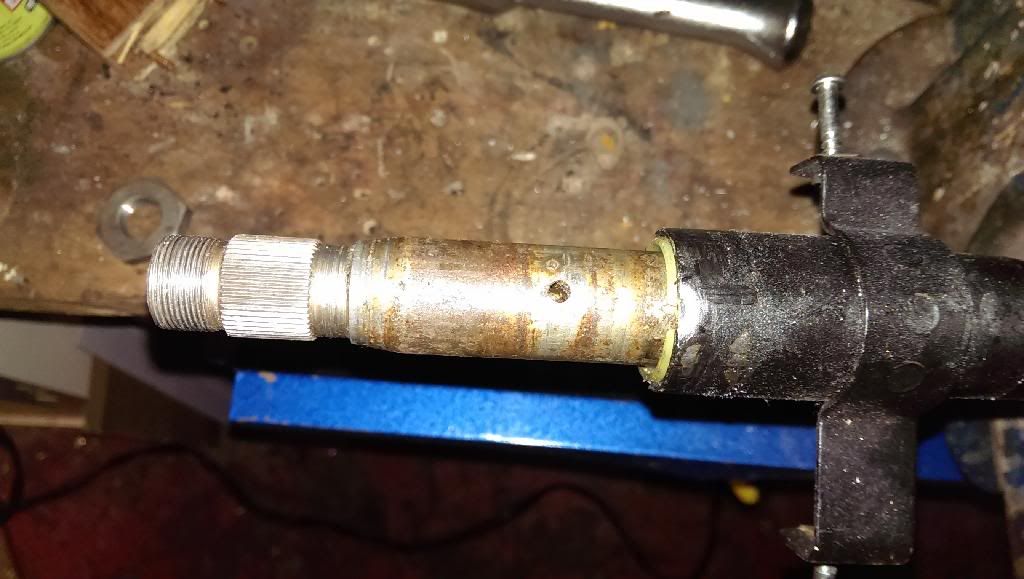
threw away the old bearings etc and im just in the middle of putting new bottom and top ball joints on. and i need to get steering rack joints so i can put the wheels on and have steering for the car whilst im moving it around. 


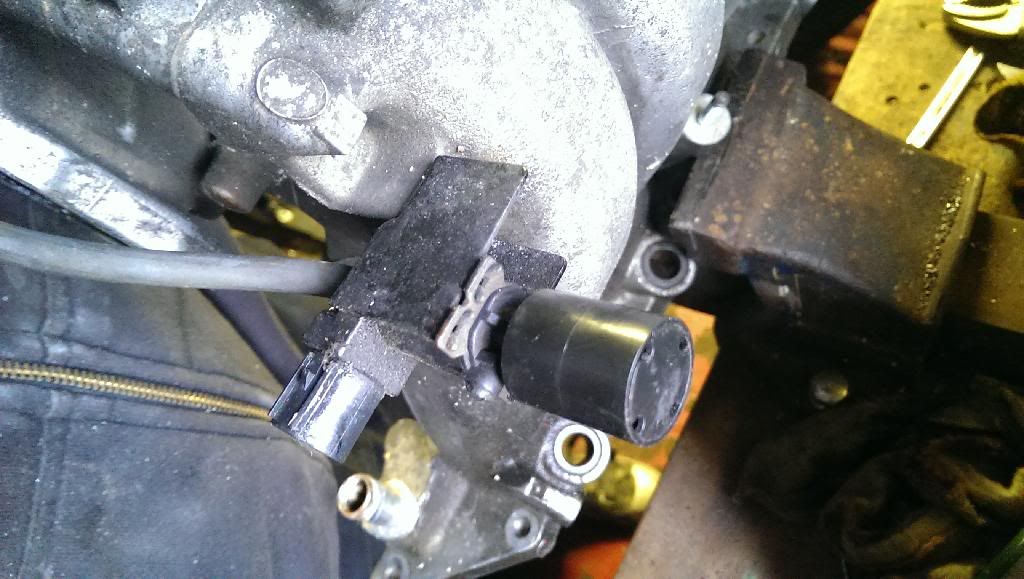
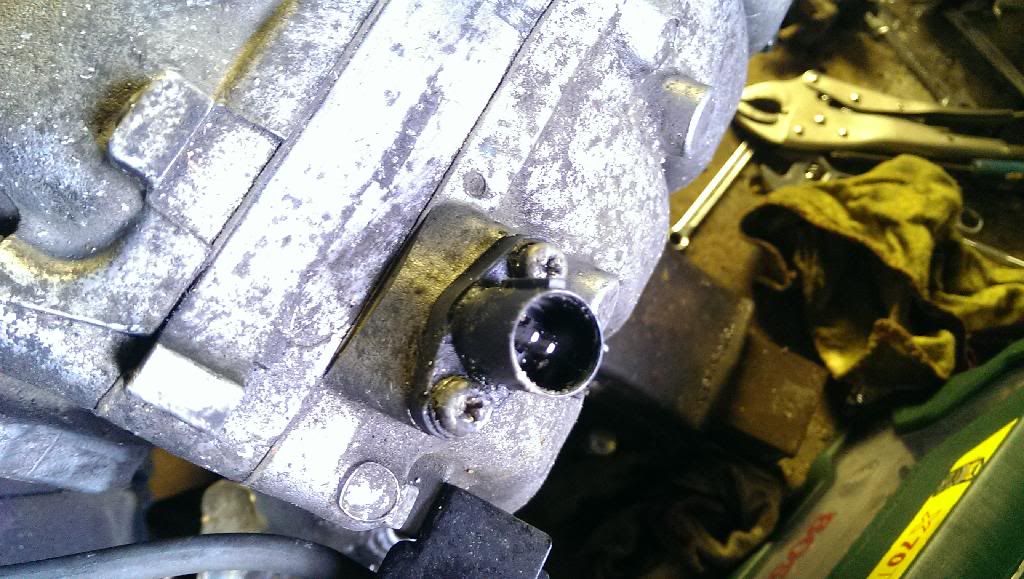
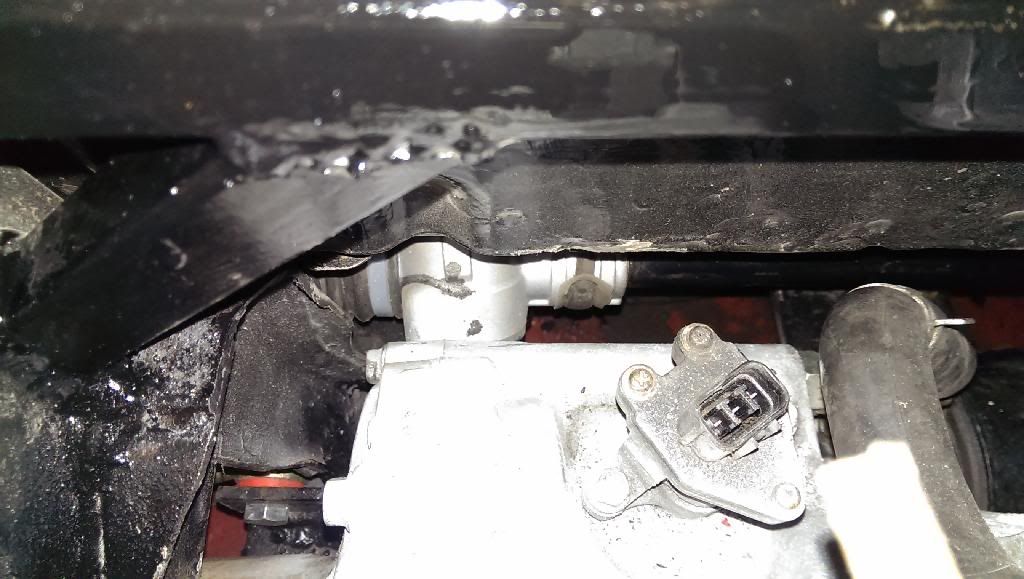
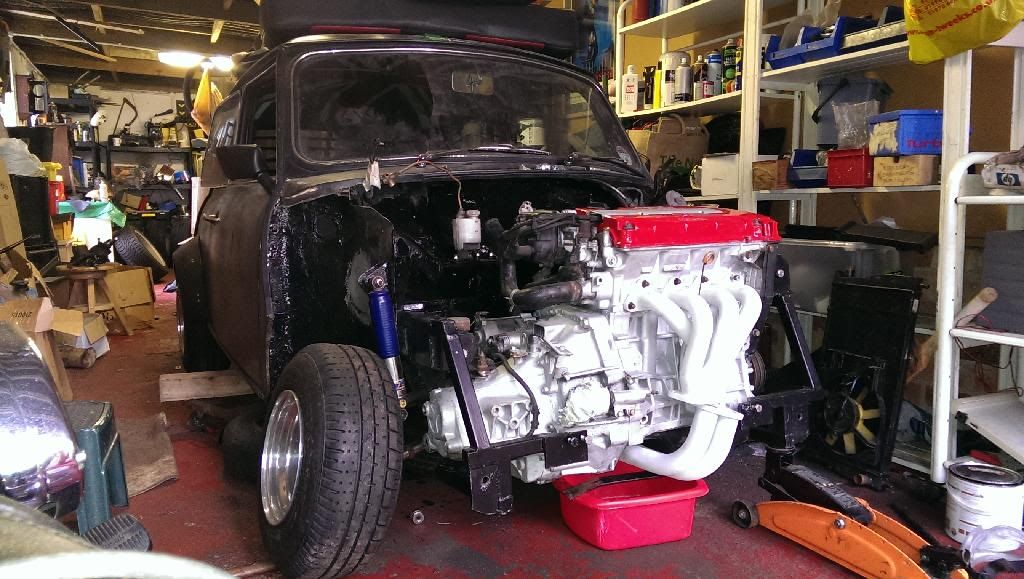
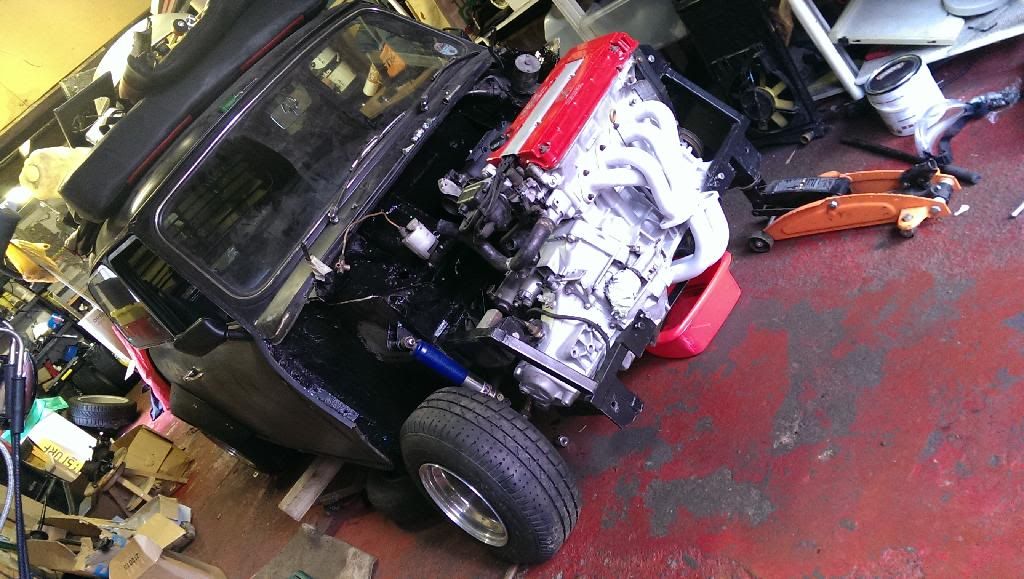
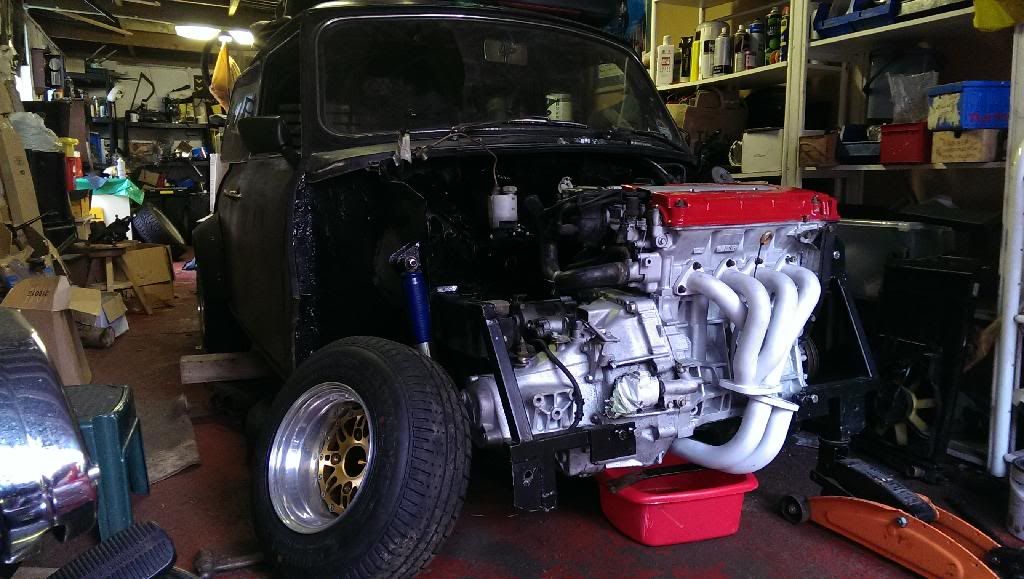
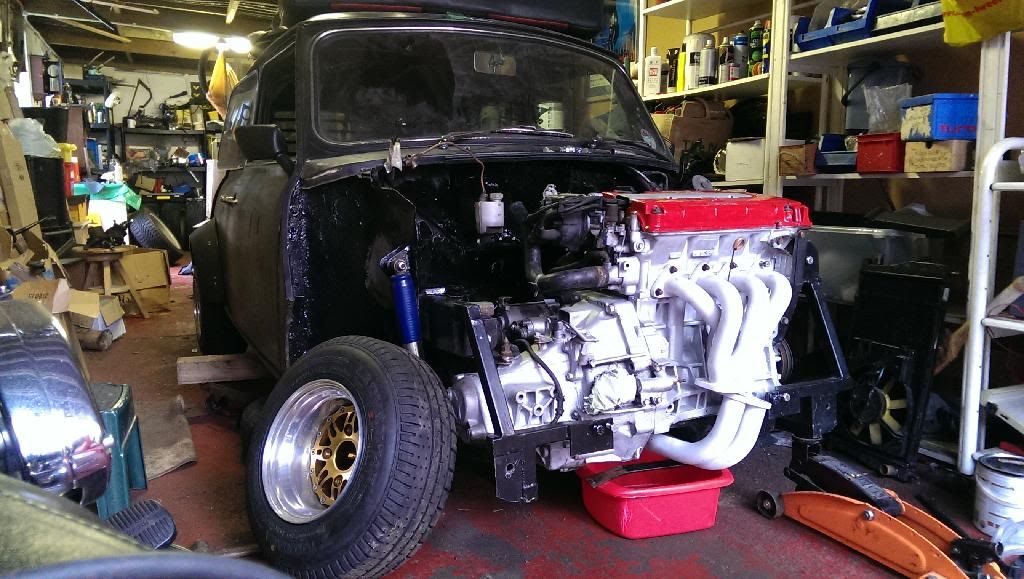
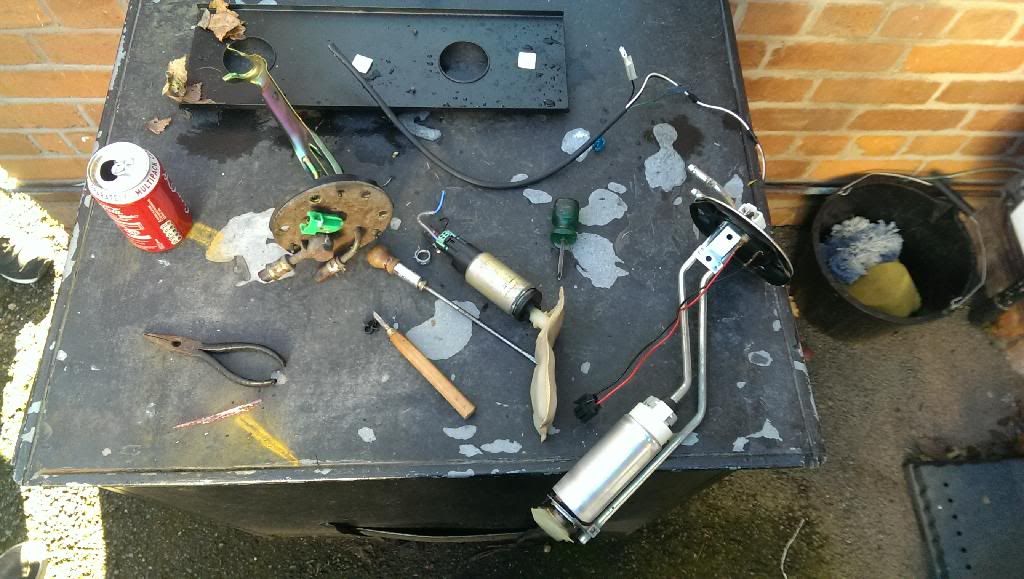
started on the fuel pump swap over, it such a shame that the fuel pump assembly hole done completely line up as it would be a straight swap.


IMAG0555.jpg


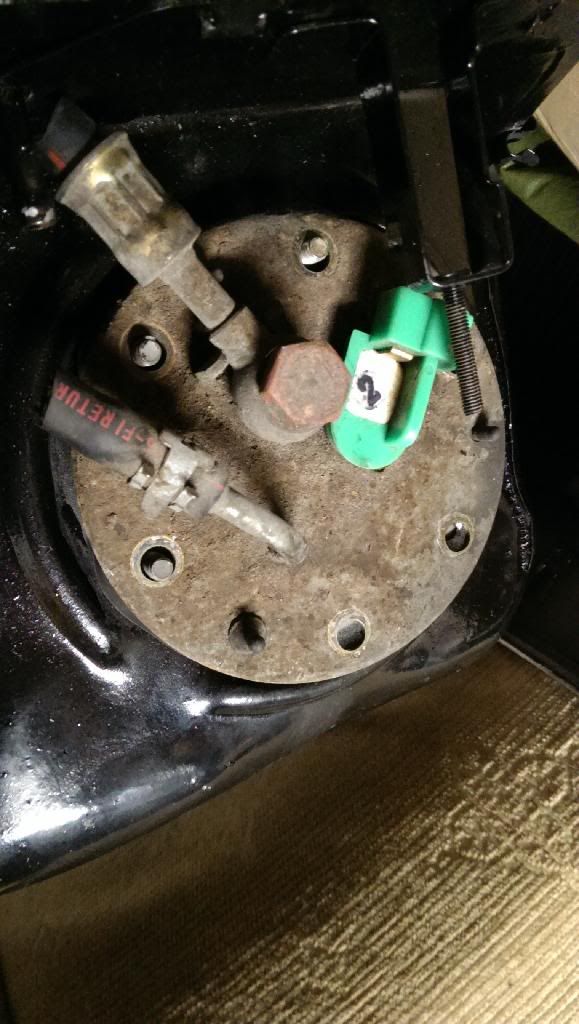
so i ended up cutting the wires and swaping the pumps over and making the hose slightly longer but i ran out hose so i couldnt complete it (LOL) 


IMAG0557.jpg


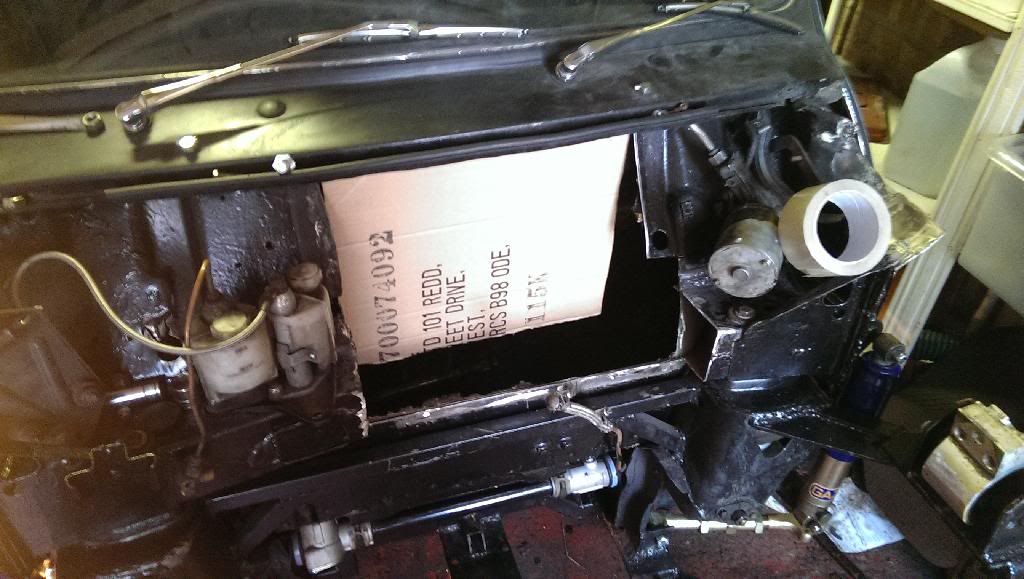
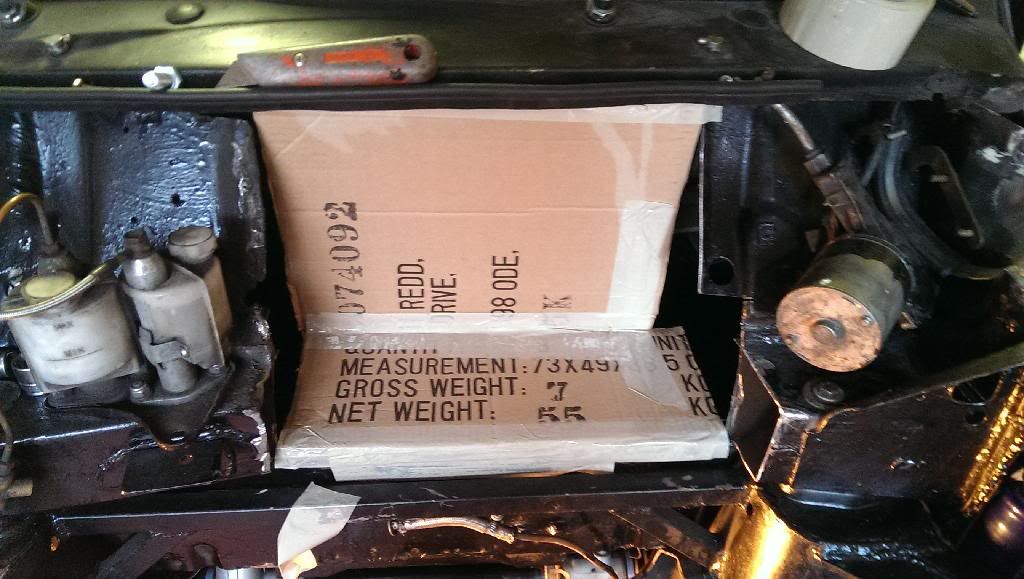
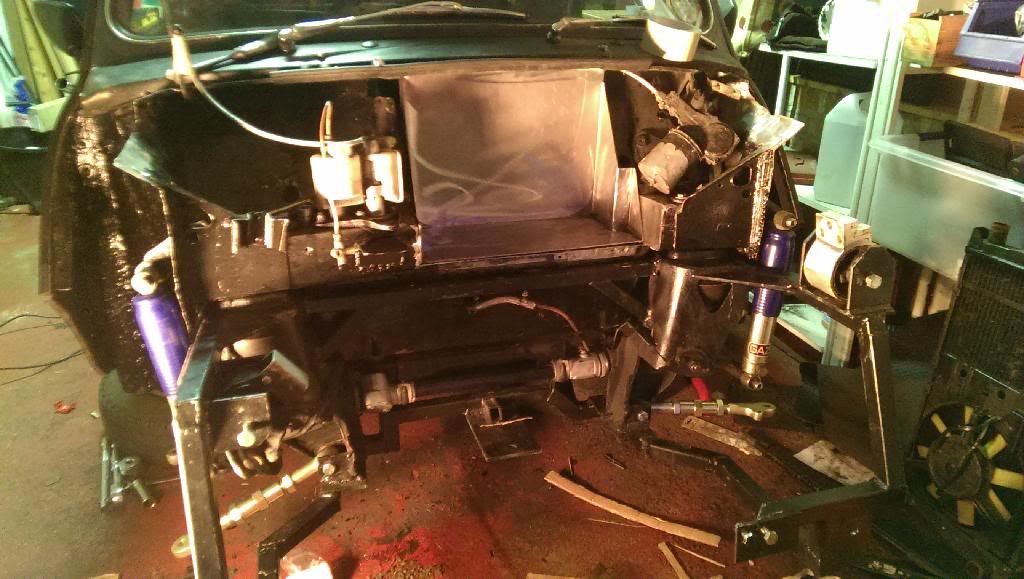
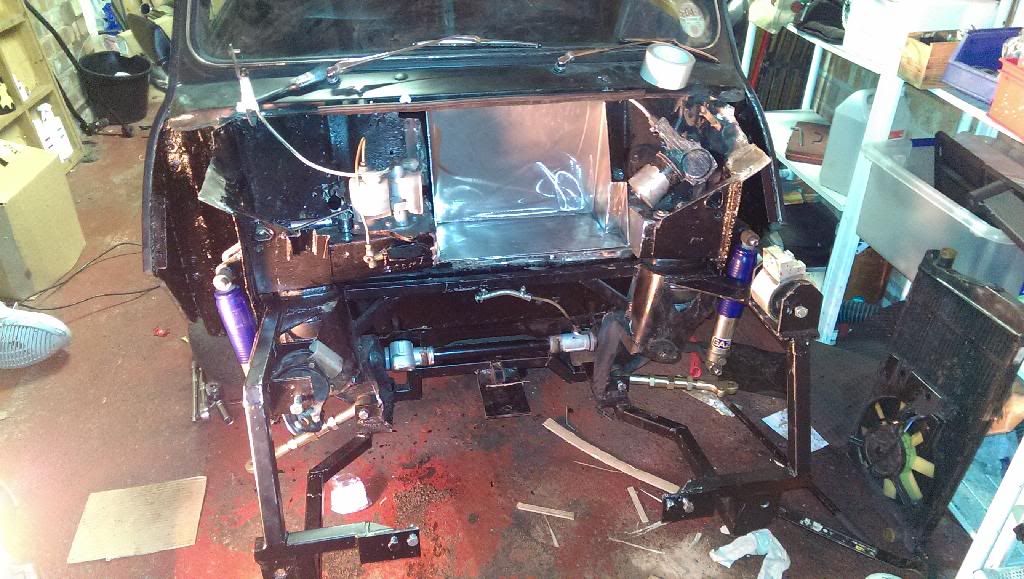
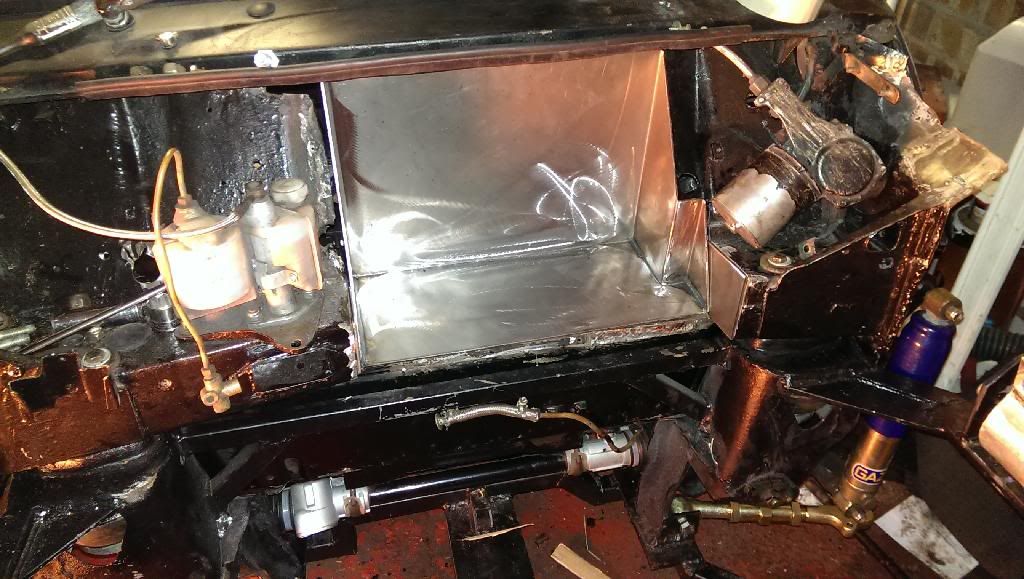
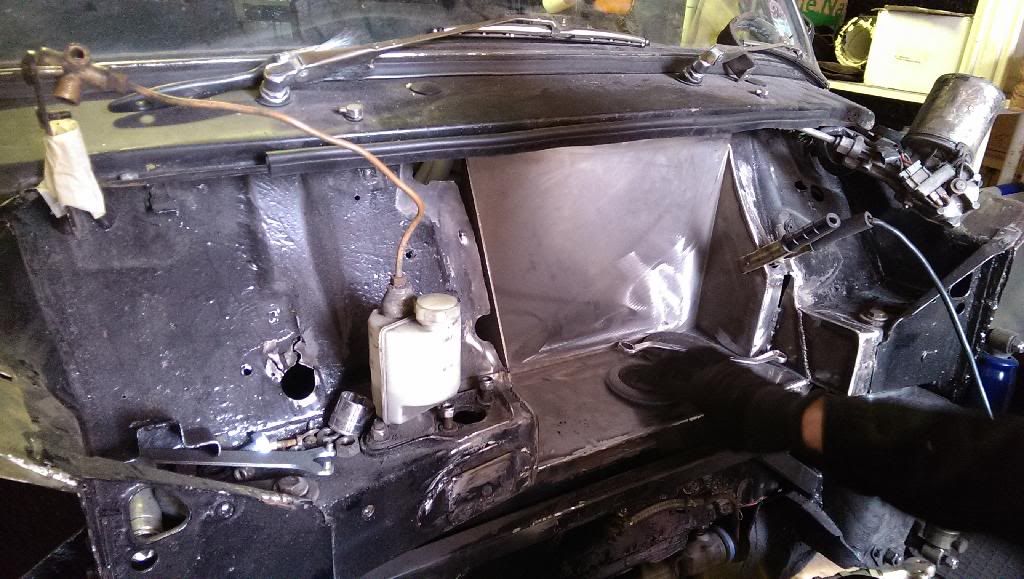
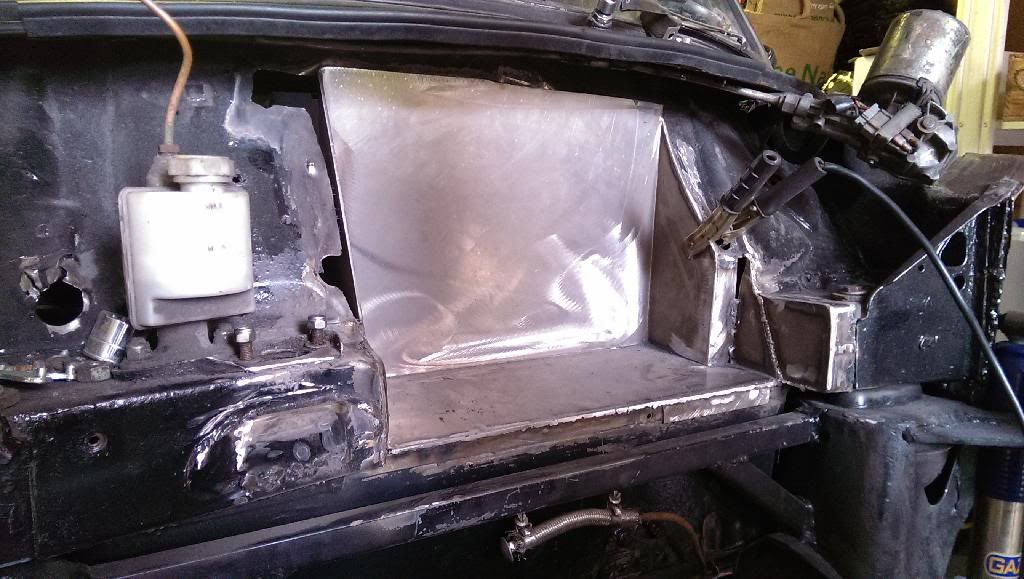
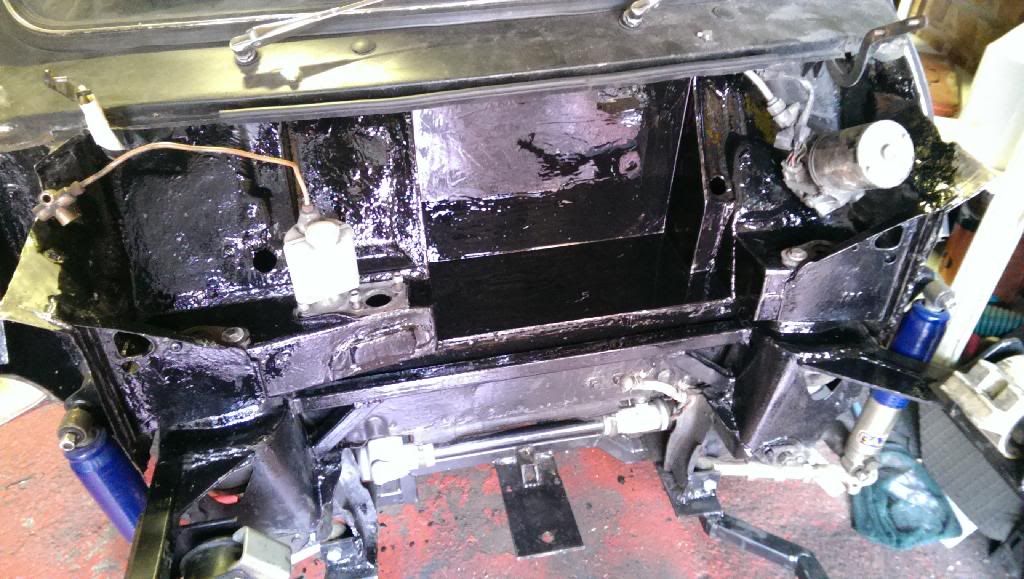
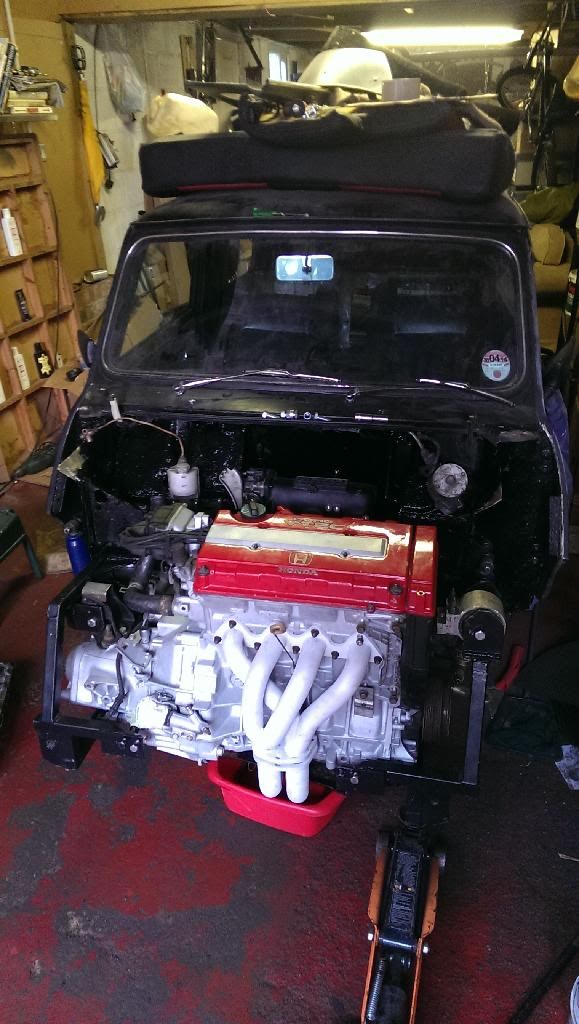
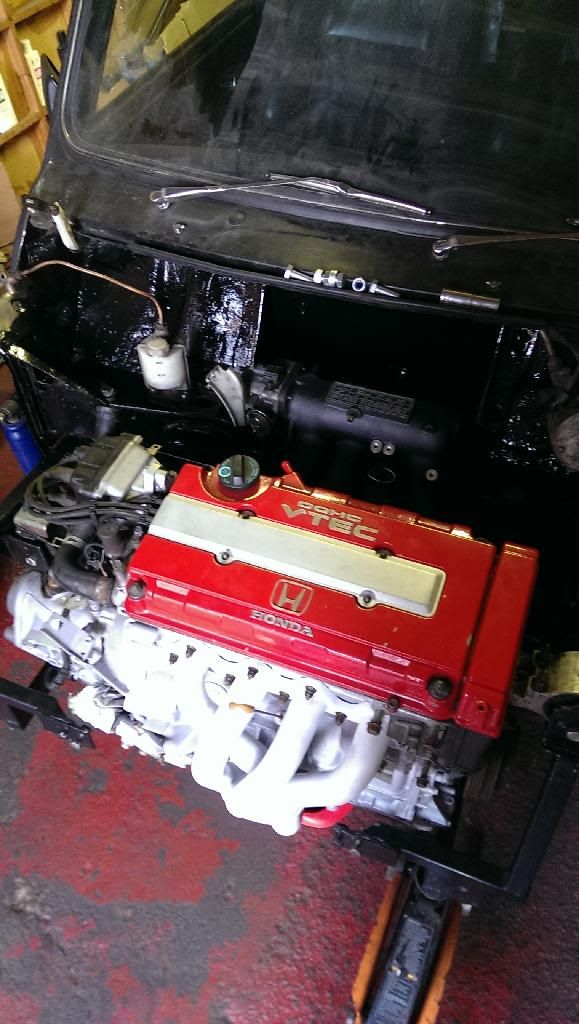
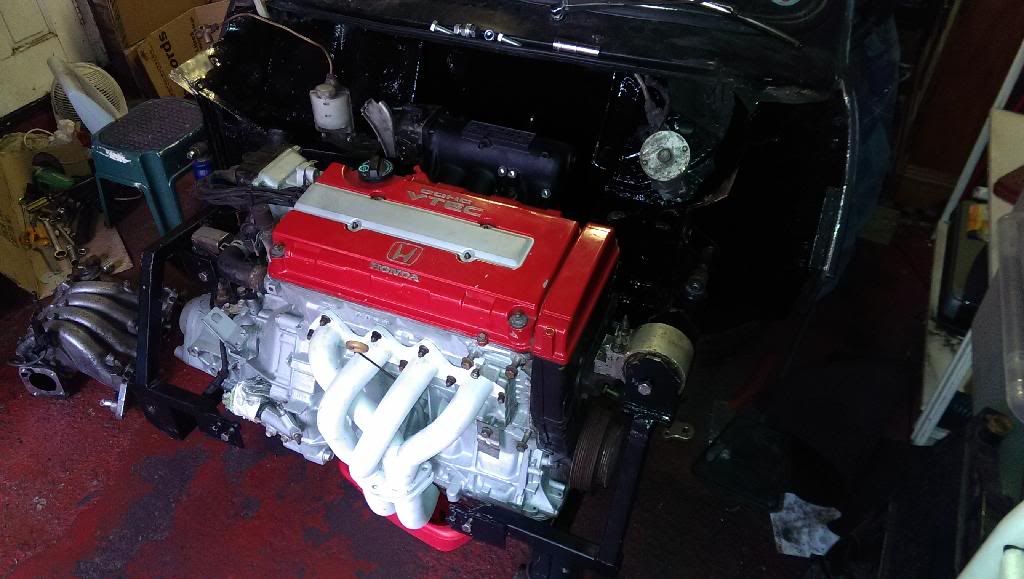
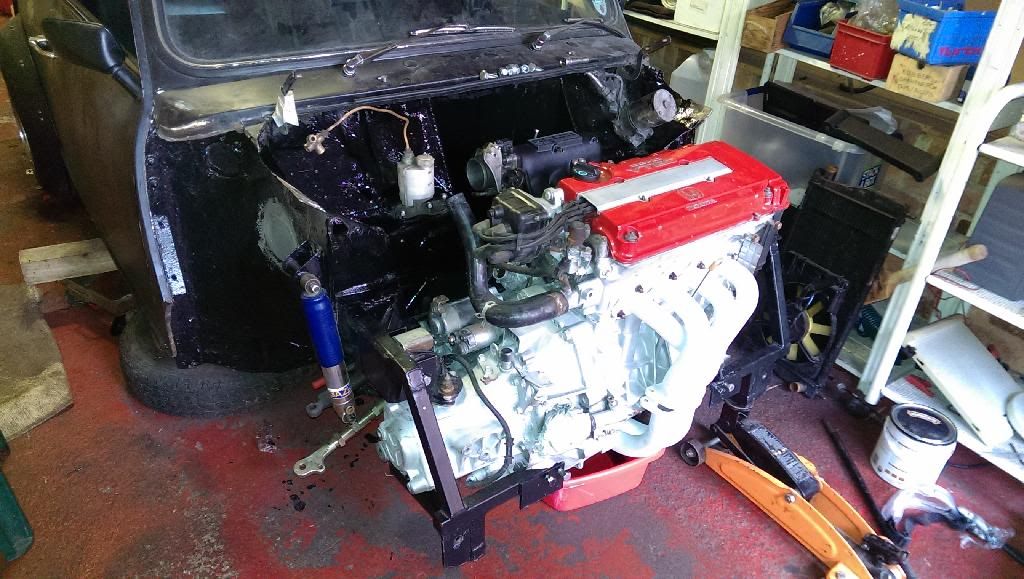
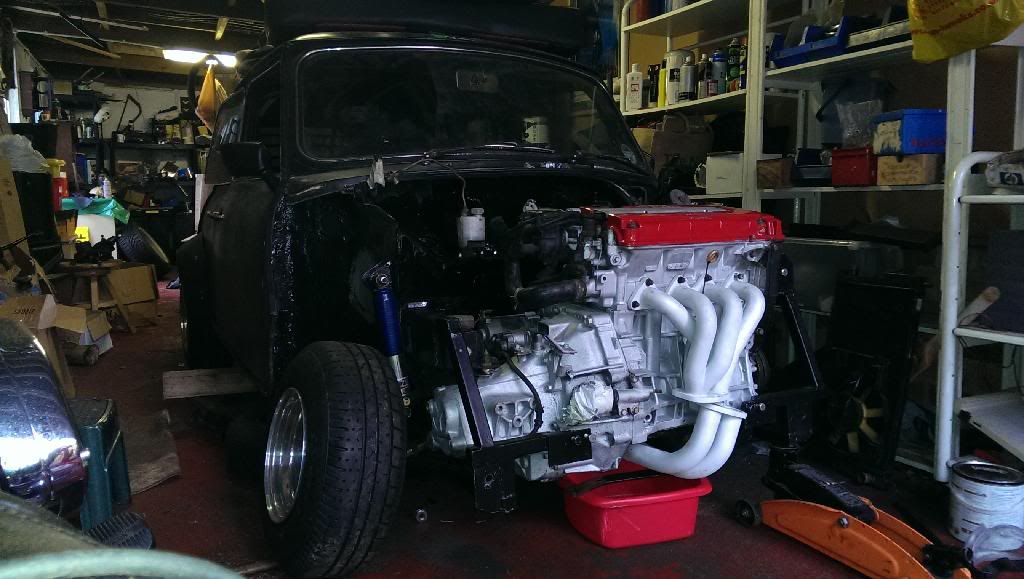
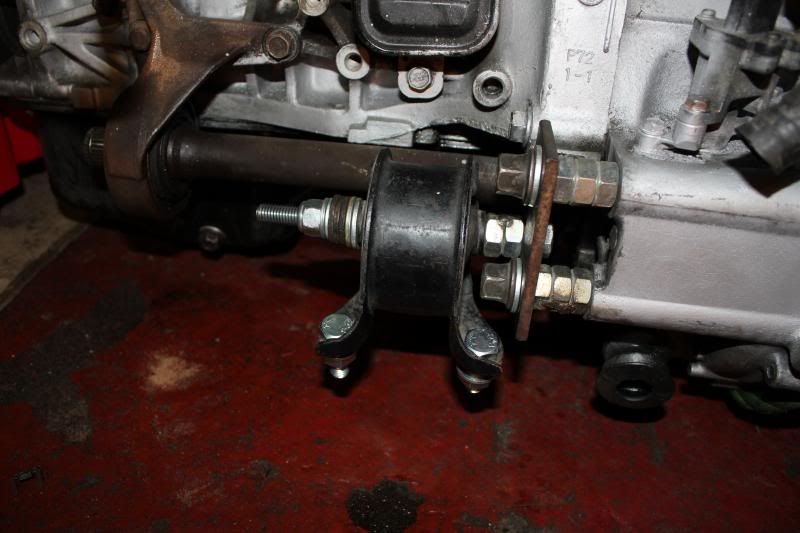
tomorrow morning i should be prepping the bulk head ready for the bulk head box.


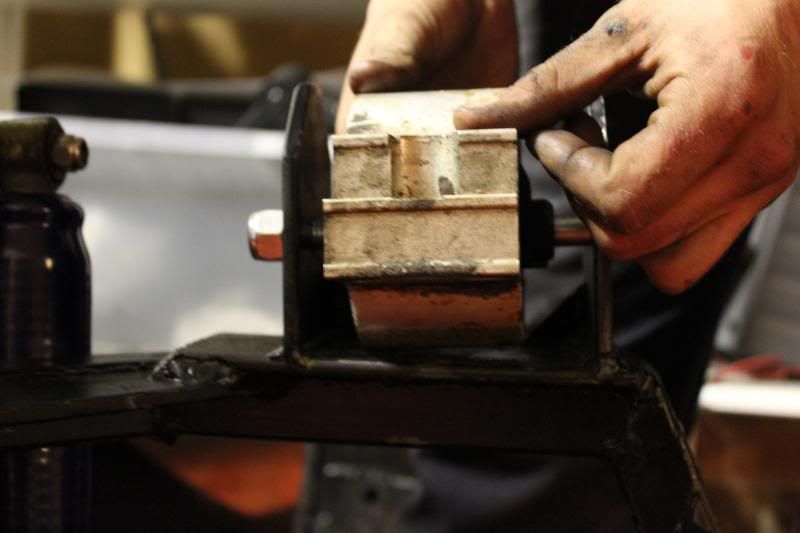
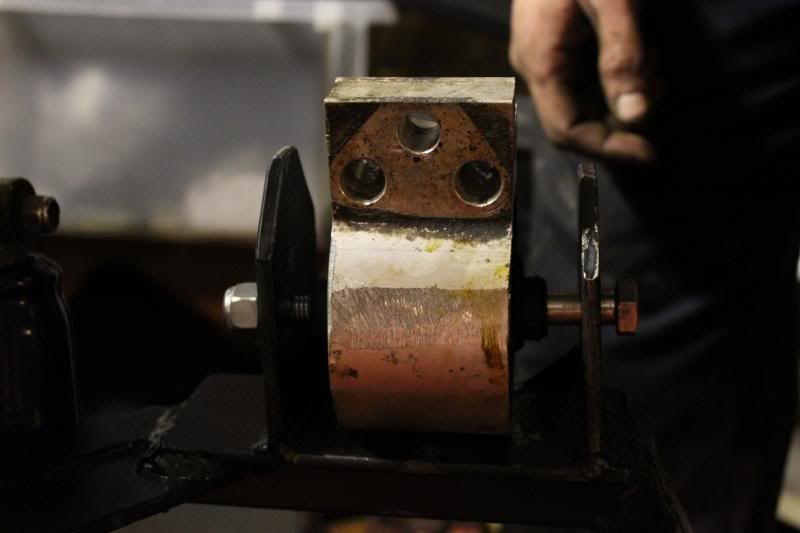
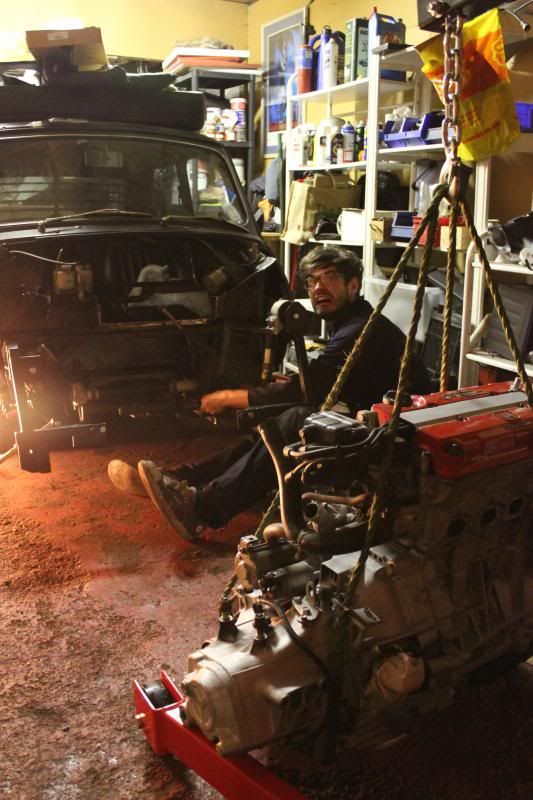
and hopefully when that is completely in and welded, the engine is to go in, stable on all mounts i the correct place, then get the gear linkage put on, clutch put on, test gears then start on wiring! i feel a million miles away from starting it because the bloomin engine isn't in to stay in yet because of the bulkhead grrrr


my mk1 Golf is going up for sale this week and im picking up my new car wed/thurs! so excited, when isay new i mean 2010 :P which apart from company cars is the newest car I've ever owned by a long way lol newest atm is 1989 HA oldest is 72 hehe


#201 megamini_jb

megamini_jb

    Crazy About Mini's

  • Members
  • PipPipPipPipPipPipPipPipPipPip
  • 5,491 posts
  • Name: Jamie
  • Location: -

Posted 03 February 2014 - 10:36 PM

Why are we waiting... Whyyyy are we waiting :P

#202 1293gt

1293gt

    Speeding Along Now

  • TMF+ Member
  • PipPipPipPipPip
  • 322 posts
  • Local Club: nonw

Posted 14 February 2014 - 11:56 AM

Love those wheels


#203 Hegnirst

Hegnirst

    Up Into Fourth

  • TMF+ Member
  • PipPipPipPipPipPipPipPipPip
  • 3,496 posts
  • Location: UK
  • Local Club: Hilltop Minis

Posted 18 February 2014 - 01:19 AM

Following!


Looks great!


you should have a look at my other thread loll


#204 Hegnirst

Hegnirst

    Up Into Fourth

  • TMF+ Member
  • PipPipPipPipPipPipPipPipPip
  • 3,496 posts
  • Location: UK
  • Local Club: Hilltop Minis

Posted 18 February 2014 - 01:20 AM

Why are we waiting... Whyyyy are we waiting :P

 what one sec, I'm updating now lol


#205 Hegnirst

Hegnirst

    Up Into Fourth

  • TMF+ Member
  • PipPipPipPipPipPipPipPipPip
  • 3,496 posts
  • Location: UK
  • Local Club: Hilltop Minis

Posted 18 February 2014 - 01:20 AM

Love those wheels


thanks mate! me too :)


#206 Hegnirst

Hegnirst

    Up Into Fourth

  • TMF+ Member
  • PipPipPipPipPipPipPipPipPip
  • 3,496 posts
  • Location: UK
  • Local Club: Hilltop Minis

Posted 18 February 2014 - 01:22 AM

Righhhhhhht MASSIVE update lol been ages! wooops i let it slip a bit because of the weather and distance. as of next week i will have a garage of my own! woo so I'm moving the car so i can spend everyday on it lololol


So, I'm still doing the fuel pump swap because i don't know which way is the best way to wire it up because of the fuel thats going to surround electrics -_- so i would love some advice on that please! Lol


i started composing 'to clean' box which I'm sure we've all done. (half done lol)

The driveshafts which i talked about in my last post, i put in a box and took to the garage.


IMAG0687.jpg


which i ended up carrying (plus hubs) 1/4 mile to the garage, bloody heavy after a while! lol but hay ho, all done and freee to bolt on and then put on hubs....or so i thought.....


Of course i would be that easy!


as its a custom frame the tie rods sit like this...


IMAG0688.jpgIMAG0689.jpg


so im hopefully 'bending' them to be right angle for the job :)


and just to make sure this how I've assembled them


IMAG0690.jpg


and then got round to templating the bulkhead box


IMAG0691.jpgIMAG0692.jpgIMAG0693.jpgIMAG0694.jpg


it went pretty well, my mate gave me a hand from the inside as it was sooooo much easier with someone on the other side lololol it ended up pretty good, slid out and i took it too the fabrication place down the road :)


IMAG0695.jpg


#207 Hegnirst

Hegnirst

    Up Into Fourth

  • TMF+ Member
  • PipPipPipPipPipPipPipPipPip
  • 3,496 posts
  • Location: UK
  • Local Club: Hilltop Minis

Posted 18 February 2014 - 01:23 AM

that was 2 weeks age (2 week brake grrr)

today, i picked it up from the fabricators and i gotta say it looks sweet, fits really well to :)


IMAG0714.jpgIMAG0716.jpgIMAG0717.jpgIMAG0718.jpg


well chuffed with that, it will be welded in tomorrow,


this is what its like from the inside


IMAG0719.jpgIMAG0720.jpg


i next went onto the steering column, what ive done is grinder of the brackets that hold on the cowling as I'm putting the ignition column in the dashboard (checked and its ok to do via MOTer) painted it as well. and picked up a better middle column as my splines were a been gone :P


IMAG0721.jpgIMAG0722.jpgIMAG0723.jpgIMAG0724.jpg


i left it looking like this today


IMAG0725.jpg


tomorrow I'm looking at doing the plumbing for the petrol tank, welding the tie rods at an angle, welding the bulkhead (main priority) may get it on its wheels which is a definite possibility. might offer the front end up to look at the brackets and possibly get them drilled and lay the carpet down in the front just to make myself feel better LOL


BUT well excited for tomorrow as I'm sure it will be vast progresss!


(just to add) the other thing i was thinking about doing was making a cut out of metal to cover the wiper motor and the master cylinders as i think it would looking slightly better as a whole :)  which I'm sure someones done before! lol


#208 Hegnirst

Hegnirst

    Up Into Fourth

  • TMF+ Member
  • PipPipPipPipPipPipPipPipPip
  • 3,496 posts
  • Location: UK
  • Local Club: Hilltop Minis

Posted 21 February 2014 - 12:22 AM

well another update for ya'll!
 
things are moving quite well now i think anyway lol unexpected troubles on the way! lol
 
so i started this time by swapping over all of the stuff from the old manifold to the skunk one.
 
but have no idea if i need this!
 
IMAG0727.jpg
 
and then i got soooo stuck on getting this one out! it was so annoying lol done now though 
 
IMAG0728.jpg
 
then swapped over the bolts too 
 
IMAG0733.jpg
 
then started putting the bulkhead box in, my mate did me the biggest favour, massive thanks to him! he welded it in for me! as I've only recently got a arc welder i didn't want to make a mess of this lol
 
IMAG0735.jpg
IMAG0736.jpg
 
and as you can see there is a big hole on the left side, so i cut some metal out of my petrol tank and used that lol the clutch master cylinder had to come out to weld it on 
 
IMAG0734.jpg
 
aswell as the bulkhead, he welded some other holes up as well for me as there some really random holes lol
 
after all that was done, I gave it the first coat of paint :)
 
IMAG0737.jpgIMAG0738.jpgIMAG0739.jpg
 
i then fitted the engine in, it clears everything which is awesome APART from the flaming steering rack, the bolts are fine but that actual box is in the way a bit lol
 
IMAG0749.jpg
 
but yea this what is what it looks like with it now,
 
IMAG0740.jpgIMAG0742.jpg
 
and obviously put the manifold on kinda for effect lol
 
IMAG0743.jpgIMAG0744.jpgIMAG0745.jpg
 
as you can see the clearances are perfect for the pipes underneath the manifold, also what i really wanted was the clearances on both sides of the manifold to be the same:
 
IMAG0752.jpgIMAG0753.jpg
 
IMAG0746.jpg
IMAG0747.jpg
IMAG0751.jpg
IMAG0754.jpgIMAG0755.jpg
 
and some more pictures with a wheel placed by the side lololol hopefully will be WITH a wheel on next update lolol 
 
IMAG0756.jpgIMAG0757.jpgIMAG0758.jpgIMAG0759.jpgIMAG0760.jpg
 
ahahaha Loooooooaaaaaaaddddsss of pictures AHA


#209 megamini_jb

megamini_jb

    Crazy About Mini's

  • Members
  • PipPipPipPipPipPipPipPipPipPip
  • 5,491 posts
  • Name: Jamie
  • Location: -

Posted 21 February 2014 - 06:55 AM

Cooool, coming along nicely

#210 Rocket.

Rocket.

    One Carb Or Two?

  • Members
  • PipPipPipPipPipPipPip
  • 1,441 posts
  • Location: UK

Posted 22 February 2014 - 09:13 PM

looking good


1 user(s) are reading this topic

0 members, 1 guests, 0 anonymous users