Jump to content


Photo
* * * * - 1 votes

Bruce the clubman 1972


  • Please log in to reply
362 replies to this topic

#151 JakeJakeJake

JakeJakeJake

    One Carb Or Two?

  • Members
  • PipPipPipPipPipPipPip
  • 836 posts

Posted 27 November 2013 - 10:51 PM

Looks good, you're not hanging around, will be done soon at this rate!


Where is the exhaust manifold from?


#152 Andy!

Andy!

    Speeding Along Now

  • Members
  • PipPipPipPipPip
  • 481 posts
  • Location: Suffolk
  • Local Club: N/A

Posted 29 November 2013 - 09:01 AM

What are your plans for inlet manifold? i'm trying to research everything to see what everyone else is doing with it! i've seen someone modify the standard one so that it bends upwards, and i've heard alot about a skunk2 manifold? just wondering what your plan is! looks good mate! does the shell need any repairs?


#153 Hegnirst

Hegnirst

    Up Into Fourth

  • TMF+ Member
  • PipPipPipPipPipPipPipPipPip
  • 3,496 posts
  • Location: UK
  • Local Club: Hilltop Minis

Posted 29 November 2013 - 11:47 AM

Looks good, you're not hanging around, will be done soon at this rate!


Where is the exhaust manifold from?


its from good old ebay matey :)

i wanted a ceramic one, dont ask me why because i dont know why lol


#154 Hegnirst

Hegnirst

    Up Into Fourth

  • TMF+ Member
  • PipPipPipPipPipPipPipPipPip
  • 3,496 posts
  • Location: UK
  • Local Club: Hilltop Minis

Posted 29 November 2013 - 11:52 AM

What are your plans for inlet manifold? i'm trying to research everything to see what everyone else is doing with it! i've seen someone modify the standard one so that it bends upwards, and i've heard alot about a skunk2 manifold? just wondering what your plan is! looks good mate! does the shell need any repairs?


inlet manifold will be a skunk 2 manifold or something similar to that. the standard ones on c4 strangle the engine too much IMO 

i may use edelbrock possibly i dont know yet, the shell doesnt need any repairs at all :) that was all done years ago :P luckily hehe


#155 megamini_jb

megamini_jb

    Crazy About Mini's

  • Members
  • PipPipPipPipPipPipPipPipPipPip
  • 5,491 posts
  • Name: Jamie
  • Location: -

Posted 04 December 2013 - 06:20 PM

Any updates on Brucey? :P

#156 Hegnirst

Hegnirst

    Up Into Fourth

  • TMF+ Member
  • PipPipPipPipPipPipPipPipPip
  • 3,496 posts
  • Location: UK
  • Local Club: Hilltop Minis

Posted 04 December 2013 - 09:44 PM

Any updates on Brucey? :P


well yes and no, 


Its been a bit rubbish lately :/


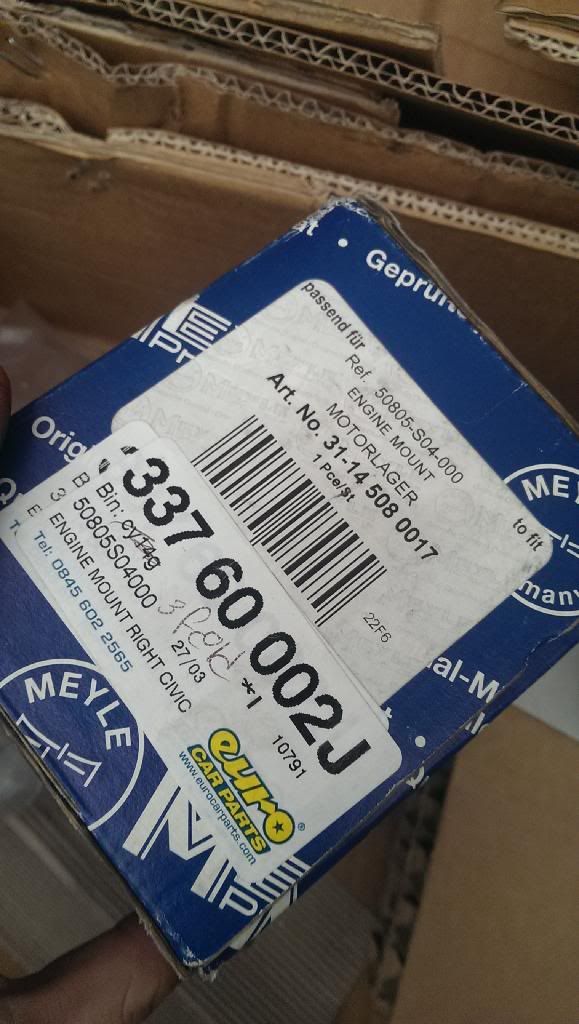
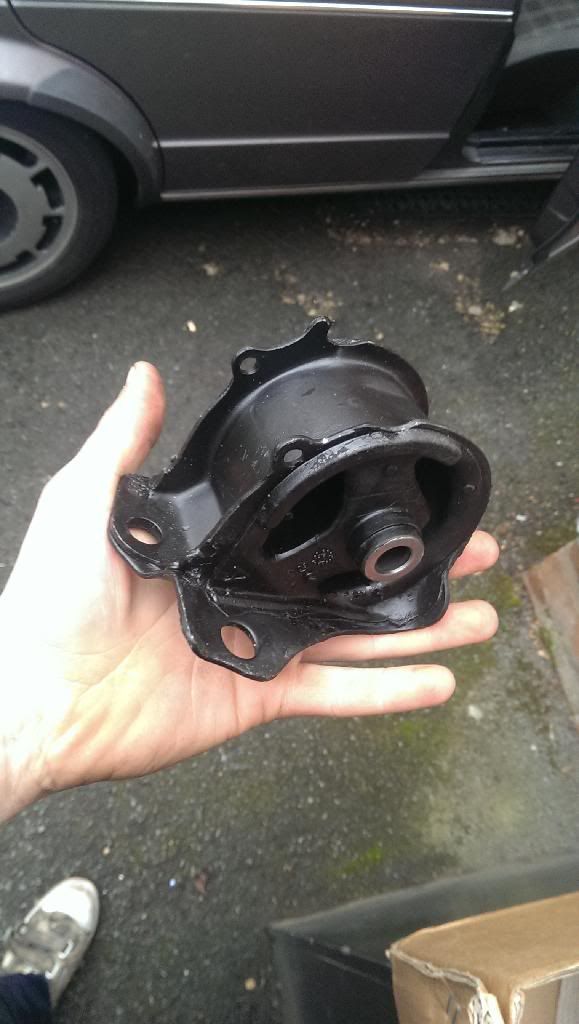
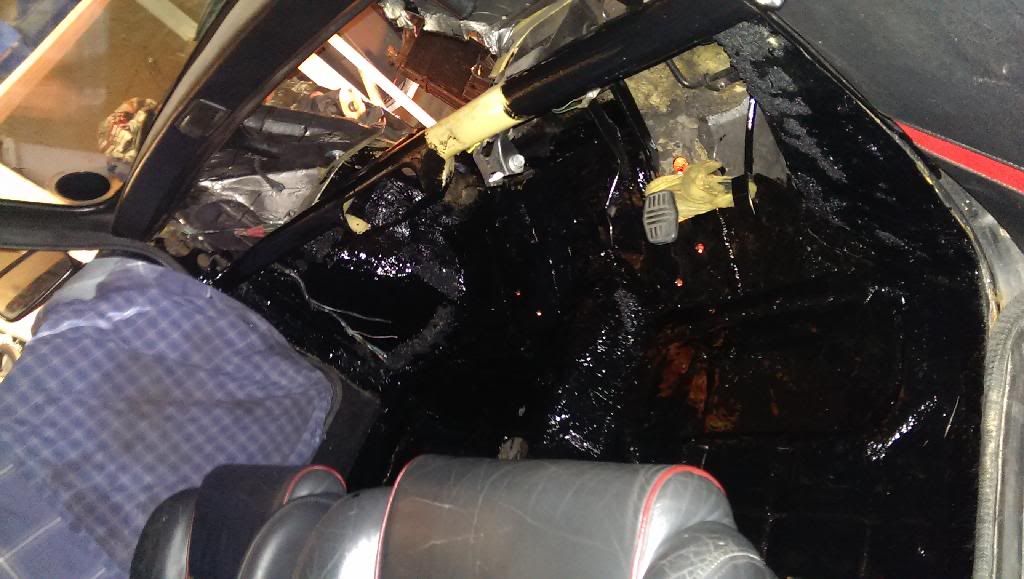
I cant get the engine back out (by my own) to check the clutch is ok, change the sump, service it and put the rear engine mount on. i have no engine crane! grrrr

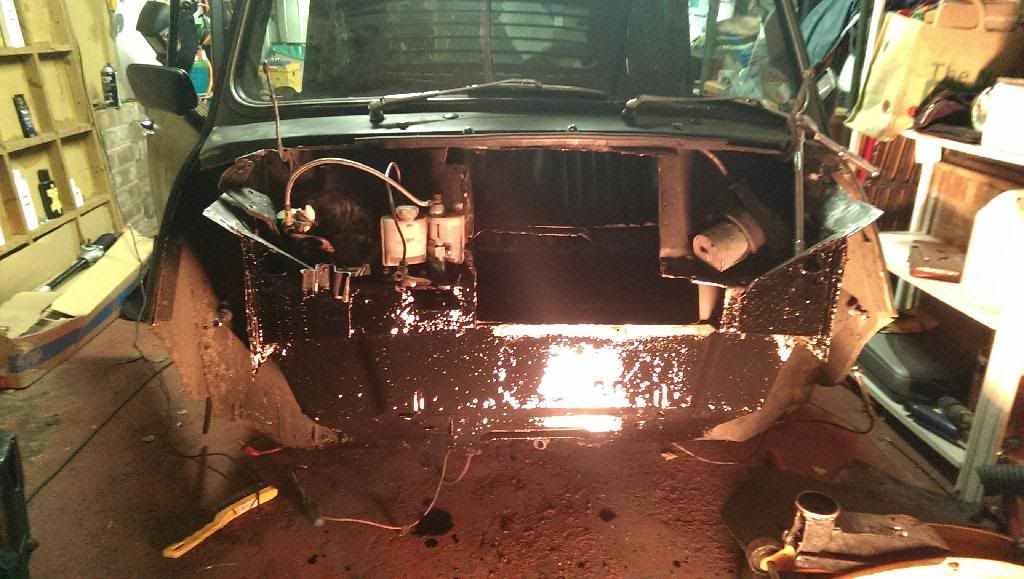
and i can't check i have cut enough out of the bulk head because i still haven't got a manifold, it hasn't arrived yet! and because i cant do that i cant put the steering rack in, paint the fire wall, weld a box in, nothing! so im pretty stuck at the moment. nothing i can do!

the only things i can do is start on the wiring and dash and put the gear linkage in, but i cant do that yet because i dont have anything to hold the car up to get underneath to mount the thing! but amongst other small jobs, I am leaving things like the running gear till i have started the engine and everything is ok.


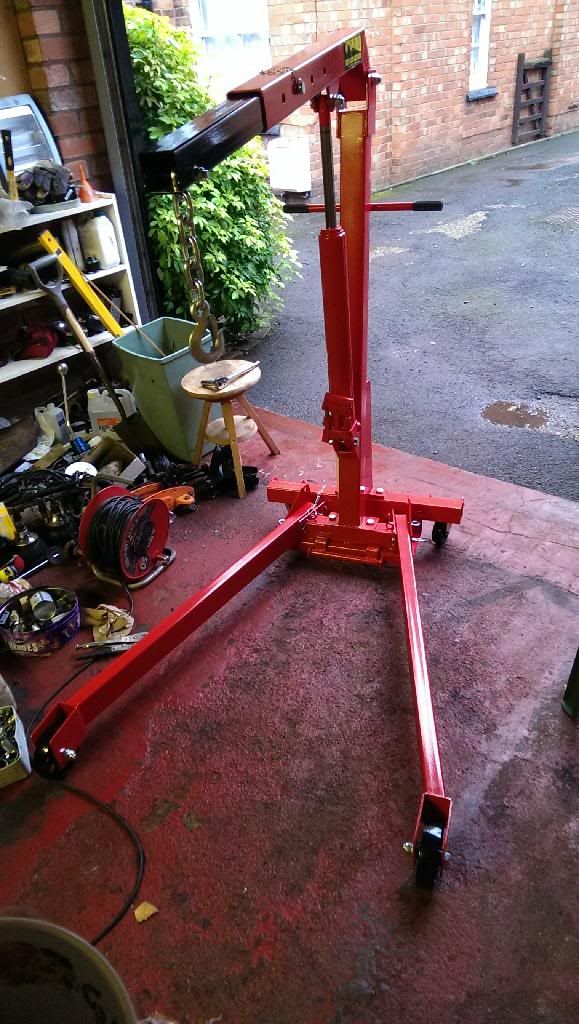
i have ordered this though 


http://www.ebay.co.u...=item5657331421


which looks just lavery and received the front hinges through the post.

just waiting on this manifold! as soon as i have that. then its all go! :D


#157 megamini_jb

megamini_jb

    Crazy About Mini's

  • Members
  • PipPipPipPipPipPipPipPipPipPip
  • 5,491 posts
  • Name: Jamie
  • Location: -

Posted 15 December 2013 - 09:45 AM

Any updates mate?

Edited by megamini_jb, 15 December 2013 - 09:45 AM.


#158 Hegnirst

Hegnirst

    Up Into Fourth

  • TMF+ Member
  • PipPipPipPipPipPipPipPipPip
  • 3,496 posts
  • Location: UK
  • Local Club: Hilltop Minis

Posted 15 December 2013 - 10:00 PM

Any updates mate?


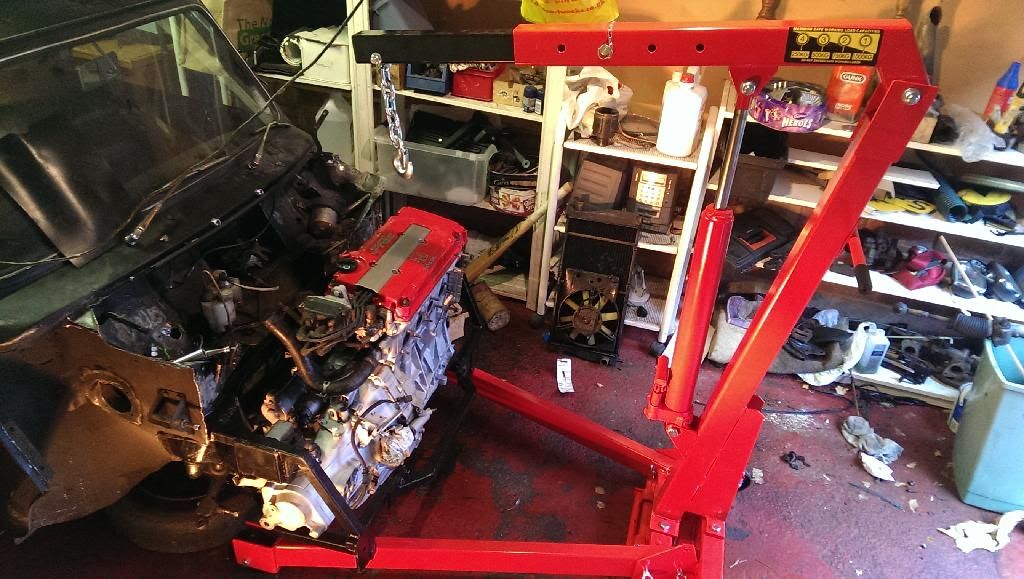
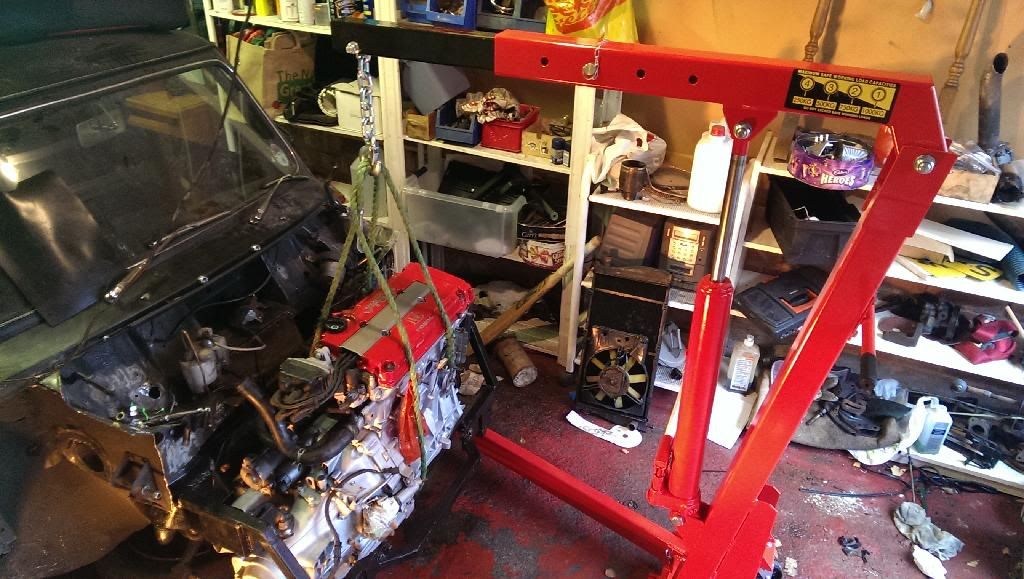
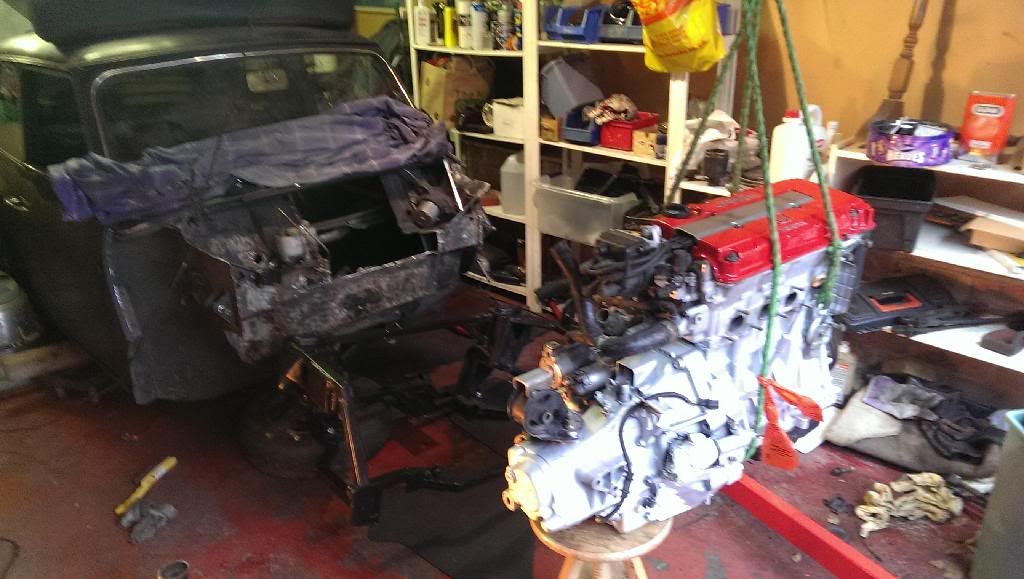
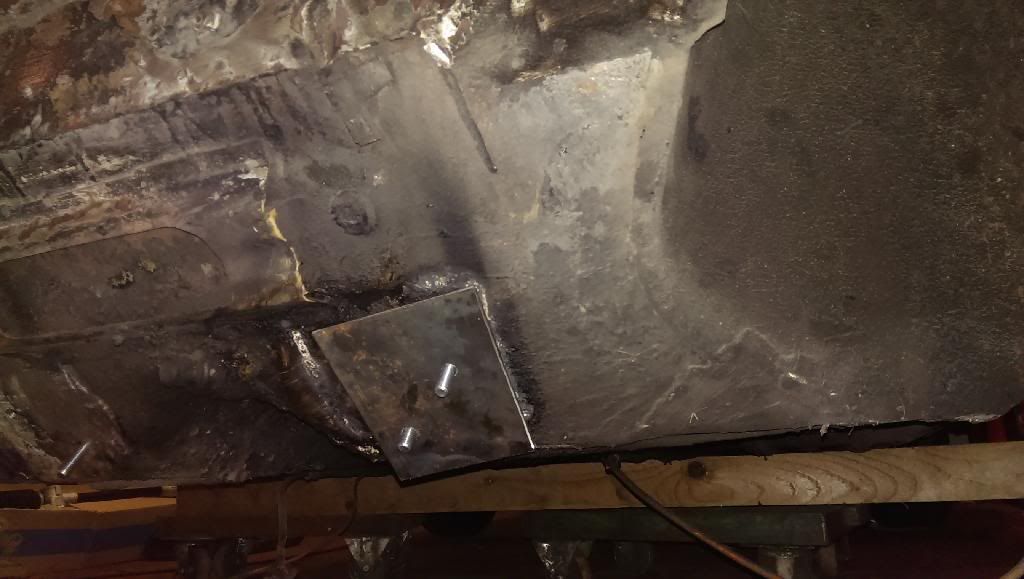
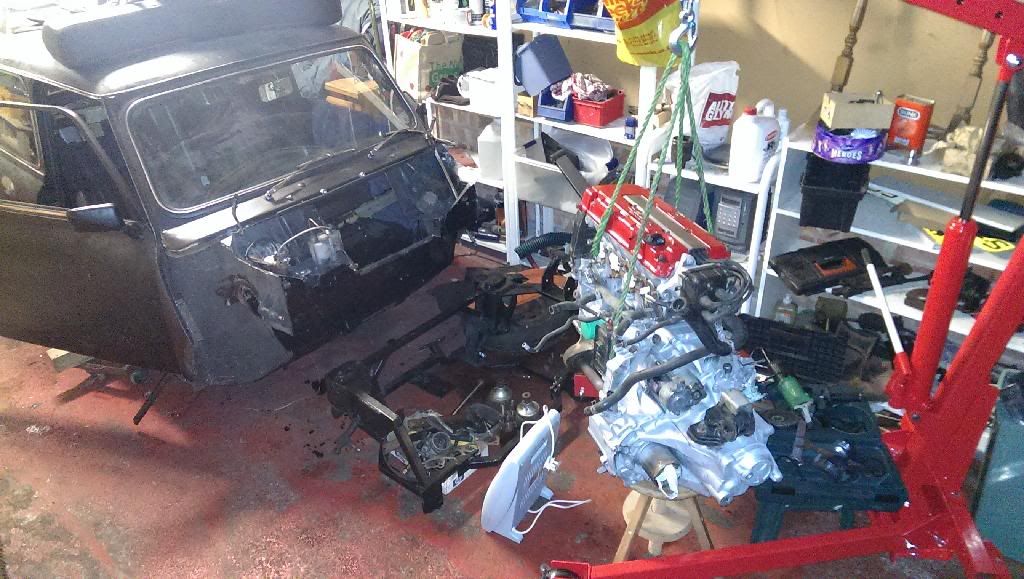
well i have now got an engine crane!!!! so tonight im going to assemble it, then tomorrow im going to, mark the bits that need trimming, take the engine and subframe out, shave the bits, put the extra metal plate in to space it 5mm more, cut the bulkhead more, make a template, take it too the fabricators, check the clutch and repair the sump :). although i dont think i will be doing the sump tomorrow as i dont have the money to put more oil in it after :/ then paint the front! :P


IF that all gets done then bulkhead box weld in and paint. and make a tapered nut for the new steering rack. engine back in start the electrics! lol so im not actually that far away from completing. ive only spent three days in total on it lol!


i cant wait tpo start! will be great  fun! photos galore!!!!


#159 megamini_jb

megamini_jb

    Crazy About Mini's

  • Members
  • PipPipPipPipPipPipPipPipPipPip
  • 5,491 posts
  • Name: Jamie
  • Location: -

Posted 15 December 2013 - 10:20 PM

Cool can't wait till you get proper stuck in. Bruce is going to be even more awesome :)

#160 Hegnirst

Hegnirst

    Up Into Fourth

  • TMF+ Member
  • PipPipPipPipPipPipPipPipPip
  • 3,496 posts
  • Location: UK
  • Local Club: Hilltop Minis

Posted 15 December 2013 - 11:00 PM

Cool can't wait till you get proper stuck in. Bruce is going to be even more awesome :)


nor me dude, tomorrow is exactly that! lol, big progress tomorrow, if i had a week to myself on it, it would be done!

going to so frikin sweet! cant wait for the paint either!


#161 Hegnirst

Hegnirst

    Up Into Fourth

  • TMF+ Member
  • PipPipPipPipPipPipPipPipPip
  • 3,496 posts
  • Location: UK
  • Local Club: Hilltop Minis

Posted 16 December 2013 - 01:21 AM

my list atm starting at the top tomorrow


mark places where i need to shave for more movement
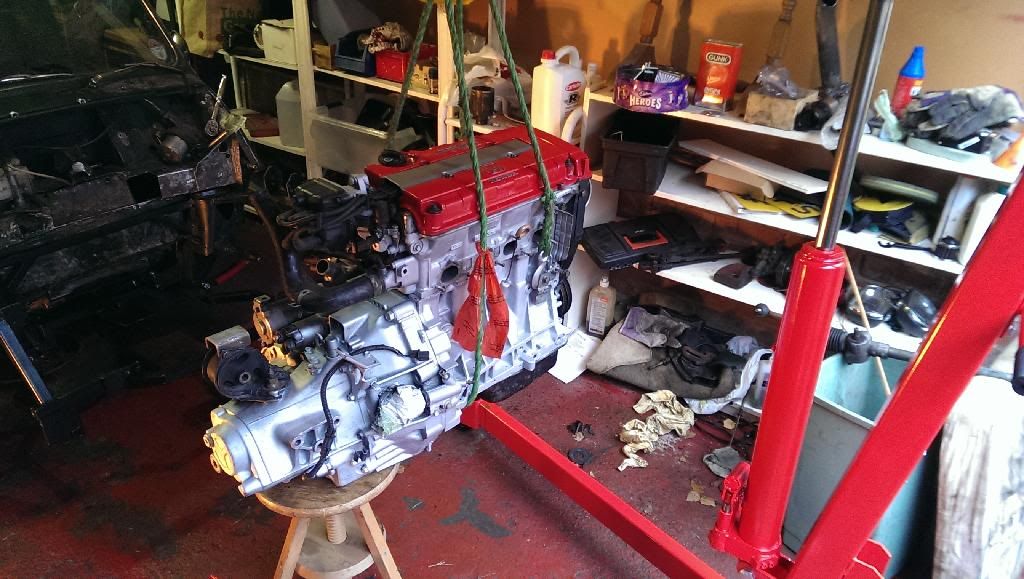
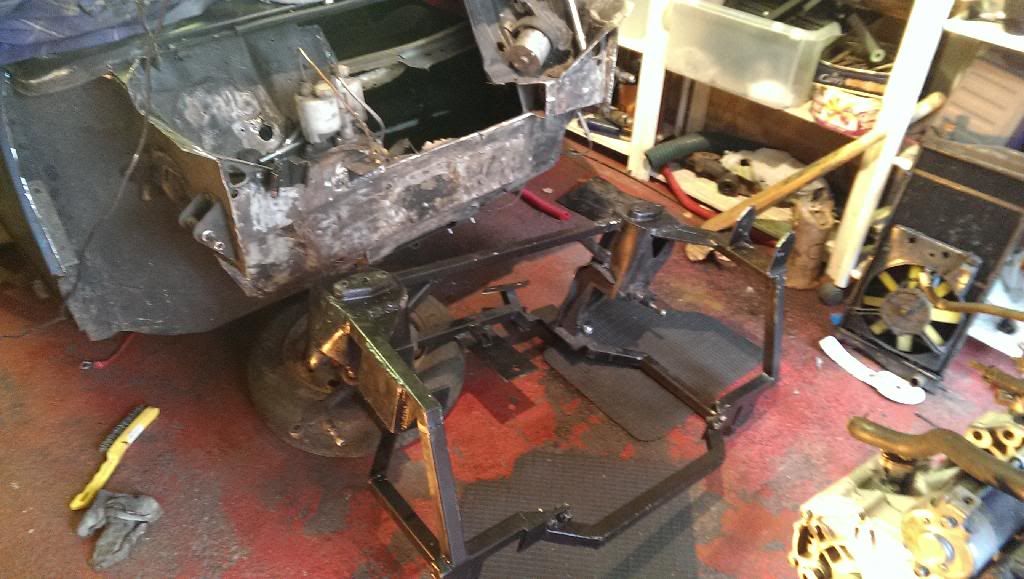
 

take engine out


tape up hole in the sump so no leak for now


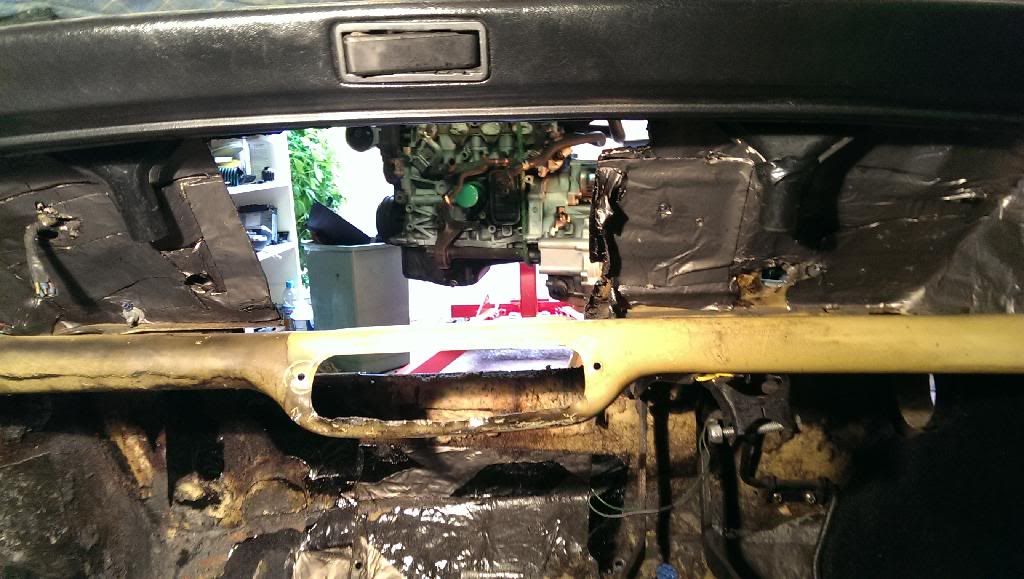
cut places where need more movement


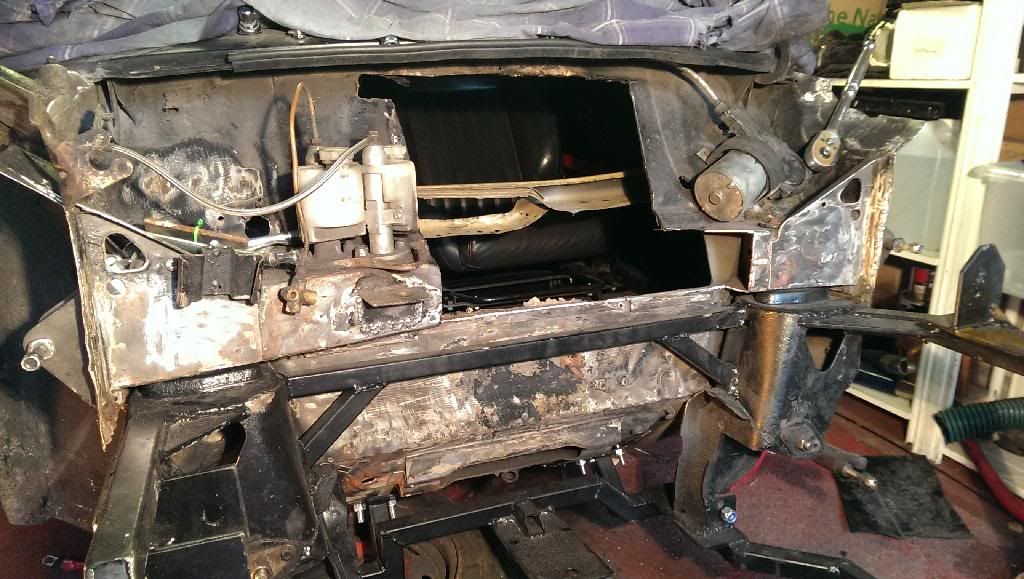
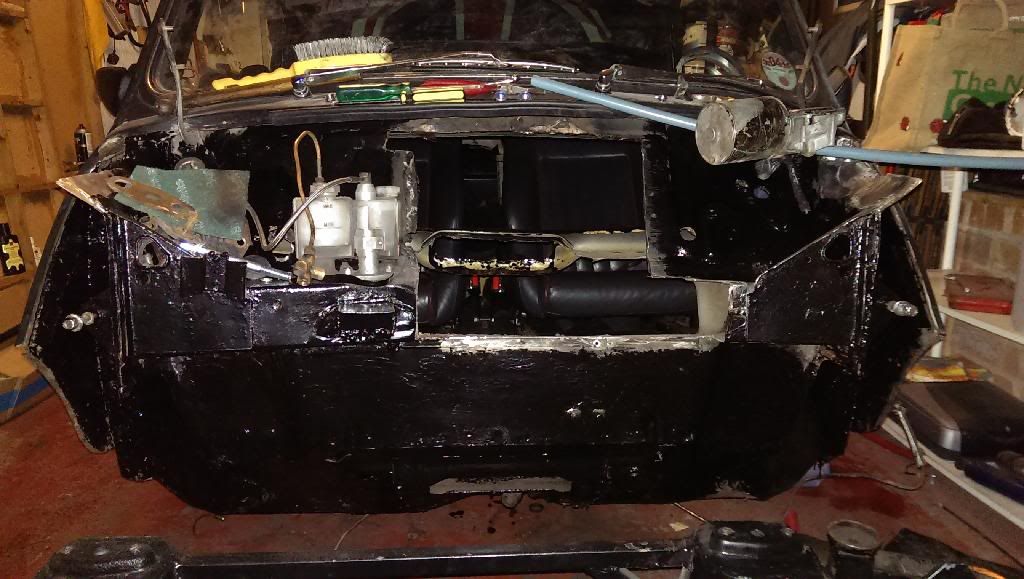
cut bulkhead to maximum area


take subframe out, put extra plate in place and check clearance with subframe


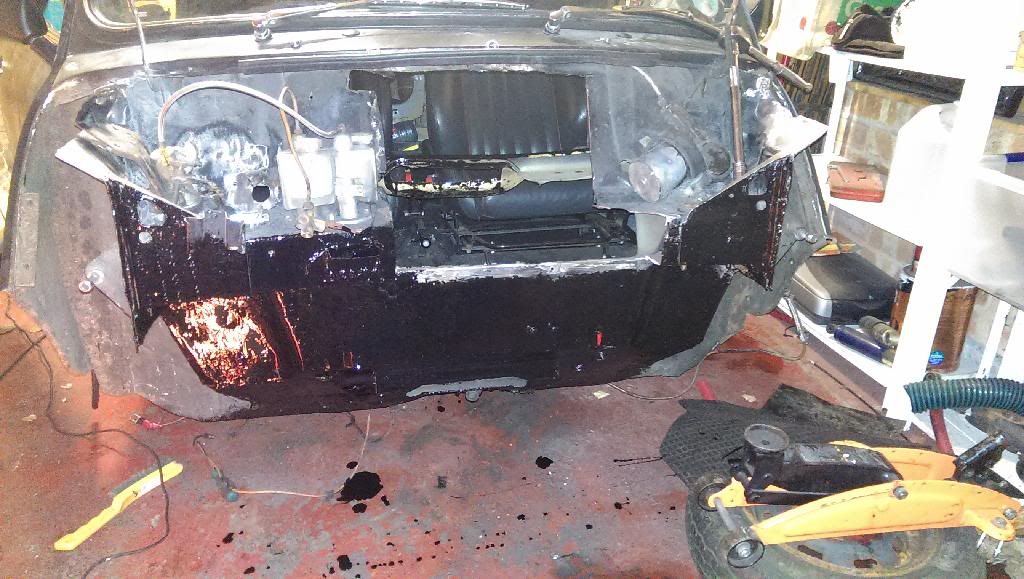
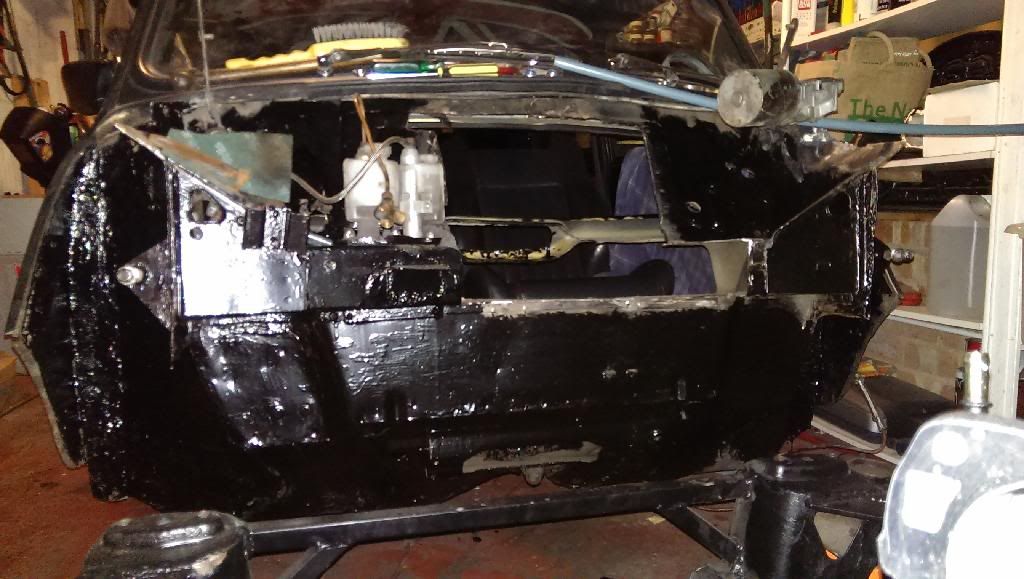
paint bottom area and surrounding area to bulkhead + inside floor without bolts in


check clutch


tape up hole in the sump so no leak for now


removed petrol tank and mark where new opening needs to be and get it fabricated


pick up steering column bush from mini spares on the way back and straps to hold steering rack (ring mintro first)


fit steering rack, stiffen (weld extra bracket)


subframe back in


engine back in


check clearances


gear linkages


brake pipes


do i need a gator for clutch arm? 


buy radiator and trial fit


buy or make alternator bracket and trial fit


cut front to allow fitment over


put bonnet brackets in place


#162 Hegnirst

Hegnirst

    Up Into Fourth

  • TMF+ Member
  • PipPipPipPipPipPipPipPipPip
  • 3,496 posts
  • Location: UK
  • Local Club: Hilltop Minis

Posted 16 December 2013 - 09:04 PM

wooo awesome day today :)
got quite a bit done,  
 
this is the crane 
 
IMAG0165.jpg
 
i started by marking places where the engine is a little close on the frame
 
then removed the engine
 
IMAG0166.jpg


IMAG0167.jpg


IMAG0168.jpg


then shaved them of the subframe :) only one place! great success! LOL
 
then i hoovered all the inside ready for painting :)
 
IMAG0169.jpg


and the view from the inside at this point lol
 
IMAG0170.jpg
 
then i couldn't wait for the manifold any more to arrive so i just went at the bulkhead with the grinder lol
 
IMAG0171.jpg
 
photo at this point (tea brake :P)
 
IMAG0172.jpg


and the frame all shaved and ready lol
 
IMAG0173.jpg
 
i went and bought a rear engine mount, which turned out to be the wrong one ;p;
 
IMAG0174.jpg


IMAG0175.jpg


i then went and grabbed some tapered bolts for my steering rack, but lost the drill bit to do it lol
 
went and got a 4mm piece of metal to space the subframe a little bit out on the passenger side and drilled 
 
IMAG0181.jpg
 
just need to paint it and possibly weld on i havnt decided yet!
 
prepared for the paint and look at that big HOLE!
 
IMAG0182.jpg
 
and my friend hehe
 
IMAG0183.jpg


after paint the inside 
 
IMAG0189.jpg
 
the reason i did this is too weather proof it a little bit more and the side of the dashboards in minis you can always see a bit of paint work and mine was beige so it looked crap lolololol
 
as you can see i missed the steering rack section as i going to put some strengthening bars in there :)
 
and then i painted the outside for a first coat, doesnt look to be at all
 
IMAG0193.jpg
 
i have only done underneath so far as i want to weld the bulkhead first and when i do that i will paint the inner arches as well to match
 
IMAG0195.jpg
 
and left it like this at the end of the day
 
IMAG0197.jpg
 
but the worse thing i did is, i did check the blasted clutch! i forgot LOL
so im going to do that early tomorrow 
 
updated to do list.....
 
mark new petrol tank where new opening needs to be and get it fabricated
 
pick up steering column bush from mini spares on the way back and straps to hold steering rack (ring mintro first)
 
fit steering rack, stiffen (weld extra bracket) and get a pair of new brackets to fit rack with.
 
subframe back in
 
engine back in
 
check clearances
 
gear linkages
 
brake pipes
 
clutch pipes
 
engine wiring loom on
 
do i need a gator for clutch arm?
 
buy radiator and trial fit
 
buy or make alternator bracket and trial fit
 
cut front end to allow fitment over
 
put bonnet brackets in place and fit for trial...
 
wiring etc.....


#163 Hegnirst

Hegnirst

    Up Into Fourth

  • TMF+ Member
  • PipPipPipPipPipPipPipPipPip
  • 3,496 posts
  • Location: UK
  • Local Club: Hilltop Minis

Posted 21 December 2013 - 12:20 AM

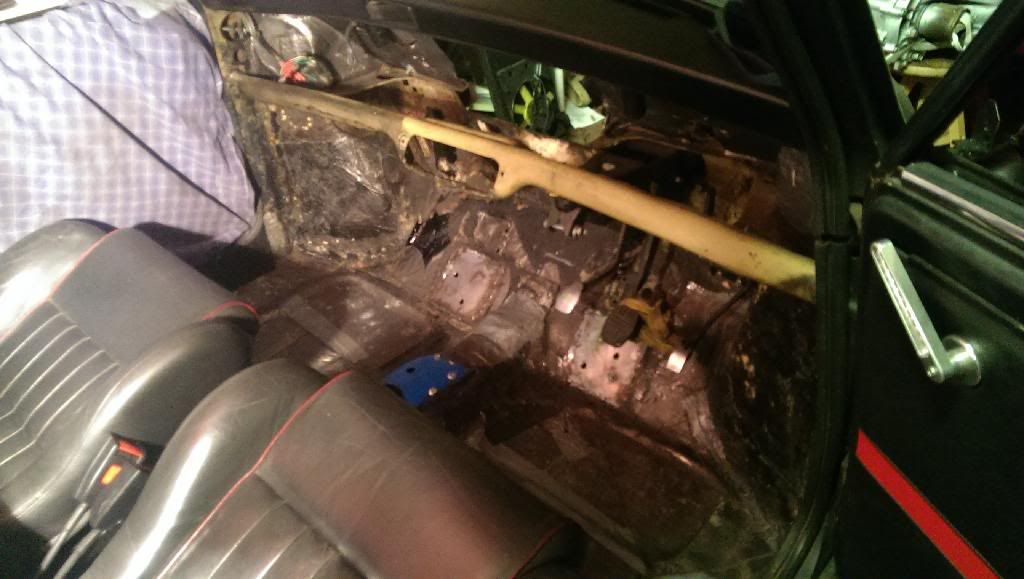
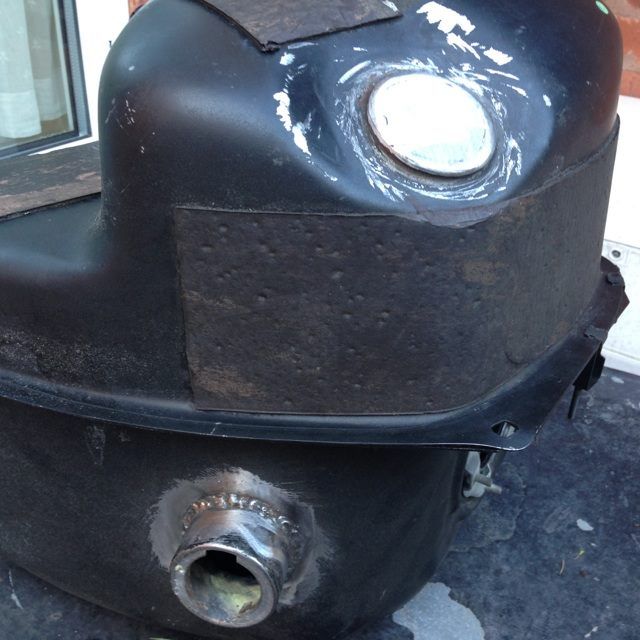
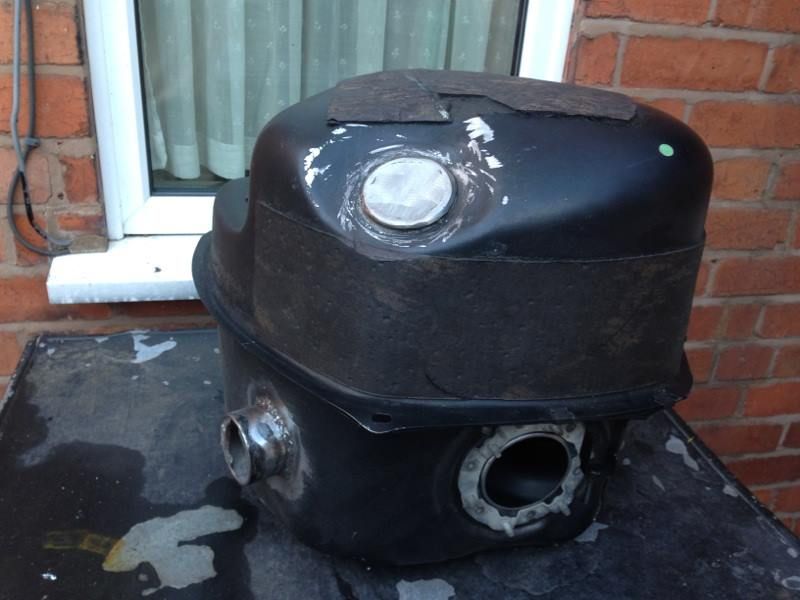
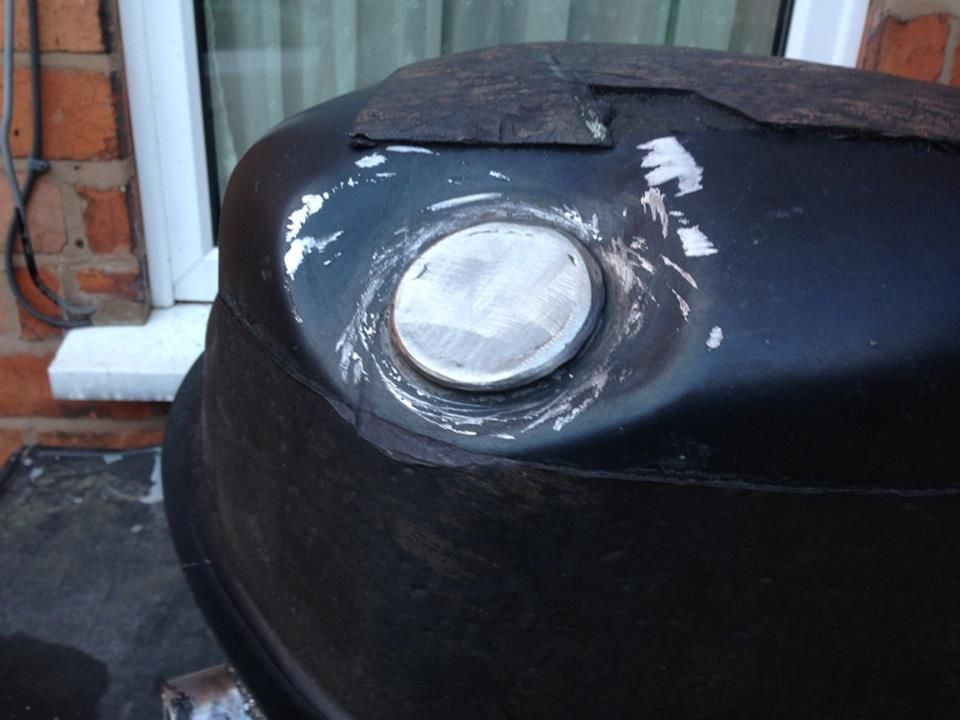
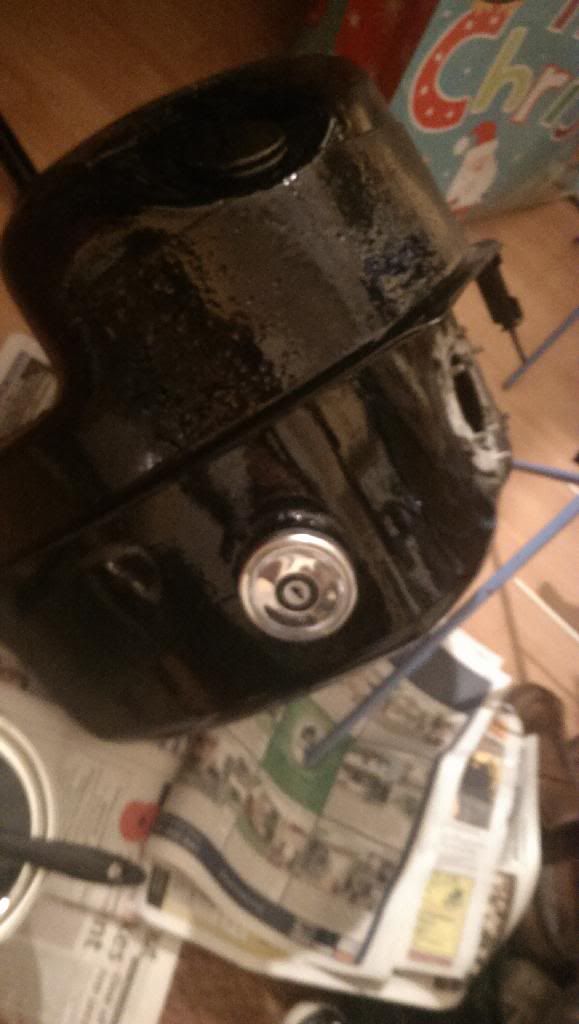
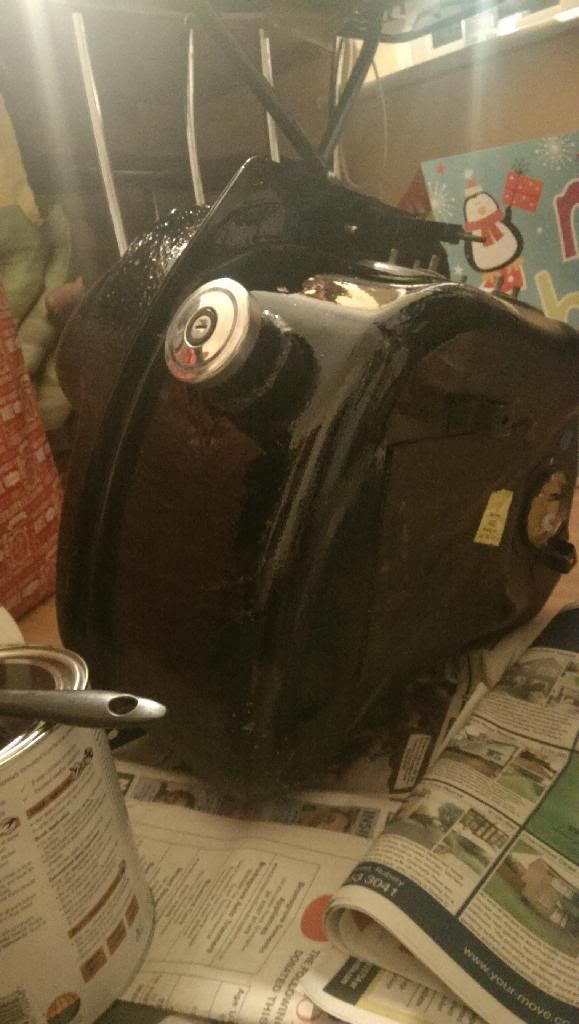
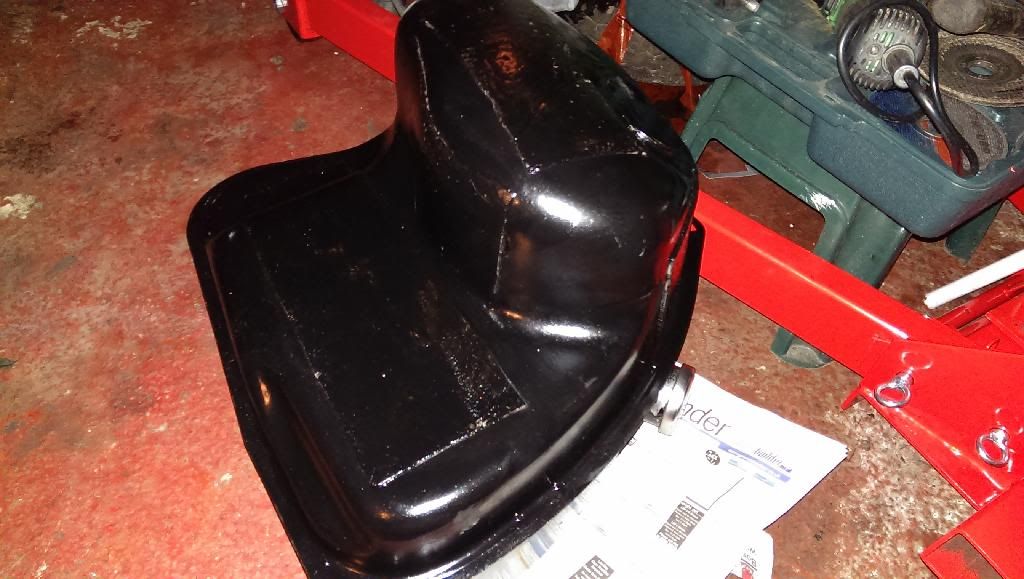
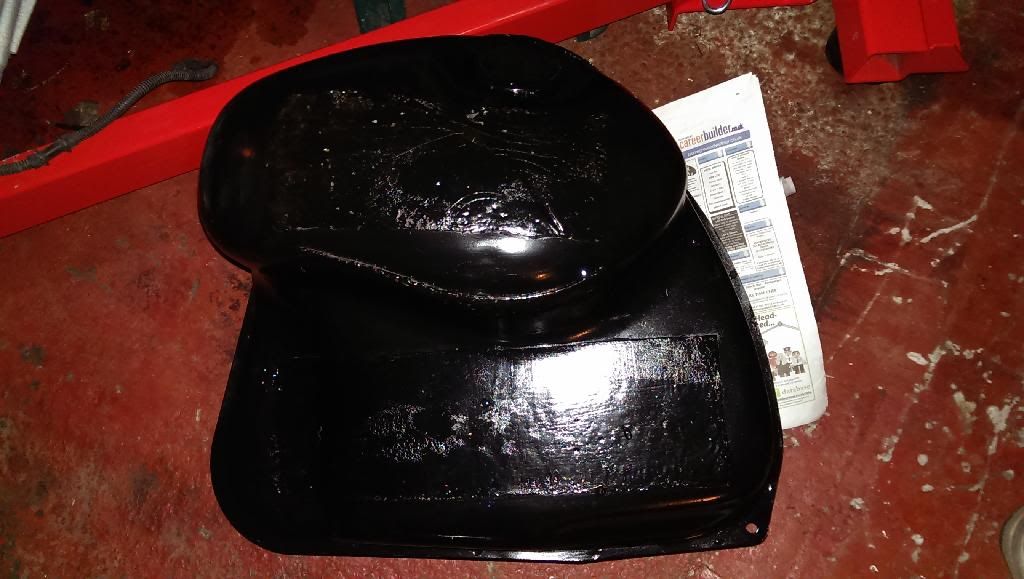
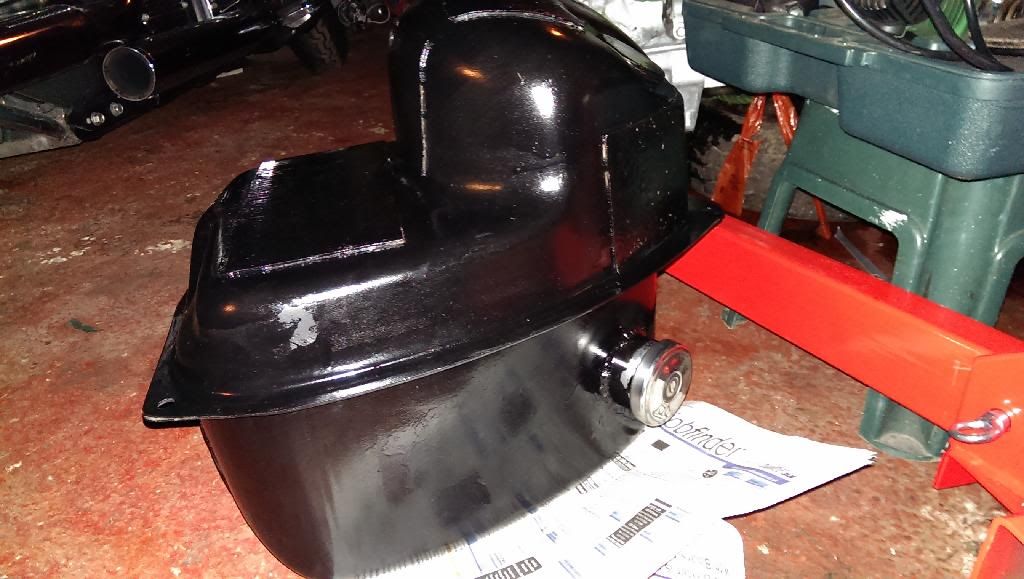
so today I got my petrol tank finished :)

I had the filler tank moved from the normal place to inside the boot.

this is for cosmetic and so when i have my nice new paint I don't get it spilt down it :)

ive always wanted to do this and finally got round to it :D


1465353_10152081613404362_2005178196_n.j

1470316_10152081613664362_30952920_n.jpg

1501796_10152081613544362_1837892354_n.j


#164 Hegnirst

Hegnirst

    Up Into Fourth

  • TMF+ Member
  • PipPipPipPipPipPipPipPipPip
  • 3,496 posts
  • Location: UK
  • Local Club: Hilltop Minis

Posted 28 December 2013 - 12:10 AM

WELL santa was nice! :) seens that my birthday is very close to christmas i was spoilt with this :)
 
and i obviously test fitted straight away HA!
 
IMAG0297.jpg
 
and just to show you it is authentic lol
 
IMAG0295.jpg
 
then i painted the rest of my tank so should be dry now anyway :)
 
IMAG0306.jpg
IMAG0305.jpg
IMAG0307.jpg
 
very happy with it :D
 
just ordered a rear engine mount, petrol honda pump and some steering rack brackets so after i put the steering rack on I can put the subframe back on and leave it on LOL
 
happy belated christmas!


#165 Hegnirst

Hegnirst

    Up Into Fourth

  • TMF+ Member
  • PipPipPipPipPipPipPipPipPip
  • 3,496 posts
  • Location: UK
  • Local Club: Hilltop Minis

Posted 29 December 2013 - 09:05 PM

ok! just a small update, the rest of the inner arches etc are all painted :)
 
IMAG0321.jpgIMAG0322.jpg
 
which is looking quite smart :)
 
so as soon as the steering rack bolts come i can bolt that on :)
 
this is what the steering rack is looking like at the moment, do you think this is in enough and wont cause any problems with clearances? personally im not too sure but see what you think..
 
IMAG0323.jpg
 
the tank is completely read now, just waiting to assemble the pump into it
 
IMAG0324.jpgIMAG0325.jpgIMAG0327.jpg
 
thats all for now, just waiting on a few parts :)


1 user(s) are reading this topic

0 members, 1 guests, 0 anonymous users